Tuesday 31 January 2023

Comrade Car - less slaughter, more sort of refined surgery (Part 6.1)

 Sheetmetal work in itself isn't terribly difficult, it just usually is, because you have to work with metal that is paper-thin and riddled with little rust holes. (When you're lucky that is.)

What you see here, is a lovingly mouthbitten hole, that allowed for a pass-through of the trailer hook's wiring loom. It is a bit hard to make out in the pictures, but it has been an eyesore for me and that says a thing or two about it, considering the initial state the old Comrade Car was in, when I first got it. 

 Patching holes, as I mentioned before, isn't terribly difficult. Depending on the size there are two options to tackle them. Number one is to cut a patch from some sheetmetal and weld it in. (No big surprises here, I suppose.) Number two is to use a non-welding metal, e.g. thick copper plate and use that as a backing and heat sink and use your welder like a hot glue gun.

You start at the edges just with some small spots and work round them in a spiral until you hit the center. Then you turn down the feed and crank up the voltage, still with the backing plate in place and give it some heat to close all the small pin holes, between the spots of weld you just created. This will leave you with this somewhat ungainly blob of weld.

This is the moment, when a diegrinder with a carbide burr can really shine. Depending on the spot different burrs might be the optimum tool. Here it was a cone-shaped, round tipped one, which I used to flatten the weld. No need to be perfect, but to remove the bulk of the metal. 


Final step is to use a 50mm flap wheel on a 6mm shank to blend the remains of the weld into the surrounding metal. It's still visible when unpainted, but you can hardly feel the ridge. 


There you go, bit of primer thrown on top of it and the job's done. (Don't forget the backside.)

Now if one wanted to do it perfectly this would be the moment to give it a light skim of filler and sand it down flush and it would be absolutely invisible. As the comrade will wear a rolled-on coat of paint and this corner will mostly be hidden by the number plate, I have to admit that I won't bother with filler in this one spot.

Saturday 21 January 2023

The SR500 sidecar - what goes in must come out

 So far the SR500 sidecar has fared exceptionally well in the context it was designed for. It is a reliable starter (when cold), it is pretty fuel efficient for a sidecar as it is using about the same amount fuel as the TR1 and it's not very noisy. What sounds pretty good (pun intended), has got a bit of a downside though: The performance initially was somewhat lackluster and even though the original exhaust was indeed on the quiet side, it made some weird chirping noises and judging by how much better the old girl ran without a plug in the AFR-bung and thus reducing back-pressure a plan was hatched.

In order to take off the exhaust, I originall envisioned two M8-bolts going into the muffler bracket. Which wasn't exactly an astounding feat of modern engineering creativity, but solved the mechanical problem of mounting the exhaust to the hanger sufficiently sturdy. There were two problems with that though: The bolts tended to come loose and because both of them were very hard to reach, tightening them was a major p.i.t.a. and don't even get me started on sneaking in lock washers. 

The solution was simple and almost elegant. With the rear bolt replaced with a stud it was much easier to align the exhaust and bracket and as the rear was easily accessible with a wrench (and almost impossible to reach with an allen key) this totally made sense. At the same go a 12mm bracket was added to stop the exhaust hitting the swingarm when the bike was propped up on the center stand. (Admittedly not something that happens very often, but it left a nasty scratch in the swingarm's paint and a use case that comes up on Winter rallies when putting on chains.)

In the picture below, you see the last photo of the regular M8 nut, before it went on its merry way on the way home from the workshop, never to be seen again. It was subsequently replaced with a nyloc nut.

But there's still a wee little elephant in the room, right? How do you loose the plug of an AFR-bung? Well, funny you should ask... imagine the following situation: You ran that little sidecar all day with a wideband AFR-probe all day, then it quickly became dark (as it does in Winter) and because the exhaust was still hot, you just screw in the plug lightly, so it would come up to temp and not seize in the threads. As you have have to wait anyway, you go in wash your hands and promptly forget about the whole thing. You do about three or four kilometres and suddenly you have big blue streaks of flame coming out of the aiming right at your knee. 

Also a TM36 with a working mix screw is a really sensitive carb, just the slightest tweak results in the carb jumping around between 12.3:1 and 11.8:1!

After browsing the website of my exhaust-components supplier, I found out that they also offered the same muffler with a resonance chamber in the middle and were also willing, for what I can only call a very reasonable price, to make them as long as I want. So for reference this was the old setup:

... and it emitted somewhere between 78.3 decibels (cold) and 77.5 decibels (hot).

Now the new muffler is approx. 10cm longer than the old one with a 10cm long resonance or expansion chamber in the middle, meaning that the amount of actually packed volume stays the same, but I essentially have two short mufflers in one enclosure.

First time use of a widebody gas lense and whilst HEAVY on the Argon, the results speak for themselves.

Interestingly enough, the muffler does a tremendous job in quieting down the bike. Now I hear you say that's an exta 6 decibels at idle, how is that even remotely related to a more quiet bike? As a matter of fact this was recorded without ANY muffler insert in the tip, so a substantial decrease in the noise levels is possible and for legal reasons, I only have to shave off 0.8 decibels to pass. Also as it's a very low, bassy noise it's a lot less obtrusive than before.

And that's what the longer muffler looks like on the bike, it doesn't stick out the back and pretty much makes maximum use of the space available without looking goofy.

So what lies ahead: make a muffler insert, to get back down to somewhere around 81 decibels, fit a one-size smaller pilot jet. Starts fine when cold and almost instantly has an idle, but bit heavier on the fuel consumption and starting it when hot is only possible by slightly lifting the slide.


Saturday 14 January 2023

Comrade Car - sheetmetal slaughter (Part 6)

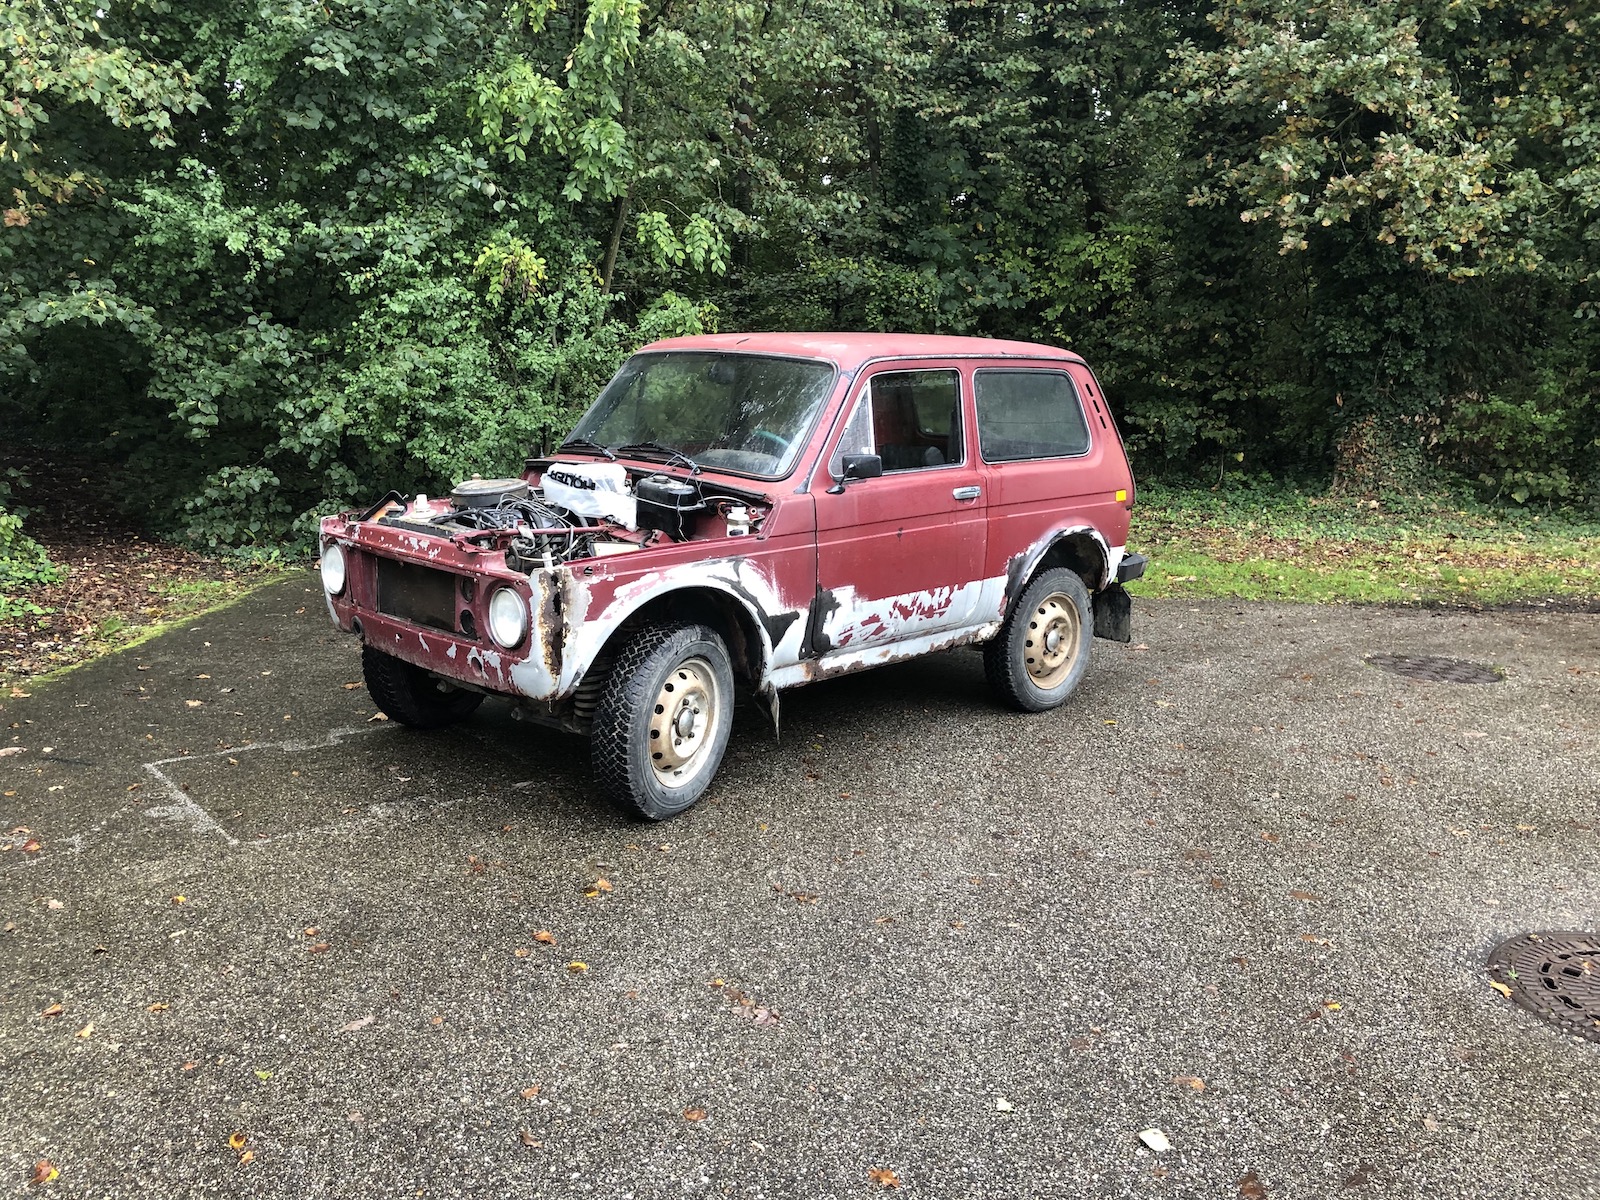
If I had to name a single thing I've underestimated on the Lada it must be the amount of work that goes into fixing all the sheetmetal. And no, I never had any unrealistic expectations towards my craftmanship or the final result as in some sort of mysterious "better than new"-type of goal. Just turn the old boy into a less leaky vehicle, which is as structurally sound as one can expect from a 30+ year old car. So just to get this out of the way (and remind myself again, should I have any "funny ideas" in the future once Comrade Car is finished), it was three months. Not full time admittedly and I also tackled some other issues along the way, but still that's quarter of a year and as you'll see at the end, it's not even painted (yet).

Judged by a 1960ies or 70ies standard, the overall build quality of the sheetmetal of a Lada isn't too bad and definitely on par with European economy cars of the era. A Volkswagen Beetle, a Fiat 124 (obviously) or an Opel Kadett would probably have faired pretty similarly. 


The main differences being that a Lada Niva is an offroad vehicle, more precisely a very affordable one when new and at least in the case of mine, was used offroad a lot. As indicated by several kilos of caked on mud, which obviously were instrumental in making some of the sheetmetal go paper-thin. Also at least the last owner didn't invest too heavily into cleaning the undercarriage or much other maintenance.

A fine selection of tools was laid out and then there was nothing but actually diving into the job head-first.

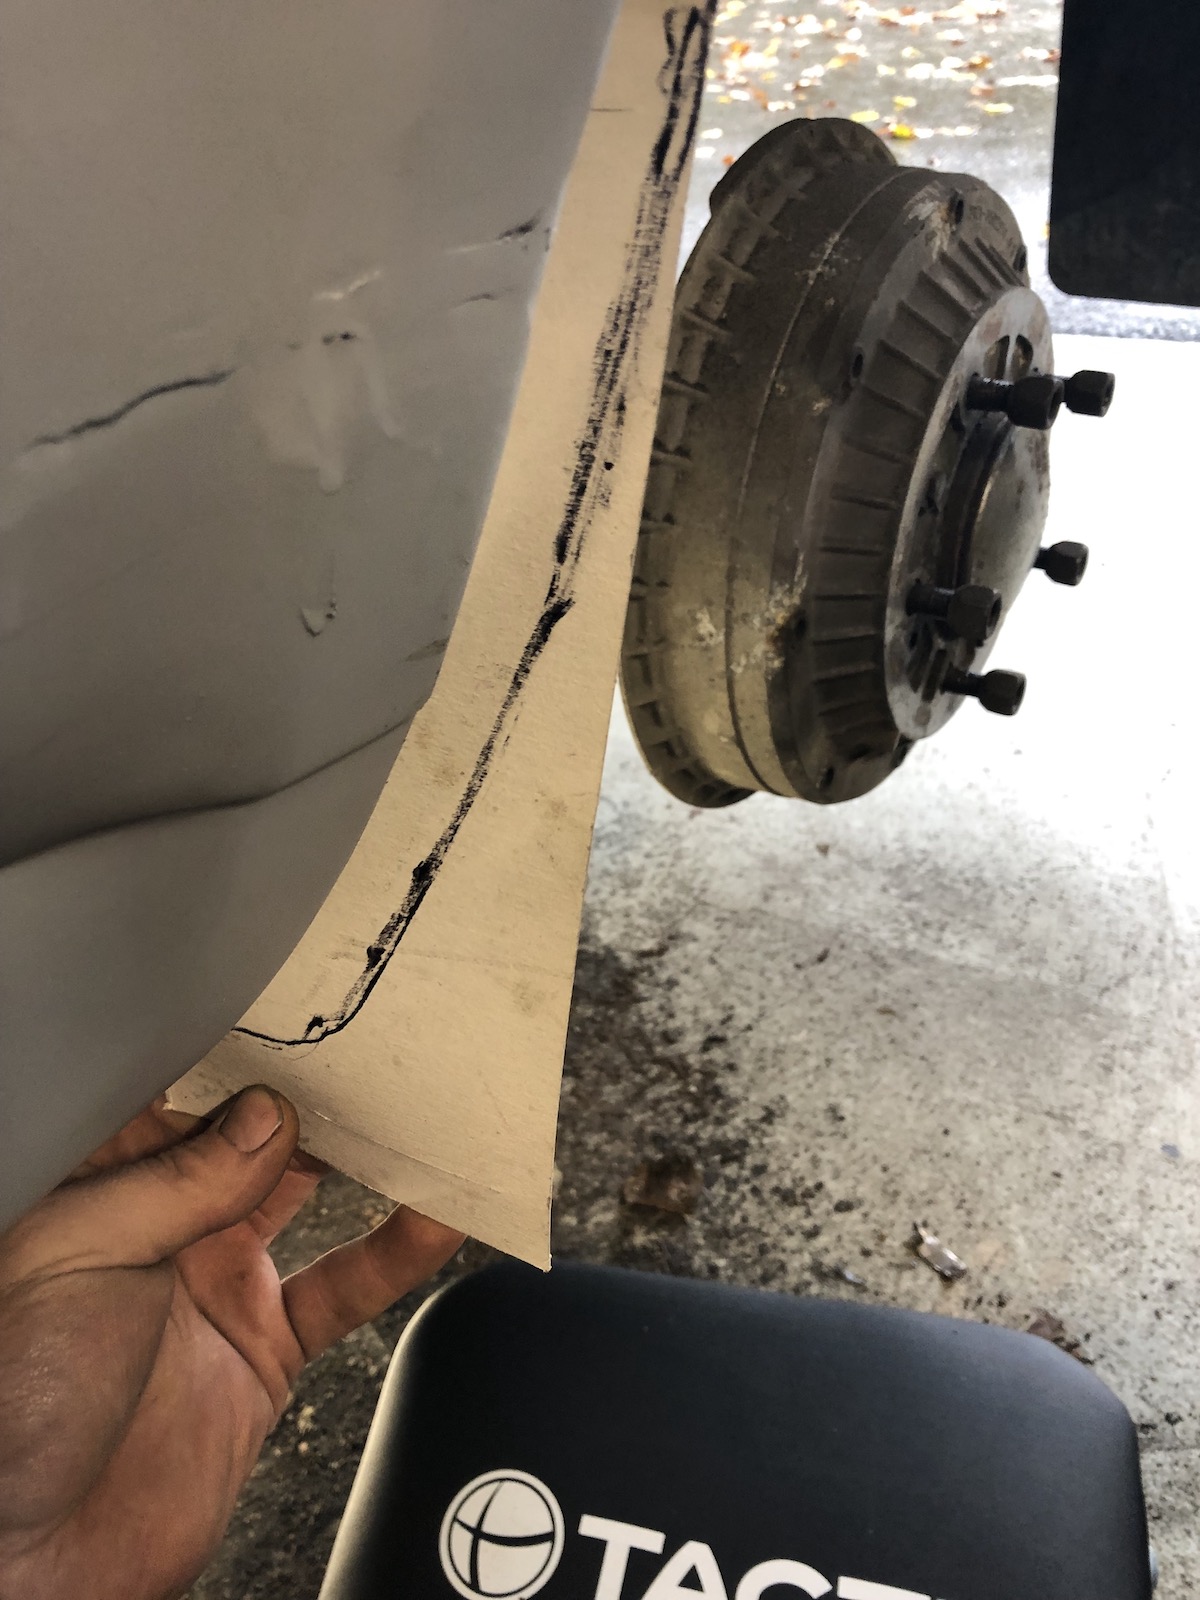
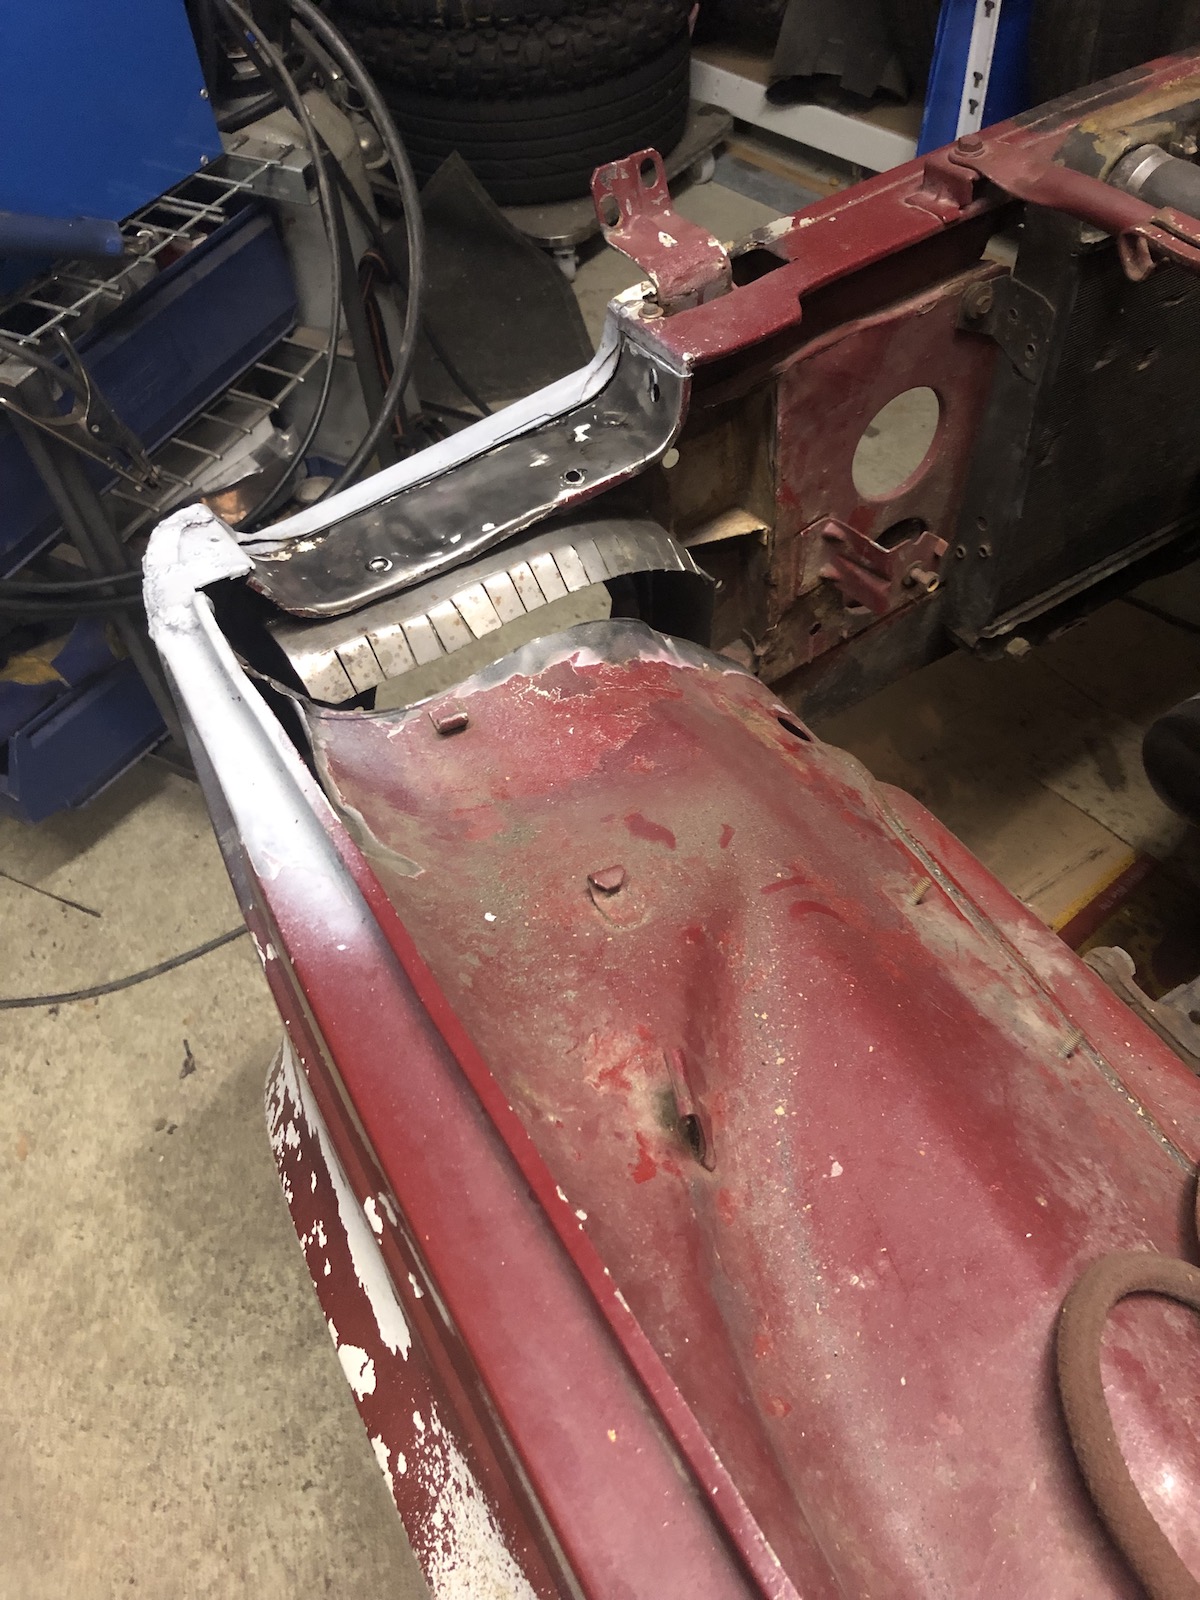
The Lada sports a convenient maintenance panel inside the wheel well, that leads into a cavity between the firewall and outer fender. The exact reason for this still remains a mystery to me, but if you see a Niva with a rotten fender tip, it comes from exactly this spot.

The left sill was the most obvious rust issue. Please also not the fine repair at the end going to the rear wheel arc. (Another one of those typical spots, which tend to disintegrate.)


The countersunk philips-head screws that hold the door in position weren't too bad on mine, probably because the whole car must have had a left-side frontend smash at some point and thus had been apart at some time in the past. 

One almost surgical cut later it became apparent that there's no point in patching up just the outer sill.

Mind you, I have never done a sill on a car before, so between this and the next picture a few mistakes happened. The biggest one being the strategic decision to actually cut out all of the outer sill and even more so to start welding in the outer sill first instead of the inner one. (It does look good though.)

As the inner-sill support was unavailable at the time, I had to repair it with some sheet metal. Which was my second mistake, as it meant, that I now had another layer that I'd better not cut into, when cutting out the inner sill... (Also I could have asked around and would probably found some dealer that would be willing to sell me this repair panel.)

One of the more peculiar things I found was a massive piece of L-channel pigeon-sh*t welded to one of the frame rails with what I can only assume was meant to be a very hefty towing eye. 

The bottom bit is easily 10 to 12mm thickness. As a matter of fact, it was so long and thick, it went straight into the box with steel off-cuts I use on the mill for the various odd job.

Mud + pigeon sh*t welding obviously made for a perfect environment to create some deluxe rust on the frame.

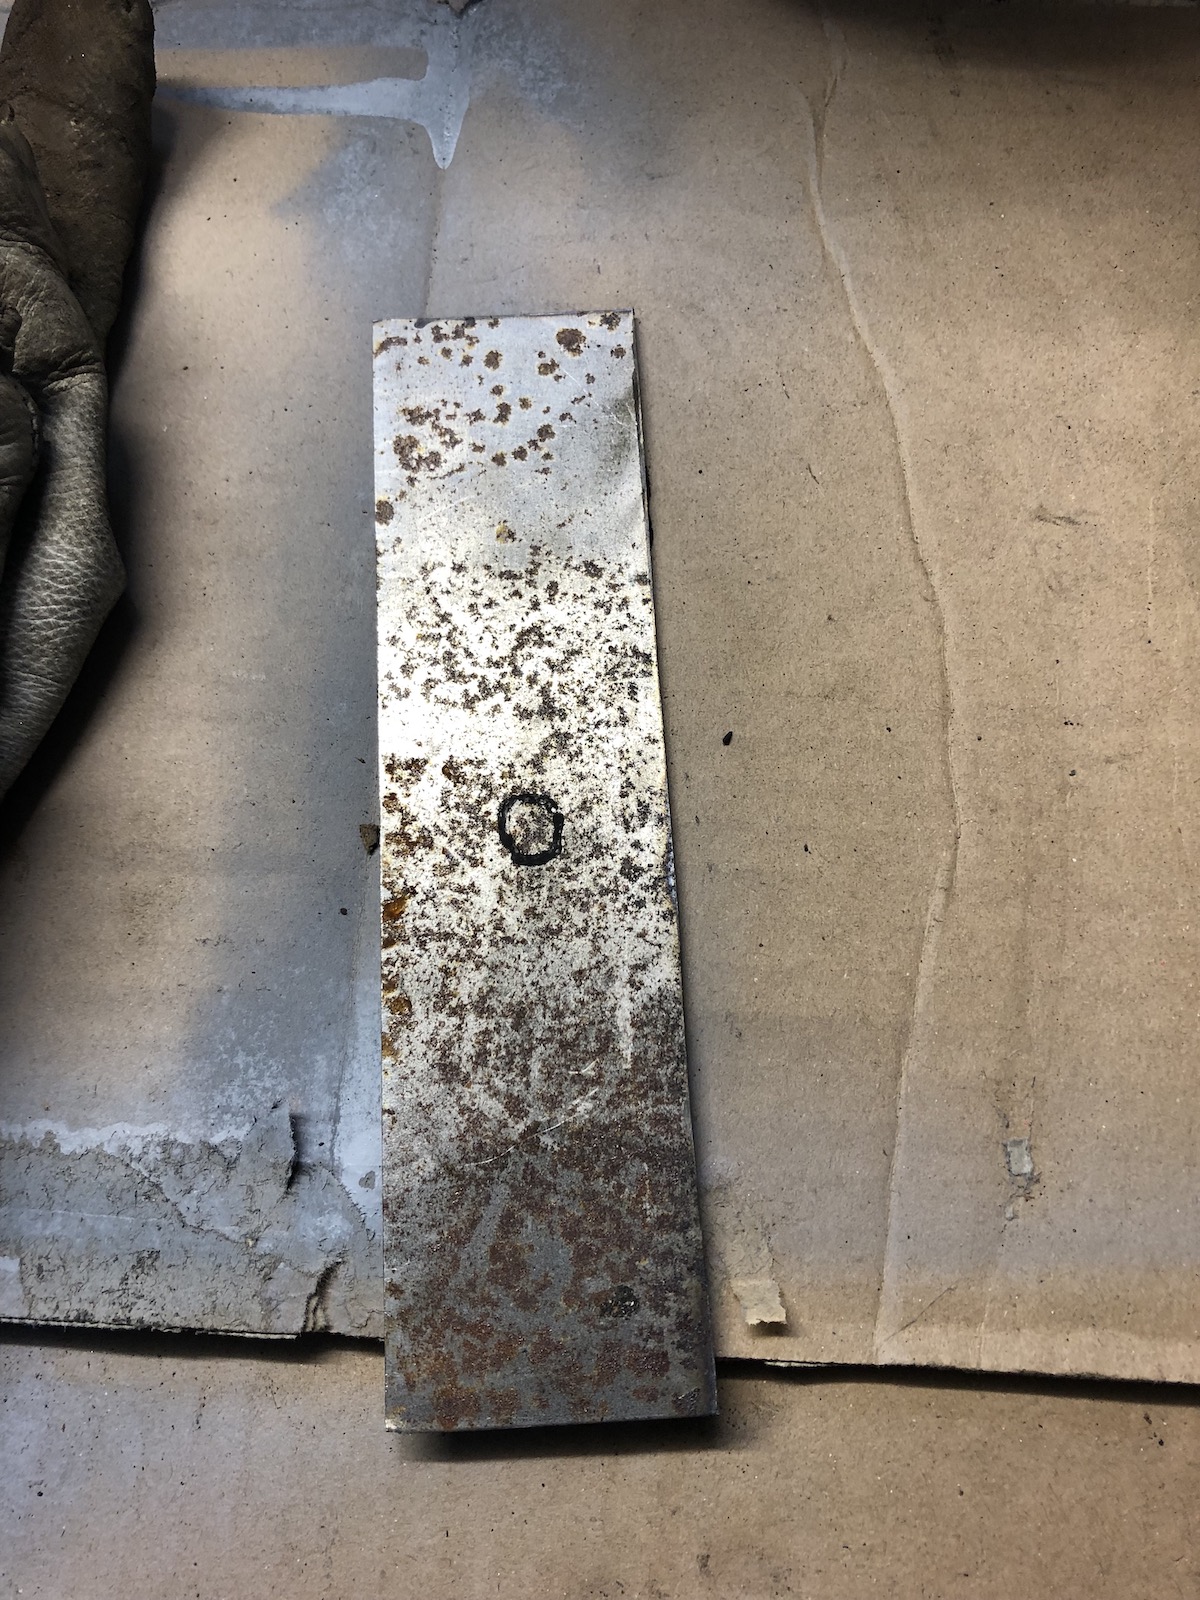
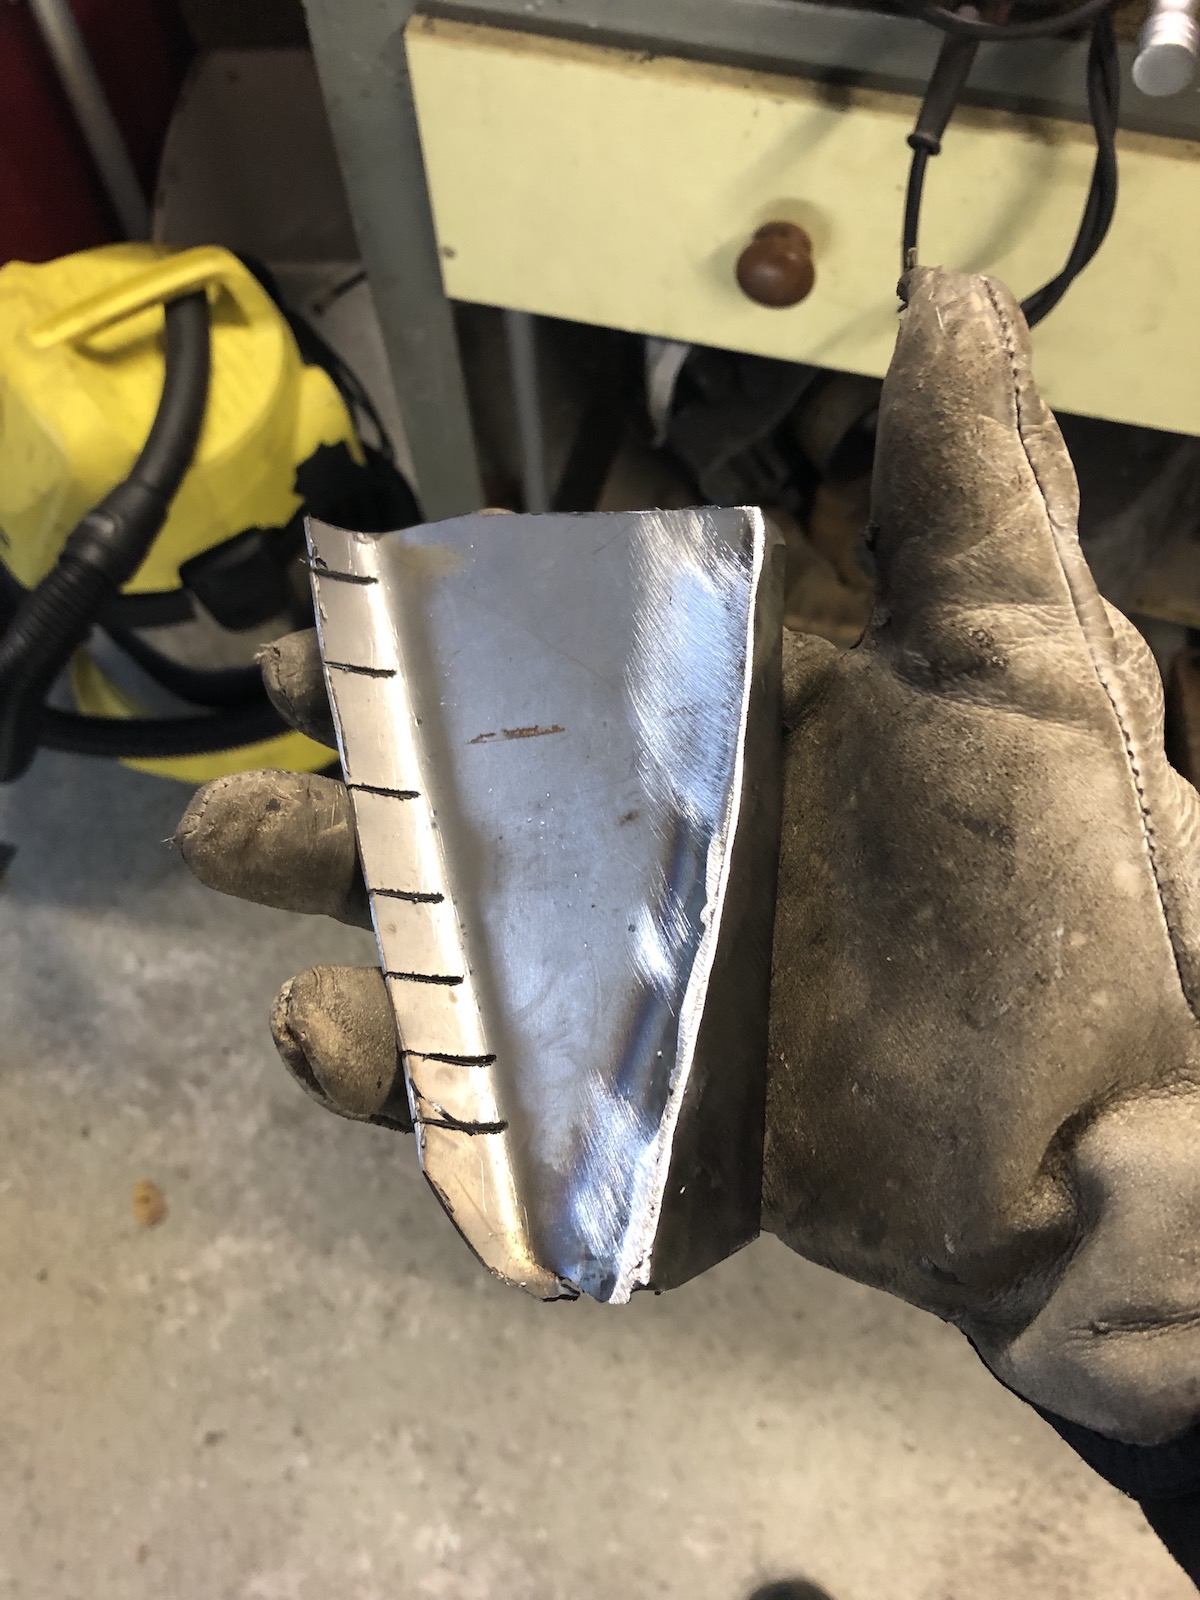
So over time, I would knock up quite a few of these. The recipe was always the same: measure, roughly transfer it to cardboard, trim to size, transfer to steel and make another patch. (I am sure the bend in this one was intentional. 😉)

Another one in the driver's foot well. The holes are where I drilled out all the spot welds of the front frame brace and jack support to gain access to the rust spot and the inner sill. (At least the frame brace, if I had started from the inside out, I simply could have left in place and only reweld the jack-support.)

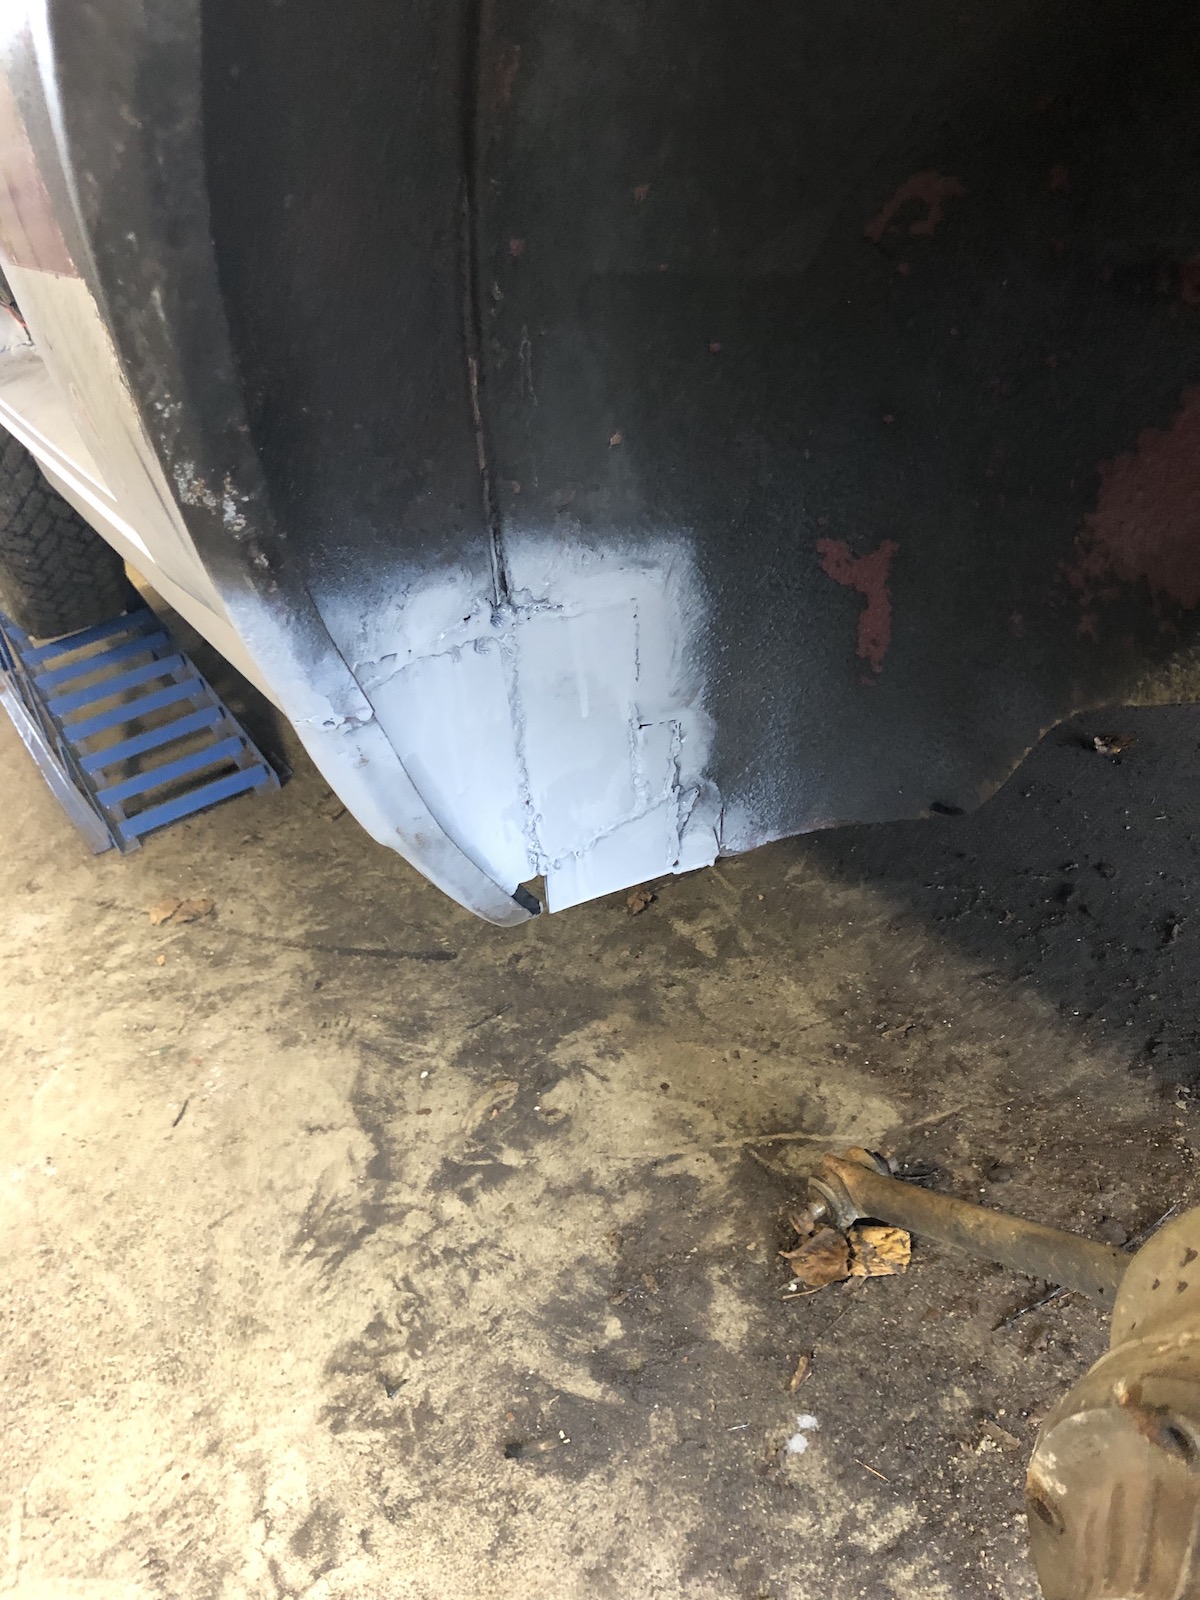
Over time I started to work on more elaborate repair panels - only to later find out that the whole rear inner wheel well would have cost next to nothing compared to the amount of time I invested. 


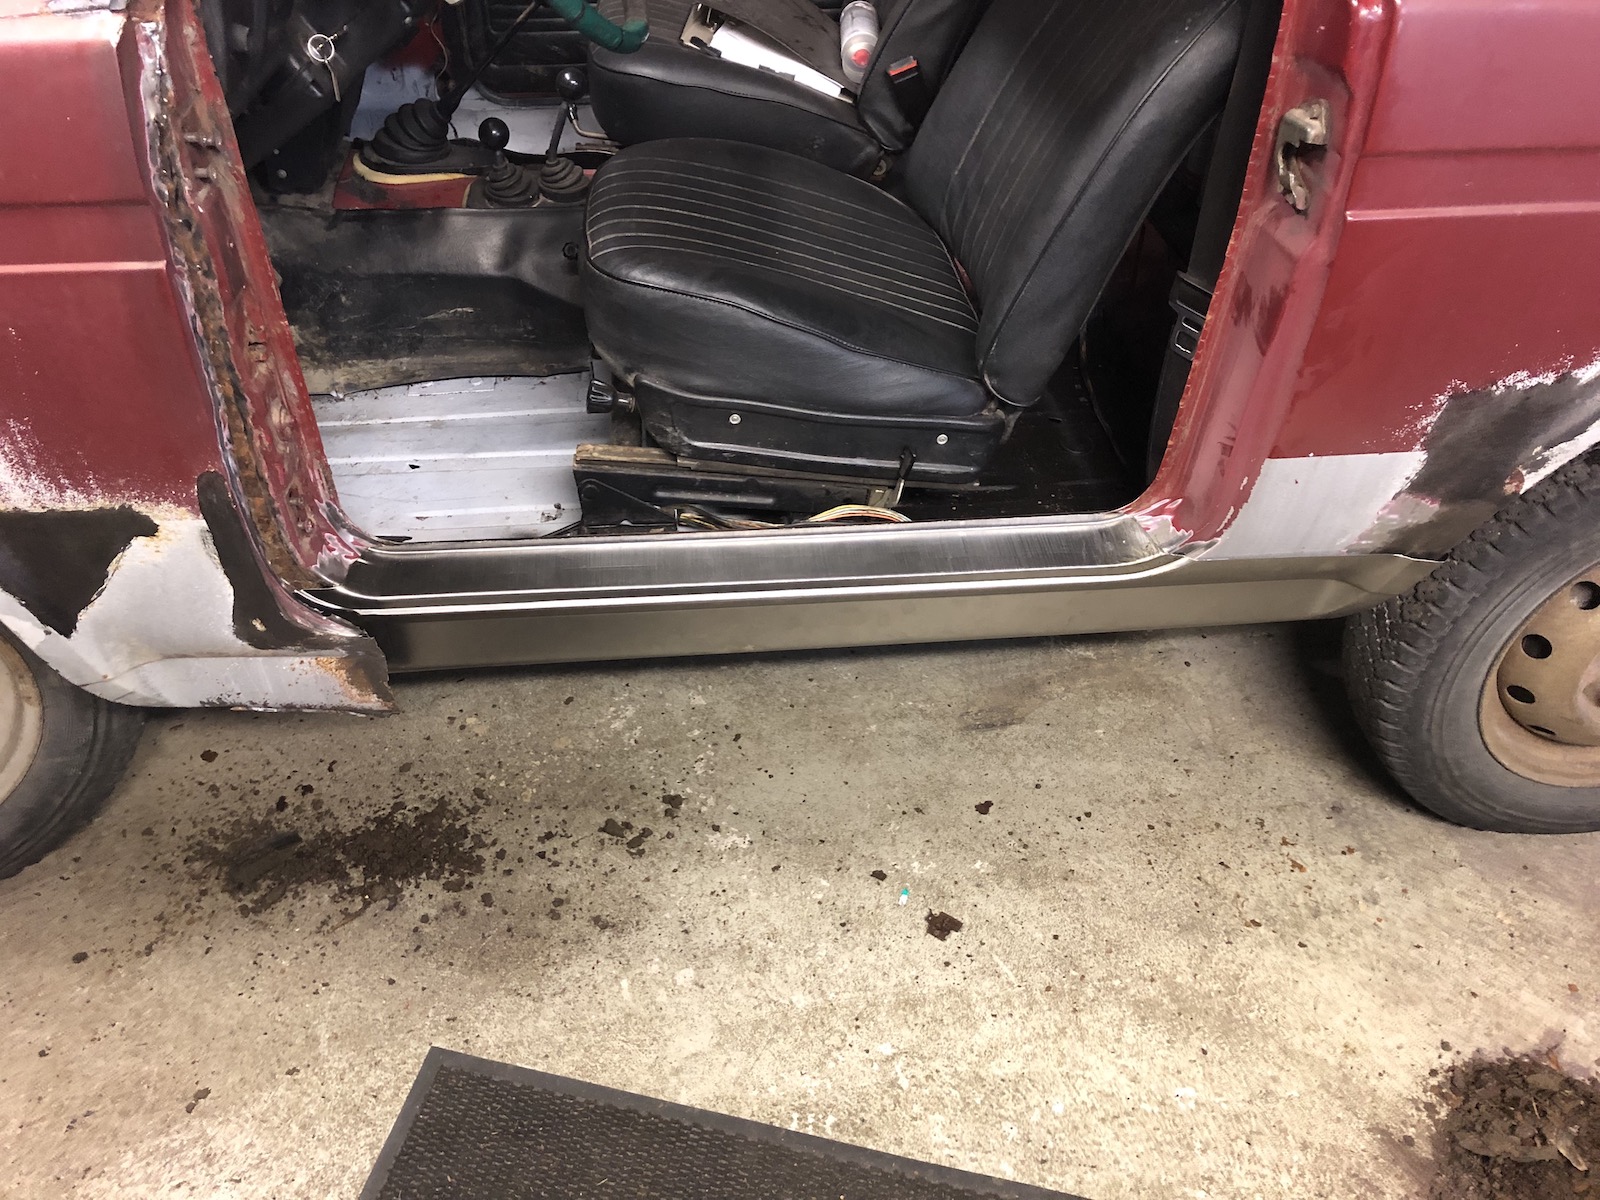
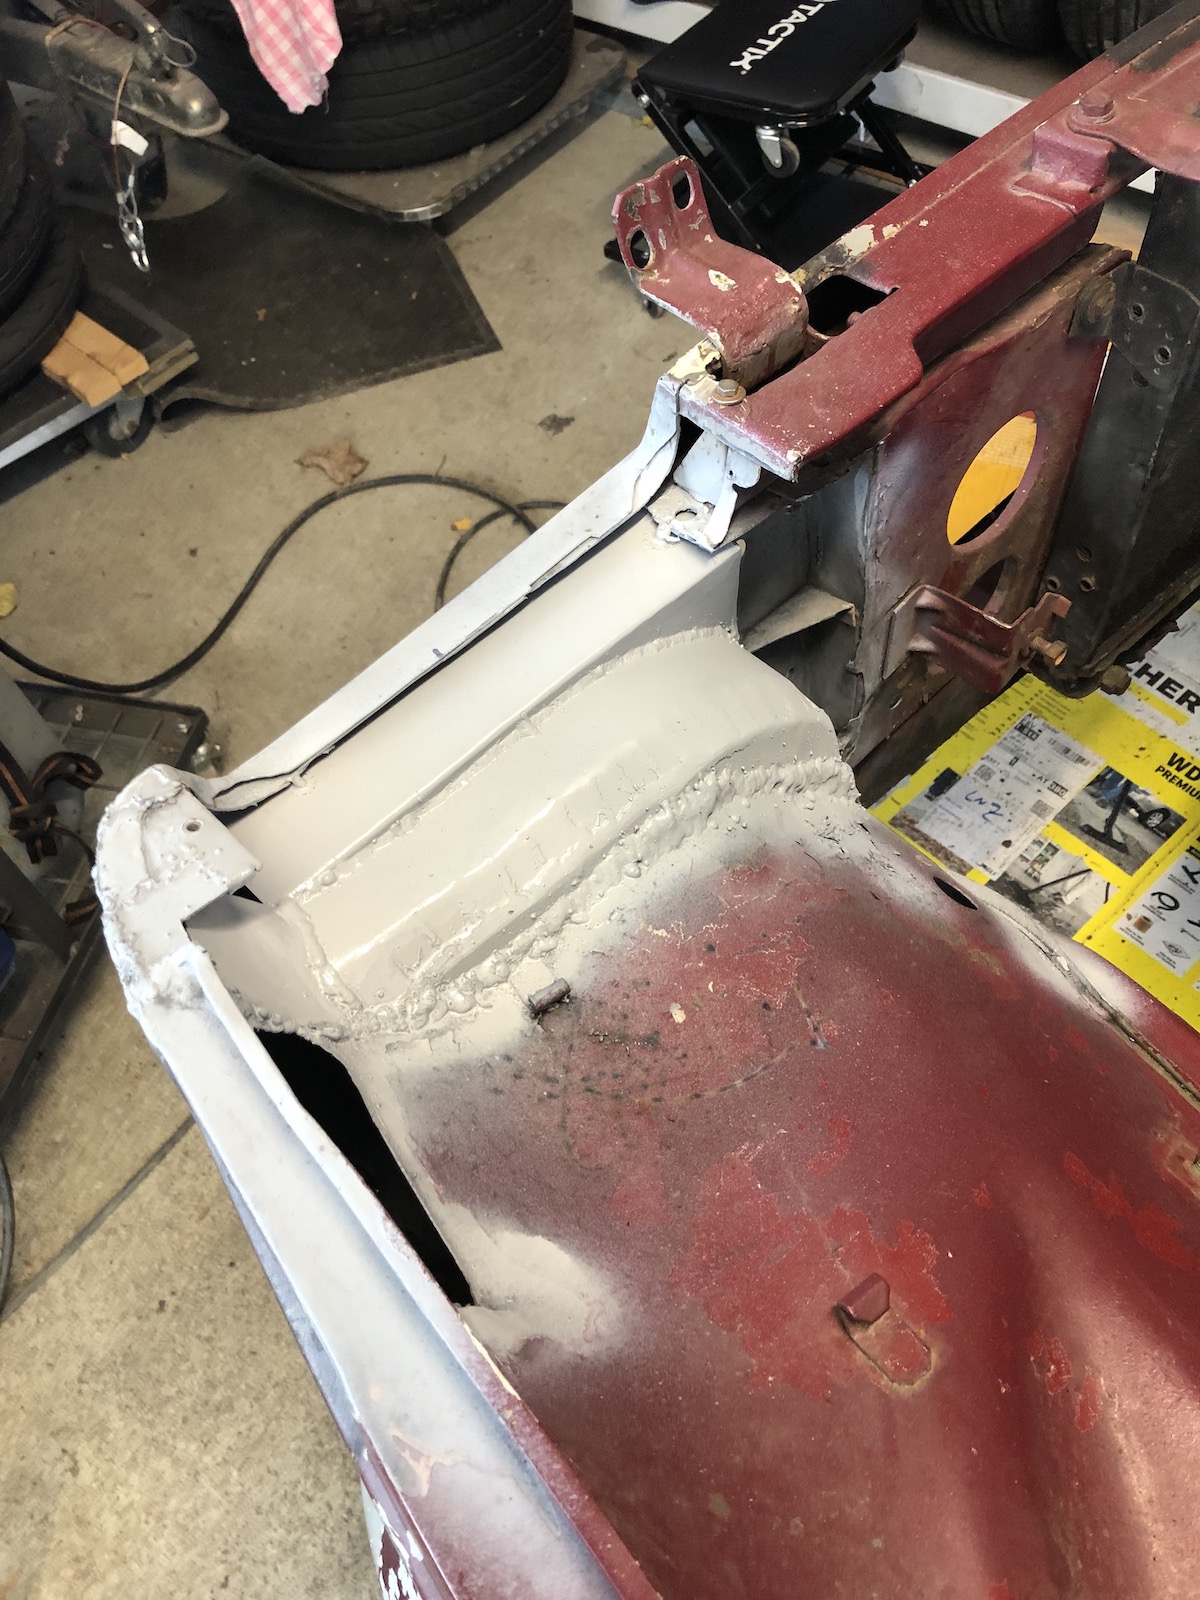
And it was at this point that I finally was at the point, I where I could weld in the inner sill. (Following roughly a full day of cutting out the last remnants of the old sill with out killing myself. 

Added that last bit of the front fender, which I had to cut off to fit the sill and finally the overall looks of Comrade Car had (somewhat) improved.

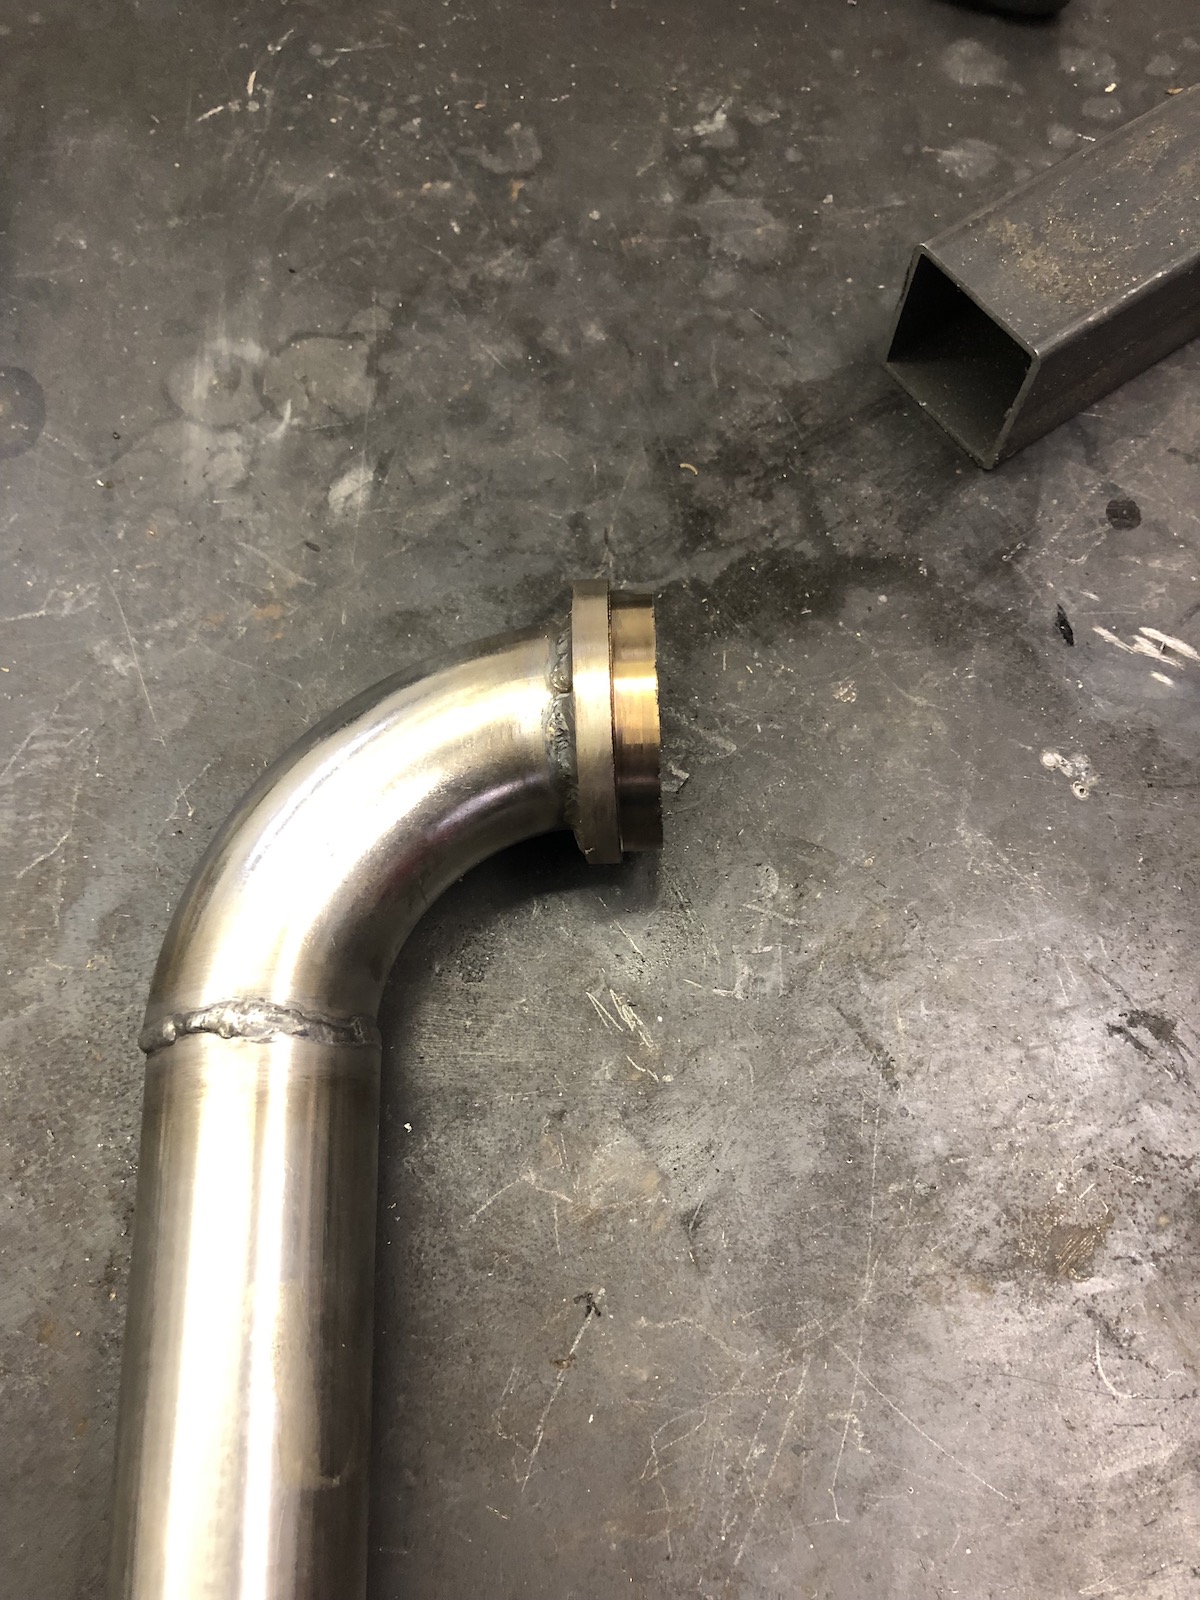
What followed next was one of those acts of absolutely futile defiance or in other words, patching up a muffler. 


Also, now I have a stainless steel exhaust tip on a stock AvtoVAS-muffler.

But just as in the Communist' international - onwards we must go. Next stop a badly repaired left side front crash with plenty of rusted out metal on the front mudguard. Step one cut out the rusty metal.

Realise it's not even remotely enough and that the headlight-bucket has to come out as well. (And seriously question your life-choices...)

Then sigh very loudly a few times and start making a repair panel. 


... and just let that welder eat until due to zero degree temperatures and the pressure drop it freezes over.

With the frontend sorted (no it wasn't, but I wanted to work on something a bit more simple), I decided to tackle a series of holes in the tailgate.


Quite a bit of grinding, bit of filler and we're on track to make the rear end at least half presentable again.

What this blog post omits is quite a bit of tedious smaller sheet-metal work, lots of little stuff on the fenders and all those kind of things. Also the whole inner lip of the tailgate is rotten to hell and the best I could do was to cut it all out and just weld in two strips, so the inner structure would not flop around in the breeze. 

Regardless, the old Comrade Car is now back at a point, where tackling the remaining technical issues actually makes sense. But I've learnt one thing the hard way: For about the same money, I could have bought a much better Lada and would already be wondering, which tyres to buy or stuff like that... Do I regret it? No, not really. I learned a lot more this way and this one will be a known quantity afterwards. Even if that known quantity actually means knowing that it has got quite a few more fleas, which have to be evicted. 😏