Monday 14 June 2021

The XV sidecar - Aiming for perfection or maybe really just stroking my ego

As the title suggests, it's one of those instances, where I am my own worst enemy. Ever since I assembled the engine, I disliked the fact that I installed one subpar crankshaft roller bearing. It would most likely have been fine, but it has bugged me for about a month or so until I finally gave in and accepted that I won't be happy until I know for sure that the bottom end of of this engine is solid. 

But first, I had to swap out the rear wheel for an XJ650 rear-wheel, so I can run the bike with the stock brake configuration and pass an MOT with it. 

About one and a half hours later, the bike was well in bits, the engine on the bench and the crankshaft roller bearing sharing a tray with some frozen veggies in my dad's freezer.


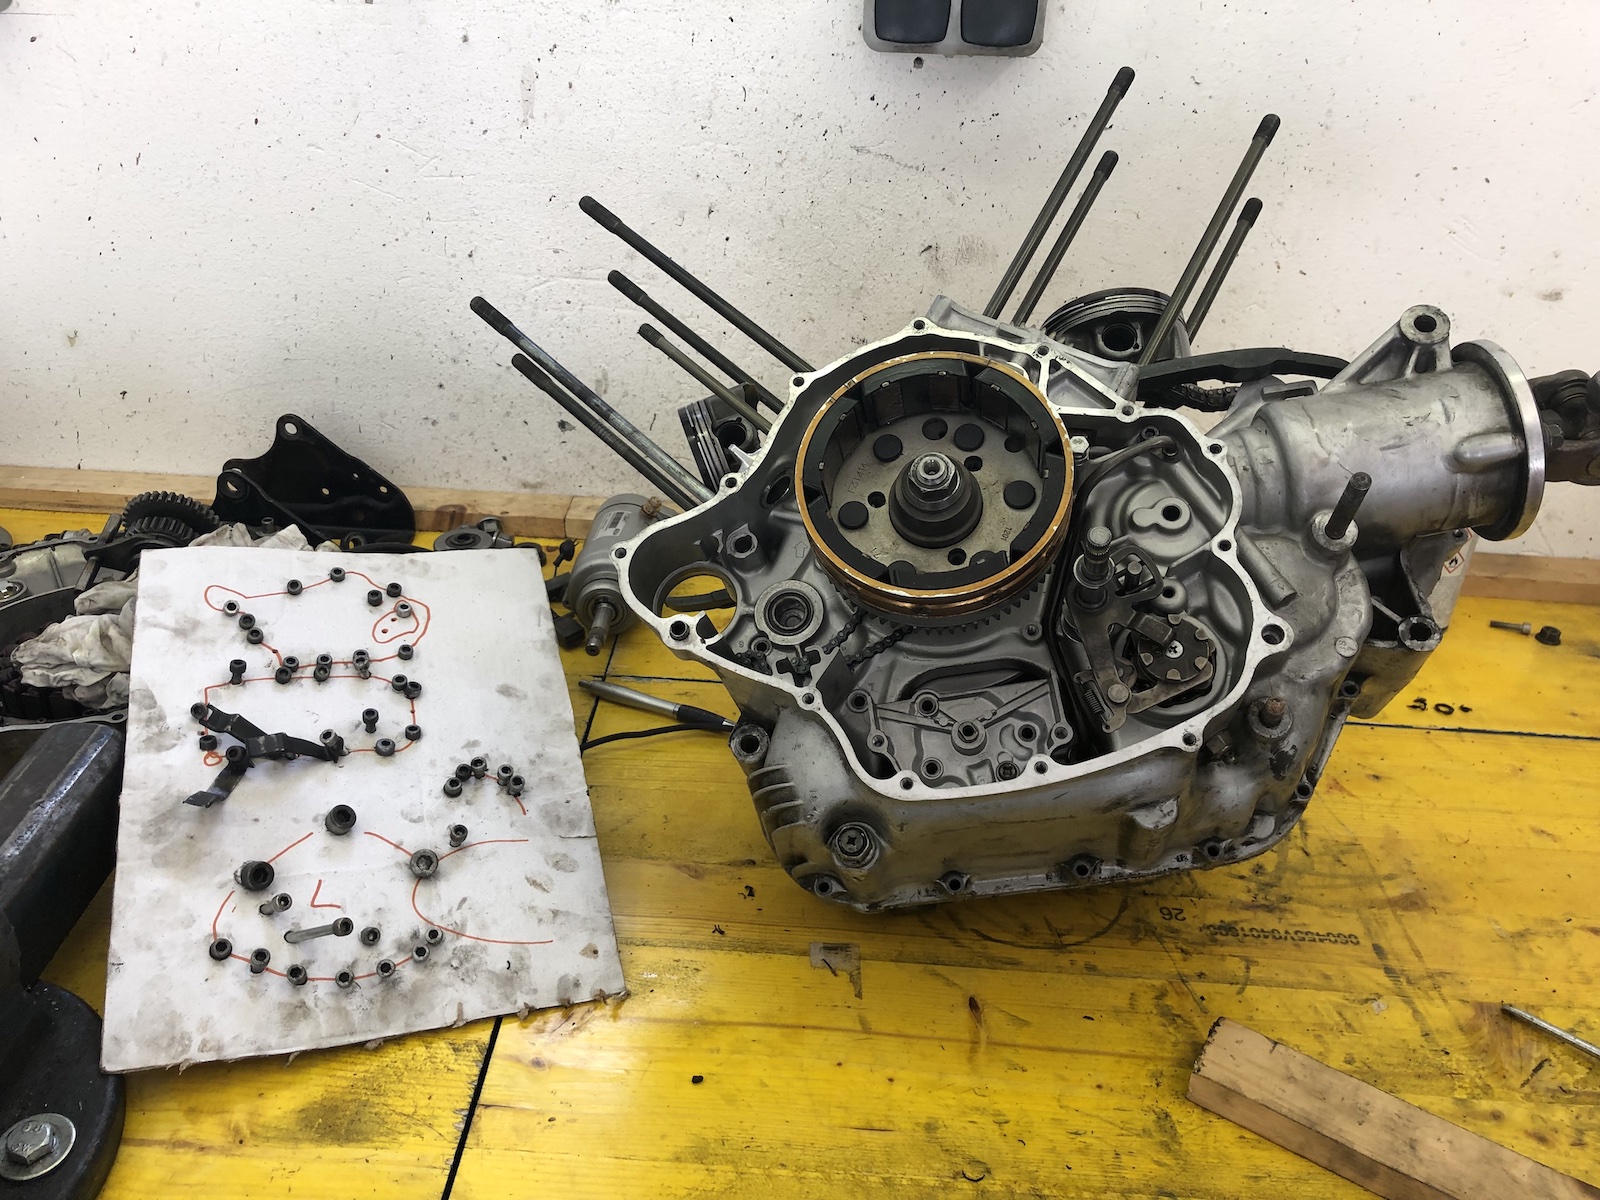
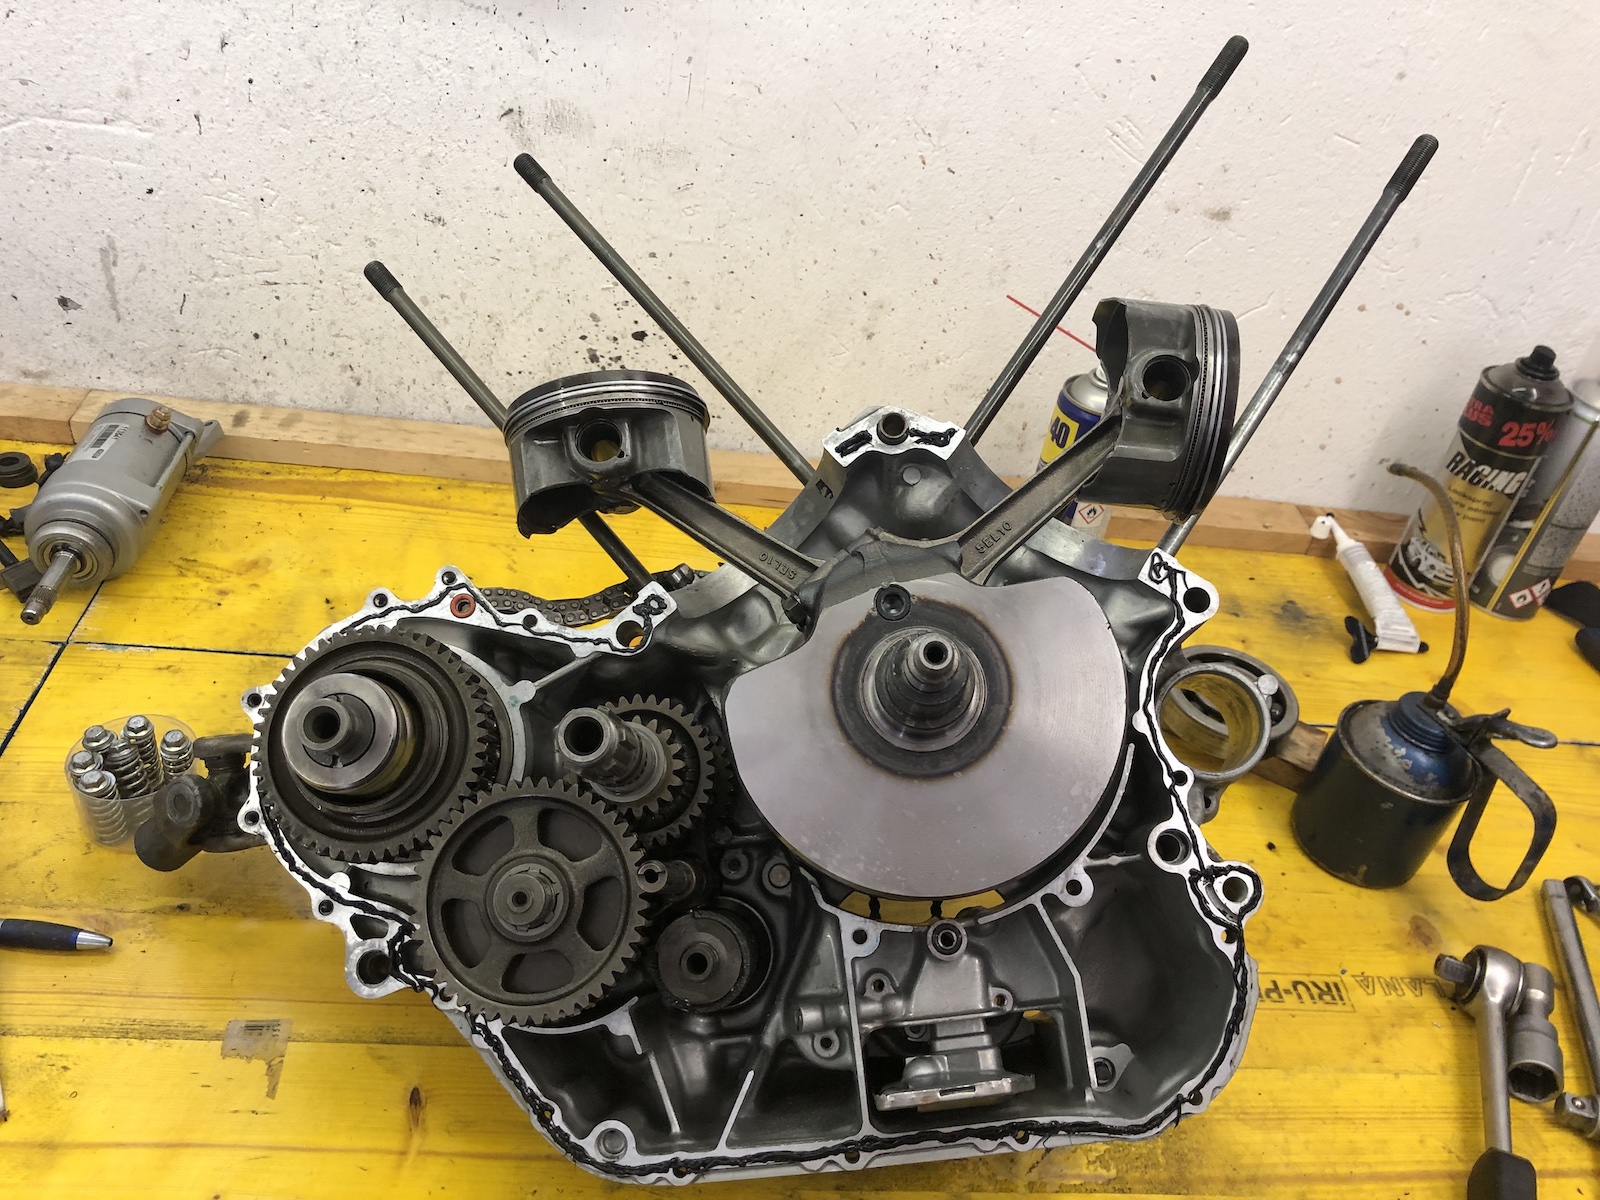
The following day I turned my attention towards taking the engine apart, which quite frankly, if you've done it as often as I have, it was roughly a one hour job.

The only tricky part this time probably was that I had to access two bolts hidden behind the oilpump, without taking the oilpump out entirely

Luckily the crankshaft bearing in question was the right one.

As a wise Ozzy once said: it's never too late for a proper barbie... (seriously though, my dad's oven was too small to get half the crankcase in. Heated it up to a solid 160 degrees C and chilled the bearing to around -30 or thereabouts.

... and it fell into the case with the most satisfying *clunk* one can imagine.

Following the legendary (and stupid) phrase from the book of lies: assembly is the reverse process of disassembly. I tried out Loctite liquid gasket for the first time and by now I am not entirely sure, if I like it or not as it is a lot thicker and once dry it's almost impossible to remove. (Something I liked a lot about Dirko - 24h after application you sprayed it down with some brake-cleaner and you could just peel off the excess material. On the other hand, this probably also means it stays put better inside the engine. Either way, I think it will work brilliantly for glueing on rubber grips.

As I had collected a few more bits, all the necessary ones for a 9-disk-clutch are in my possession now. So first cut the posts to length...

... then mill them, so they are the same length as the basket ...

and ultimately mill out another section of the outer basket, so trapped oil can escape quicker between the clutch plates.

And oh yes, I love the new mill. So what's to be expected in the next post? A frame swap and repaint, a modified center stand and surely some other things as I come along the way. I may say I am a bit excited as the first noises aren't all that far away.

Wednesday 9 June 2021

6x26 mill - bolted it down properly and made some swarf

 Last time I admittedly didn't have time to actually try out the new mill, which among other things was down to the fact that the mill wasn't bolted in a way that would have made me feel comfortable to work with it.

The main reason being that the previous mill was being held on with some bits of M12-allthread with nuts on both ends. With the new mill's baseplate being a bit bigger, I had to resort to lobing off "a bit" of the bolt head, so I could fit them. On the upside, tightening the nuts needs no spanner on the underside as they rest against the frame. 

What you see in this picture is a an XV1100 clutch basket being modified for use in my new XV-sidecar. The extra breakout is to improve the oildrain, to allow for quicker shifts. (But more on that - and it will be a lot - in the next post on the sidecar.

But what most of you will be most interested in, how does a Taiwanese 6x26-mill stack up against the old RF25 or a proper industrial size toolroom mill, e.g. a Deckel FP1 or a Bridgeport? In short a) world's apart in a good way and b) well, there's at least half a ton of pure gravity separating this little lady from a Bridgeport... and it shows.

The long version: Oh this is a completely different caliber of milling machine than my previous RF-25. Obviously with being able to work with a knee is a completely different story to moving the head up and down in practical being limited to working with the quill. The other thing I instantly noticed, unlike my old round column mill, this girl now runs on a 1.5kW motor instead of a 750W 3-phase motor, where I sneaked in the 3rd phase via a capacitor. There's just a lot more grunt everywhere and with a lot I mean a lot. The next thing with the machine being new, the way the table runs in its dovetails, well it made my giggle like a schoolgirl seeing a sausage shaped object. One of the next tasks that I have to address will mean working with steel and I guess this is when this mill will really shine. On the roundcolumn mill it was certainly possible, but mandated very sharp as in brandnew milling cutters, very gentle feeds and lots of patience. I am realistic in knowing that this is not and will never be the kind of machine, where you measure depth of cut in inches, but it will a be nice change to do more than just the odd light pass in steel. (I hope.)

All in all, the difference is as big as anticipated, as I moved on from a drillpress on steroids to an actual small milling machine. And no, we're not done yet with making it my milling machine, in fact, we haven't even really started. Expect posts on spacers for the milling head for another 150mm of Z-axis clearance and a 4-axis DRO as two of the bigger projects.