Showing posts with label engine building. Show all posts

Tuesday, 4 March 2025

Dre-XT-Stück - Cylinderheadboltthreadsshouldhavedonethemrightthefirsttime

It started like those stories always seem to start - when things are actually going well. Or to put a date on it, on May 24th, 2024 after enjoying a lovely little rideout on the old girl, the front left of the cylinder was covered in oil. 

So I did what any sensible person would do: clean it off, do nothing, hope for the best and get the inspection out of the way and then as the problem didn't magically solve itself, mumble something and park the old girl in the shed and ignore it for about half a year. Which is roughly when I realized that the old girl would come in a bit handy right about now.


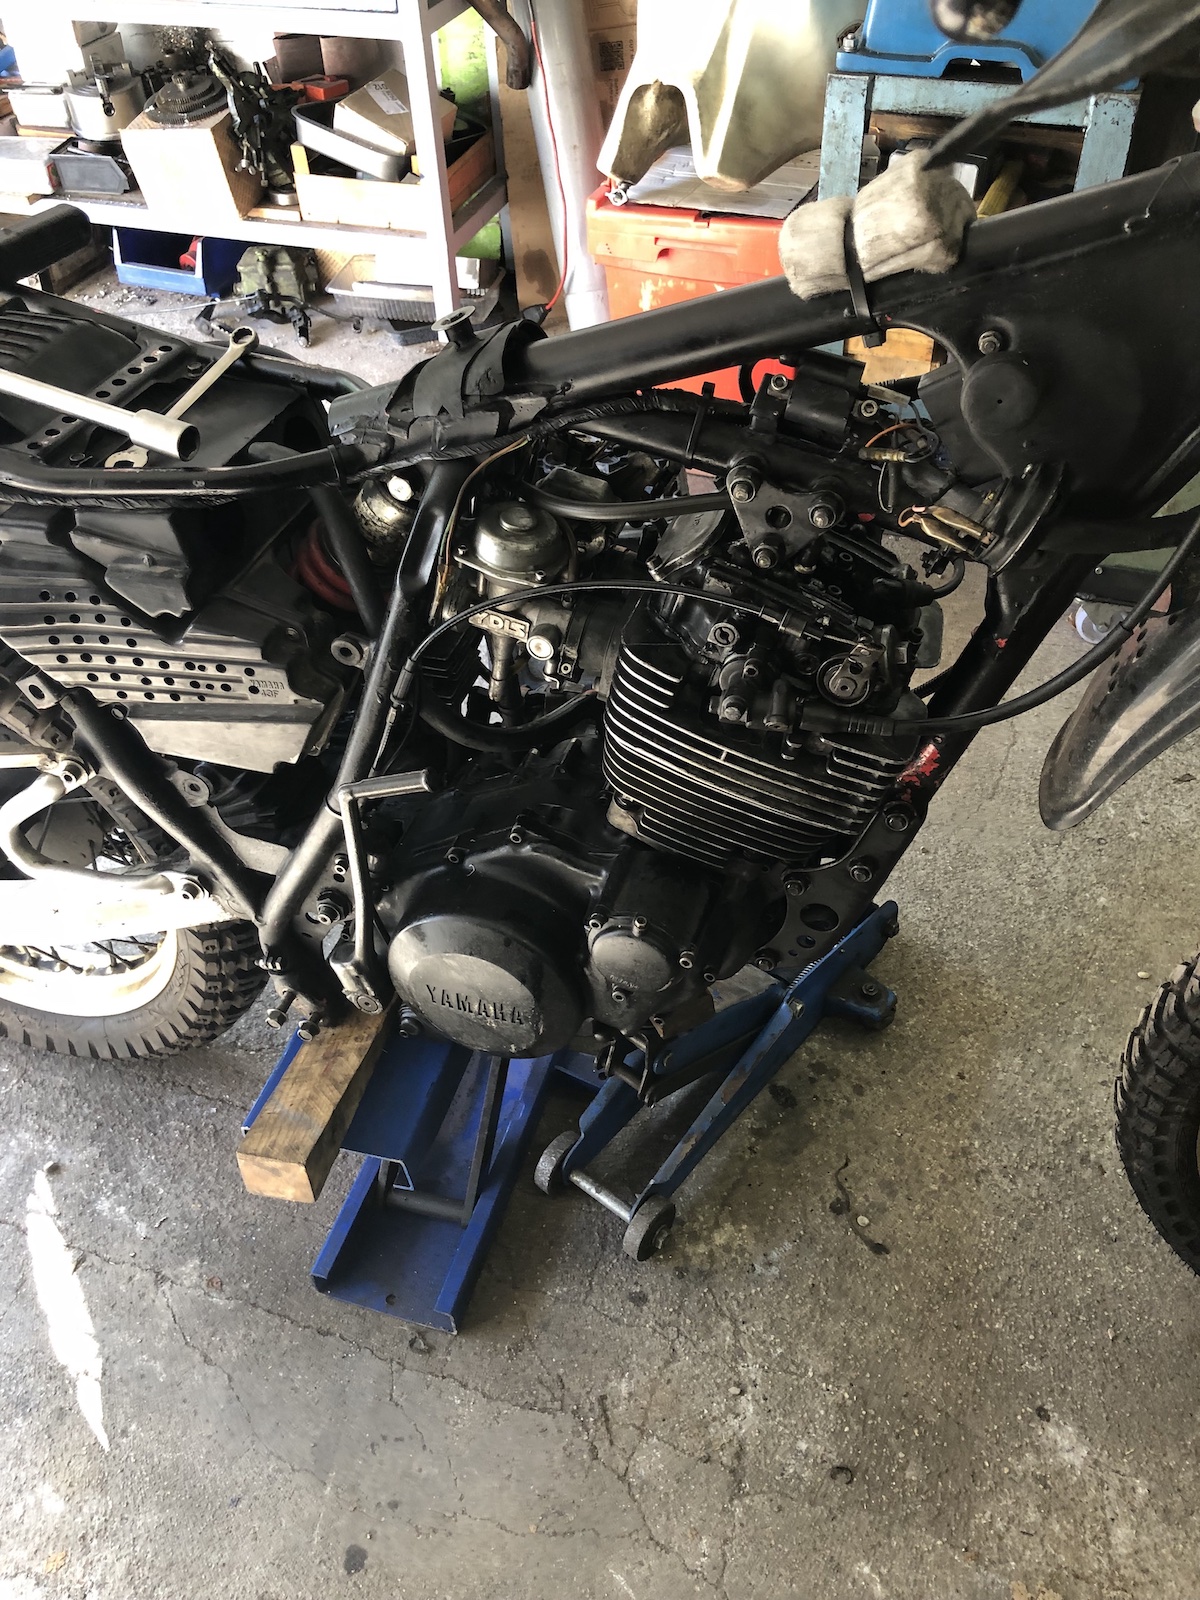
Apparently stripping down the engine never goes quite without a bit of extra hassle, so the opportunity arose to fix all the remaining camshaft journal threads as well to improve my chances of making it through a full season without a rebuild of the engine. 


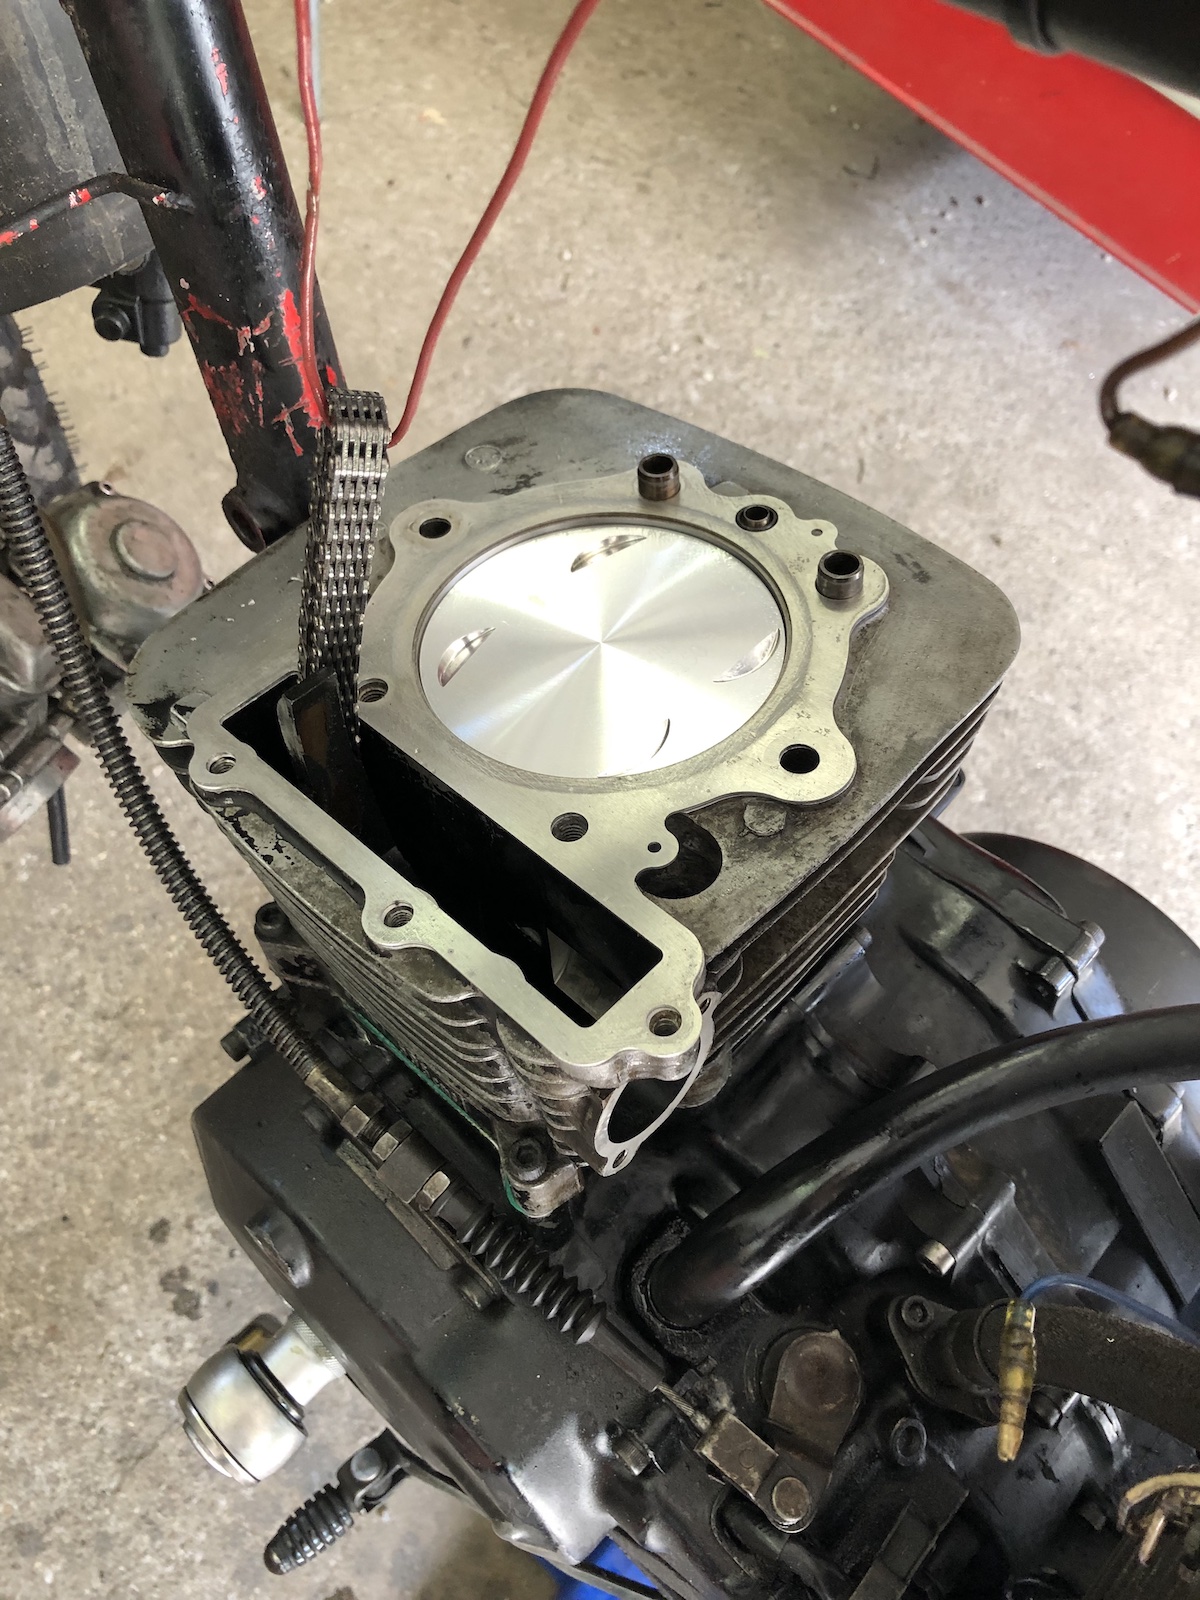
The piston has sucked in quite a bit of oil through the engine breather and was covered with a nice crust of burnt in oil.

... and this is from right after I rebuilt the engine and it felt a bit doughy.

 What looks like a fairly usable headbolt thread actually isn't and is the reason we're having all this fun now.


The solution will be the same as used on the my dad's XT500 4-valve engine - stainless steel M12-to-M8 adapters with an overall length of 27mm. Why not 30, you ask? Well because the stock threads are only 26mm long and with the steel inserts they should be very much strong enough. Also 25Nm on M12 is so far away from the maximum torque that is permissable in aluminium, I was actually going to use threadlock just to make sure they won't rattle loose. The other, quite valid point is: why not use a commercially available insert? In short: I tried Helicoil and they failed as they are too short and thus too weak and the top most is a commercial product, but again only 15mm long AND about half of it is slotted for installation, meaning it will most likely not be able to carry the full load.


 Installation is very straight forward, center on the old thread with a 6.5mm drill lock the table on the mill and clamp the cylinder down tight and go at it with a 10.5mm drill. 

That's not quite looking right, is it? It is not indeed. For some reason the guy in charge of tightening up the drill chuck didn't do his job very well and the drill came loose, wandering about and making a very interesting tapered 11.2 to 11.8mm hole. Not good. 

After some thinking, I decided to make an oversize insert as luckily I had started in the one corner that had plenty of meat around the hole and settled for M14x1.0.

Now the cheap thread die left a remarkably bad finish, which in hindsight was a good thing as it was rather unpleasant to thread in, which in turn most likely meant it would be rather unlikely to come out as well. (Or as someone else said: cross-threading is a kind of thread locker.)


Measured the thread depth and decided where to part it off, so it would end up flush or slightly below the headgasket surface.


Then it was just a matter of doing the other three WITHOUT cocking it up again. 


Basically do this until you're done and test it with a headbolt.


 Because the department of fun and games hinted at the fact that on more M6 thread was stripped and at least another one was feeling a bit dubious, I decided to install timeserts on all of them.


Obviously not without making another mistake: I didn't quite countersink the first one deep enough as I thought the chamfering tool had already bottomed out.
 

Having gotten this far and not being sure just how well that insert was seated, I decided AGAINST any attempt of getting it back out. Instead, I decided to work around the issue. 

First I put the cover back on, centered it with two additional bolts and tightened it down.

This left an imprint (hardly visible in the picture) on the boss.


 Which was then chamfered to provide the necessary clearance so the cover could be tightened all the way down. 


Gave the cylinder a quick hone and then wondered whether installing it without a base-gasket would improve the squish gap. For those interested: Nope, stuff gets too tight (again), between 0.45 and 0.55mm of the piston sitting low in the bore. With an admittedly very pliable base gasket I ended up with 0.70 to 0.80mm, which has to be added to the 1.00mm of the cometic head gasket. 

To quote a certain repair manual: Assembly is the reverse of disassembly, with the two most important things to bear in mind being that the cylinder base nuts need to be tightened to 40Nm (42 in the manual) and the headbolts to 25Nm. (29 in the manual which is just too high and the cause for many a stripped thread!)


First start was rather anti-climactic - not much smoke just a two or three kicks, pretty much standard procedure as if the old girl would have just been parked over the Winter.  


Friday, 28 July 2023

Dre-XT-Stück - again, but better

Hey, do you like riding your XT600? Don't know, it's broken at the moment. This has been a sort of running joke between me and several people and quite frankly it has gotten a bit old. Given the existence of this post, you can probably guess: it's not really getting better. 

But let me explain, the the last time I overhauled the engine, which was only roughly 3 months ago, I used a very inexpensive, cast piston. Long story short that cheap piston had developed a nasty habit of expanding rather erratically and semi-seized in the bore a few times, which stopped the rings from moving freely in their grooves, which meant no power and massive amounts of blowby through the engine breather. To top things off, I went with a rather close tolerance, because I wanted to get some longevity out of this case piston. The result was a mechanically quiet and completely gutless engine, which started spewing oil out of the breather after less than 200kms. 

After quite a bit of thinking, I decided to rebuild the engine and I put on my thinking cap trying to remember what worked and what didn't. To be fair, the old Wössner +1.00mm (501D100) oversize worked an absolute treat after the Wiseco had failed previously . 

So I went ahead and bought it's bigger brother 96.50mm +1.50mm (501D150). I am not absolutely sure just how much the coated piston skirt actually helps, but it is a piston finished to a very high standard and unlike the JE-piston with its 11.x:1 compression ratio, this one sports a more modest 10.8:1, which should leave some breathing room for poor quality fuel or a bit of carbon buildup on the piston crown.


Initially I played around with the thought of swapping the liners between my reinforced 97mm cylinder and the older 96mm one, but as this would have meant skimming the cylinder, I ultimately decided against it. (All the threads felt good enough, so let's hope this isn't going to bite me at some point.) With a gas-powered BBQ it's a ten minute job really. All you need is a couple of fire-proof spacers.


Flipped it over and once it came up to temp, you could hear when the liner fell out.

Then drop the cold liner into the hot cylinder.

A left over liner.

It has to be said that I gambled a bit, as up to this point, I hadn't taken the engine apart. Bore didn't look too bad.

Conrod small-end showed no signs of damage and the conrod itself felt normal as well.

But the piston had weird seize-marks on all four corners, indicating both a rather tight bore (I knew that beforehand) and a somewhat erratic expansion. Both compression rings were stuck in their grooves.

You know things are good, when some of the most important calculations of the whole engine build are scribbled onto the packaging of the piston. 

Now all I had to do was to file/sand the rings to size. I used 400 grit paper around a file as the top ring with its hard-chrome layer was way too hard to file. (The second ring appears to be made from cast steel and is an absolute beauty to get into dimension.)


By the way, a stone on a dremel works really lovely to re-size the ring gap... not. The rings will overheat and once hot literally vanish. Oh well, now I have set of oil-scraper rings, should I need fresh ones down the line. 

Assembly was fairly straight forward, but have I mentioned that the gudgeon pin (piston wrist pin for you 'Muricans) is machined conically on the inside? Thing of art. 


The following pictures are mostly for me so I can look at them every time I feel like the engine is lacking power and to prevent me from having to take the engine apart "just to be sure that the timing is correct" or the like.

  Cam neither advanced nor retarded.

Correctly timed on "T".


At this point the question was still open: why did the JE-piston fail on the Autobahn. Please pay special attention to the head pipe in the following two pictures. (A fresh piston and rings will always create excessive heat...)


If you follow the header pipes to the actual muffler at one point exactly this bluing will stop. To be fair I bought the muffler as "rebuilt" and whilst not entirely sure how the did it, I have the nagging suspicion that it's not supposed to look like that. 


Judging by the wool, it was definitely repacked.

Oh well, I still have a stock muffler. (Might be better for the "Pickerl"/Austrian MOT anyway.) By now I have bought some perforated tube and will rebuild the internals. So what else to do than to take the old girl for a quick spin and as the odd "up and down the road" didn't reveal any real nastyness, why not turn it up one notch and take it home?

I do have a talent to break down at some scenic locations and the lighting wasn't bad either.


Turns out it leaked some air past the left carb and thus got a bit tight and whilst I caught it just in time, it was still a bit too tight to kick over or in other words, I broke the kickstart lever. (Thanks to my dad at this point, who took off the one from his XT and came along with some tools.)

After realizing that the lower joint on the kickstart must be made from pure gold or the like (120 Euros), I decided to give it a shot and TIG-weld it together with some ER70S wire. Also no fancy cool-down procedures as for one I am sure that the thermal mass of this bit is just too small to make a difference (unless you chill it in water or oil) and also I am pretty sure this is just plain old cast steel. Closer inspection revealed that it had been welded before, which I thought was rather confidence inspiring. 


This worked rather nicely and meant that all I had to do was tackle another elephant in the room: Whilst not an immediate MOT-failure, having no Neutral light was a tad annoying. Whilst I had visions of unwrapping the whole loom it turned out that the old neutral switch had failed and that was the only source for the catastrophic short. 


To finish this post with a slightly sarcastic note: How do I make an XT600 engine last an extra two weeks? I don't ride the bike. 😐 Not entirely sure how things will progress in the long run, short term, I have a new downpipe and I will rebuild that muffler, because I have all the bits I need. I suppose, if someone threatened me with a handful of cash, I probably wouldn't say no. (Even though frankly I haven't got the slightest clue what to get instead.) On the other hand and that's the big dilemma, aside from the "reliability issues", I have pretty much molded it into the kind of 2-wheeled-walking-boot that I think is what truly the nature of this XT600 should be...