Saturday 23 December 2023

The pretty one - fixing stripped head bolt threads

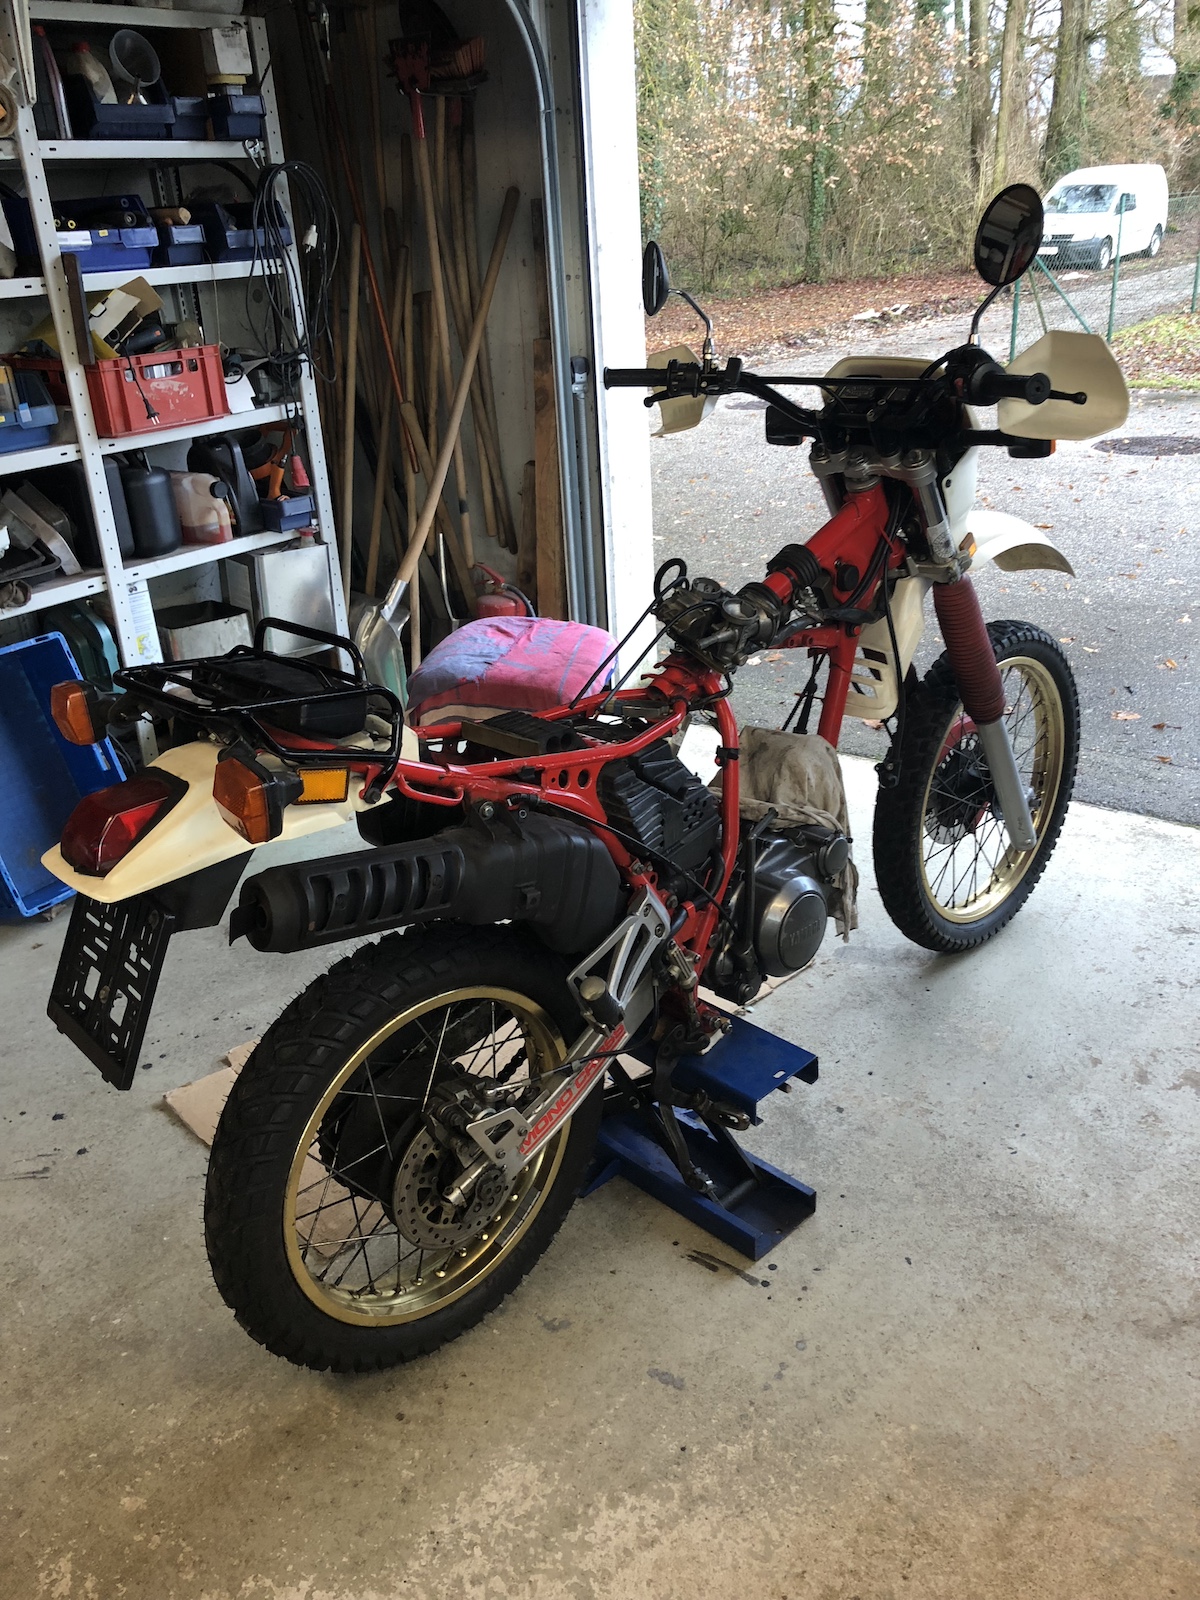
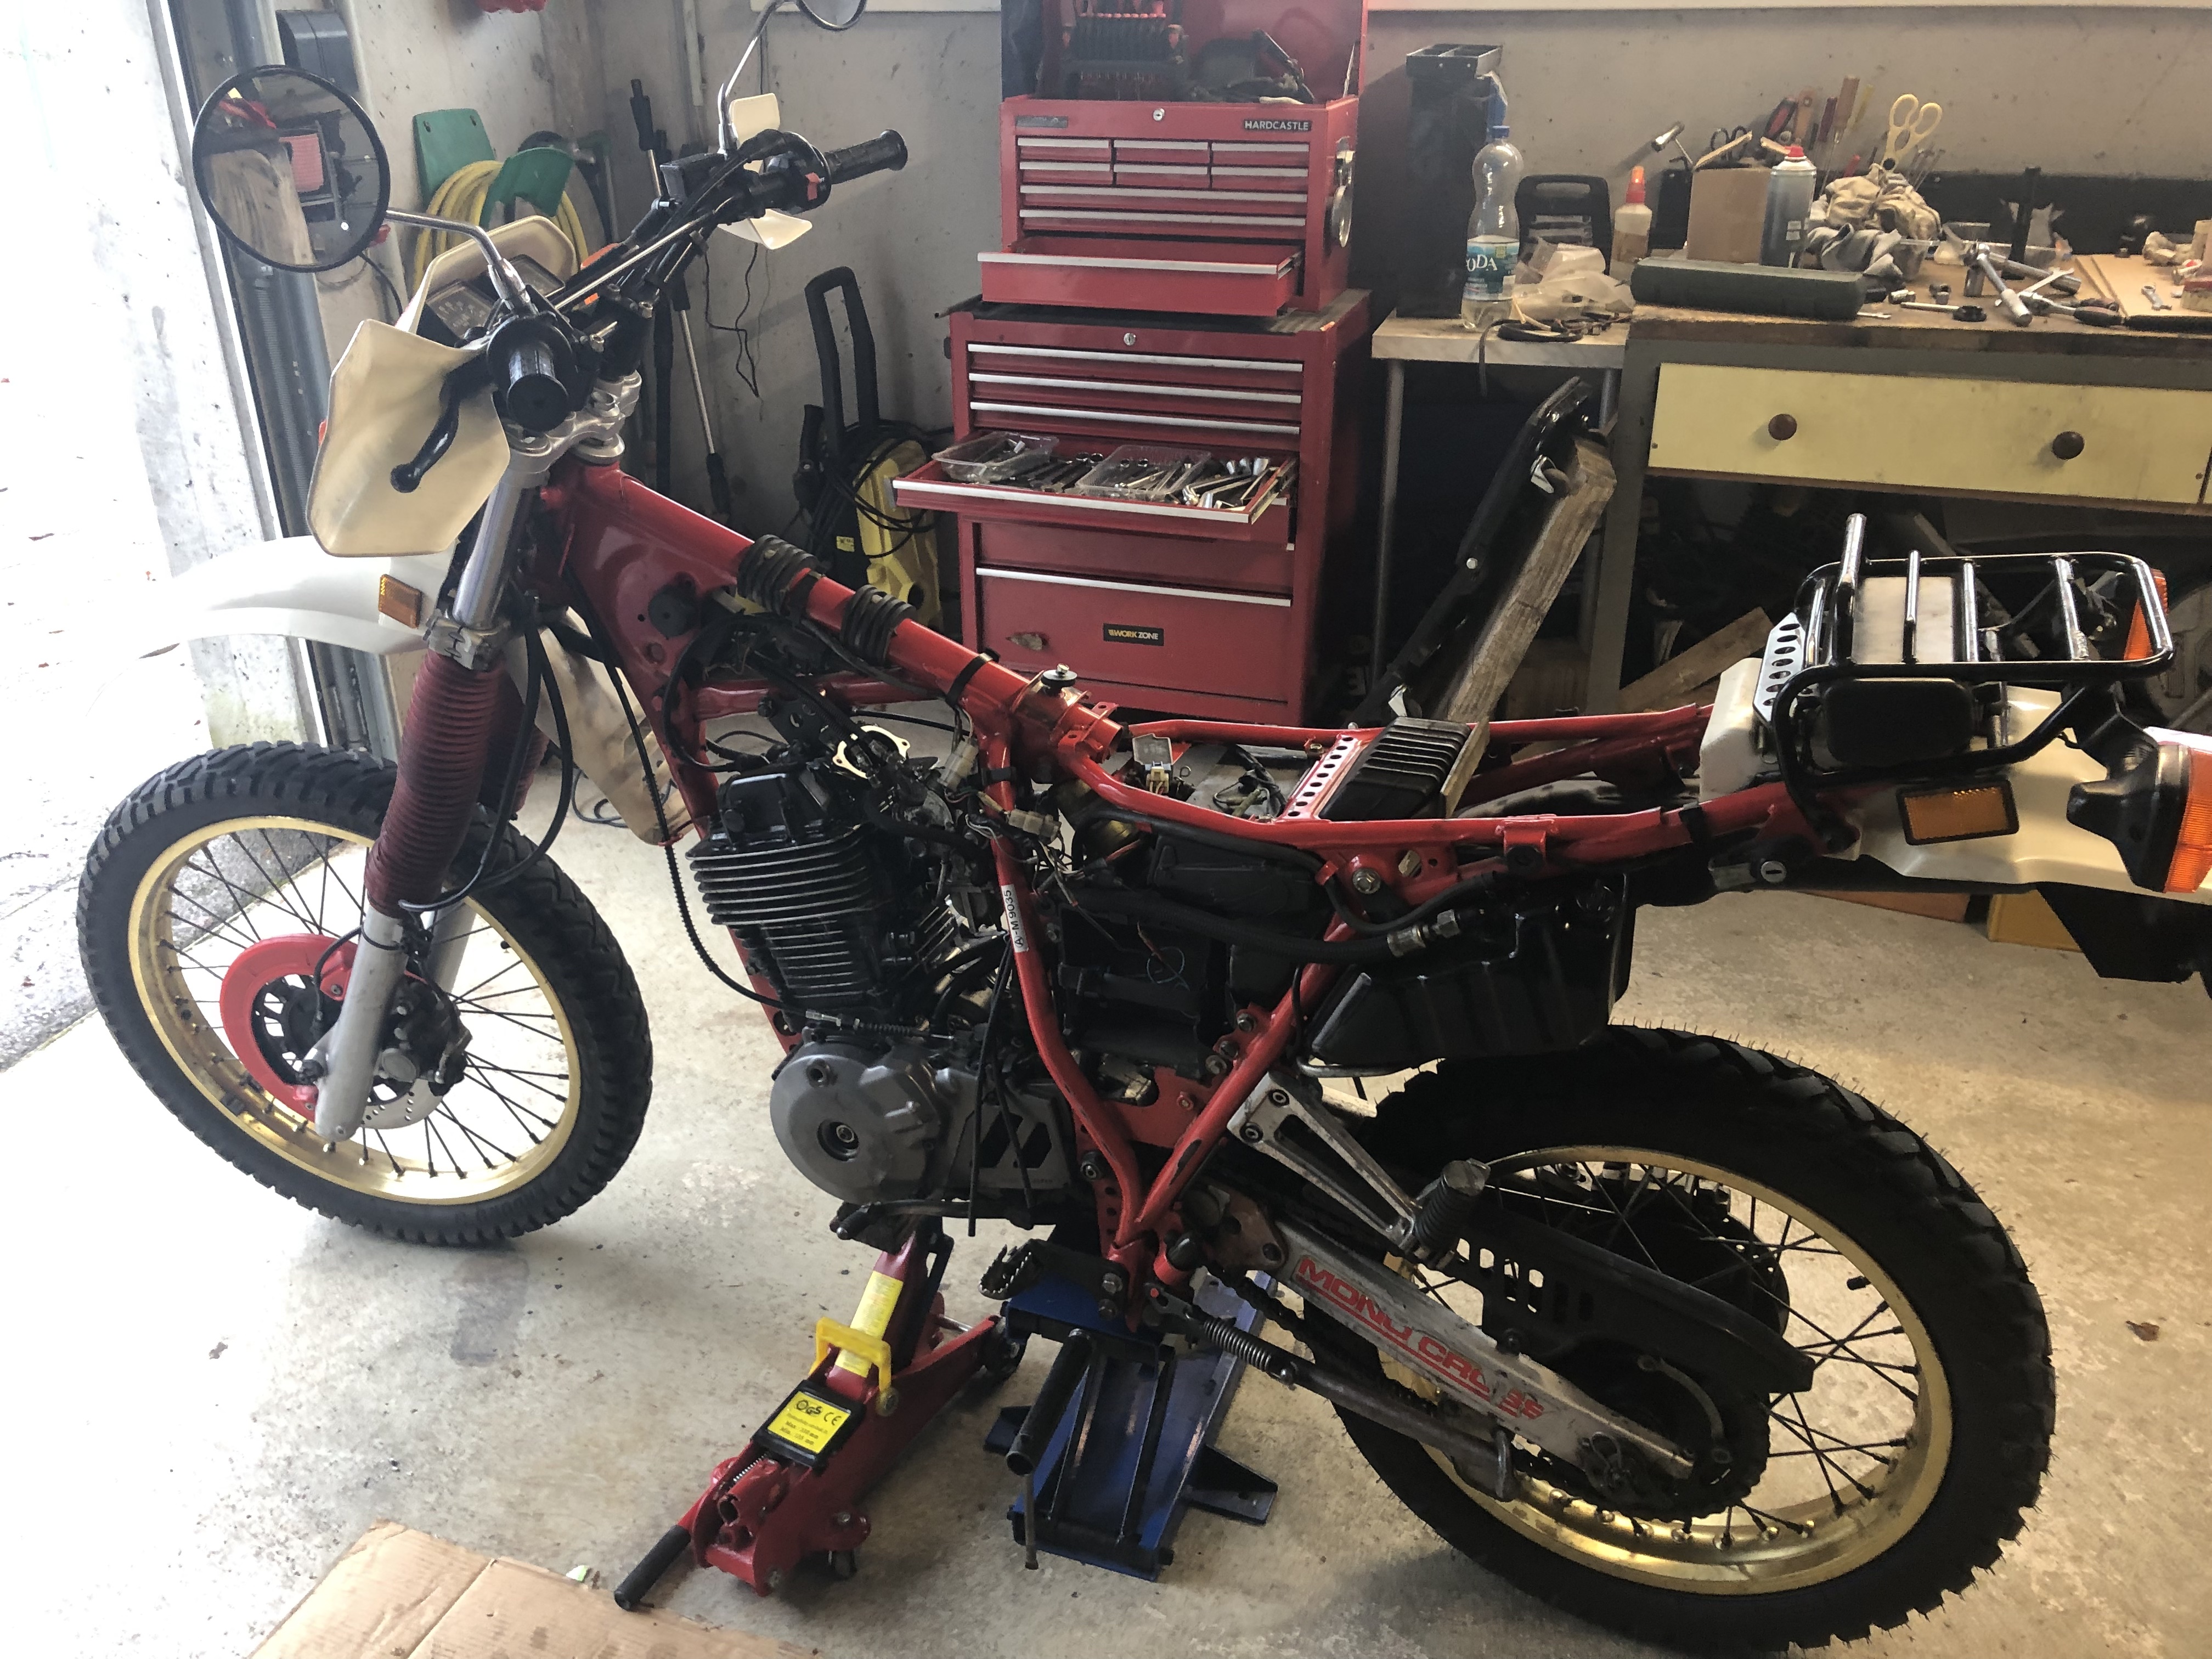
 The pretty one is my dad's XT500T 4 valve. What it is, is essentially a XT600 2KF, but with a smaller bore (87mm) and the cylinder head off a JDM XT400. This means it has got smaller valves and a smaller combustion chamber  than a stock XT600. Whilst in a sense it is good that Yamaha put the effort in to make the engine work decently with the smaller bore, it also created its own set of problems. Whilst engine parts for the 600 are comparatively cheap and definitely plentiful this is definitely not the case for the 500 version as it was pretty much only sold in Austria. This should answer the question why we didn't simply get another cylinder and be done with it. Also yes, you can convert it to 600cc, but that would still mean you'd have to bore out the engine case and quite simply my dad didn't want this. (Remember when I did a frame swap, i.e. registered a new bike, because that was easier than converting Dre-XT-Stück to 600cc? There might be an explanation hidden in there somewhere...)

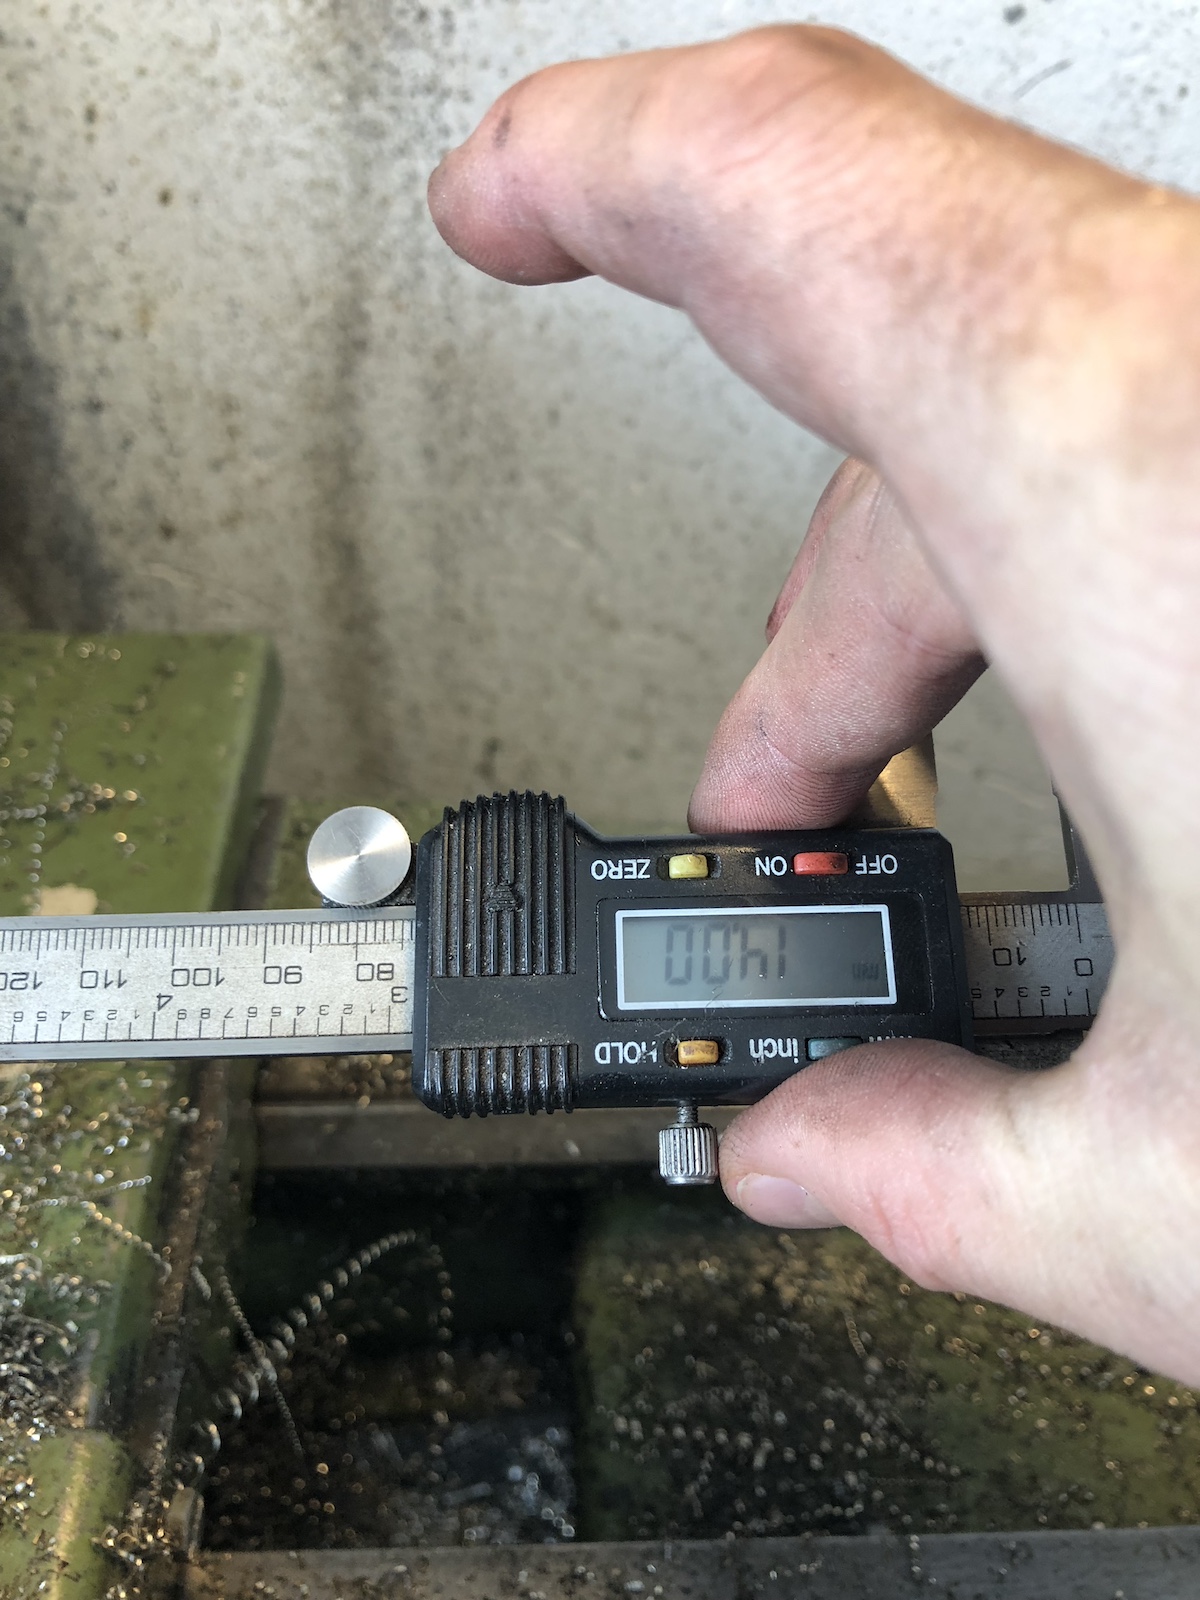
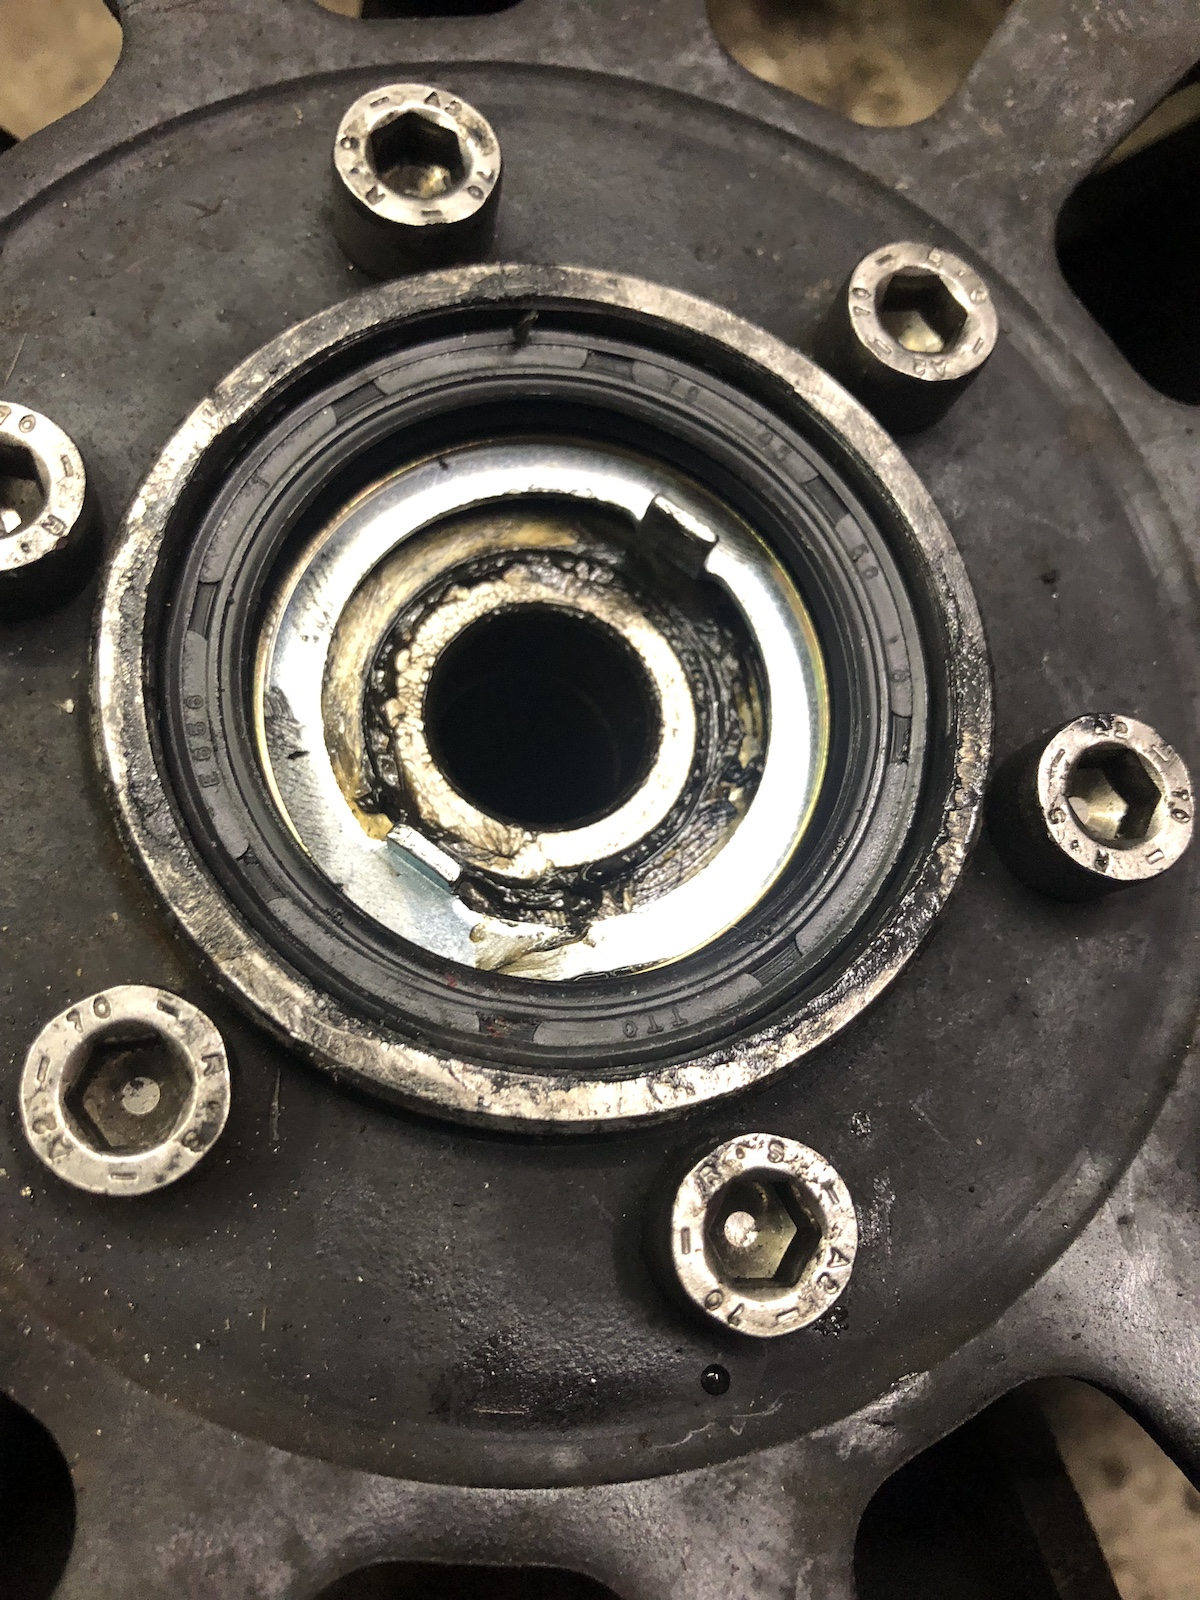
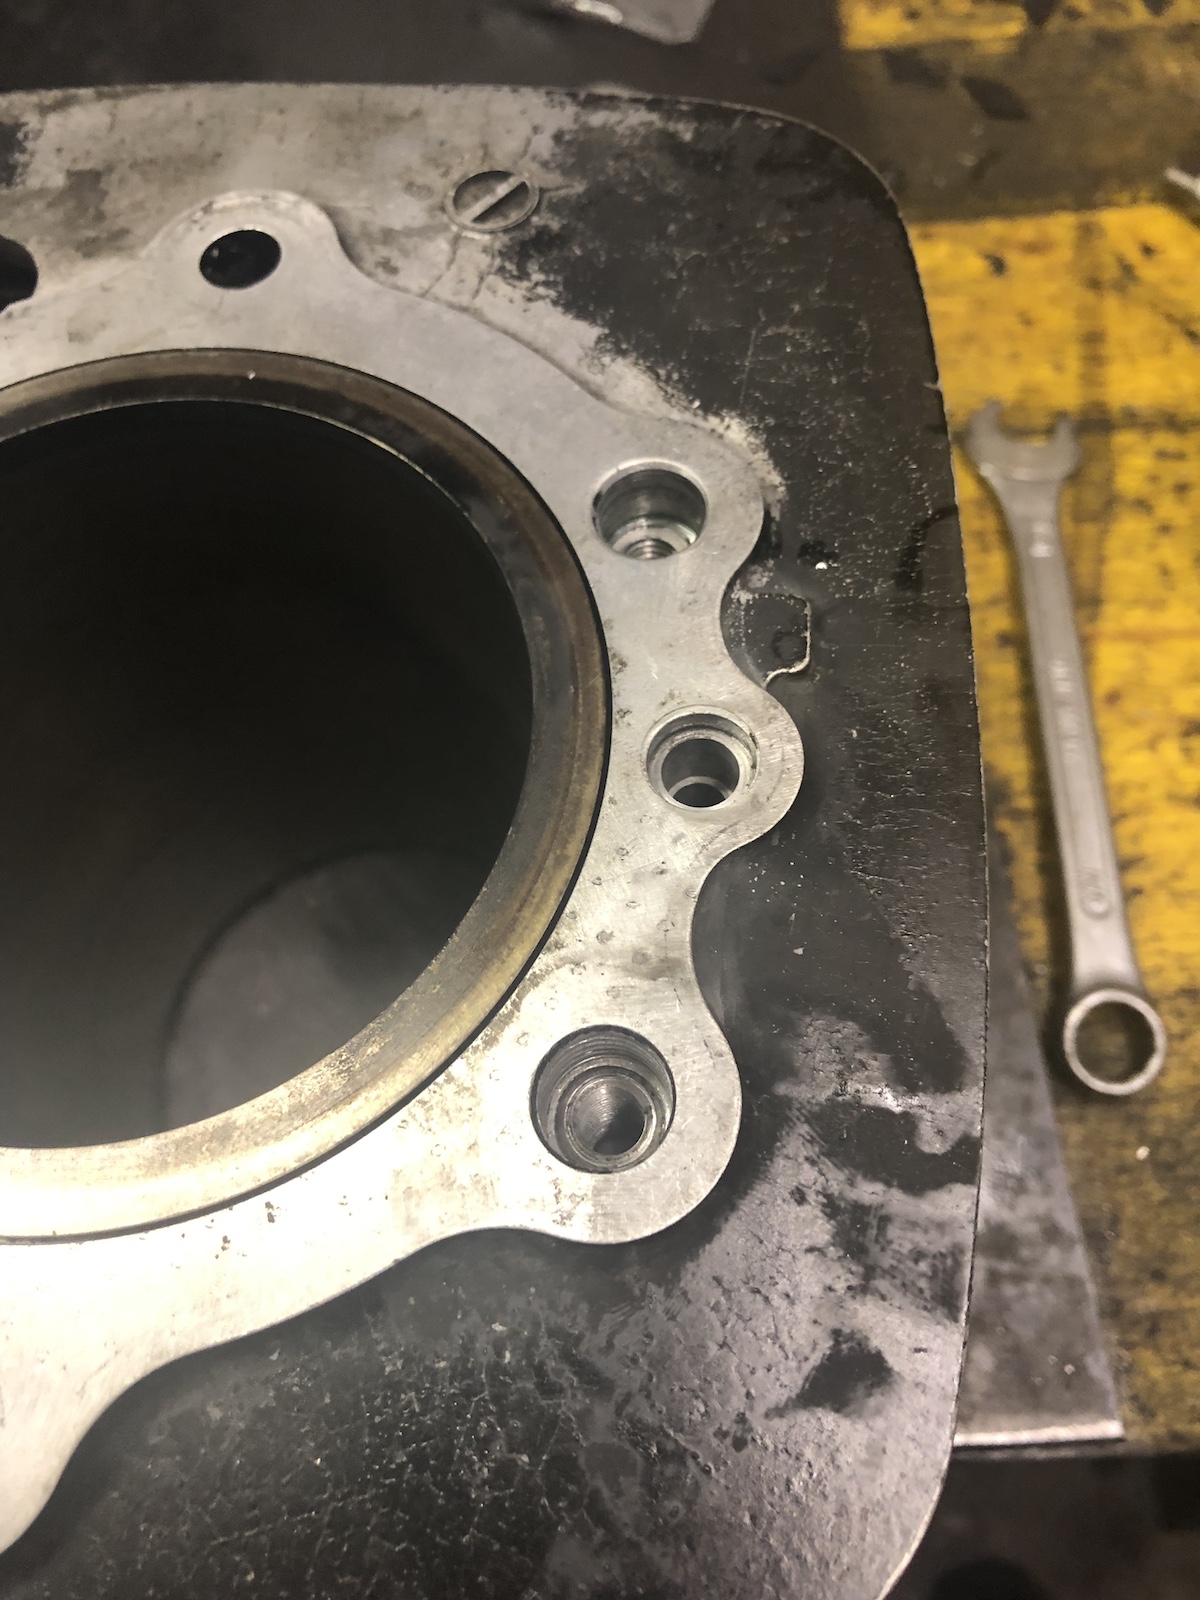
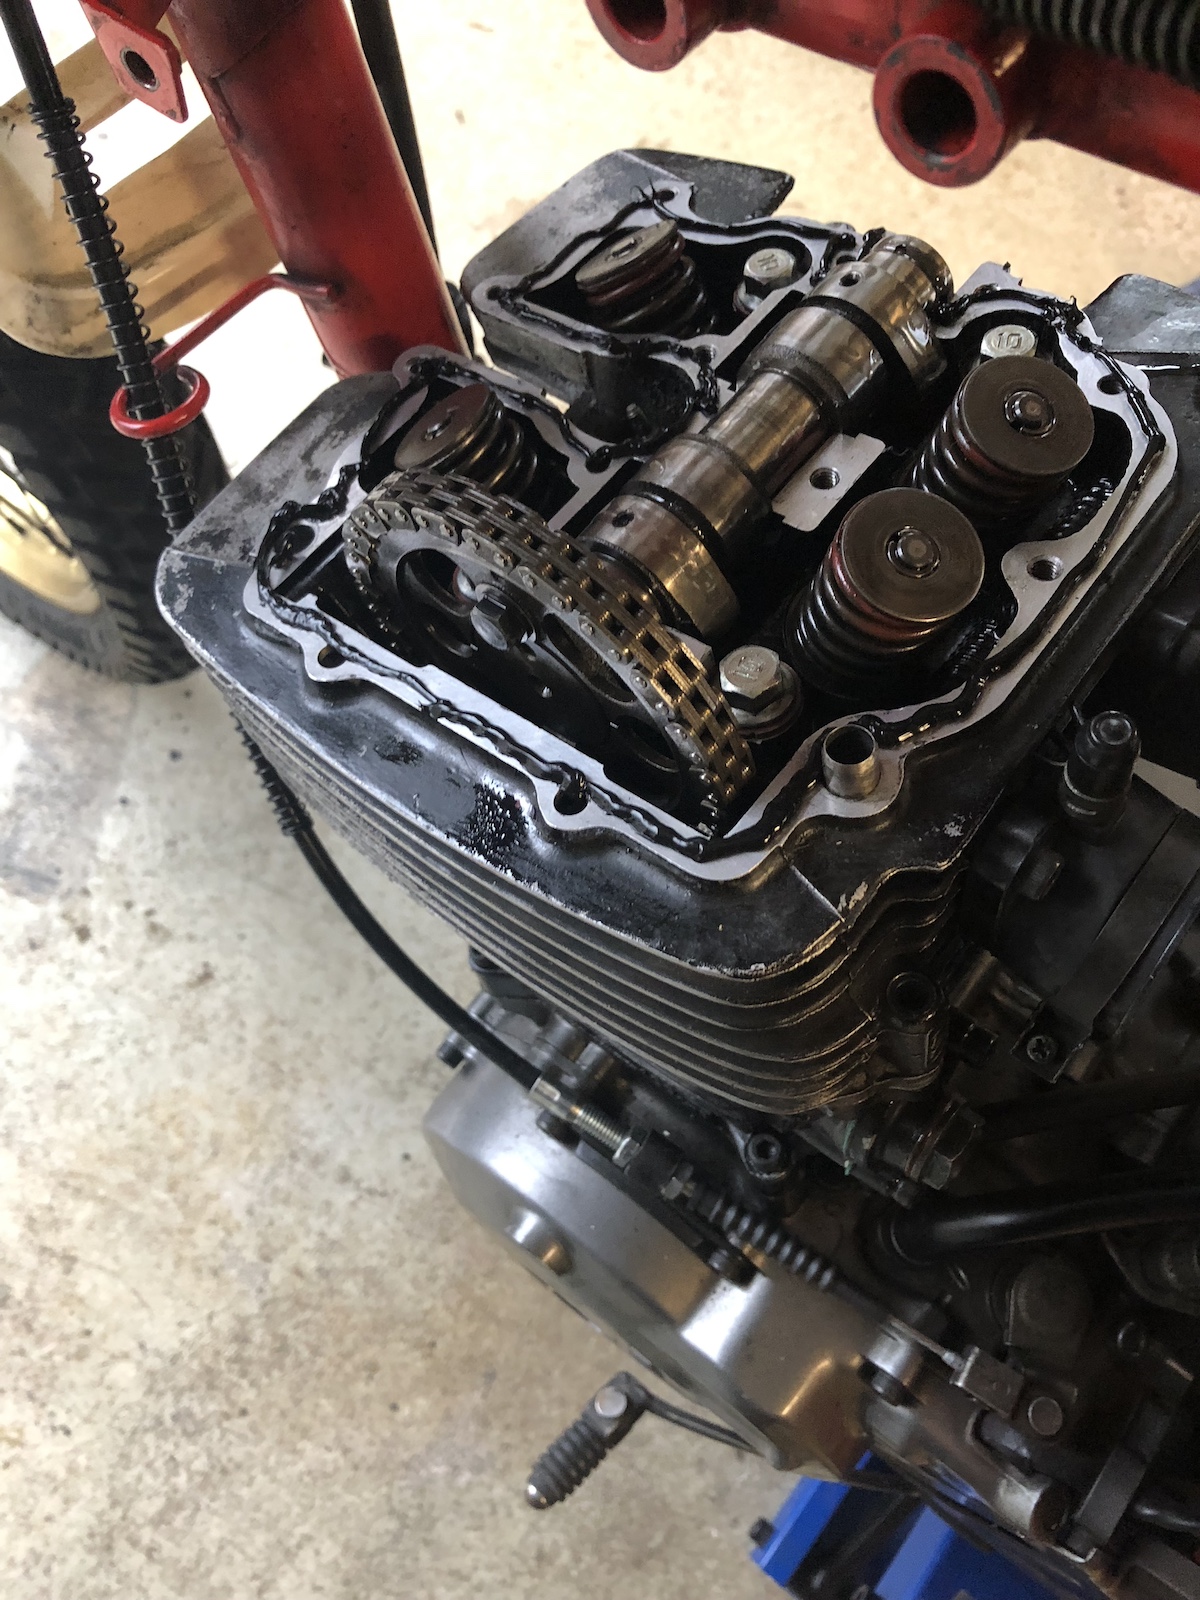
So the story with the headbolt threads follows a very classic recipe: The headbolts are M8, they are torqued to 30NM and they go straight into the aluminium of the cylinder. The cylinder in question has already been helicoiled three times, but there were two installation failure as I found out during the repair. A more permanent solution was needed and it came in the form of a handful of homemade threaded inserts. They are M12 on the outside and M8 on the inside and the ones I ended up using where 20 and 30mm long.

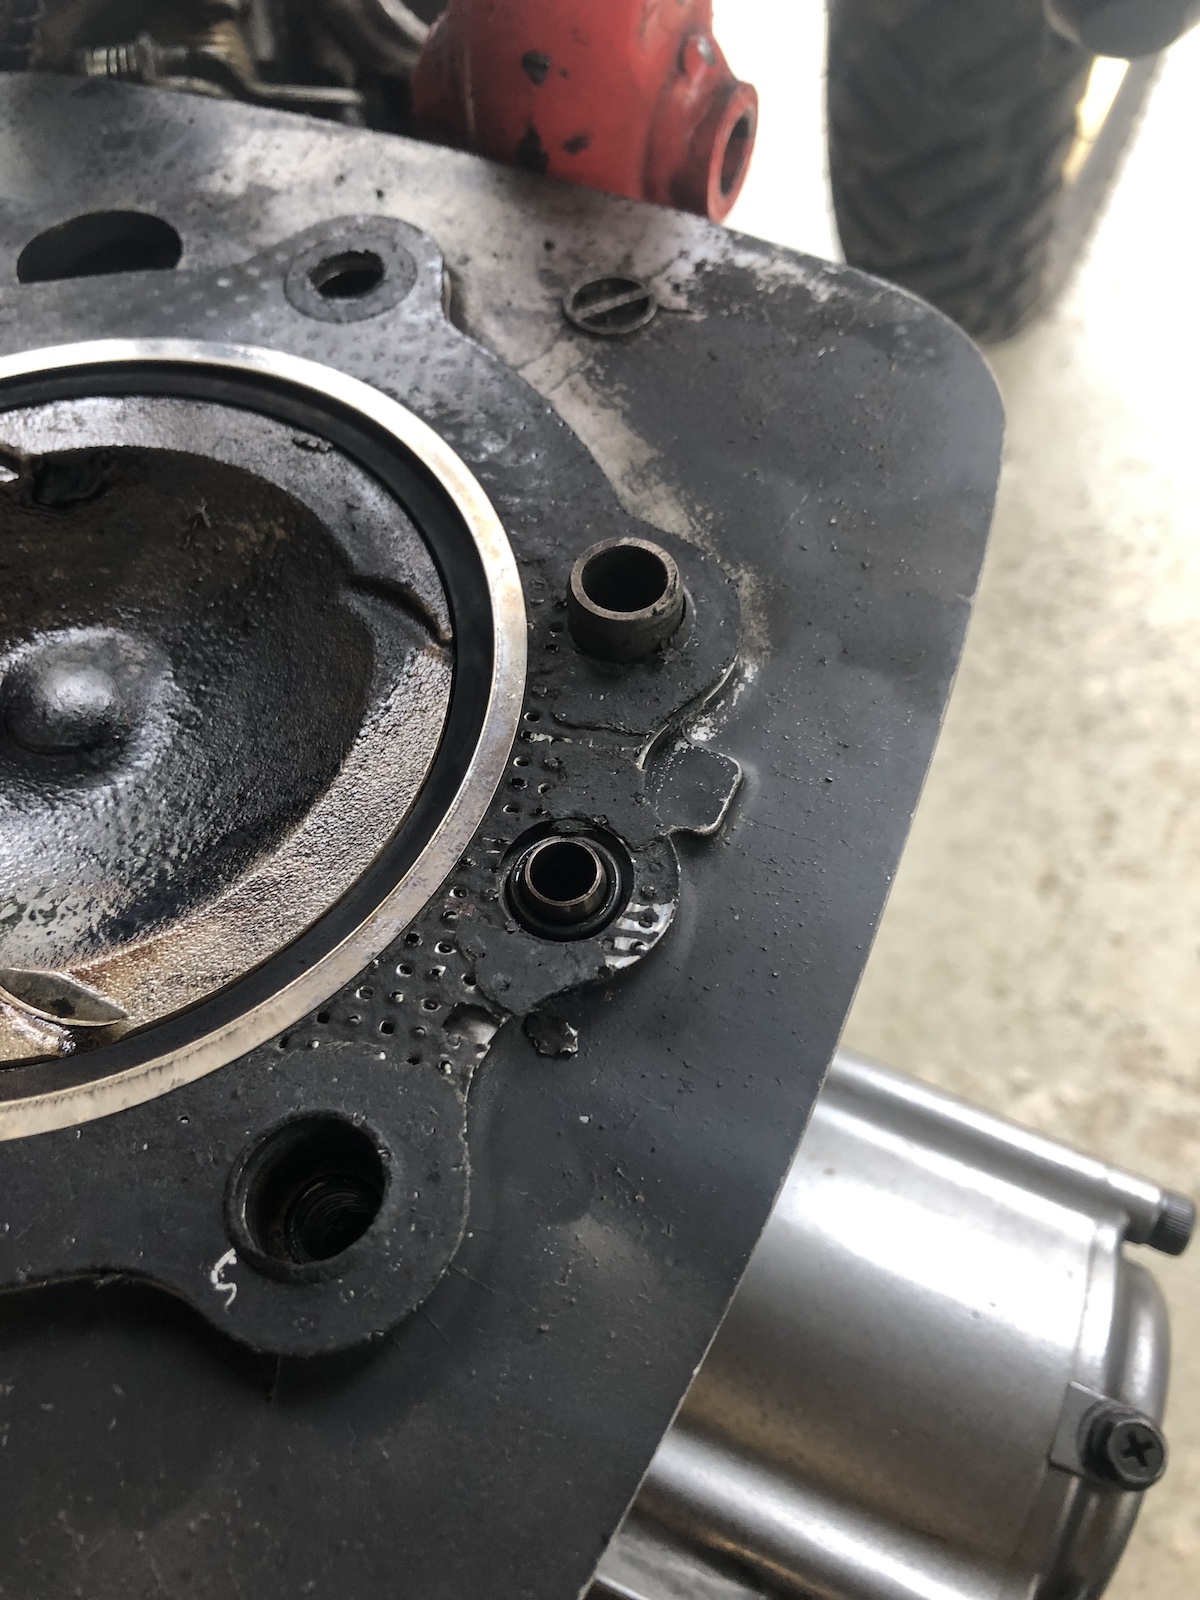
After taking the head off, it was pretty obvious where the headgasket leak was.


I (wrongly) assumed that the biggest challenge with this repair would be to install the recessed threaded inserts... as the first one had spat out its helicoils this was a very straight forward job. Nerve wrecking, but simple enough.


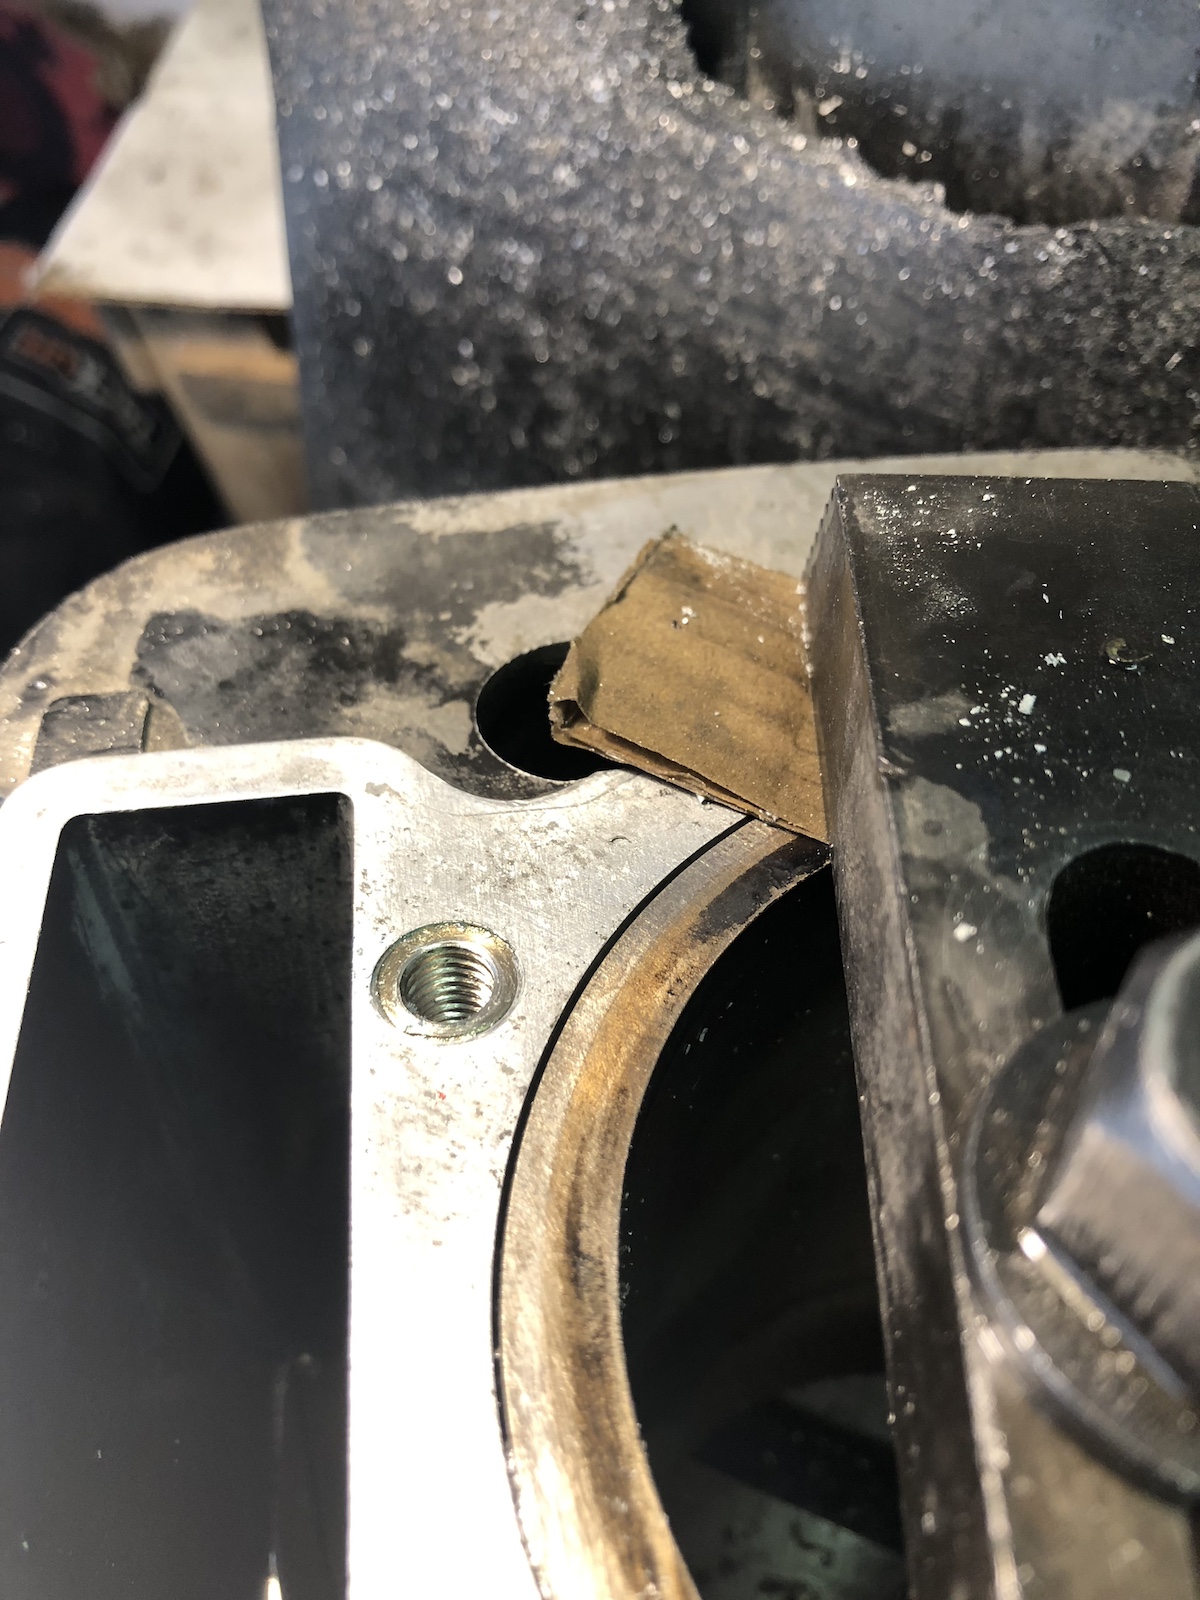
On the second one, the helicoil was still in there, but as I found out, the locking tab hadn't grabbed correctly and I just pulled it out. 

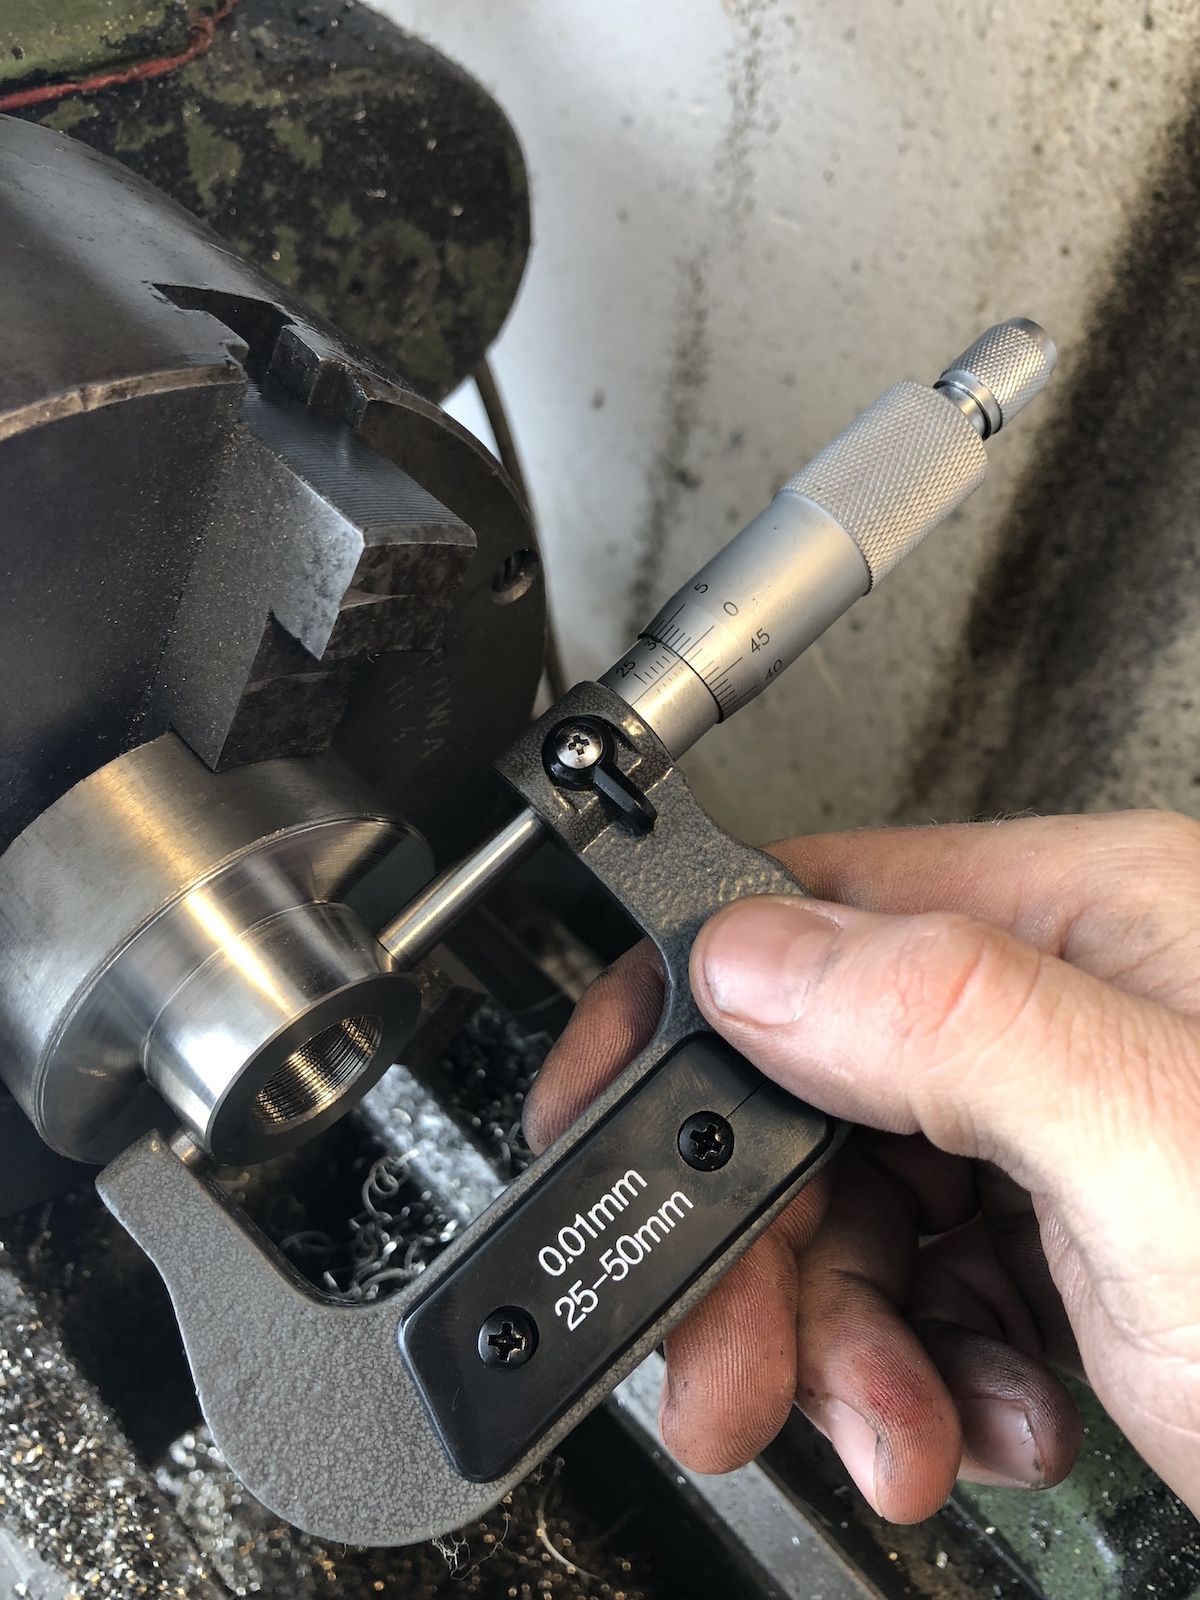
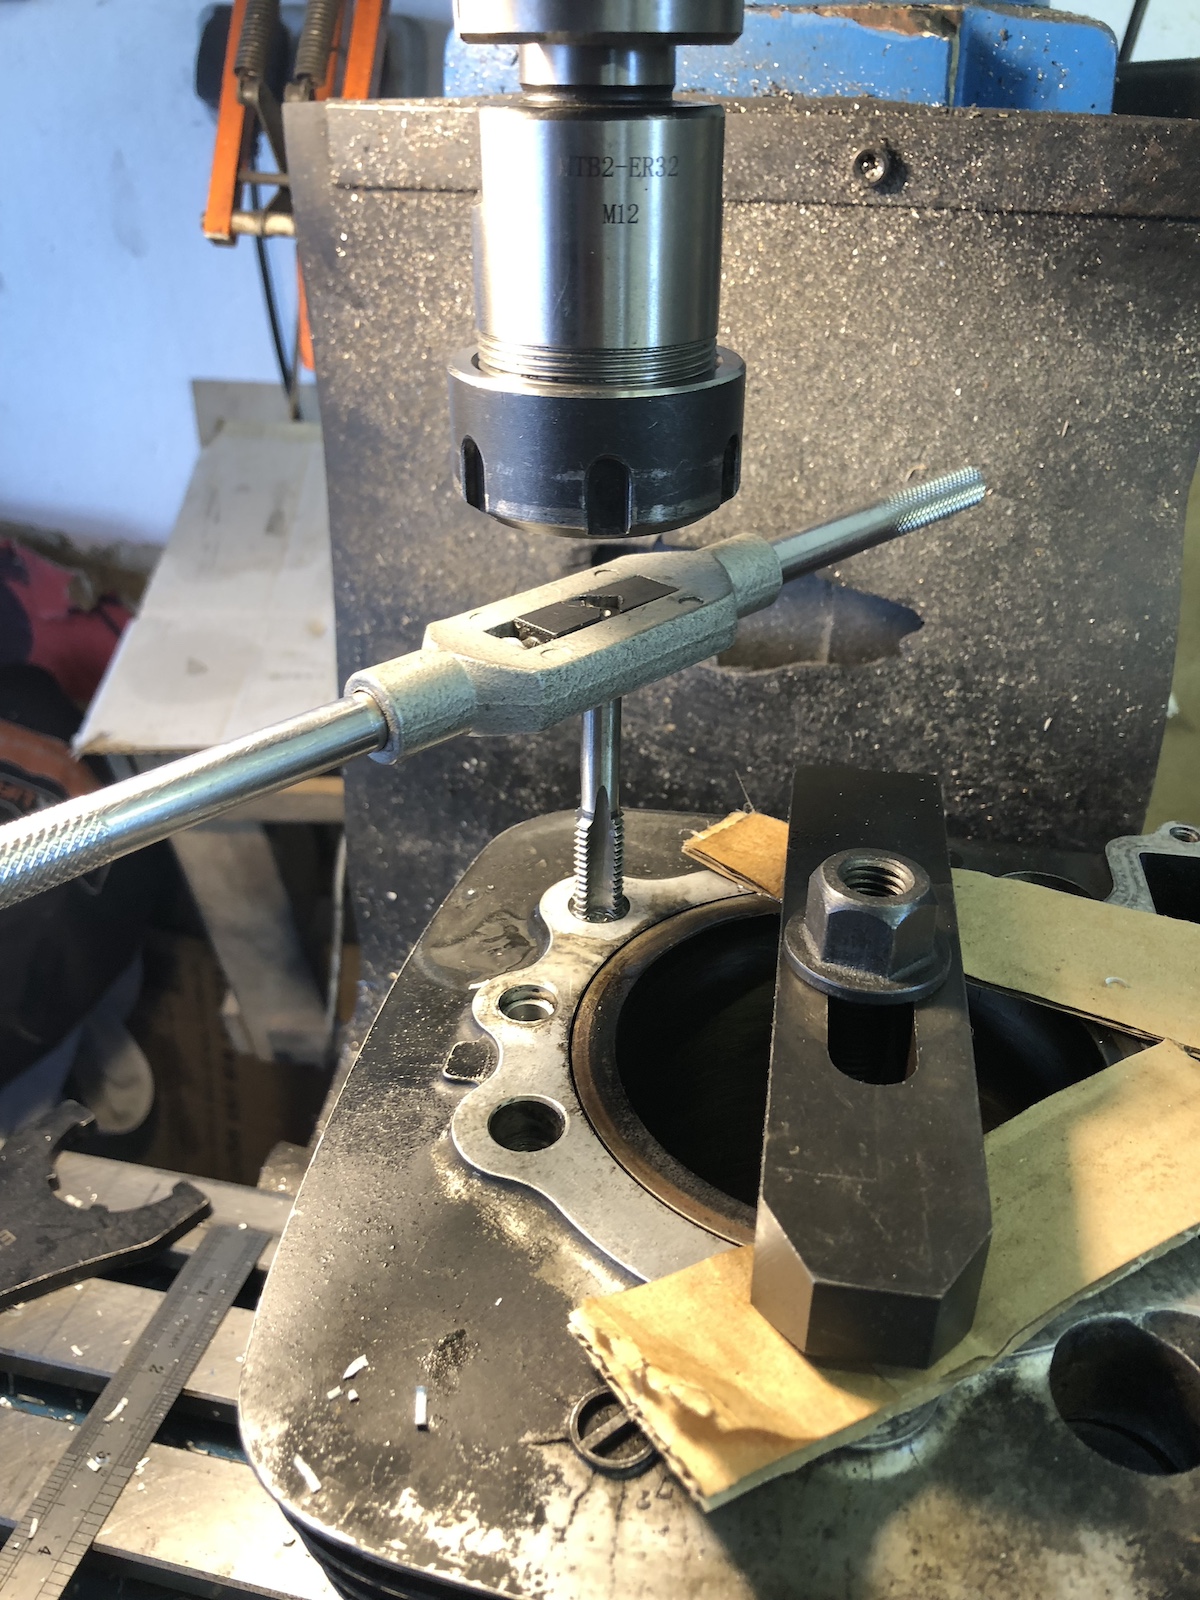
Installation was simple enough: an M8 bolt, a nut, a spacer and the insert. (Yes the spacer is also made from a bit of turned down M12 threaded rod. 


Just to be really sure the inserts were glued in with some high strength locking adhesive.


Test fit with the locating dowels in place worked a treat.

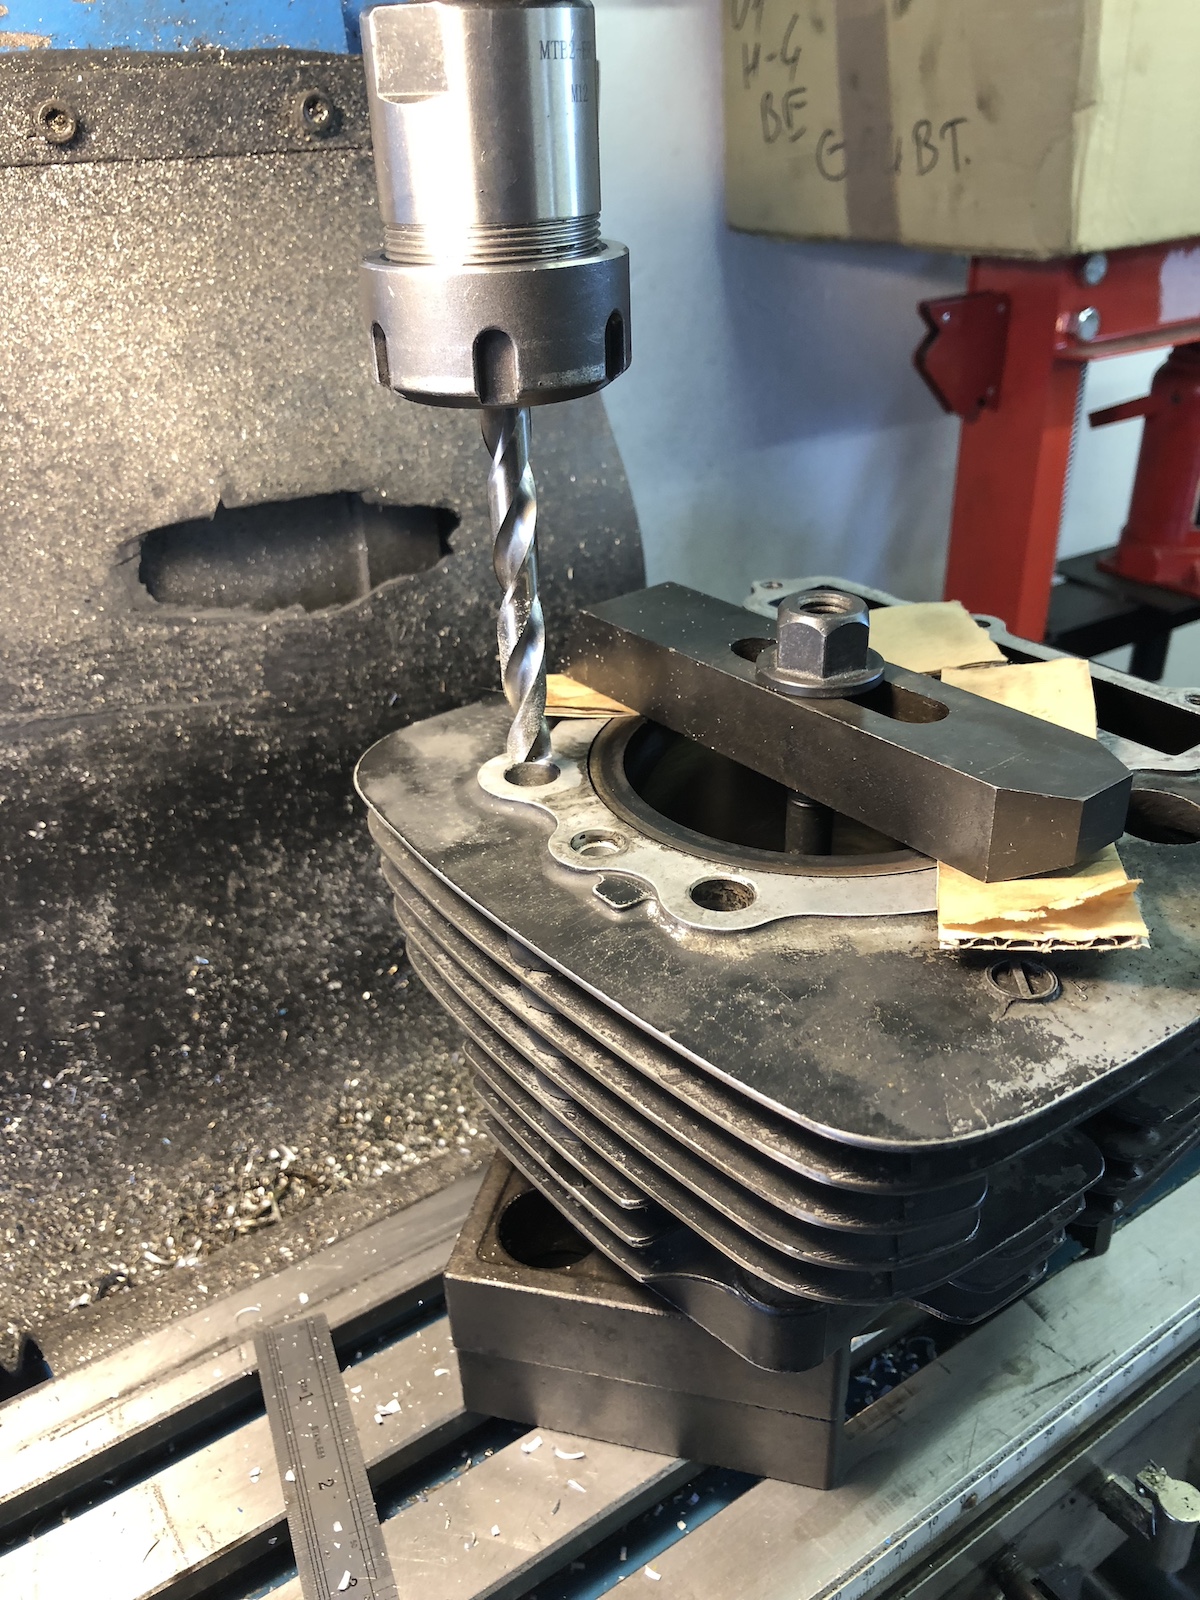
Somewhat inspired by all of this, the next day I decided to upgrade all remaining headbolt threads as well, including the one with the only working helicoil of the previous repair attempt. It did not go well.

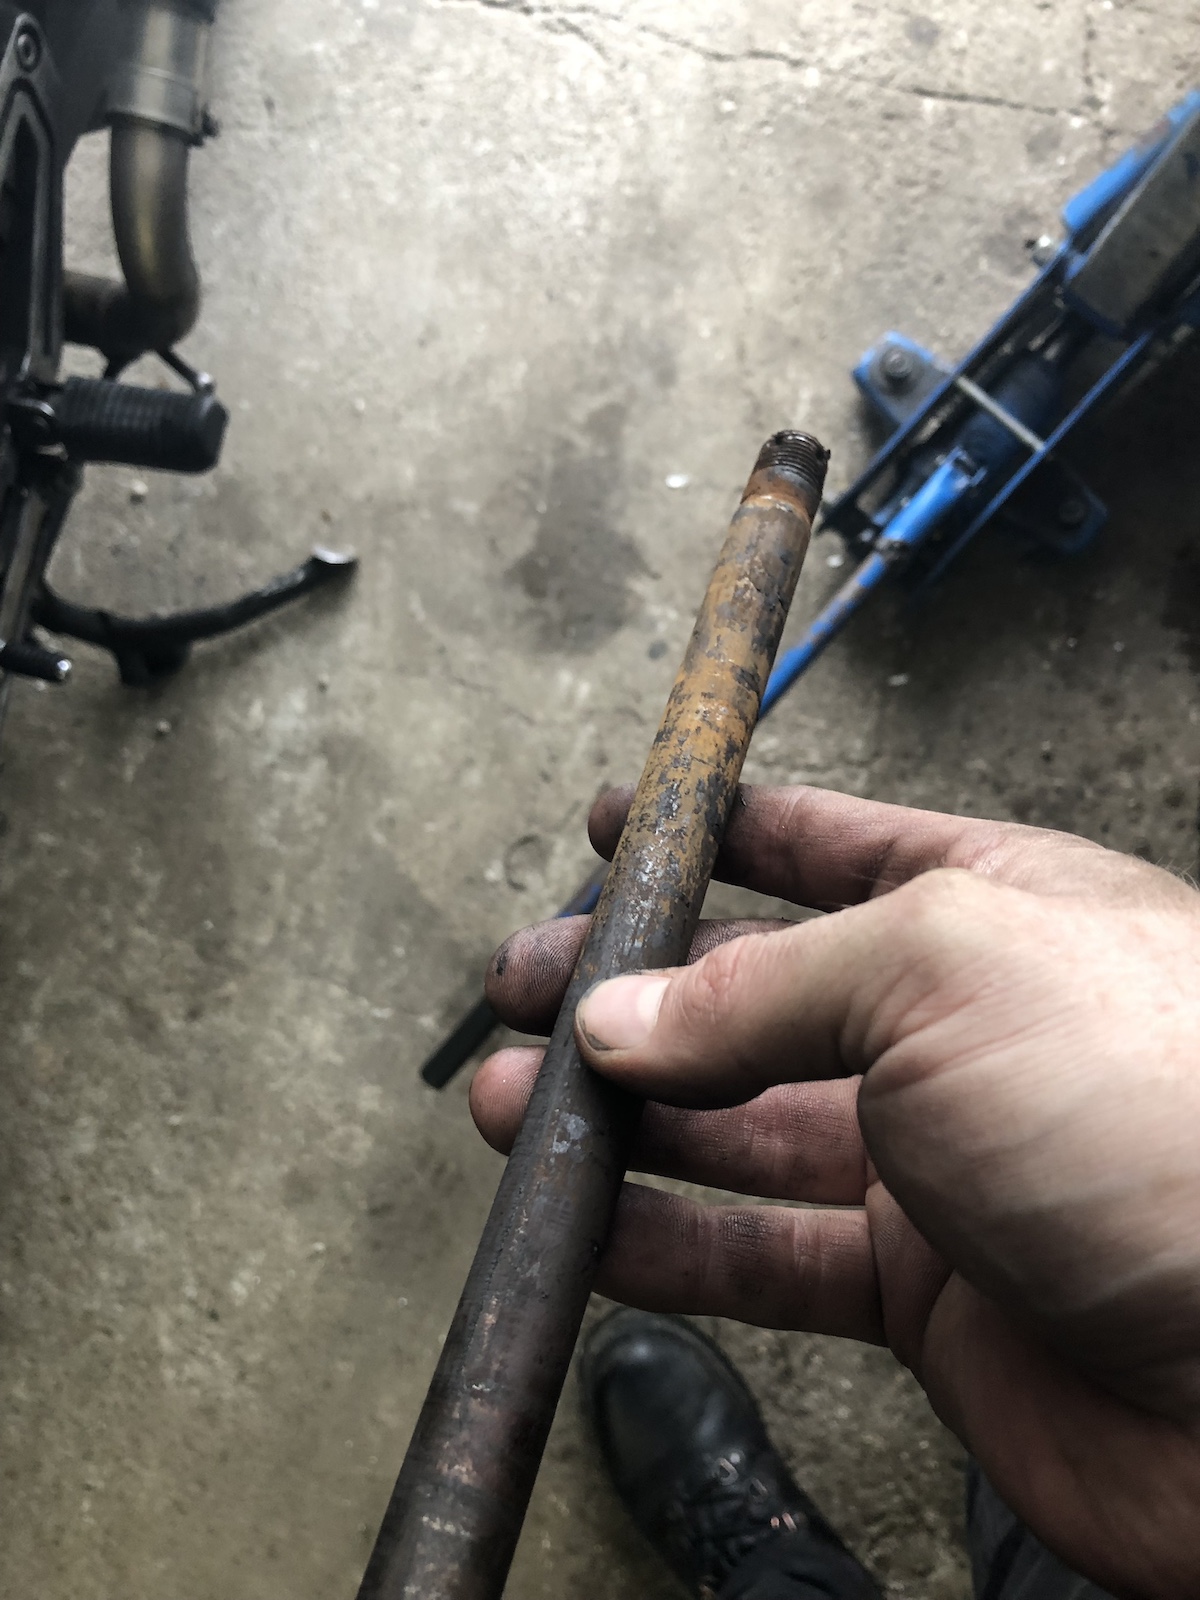
As the previous attempt of getting a helicoil out worked rather well, I didn't think much of it and snapped my drill about 10mm below the surface when it locked up. Those were two no very funny hours.

... the final one was a case of "more of the same" was every bit as pleasantly straight forward as one could have hoped for. (And yes, I had made a new spacer in the meantime.)

The finished product.

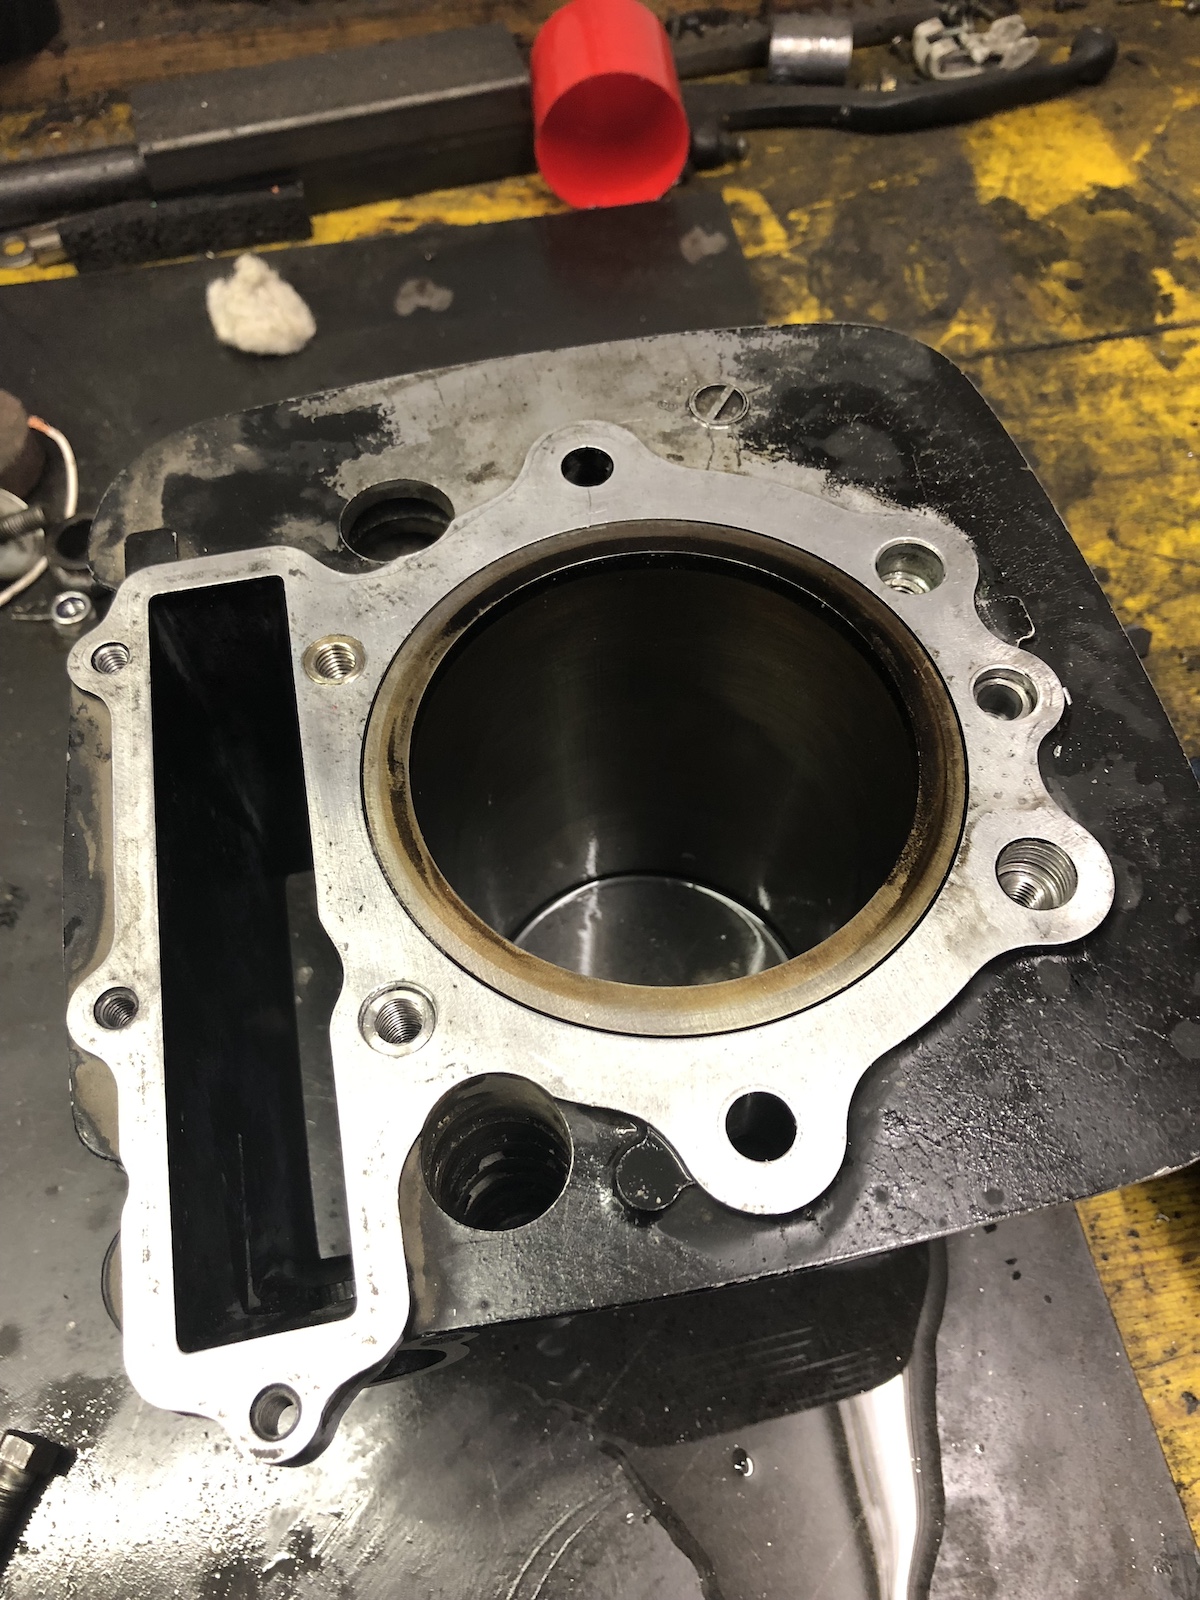
What followed next is the "usual" assembly of an XT engine, though I have to admit that there's a distinct difference between a completely sh*gged example and a well-cared for two-owner bike. 


Apparently last time I swapped the headgasket I made the same mistake as on the Dre-XT-Stück with choosing the wrong time mark (talk about consistency), so that was rectified in the same go.


... and that one bit where I decided it was time to ruin the purity and replace some mangled JIS screws with some stainless M4x25 allen heads.

The first startup was pleasantly unexciting. Let's hope it stays this way. 

Merry Christmas dad. 😌

(Yes there's plenty more work that needs to be done to make it usable, but at least for now it seems as if the head's going to stay where it is supposed to be.)

Friday 15 December 2023

The SR500 sidecar - repairing the sprocket carrier and converting it to a more conventional style

First of all let me point out that the initial idea for all of this isn't from me, but I gave it my personal touch. The original idea can be found at Motorang's Buchelli Projekt - Kettenblatttraeger  


As you can see in this picture, the whole setup on XT500 and SR500 models is a bit on the weird side. In an attempt to save a bearing in the sprocket carrier a very elaborate clamping solution has been employed. This worked so well that on the XT600 models the almost identical rear wheel hub was modified to have a bearing and a spacer be independent from the rear wheel. 


Luckily there's enough meat in the sprocket carrier to modify it to accept a 6006-2RS ball bearing instead, as it just has to be bored out to 55mm and 13mm deep. The just part is that you don't really have a clean reference surface, so clocking and tapping it in is the bigger part of the job. 


Aiming for a decent press-fit of 54.95mm, I beautifully overshot the mark and made the almost perfect sliding fit on my very first sprocket carrier. Nothing a bit of bearing glue can't fix though.
 

A few days later there was "a bit" of snow outside the workshop. 

The drawing calls for a 30mm tall spacer, which over a length of 14mm is turned down to 30.00mm and an internal bore for a 17mm axle (i.e. 0.1mm oversized). As my stainless barstock was 55mm that dimension was set as well. 


... and when you nail your dimensions like that, the sprocket carrier is a straight fit.

The big trick here is that the actual spacer protrudes from the bearing by about 1mm.


Now whilst the modification of the sprocket carrier was (sort of) normal lathe work and engineering, the modification of the actual rear wheel was a bit more medieval. But let's have the pictures tell their story.


Up to this point this is where I followed the instructions from someone else. Whilst I cursed the 55mm round stock initially, when I had to turn it down to 30mm, it also meant there's an off the shelf seal available in 55x75x10mm and with a recess in the sprocket carrier that's 14mm deep, well it's a match made in heaven or by an engineer. 😎


At this point, swapping the tyre and then fitting the rear wheel should have been a more or less straightforward job... 


Let's just say that the Avon Sidecar tyre lasts a lot longer than is good for the lubrication of the rear wheel axle.

And absolutely no one upset the thread on both the rear wheel axle or nut. Which is also why absolutely no one would know that it is a M16x1.5 thread.


It was at this point that the sins of yesterday started catching up to me:

First, I borrowed the speedo drive from the front wheel for the summer wheel, which I only found out AFTER installation. 

Luckily there's a very straightforward repair kit available and aside from the new seal actually being tight around the speedo drive there weren't any challenges to be overcome.

And then there was this bolt that holds the chainguard onto the swingarm, which after reinstallation reduced the amount of unhealthy noises attributed to the engine significantly. 

So in the end there was only thing left to do:

Interestingly enough the new rear tire appears to be of a slightly smaller circumference, which together with the sprocket carrier not wobbling around and most likely the cold weather favoring my bad habit of jetting slightly on the rich side all in all yielded new top speed records and the little sidecar feels a lot quicker than before. (If you're more into hard facts: I gained more than 10kph in top speed and there was still a bit left.)