Wednesday 21 February 2024

Project Pickle - engine tidy up (part 5)

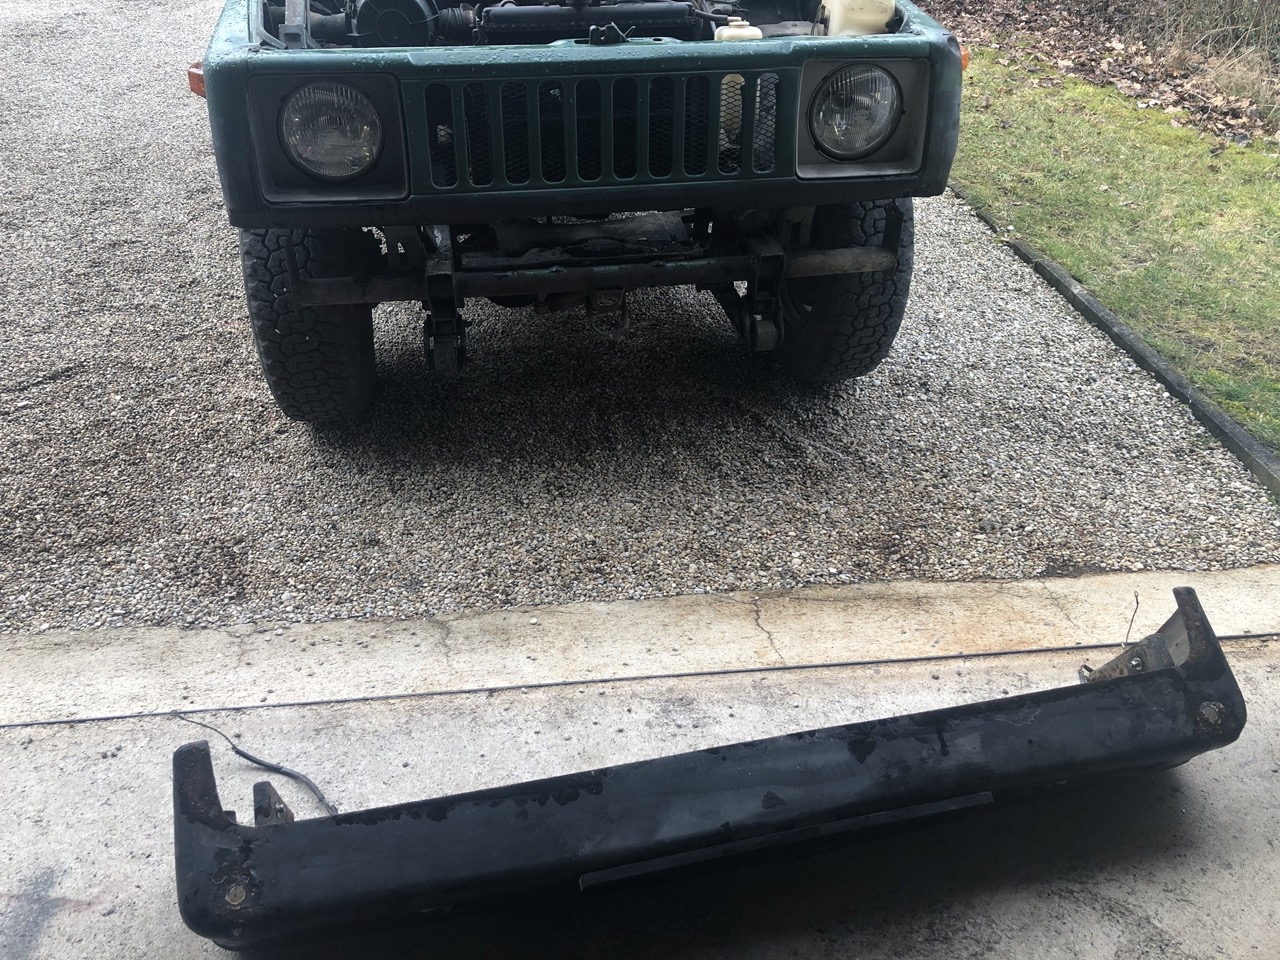
Once back in my dad's workshop it was really the first time that I realised just how much smaller the little Pickle is compared to Comrade Car (my previous Lada Niva 1600).

With the front grill removed, I have to admit, I have yet to find a car/truck that is nicer to work on. Also, as hinted at before, I am sure there's bigger Golf-carts than the lil' Pickle.


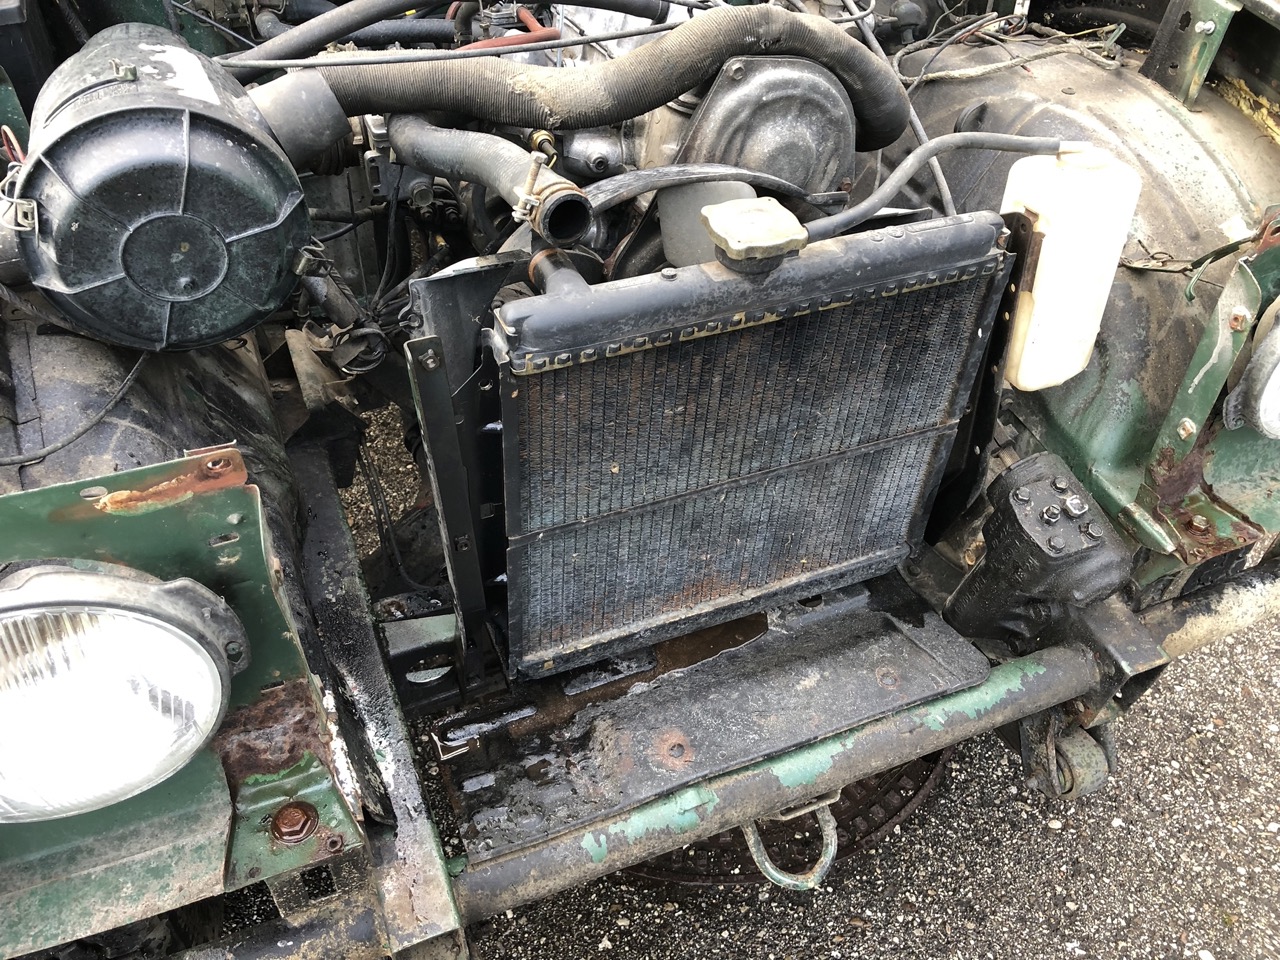
With the radiator removed (4 bolts for the radiator, 4 for the fan shroud), slightly loosen the alternator mounting bolts and the fan belt comes right off. 

Couple dugga-duggas and the crankpulley comes right off.

Timing belt was definitely due - it felt more like a rubber band than an actual belt to be honest.


To make life easier (and be able to feel, if I got the timing wrong), I marked all the plug caps and then proceeded to remove the plugs. Only to find out that the two center ones weren't even remotely tightened. 


And a quick picture of how the timing was set up, when it was still running, never hurt nobody. (Foreshadowing)

The lower pulley has got some M8-threads and the pivot bolt of the tensioner is perfect to press it off the crank.

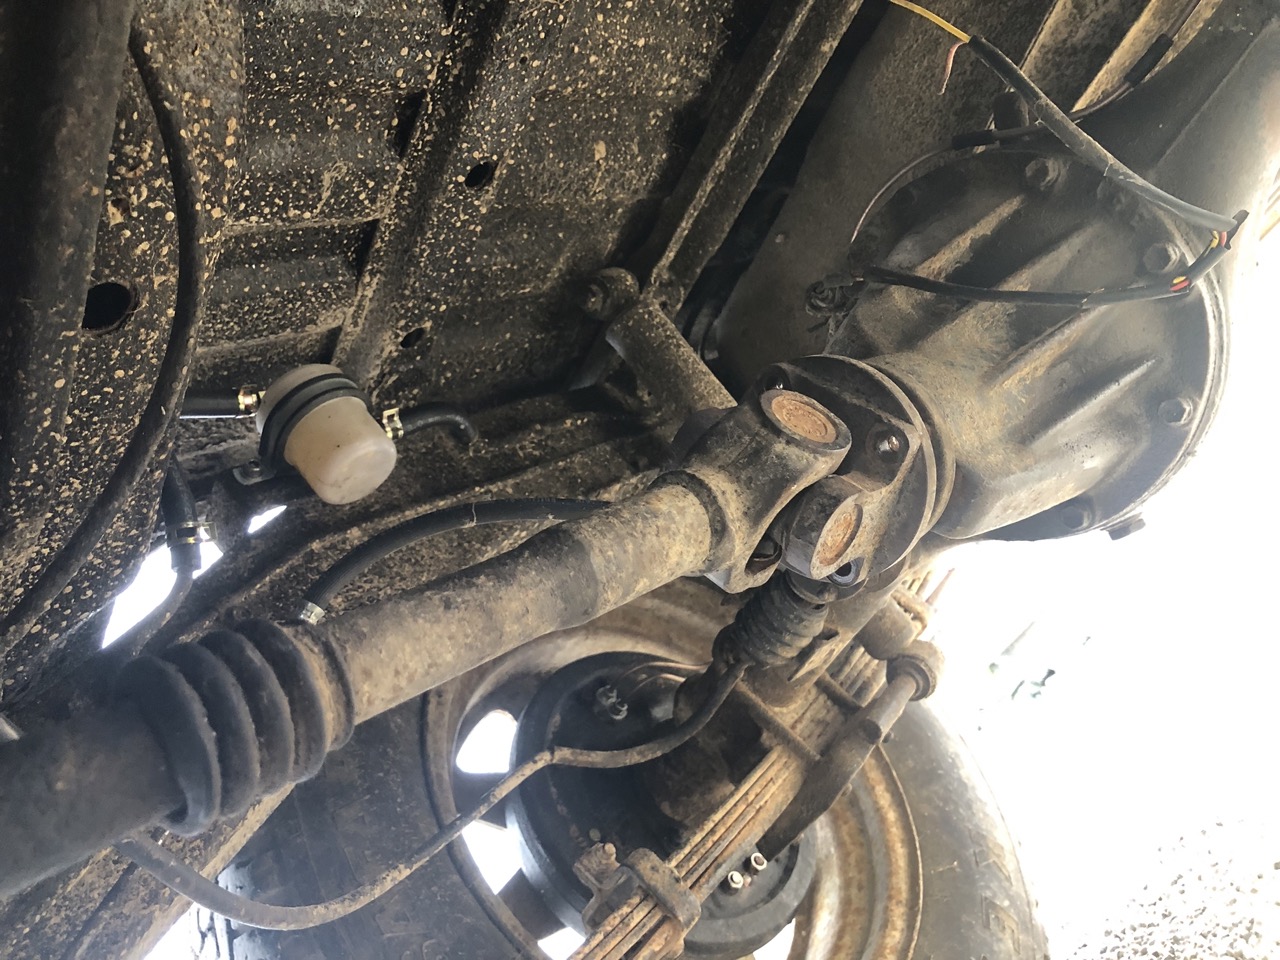
Looking at the area around the crankshaft seal made me realise that I might have found the very first of the oil-leaks of this engine.

To be honest, when you're already in there, you might as well do the camshaft seal as well.

Ironically despite its looks, the thermostat was still working.

The waterpump put up a good fight and must have been leaking for a while already.

As the cast iron of the mating surface was a bit pitted, a generous amount of liquid gasket was applied to the block in order to stop things from leaking again.

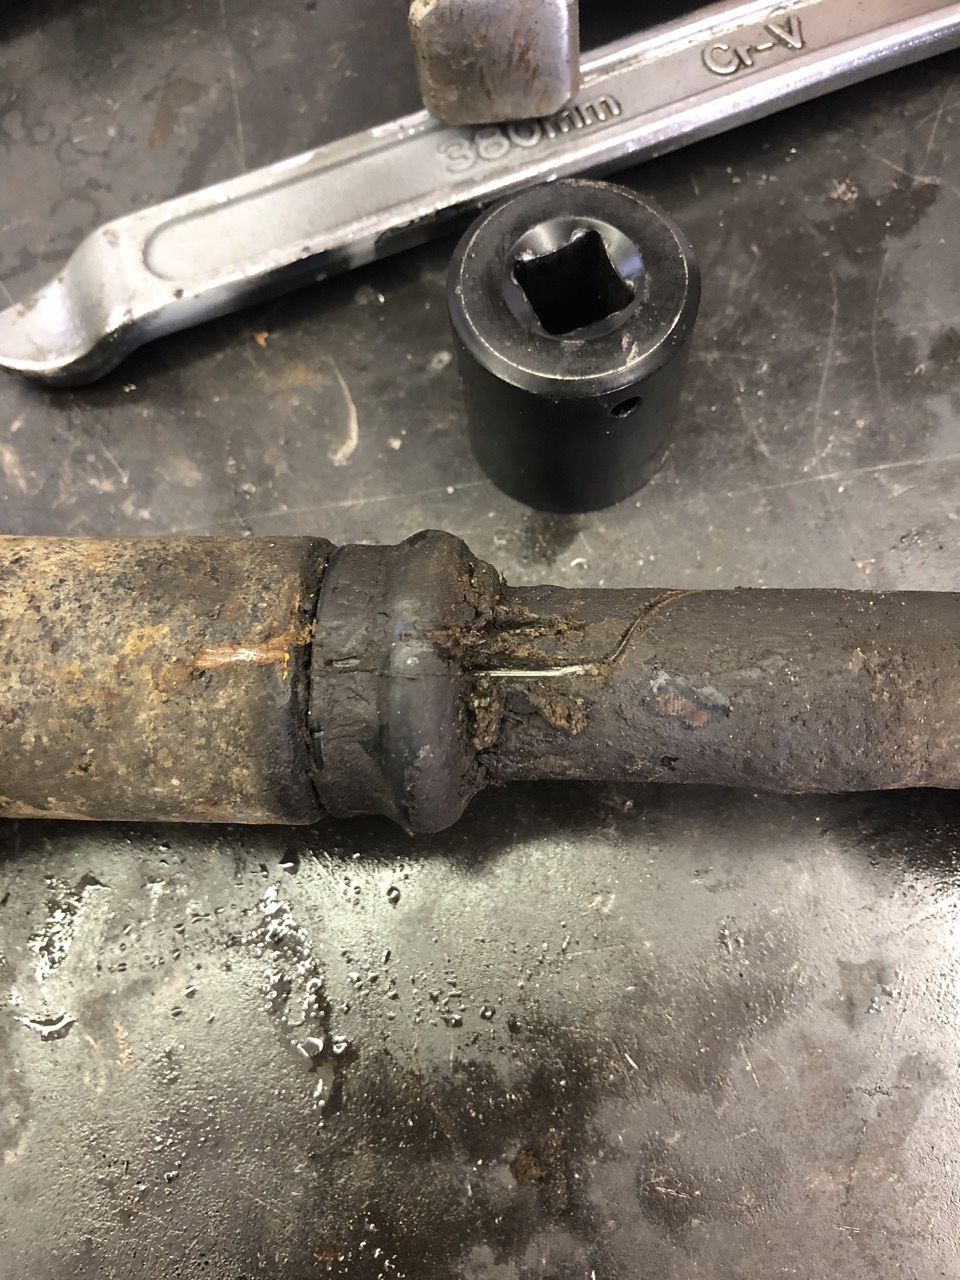
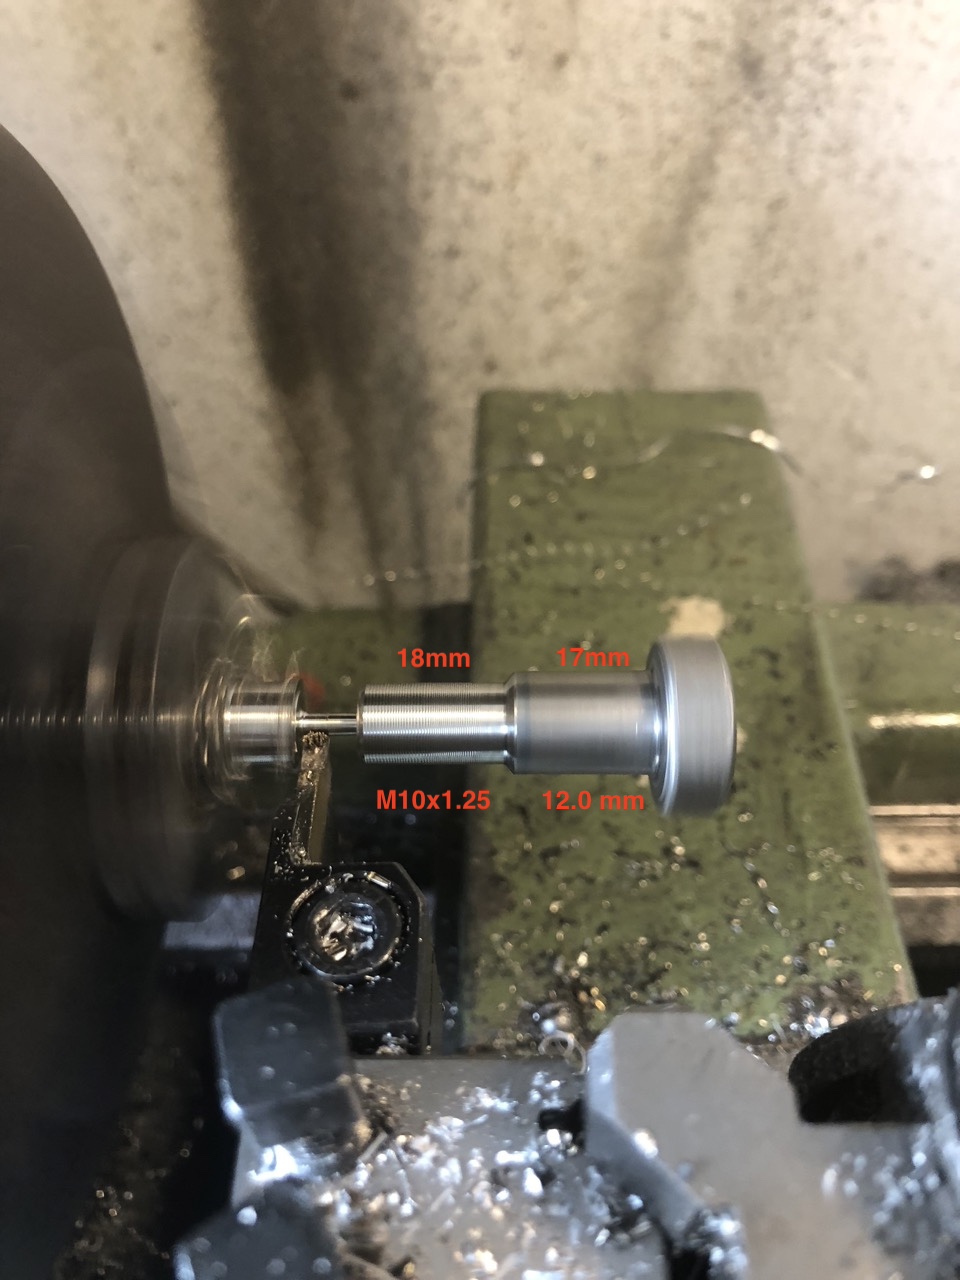
As some previous owner had lost at least one of the spacers for the timing cover (10mm OD, 7mm ID, 7mm tall), I quickly turned a bit of stainless pipe into a handful of spacers. 

And then reinstalled everything to the same marks as before...

Double checked by turning the engine over two full revolutions without plugs.

A few drops of loctite to make sure that the camshaft pulley retainer bolt stays put.

Everything buttoned up.

Flushed the radiator one more time

Installed the whole lot and filled the cooling system via the thermostat housing.


Unfortunately there's no happy end to this story here, to me the timing looks correct (left-side as it was, right side when I was done):

 But alas, it makes the most horrible ticking sound imaginable and instantly wants to rev to the moon. Two theories on my side: 

  1. The fan-blades are hitting the shroud (had that on the Lada, because there the metal shroud got bent, when I removed it.
  2. The spark plugs weren't tightened, because they are too long. (The engine is tuned with an LJ80 head to bump up compression.)

I somewhat doubt I messed up the timing, so I hope it's the harmless bit with the fan blades and now that the two center plugs are done up correctly it's running like it should and the carb and ignition are completely off. If it's the plugs hitting the valves, well let's hope I haven't broken anything yet.

Tuesday 20 February 2024

Project Pickle - Rust (part 4)

Now, I assume it's a pretty safe bet to say that nobody likes to find rust on his/her/their project car, but I have to admit it was kind of soothing to find it for me. Why? Becaus if it walks like a duck, quacks like a duck, it's most likely just a dog with flippers. Seriously though, it simply seemed too unreasonable to expect no rust, especially given how rust holes were fixed in the past. And dare I say: someone LOVED bondo.

First step was to remove the front bumper.

And then get the angle grinder with a wire brush out and see why pickle sported completely flat sides atop of the wheel arches. 

Ah yes, that'll explain the bow in the sill.

Bit more digging and it's clear - two new front fenders will save A LOT of work.

Did I mention that someone that someone loved bondo? Seriously the section under the fuel filler cap is a healthy 13mm (1/2") thick and the bead has been completely plastered over.


As I had already arrived at the back of the little car, it seemed rude not to take the rear bumper off - all 4 bolts holding it to the floorpan snapped and the center bolt had a stripped nut, so here's a bit of work for future me. 

As the rear body corners were both fine, I went ahead removed the grill, which unlike the fenders had next to no rust at all. (Which sort of makes me wonder, if this one might have been swapped at some point in time.) Admittedly I feel a bit of a Series Landy vibe going on and I am almost sure one could fabricate a front to match... Also as the next thing (even prior to doing the rust repairs) is to do a full service on the engine: timing belt, thermostat, swap the radiator, reseal the manifold, tackle some oil leaks, you get the idea, having no grill in the way makes it even easier to do those jobs. 

With the front tackled as far as I can take it at this point (as I want to drive the little truck over to the other workshop and not have to push it all the way), I turned my attention back to the rear. Usually the cover for the filler neck is bolted on, here it was welded to the floor plate with an ungodly ugly patch panel, which to put it mildly didn't inspire the level of confidence I was aiming for and guess what: mouse poop and rust. Especially seeing how the last person did the inner wheel arches made it very easy to come to the conclusion to do a slightly better job at this end myself. 


 This left the tailgate as a last piece to undergo a more thorough inspection and to no one's surprise, there's a few spots both inside and outside, where the skin had and thus leaked inside and outside. Or in other words, the rear window has to come out as well and a bit of reconstructive metal surgery needs to be done.

And with that the little Suzuki was placed inside the other workshop and rust repairs should start very, very quickly. 


One thing I plan to do differently than how I did it on the Lada is to break the work down into smaller subassemblies, for example I will fix the new bonnet in my workshop and then transfer it to the car, same goes for the tailgate. I am still a bit on the fence on how to do the sills as a lot of guys seem to swap them for thick-wall box section, which is very, very pragmatic, but I am not sure what my MOT guy would have to say about that. If I go down that route it's *just* the floorpans, inner and outer wheel arches and a repaint, before I can get back to reassembly. Sounds overly optimistic? Yep, totally.

Monday 19 February 2024

Project Pickle - Get shafted (part 3)

Shaft drives are awesome until the universal joints need doing. Then its a bit of work and once fixed, they are awesome again. The very last UJ next to the rear diff was really, really f*cked.

The stock M8 nuts are 12mm size, which means a deep-wall socket fits nicely over the UJ. It doesn't work when someone lost them or rounded them off and swapped them for 13mm (DIN standard size) nuts.

Aside from that - easy peasy. 

Quick witness mark to make sure it goes back in the same orientation. (spoiler alert, you can't reassemble those 180 degrees out, so as long as the the UJs are in the same plane you've assembled the shaft correctly!)

Generally there's two types of UJs: the ones with clips on the outside and on the inside. The latter is normally found on LARGE trucks. (With UJ-sizes to match.) Disassembly works the same either way: There's a retaining clip that prevents the caps from falling out and keeps everything in place.

To say that this UJ was completely dead is a bit of a mild understatement.

And neither lube/grease nor a single needle inside those two worn bearing cups. 

Easiest way to install new cups is to press them in on the vice, install one of the clips and then preload everything either in a press or the vice


Would have been rude not to get the version with the grease nipples, right?

... and even more rude, if one were not put them to good use.

Fun fact: the mounts of the transfer case are so worn out, that you can push it towards the front by greasing up the splined section of the shaft. 😅


Sunday 18 February 2024

Dre-XT-Stück - sidestand

I have to admit, that lately it seemed as if the old girl had a bit more of a "sporty" lean to her and knowing fair well that those sidestands are known to bend (and eventually break) I thought a bit of bending it back and maybe bracing it was all it would take. But the sidestand's not the main culprit. 

 With the old girl leaned onto the little pickle...


I wanted to unbolt the sidestand, which was substantially easier than planned. 

So the assumption that something had given in, wasn't fundamentally wrong, it was just that it was the clevis that had bent because the pivot bolt snapped. The shank is 12mm and there was a sufficiently long M12-bolt in stock.

These bolts are widely available (even new from Yamaha), but should you find yourself in a pickle and have to machine one yourself and maybe lost some of the fragments, these are measurements mine had.

Depending on how worn the hole in your frame is, the 12.0mm might range from T-I-G-H-T to rather sloppy. I repaired that one, when painting the frame, so I had to take a bit off as things got very sticky.