
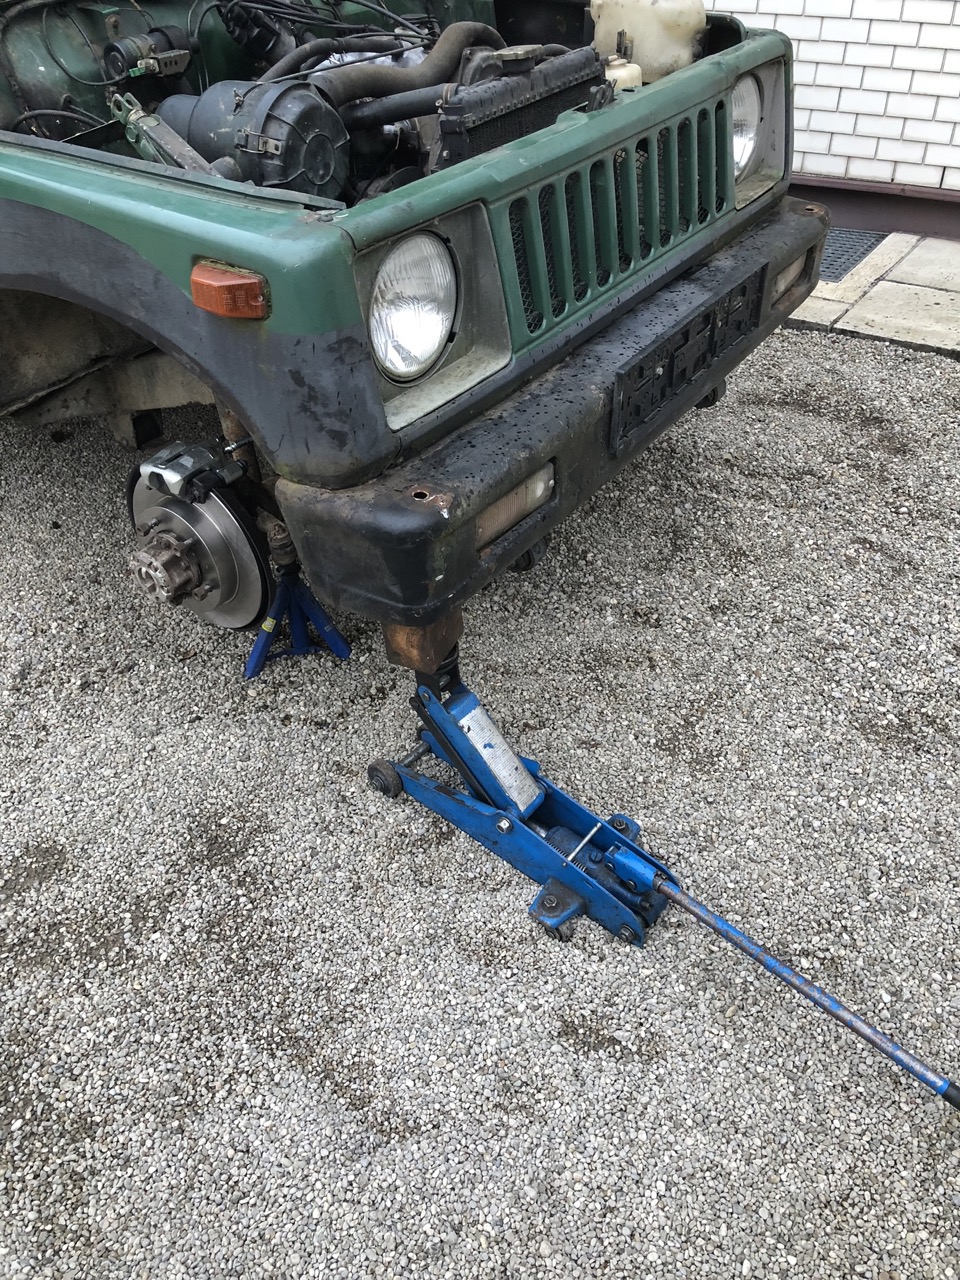
So the little pickle runs and not too bad actually, but out of four brakes, only one somewhat worked. And as at least two wheels were stuck, which meant moving it around in the yard would be no fun at all this instantly increased the priority to deal with the brakes.
As the little pickle is already a late 1983 model, it came standard with disks at the front, which are absolutely no big deal at all, as the very same brakes are installed at least up to the penultimate generation of the Jimny, so all I had to do was get a pair of new calipers, pads, disks and rubber lines. The drums on the rear are a bit of a different story.
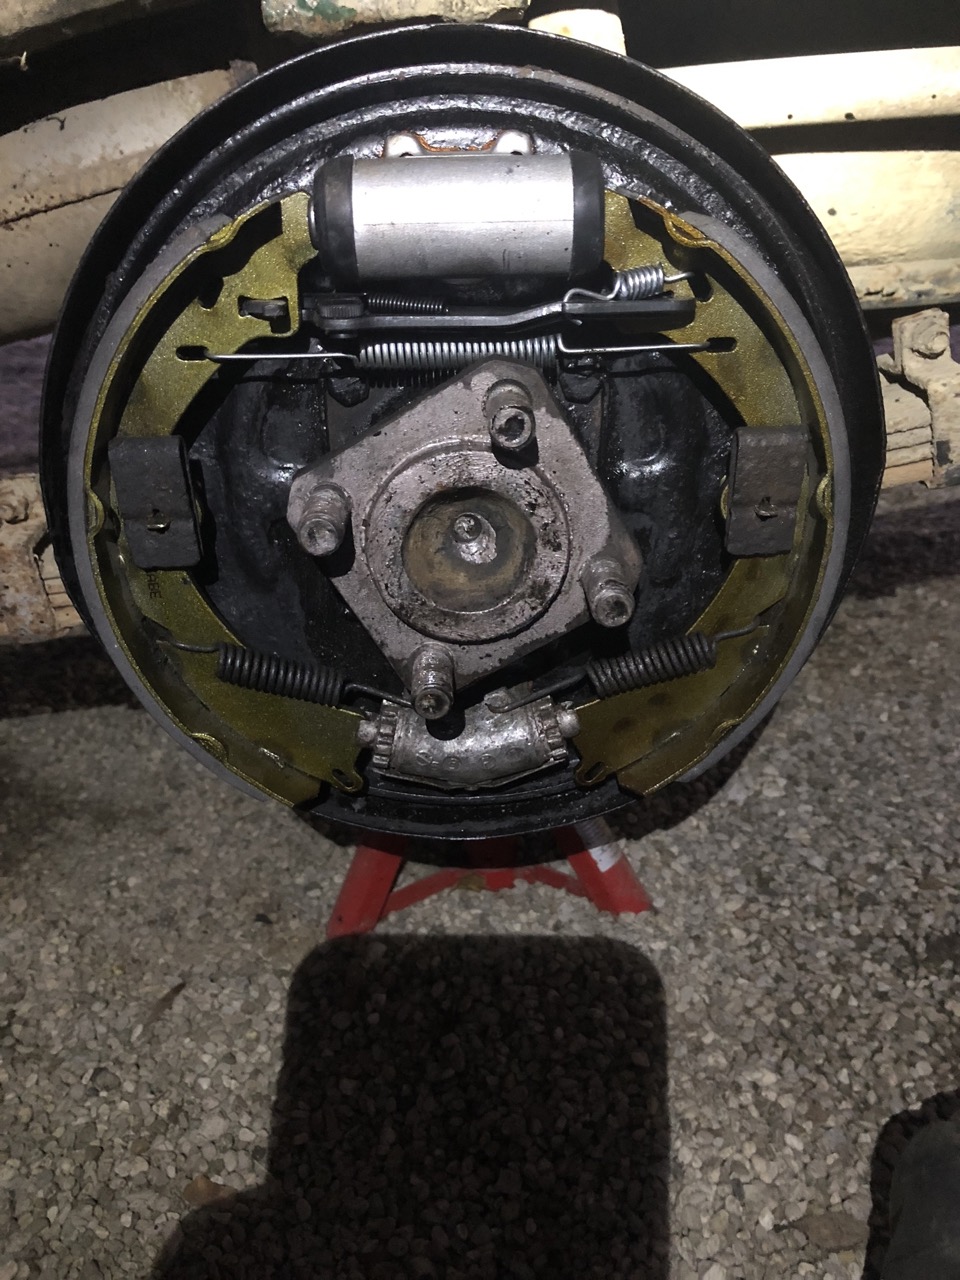
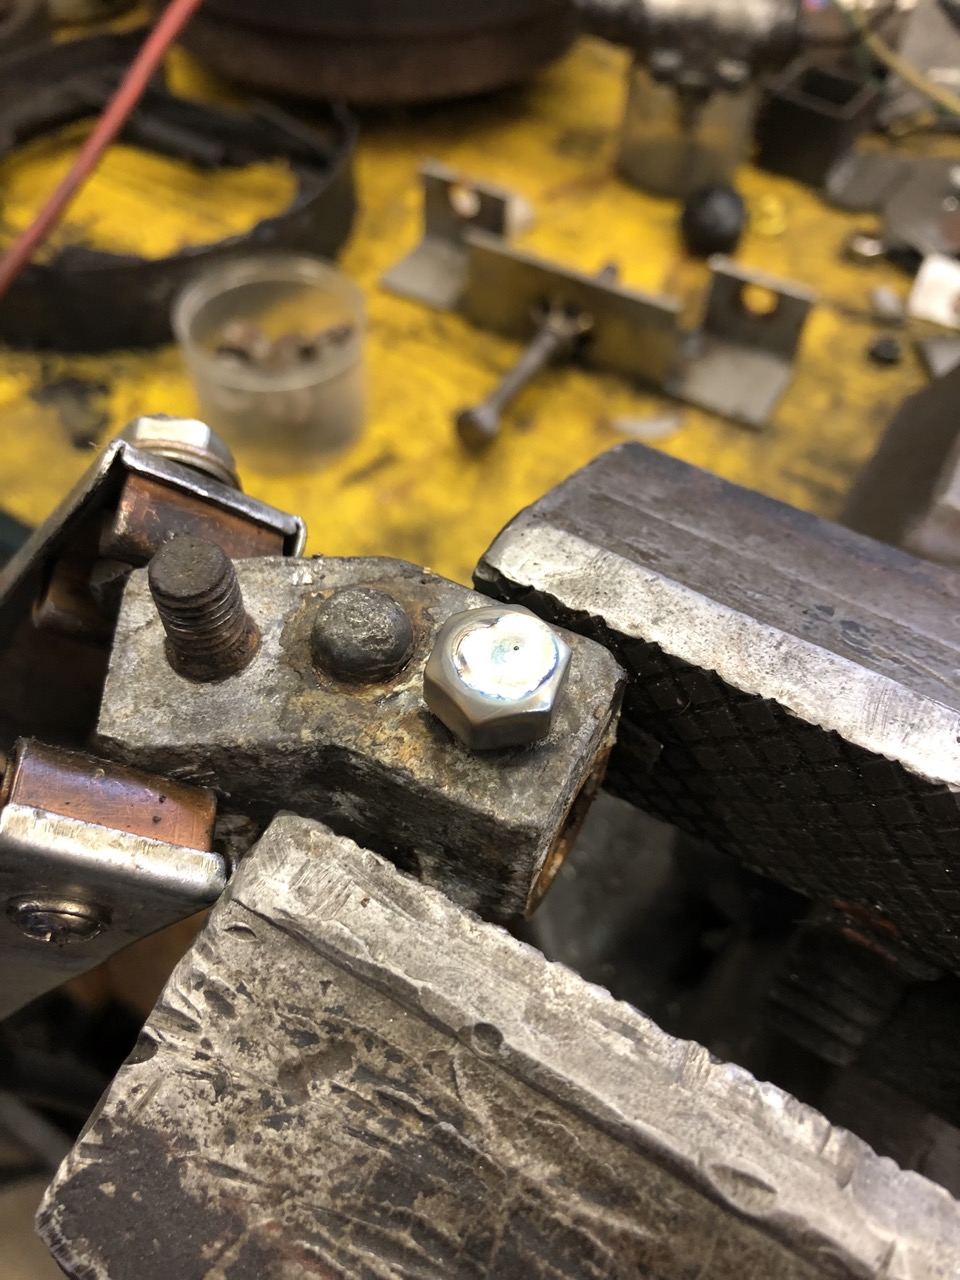
As the two M8 nuts reveal, it is the very first version with manual adjustment
of the brake shoes and 56mm brake cylinders. Luckily this is the same version
as can still be found in the Indian Army Maruti Gypsy (not the Gypsy KING as
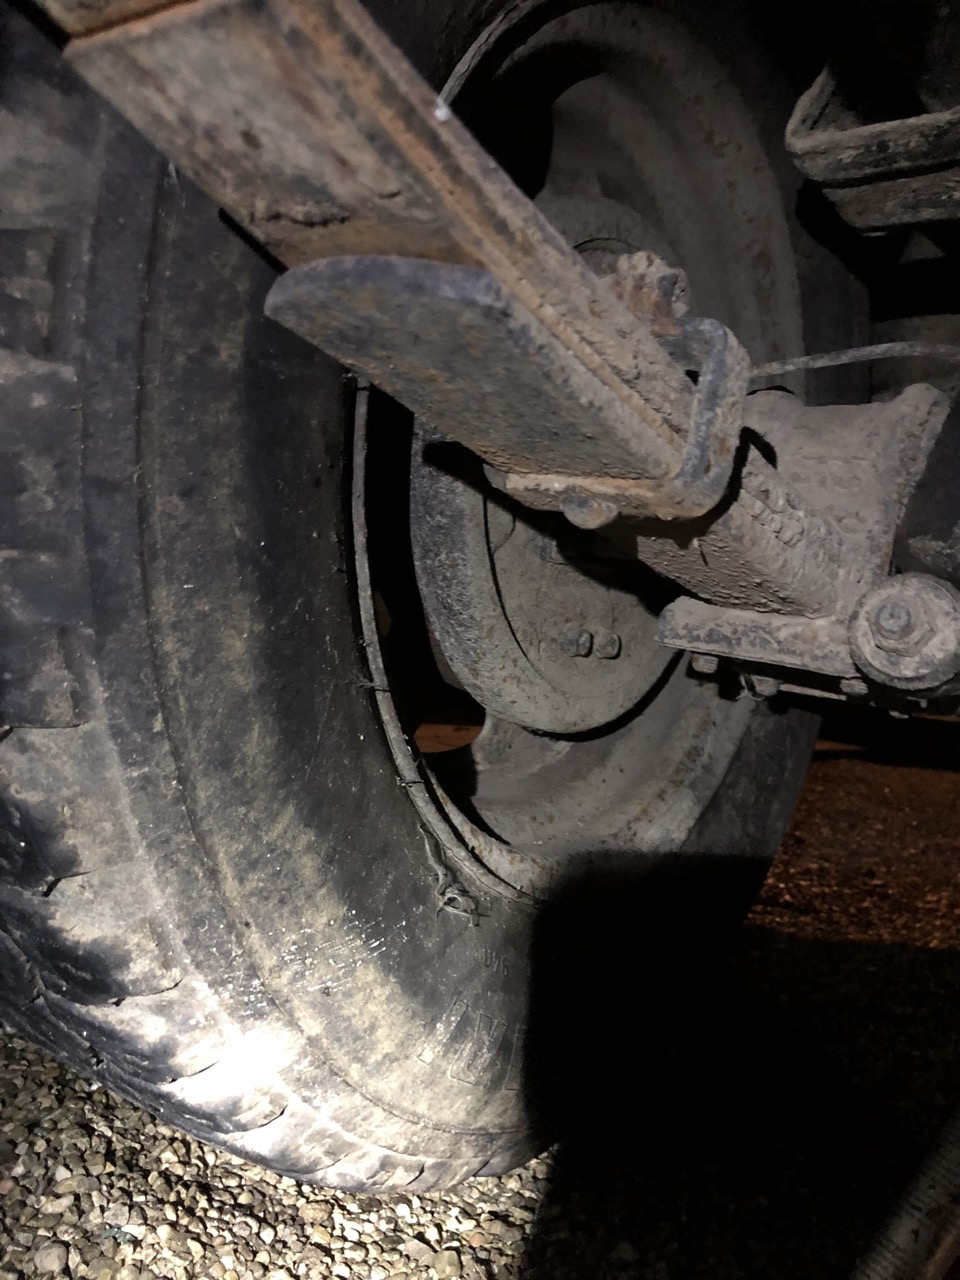
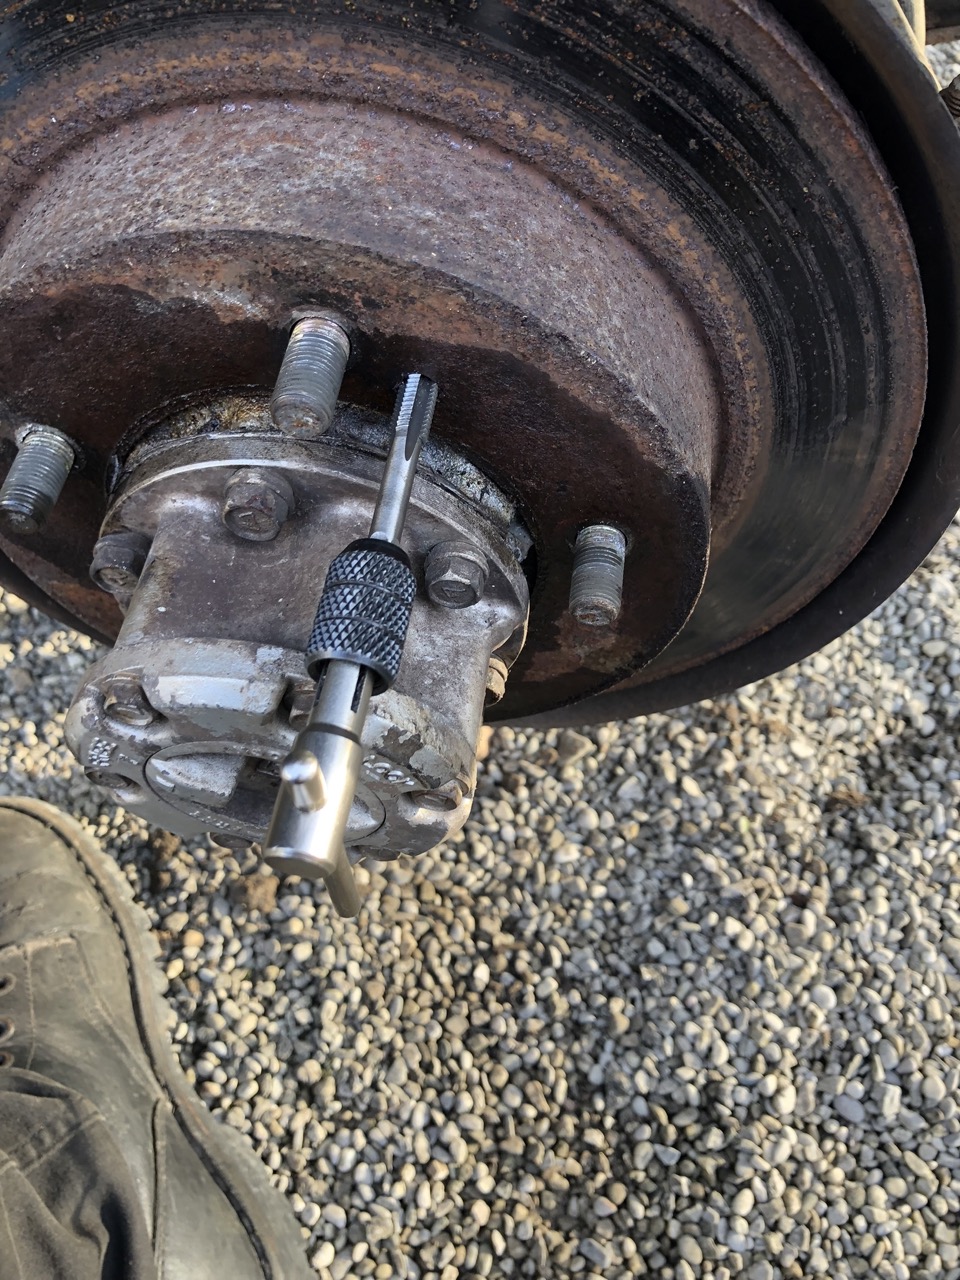
that's 1.3L or SJ413 based). Regardless of which, in order to get the drums
off, unlike on the Lada, a puller has to be fabricated, which pushes against
the axle. (And no the althread is not bent, but that was due to some weird
lens angle / lens distortion.)

Inside the drum, everything looked a bit crusty, but quite alright and nothing
obviously mangled. (The adjusters were obviously seized, but nothing a bit of
penetrating oil couldn't solve.)


So on the left side it was quite literally just a new wheel cylidner, copious amounts of anti-seize on the adjuster, new pads and hardware and call it good enough.
But then again, the left side was the easy side, because even though the wheel didn't brake, it also didn't lock up. The right side on the other hand...

Didn't quite look that bad after removing what was left of the pads.
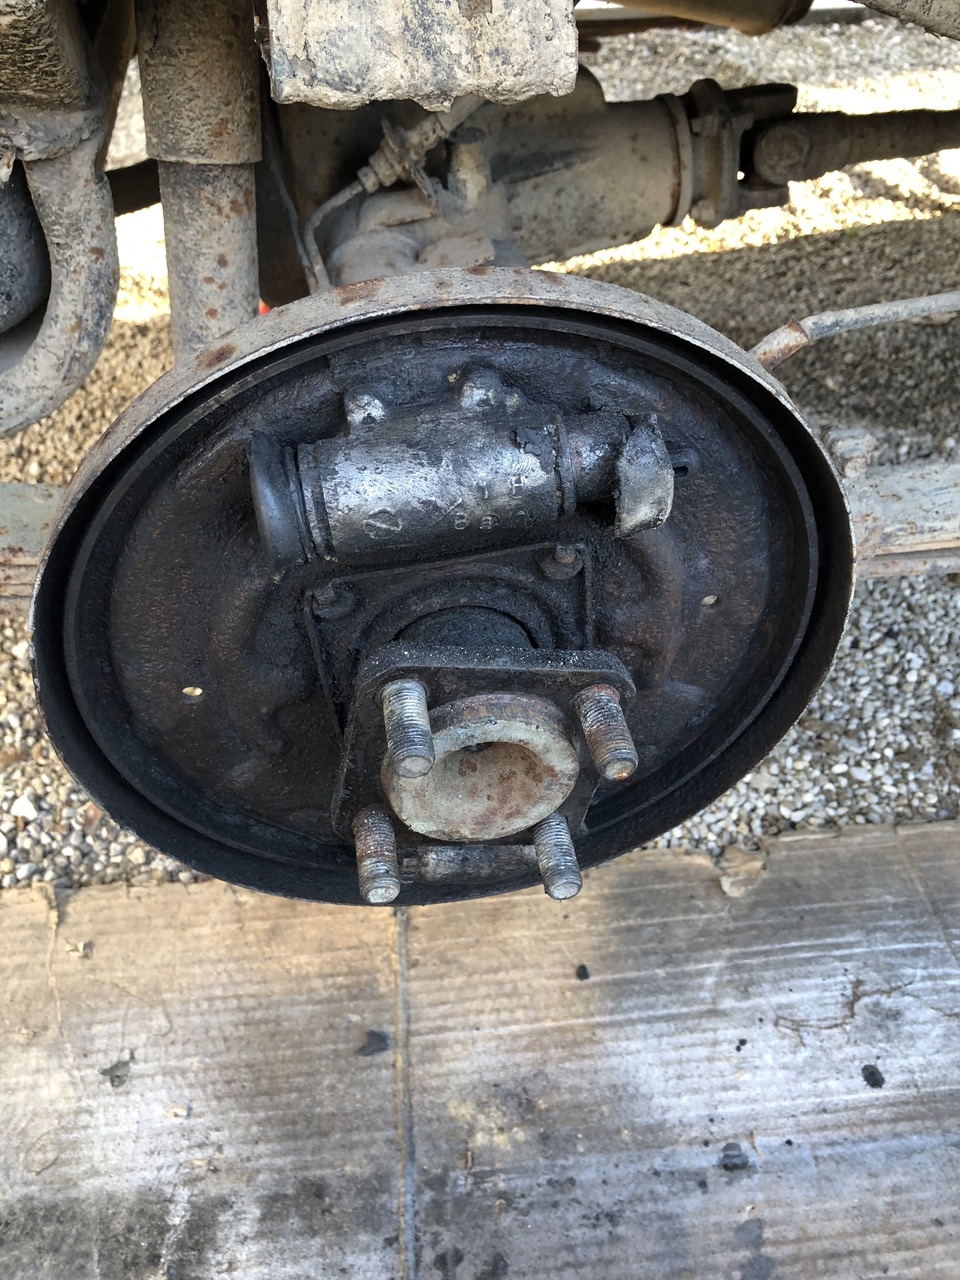
In order to get the old wheel cylinder out the brake line had to be cut as on the right both brake line nuts are staggered on top of each other with not even remotely enough room to open them with proper tool without rounding them off...

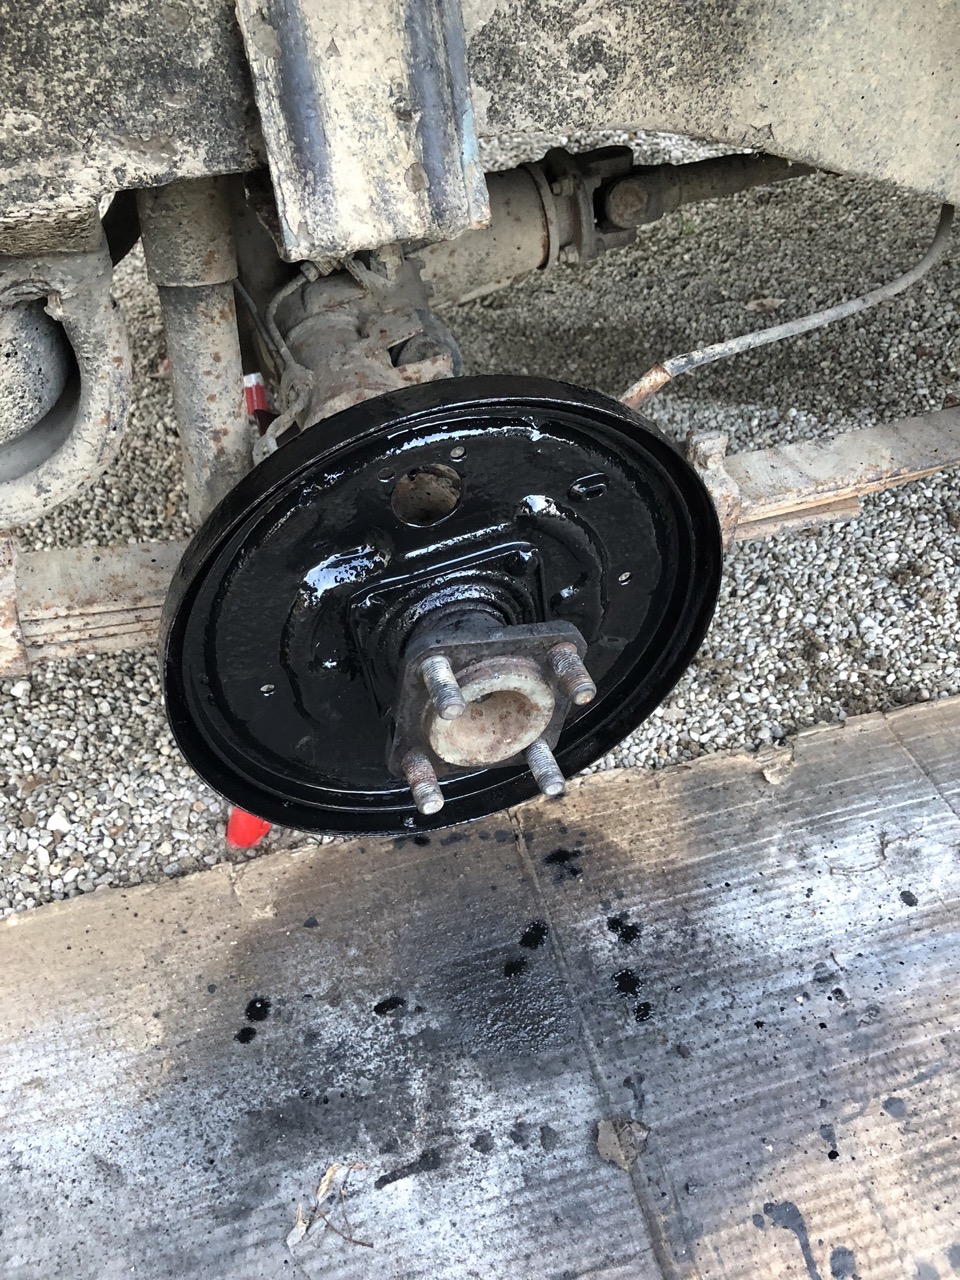
Just like on the left, after brushing the loose rust off, two coatings with
hammerite should keep rust at bay for a few more years and also hopefully
impress the mechanic, who will have to do the inspection.
Unfortunately the nut on the brake line wasn't the only one that put up a good
fight. One of the M8 bolts of the wear adjuster snapped when undoing the nut.
To me huge surprise, these are actually cast in, so the usual trick with
welding a nut on the stud didn't work at all.
So drilling it out and then attempting to remove the remnants with an EZ-out,
was my next step. Surprisingly without braking the tool as I found out a the
right time that it was cast in.

Suited me just fine, drilled 6.5mm and tapped to M8 and with a bit of
M8-allthread it was just as good as stock.

... how much anti-seize is enough? Yes.

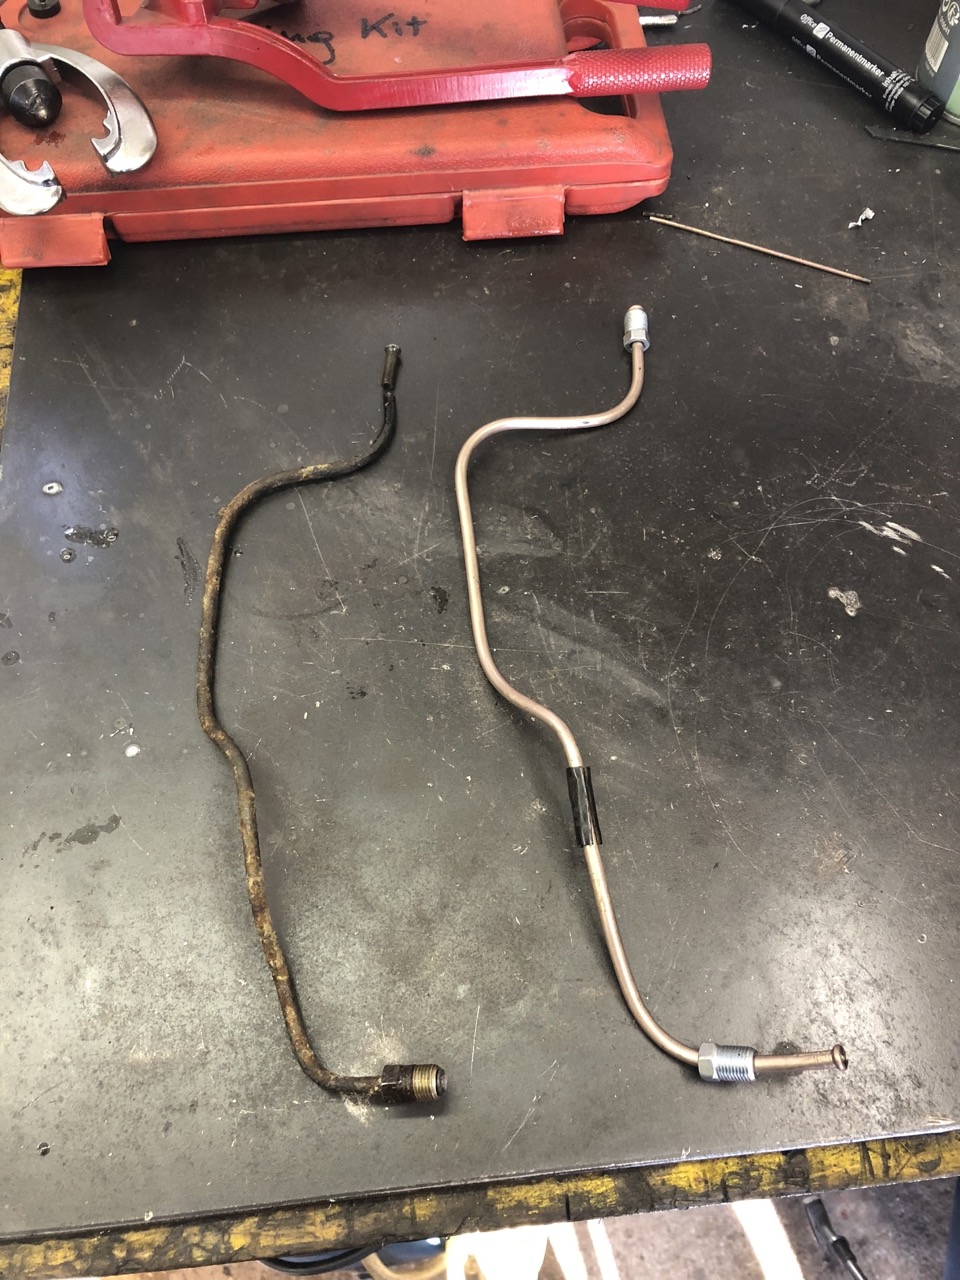
This left me with making two new hard brake lines from scratch. New brake lines are made from CuNiFeR, a copper nickel steel alloy, which is actually TÜV approved. About twice as expensive as steel, but rust proof and much easier to work with.
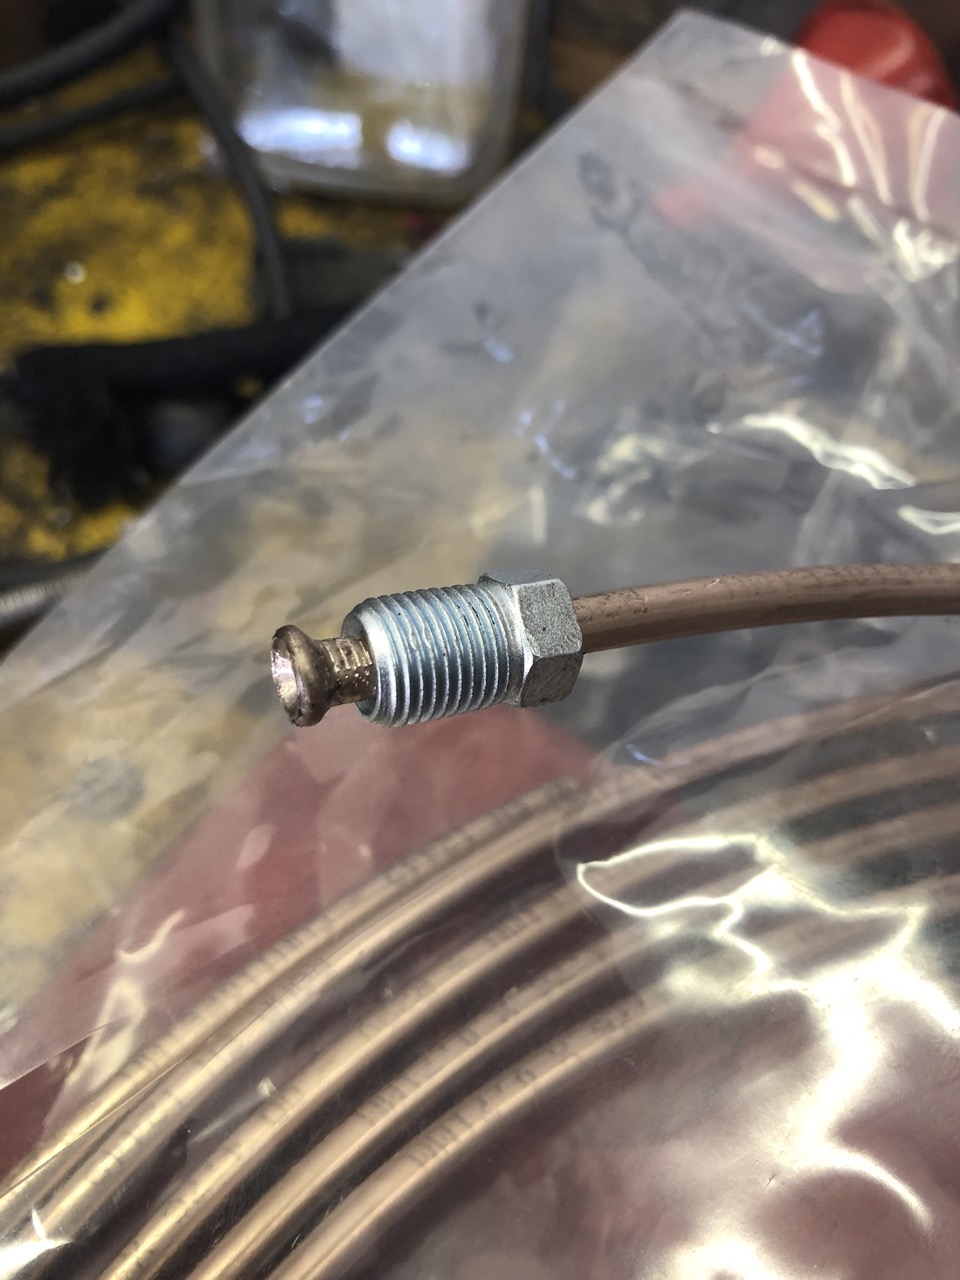
As should be obvious: absolutely doable with even the cheapest brake line
flaring tool with absolutely no drama whatsoever.

Might be a bit hard to tell 😏, but the new line is on the right.
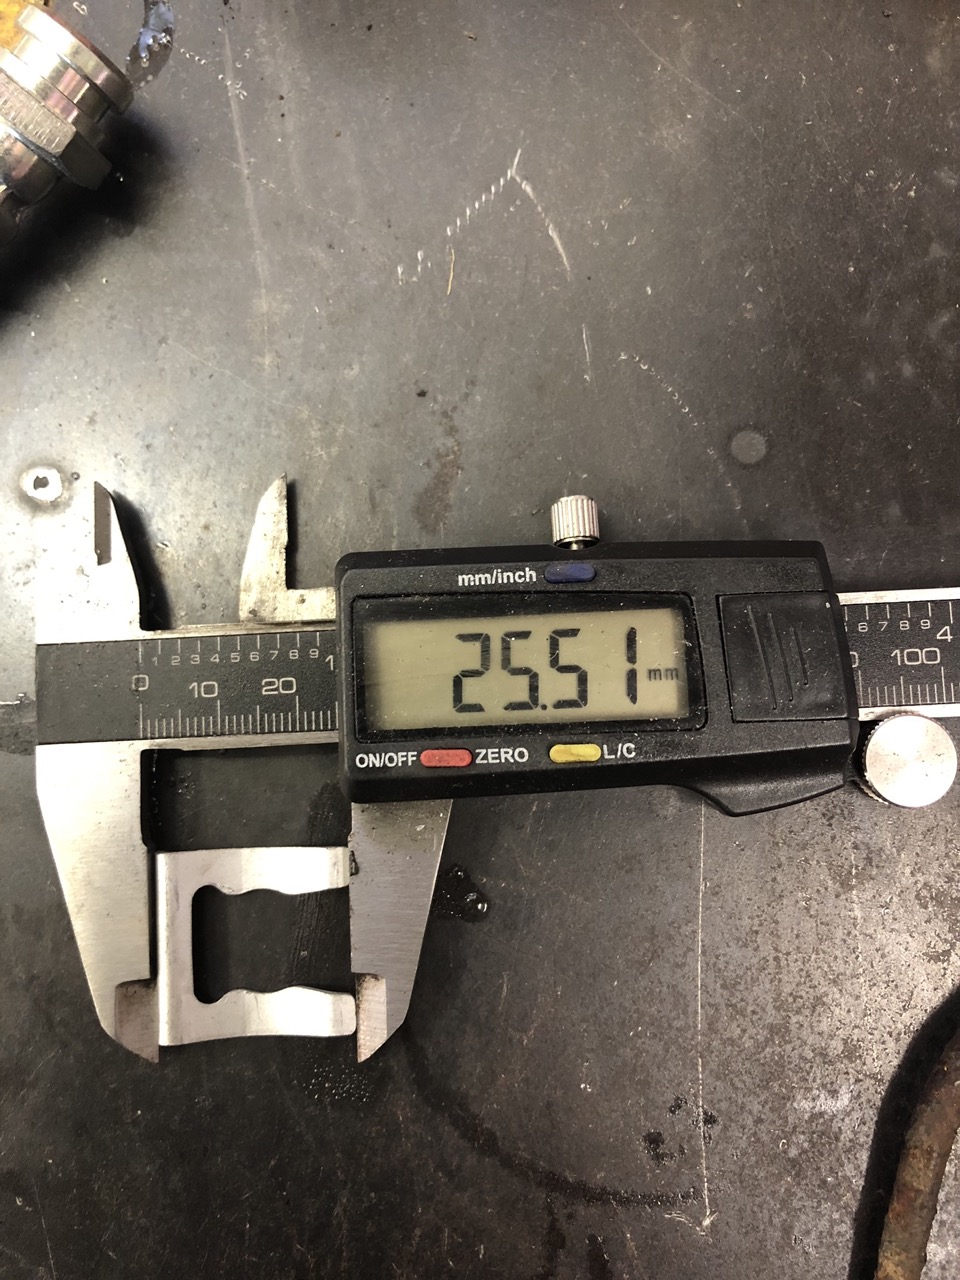
Even though the Maruti Gypsy is a very faithful continuation of the SJ410, when it comes to brake lines, somewhere in the last 38 or 39 years, it went from rubber lines with a locknut to a more modern clip style for retention. As it turns out, these are exactly the same clips as can be found for example on a Volkswagen Golf II (Rabbit for you Americans) and as such is a standard 25x13 clip. (In other words no need to buy the expensive clips from Suzuki dealers.)

Which at this point meant, I could run one brake line across the axle and the other one to the flexible line coming down from the chassis and install the new wheel cylinder.

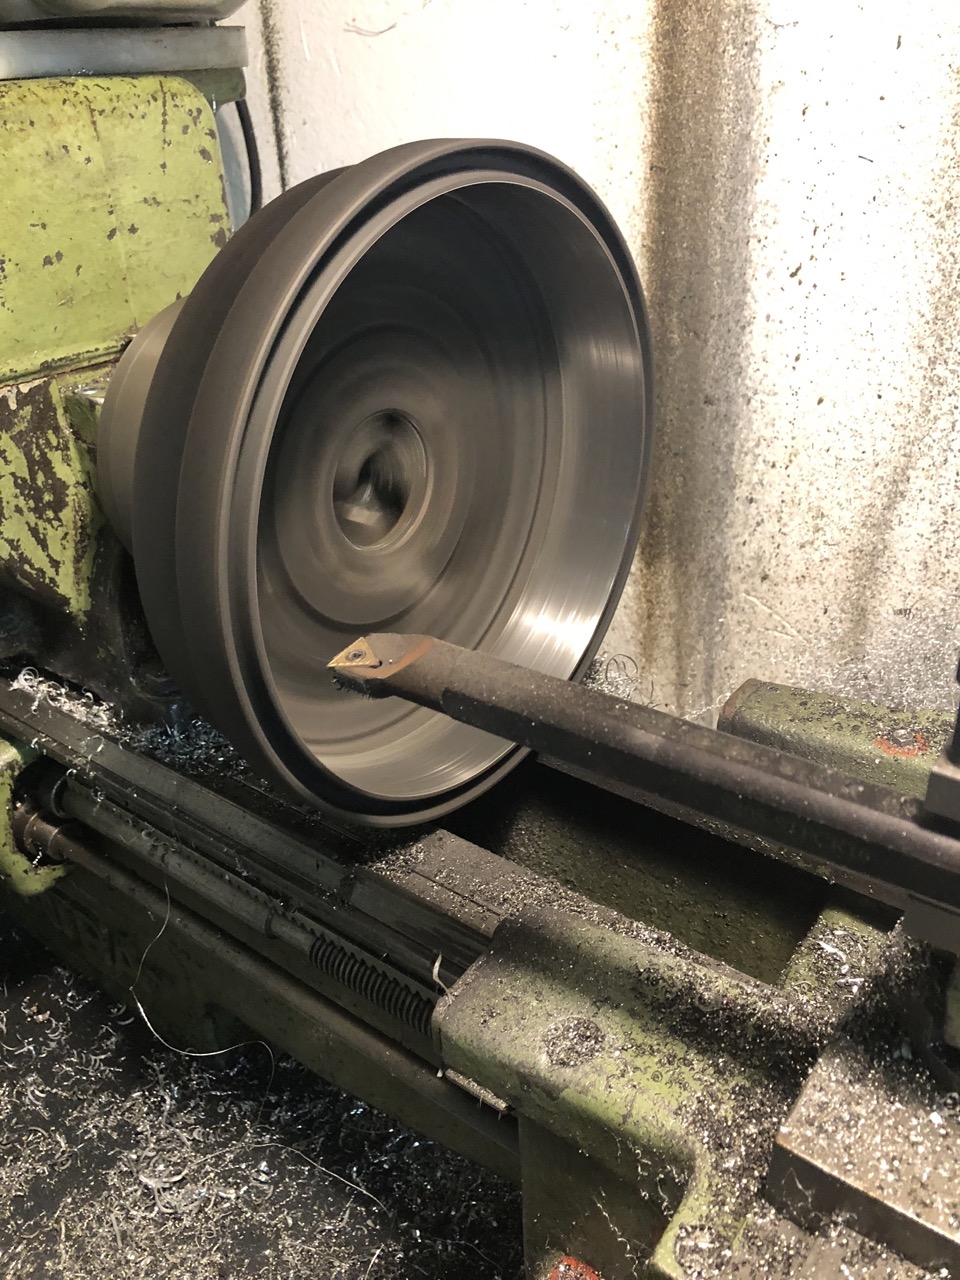
And then finally fill the other drum up with "goodness".

Only thing that was a bit of a let down (again - all of this was quite the roller coaster): The right drum was well and truly scarred on the inside and those new long-life pads? Well the long-life didn't refer to the compound, but the fact that there was substantially more meat on them...
Quick test-fit without wheel studs.

Which are M12x1.25 and when they are out, it is sort of the best moment possible run a die down that thread to make bolting on those wheels a lot easier in the future.

The studs are just a simple press fit, so nothing a hammer and a bit of dedication won't be able to fix.


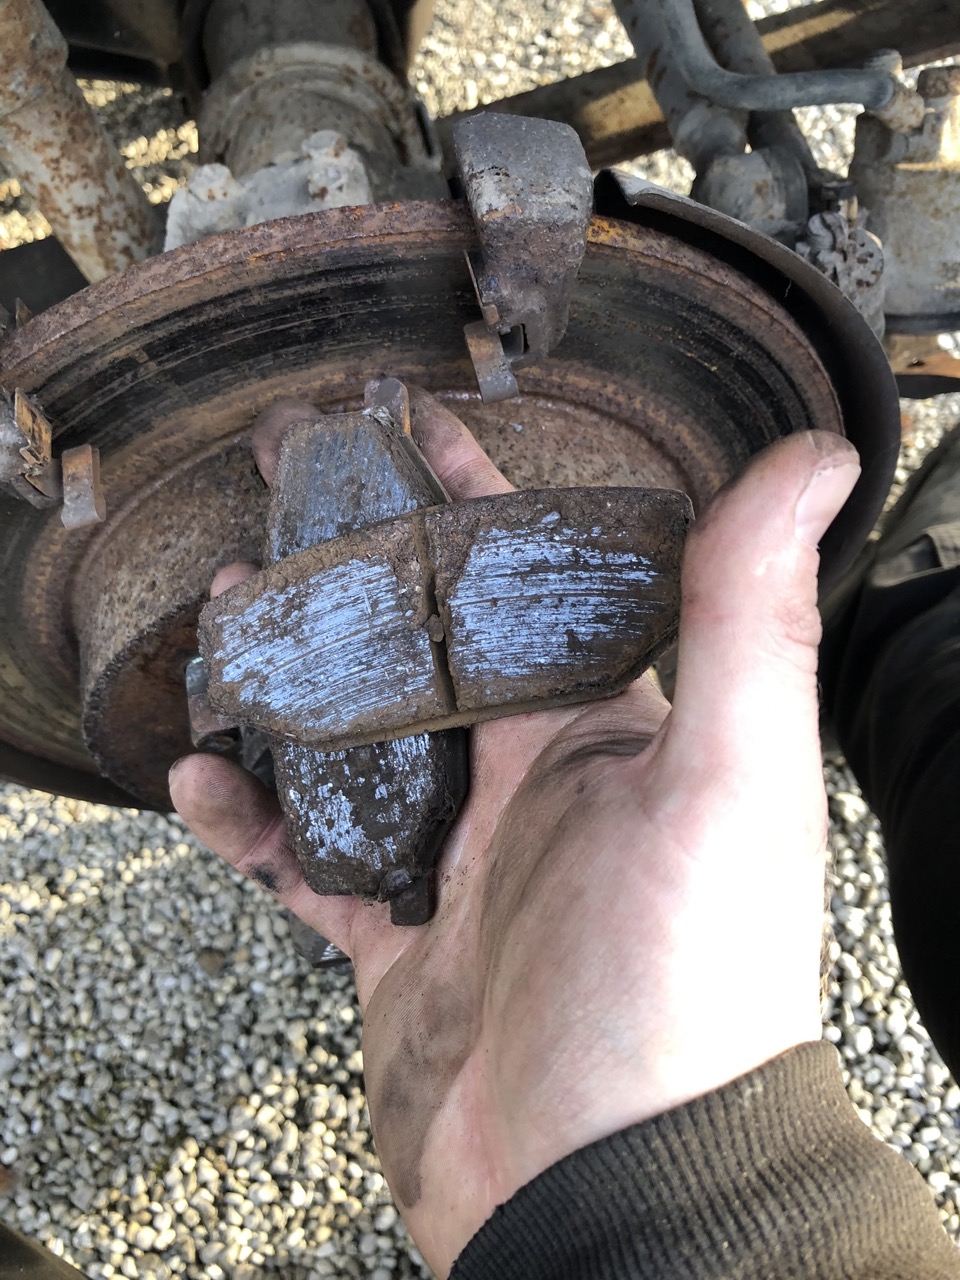
Even though I have to admit, this level of brake pad destruction is new to me.
Two very convenient M8 threads to push the disks off the hubs - even though they need a quick clean up.


No comments:
Post a Comment