At some point in its life, the old Rhino lathe must have had some first hand experience with waterboarding. Either that or it's been parked in a leaky shed, as that's the only way to explain some of the water damage.
Some distinct features showed that somebody must have really liked the lathe, like the fact that all the bolts holding the lathe chuck onto the backplate at some point have been oiled prior installation. Additionally it has to be noted that we're talking about a 200mm (8") chuck and this thing is HEAVY.
First step was to mark chuck and backplate to be able to put it back together the way it was, because the runout was really good.
While spinning over the mainshaft, looking for old marks on the chuck and backplate, I found two small cuts in one of the pulleys to align them when disengaging backgear. A bit of white paint should make them considerably easier to find in the future.
The hardest part really was to carry the chuck over to my workbench.
The chuck splits into a front and back section and even though everything was rust-free inside the grease had gone completely hard, which caused the chuck to be rather sticky.
A generous amount of molybdenum grease on the ring gear and the running surfaces made the chuck feel a lot nicer to use.
I admit this last step was "pure vanity", but I then took about two hours to clean off the rust from the chuck. Not sure if it paid off, but it certainly looks nicer than what I started out with.
And here comes a little pledge, as unlikely as it sounds, I am missing one of the external jaws and maybe somebody has got a set kicking about that he or she doesn't need, in the dimensions as shown in the pictures below. This would be really awesome!
I might also be interested in a complete 200mm Emco chuck if it comes with the correct external jaws.
In short, problem solving takes time and trying to cram as much stuff as possible into the V of a V-twin and then put a big fuel tank on top of it isn't really going to make things a lot easier.
And here's the problem: Literally everything is fighting for the same bit of space between the cylinders.
A cunning plan had to be formed. As cunning as a tube being cut into pie-like-slices and then welded into a three-dimensional double s. (As you might notice due to the different lighting: several hours have passed between the previous and the subsequent pictures...)
I always said that I won't do hipster-pie-cuts, as this isn't going to be a show-pony of sorts. Unfortunately (and that says a lot) this was the EASIEST way to solve the space issue.
Next step, you quickly make a hole for the third tube and ... THAT is why you buy quality holesaws. (I thought it would be easier to start off with a fresh holesaw instead of one of my old and dull saws...)
After a bit of tweaking that bit of tube fitted...
... and this is the result.
Next mandatory step will be to clock the turbo, but the cast section appears to be well fused together, so that could become a bit of a challenge in its own right. Once that is done a connector to the turbo can be devised and everything linked up. Unfortunately I think the first snow of the season will be here quicker than I can get all those issues solved...
Even though the sidecar had been running great since I swapped out the alternator and did a little bit of fine-tuning on the carbs, the old girl was by no means ready for Winter. (And she isn't now either...)
Step one, the front mudguard has worked itself loose again, not exclusively down to me using way too thin washers and them getting bent into funny shapes as the front forks on a sidecar are quite heavily loaded when cornering. (There's a reason, why I am still running this rather substantial steel front mudguard as it doubles as a fork brace!)
The new washers are both bigger in diameter and about twice the thickness, so they should not get bent out of the way again.
Step two was to swap out the tach, for one with a high-beam warning light, as that's mandatory overhere to pass the annual safety inspection. But first, as it was very cheap, hook it up and try it out.
Then add a second hole for the instrument light. No idea which model this one was off, not an XS850, I think as the redline on those would have been 8500rpm.
Step three (a.k.a. the vanity fix), I had an old XT or SR one piece steering stem bolt instead of the original two piece item. Not entirely sure, why I wanted to do that swap, but the original one bugged me. And honestly: that's a good enough reason for me to do it.
And lastly (thanks mum in law): Handlebar-muffs. I am pretty sure, I somewhere own a set of good Winter-motorcycle-gloves, but I haven't used them in ages. They look a bit odd, but my fingers stay warm (and dry), so that's good enough in my book.
Oh and thanks to all wishing me a speedy man-flu-recovery... couldn't sit at home anymore, so that's got to be a good sign. The only big things missing for Winter usage: 1) fit a new rear tyre as the current one is bald and 2) spray the whole bike with anti-corrosion wax/spray/oil to protect it from the salt.
Hardware has got the unpleasant habit of failing. Even more so, if we're talking about rather old hand-me-down laptops. Recently my trusty (and by my standards) almost new T60 thinkpad, decided it wouldn't want to boot anymore. I fixed it later on, but this made me think about setting up another old laptop for workshop use and made me rethink using virtual box for running a simple, single application. So I decided to give WINE a shot as the "new" laptop in question is an Asus eeePC 1005p, named minimus. It's not exactly a powerhouse with an Atom N450 and 2GB fo RAM, but it sports a very small form factor, which fits rather easily into my backpack and a battery that will actually last about 5hrs in a realistic usage scenario.
In order to get going, there's two things we'll need:
the windows executables from the Ignitech website (can be found under downloads)
a wine install
Depending on which bike and as such which ignition box you install the software for, you have to download the correct executable. For my dad's CX500 with a CDI-ignition, it would DCCDI-P2, in the case of my old TR1s, we're talking about TCI-p4.
As I am running LUbuntu on this laptop, installing wine is a simple case of running apt-get install wine-stable or if you're more graphically inclined, simply use one of the many graphical package managers.
I suppose some of the more modern and elegant window managers will allow you to link a certain file-type with a program more easily, but in OpenBox this works by right-click, choosing "open-with" and then "custom command line", in which you enter "wine %f", the lower box should be filled out as well, e.g. "wine" or the link will not be permanent.
The thing that got me in the past was the fact, that I simply couldn't get my laptop to talk over the serial connection with the ignition box. This was down to my user not being member of the usergroup dialout and thus not being able to access the serial devices.
The next stop, unless you're running a serial cable on your laptop directly, is to access your $home/.wine/dosdevices directory and create a symbolic link from one of the (higher) COM-ports to the correct USB-serial device. Plug in your USB to serial cable and run lsusb in a terminal. If that's the only USB-device you use it should show up as USB0. Then replace the symbolic link com30 pointing to /dev/ttyS30 with one point to /dev/ttyUSB0.
It turns out, while the above is certainly possible, there's a more elegant way introduced after upgrading to wine 3.0 (and above). If you run "wine regedit" and then create a new string under HKEY_LOCAL_MACHINE\Software\Wine\Ports and link it to the correct USB-device, e.g. USB0, this works fine even after reboots or upgrades.
I chose COM30, because it's easy to remember in ignitech (highest port) and because I sometimes use traditional nullmodem- and serial cables as well and don't want my USB-port mapped on COM1.
Fire up your ignitech software and it will just work and find your bike on COM30. Admittedly, I am not entirely sure how you would do the same on a Mac running OS X, mainly because I am not sure if the serial USB device would be named in the same fashion or some weird BSD-way. If you just came here to find a simple way how to run Ignitech on Linux, follow the steps above and you should be fine.
Addendum: I altered the config to point COM1 to /dev/ttyUSB0 as that made it a lot quicker to find the TCI.
And there you have it: Connecting to the ignition like an absolute boss and no more overhead with a full blown Windows XP or Win7 install.
Oh and there's a little outlook for you: also working on a native OS X application.
But that one still needs a bit of the old tweaking here and there to work and be "a tad" more lightweight as currently it weighs in at a healthy 590MB.
German, the language that turns beautiful words like "Farfalla" into "S-C-H-M-E-T-T-E-R-L-I-N-G" (literally, little crushy thing), but also provides words like Zeitgeist and Gestaltungsanlass. Now the latter is when due to an external input you are forced to redesign something (superficial).
So in short, as the angle of the dangle wasn't up to spec...
I had to re-angle the numberplate to be more upright.
Now in all honesty this looks absolutely horrible. So a better solution had to be found and it came in form of a lovely Guzzi Falcone taillight and holder. But first a few holes had to be filled.
A bit of old copper plate as a backing does the job nicely.
Some grinder action and lots of paint later and the fix becomes invisible to the casual observer.
I like the look of that old Guzzi taillight...
I admit the solution with pipe-clamps and thick rubber hose might be absolute overkill, but in all fairness, this is my daily...
Additionally there was a slight whine coming from the front cylinder (I am fully aware, that the pictures show the rear one, but lighting isn't what it used to be in my workshop and opening the door means letting the cold in – no good fun), turns out the bolt, which is clamping the bearing (in stock form just a bushing) wasn't as tight as the rear one, which then reminded me of some trouble I had getting the bearing all the way in as the bearing seat was a wee bit tight.
As I am using a different breather arrangement than stock, I also got rid of the splash guard on the camshaft sprocket. Let's see if I regret that decision shortly, but as I have a very steep breather-tube, I think this should be ok. Additionally it makes finding TDC on the camshaft easier.
The verdict is still out on these last two mods, but if that was it, that would shorten the task list rather nicely on the Everyday TR1 – basically only consisting of a new tach and speedo (with better lighting) and a respray of the fuel tank with some proper 2-pack-paint.
To be fair, the last time I worked on the old girl was approx. 4 months ago. Then I was left stranded twice with an empty battery, which led me to investigate into the cause of that mishap. Turns out, it wasn't the reg/rec-unit (well, now I have a spare), but actually the alternator being fried.
Contrary to my fears, it was actually dead simple to get a new alternator. Removing the old one was not. But if it would have been, that wouldn't have made such a nice post, would it? 😏
As per the norm, the sidecar had to come off, in order to make access to the alternator easier.
Unlike on my other bikes, the alternator is not oil-cooled, so it should have been just a quick job of taking the cover off and that'll be it – I thought.
Unfortunately some numpty (me) had routed the alternator cables through what seemed like a suitable groove in the back of the engine cases. This meant that now the engine had to be lifted as I couldn't pull the cables with the plugs through.
Well, greasing various bolts and axles will save me from a lot of hassle at some other date, right?
From that point on the whole exercise was fairly straightforward and just meant replacing the alternator and then rerouting the cables correctly and greasing up the connectors.
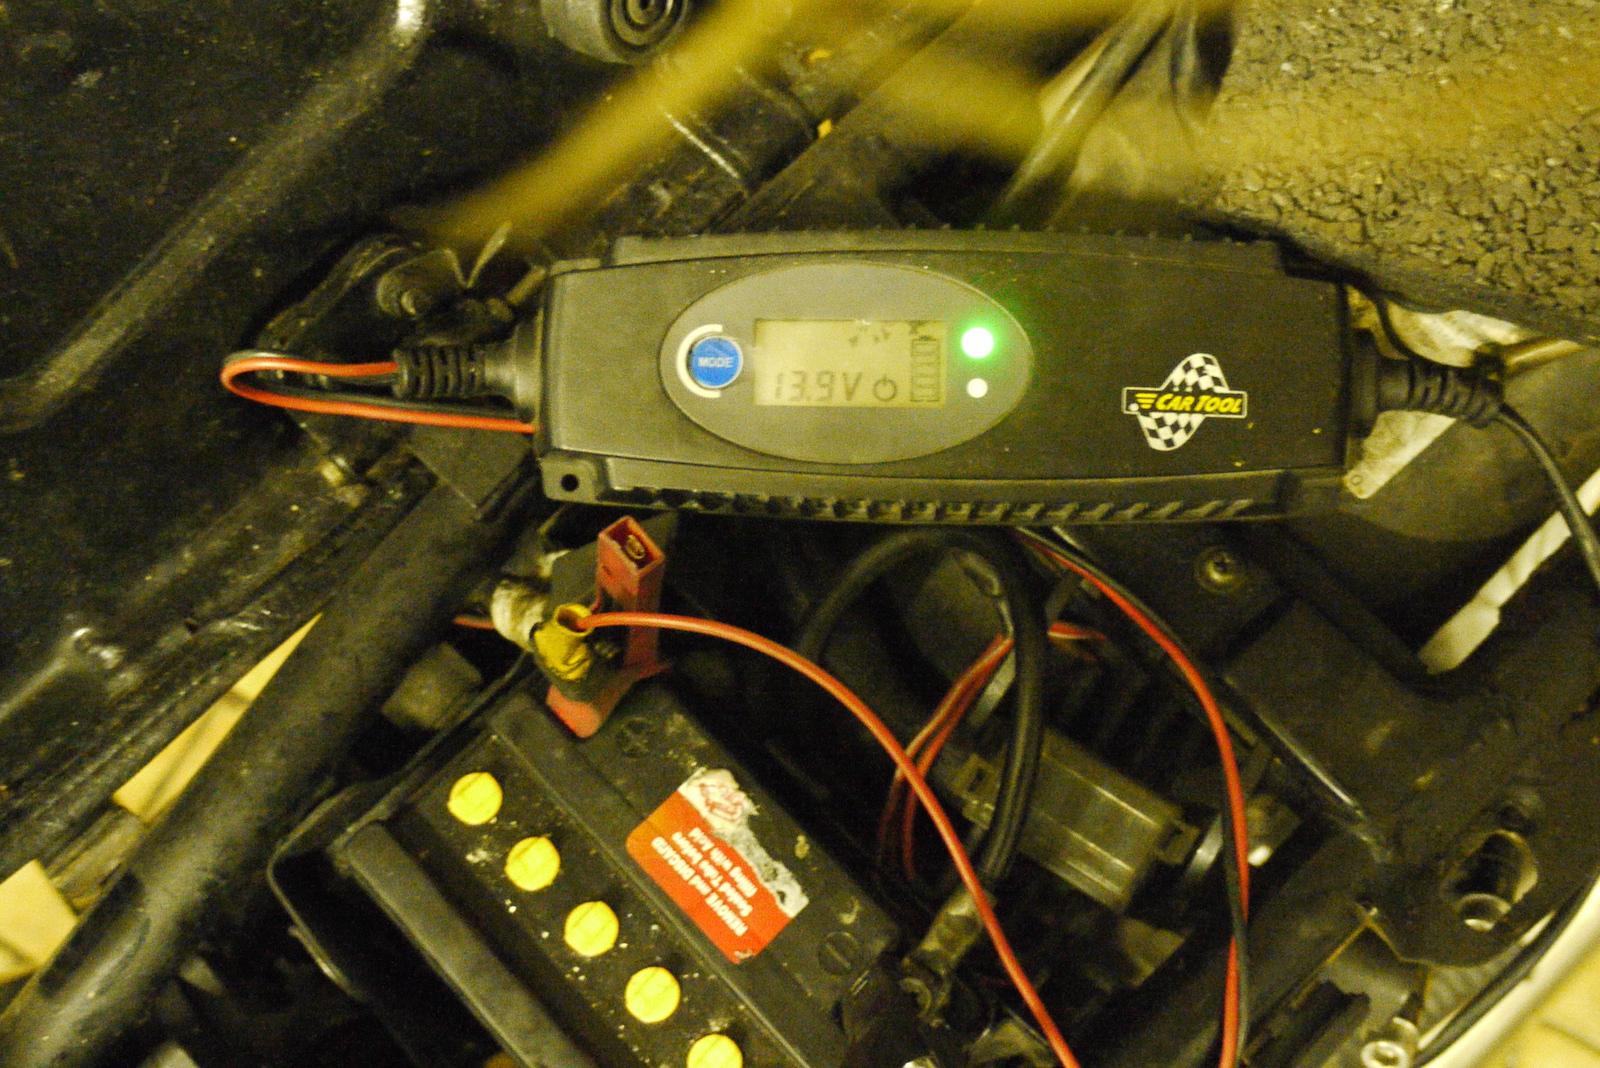
And charging again: almost 14V at a bit over idle and stops nicely at 14.4V. On top of that, I was finally able to put my new toy (a clamp-on multimeter) to use. At mid rpm, the alternator pushes out around 6A, at max. rpm almost 10A. Sort of explains, why the old battery gassed out every now and then.
Ka-Boom. Looks cool, eh? Trust me the neighbours love me. 😅 Unfortunately this was the first indicator of one of the coils packing in. Luckily about two years ago, some guy in Vienna parted out his XS850 and so along with an engine, I also bought various bits that I thought might come in handy down the line, e.g. coils, a spare CDI and various other this 'n' that's.
As I needed some time to work this niggle out, I turned my attention to another one of those problem areas. For some odd reason, the rear brake shaft tends to seize in the frame of those old XS-Triples. Mine was no exception and as such the only sensible solution was to fit a grease nipple. And as you can see in the picture below, even though I re-greased the shaft about a year ago and I was rather generous, mind you, it didn't prevent the build-up of rust.
Now the stock green tach and speedo are dead cool, but unfortunately at least on my old girl, the speedo had decided to call it a day and get stuck at the highest speed driven and then come back down to zero very, very slowly over the next few minutes. (Gives the phrase: "Looks fast, when parked" a completely new meaning...)
As I am not made from money, I didn't have a genuine XS850 speedo, but only an old XS400 unit from the old RatRacer XS400. Though this only had a provision for a single bulb to back-light it. So a second 13mmwas necessary. Now, if you're good at maths you'll notice, that there are actually three bulb-sized holes in the back. Let's just say I found out, that the hole on the left is cool 'n' all, but it's somewhat less likely that I do 200kph than the other end of the spectrum of the range.
So I had found' out about the dead coil and the bike fired up again, but based on my experiences with the 38mm flatslides and the fact that the old girl was running dead lean at low rpm, switched to running dead rich at mid range only to fall on its face again at max. rpm, I decided to take the air-jets (1.0mm) out and give the bike a test-run without them.
Whoops. The bike was a bit hard to start, but then rev'ed like mad and well... ran a tad lean. By now the pilots have been increased by 12.5 points, mains by 20 and the needle raised 1.5 notches (it uses a funky system of notches and shims to fine-tune the needle) and we're starting to get somewhere.
Give it another two-and-a-half hours, even larger pilots and mains (#40, #138, needle on the middle setting (no shims), mixture 3 turns out) and a bit more ignition advance and all of a sudden the old girl finally runs and idles like it should.
And lastly while cleaning up the workshop I found some old breather hose I had originally bought for the Everyday TR1 and which was *just* long enough to relocate the breather to a spot where riding in bad weather will not allow water to get into the engine via the breather.
A bit more tweaking might be necessary on the carbs, but now we're definitely getting somewhere and for the first time, since I've had the flatslides on, it will start just fine when hot.