Showing posts with label TR1. Show all posts

Friday, 26 June 2020

Everyday TR1 - more ignition and electrickery

One of the first questions I asked myself with regards to using a Gen2 ignition box was, whether the advance curves would be identical (and whether the thing would actually work, but sometimes you just gotta stay positive.

Now I deliberately left the cables a bit long for the box, to be able to move the box around as I like, but the position under the seat didn't make me very happy as I noticed that the seat was pressing on the top of the box.

Take out some ally sheet (totally not an old street sign), trace a stock ignition box and this will ultimately form the new baseplate for the ignition box to go under the tank. 


... and then the box basically does what you expect from it:


Except it doesn't start quite so well. After a bit of probing with the wideband it became rather apparent that the curves are different: It uses less ignition advance down low (good, because I had some detonation issues, when opening the throttle on a REALLY hot engine) and quite a bit more on the top. (Also good, because I know this engine still leaves some on the table, as its top speed is lower than the old worn out engine with an Ignitech installed!) Both of which would require quite a bit of rejetting to get it to work (same as I observed when going from the stock box to Ignitech many, many years ago) and my car not being usable, the standard box went back in, because it fires up instantly and works well (enough) for a daily at the moment.

The other two thing that needed tackling, where that the silicone sleeve on one of the three wires coming out of the alternator had split and the second, ever since I put on this Guzzi-tail-light I had problems with a flickering (and regularly failing) light.


Once and for all fix: drilled a small hole through each brass contact strip and soldered it directly onto the bulb. Job done - sometimes you do actually have to solve electrical issues with the big hammer. 


I am currently a bit hesitant to make major changes to my TR1, but I have received my new Ignitech and I will at least make a new mounting plate and prepare everything so it can go in and I will probably also go ahead and re-adjust the carbs to work with the Gen2 box at some point, so I can swap over to that as the actually IC-based timing calculation is a notable step forward compared to the analogue setup of the tinbox TCI that was installed stock.

Friday, 19 June 2020

XV Ignition Intermission - Plastic box ignition on TR1 (pt. 5)

This week there finally was some time to try to wire up a very late J4T00871 to my TR1. The somewhat anti-climactic result: works flawlessly and just like before with the stock metal box ignition.

In order to get the cable lengths right, I used a broken ignition box as a template


6-pin connector on the ignition box - as I didn't have all the right cable colours, yellow is my substitute for orange (rear cylinder).


The very left yellow cable on the loom-side is just t-ed from the other yellow and is how I drive my tachometer directly.


On the 4-pin plug the black wire should be brown.


And with this shot, you should be able to copy it, if you want.


They say the proof is in the pudding... well the old girl runs, but I haven't had time to have a testrun with the Gen2-box.


And then I tried out the original J4T00871 that "transaxle" sent me and yep, there's something amiss on the side of the rear cylinder.


So what's the point, as some know, by now my new Ignitech is already in the mail? Well, I wanted to see if it can be done and I will definitely do a testride to find out how well the old girl will go with this box.

Tuesday, 7 April 2020

Everyday TR1 - Project Bumblebee

... or the story of a poor little engine, which doesn't know that it isn't supposed to work.


The story starts with me being a bit unhappy about the engine, which I built lately. In essence, I've built the perfect race-engine, not much grunt down low, but oh-boy does it rev. (And make stupid power in the progress.) Unfortunately the specs said "everyday-engine" and it was rather bad at that compared to what I had before. So I inquired about combining the heavy crank with my BT/XVS/V-star rotating assembly and the universal answer was: don't. Prior to asking those questions, I had thrown some crude maths at it. (I will get into the intricacies of how and why this isn't very precise and you should do it differently in a subsequent post.) And worked out that the balance factor will go up, not realising that the new conrods have got lighter small-ends and that would limit the effects quite substantially.


From left to right: stock XV1100, XV1100 crank with light pistons and with the correct conrods as well. (The last calculation was done after I had the engine open and was able to extract crank and conrods.)

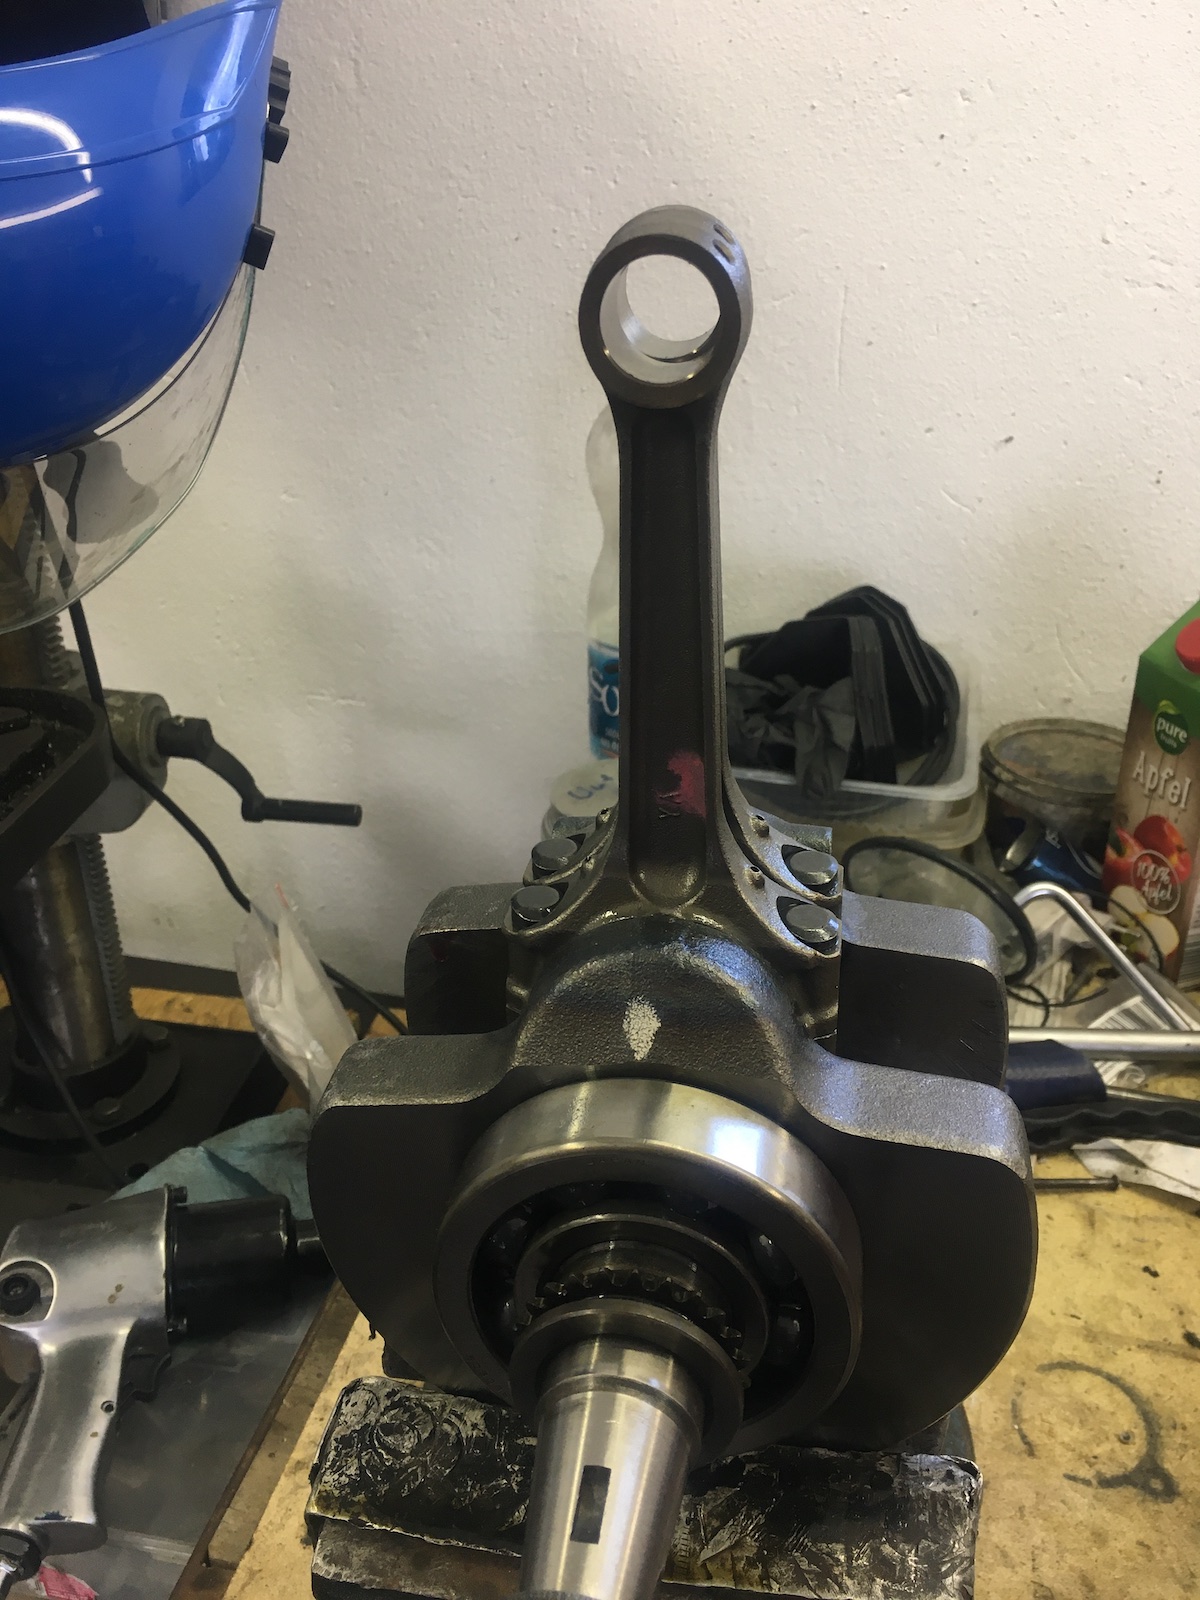
And with that being said, I went through my stash of XV1100 cranks, dug out the one that was in the engine before and cleaned and stripped it.


Then the current engine had to be freed from its confinement, not without marking the exhaust joints and the coil-plugs to be able to fit them together as they were before.


Pulling the engine apart revealed a nice surprise, the XV700 heads are working flawlessly with the tightened squishband as can be witnessed by the clean areas in the head where turbulence is happening.


And that's the case more or less stripped down to the crank and gearbox. 


A quick check of the clearances between crank and conrod revealed Yamaha hadn't changed their tolerance codes and I made a spot on landing in the middle of the tolerance field with 0.040mm clearance, when combining BT-conrods with a XV1100 crankshaft.


And there we have the unholy union, called bumblebee. Also my assembly lube is a bit stiff.


Then followed the usual steps of reassembling the engine:

Heating the case around the main bearing seat.


Pull the crank in.


Button everything up.


And then fill the case with all the bits.


Lube up the small-ends and fit the pistons.


On a slightly unhappy tone: If your gudgeon pin clips feel weird when fitting, recheck. Turns out my brand new clips obviously were annealed incorrectly and weren't springy at all.


Fit the cylinders and use rtv-silicone instead of the base gasket.


Lube up the cams, bolt the heads on ... you get the picture, right?


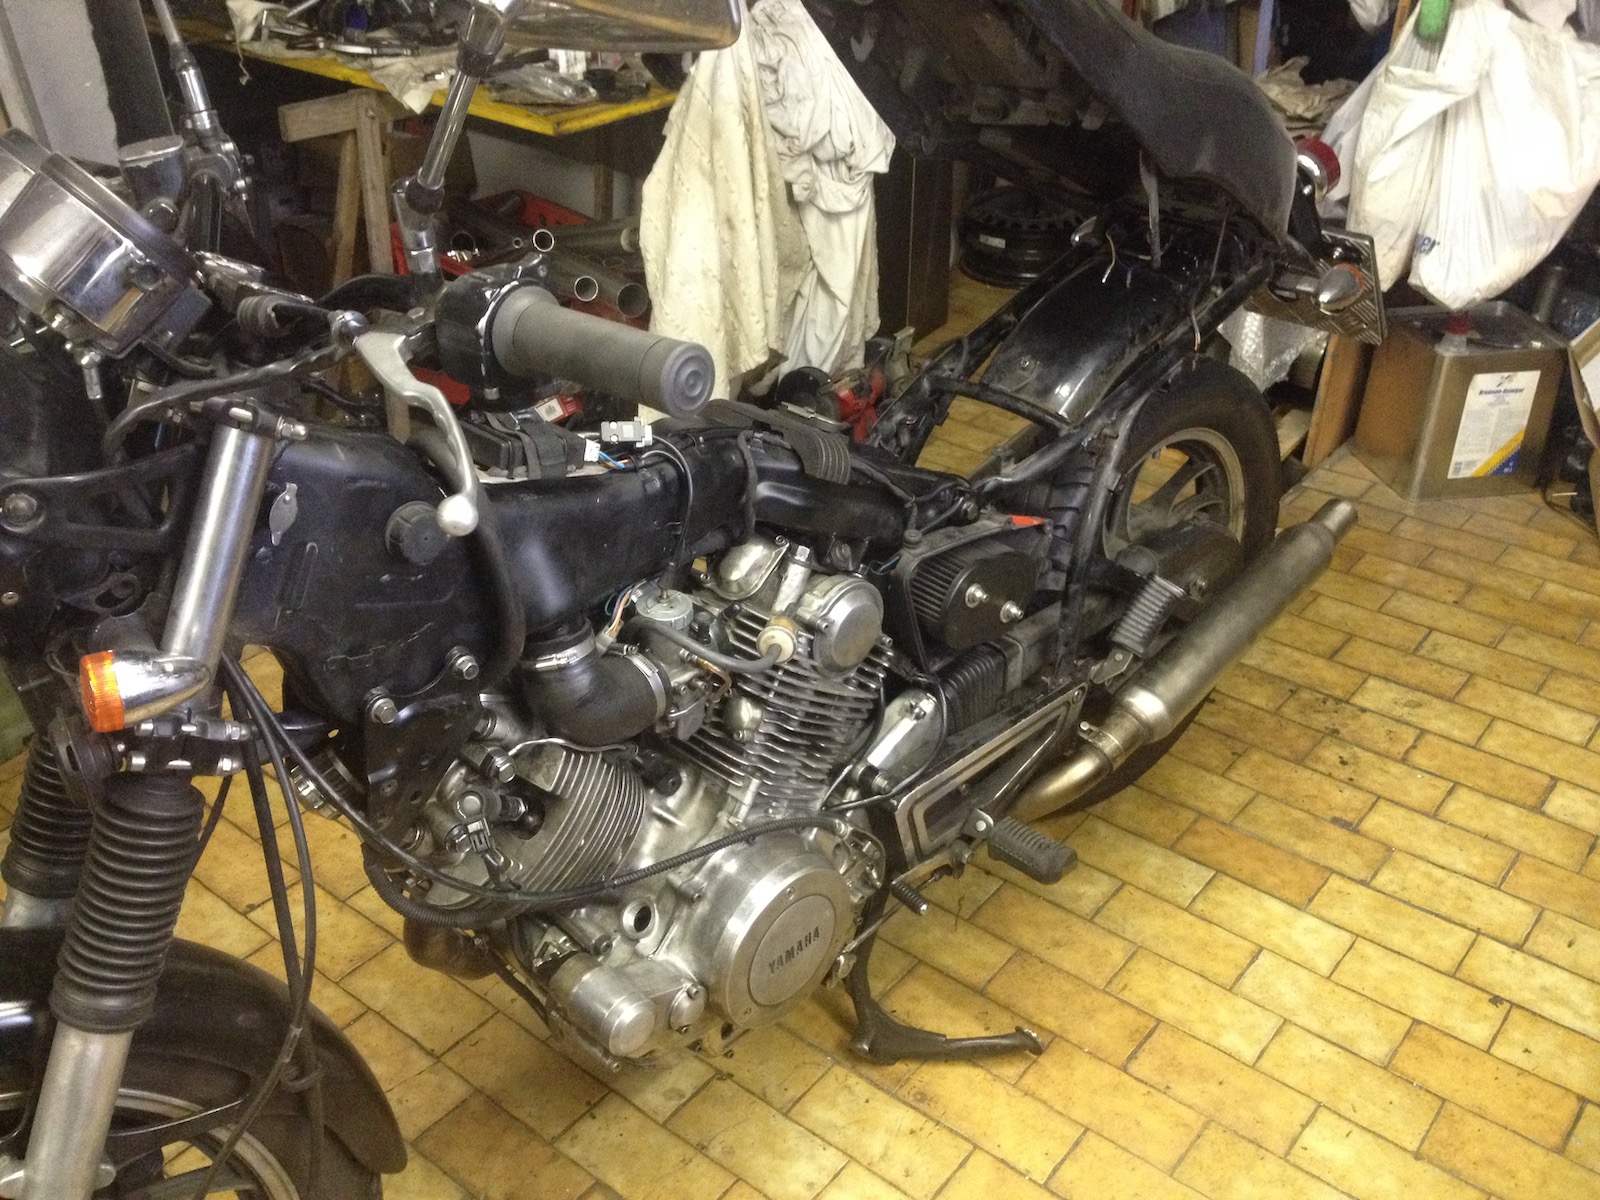
 Get it all in a frame or more precisely put the frame on top of it and get it ready to fire up.


I also took some time to clean up the exhaust with some WD40.


And then it was to put my money, where my mouth is and fire her up.


So what's it like: It's basically an XV1100 engine again, but with notably less vibrations. Actually hardly any vibrations at idle at all, which is almost a bit irritating. It has got low-down torque for miles and obviously it doesn't like to rev as hard or rev-up as fast as with the lighter BT crank. And incidentially it proved a point: a roughly 3 percent change in crank balance factor can be felt, if you compare them back to back.

Saturday, 26 January 2019

The Norwegian Job - etymology "Zweckoptimismus"

From the same people that brought you words like Bratwurst and Zeitgeist, here comes another example of linguistic craftyness: "Zweckoptimismus", which would literally translate as purpose-led optimism. Ach you gotta love "ze Germans".

Last time we left, when the engine was on the bench and the obvious next step is to put it in a frame and squeeze some happy sounds out of it. But in order to put something in said frame, a bit of taking stuff out of the same was due.


Only a few hours later and my workshop is a proper mess.


The reasosn for this taking so long were plentiful, amongst some others, new starter cables had to be made and some new connectors had to be crimped onto the wiring. (Have ever pointed out, that a nicely crimped connector can be a thing of beauty?)


The starter motor cable was crimped and soldered to ensure the best contact possible. 


... and as by magic, the new engine is in the frame and filled with oil.


During the course of action, I also finally found out, why there always was a bit of fine rust-powder in one of my carbs: the glue of the filter had decided to call it quits, as can also be seen by the little flake of glue at the end of the filter.


At this point, things went "slightly" sideways, as in the starter, which had worked just fine, before the engine was set aside... well it didn't anymore. Of course you work this out AFTER you fill the engine with oil.


Oh and as it turned out, that new starter had a slightly oversized shaft, which had to be polished with some emery paper to get it down by about 0.15mm to make the starter clutch slide on and off the shaft without force.


And guess what: Press the button and fire the old girl up. Just like that.


But the story doesn't end on the note of "just like that". What you see here is a spark plug that had a very unfortunate first date with bits of piston and valve.


And a bit of valve stem, which sports a slightly dramatic valve clearance setup.


Alright, so we're dealing with a bent valve. No big deal, right?


Uh oh. Bits of piston stuck inside the carburettor.


Now those engine bits in the inlet are less of a surprise already, if I am being honest.


No point in not digging into the engine and taking of the offending head.


The way the valve stem is fractured is interesting. This very coarse grainy structure leads me to belive, that it had broken away? Also the stem is incredibly brittle, so there might have been some heat involved?


Now, I was still looking for two valve-dishes...


Remarkably, the piston held up nicely, regardless of a huge, gaping hole in the middle, the skirt's virtually undamaged. 


Quite a bit of said piston luckily made it out through the exhaust.


And now to a practical example of what "Zweckoptimismus" is: Looks like the conrod and crankshaft survived, unless the other side with the primary drive gears took a hit.


The cylinder (some actual measurements pending) could be good enough for a 3rd oversize, i.e. +1.00mm bore. As it has taken some damage, but all the dings don't seem to be very deep, there might be a chance of getting away with it.

All in all, there's still a lot of investigation due and I suspect, it'll be best to put a blanket over this engine for a few days and then have another (more calm) look over it and assess the damage. Maybe at least some parts of the heads (aside from the covers, etc.) can be re-used.