Showing posts with label Turbo-tech. Show all posts

Monday, 16 May 2022

Turbo TR1 - The King is dead, all hail to the King

Now it's been a while since the last time the secret star of the show and the original reason for the motto of this blog made its appearance. Plagued by a lack of time and a manifold that just wouldn't seal right and now with all the other bikes within acceptable limits, it was time to put my money where my mouth is and get that old firebreathing, oil-smoking deathtrap back on its wheels and make some noise.

So first rip out the old manifold have a good look at it and then decide to salvage the flanges and get rid of the rest.


I remember a lecture at college, when a teacher once said: Engineering solves problems. Good engineering solves great problems in the easiest way possible. So the new design was a common plenum with roughly 30 degree cuts and a straight center section.

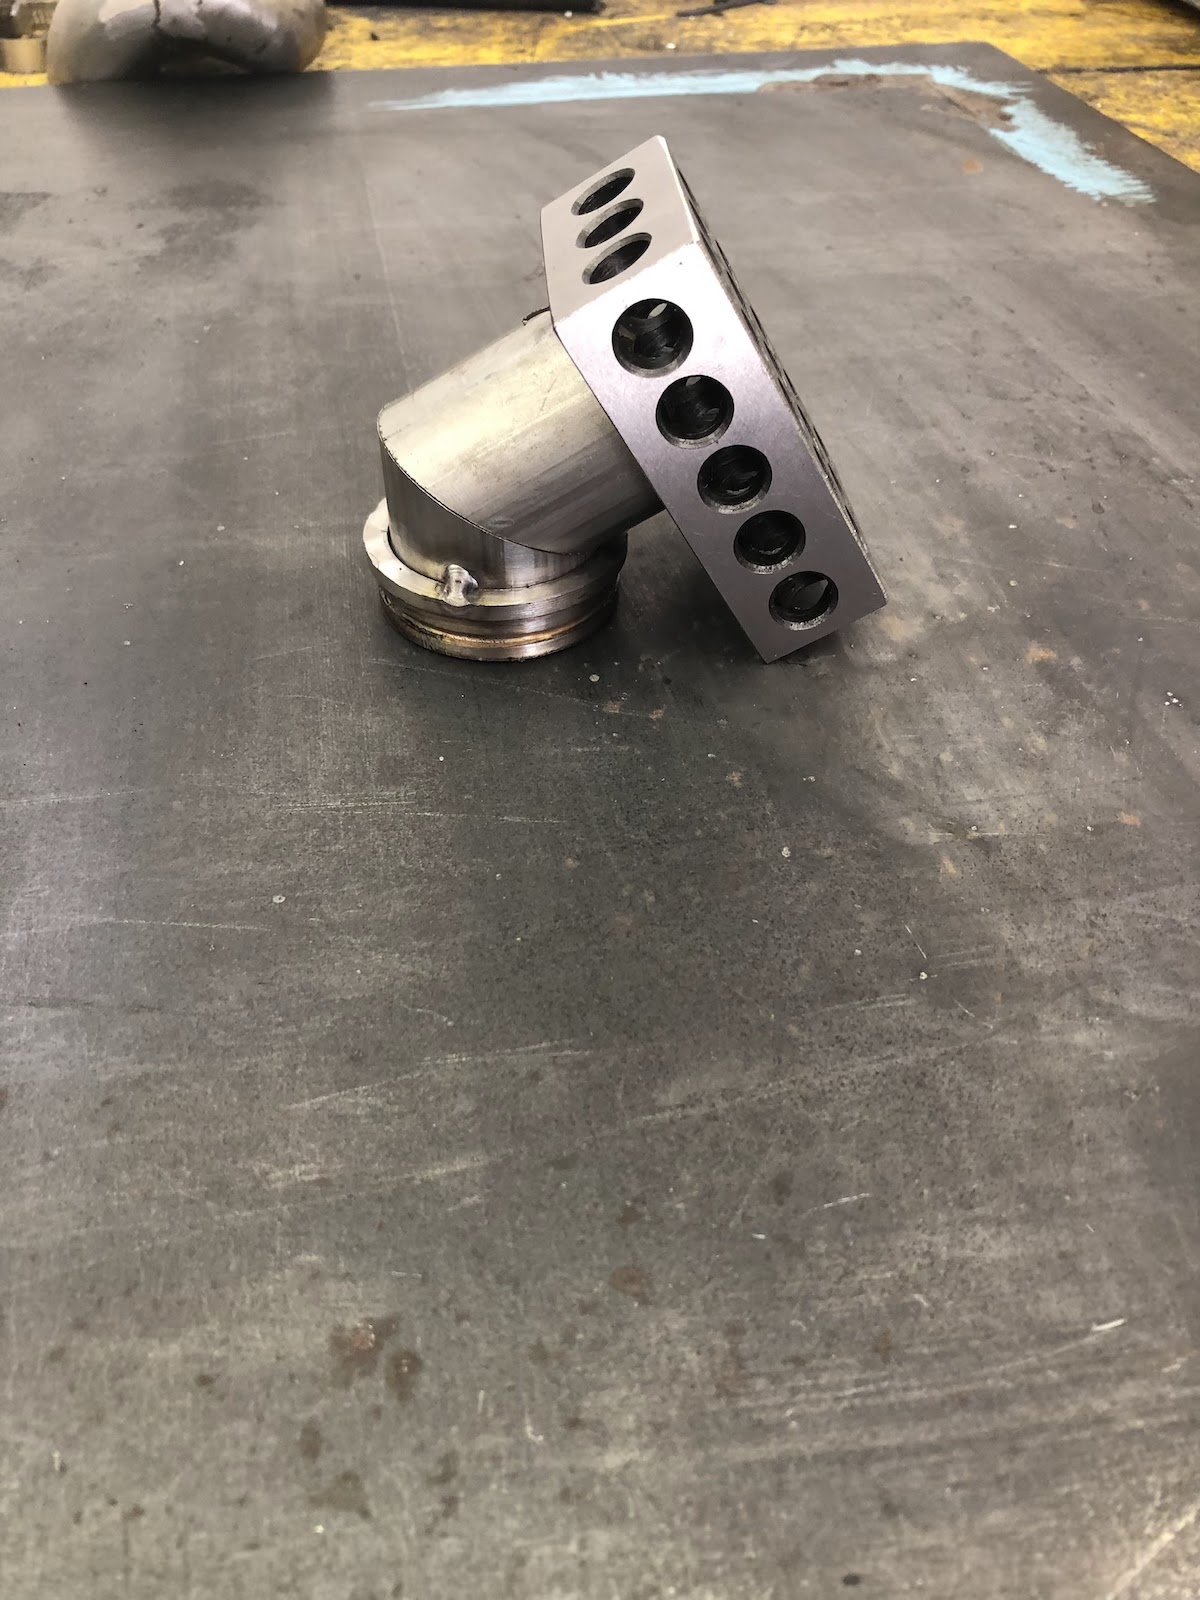

Turns out it needs tighter angles than 30 degrees.

After more than an hour of trimming and aligning the points A and B are connected.

Open up one side and use the mid-section as a real plenum. Distribution is definitely not going to be equal, but with sufficient boost... it's not called forced induction without a reason.

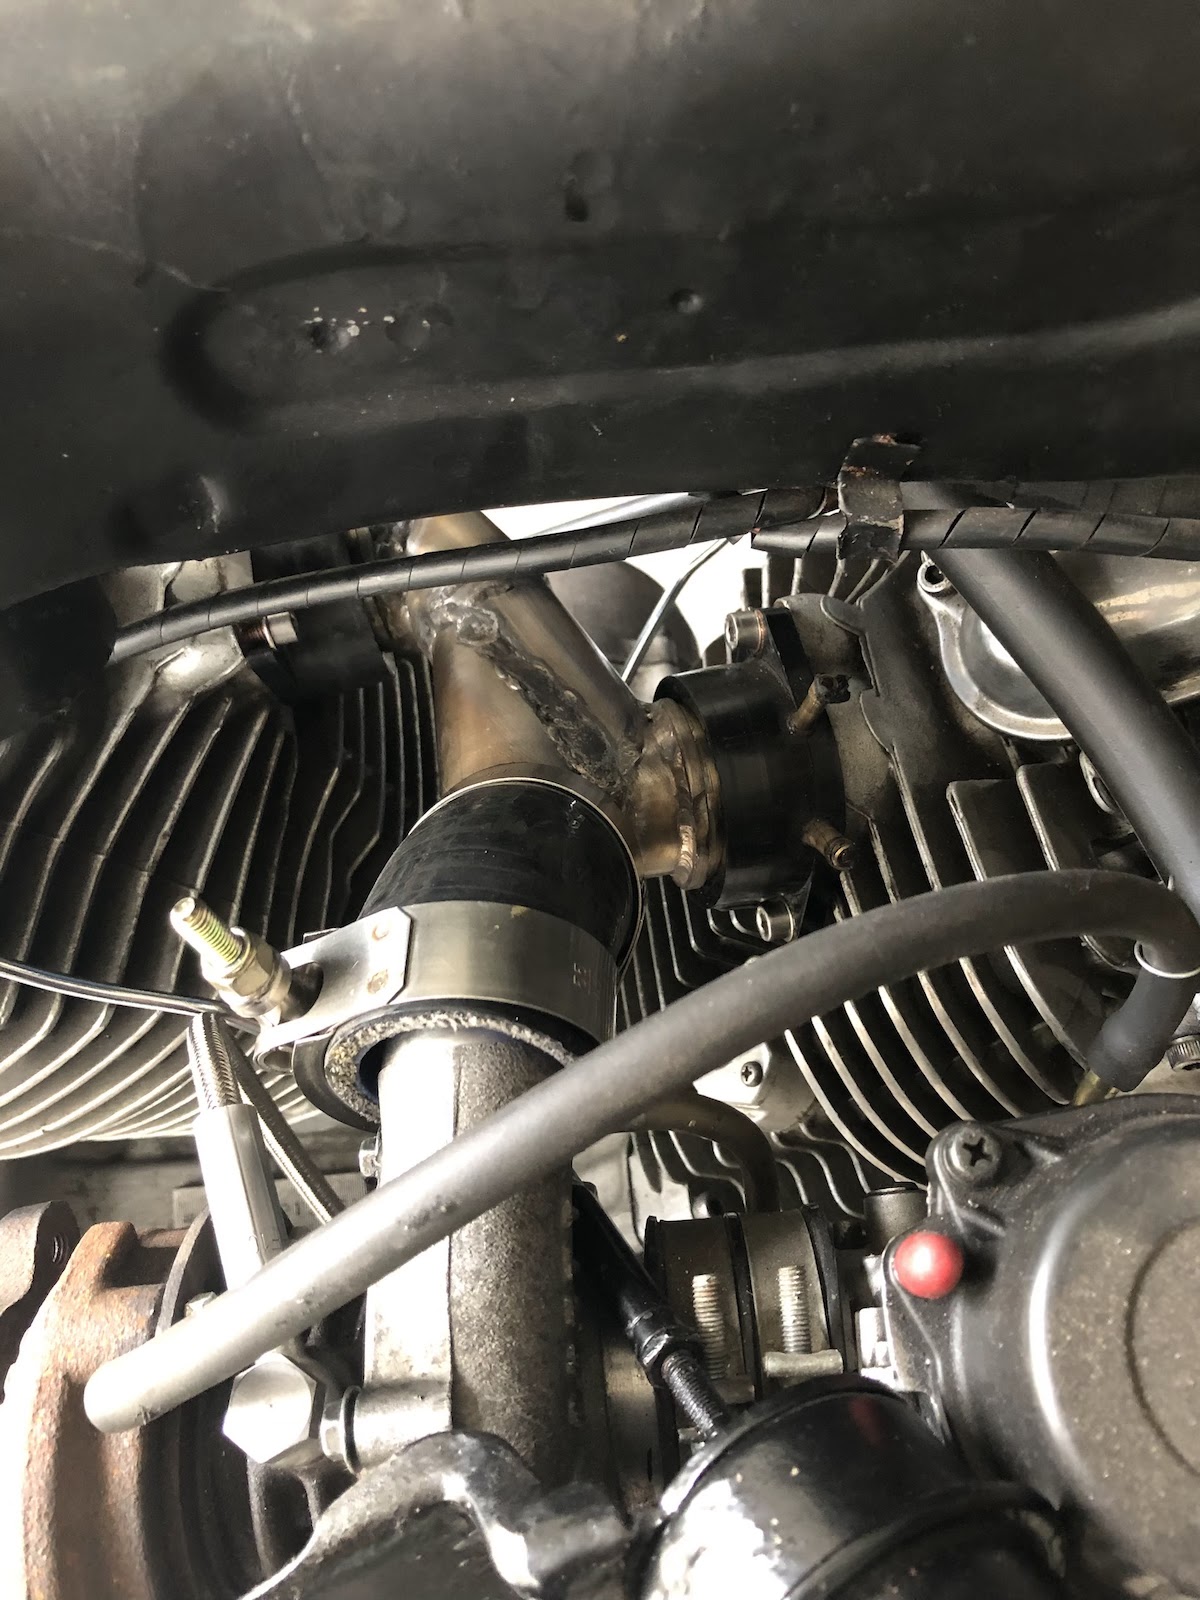

And guess what, it worked...

Due to distortion (again) I had a nasty boost leak on the front cylinder, but with a bit of extra gasket material, this was quickly remedied and...

The BST40 carb was actually giving me only very grief - a bigger pilot and mainjet (57.5 and 175) was all it took to get it to the point where it would happily idle and stop bogging down under load. But as the astute will have noted there's no exhaust or at least a screamer pipe in sight anywhere in the videos above.

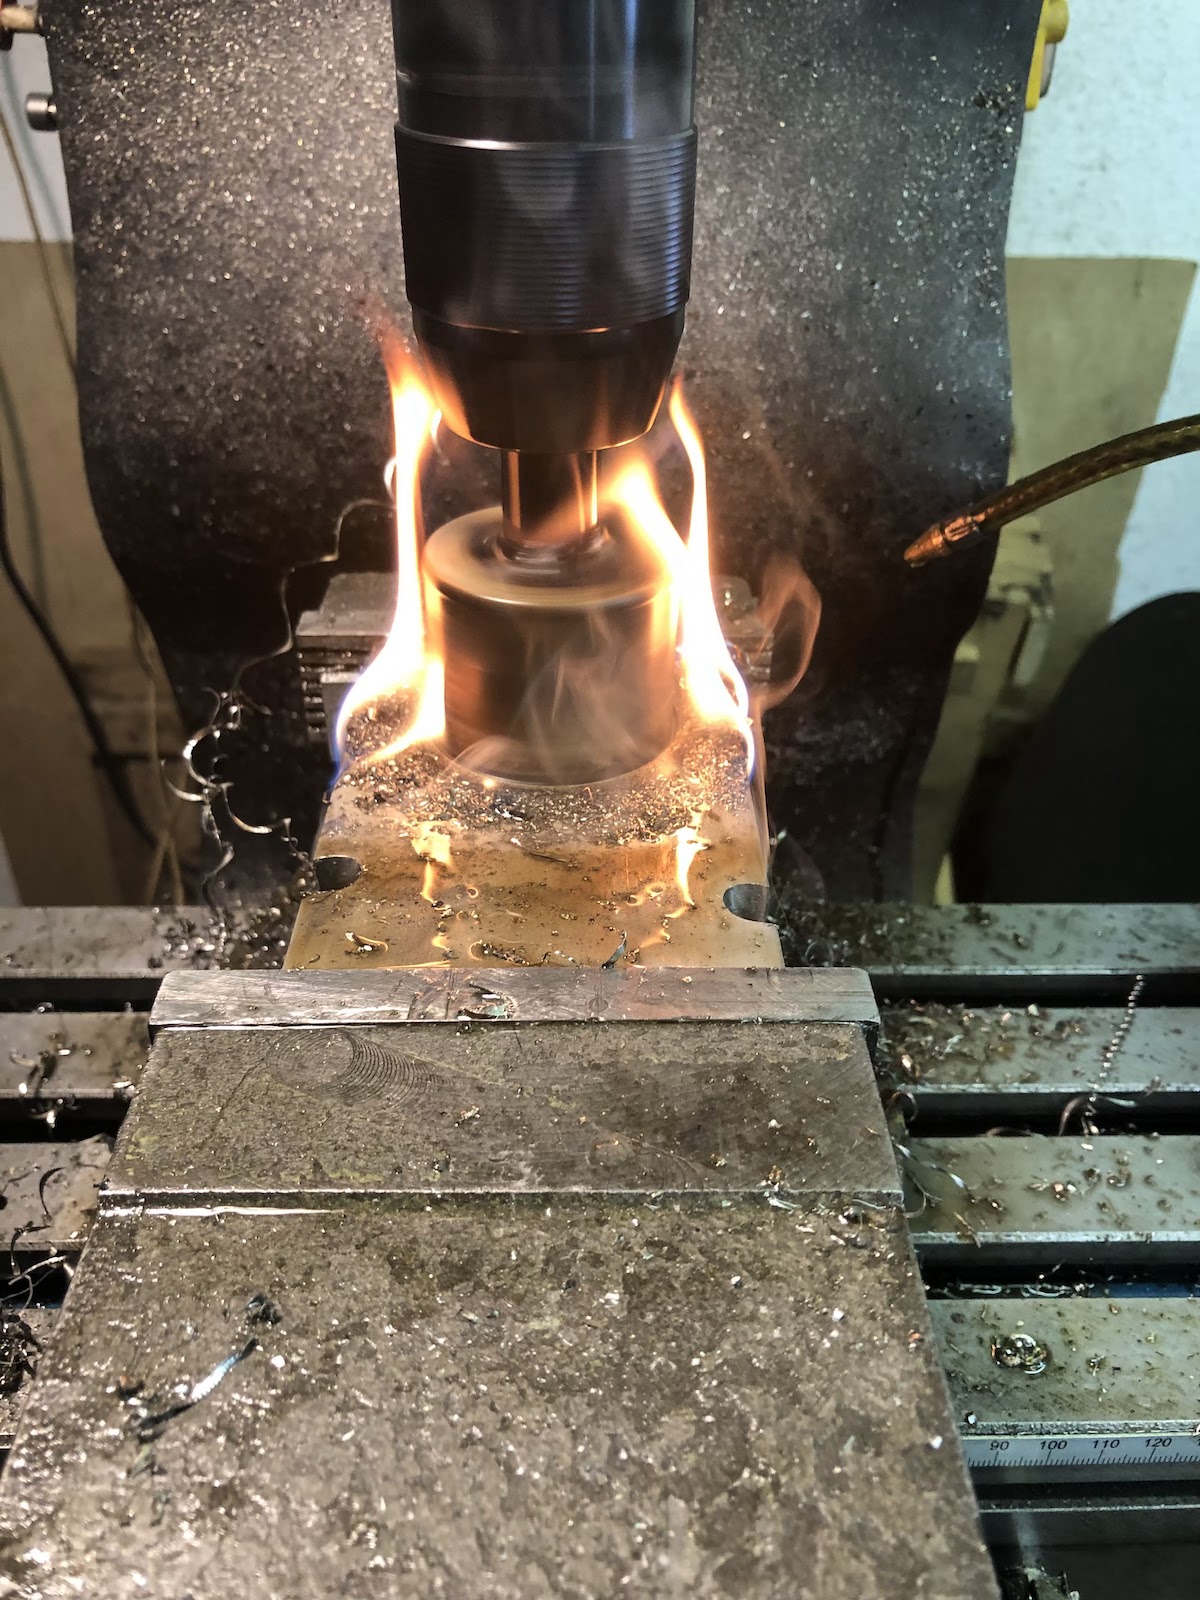
A bit of stainless plate material (8mm thick, so it won't distort once I weld and exhaust pipe to it), was put on a spare Volkswagen GT15 turbo and drilled and milled to suit. Attempts at not setting the workshop on fire were of rather moderate success and ultimately I ended up with a flange which fits lovely on my spare turbo, but it turns out, the Opel/Vauxhall GT15 has got a different exhaust bolt pattern. 


As the Opel GT15-flange did not have any of those very handy studs in place, I used the old dirty finger technique to draw the flange bolt pattern on a bit of paper.


The dramatic lighting was by accident.
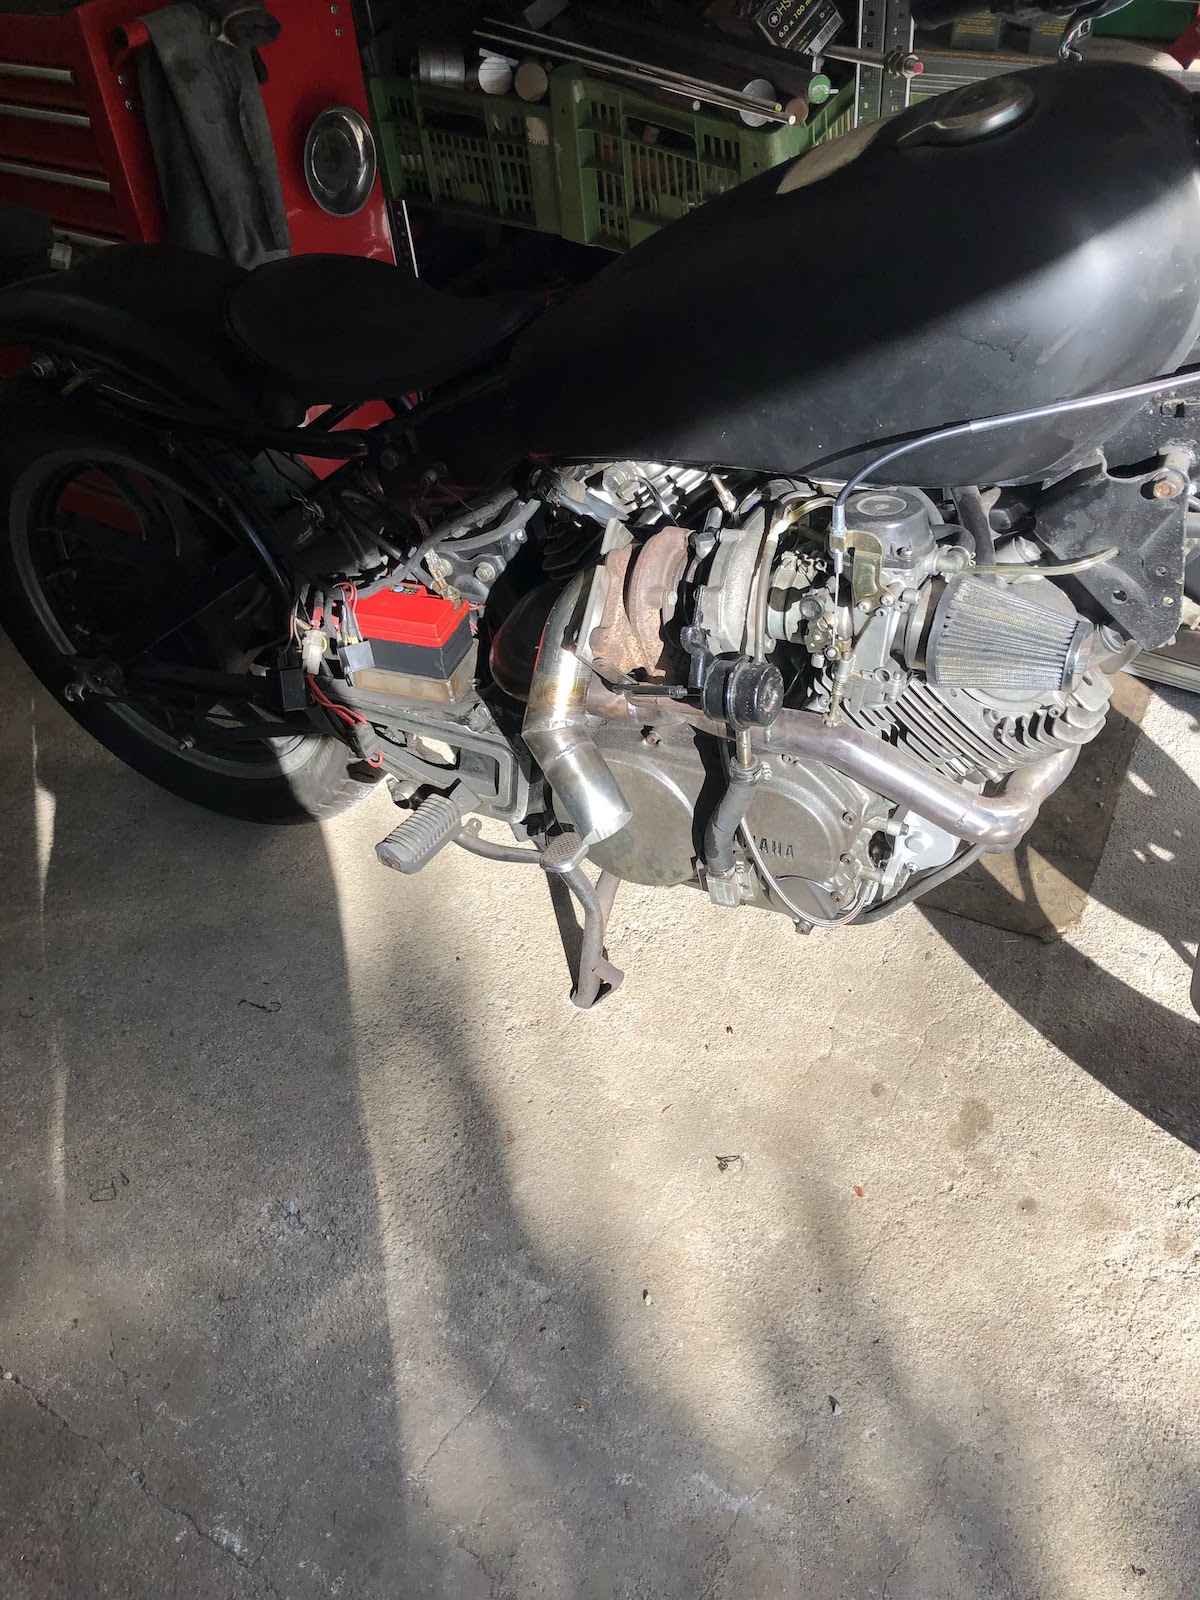
And then it was well about time to do what a Turbo-powered deathtrap has got to do...


Still suffering from some fuel supply issues and half throttle at the very most, but already at way beyond the originally planned 0.5 Bar (7-8 PSI) of boost and smoking like a two-stroke. (Because that turbo is "well" shagged.)

So what's the plan, you may ask. Just politely terrorize the neighbourhood or are there bigger plans afoot? Of course there are: More turbo, more carb, more cowbell. The next step will be to take the old pint-sized VM44 out of retirement. Then the next step is a completely new setup that will move the turbo to the other side, including a new manifold (already working on that one) and then (obviously) a bigger turbo. But with the added benefit of interchangeable up pipes to the various turbos, so I can play around more easily and find out what suits the old girl best. There's a range of turbos waiting: another GT15 off a VW 1.9TDI, a Toyota CT20 (my favourite as it comes with a carbon seal from the factory and I already have it - thanks Mr. Mouse), a small-ish TD04 and ultimately a GT20 out of an SR20 that can quite easily be converted to carbon seal. The one turbo that I would still have to buy, but which on paper sounds like the best choice.


Saturday, 24 April 2021

Turbo TR1 - back from the dead

There's many good excuses to why I haven't done anything to the old girl in the last year or more like almost two years. Regardless of which, with a bit of shuffling around bikes, I put the Stinkerle (my RD250) in storage and pulled out the turbo and immediately found quite a few flaws that needed to be addressed and some bits that straight away have to be redesigned.


Removed the tank to get an idea of the situation and yep, nobody secretly fixed the flaws the old girl has. 

After finding out that the manifold was more hanging in the breeze than sitting properly I removed it to fill the vacuum ports on the inlet rubbers with some liquid gasket.


As I recalled that the last time the oildrain was leaking oil from... quite literally everywhere two hoseclamps were thrown in a sort of band-aid fashion. (Turns out now it also leaks from the turbodrain right at the housing.)

This gash, where the original seat lock sits had to be addressed with some paint, because honestly, why not?

And the rest, as they say, is history - bit of fuel, bit of rejetting and the old Turbo TR1 ran for the first time in ages.


So how to proceed or in other words, the issues so far:

  • the manifold is utter crap - too short to fully engage in the rubbers and somewhat twisted. I already have an idea for a much simplified version of this. Also if you go up to the second picture, you will see that the heat distribution in both headers is dramatically different, which means the manifold doesn't work very well that regard either.
  • Turbo will move over to the left side of the bike, this will allow me to drain via the engine's oil filler cap and also allow to tuck everything in a lot neater - curious to see, if the oil-line is long enough, pretty much the same goes for the throttle cable
  • wastegate actuator needs to be adjusted as it's not closing the wastegate flap strongly enough
  • the header of the rear cylinder melts the battery - probably a combination of a heat shield and re-routing the header is due
  • find out if I even put in a gasket between the oil-drain of the turbo and the drain-tube, also I have to make a new drain-tube anyway, if I move the turbo to the other side 
  • the current oildrain will become my oil-filler hole
  • an oil-cooler might be a smart move.

Saturday, 27 April 2019

The Turbo TR1 - oildrain and first start (part 6)

Instead of this blog entry there should be a success note on how I got the flatslides on the sidecar spot on and am rolling around on three wheels like an absolute boss. To be honest, I tried my very best and at some point I needed a break from working through all the jetting options chasing both a consistent idle and also some top-end power.

And during that break, I simply decided to get the turbo in running order. The first (and one of the more simple tasks) was to to modify the turbine housing to get a boost-reference port for the wastegate.


Then secondly, because some numpty (that'll be me, thank you) put an exhaust where the oil-drain wanted to go, I had to fabricate a slightly more elaborate oil-drain-pipe than I originally anticipated.
(The picture actually shows the final version, if you compare it to the video clip and some of the pictures above and below, you will notice, that this wasn't exactly the only one built... 😏 )


As I pointed out before, I was a tad grumpy that day, so I decided to hook up a fuel line, plug some of the open ports on the inlet rubbers and see what happens next.


To my utmost surprise, it fired up more or less instantly and after somewhat clearing its throat it fired up.


One of the backfires "fine-tuned" my boost gauge and inspired it to from here onwards give some rather "optimistic" boost readings. (That's with the engine not even running.)


A bit more fine tuning and well the whole engine and setup proved to be hopelessly overbuilt as it lasted more than a quarter mile already.


Next step will now REALLY be to swap out the inlet-rubbers for the ones, with plug vacuum ports and space them in a bit to clamp the inlet manifold a bit tighter. Oh and a seat might come in handy, sitting on a rolled up rag is dead cool, but not exactly compliant with some of the rules and regulations of the racing bodies I want to take part in OR local vehicle road safety legislation. And talking of the latter as some people dropped me DMs on Instagram - nope, I don't see a simple legal way to get this on the road in Austria. Might be a different game in Germany or some other European countries, but I have received a big, fat "no way, mate" from the local authorities, when I presented the whole project to them.

Friday, 12 April 2019

The Turbo TR1 - turbo oilfeed and new starter (part 5)

Three months since I last worked on the old girl. Well about time to tackle some of the issues.


The turbo definitely needed a better oil-supply than in the past, so this time I am tapping straight into the oilfilter-housing to get oil straight when it leaves the crank. The downside is that it's not filtered. Ultimately I will fit a separate filter in the line leading up to the turbo, but at this point this really is just an experiment really. (I know I can get sufficient pressure at this point, as that's where I normally run an oil-pressure switch!)


Using a little jig to start the hole square to the surface, it's all a matter of using a M10x1.00 (standard on metric hydraulic lines) tap and thread the hole. Brembo brakes use M10x1.00 banjo bolts, so they are easy to get, even though I bought mine at an hydraulics supply shop.


And that's the oil-supply sorted.


Then it was a matter of swapping the starter motor because the original Mitsuba I had on there had happily chewed up its carbon brushes.


With the battery installed the bike slowly came back to life.


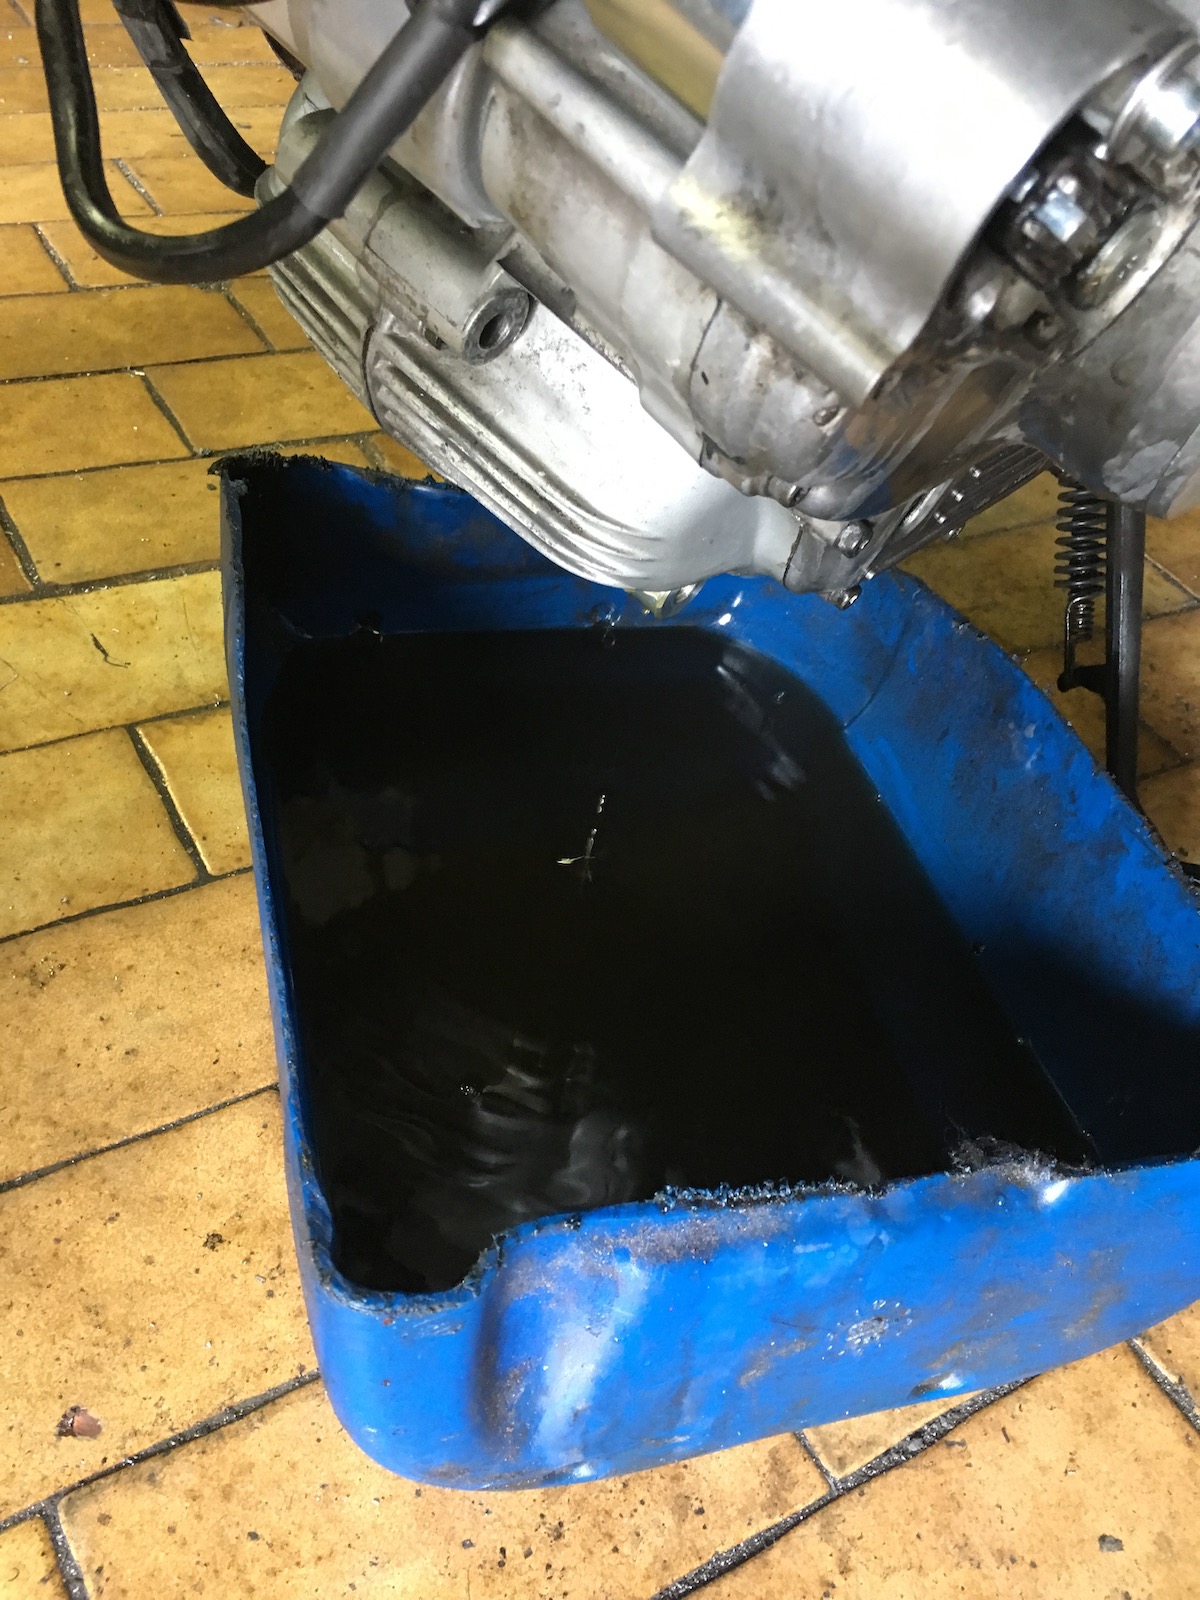
As it had sat so long, I drained the oil and rinsed the engine with some diesel I had around.


All the old dirt had settled "nicely" at the bottom of the engine and came out with a good wash... Yes, that was fresh diesel. With a bit of fresh oil and a fully charged battery the bike gave its first signs of life in about 18 months...


Next step is to swap the inlet rubbers for the modified ones and space them out correctly for the manifold and then basically give here a good cranking until there's some oil at the turbo.

Sunday, 25 November 2018

The Turbo TR1 - new manifold (part 3)

It's been a while, eh?

In short, problem solving takes time and trying to cram as much stuff as possible into the V of a V-twin and then put a big fuel tank on top of it isn't really going to make things a lot easier.


And here's the problem: Literally everything is fighting for the same bit of space between the cylinders. 


A cunning plan had to be formed. As cunning as a tube being cut into pie-like-slices and then welded into a three-dimensional double s. (As you might notice due to the different lighting: several hours have passed between the previous and the subsequent pictures...)


I always said that I won't do hipster-pie-cuts, as this isn't going to be a show-pony of sorts. Unfortunately (and that says a lot) this was the EASIEST way to solve the space issue.


Next step, you quickly make a hole for the third tube and ... THAT is why you buy quality holesaws. (I thought it would be easier to start off  with a fresh holesaw instead of one of my old and dull saws...)


After a bit of tweaking that bit of tube fitted...


... and this is the result.


Next mandatory step will be to clock the turbo, but the cast section appears to be well fused together, so that could become a bit of a challenge in its own right. Once that is done a connector to the turbo can be devised and everything linked up. Unfortunately I think the first snow of the season will be here quicker than I can get all those issues solved...