Showing posts with label maintenance. Show all posts

Sunday, 21 November 2021

The XS Triple Sidecar - unplanned maintenance

To be fair to the old girl right away, it was only unplanned, because I had originally expected to get through this Winter on the new sidecar. (Regardless of whether we're talking about the SR500 or the XV-sidecar.)

I checked the valves last year and the inlets were a bit on the tight side (I thought), but the exhaust valves, aside from the center cylinder one, were "about there". How wrong I was. For some weird reason I was absolutely convinced that on an Yamaha XS Triple, you run the common-place 0.10/0.15mm valve lash. For some reason today I decided to have a look into the book of lies and lo and behold it said 0.20/0.25mm, some frantic checking and rechecking of various resources on the net confirmed the finding and as a result making the notes below even more concerning.

How to read the chart, I and E stand for inlet and exhaust, the bottom number is the shim thickness installed, the number above is the initial valve clearance and the top value the valve clearance after the shim swap. Now I am in possession of a lovely box full of shims, but if you're not and check your valves, you go back to this handy chart and then can work out which shims to order.

So I rolled the old girl into the workshop, removed the fuel tank and got crackin'.


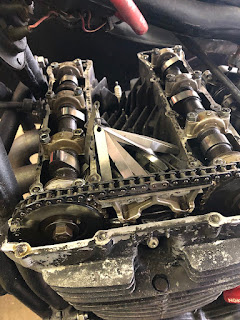
The big trick on an XS-Triple, you have to remove the camchain-tensioner, which usually ruins the paper gasket, but if you lubed that gasket up like this is part of some kinky massage-thingy, see below. 

Also when re-installing the tensioner, use the lock-bolt on the side to lock it into the rear-most position for easier installation.

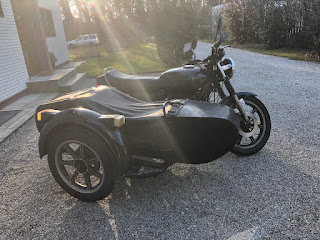
With everything assembled and the sun slowly setting on the old girl, just one question remains:

Why hasn't anyone snatched this beauty up yet?

Wednesday, 21 April 2021

Everyday TR1 - I'll just quickly...

 ... which is usually how some very long stories start. 

First of all, I was a bit unhappy late last season regarding the brake-performance with the old brake pump, so I swapped it out for one from a Honda ST1100 ABS (14mm pump). 


Only after swapping the pump I found out that the actual culprit was one of the brake lines drawing in some air right after where it was crimped. So a set of new lines and bolts in the colour of the season: black.

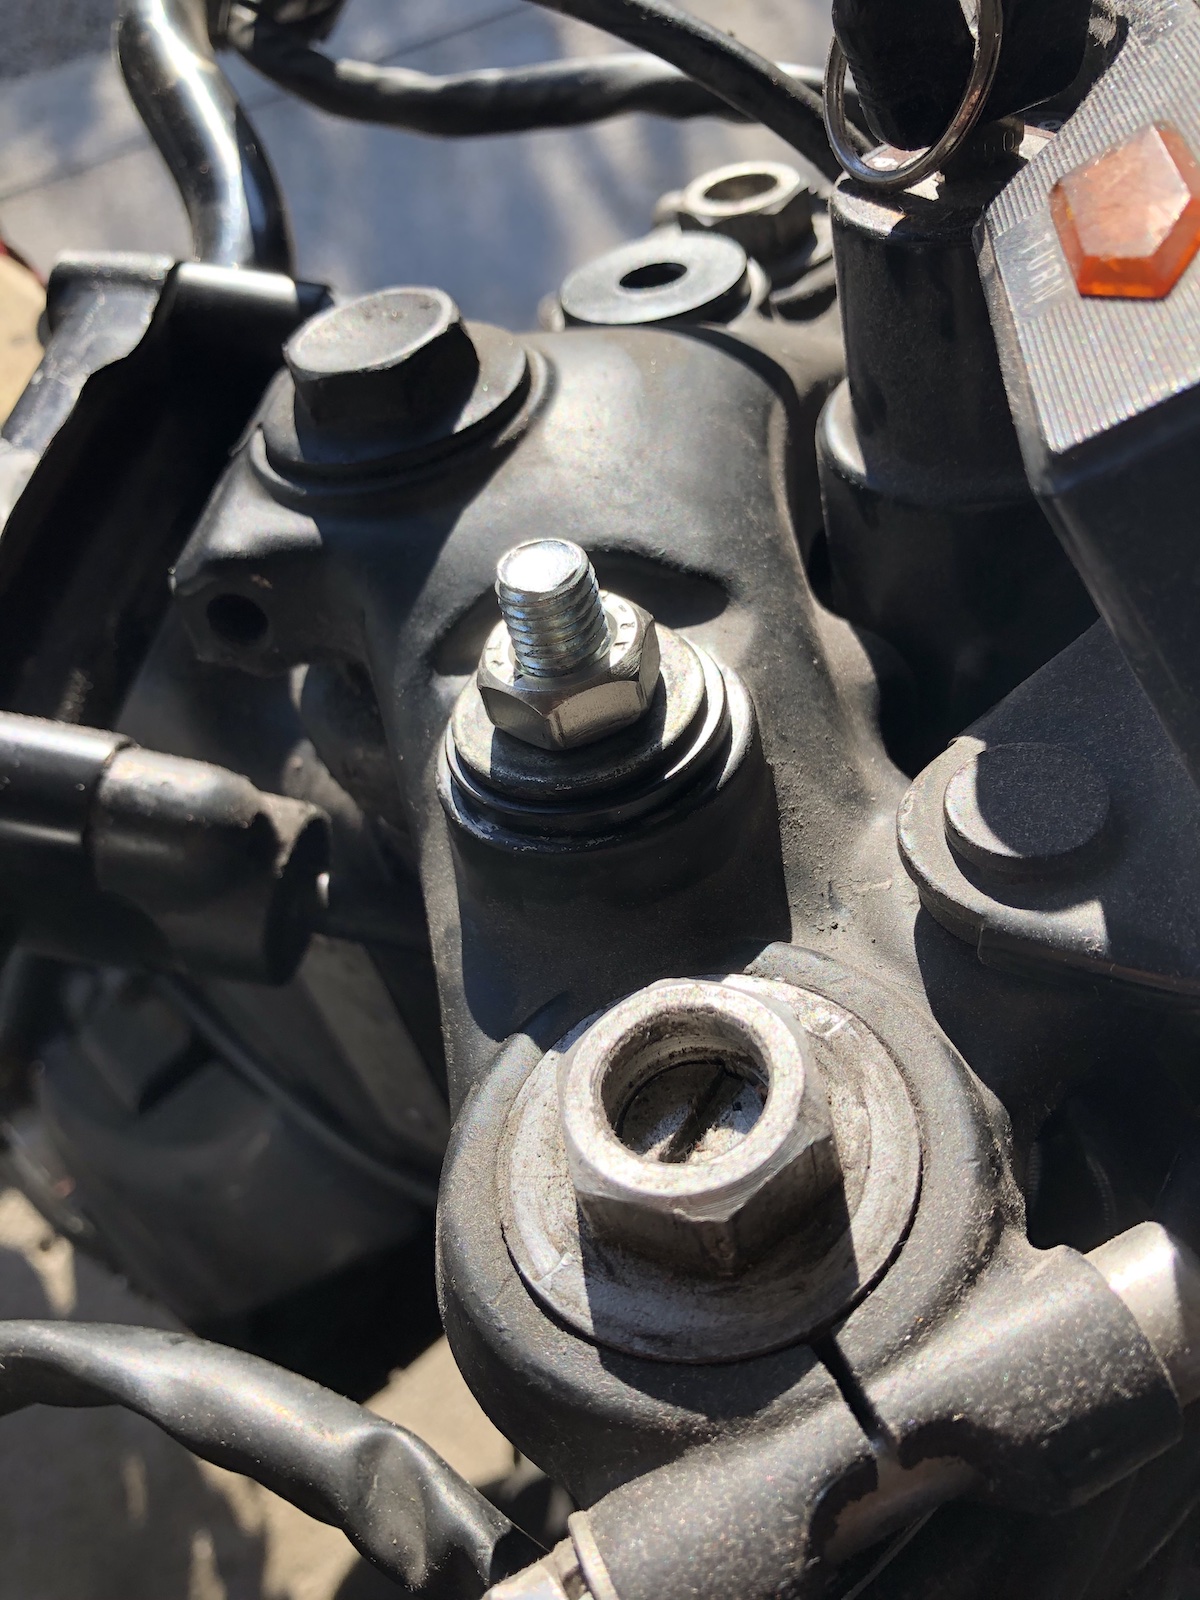
As there was some waiting time between those two steps, I decided that I had put up long enough with old dry-rotten handlebar rubberbushings.

One would assume that heating them up would be the way to go. It wasn't, as the rubber collapsed and I still had to deal with the steel sleeves. That was a good hour or so of chiseling and hammering.

M10 bolt, washers top and bottom and the new rigid bushes are fitted in no time.

After having fitted a 1-bar opener oil-pressure switch from a Fendt tractor, I had to find out that actually when the engine is hot the oilpressure drops to around 0.8 to 0.9 Bar, which makes the oil-pressure warning light flicker a bit. So after some searching I found the Bosch oilpressure switch 0986 344 033, originally intended for Volvo 140 engines. This one opens around 0.7 to 0.8 Bar and is a perfect fit. 

As I had to take the back cover of the starter off to get to the pressure switch, it was a good moment to clean out the carbon dust that had accumulated in the last year.

As I didn't manage to drill a perfectly square hole, I smeared a bit of black liquid gasket around the pressure switch'es base and let it dry for a few days. Result this part of the engine is now bone dry.

And then there's sort of the elephant in the room - when I had the bike inspected, I noticed that the swingarm could do with a little less play in it. 

The big(er) guns had to be brought out.

A bit of gentle tap-tap went (almost) nowhere.

So I called in the really big guns, i.e. my dad, because as it isn't his bike, he certainly has a lot less qualms giving that bolt a proper good smack. Which obviously did the trick


Obviously the bushing (24x16x144mm) was already on more than it's last legs and the bearings weren't that much better, but luckily I had bought a complete repair-kit a while ago. 


Obviously the lack of grease hadn't done the bearings a favour and the axle-bolt wouldn't have lasted that much longer before rusting solidly into the bushing. So the answer obviously was grease nipples.

One into the frame, in a space that can later still be reached to grease the actual needle bearings:


And the other one into the axle bolt. (Btw.: It's 16x200mm should you be forced to replace it, because you didn't catch it in time.)

The bolt was center- and then cross-drilled, so I could easily grease the bushing on the inside, which should make getting the whole lot apart a lot easier the next time. (And given the fact that the stock bearings still lasted nearly 40 years, this should be plenty good enough.)


With the center bushing removed, getting the old bearings out and subsequently the new ones in, is a fairly easy job. 

With the bolt-head facing right, the grease nipple can be reached right through the right footrest-backplate and there's now no excuse NOT to pay it a visit with a grease gun every now and then.

Verdict? I even painted the swingarm and the bike feels a lot more stable and well planted on the road and I've got that warm fuzzy feeling that by now every single chassis bearing of this frame has been done by me at least once now.

Sunday, 11 October 2020

The XS Triple Sidecar - it's been a bit quiet...

 ... and that''s not a bad thing. With the old Dre-XT-Stück in bits and the TR1 running flawlessly (*knocking on wood*) had a very simple job as being a reliable parts and all-sorts-of-stuff-hauler for me. Obviously this does not make for very exciting blog posts. 

So the biggest tasks of all of Summer, where to pass the annual roadworthyness inspection and for that get a "new" i.e. vintage Pirelli Gordon for the front, which I will probably only have to take off at some point, because the rubber cracks as it is about as hard as well seasoned wood.

If anything at all, it was smaller jobs, like swapping the bolts on the tail-light for decent allen-key hardware and fixing up the connection inside the Guzzi V7 taillight as they were a bit erratic at best.


One of the things I tried out this Summer, was to turn down brake disks on my lathe. With an RCX-insert, I had to face some vibration issues, but in hindsight, these might have been the ticket for the pads biting into those disks, like it's going out of fashion now. 


And for the upcoming Winter, I will simply assume it'll be as mild as the last one, I've put on a set of used Michelin Anakees for the mostly wet (and sometimes slushy) weather. 

Remember the hole on the top of my throttle housing? Well originally on a DR600 it would have been a drain hole. Now that it's facing up, it's a brilliant point for oiling the cables.

Lastly, here's a little treat to myself: I always wanted to try a proper Avon Sidecar tyre and find out myself, whether it would actually be worth it to buy one new. Well this is a "well seasoned" one from 2013, which I plan to put on next year.

At this point, I have to make a confession and admit that earlier this week, I nearly bought a Guzzi as a new tug for the sidecar. 😱 Due to some worries with the paperwork, I decided against it and made a list of stuff I want to fix either before Winter comes or in Spring:

  • sidecar wheel axle - now that I don't run a sidecar brake anymore it's unnecessarily long and as my swingarm is a bit bent, a completely new unit is the smart move in my book
  • replace the sidecar shock - have to find one from a Suzuki GS750/1000/GSX1100E
  • work out some sort of airbox for the carbs, at WOT the engine's induction noise is deafening (the exhaust really isn't too bad)
  • take care of the tinwork on the sidecar - at the moment it's just some edge/surface rust, but it will turn into A LOT more work quickly, if not taken care of
  • fit the shorter final drive off a XS1100 - by now I have enough horsepower to use the 5th gear on level ground (and get the old girl to go a lot faster than the legal speed-limit on the Autobahn), but it would be nice to be able to use it all the time. Same goes for a shorter first, the engine has got some grunt down low, but in a sidecar more is more better. 

And then there's a second engine sitting in the workshop, which will get done some time in 2021 as the current one is an impressive fighter, but should have been done ages ago. 

Sunday, 2 August 2020

New motor and new tools for the Rhino/Coronet lathe

There was nothing essentially wrong with the old motor on my lathe, except it was only 750W and 1500rpm. Which exactly mirrored the stock 3-phase that was originally on it. But with modern tooling constantly demanding higher speeds and higher chip-loads, it was time for a bit of... more oomph and more speed.


For some reason the 3-phase motor that was on there, was mounted with this spacer plate, so I took the liberty of using it as a drill-jig.


*drumroll*
And here we go: 2.2kW (or 3hp for you non-metric types) of 2800rpm, single-phase goodness. And I really have to work out how to wire in a reversing switch, as that will make screwcutting a lot less tedious.


The second part of the story is the thing with tooling. Normally you would expect people to step up their game from CCMT to TCMT tooling. I went the other way. The former Matra with its geared head, had a better power-factor, which allowed me to run TCMT tooling and get decent finish on my parts. With this lathe being belt driven that's simply not gonna happen. So after some consultation with my local lathe tool rep (and cross-checking with some catalogues), I settled for some CCMT09 tooling, which with its smaller tip-radius decreases the load. In combination with the higher spindle speed, this nets mirror-finish results (at last).


With VCMT-tooling I still have some vibration issues, which I (by now) tracked down to a slightly loose motor and a belt that's a bit jumpy. 


Once I have fully sorted the vibration issues, I have some very, very high expectations for the finish quality that I can achieve with this lathe. I suppose some rubber machine-feet and a new (slightly longer) belt are in the cards to tackle this issue.

Saturday, 11 April 2020

The XS Triple Sidecar - Spring cleanup and brake overhaul

With the sidecar bearing most of the weight of my Winter-time motorcycle commutes, Spring clean is as much about cleaning as it is about taking inventory of the damages that have amassed by the same and subsequently identify areas that need work.

Once again, the protective wax I used has done an admirable job of keeping rust at bay and mostly there have been no real shortcomings to report, aside from the brakes.


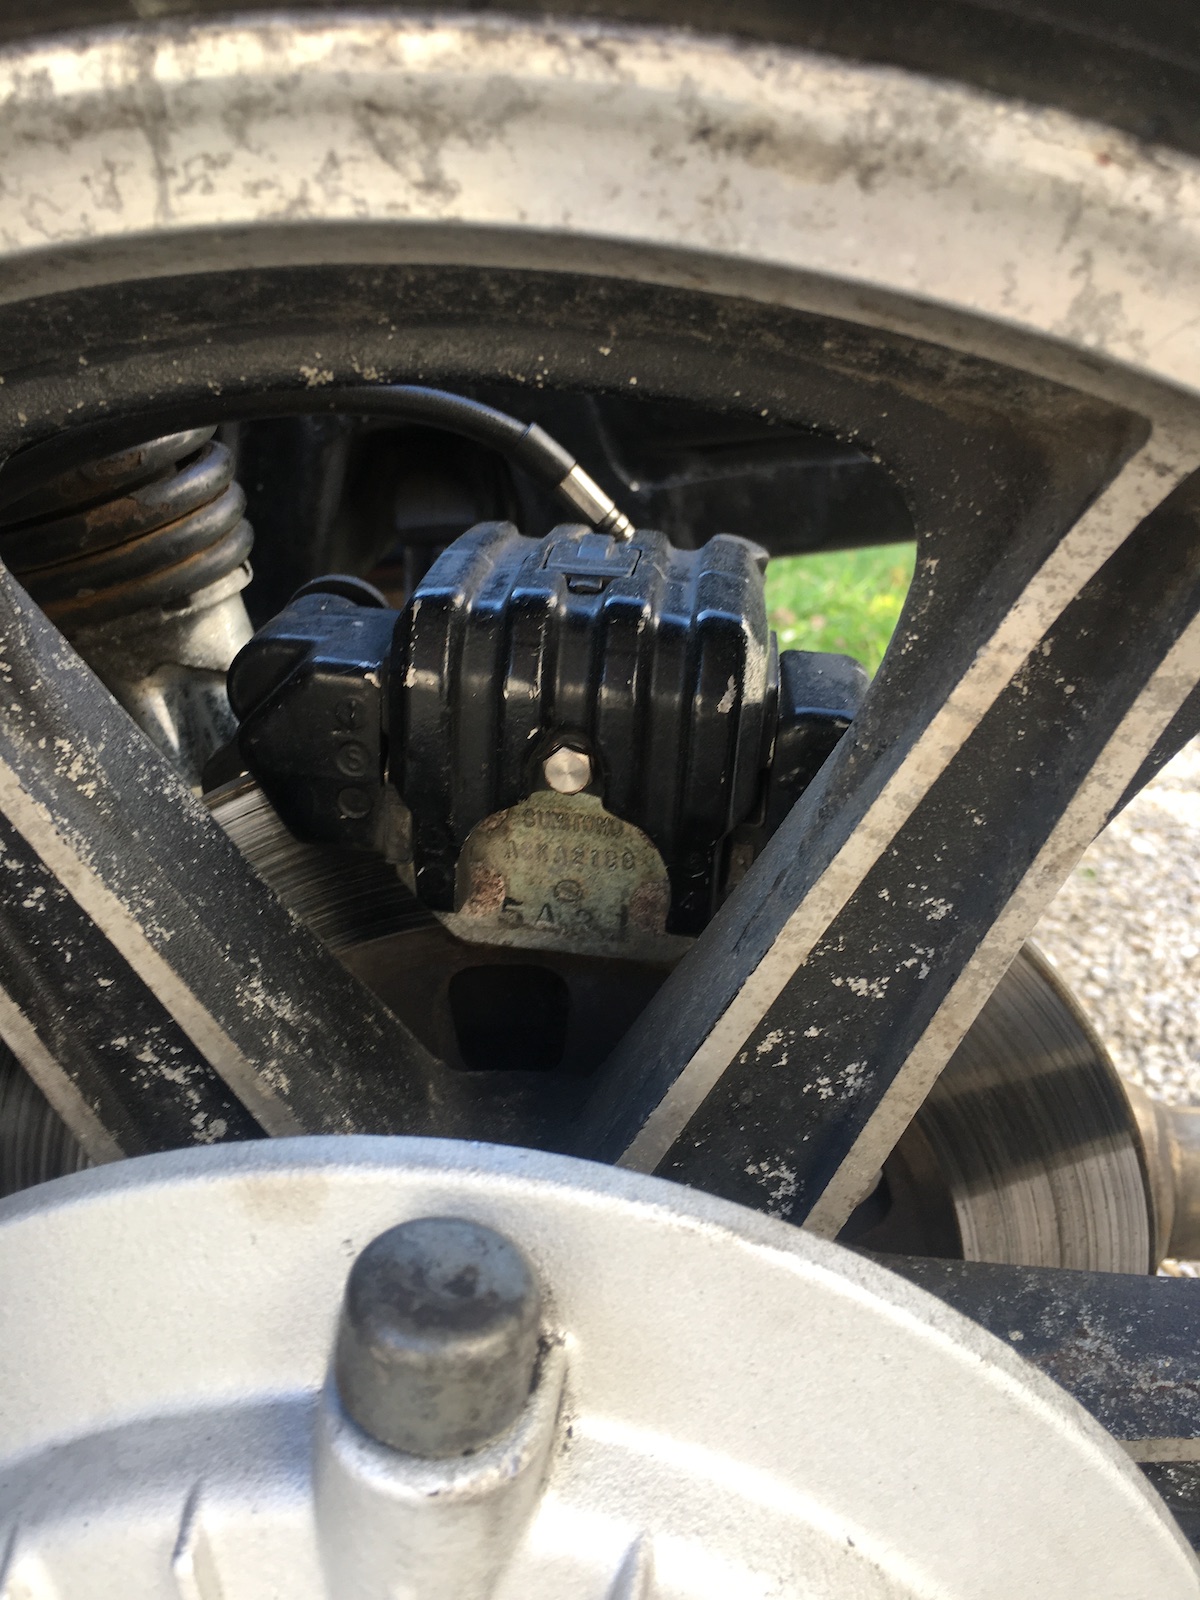
When I built the sidecar, I overhauled the brakes with all new seals and stainless steel brake pistons. I was a bit shocked to find out that the dust seals had completely disintegrated and were due for replacement after only two or three seasons.


Plenty of brake-lube (type of petroleum jelly), prevented the worst.


And that's why you want stainless steel brake pistons, even after sitting in the salt they come out immaculate again.


The old seals were thin like paper and about as solid as rotten wood.


In the course of the whole job, I also swapped out the brakepad retainer bolts for stainless items with a hex on the outside. I kept them well lubed with copper-slip, but this allows me to actually use a ratchet to install and remove them.


Note a certain German supplier for SR&XT parts has got them as the original Yamaha bolt is no longer available.


With the stopping side of things sorted out, it was time to focus a bit more on the going faster side of things. As the casual observer might have noticed before, I am a huge proponent of using O2-sensors for fine-tuning carburettors. Now when I built the exhaust for the XS Triple, I did install an O2-bung, but for some unknown reason, I must have slipped an a bit of exhaust tube got in the way plus the thread of these cheap O2-bungs isn't exactly true to the specification. After a bit of die-grinder and tapping action, I was for the very first time able to monitor live, what was actually going on under load.


Yes, that reads as 13.9:1, really more a wonder I haven't burned any holes into my pistons yet. The mix-screws on these carbs are incredibly sensitive, so a 1/4-turn bumped me straight into the high 12s, which instantly meant black skidmarks in the driveway. 


You have to give the sidecar credit though, put an old car-battery on the chair, hooked everything up and off you go. (Turns out, the stock reg/rect unit is so noisy, the electronics in the wideband controller were (not very politely) showing me the middle finger.


Why fix this now, when I obviously have the carbs already dialed in somewhat satisfactory? Well, here's a bit of a project outlook for you.


Mikuni VM29SS out of a 1986/1987 GSXR 750 slabbie. They'll need a sh*t-ton of tweaking to fit and I just know I will be cursing myself for using them. But they've got accelerator pumps, are a slightly smaller diameter (29mm vs. 33mm) and I have quite a bit of hands-on-experience with them from installing them on (my) Kawasaki Zeds.