Showing posts with label sr500 sidecar. Show all posts

Friday, 8 November 2024

Project Status Update Winter 2024

It's been a while, but in my defense a lot got done and I promise in the coming weeks, I plan to do quite a bit of catching up on the blog as the Suzuki is getting close to the finish line. So here's a bit of an overview, what's planned for the Winter season/the coming weeks. 


Everyday TR1:

Only a bit of maintenance is due really.

  • Oil- and filter change at (1)35,000km
  • clean and grease the starter motor
  • a good cleaning and greasing
  • throttle cable incl. splitter needs to be changed, because this will create problems rather sooner than later
  • the sub-frame mount of the rear mudguard needs to be addressed as the bolt touches the tire ever so slightly when the rear shock bottoms out (and I already have a solution with a P-clamp that basically only needs to be installed and then that'll solve the issue)

 XT600 - Dre-XT-Stück:

I got a lot more use out of the old girl this year than several of the last few years combined, still to call the old girl "trouble free" is a bit of a stretch.

  • Headbolt threads in the cylinder need to be upgraded with M12-to-M8 adapters like I did it on the pretty one as the left front one is starting to fail and thus leaking oil
  • a road-legal pannier rack is due
  • I still have this KTM Adventure 790 rearshock, which needs an adapter to get it to the right length
  • oil the throttle and clutch cables
  • other than that, a good clean and a bit of TLC should do the trick

SR500 sidecar:

As this one will be used the most, the main thing will be to get it ready for Winter-use.

  • Spray it down with wax to protect the metal parts from the omni-present salt
  • install hand muffs
  • Check which bolts have come loose lately
  • modify the summer wheel to work with the modified sprocket carrier and get a bigger rear sprocket

Suzuki SJ410 - the Pickle:

Not sure, if I'll have this ready at the start of Winter, but we're getting there as the little cube is already painted and mostly there to get inspected. The big things still missing to get it on the road are:

  • fix up the front and rear bumpers
  • repair the wiring and remove most of the rather dodgy fixes
  • make the heater work
  • replace the rear brake drums for the later model ones I have already overhauled (they are self-adjusting and more common, so e.g. the drums are still available as aftermarket parts)
  • get the handbrake working
  • change the various oils and check for leaks and fix those
  • fit the winter tyres (which can mean either fit the tyres with the Winter tyres on them or fit the second set of NEW Winter tyres to the wheels which are currently on there - might in the end by a matter of the available time)

Other vehicles that need fixing:

VX800:

This was probably the let down of the season, because it got new tyres and the started to not run right, which resulted in pulling the fuel petcock (because we assumed it was blocked by rust and also leaking slightly) and that was perfectly alright...

  • convert to electric fuel pump out of a VS750 (chopper version of the same bike) as the diaphragm pump is as dead as nails
  • Repair the petcock threads in the tank because one of the metal-look-a-like bolts stripped part of its threads

Goldwing GL1200 - Volkskrad:

This really "just" needs finishing. We got stuck at the point, when I had to get a repair-kit for the rear brakepump. This has to be installed and then the rest needs to be assembled etc. The future on this one might be rather open really. 

Aprilia Moto 6.5:

Somewhat as predicted the broken regulator/rectifier fried another battery, so this has to be addressed and in an ideal world, I am not going to do that with a stock Ducati-elettronica unit, but something out of Japan. I just have to dig out the necessary specs to find a suitable replacement.

Bandit 1200:

Unless I am mistaken, this one might want (again) a replacement of the clutch slave seal and a good cleanup of the rear brake caliper.

As the avid reader might have noticed, there's quite a few vehicles missing from this list - that's intentional, because this is the stuff that HAS to be done. Everything beyond that is probably a case of how cold (or not) it will be during the Winter and the amount of extra time available for tinkering.


Wednesday, 31 July 2024

SR500 sidecar - setting up the VM36 carb

 Let's just say, setting up a carb is a straight forward process, but it is by no means a quick process.

Only to ultimately end up on the next page and realizing I still have more work to do. 

But *MAYBE* we should track back a little bit and start telling this story from the beginning: As I was a bit unhappy with my TM36 setup, with it being uncomfortably lean in the midrange, which is good for mileage, but terrible for torque and very happy with the top-end performance, I wanted to see if I could fix it. With all attempts failing or leading towards disabling the accelerator pump, I decided to make a bold move and get myself a VM36 and in retrospect that was an excellent decision, I just shouldn't have bought it from the shop I did as I basically had to replicate a lot of steps that would have been available with a pre-configured carb available in other shops. 

So there's a specific SR/XT500 version of this carb available, which mainly differs in jetting (duh), slide-cutout (3mm vs. 2.5mm)


needle jet P-8 instead of Q-5

and needle, which is a 6DH03 instead of a 6FJ06

and obviously a much more sensible 35/240 setup compared to 35/310 in regard to pilot and main jet. 

Sounds good, right? Didn't work at all. You see, I have fallen victim (and for about two weeks at that) of a badly deburred needle-hold-down clip. 


So whatever I did, the carb responded lovely at idle AND at the very top. Just everything in between was all but useless. Once I figured that out (the clue was that if raising or lowering the needle has absolutely NO discernible effect on the midrange jetting, there must be something wrong exactly there!), I started to trace my steps back and found out that the P-8 needle jet is too rich and the slightly richer needle wouldn't exactly help either. As luck would have it, I still had a pair of VM34s that I bought for my dad's CX500, but never got round to fitting to the bike and these come (in stock form) with a P-6 needle jet from the same family. 


And this was the break through in all of this mess. Suddenly I could get the midrange lean enough to make sense (it's still too rich, but we'll get to that) and I could start tackling the very top-end again and leaning that out until it would start to pull cleanly all the way.


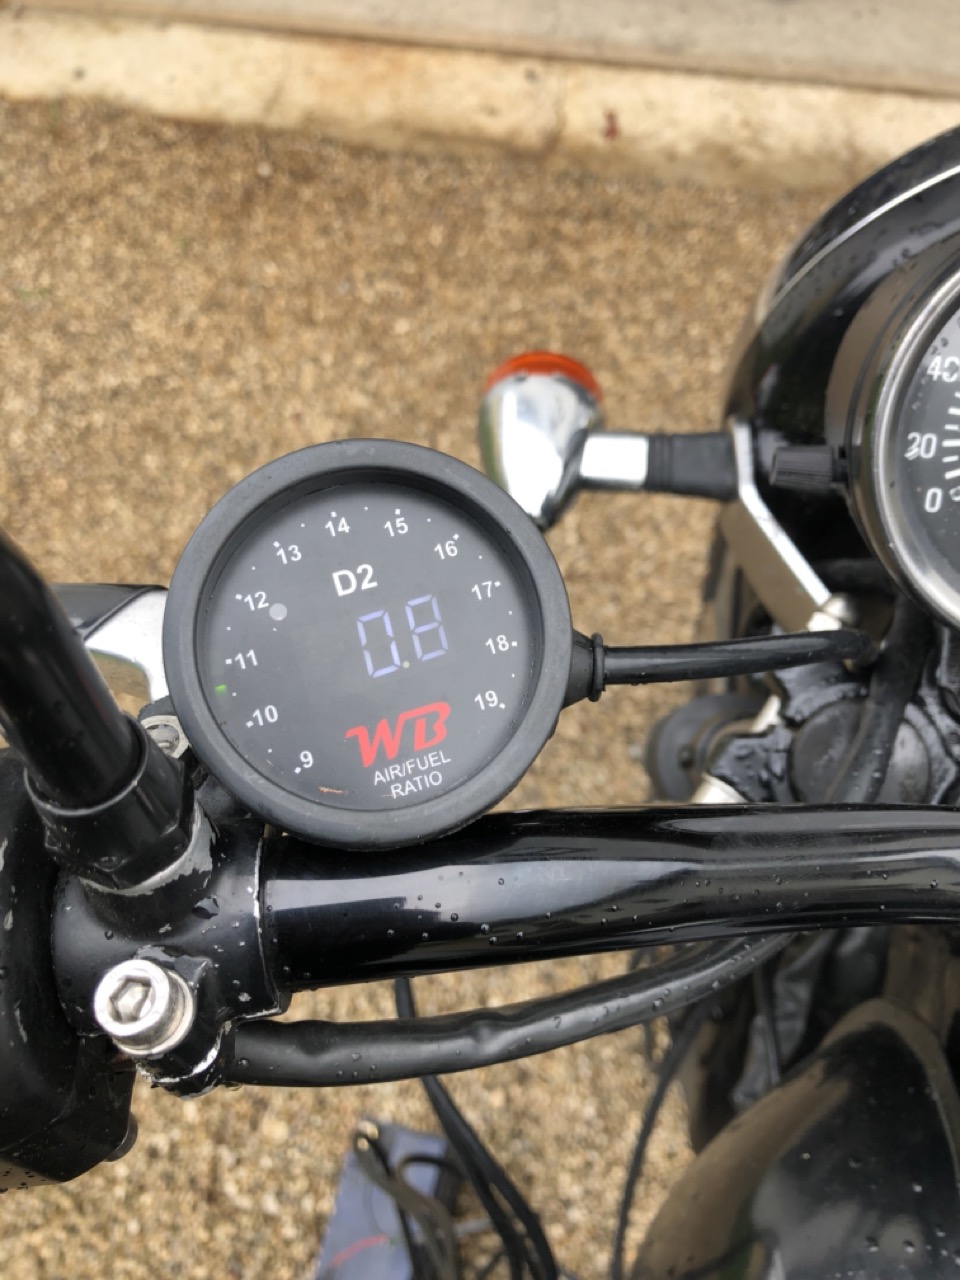
And this is what this looked like - old battery in the sidecar, AFR displayed tucked in under the tarp, so I could have a look and then drive up and down that hill a stupidizilion of times and check AFR-ratios, take notes, make changes and do it all again. 

So why did I write "still too rich"? Well, because it is. If you look at the second note, you'll see that I erroneously noted down 10.8:1 for midrange (it's actually 11.2:1 after re-checking), but either way this is much too rich for part throttle. Now I don't want the 14:1 climbing towards 15:1 AFR-ratios of the TM36, but I'd like to see it in the 12s, because that would mean maximum torque and with a leaner needle-jet I could also run a bigger main jet again, meaning I would have a bit more thermal safety at wide open throttle as it tends to lean out after a while and once the oil gets REALLY hot (as in around 100 degrees C) I can hear detonation rear it's ugly head... As such the next step is to try out P-4 and even P-2 needle jets to get the midrange lean enough, also in the mean time, I'll probably step it up to a 185 main jet, even though that might cut peak performance a bit, it's better than detonation.

Saturday, 25 May 2024

The SR500 sidecar - fitting a VM36 carb

 Before we get into the topic at hand, nope the blog ain't dead, but lately I had to decide on how to use the available time and decided that making some actual progress versus documenting said process was the better choice, mainly because the Suzuki-project has somewhat spiraled out of control and other commitments kept me well busy lately. 


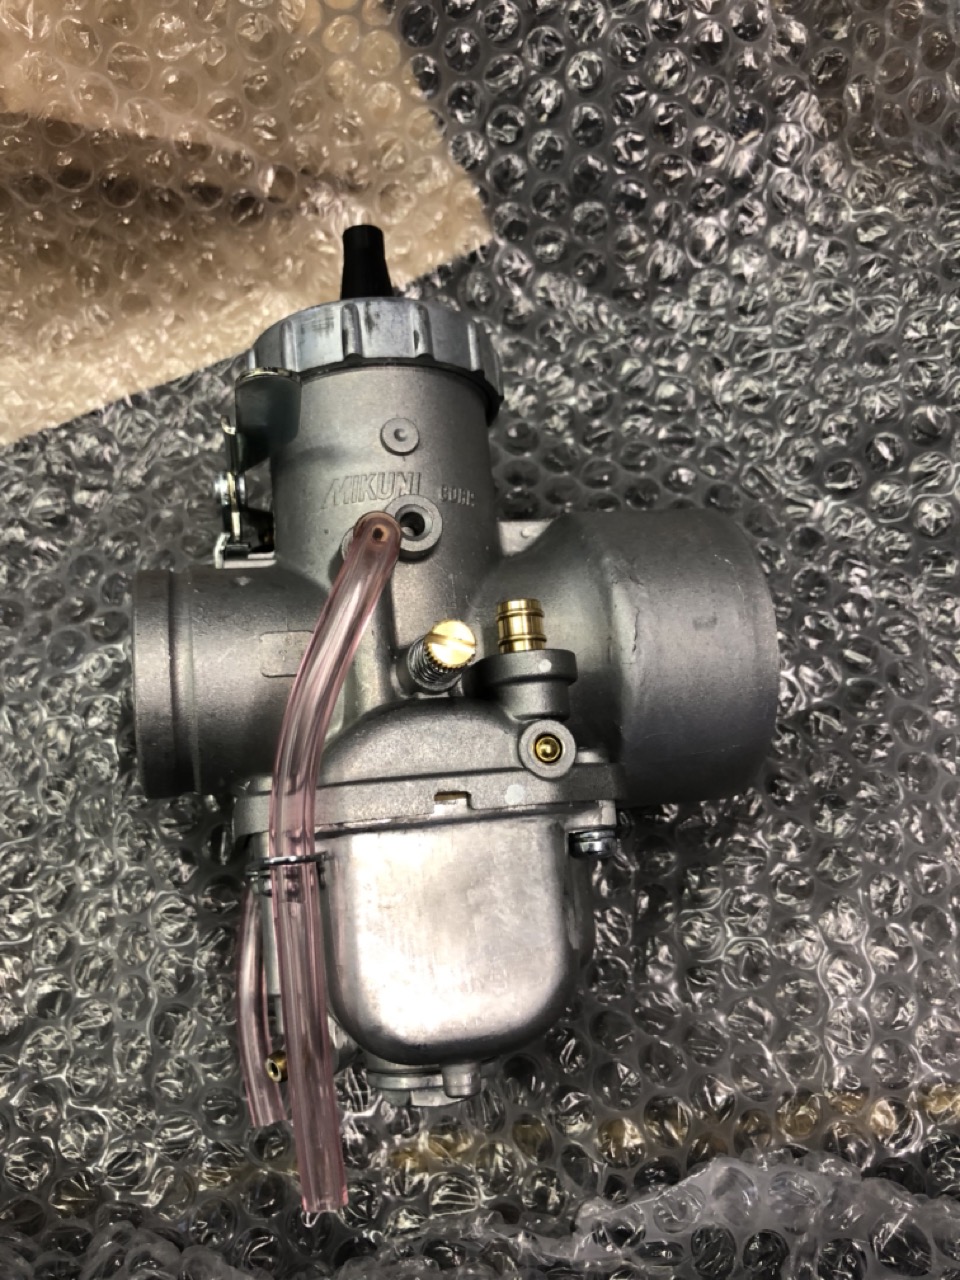
Enough excuses, time to get on with "it" and "it" is fitting a VM36 roundslide instead of the TM36 that used to live in there before. In essence the TM36 runs pretty good, but in order to make it work with the accelerator pump, midrange has to be jetted very, very lean. This on the one hand has some rather negative effects on the torque curve (it feels rather weak unless you crack open the throttle and ride it like a little racebike) and, and this is the bigger issue for me, especially in warmer weather I have huge detonation/pinging issues, when using the throttle a bit more sparingly. With the VM38s on the TR1 running like they do, it seemed like a bit of a no-brainer to go with a VM36 for the SR500 sidecar. In theory this will most likely have some negative effects on the fuel economy, but this will get me some much needed increase in torque.

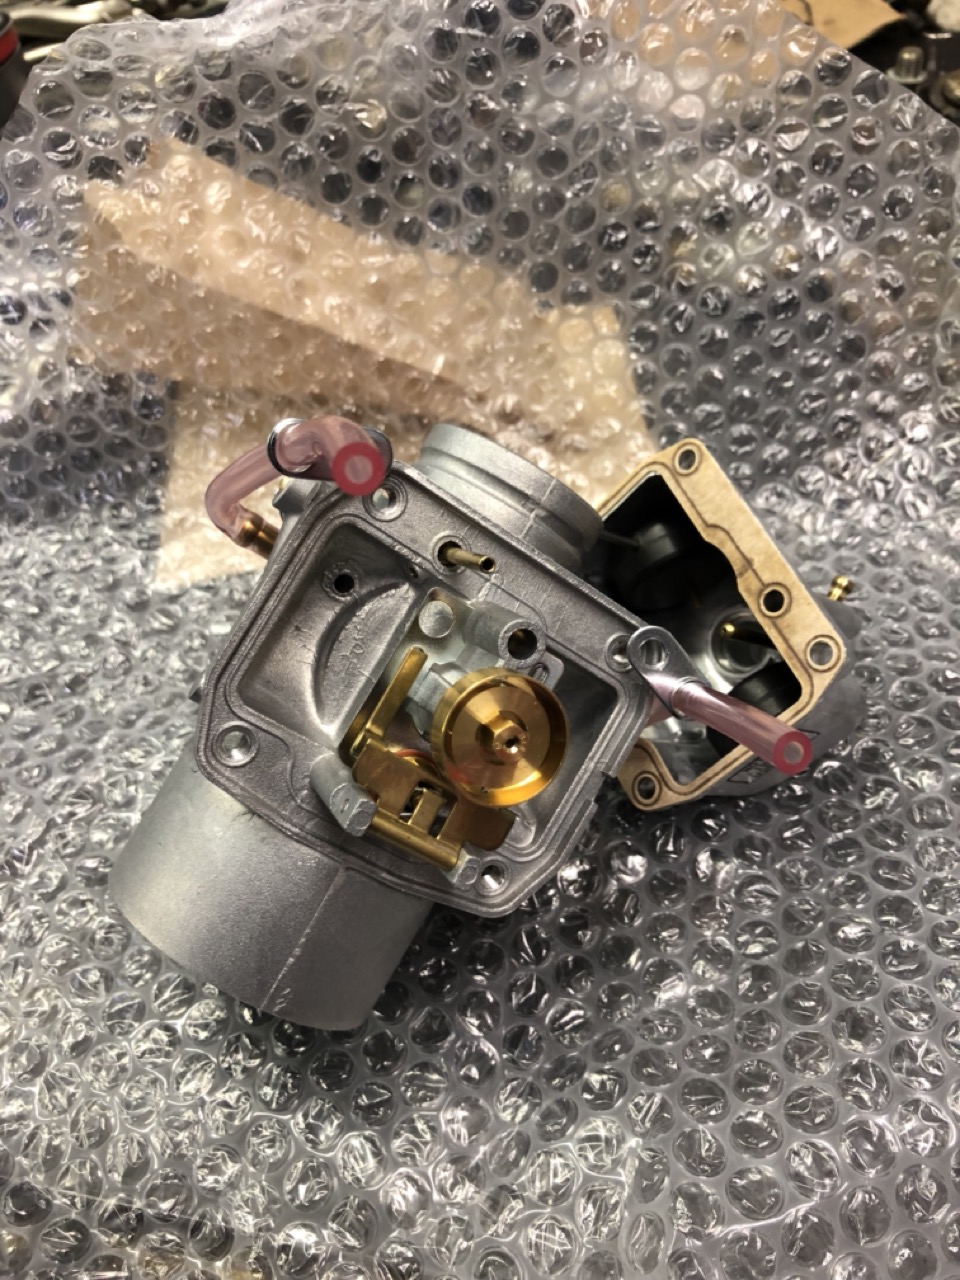
 The internals are as simple as always, a main jet and a pilot jet and a little dish to make sure the mainjet can always get some fuel in the bowl. Mine is the 2-stroke version (something I was not so happy about admittedly as there is a specific SR/XT500 version, which is jetted slightly differently, but Mikuni being Mikuni, you can find the jetting online and then get near this setup, with just a jet swap. I am currently running 30/240 with a very open airbox and free flowing exhaust and what am I supposed to say, the old girl is instantly as fast as with the TM36 and starts first kick. She just hangs a bit at 2/3 throttle, but once you get past that you'd better be careful as she revs to self-destruction in an instant. 


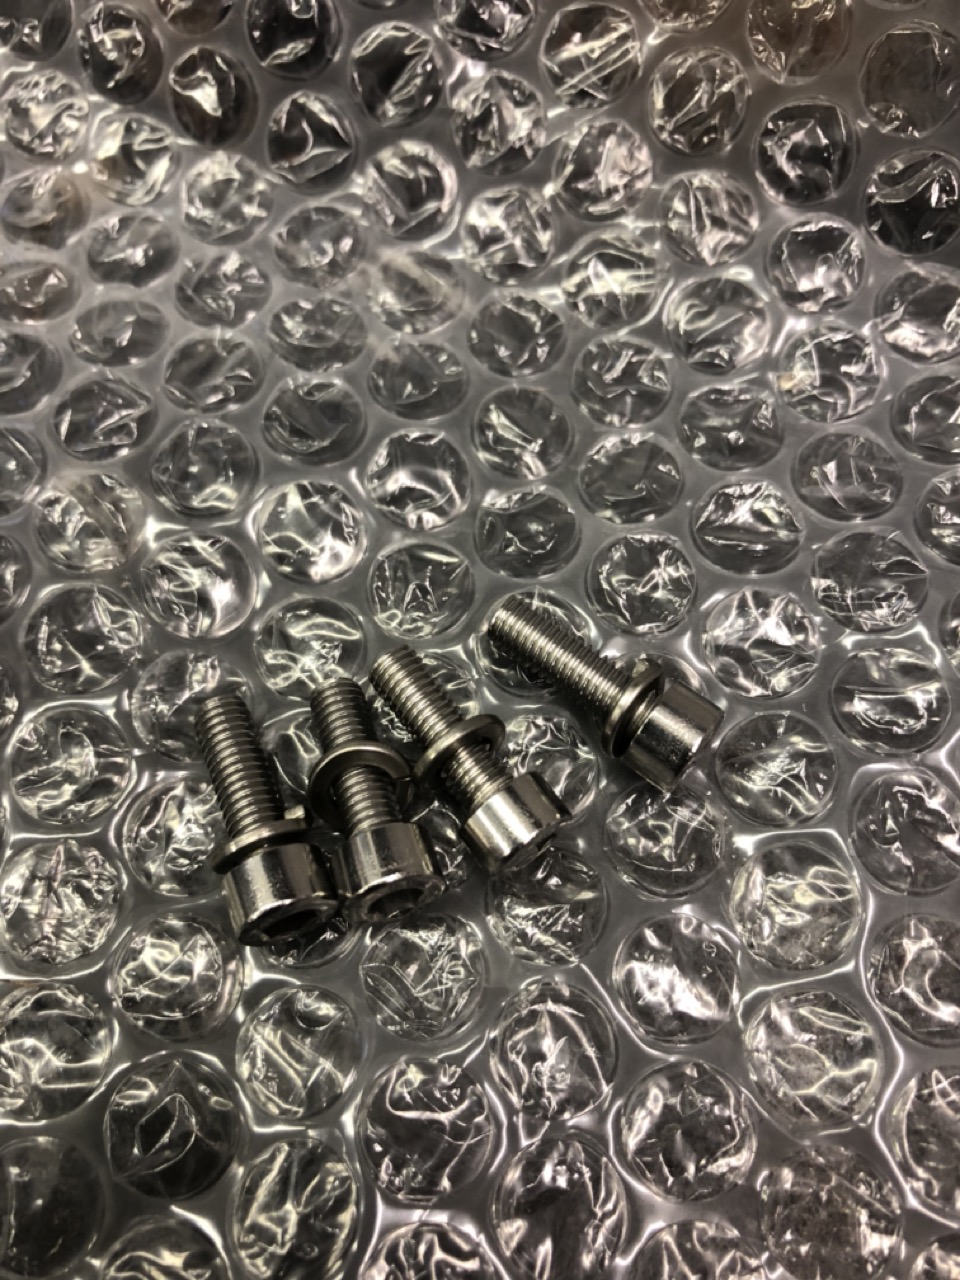
 During assembly I swapped the floatbowl bolts for M5x20 stainless allen head bolts with spring washers, so now I can take off the float chamber without removing the carb from the bike. 

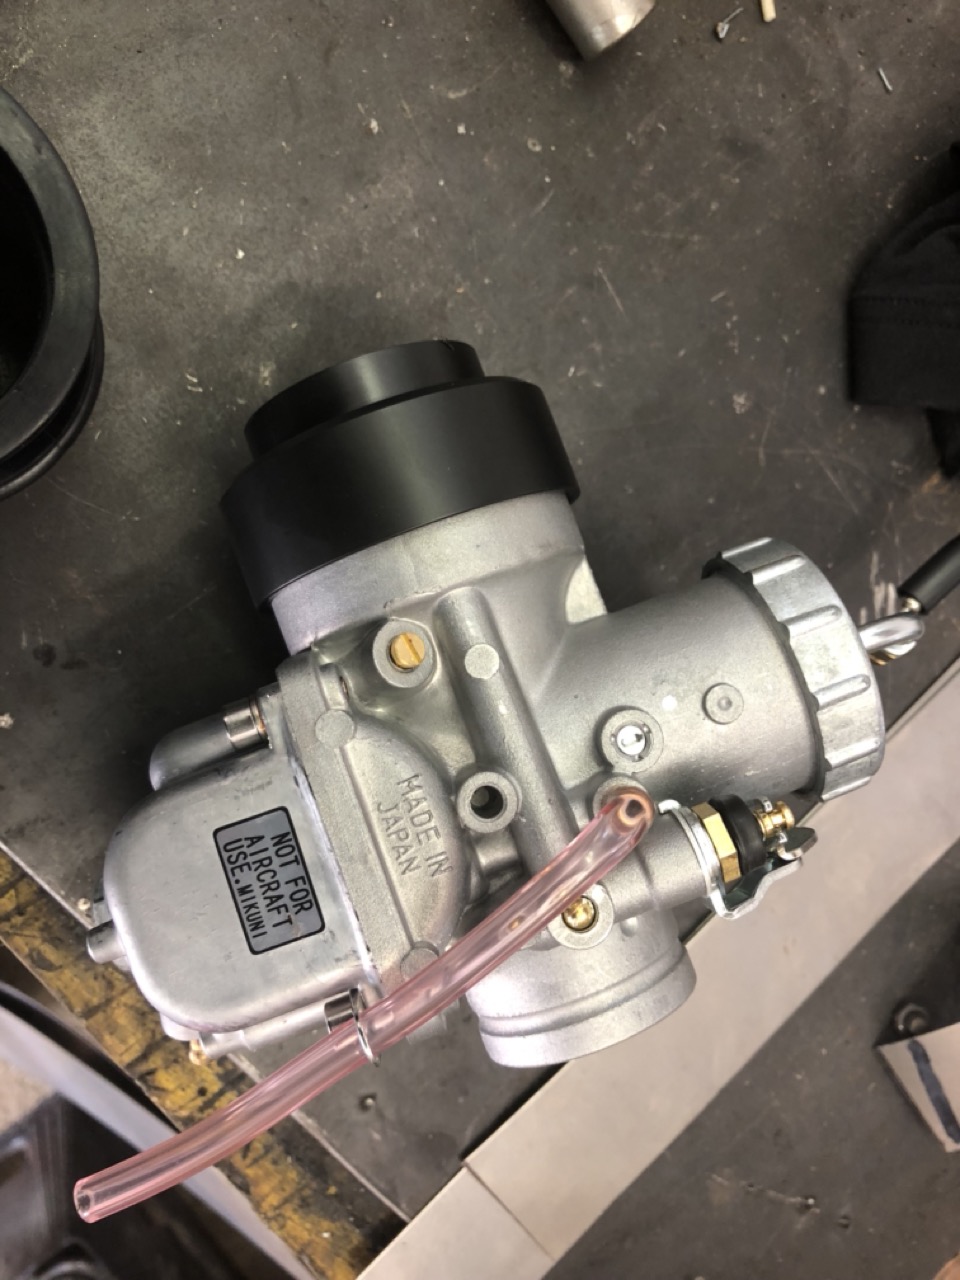
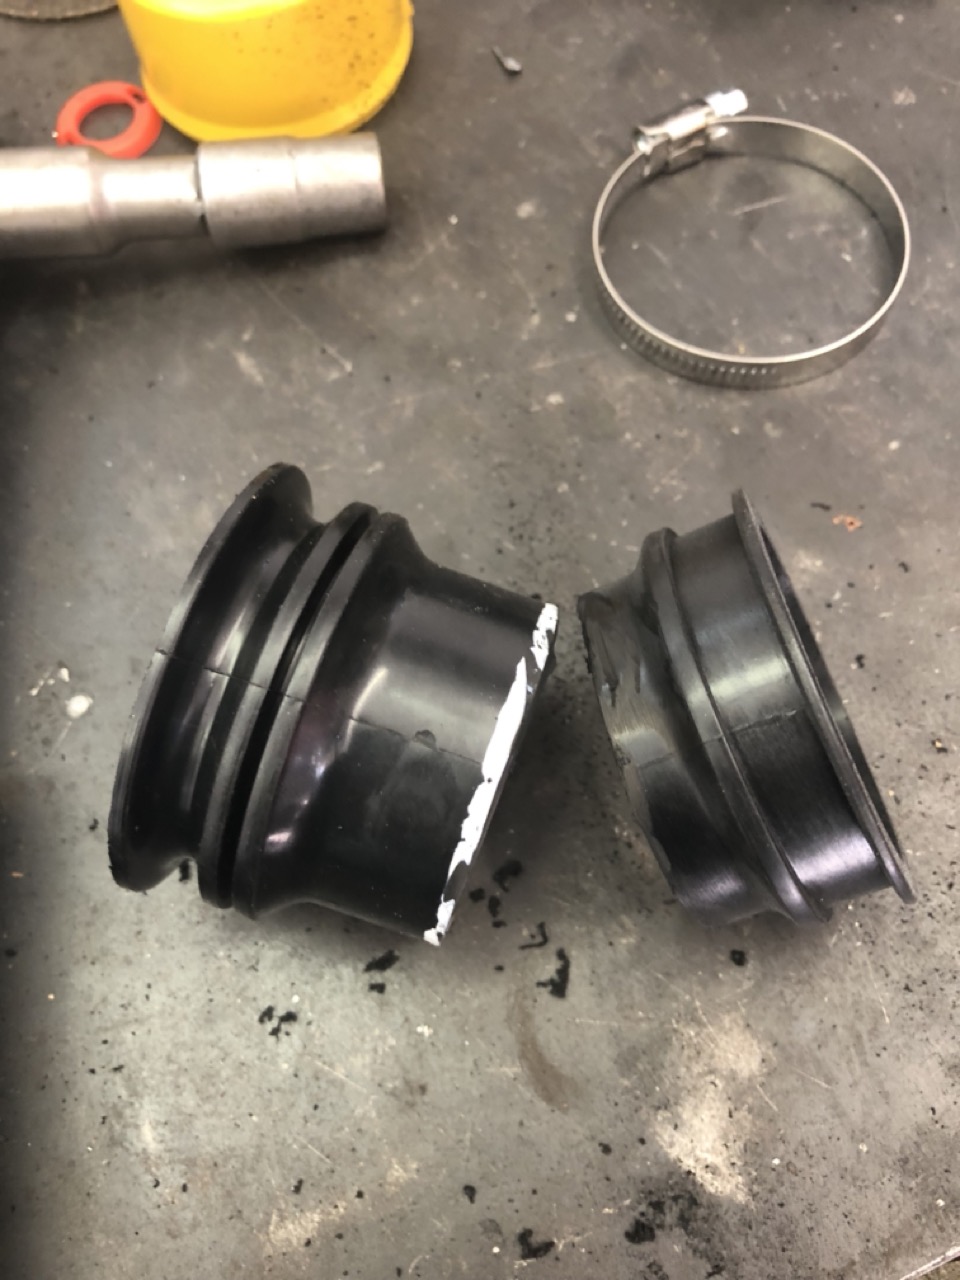
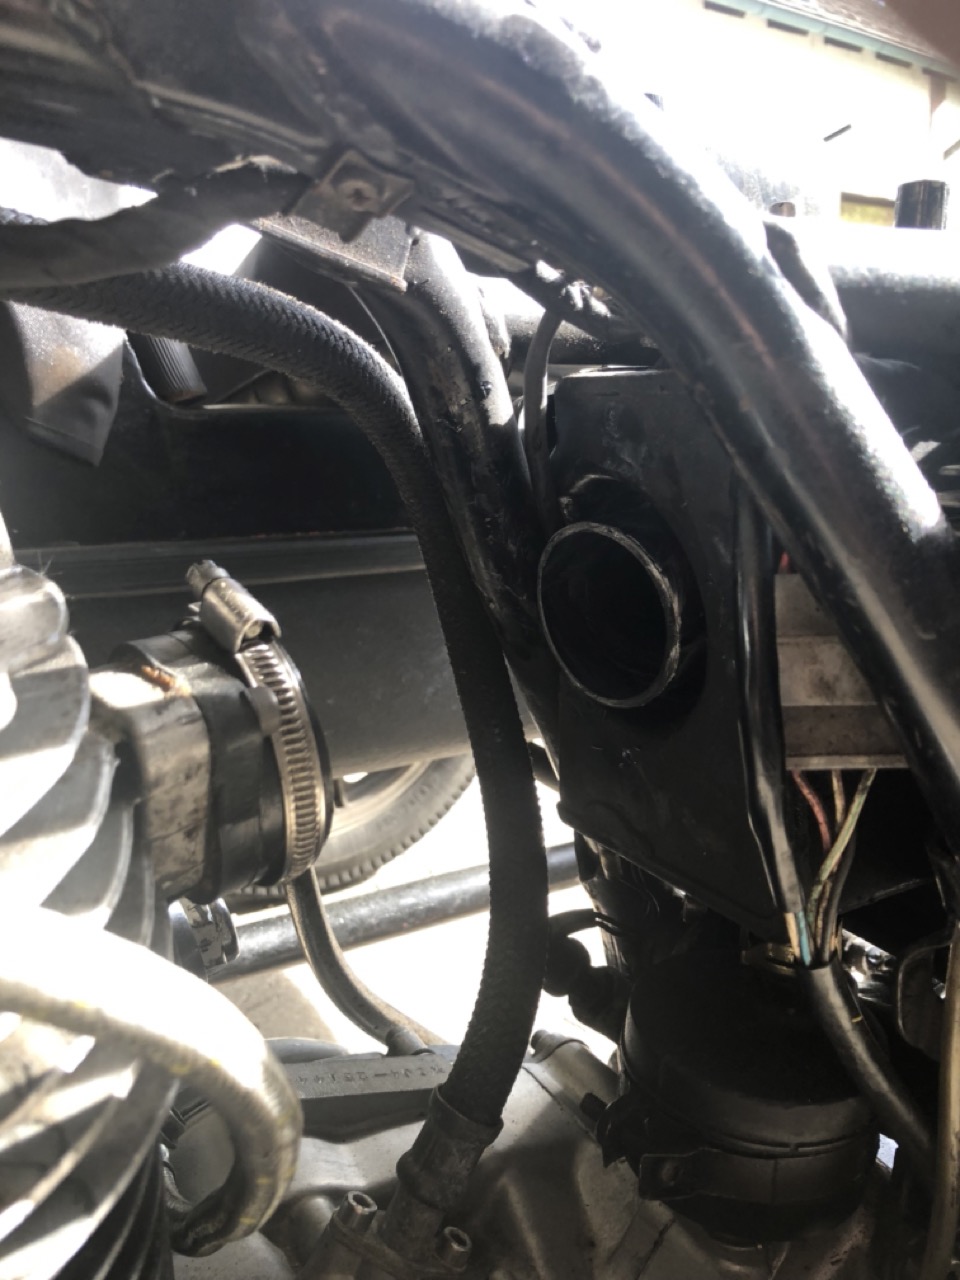
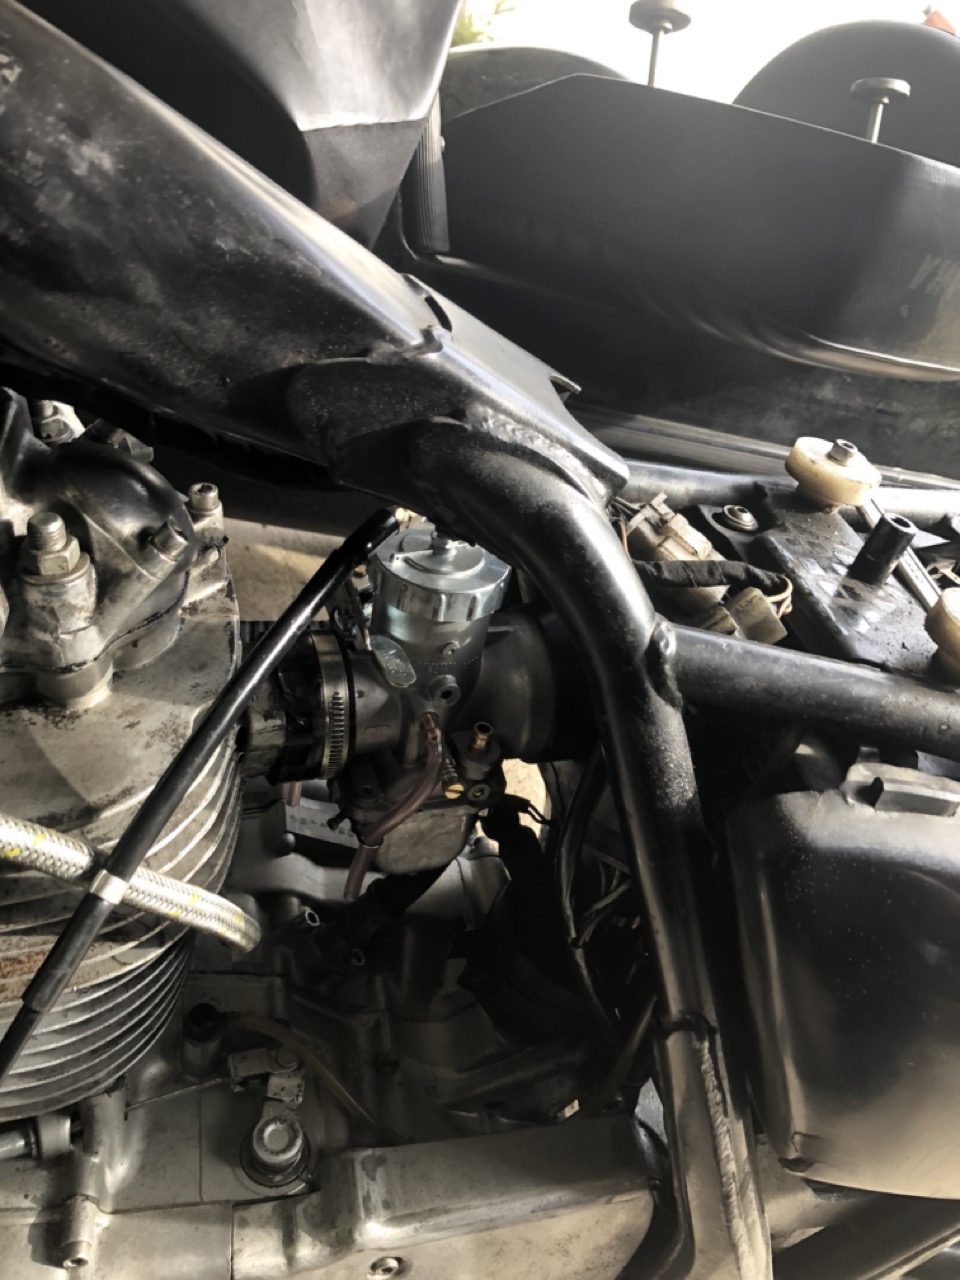
Talking of which, if odered from KEDO, there's an adapter kit for SR500s running the later 48T airbox to connect the carb to it. (And as that's a legal requirement overhere it comes in pretty handy.) It consists of a press-fit plastic reducer and some instructions to shorten the stock airbox hose by 30mm. Which is all nice and good, but there's so little room that you have to fit the inlet rubber onto the carb as well and then essentially slide it in from the side. Doable, but very, very tight.


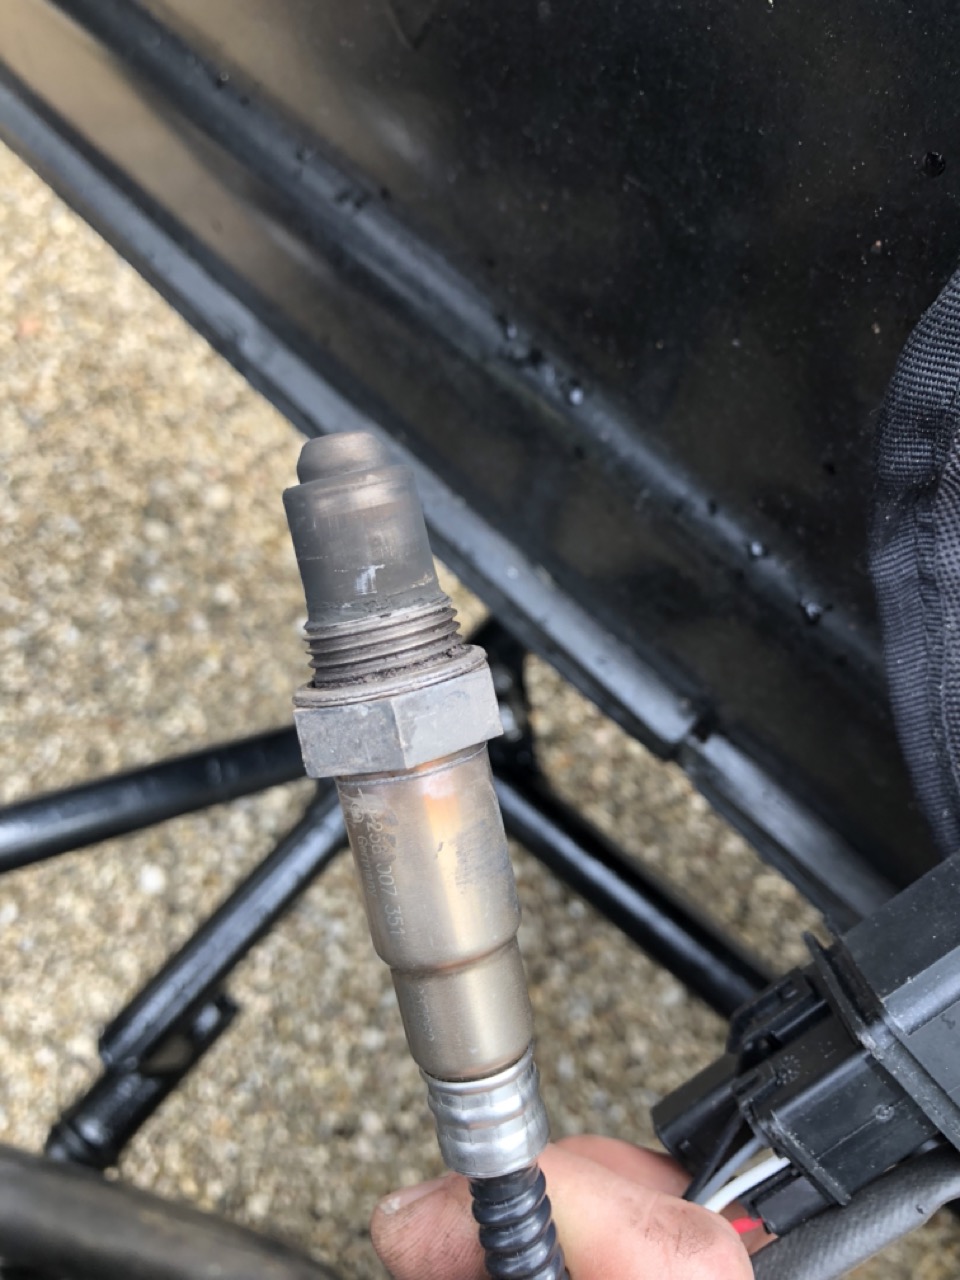
And with the carb in place it was only a matter of firing the old girl up and hooking up the wideband lambda sensor and see what happens. At which point I found out: stupidly rich (not surprising, I had overlooked the fact that it came with a #35 pilot jet downlow) and very good at the top (cause I had already changed that one.

When your AFR sensor comes out of the exhaust looking like that, you know you're onto a winner.


So what's next: I am seriously contemplating buying the leaner needle and needle jet of the VM36-4 specification as that might solve the hiccup at 2/3 throttle instantly. It is VERY driveable already and feels a lot more relaxed, some naysayers might say a lot more boring, but then again it now feels like a small sidecar with an oldskool thumper engine, which quite frankly is what I want from the sidecar.

Saturday, 17 February 2024

SR500 - lights out

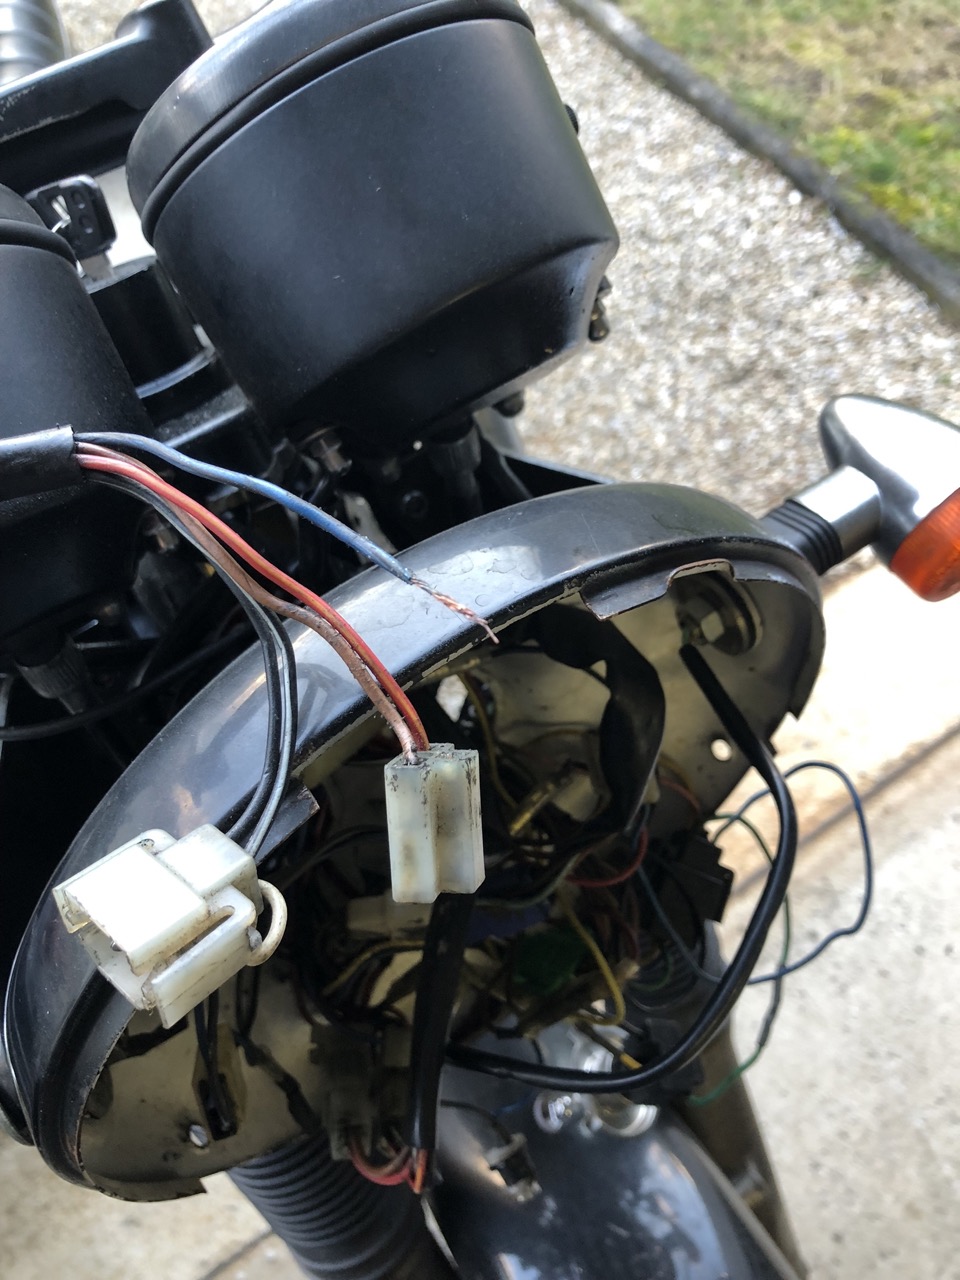
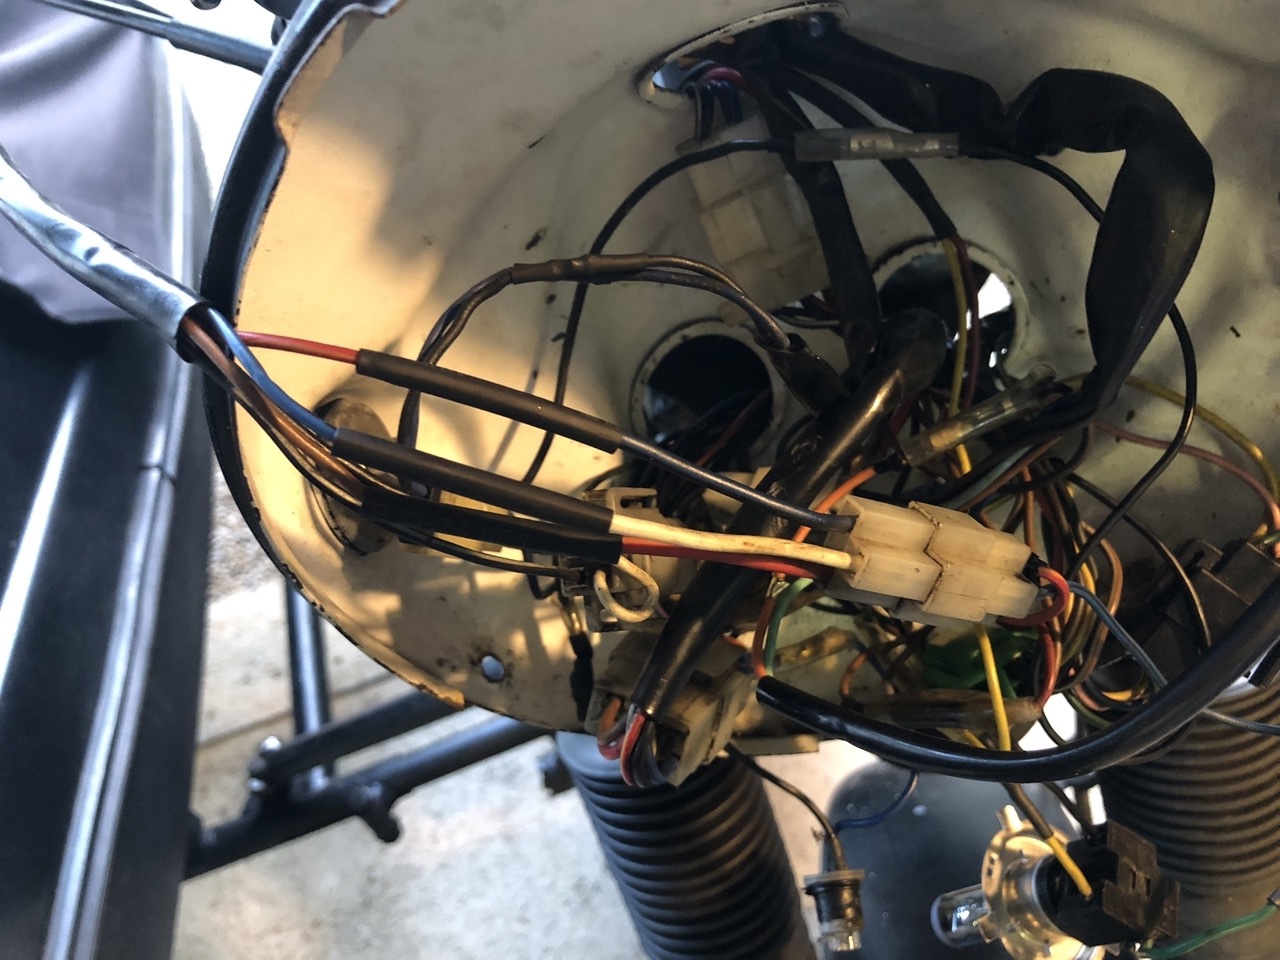
Very sneakily the SR500 sidecar has made its way towards becoming a veritable and reliable daily. Until about two weeks ago, when very suddenly the headlight started to fail, which together with admittedly rather improved weather conditions meant that the old Dre-XT-Stück was pressed back into service. 

After a bit of wiggling, especially on the blue cable coming down from the right hand side switch cluster, the light worked again.

A slight bit of pulling then made everything fall apart permanently.

Luckily after some rummaging in my parts stash I found an even more knackered right handlebar switch from a XV750SE and borrowed a new plug. (Yes I know, you can buy those plugs from Kedo, they don't actually cost a fortune... but I wanted to fix it now.)
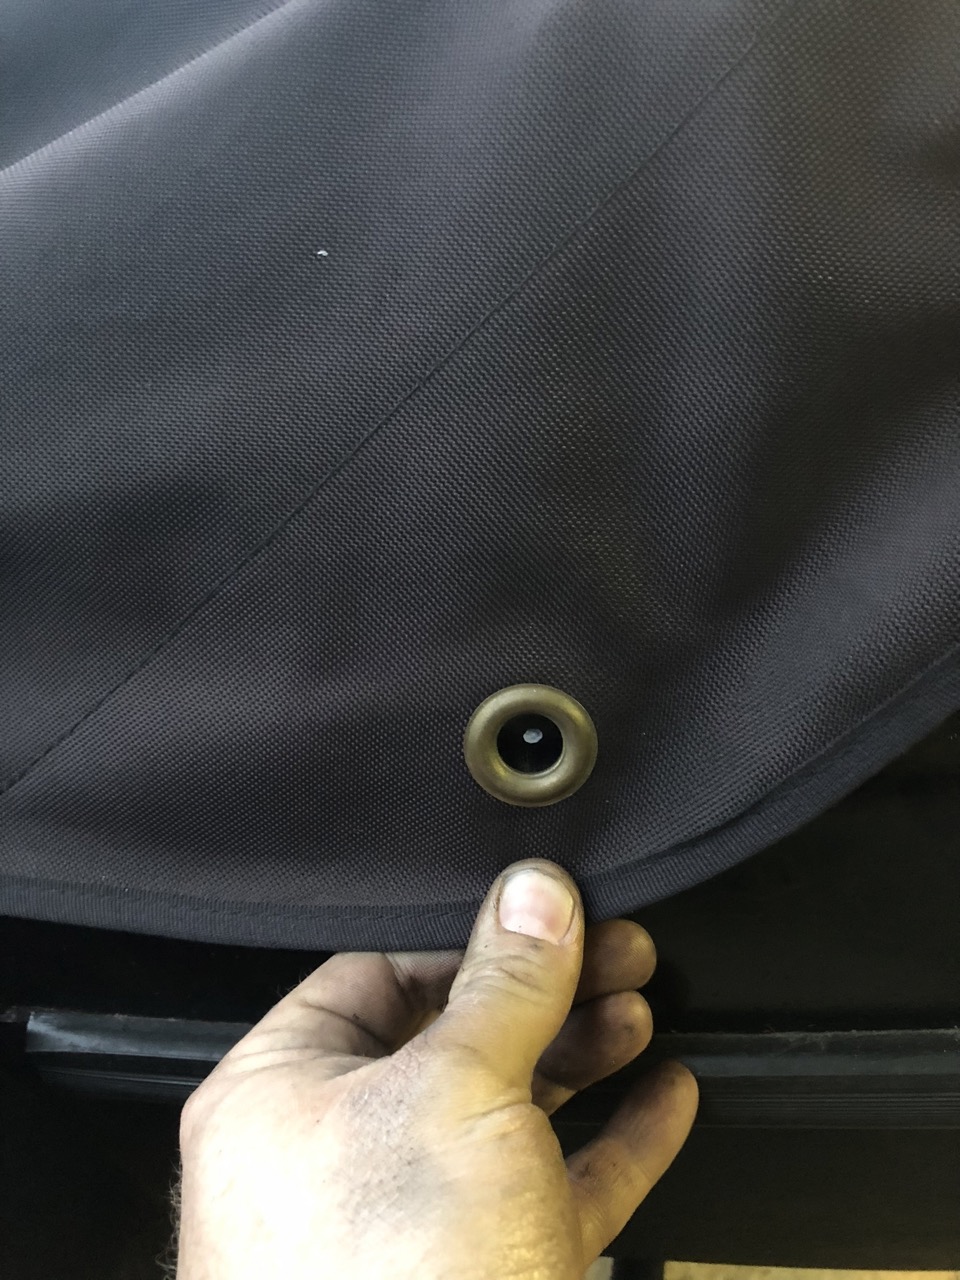
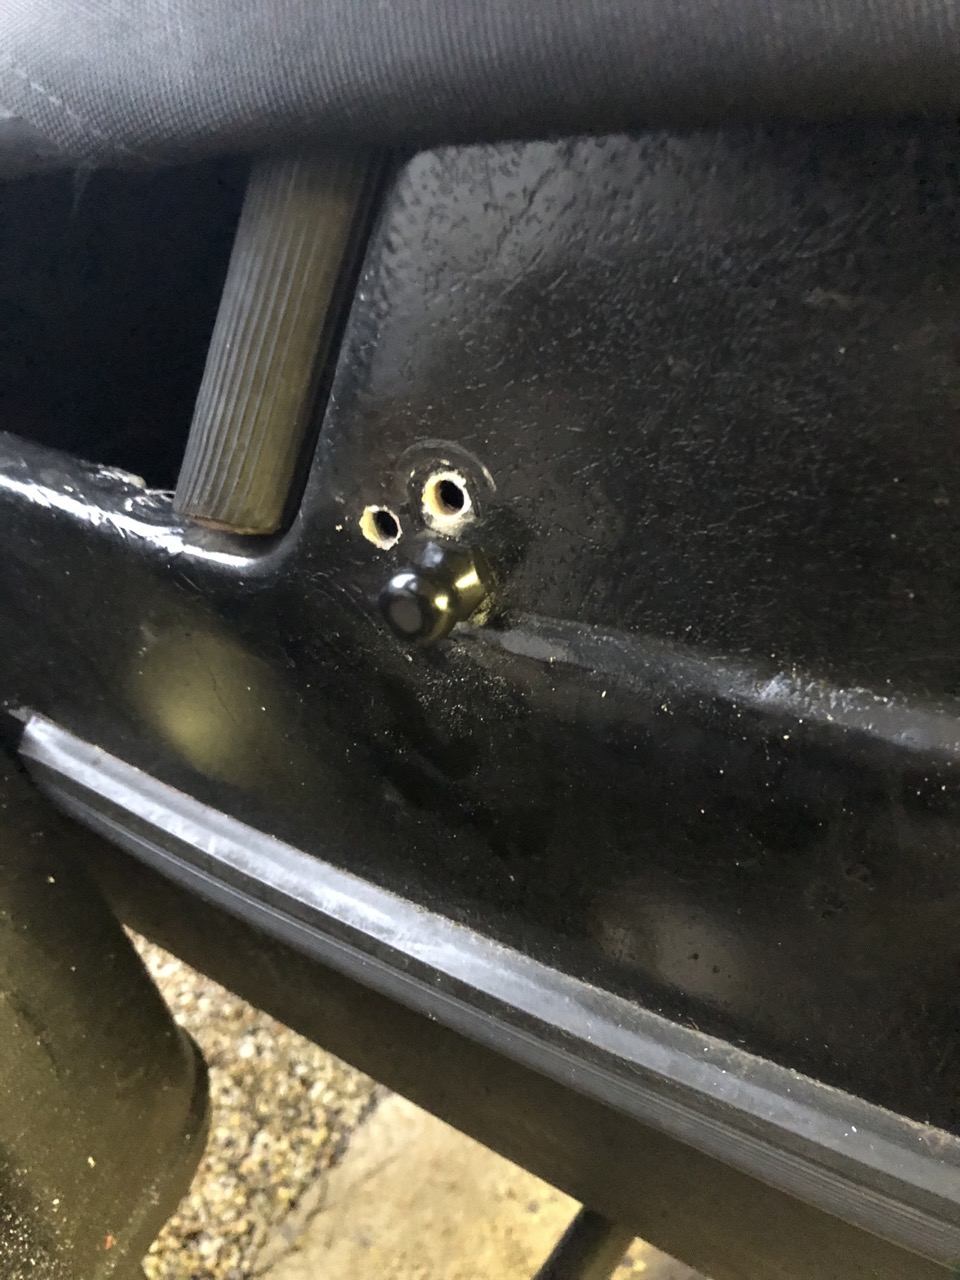
Whilst I was at it, it was really about time to reposition the front right pin holding down the sidecar cover as over the last two years the cover had stretched quite a bit. As is indicated by the fact that this is now the third time to reposition the pin. (I should really patch up the old holes...)


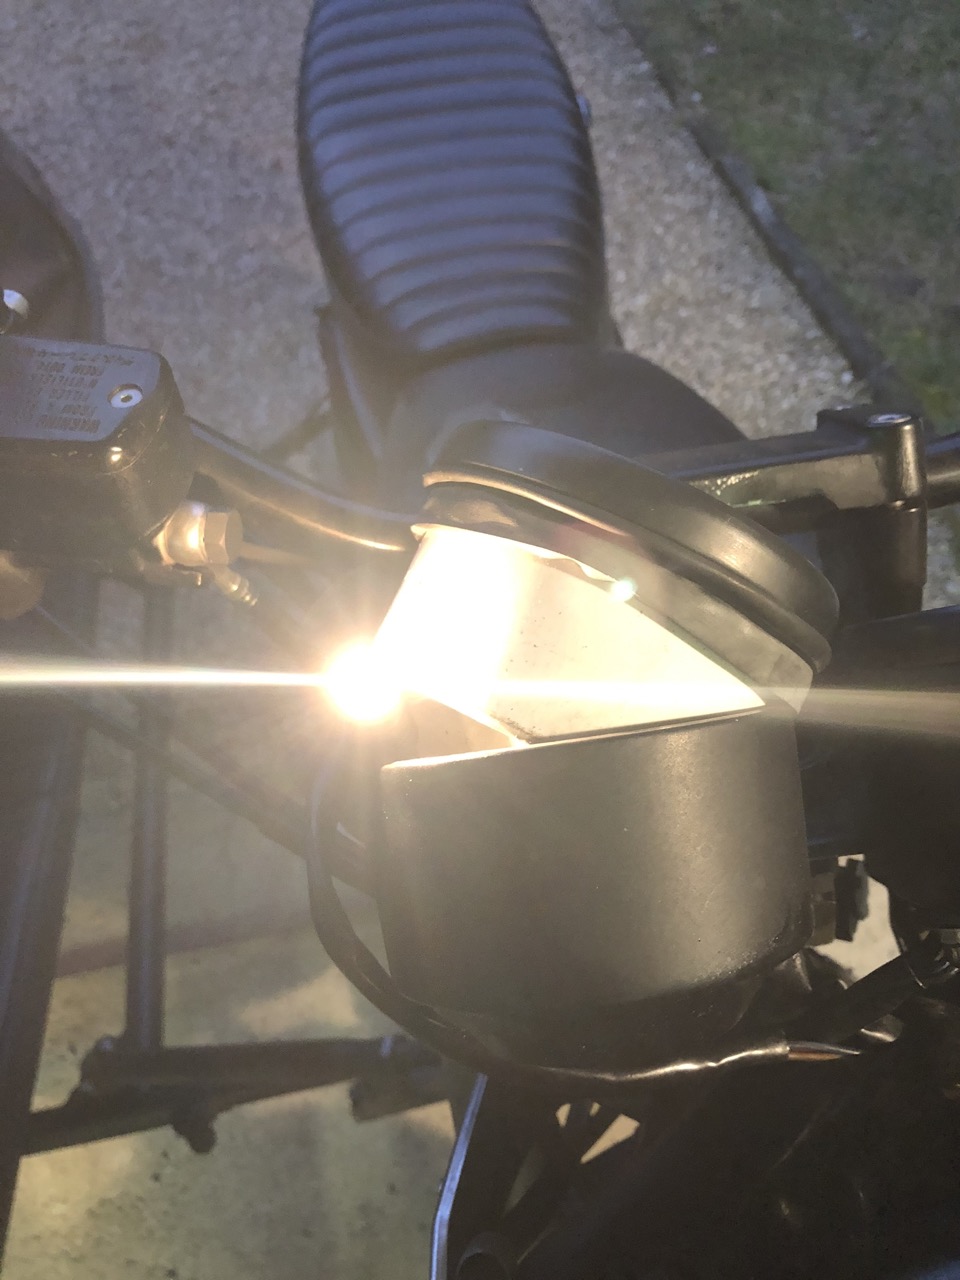
And last but not least - the turn signal indicator - the bulb had simply burnt out. Now it works - doesn't work - works - doesn't work - works ... 😉

So next in the cards is a proper big 30k service with oil-change and adjusting the valves and then we're probably even ready for the upcoming MOT.

Friday, 15 December 2023

The SR500 sidecar - repairing the sprocket carrier and converting it to a more conventional style

First of all let me point out that the initial idea for all of this isn't from me, but I gave it my personal touch. The original idea can be found at Motorang's Buchelli Projekt - Kettenblatttraeger  


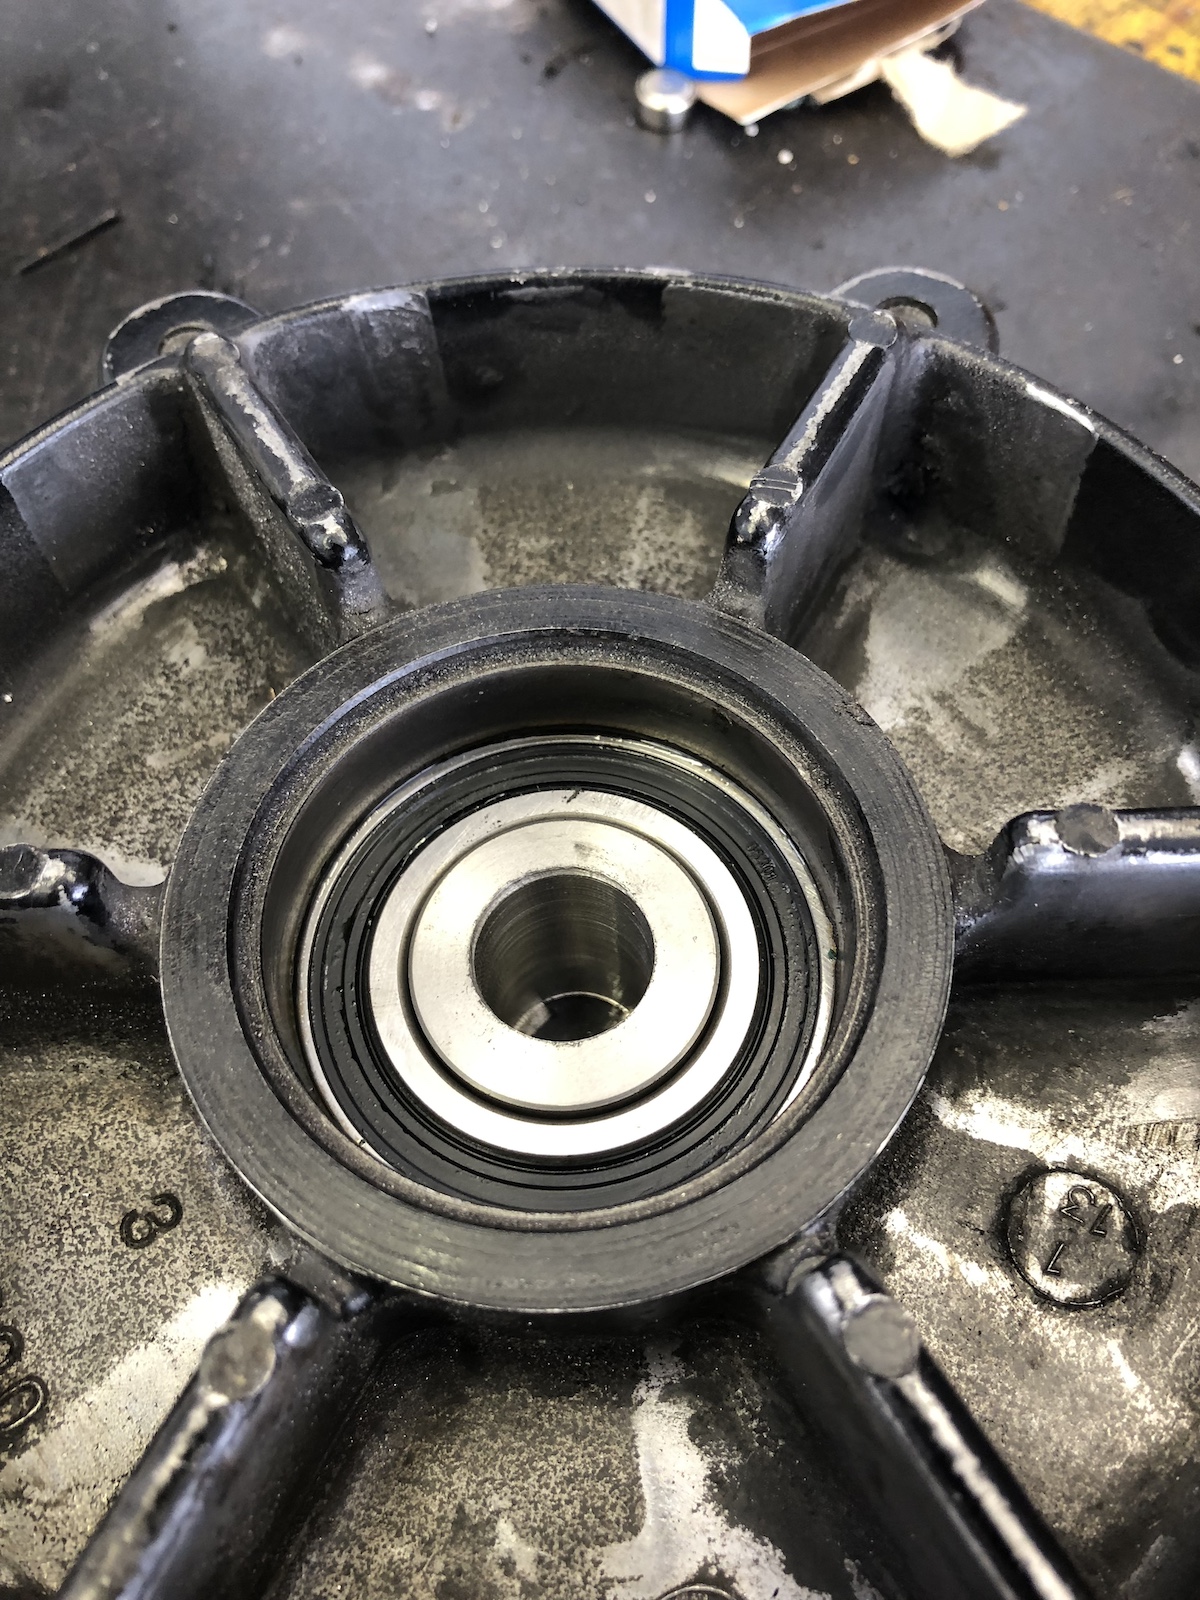
As you can see in this picture, the whole setup on XT500 and SR500 models is a bit on the weird side. In an attempt to save a bearing in the sprocket carrier a very elaborate clamping solution has been employed. This worked so well that on the XT600 models the almost identical rear wheel hub was modified to have a bearing and a spacer be independent from the rear wheel. 


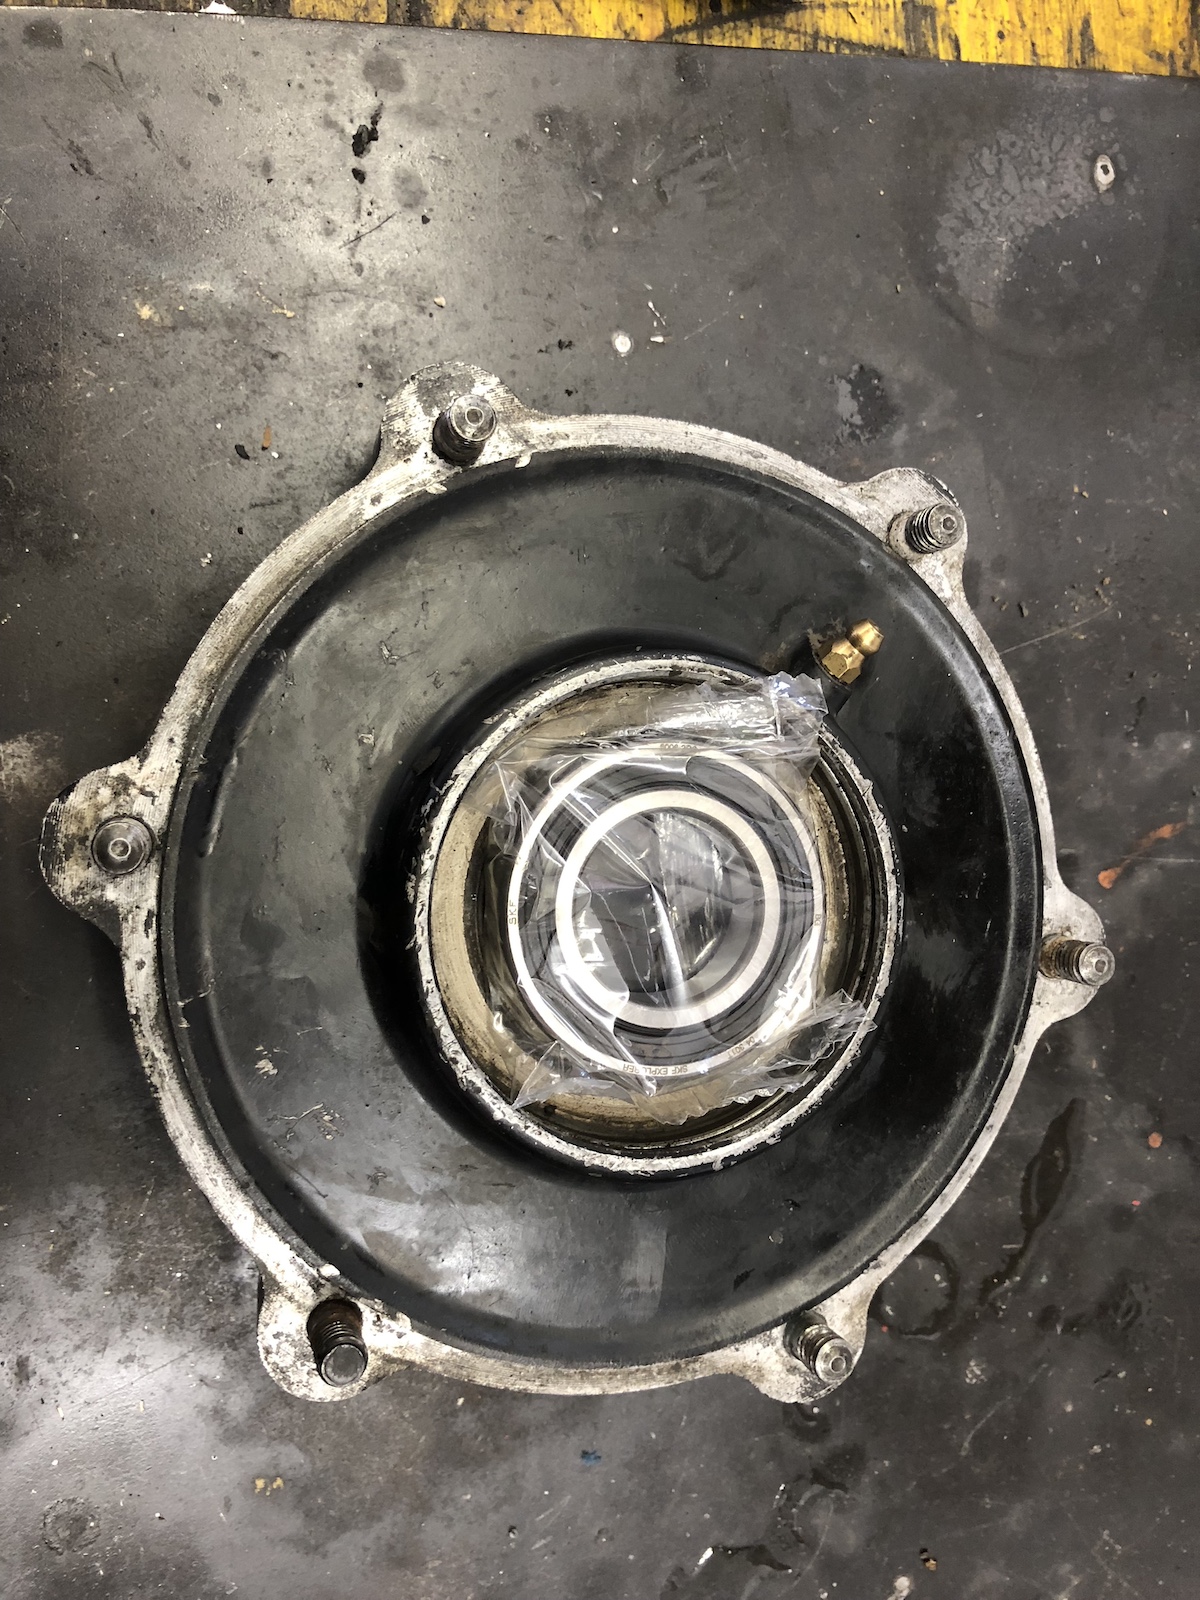
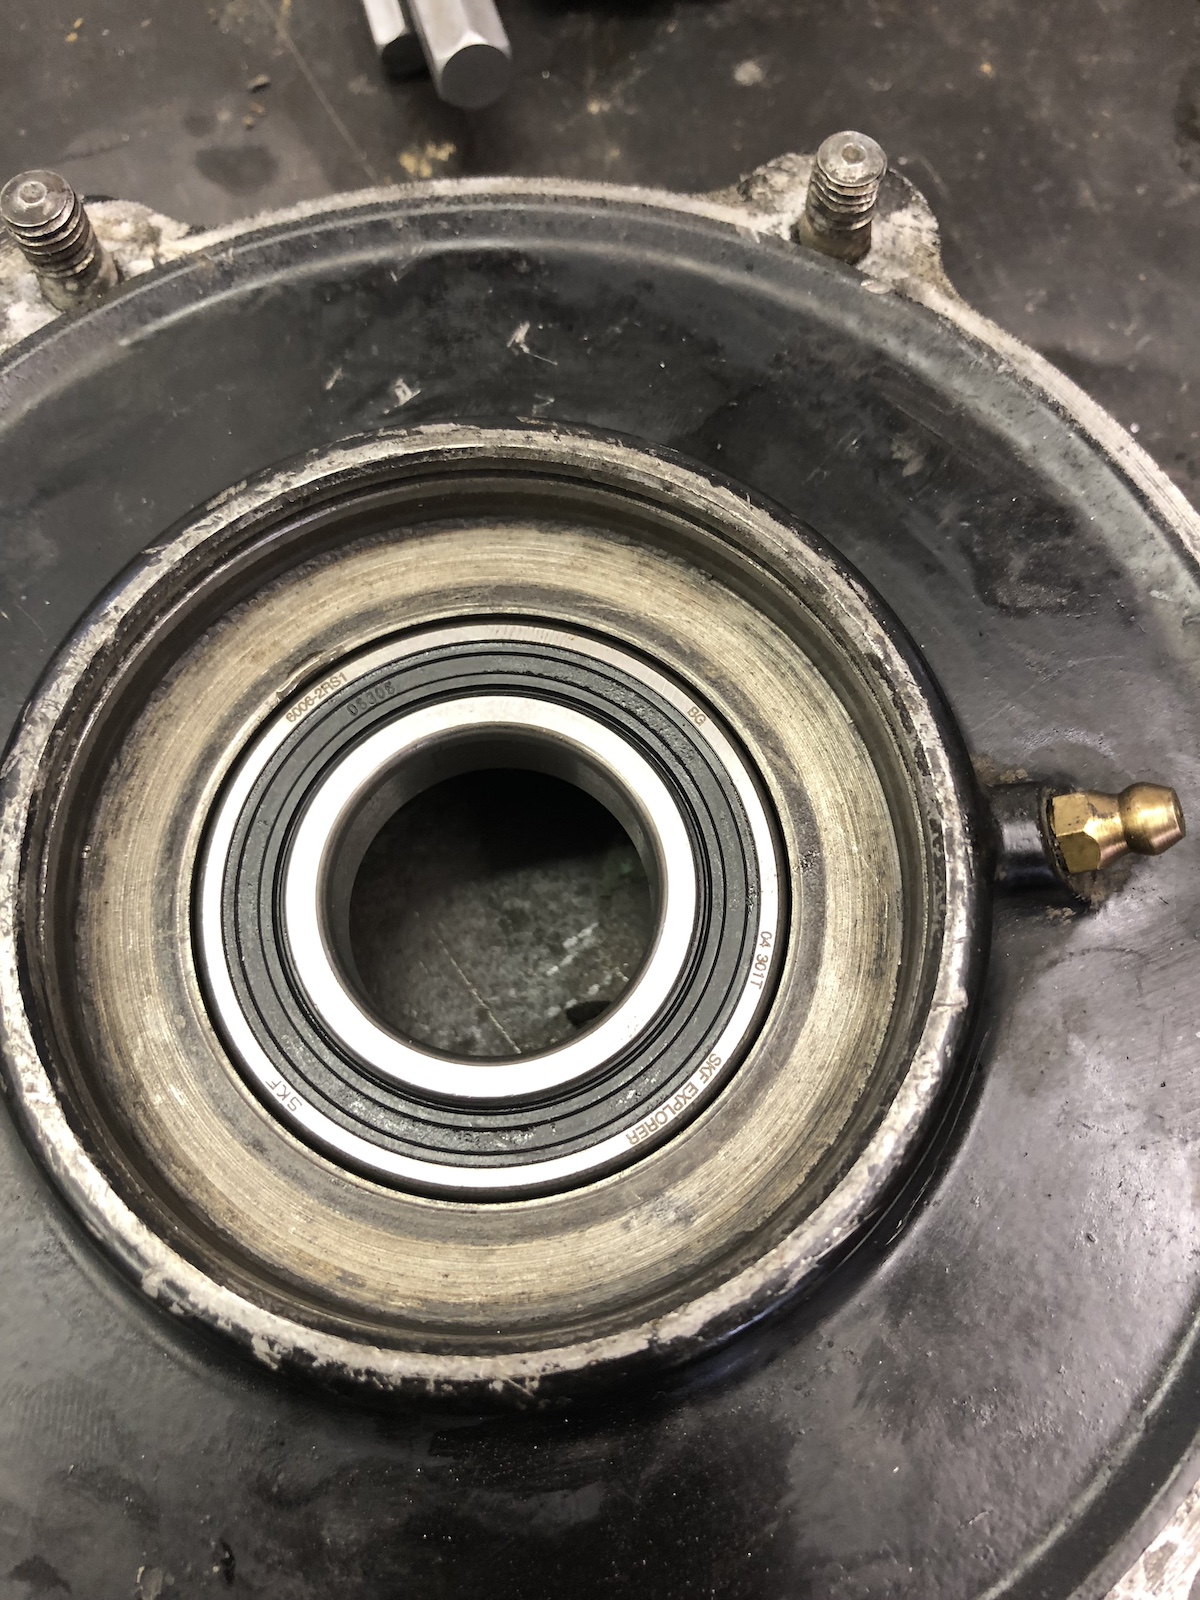
Luckily there's enough meat in the sprocket carrier to modify it to accept a 6006-2RS ball bearing instead, as it just has to be bored out to 55mm and 13mm deep. The just part is that you don't really have a clean reference surface, so clocking and tapping it in is the bigger part of the job. 


Aiming for a decent press-fit of 54.95mm, I beautifully overshot the mark and made the almost perfect sliding fit on my very first sprocket carrier. Nothing a bit of bearing glue can't fix though.
 

A few days later there was "a bit" of snow outside the workshop. 

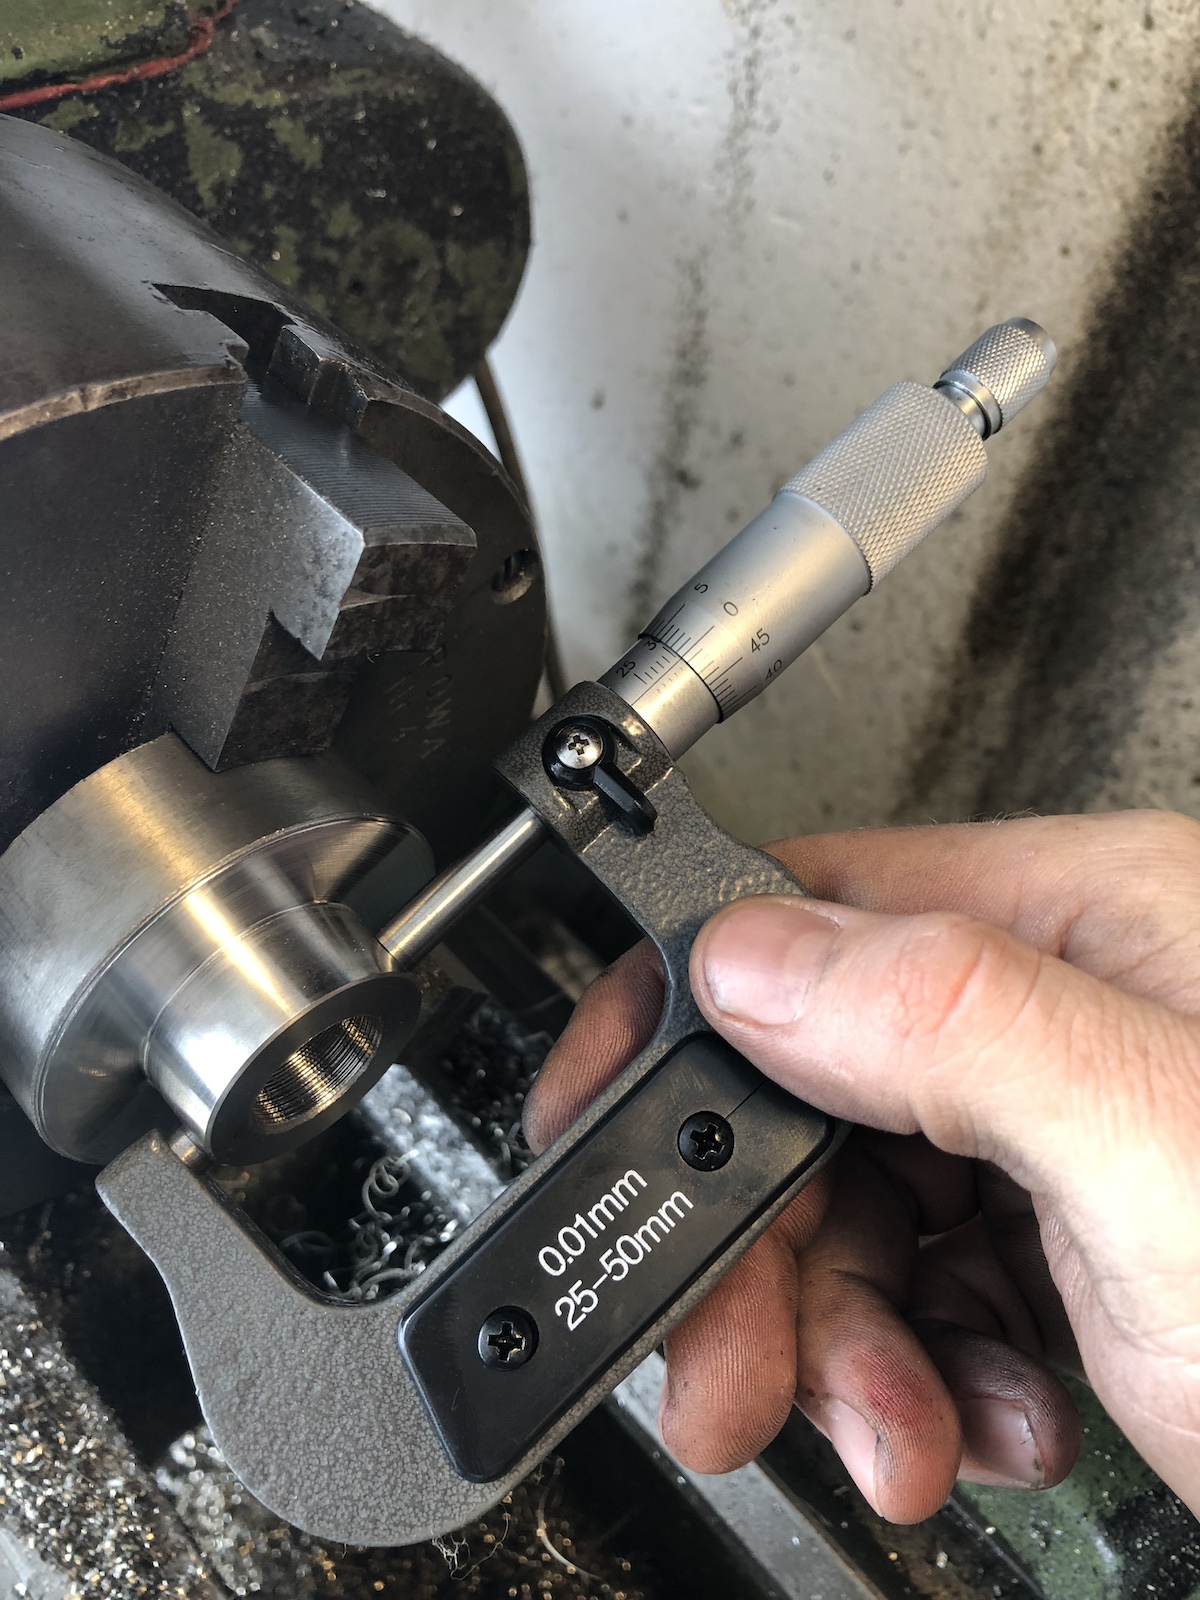
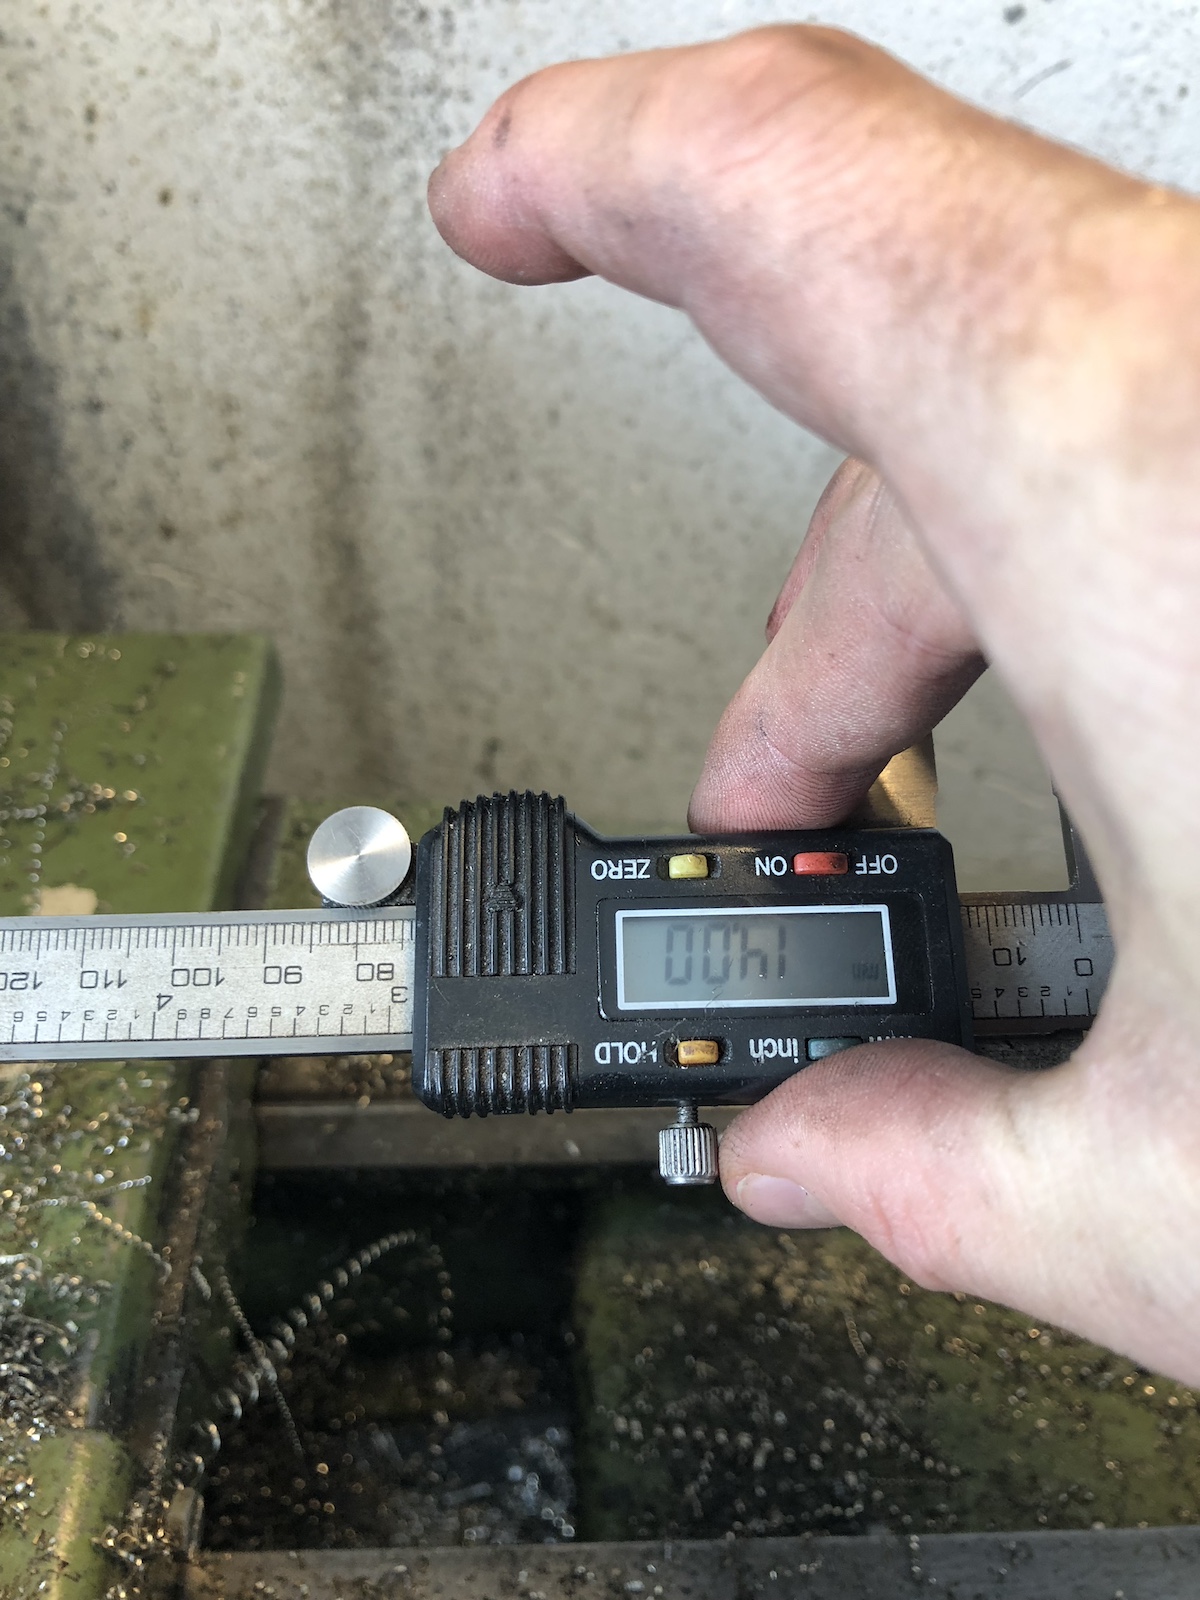
The drawing calls for a 30mm tall spacer, which over a length of 14mm is turned down to 30.00mm and an internal bore for a 17mm axle (i.e. 0.1mm oversized). As my stainless barstock was 55mm that dimension was set as well. 


... and when you nail your dimensions like that, the sprocket carrier is a straight fit.

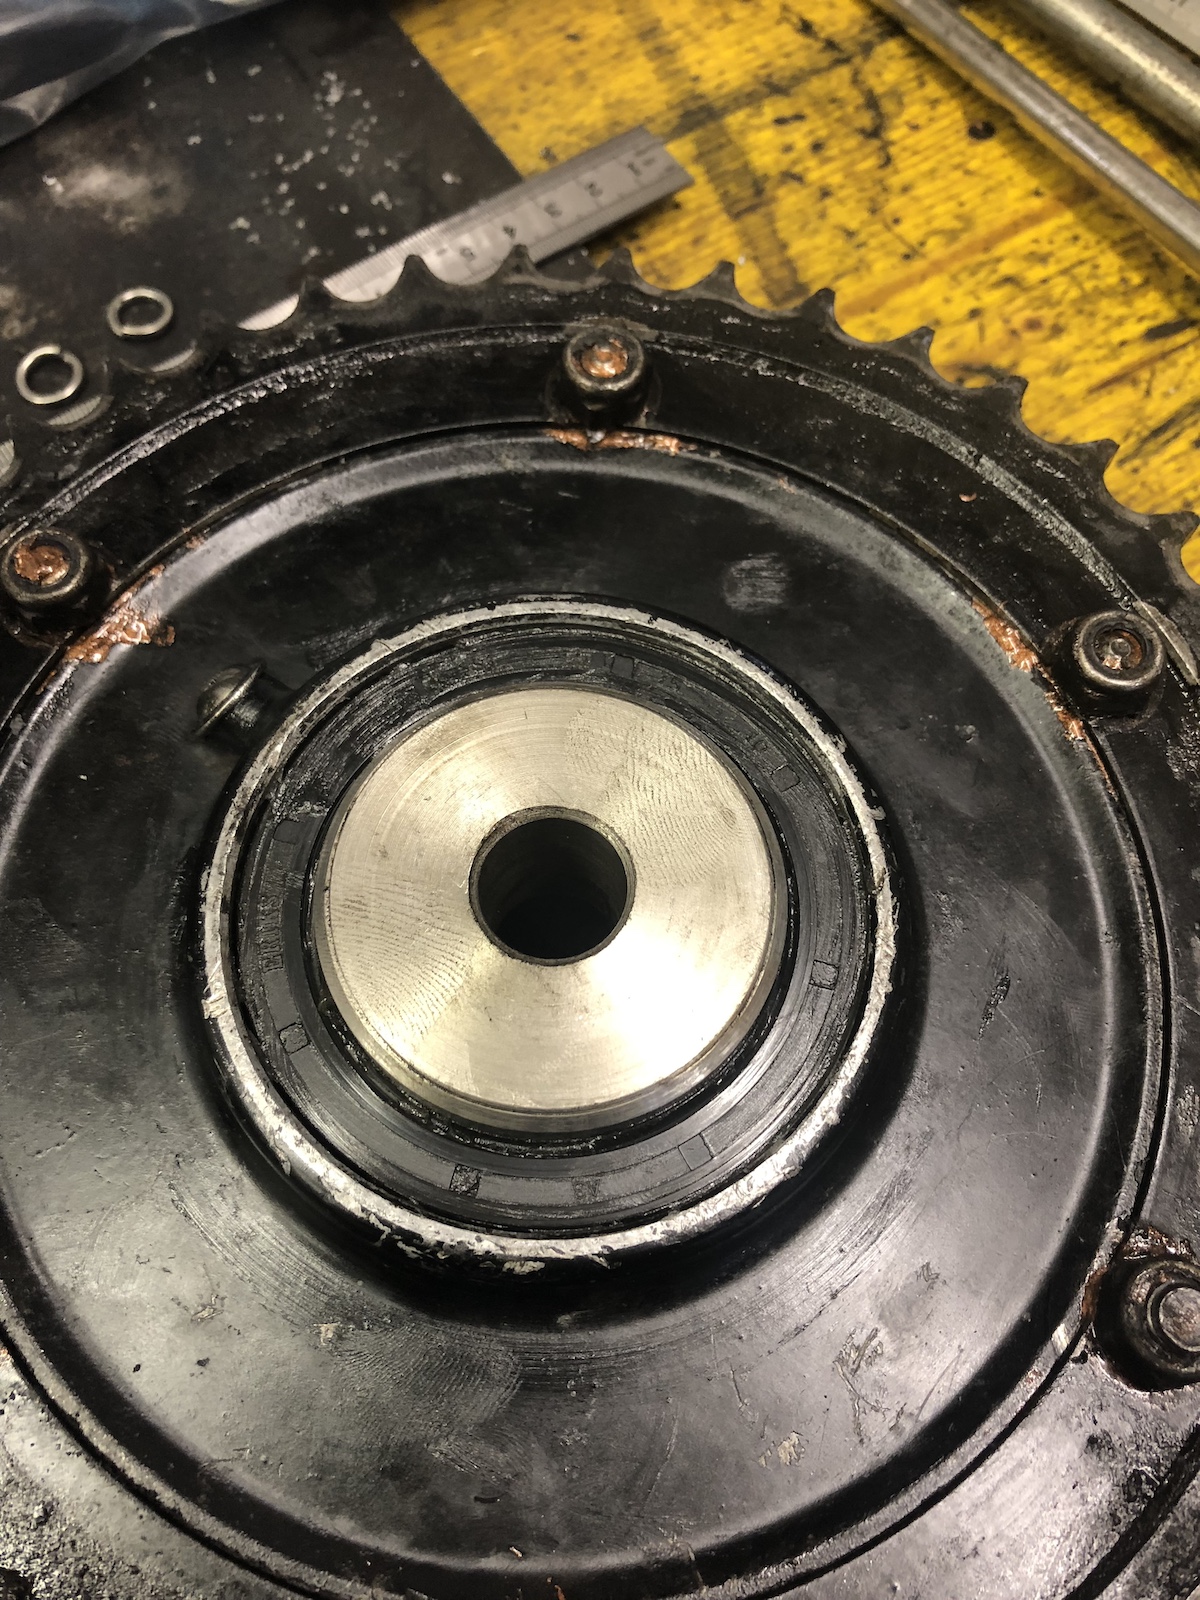
The big trick here is that the actual spacer protrudes from the bearing by about 1mm.


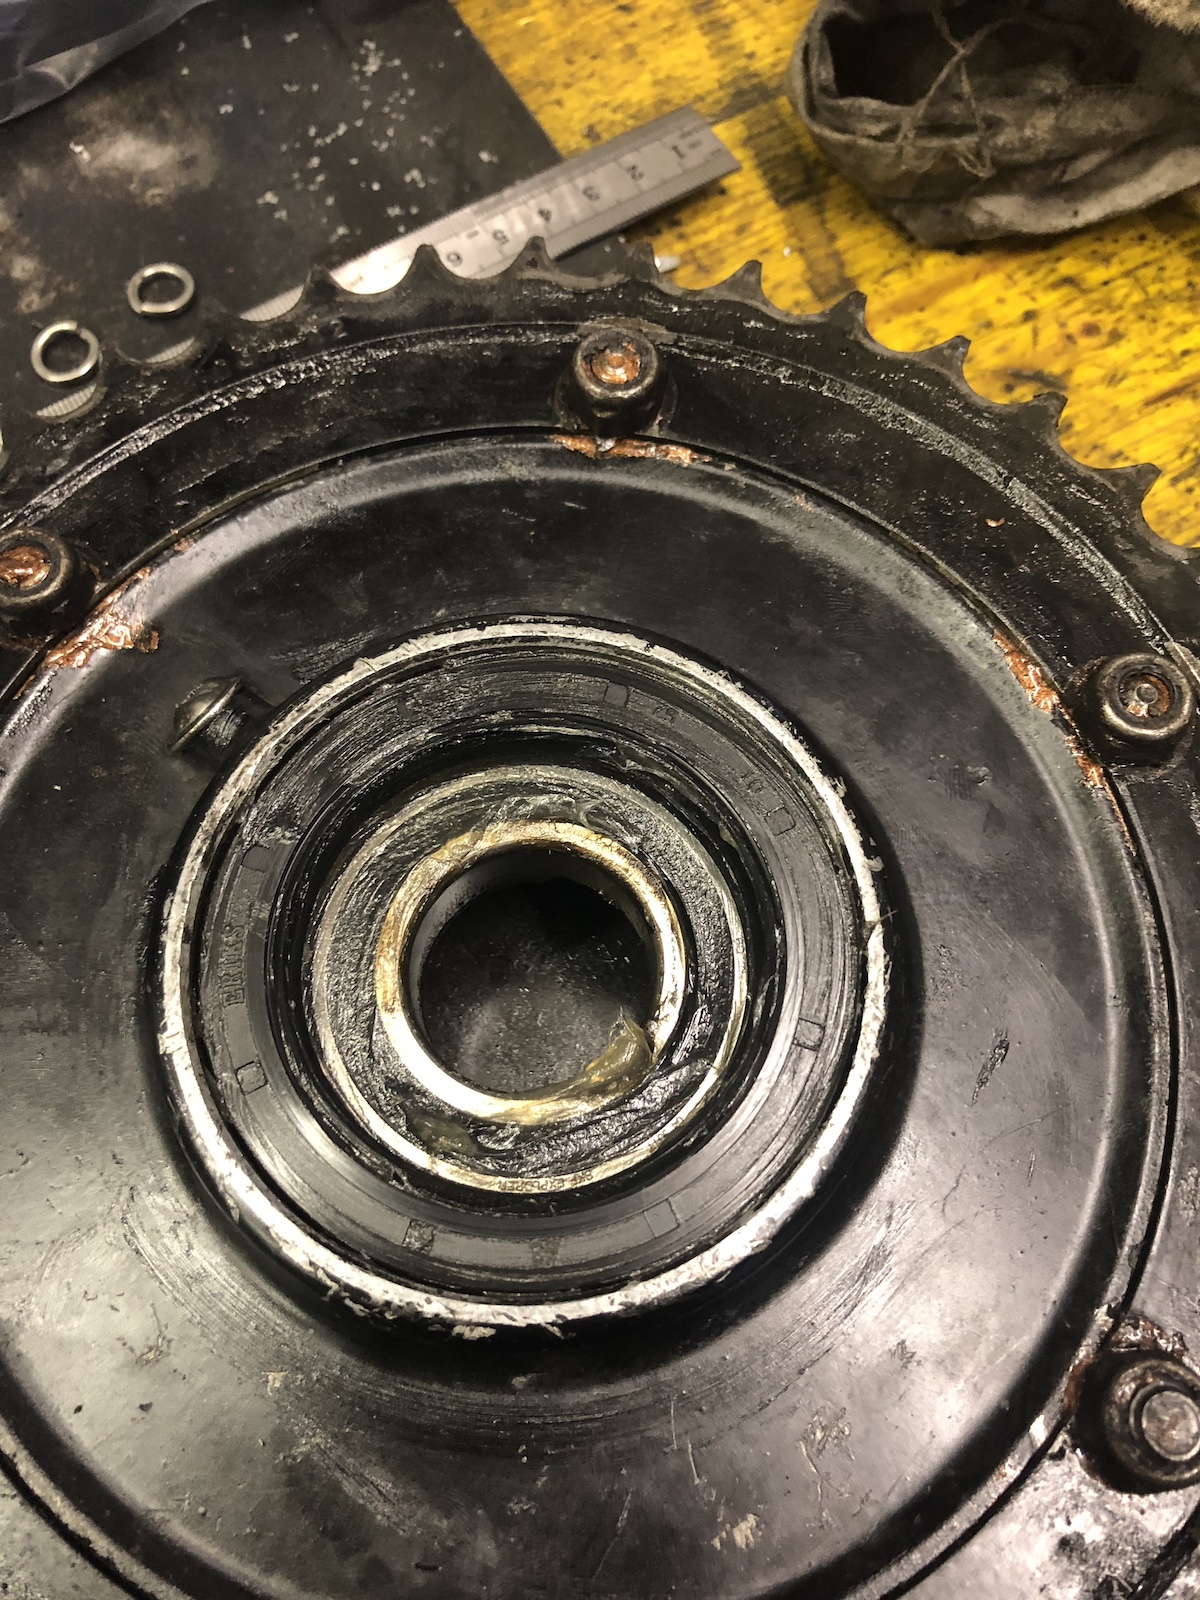
Now whilst the modification of the sprocket carrier was (sort of) normal lathe work and engineering, the modification of the actual rear wheel was a bit more medieval. But let's have the pictures tell their story.


Up to this point this is where I followed the instructions from someone else. Whilst I cursed the 55mm round stock initially, when I had to turn it down to 30mm, it also meant there's an off the shelf seal available in 55x75x10mm and with a recess in the sprocket carrier that's 14mm deep, well it's a match made in heaven or by an engineer. 😎


At this point, swapping the tyre and then fitting the rear wheel should have been a more or less straightforward job... 


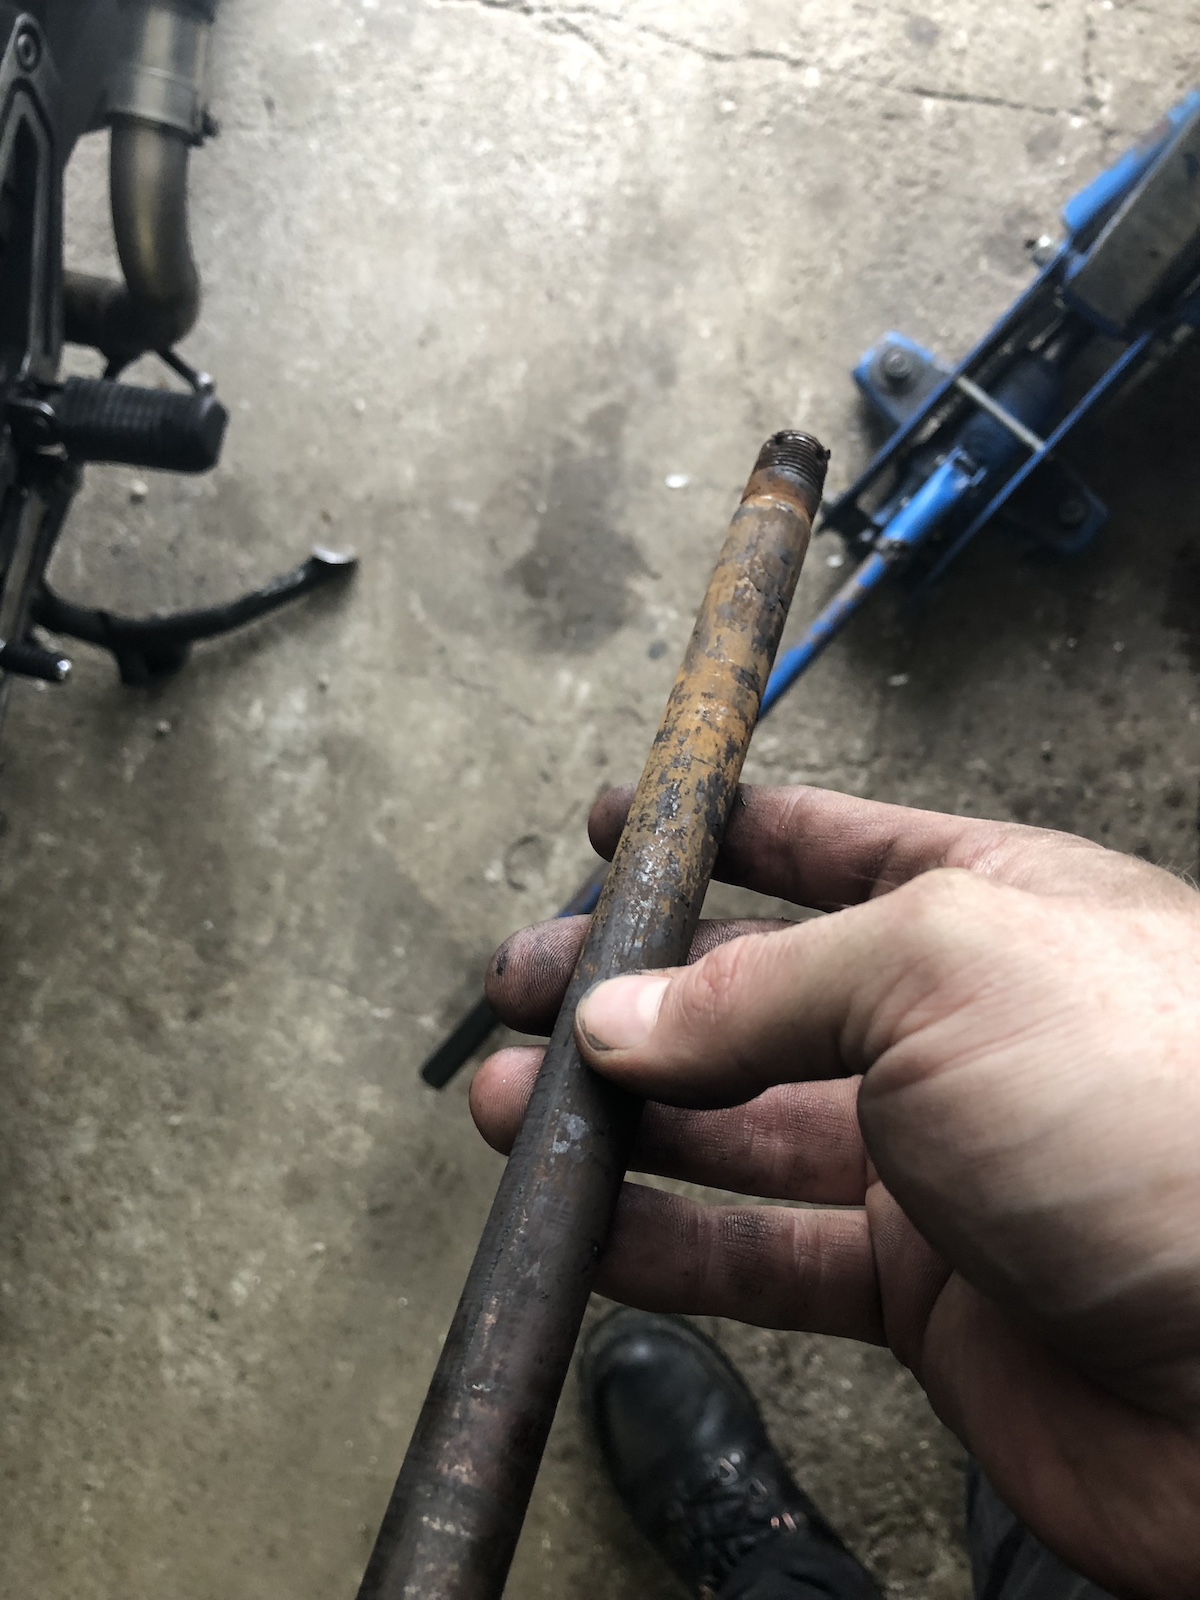
Let's just say that the Avon Sidecar tyre lasts a lot longer than is good for the lubrication of the rear wheel axle.

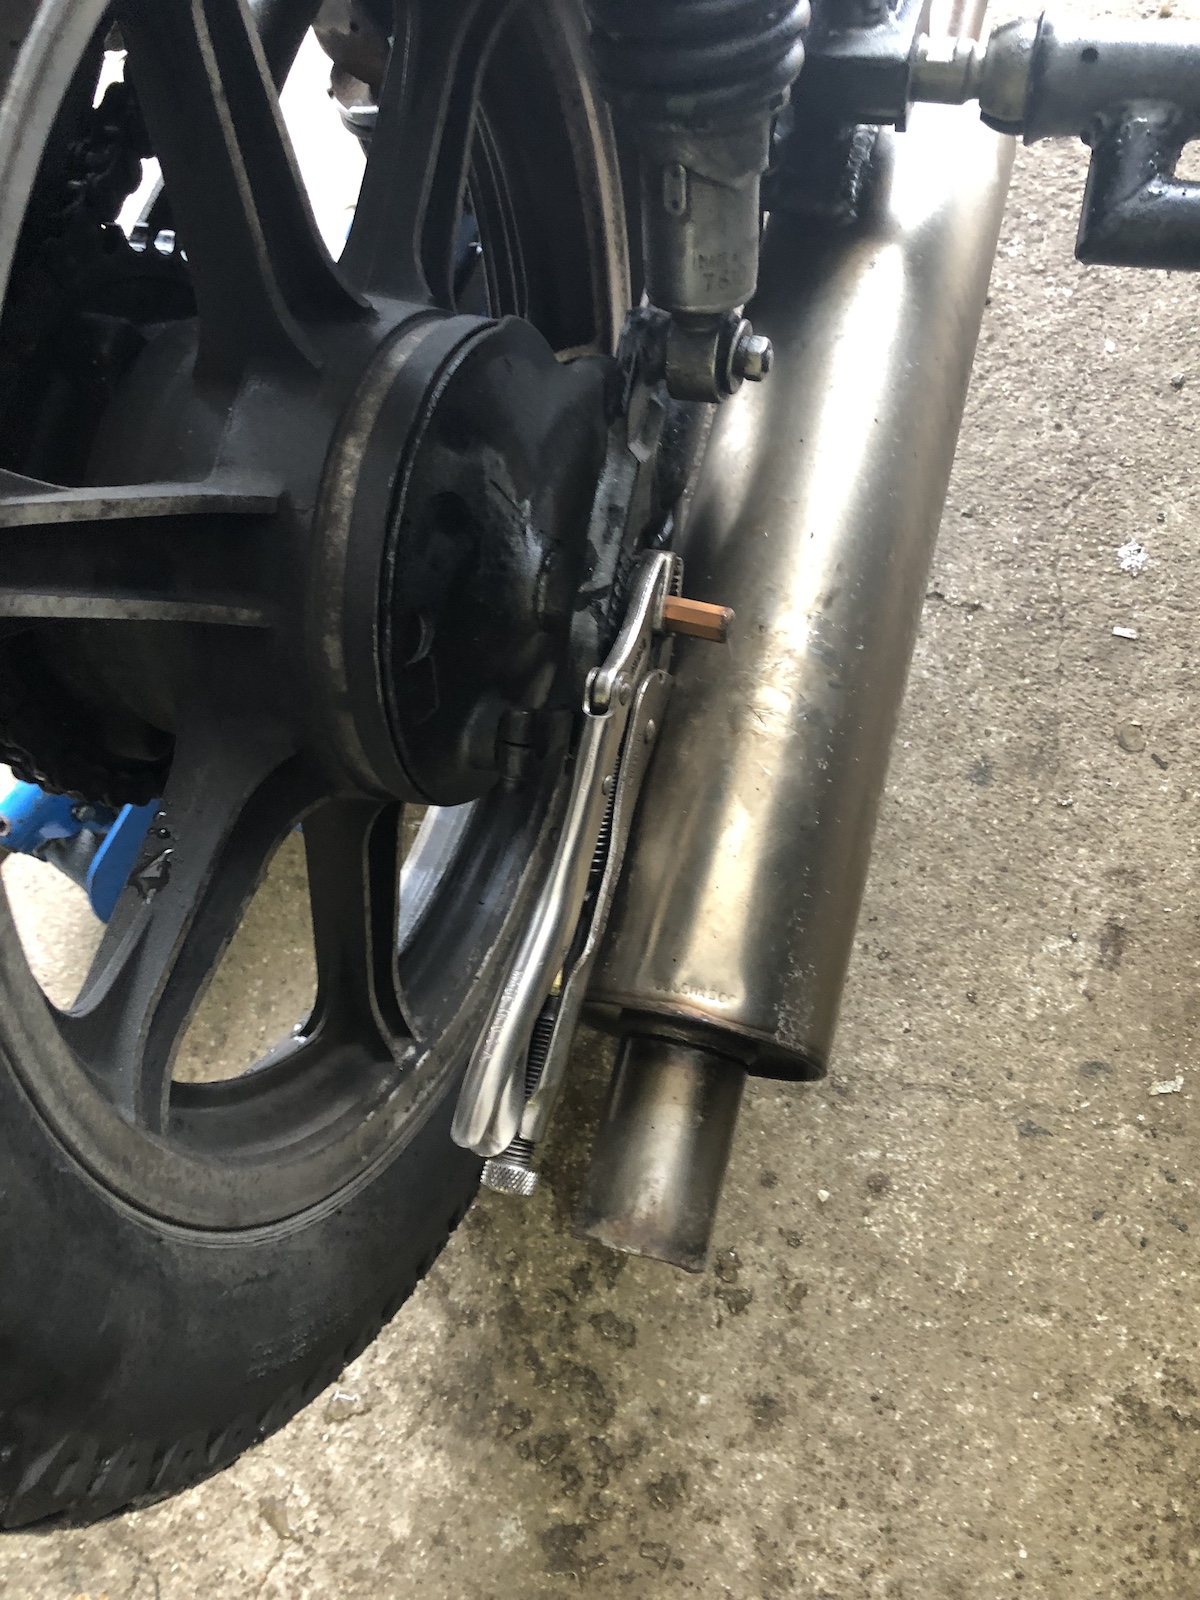
And absolutely no one upset the thread on both the rear wheel axle or nut. Which is also why absolutely no one would know that it is a M16x1.5 thread.


It was at this point that the sins of yesterday started catching up to me:

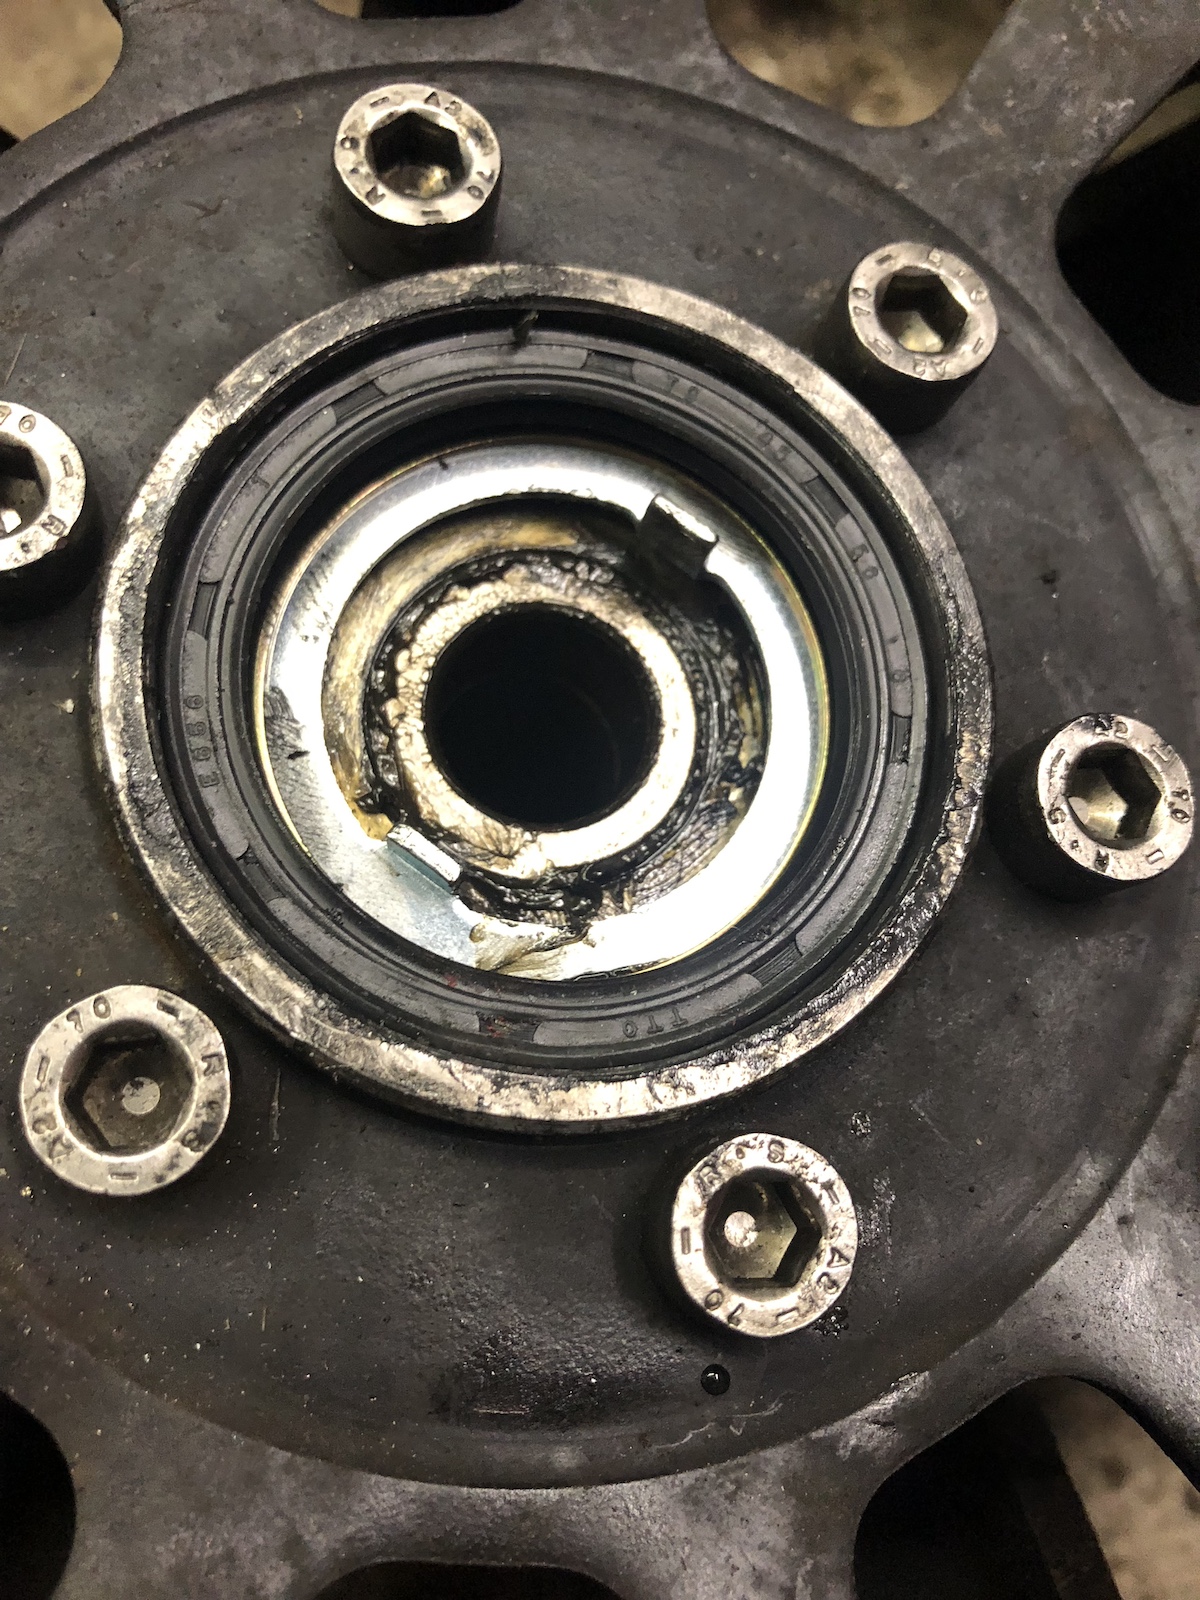
First, I borrowed the speedo drive from the front wheel for the summer wheel, which I only found out AFTER installation. 

Luckily there's a very straightforward repair kit available and aside from the new seal actually being tight around the speedo drive there weren't any challenges to be overcome.

And then there was this bolt that holds the chainguard onto the swingarm, which after reinstallation reduced the amount of unhealthy noises attributed to the engine significantly. 

So in the end there was only thing left to do:

Interestingly enough the new rear tire appears to be of a slightly smaller circumference, which together with the sprocket carrier not wobbling around and most likely the cold weather favoring my bad habit of jetting slightly on the rich side all in all yielded new top speed records and the little sidecar feels a lot quicker than before. (If you're more into hard facts: I gained more than 10kph in top speed and there was still a bit left.)