Showing posts with label xv sidecar. Show all posts

Sunday, 4 July 2021

The XV sidecar - (mostly) wiring

In order to be less of a hassle down the road the first thing that I wanted to address was the location of the center stand spring as I plan to route the exhaust through there just as I did on my TR1. 

The other thing was the fact that the frame with some other bits being repainted now, looked a lot worse for wear in comparison, so a bit of fresh paint was due...

... and then put the tag back on.

a


And once the frame was re-assembled, I really wanted to use those XS750/850 headlight ears, but I was lacking the correct size locating rings...


... and if you thought that by now it was really well about time to dig into the wiring: WRONG. As the timing marks between crank- and intermediate-pulley didn't line up (mind you, I probably just didn't turn the engine over often enough and was overly worried about making mistakes), I pulled the head and cylinder and retimed everything.


And then after having them soaked in engine oil for about 2-3 days, I also completed the clutch, while I was at it. 


With that out of the way, it was time to turn my attention to the loom. There's two main areas of concern: first is to remove a set of safety cut-out relays as they were specifically made for Yamaha and are no longer available new and as all old electronics they don't exactly become more reliable with age. (On the right end of the picture - the pair of golden relays.)

Once you unwrap this section of the loom, it becomes pretty obvious that the first relay just loops the red-white (ignition +) cable to the second relay.
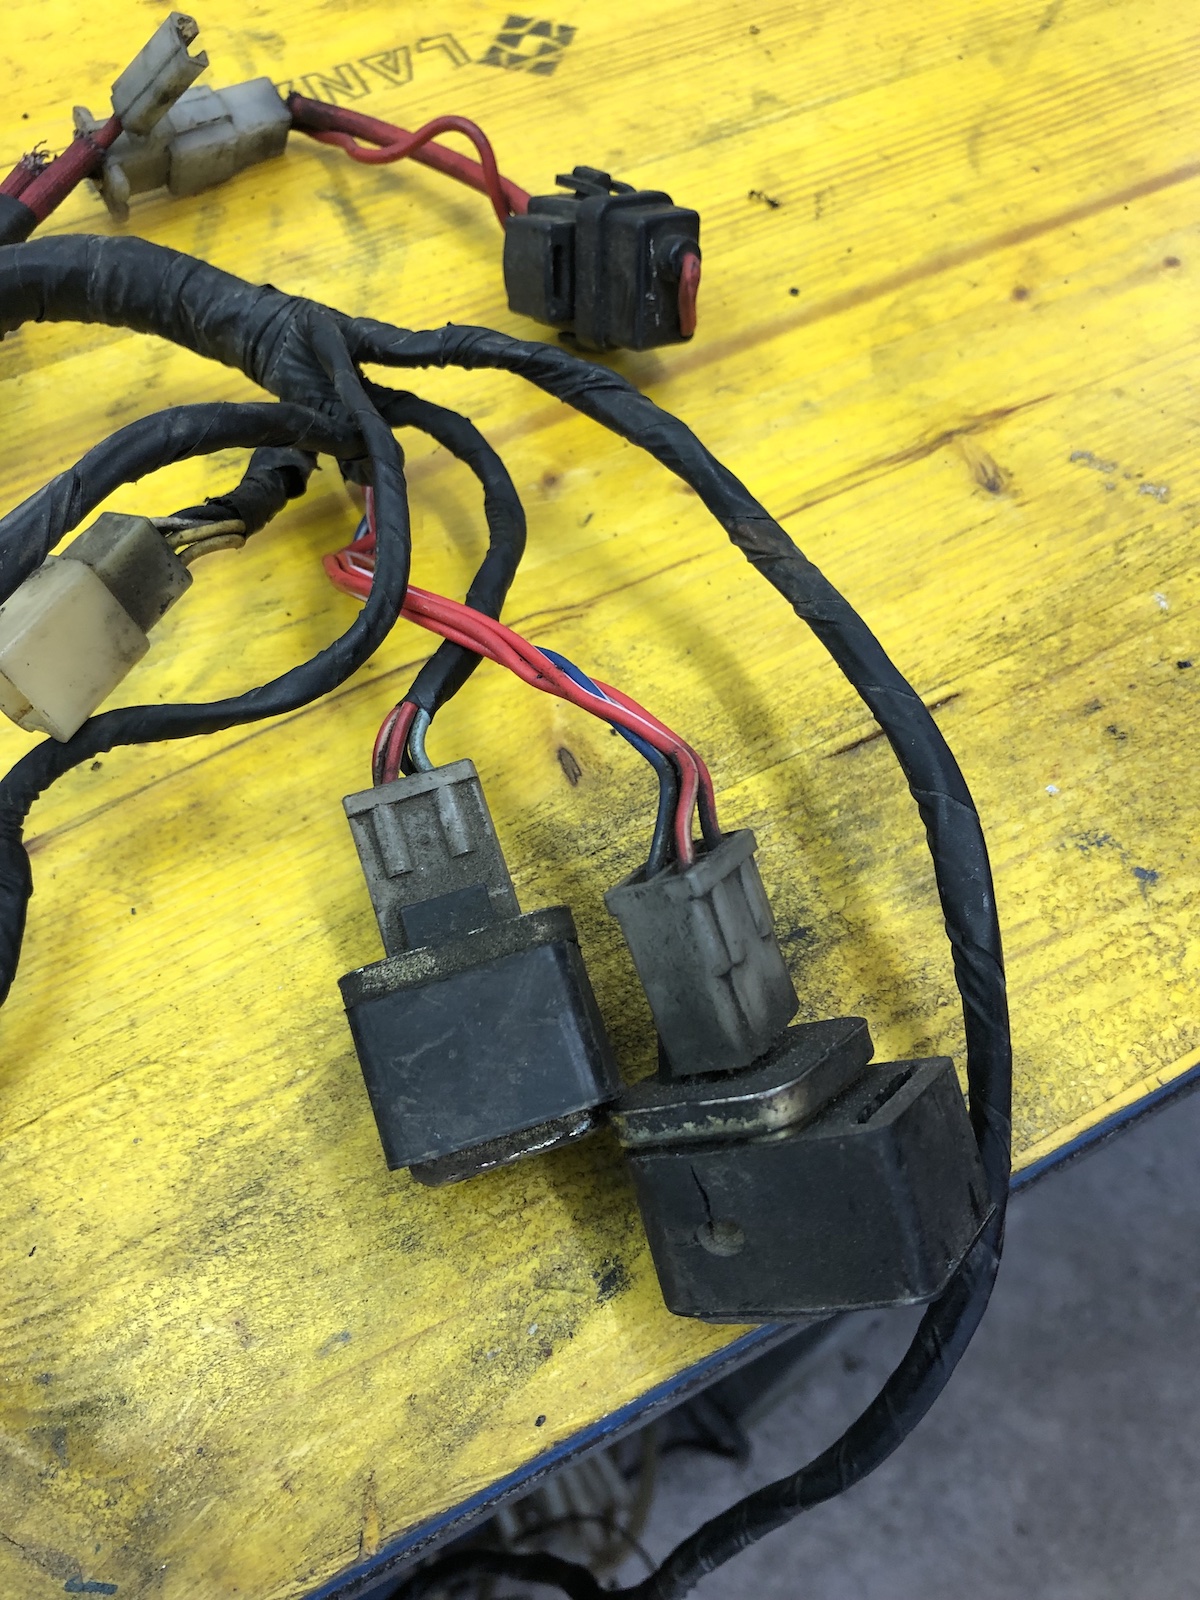

This basically means the second one is the one, which does all the "cutting-out-or-not" work. The light blue cable is from the neutral switch, the blue and yellow one from the clutch-switch. As such the extra wire from the y-section of the neutral switch can go.

Ultimately you end up with these four wires, where the most important thing to know is, that the one red-white cable that comes down from the kill-switch and is hot (unless the kill-switch is engaged) goes to yellow. Blue-white is the trigger-wire for the starter solenoid.


Next to these two relays is an unused triple-plug, which is used for the automatic indicator cancelling unit and is equally superfluous, of which the green white cable goes to the speedo and the other two go to the light switch (where the pin is blank on European market models) and the flasher relay, where it is usually looped onto itself. This is really just to remove some excess cables. 

The second and more important mod (to me) is to run a separate cable from the ignition box to the tach, which comes in handy when running an aftermarket box like a ignitech, but the stock boxes can be modified very easily and from the last three or four years experience this actually helped with the longevity of those tachs.

Next up will be throwing all of this onto the frame and hoping that it will stick...


Monday, 14 June 2021

The XV sidecar - Aiming for perfection or maybe really just stroking my ego

As the title suggests, it's one of those instances, where I am my own worst enemy. Ever since I assembled the engine, I disliked the fact that I installed one subpar crankshaft roller bearing. It would most likely have been fine, but it has bugged me for about a month or so until I finally gave in and accepted that I won't be happy until I know for sure that the bottom end of of this engine is solid. 

But first, I had to swap out the rear wheel for an XJ650 rear-wheel, so I can run the bike with the stock brake configuration and pass an MOT with it. 

About one and a half hours later, the bike was well in bits, the engine on the bench and the crankshaft roller bearing sharing a tray with some frozen veggies in my dad's freezer.


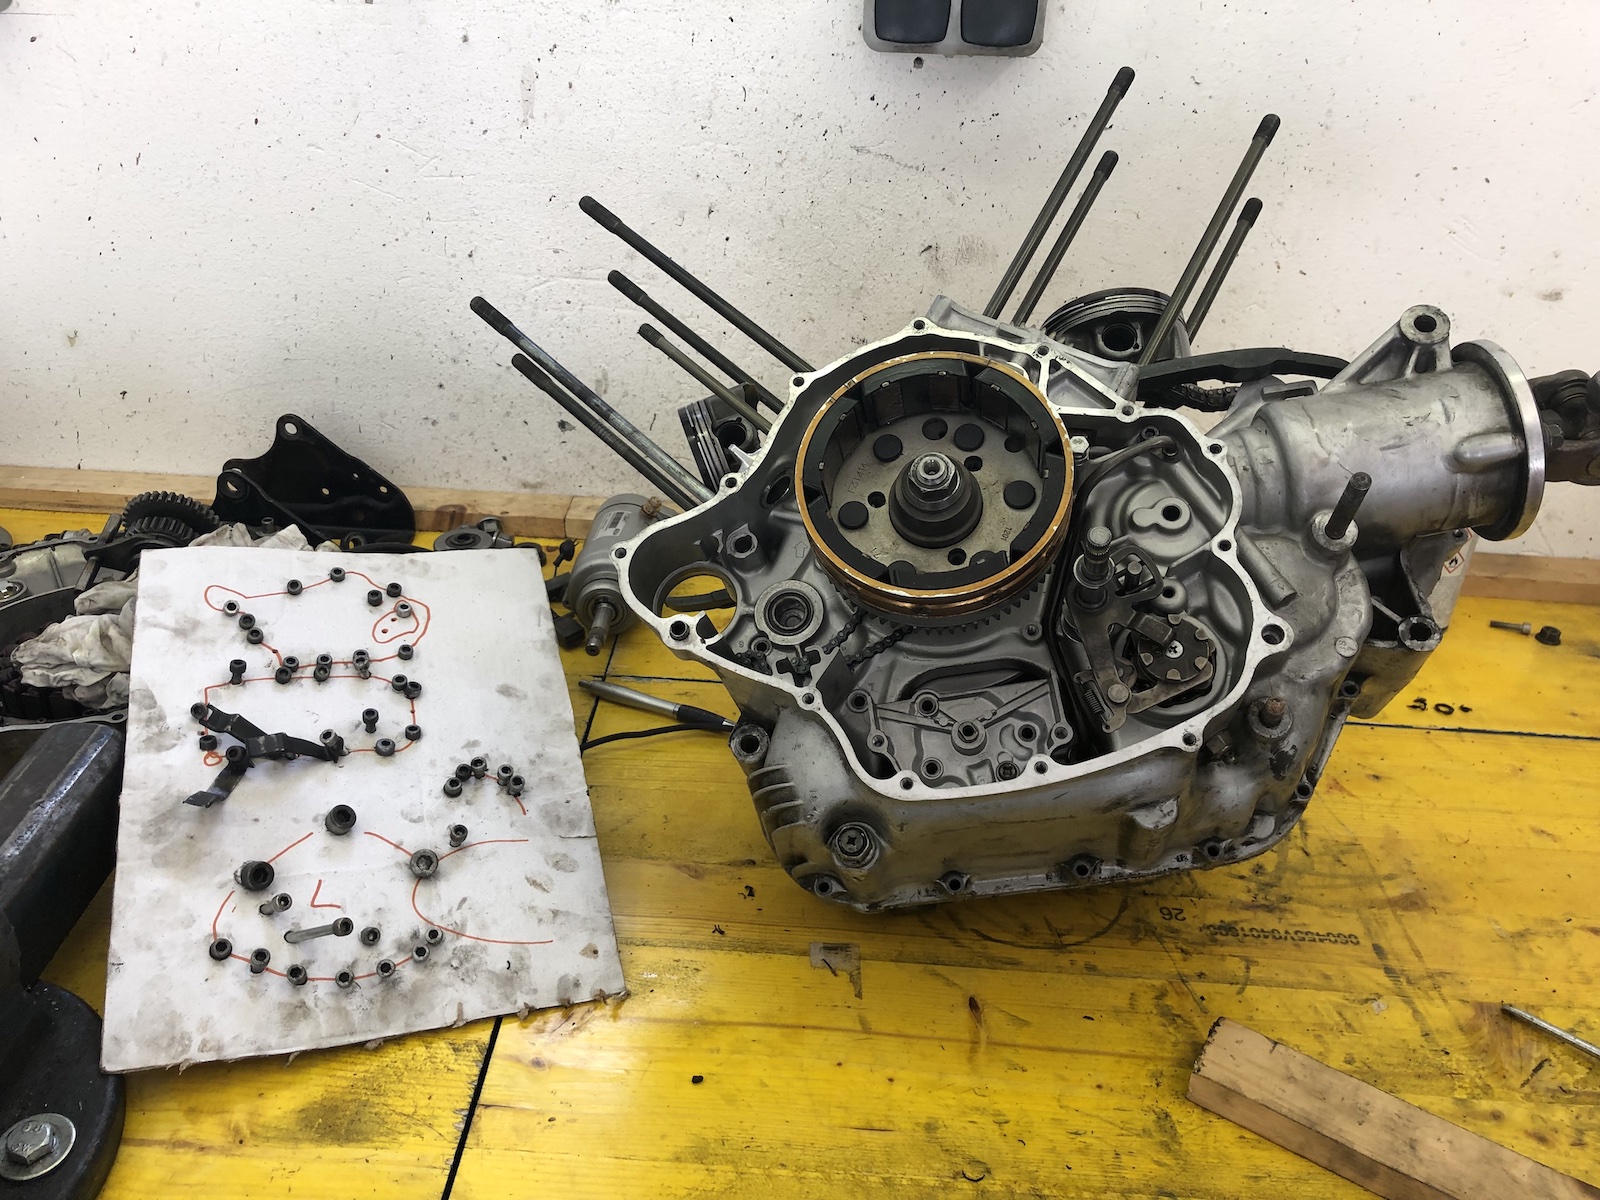
The following day I turned my attention towards taking the engine apart, which quite frankly, if you've done it as often as I have, it was roughly a one hour job.

The only tricky part this time probably was that I had to access two bolts hidden behind the oilpump, without taking the oilpump out entirely

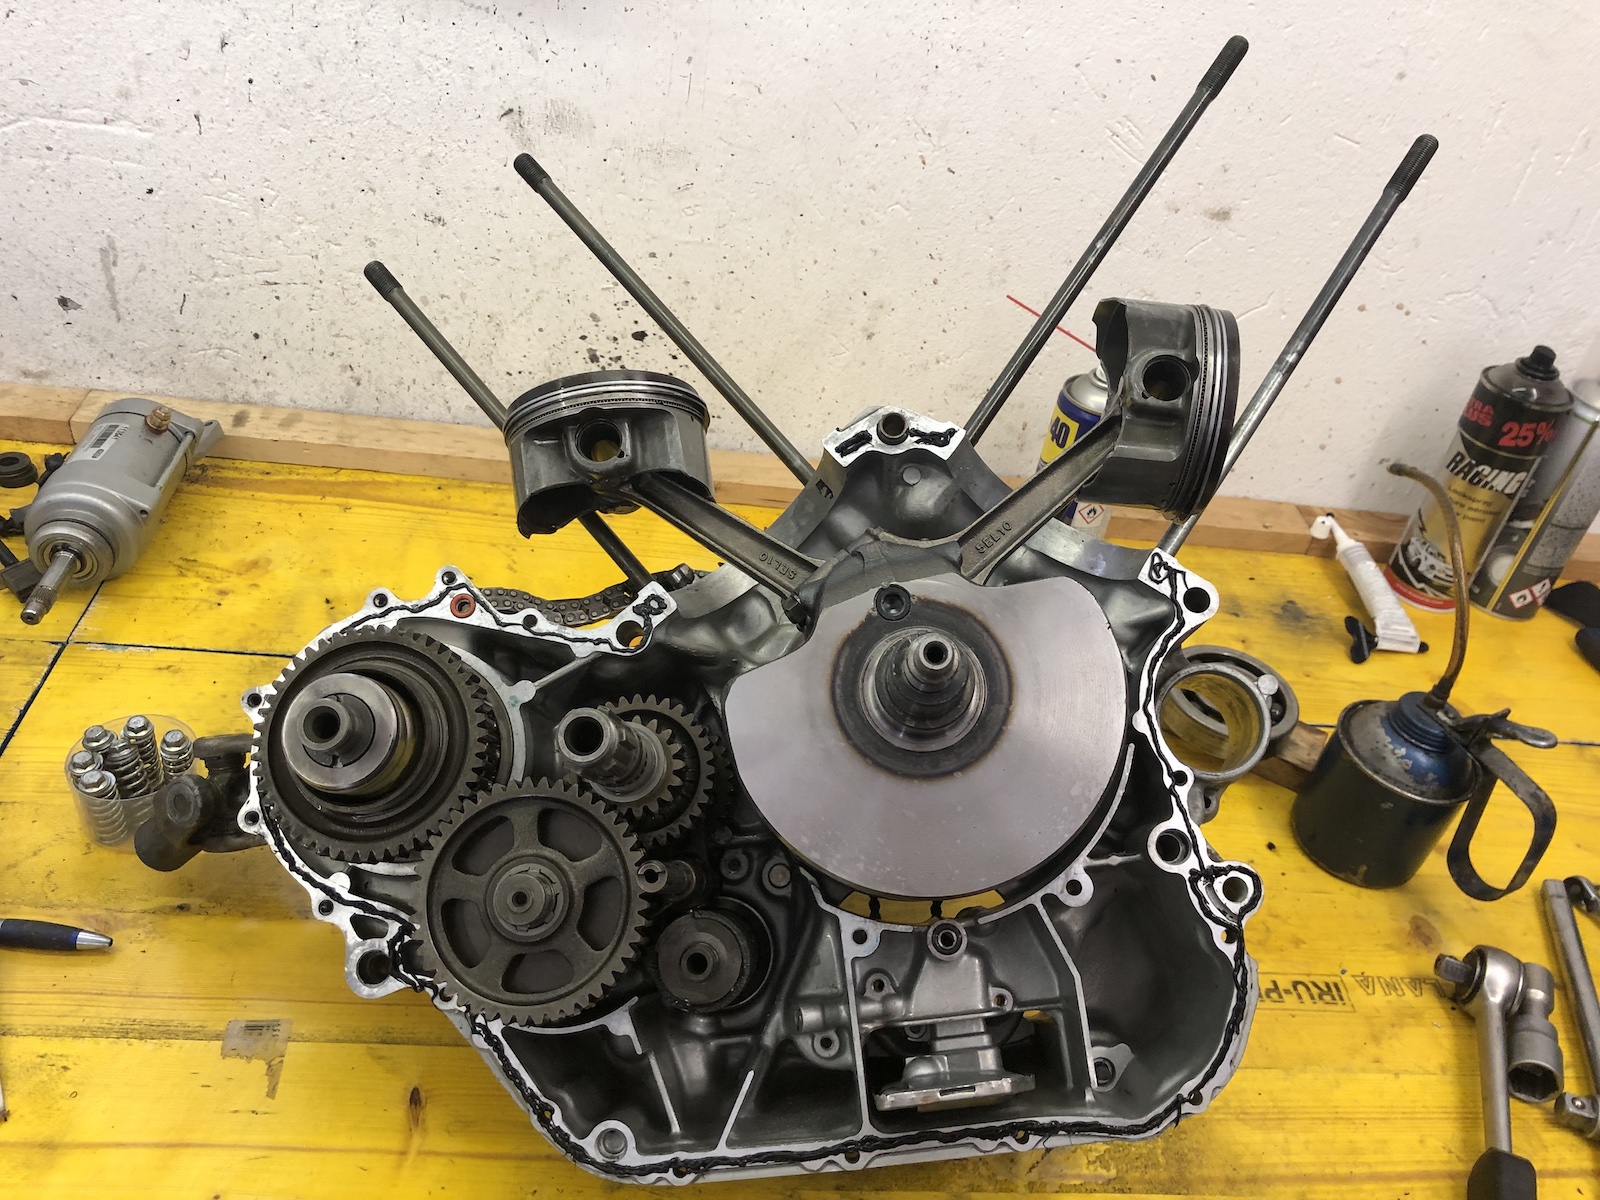
Luckily the crankshaft bearing in question was the right one.

As a wise Ozzy once said: it's never too late for a proper barbie... (seriously though, my dad's oven was too small to get half the crankcase in. Heated it up to a solid 160 degrees C and chilled the bearing to around -30 or thereabouts.

... and it fell into the case with the most satisfying *clunk* one can imagine.

Following the legendary (and stupid) phrase from the book of lies: assembly is the reverse process of disassembly. I tried out Loctite liquid gasket for the first time and by now I am not entirely sure, if I like it or not as it is a lot thicker and once dry it's almost impossible to remove. (Something I liked a lot about Dirko - 24h after application you sprayed it down with some brake-cleaner and you could just peel off the excess material. On the other hand, this probably also means it stays put better inside the engine. Either way, I think it will work brilliantly for glueing on rubber grips.

As I had collected a few more bits, all the necessary ones for a 9-disk-clutch are in my possession now. So first cut the posts to length...

... then mill them, so they are the same length as the basket ...

and ultimately mill out another section of the outer basket, so trapped oil can escape quicker between the clutch plates.

And oh yes, I love the new mill. So what's to be expected in the next post? A frame swap and repaint, a modified center stand and surely some other things as I come along the way. I may say I am a bit excited as the first noises aren't all that far away.

Thursday, 6 May 2021

The XV sidecar - making stuff fit

What really takes a lot of time with builds like this is the ever-emerging necessity to "make stuff fit". It starts with some rather little jobs like making a new bushing for the rear shock:


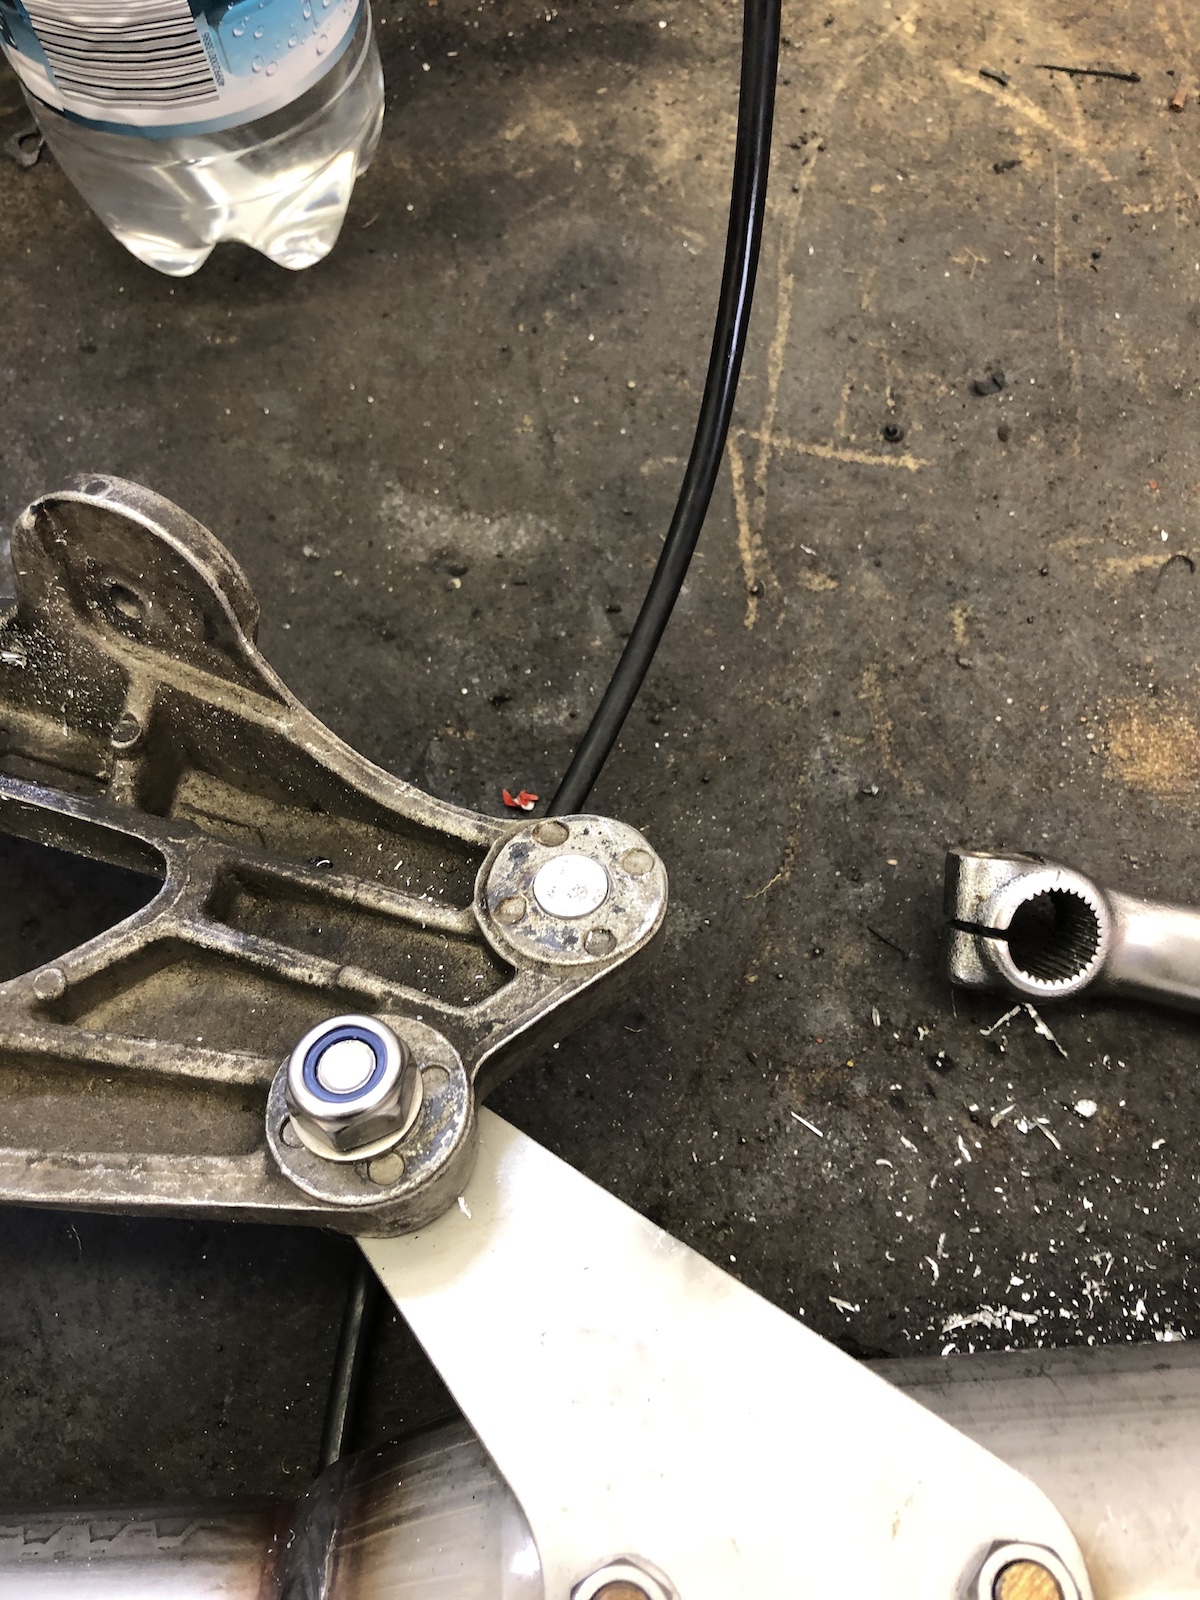
Proceeds to clearancing footpeg holders for the the lower sidecar mounting plate.


And goes as far as that mix and match of XV750 footpeg holder plates and a TR1 rear subframe needs some new holes to be drilled (unless you want to end up with a 90ies-style German Streetfighter rear-end, i.e. the arse pointing towards the sky)


And strictly for motivational purposes it was imperative to fit the sidecar on the frame, take a seat on the bike and marvel at my creation. Which, honestly was the first time that I saw in real life what my creation would ultimately look like.

With that moral-booster aside, how's stuff going to proceed? Rather straight forward really: I'll get the front down-tubes done next and then build an exhaust. Then it's time to take it all apart again as I really want to swap one of the crank roller bearings as it gives me sleepless nights and paint the frame's backbone and then assemble the whole lot as a solo-motorcycle, have it inspected and register it. This will allow me to test the basis and also to drive the bike with the sidecar attached to the inspection to legalize it AND not to be forced to use a trailer to get it there.

Tuesday, 16 March 2021

The XV sidecar - connecting the dots (part 7)

So last time we left off with the lathe work being done on the front mount, but still some milling to be done.

Testfitting the strut to see if it fits nice and tight.

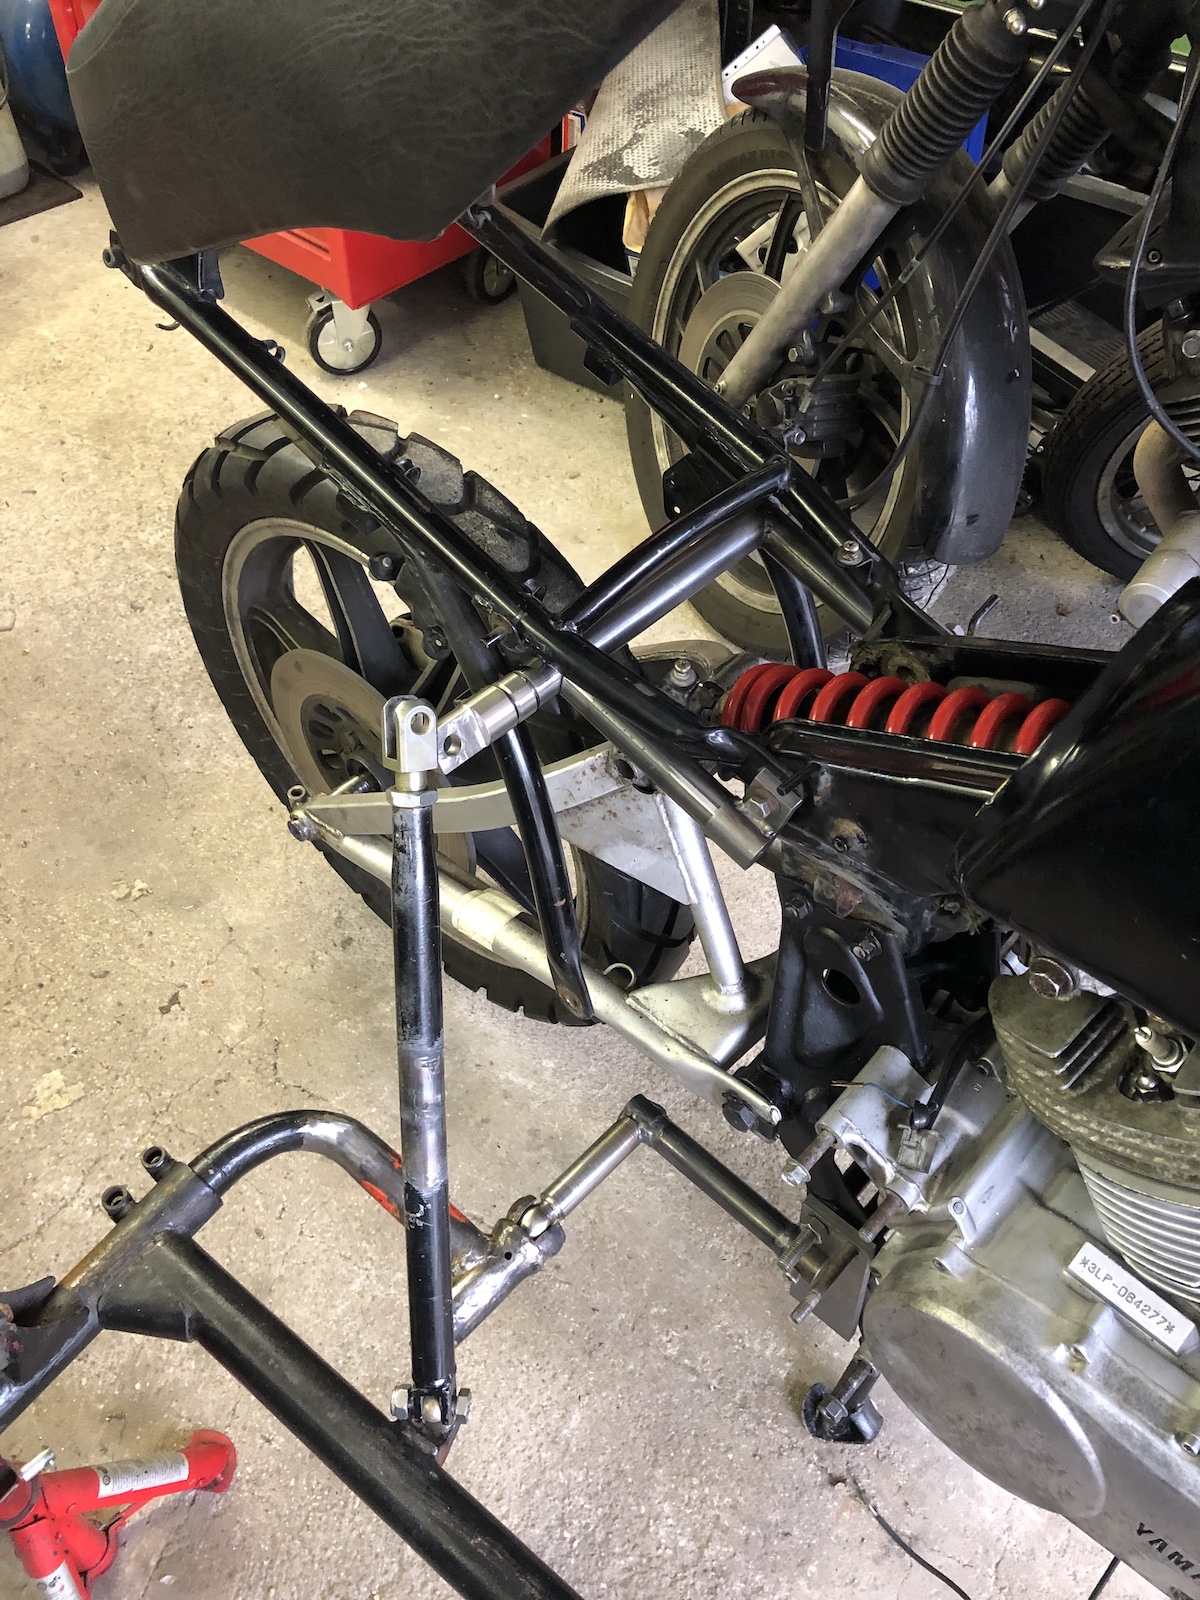
And fitted in place. The little stub will be the holder for the right downtube of the subframe. But for fabrication reasons, this has not been fitted yet. 

The rear mount followed the same basic principle, but inverted. I turned a M16x2 bung that would be a press-fit inside one of the tubes...


And then turned and milled the male clevis-mount part to screw into the tube to give me a bit of extra adjustment.


Next was to make a rear subframe that would bolt to the main frame, but not to the detachable (stock) rear subframe. 


Then I found out that I had to shorten the rear strut. (Why cut it out in the middle you may ask? That's got to do with the fact that it is now sleeved on the inside and this would have been more difficult, if I did it at the bottom of the strut. Mainly because I would very likely have terribly escalated and re-engineered the bottom clevis mount...)

The next challenge was to make a proper rear subframe.


Only to find out that the strut had to be shortened once more.

But then it was time to put the old girl on her wheels and roll her out of the garage.


Looks terribly crooked and incredibly flimsy, but she's on her wheels and now stored in the garage next door, because I really have to fix up the broken XT600 engine of Dre-XT-Stück in the coming days.