Showing posts with label wiring-revisited. Show all posts

Sunday, 4 July 2021

The XV sidecar - (mostly) wiring

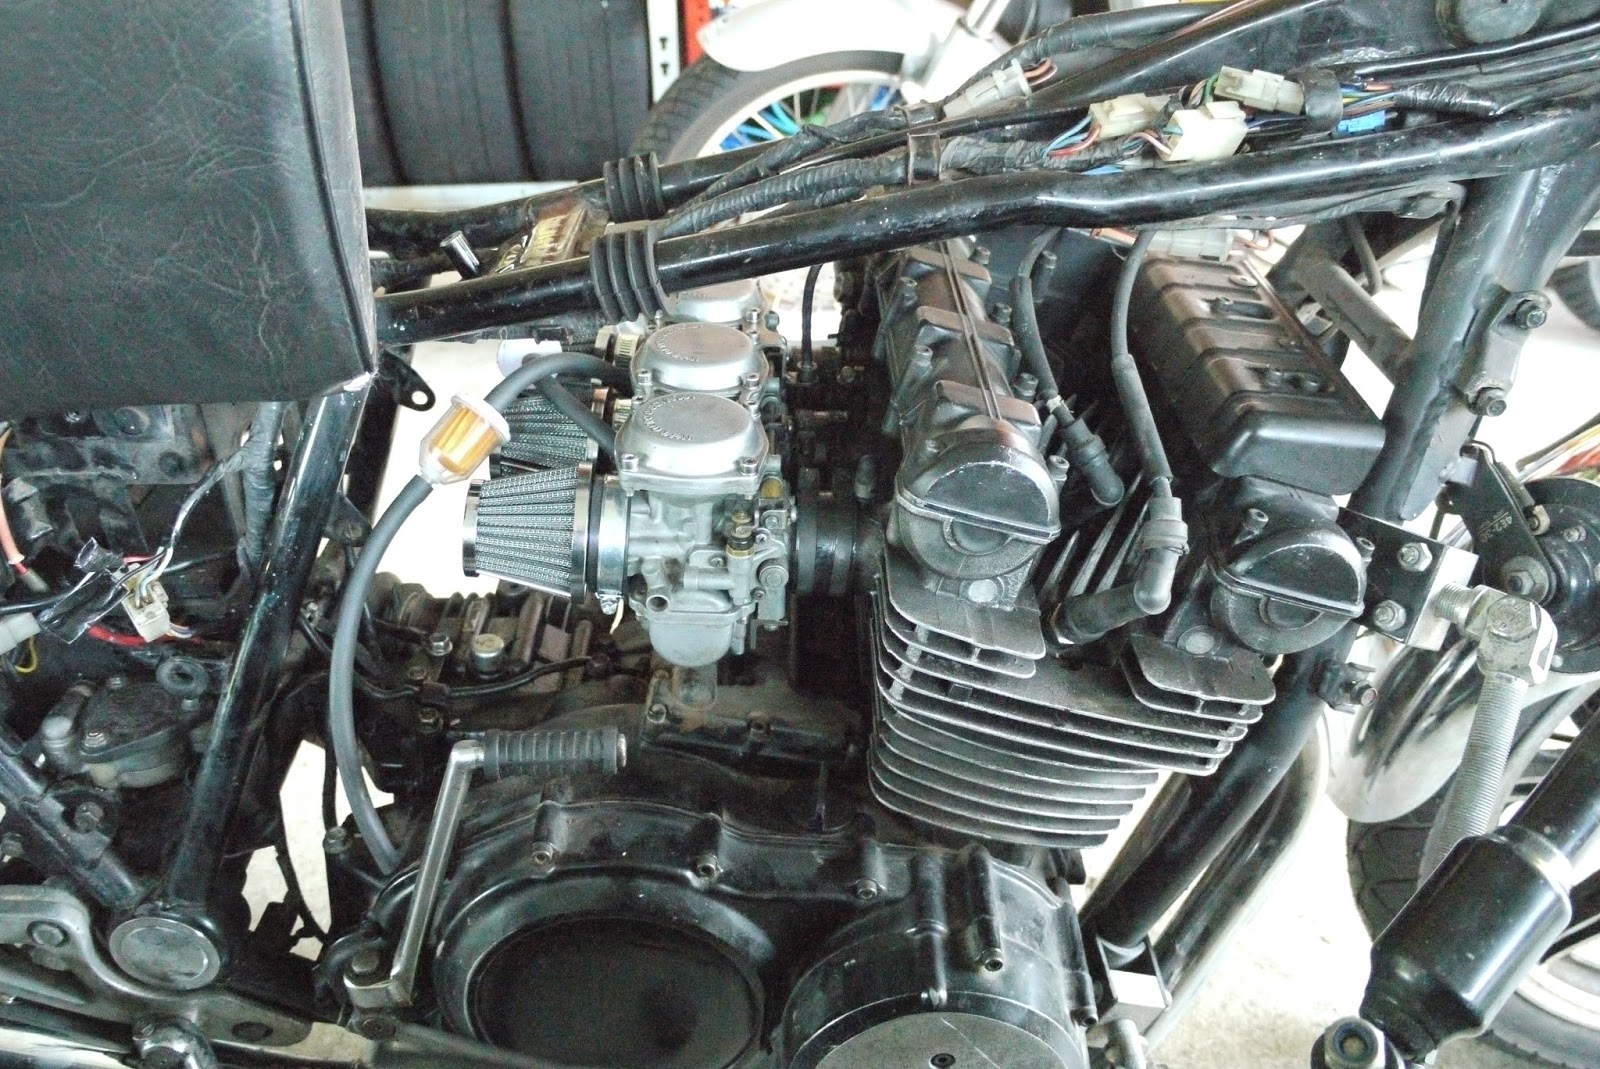
In order to be less of a hassle down the road the first thing that I wanted to address was the location of the center stand spring as I plan to route the exhaust through there just as I did on my TR1. 

The other thing was the fact that the frame with some other bits being repainted now, looked a lot worse for wear in comparison, so a bit of fresh paint was due...

... and then put the tag back on.

a


And once the frame was re-assembled, I really wanted to use those XS750/850 headlight ears, but I was lacking the correct size locating rings...


... and if you thought that by now it was really well about time to dig into the wiring: WRONG. As the timing marks between crank- and intermediate-pulley didn't line up (mind you, I probably just didn't turn the engine over often enough and was overly worried about making mistakes), I pulled the head and cylinder and retimed everything.


And then after having them soaked in engine oil for about 2-3 days, I also completed the clutch, while I was at it. 


With that out of the way, it was time to turn my attention to the loom. There's two main areas of concern: first is to remove a set of safety cut-out relays as they were specifically made for Yamaha and are no longer available new and as all old electronics they don't exactly become more reliable with age. (On the right end of the picture - the pair of golden relays.)

Once you unwrap this section of the loom, it becomes pretty obvious that the first relay just loops the red-white (ignition +) cable to the second relay.
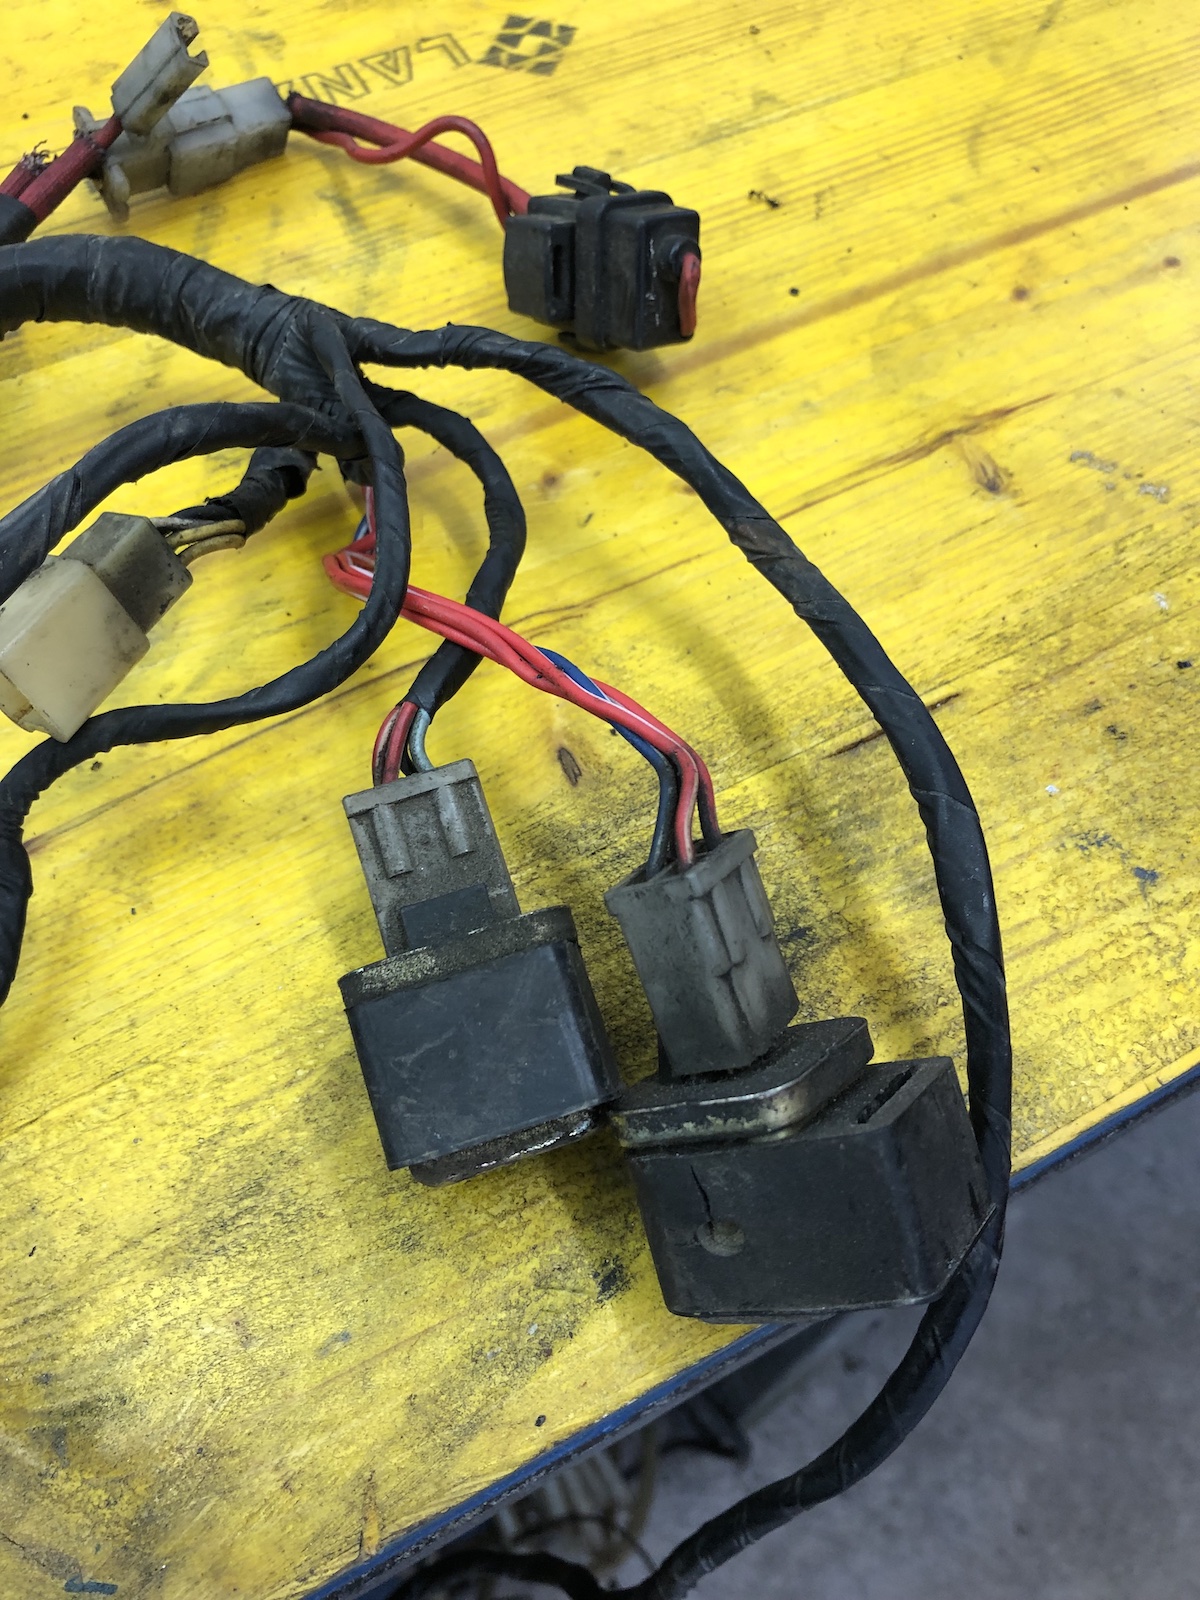

This basically means the second one is the one, which does all the "cutting-out-or-not" work. The light blue cable is from the neutral switch, the blue and yellow one from the clutch-switch. As such the extra wire from the y-section of the neutral switch can go.

Ultimately you end up with these four wires, where the most important thing to know is, that the one red-white cable that comes down from the kill-switch and is hot (unless the kill-switch is engaged) goes to yellow. Blue-white is the trigger-wire for the starter solenoid.


Next to these two relays is an unused triple-plug, which is used for the automatic indicator cancelling unit and is equally superfluous, of which the green white cable goes to the speedo and the other two go to the light switch (where the pin is blank on European market models) and the flasher relay, where it is usually looped onto itself. This is really just to remove some excess cables. 

The second and more important mod (to me) is to run a separate cable from the ignition box to the tach, which comes in handy when running an aftermarket box like a ignitech, but the stock boxes can be modified very easily and from the last three or four years experience this actually helped with the longevity of those tachs.

Next up will be throwing all of this onto the frame and hoping that it will stick...


Monday, 31 July 2017

The XS Triple Sidecar - finishing the sidecar

With the XS Triple Sidecar slowly turning into a suXSess-sidecar, there's a lot of small jobs that I've postponed, but which are either necessary or really ruin the fun to be had.

First up was the thread of the clutch-cable adjuster. The first two or three threads were well and truly f*cked. Nothing a tap wouldn't fix, but ... 


Next a decent front mudguard was to be installed as the one originally on it was made of GRP and mostly consisted of hairline cracks... 


Both the sidecar mudguard and the original wiring loom routed inside it were well and truly past it, so I had to get a new (to me) mudguard and a new wiring harness and fit it. This also meant getting new sidecar light holders as the old ones were rusted quite thin...


One of the most bizarre truths about Russian/Ukraine and Soviet stuff is: The older the part the better the quality, so in which case you always go with the oldest working part. In this case this meant re-fitting some old lights from the 60ies or 70ies that were still "CCCP"-marked instead of later (mid-90ies) stuff as the threads on the back were galled up. Still no total loss as they provided some new "E"-marked lenses.


Next step was to connect the dots and hook up the sidecar lights with the rear lights (and to do that in a fashion that makes it easy to remove)


And the last step was to cut out the left sidepanel to clear the sidecar-mount.


And there she is in all her beauty... 


The right sidepanel will need more tweaking to make it fit, so it's best left for another day. 😉

The next installment will most likely be about dialing the sidecar in and making some more efficient muffler-inserts.

Wednesday, 17 May 2017

The other XS Triple Sidecar - how to convert to points and...

... it's running.

The difference between genius and stupid ideas is often just a point of view thing. Most people I know wouldn't want to fit a sidecar to a motorcycle, I think it's absolutely grand. Same goes for XS750/850 riders and points ignitions. Generally everybody wants to convert to electronic ignition for the apparent benefits, as such there's quite a few explanations out there on how to convert to electronic ignition on a 750 loom, but not a single one on how to go the other way. Well, now there is.

That's what I started with at 8:30 in the morning in my dad's garage. 


 The 4-pin-connector of the points-ignition on the engine.


 And its 6-pin counterpart on the 850 loom.


Pinned out the 4-pin-connector on an old loom.


And did the same with the 6-pin-connector on the 850 loom. As the looms strictly speaking work the same, it's no big deal, as you just have extra switched +12V and ground wires and the other four (3 coils and neutral) are the same.


Insulate the two open terminals and that's the conversion done. As easy as that.


Getting the old r/r-unit off, without removing the battery tray is next to impossible so Markus fitted the new one inside the battery tray, because the space was empty anyway as he used a car-battery in the sidecar.


While we were at it, made some new ground wires, because you can never have too good ground on a bike. 


The old BOSCH-headlight I used is a tad smaller, so fitting everything inside was going to be a bit of a challenge, especially as it came off my XS750 and that mostly used bullet-connectors, where as the 850 loom has got a lot more multi-connectors, which are super for wiring up, but a bit of a pain space-wise.


Carbs are in.

Quick oilchange, before startup as I had to take off the filter housing anyway, because of the oilcooler still missing on the bike.


That's the level of clean I want to see in a filter housing (and an oilpan), but you know that already.


Looking pretty good with all the lights and stuff installed. Ready to roll.


That was quite literally the second startup of the 750, just cranked it over once before to make sure I have oilpressure etc and it fired right up.


And that's my hairy arse on the first testride right out of the gates at my dad's humble domicile ...


... aaaaand coming back. (I've repeated that process a few times - it's pretty awesome!)


What you can't see in the videos: a 25kg (50 pound) bag of sand on the seat as the sidecar is really light and just loves to climb.

So what's left to do: Get a new 16" sidecar tyre, dial in the carbs, tighten up the exhaust and then find someone who's after a nice learner sidecar. It's all in the (German) papers, so if sidecars are your thing, drop me a line and we'll work something out.

Monday, 27 February 2017

XT500 rewiring or why there's no part 2 of the earles fork story today

If you ask people about me, they will most likely tell you that I am a mighty friendly guy, who, if asked politely, will most certainly "have a look at it", which more often than not, leads to fixing stuff. And that's just what happened. My mate Philipp called me and asked me (tongue in cheek), whether I knew a thing or two about rewiring XT 500s as his had literally the worst wiring loom installed I have ever seen.

As he bought everything new, it was a pretty simple and straightforward process to be honest and the pictures will only show you a few spots where you have to have a second look at things.

Space in the headlight shell comes at a premium, so make sure you route everything as snug as possible.


There's two single yellow and green cables, those are high- and low-beam no matter what colour they are on the aftermarket reflector.


Same goes for ground (black on the loom) and blue-red for the pilot light and green is ground for the main bulb. 


Rear is straight forward, green is the left indicator charcoal is the right indicator. 


As we did a 12V-conversion with a Roebi-Regler (google it, this thing's the dog's danglies for XTs and other 6V Yamahas), things came out a bit brighter than stock...


Oh and, no it's very unlikely there'll be much of an update on the earles forks tomorrow either, because my car (trusty old Volvo V70 station wagon) killed on of its driveshaft bearings and I have to do that next...