Final chapter, final stand, final piece of cake... sounds dramatic eh?
Well, if you're just interested in that one answer did it pass - well yes of
course it did, but it wasn't nearly as straightforward as you think.
At the end of the last post, lil' comrade looked pretty complete. As a matter of fact he was pretty close, but for example the front bumper wasn't bolted down and he was still missing at least one of his tow-hooks. (Sounds easy enough, but means you have finesse a bolt into a LARGE hole, to hit a nut, which from previous engagements with nature sits at a funny angle (should be perpendicular to the lower frame rail) and all of that will touching up those bumper mounts with a die-grinder.)
Nothing you can't fix with a decently sized Newtonian particle accelerator.


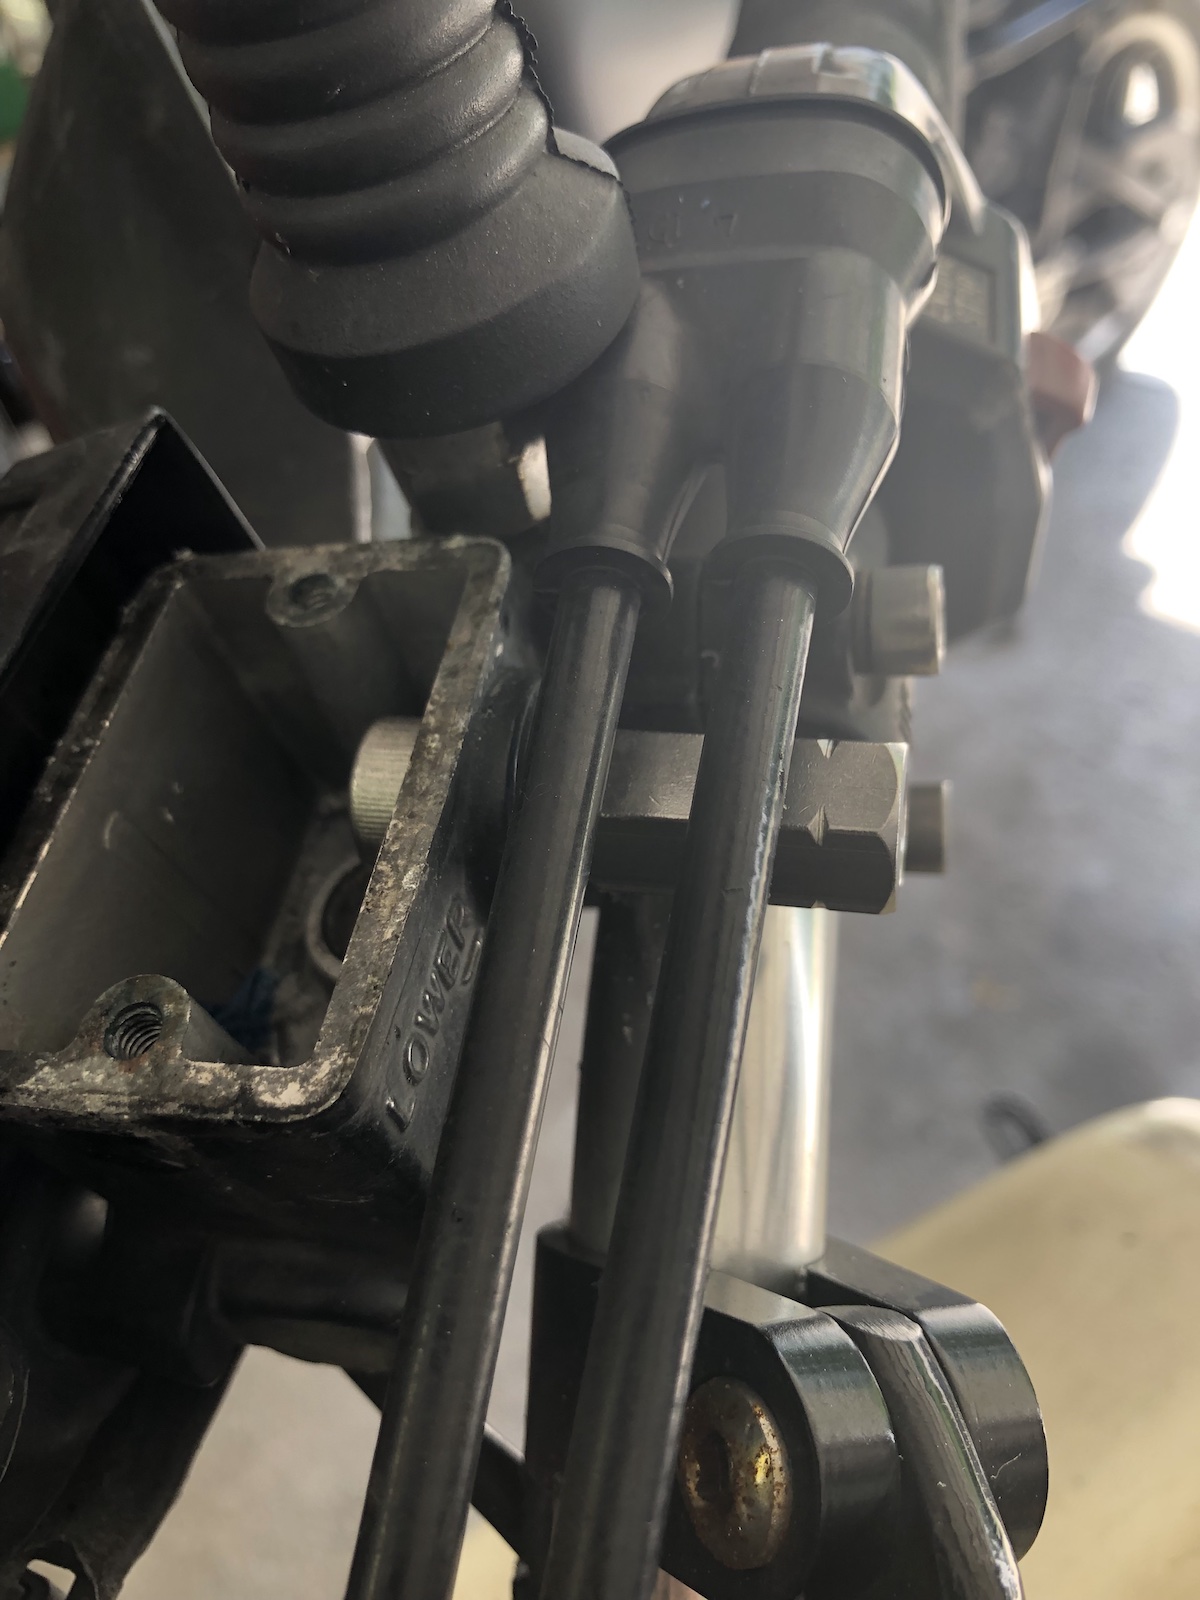
On to the next issue - so I dialed in the front wheel alignment as good as I could reasonably get it, but when I hooked up the steering box, it wasn't perfectly in the center position. No big deal, right? Well, that's one of the first times I actually messed something up. Turns out, not all splines are created equal and there's one, which should act as a zeroing spline. So in hindsight, I should have undone the lower joint and reset that one to be correct and not the steering wheel.

Next thing on the list - the fog light. Mandatory on all cars overhere and if your taillights don't have one built in, well you have to have an extra one. The one installed is the original one, it wasn't watertight and thus was in absolutely incredible condition. (I bought a new one, but that wouldn't fit and was open on the backside, because it was meant to be countersunk into the bumper, i.e. it was no good for me.) With no real other options, it was a case of make this one happen.


As the actual lamp socket was so rotten it wouldn't hold contact, I decided to
solder the +12V cable directly onto the bulb.

A lot less obvious, but swapping the hood latch (and thus the cable) would eventually mean a lot more fun with a locking mechanism, than I'd care to admit. My personal tip for this: get a 2mm clutch cable (highly flexible) for a motorbike and feed that into the original outer. Cable is a lot smoother than solid wire and with a proper locknut... well... it'll just work.

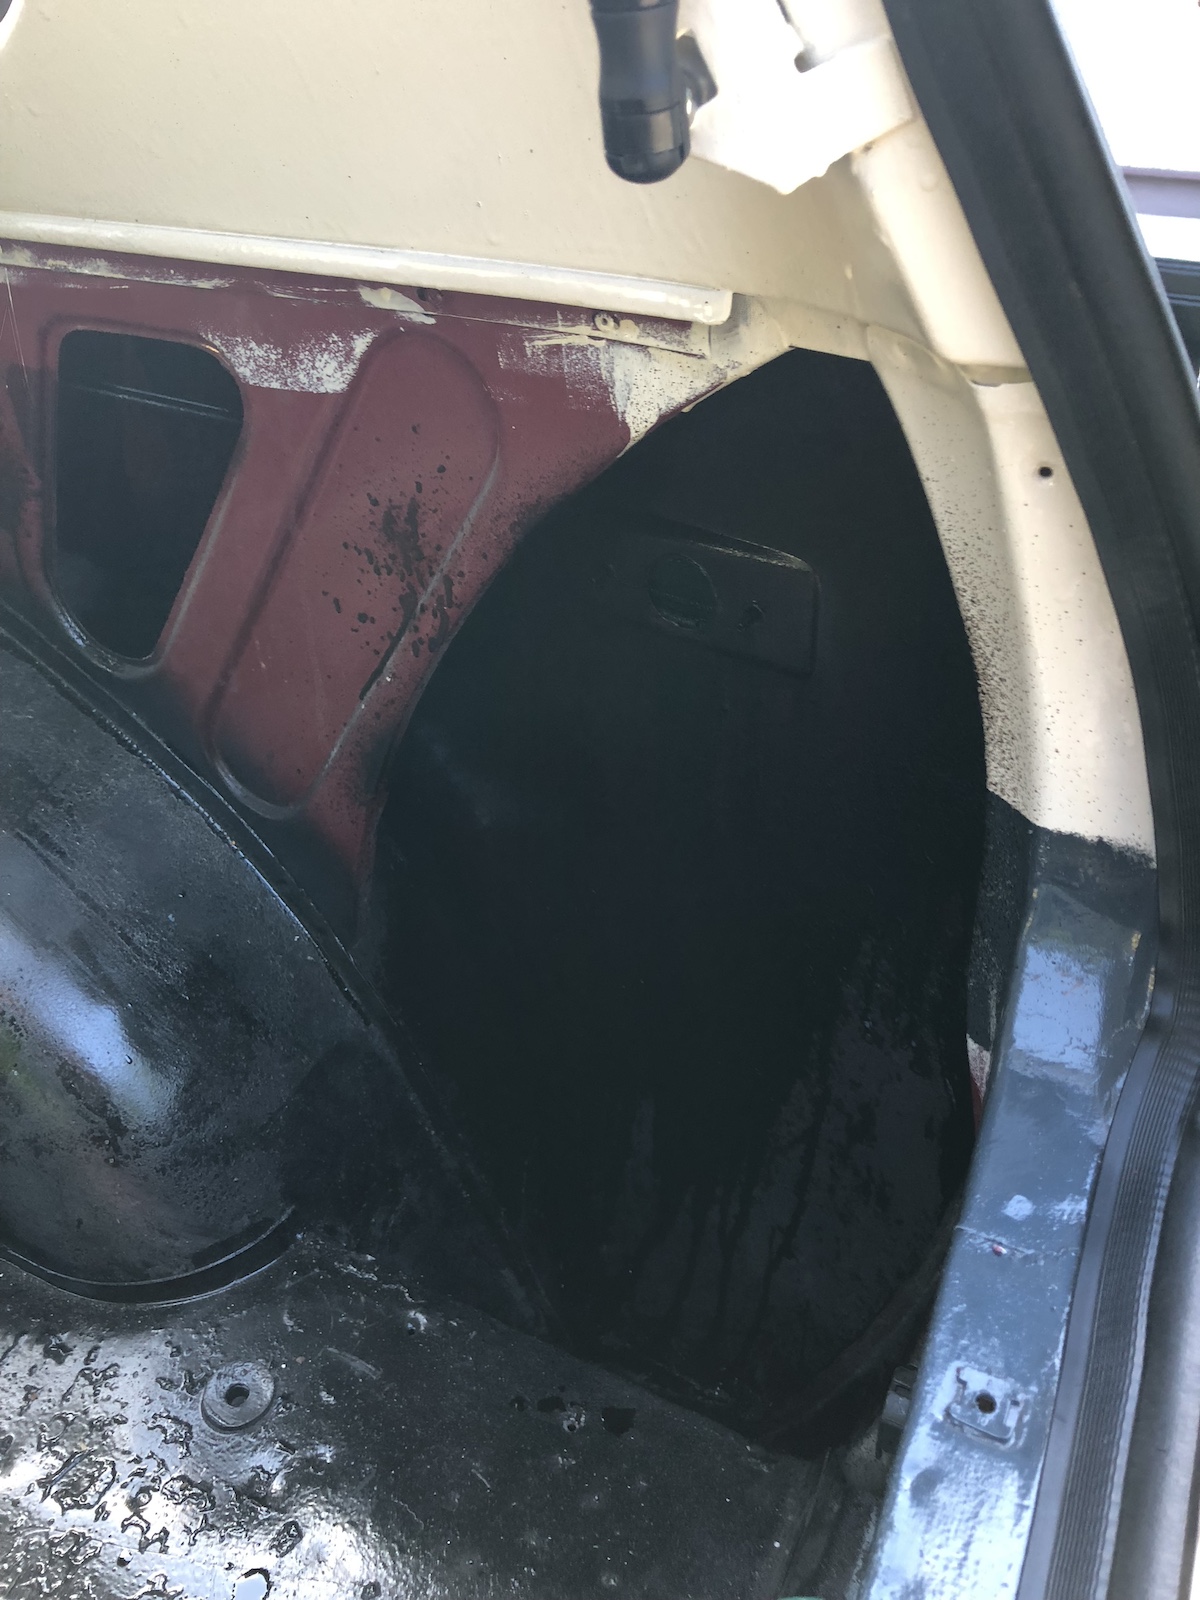
Next up was tackling the interior. Now if you don't like a bit of let's call
it rather rustic charm of the Lada insides, this might not quite be the car
for you. (Fun fact, Soviet propaganda saw this vehicle as a competitor to the
Range Rover.) But it can get a bit more homely, if you fit some of the panels
etc. Before that: spray everything down with cavity grease. Plenty of it.
Rear seatbelts installed as well.

And just to top it off (only to realise I had to take the rear bench out to fit that one), the rubber floor mat.

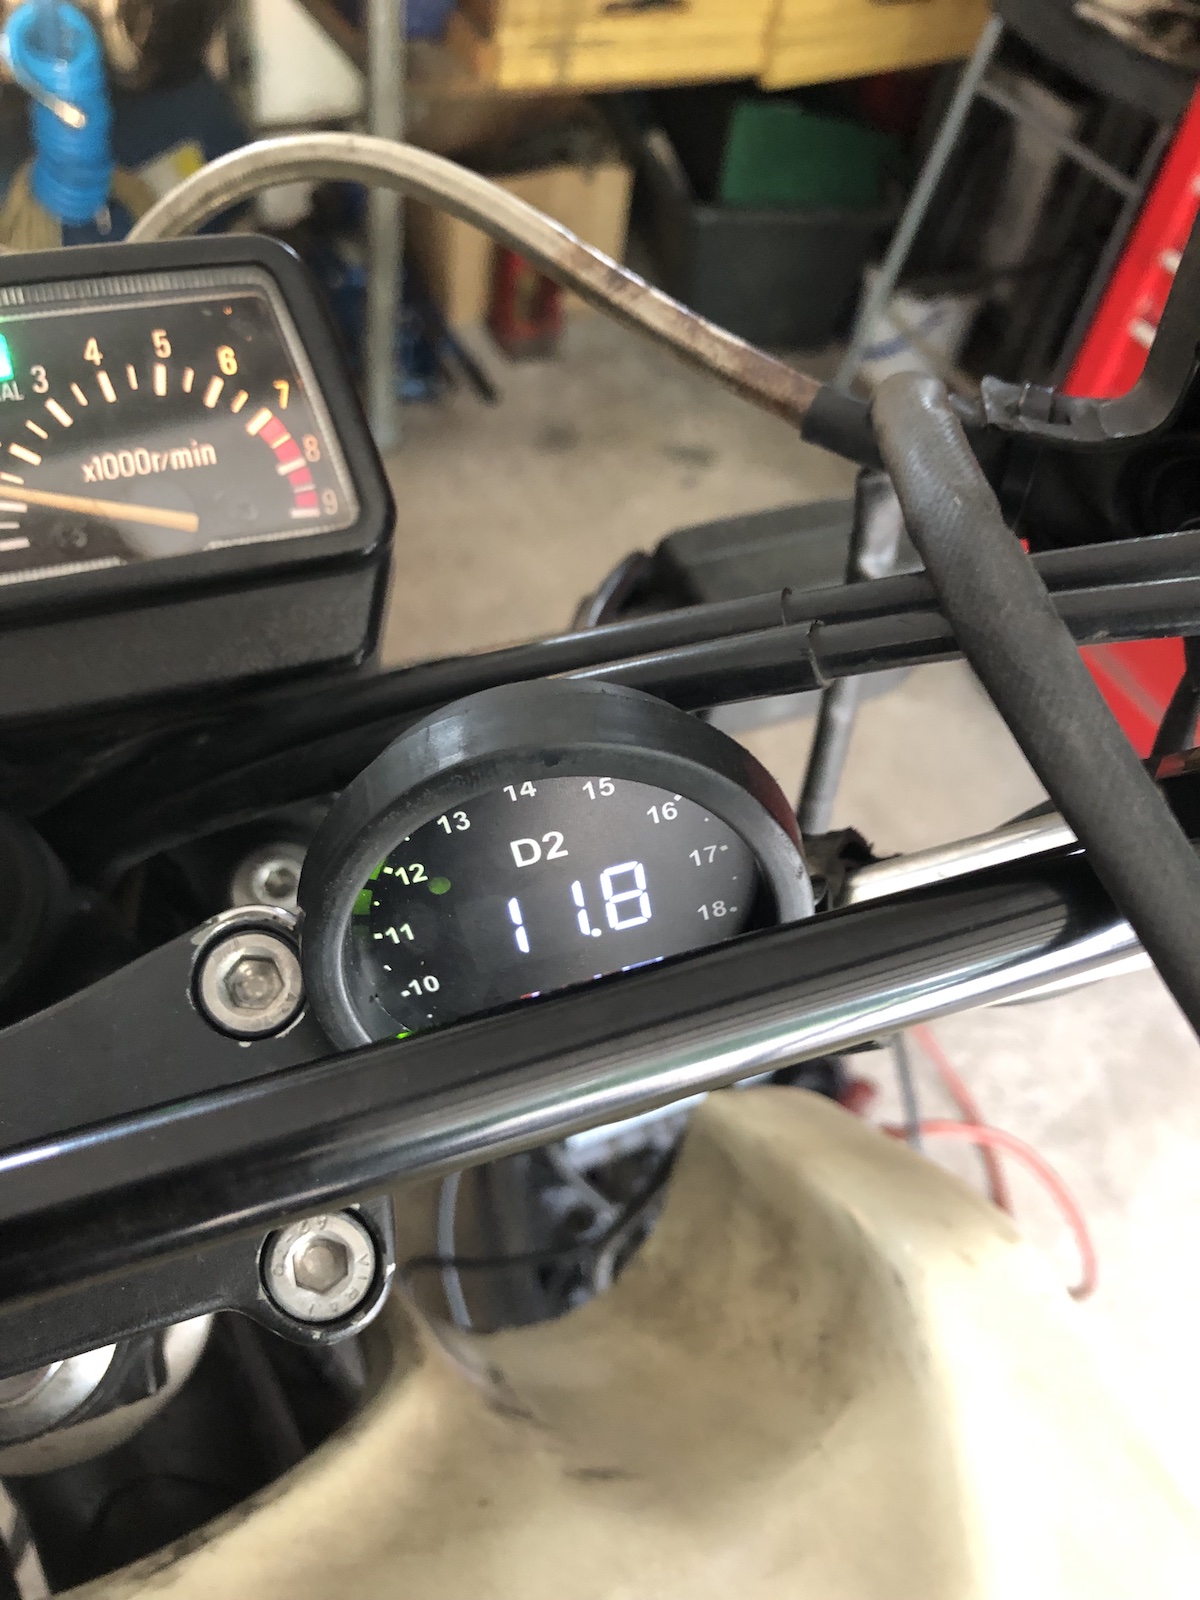
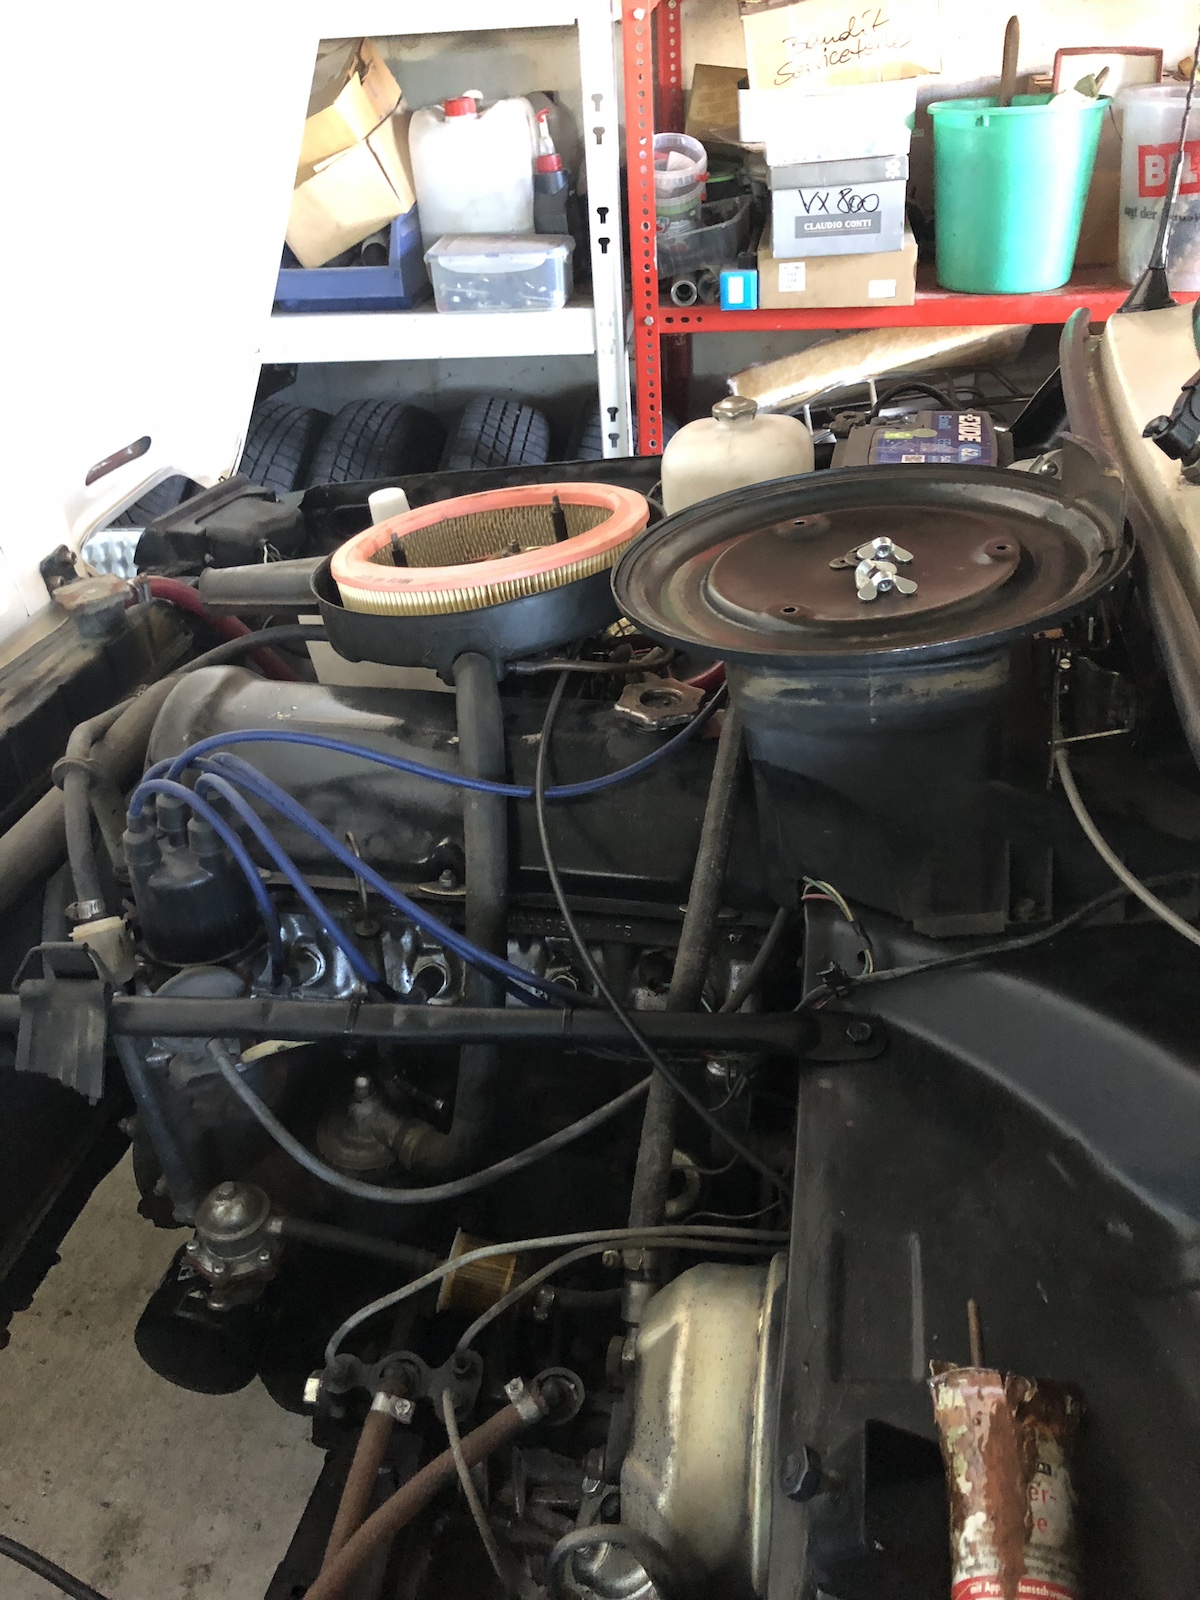
The first testrun to a nearby petrol station was rather sobering. It would pop and stutter, hardly make it beyond 85kph on level ground. Admittedly I was shocked, underwhelmed and questioned this whole endeavor (again).

4 Bar, not great, actually pretty terrible, if one's honest. Speaking of
honesty this gauge reads about 1.5 to 2 Bar low every since it was used to
test the compression on a high comp diesel engine. Still, 6 bar isn't exactly
the kind of compression to write home about.

Especially as the other ones are consistently in the 6 Bar range.

The solution in the end would be about as Soviet as one can imagine. Mumble a quiet "ah pizdec", flood all four pots with plenty of WD40 and expect miracles to happen. Guess what, it actually worked. I suspect that the rings were just stuck in their grooves and it has stopped running on three pots ever since. (The fresh plugs might have helped a bit as well.)
Copious amounts of cavity grease...

... a fresh set of brake pads ...


Unsurprisingly those pads netted some nice results.

... and a bit more tidying up should have Comrade Car ready for some fun with
the authorities.

Only to realise that a battery hold down would probably go quite well with the man in charge. (Marvel at the elegance and sheer beauty of a bit of angle iron (zinc plated of course) and two pieces of M8 threaded rod.

Surely a vehicle that has seen so much loving care can only do one thing at the inspection - exactly, it failed miserably and I even got shouted at for having the audacity to bring "something like this" to the inspection. I later on went to another garage, got a list of faults and started tackling them one by one.
Not a fault per se, but a fresh fan belt, because the one installed was way too short and "well" run in.

As I had to take off the fan-shround anyway, I cut out one section in order to
make room for the 38mm socket that is used to turn over the engine for when
you want to adjust valves or the like. (Mind you this one is still
handcrank-able.)


So what did Comrade car fail on:
1)rear brakes - rear drums have warped liners (but otherwise were working fine)

As I already had them off before, pulling the drums off was easy peasy.

De-rusting the locating ring and the mating surface, probably would have been
sufficient to make them run true again, if you ask me.

In order to prevent this, a generous amount of ceramic anti-seize should keep
things in good shape for a while.


2) rear shocks - well in all fairness, all four of them were as dead as Count
Dracula and still rocking... To be fair, those red shocks must AT LEAST be
worth five horsepower. (Also they had a rather dramatic effect as I suspect
that the shocks installed include a slight lift and it handles rather stiff
for a vehicle like this.
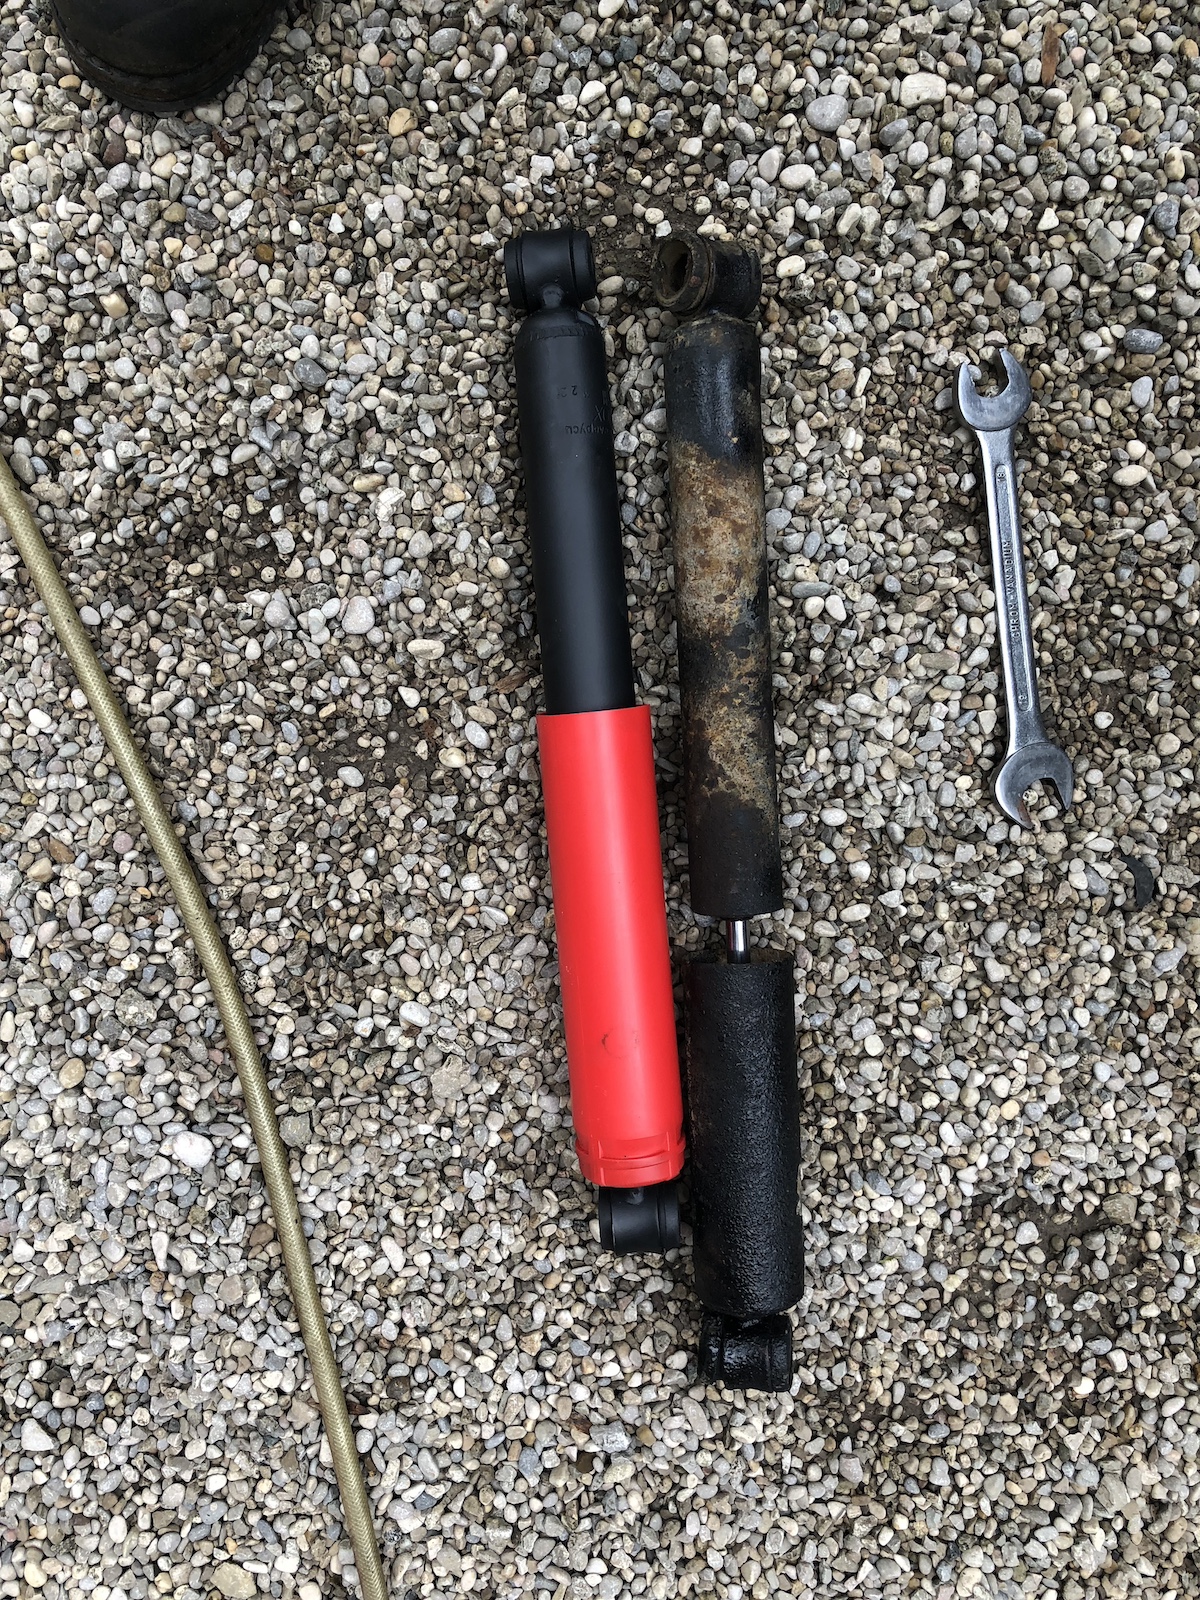
They look dead-nuts cool. Don't even try to argue. Also they were the cheapest
ones available.

3) Front brakes - both the disks and lines (all round). Strictly speaking, there's not much to it, except that the disk is held on to the hub with press-in wheel studs. This could be a bit annoying, when you just want to do a quick brake-service, but as the old Comrade needed more love anyway.
The important bits when knocking out studs: Put the nut back on proper, i.e. not just 1-2 threads but wind it down to the point where the stud is just 2-3 threads low in the nut (in order to avoid mushrooming) and use a BFH (big f*cking hammer) to give it a whack-a-holio.


Again, my opinion, at least part of the runout comes from the fact that
moisture will get between hub and disk and as rust takes up more room than,
well, no rust...

I debated with myself whether or not to use anti-seize there and decided
against it, because it was dry to start with. To be honest in hindsight, it
might have been a smart move.

Reinstall of the studs isn't too hard, just tap two or three lightly in place
from behind and then use a spacer and a wheel nut with a ratchet (to be able
to feel when stuff goes wrong) and pull them in tightly. "Full pull" comes by
installing the wheels. Some people will only tap them in from behind, but if
you bump into one of the studs with one of those incredibly heavy steel
wheels, I suspect it would be rather easy to knock it back out. And sneaking
that sucker back in, without taking the whole hub-assembly off once more, I
suspect that could be a good reason for a dose of very flowery language.

4) Shocks and ball-joints
Getting rid of the old shocks was a case of take no prisoners. The lower bolt was no real issue, the upper one got to know Mr. 5-inch-anglegrinder.


The upper ball joint is relatively easy to do and you only have to jack up the
lower control-arm and everything will (quite literally) fall in place. For the
lower one a spring compressor would probably come in very, very handy. (I did
it without and after seeing some videos, this was more the way you'd do it at
the side of the road due to some catastrophic failure.)

5) Rubber brake hoses - probably the part I dreaded the most due to some very nasty experiences in the past. But, nope no real drama. This car is meant to be worked on and thus, not stupidly difficult. Mind you there's a longer and a shorter line on the front, clean up the hardlines where the nut will have to go and a spritz of penetrating oil won't do harm either. But no nasty tricks with blow-torches or anything.


6) It needed new tyres. So it got "new" tyres - actually they are off a newer Niva 1700, because the owner swapped them out for some real offroad tyres.

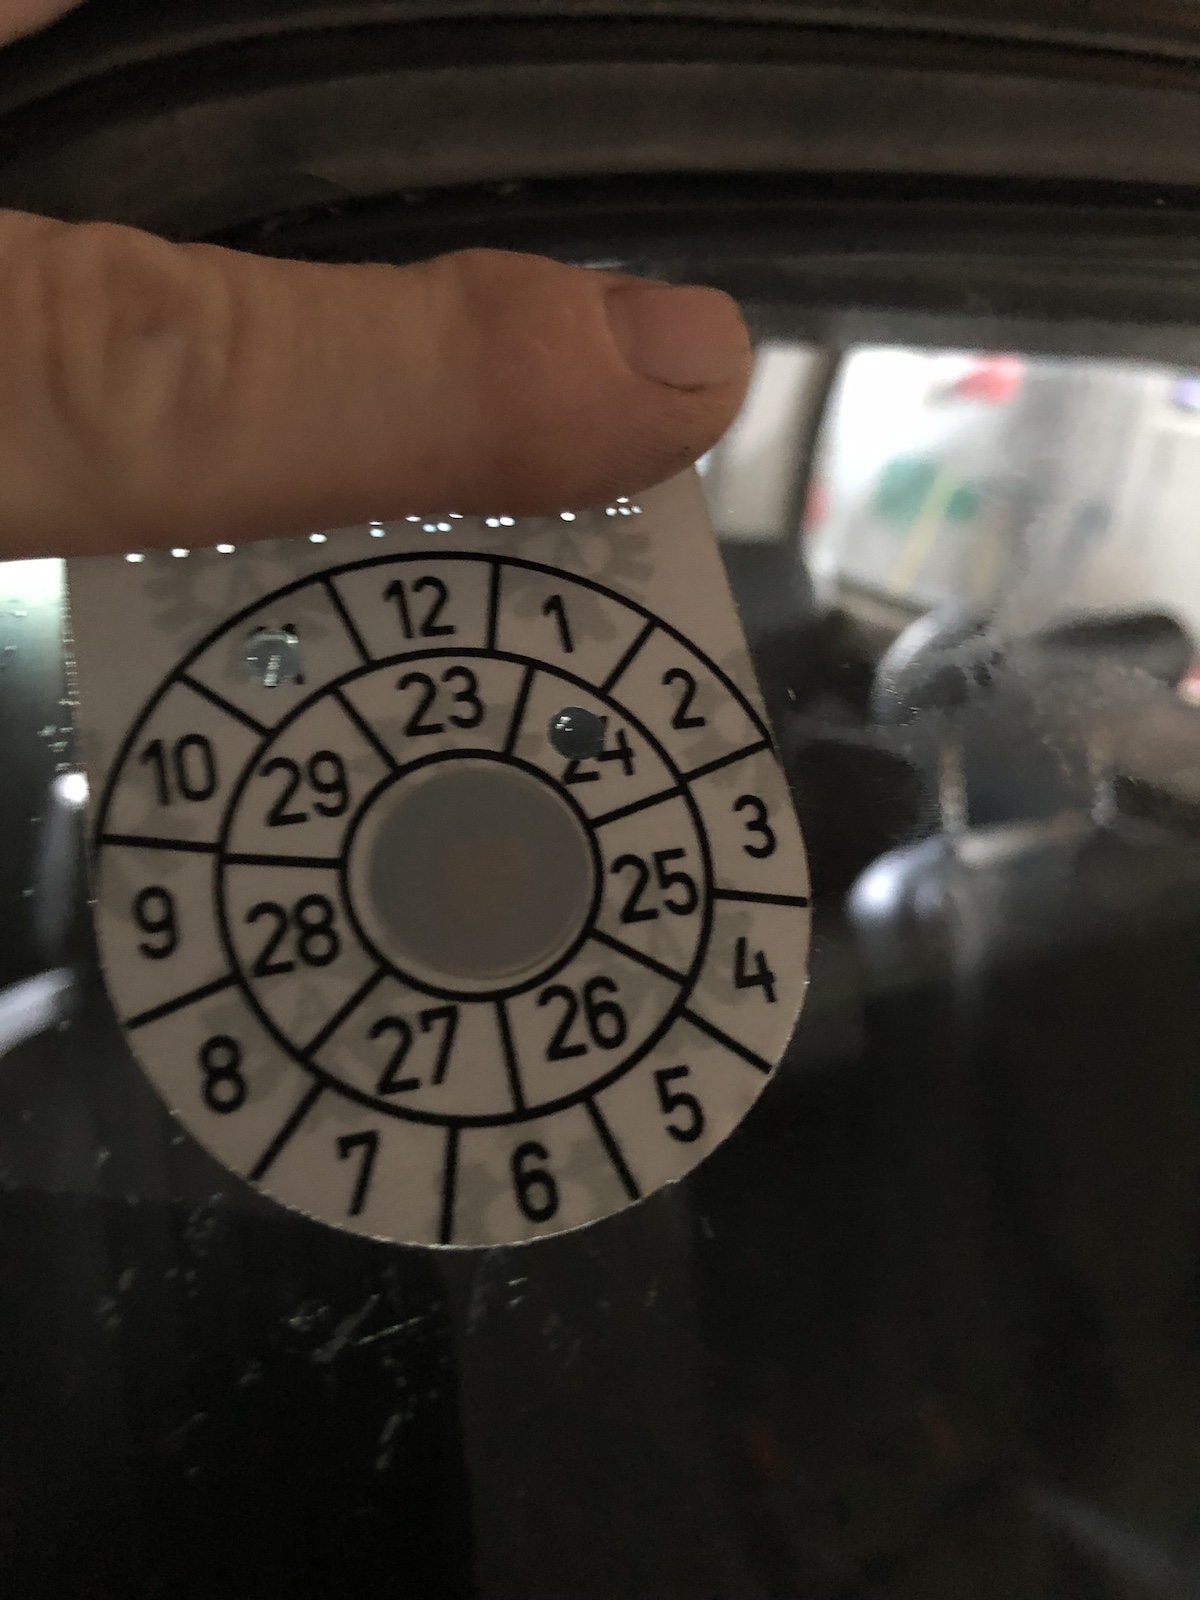
And just like that, Comrade Car passed.
Just like that? Well, the moment the engineer hopped into the car and drive it from the parking lot to the inspection booth, this happened:

With the inspection and registration passed successfully, I found a rather simple (yet not quite cheap) way to fix fuel gauge - a filled tank does wonders.

29 liters later the gauge showed full and that was the end of the "broken" fuel gauge. In hindsight this also means that realistically the fuel consumption was around the 12-14L/100km mark, which is pretty good for a carb'ed Lada Niva.

And then there was a bit of this - see where that gravel road takes us that I passed by at least a hundred times on my way home.

So why the dramatic title? Well to be honest, I put it up for sale, not expecting much and then someone came, bought it and now...

So what's the verdict on the Lada. It's complicated and thus I might write a separate post on the subject. Maybe also it'll take a bit until that happens.