
There's mods, which improve the looks of a bike. Then there's my favourite ones, which improve the performance and sometimes you find some mods to improve the reliability of your (not so?) trusty steed. But the ones, which pay the biggest dividends are the ones, which improve usability. Having a set of sturdy and (more or less) water proof panniers are a perfect match for this category.
NATO-standard, 40mm anti-aircraft gun ammo box, also known as ammo box size 7. Heavy, sturdy and usually not very expensive at the army surplus shop of choice. I mainly used 15x15x1.5mm box section and a bit of 40x3 flat material, all stainless steel and all TIG welded for my pannier rack and given the weight of the boxes themselves, I was not very much concerned with the overall weight, but rather favoured sturdyness over excessive weight savings.

First step was to make two frames, approx 300x220mm to mount the panniers to.

They were previously used on my old XT500A and the TR1, so some mounting hardware was in place.

The actual mounting was rather straight forward.
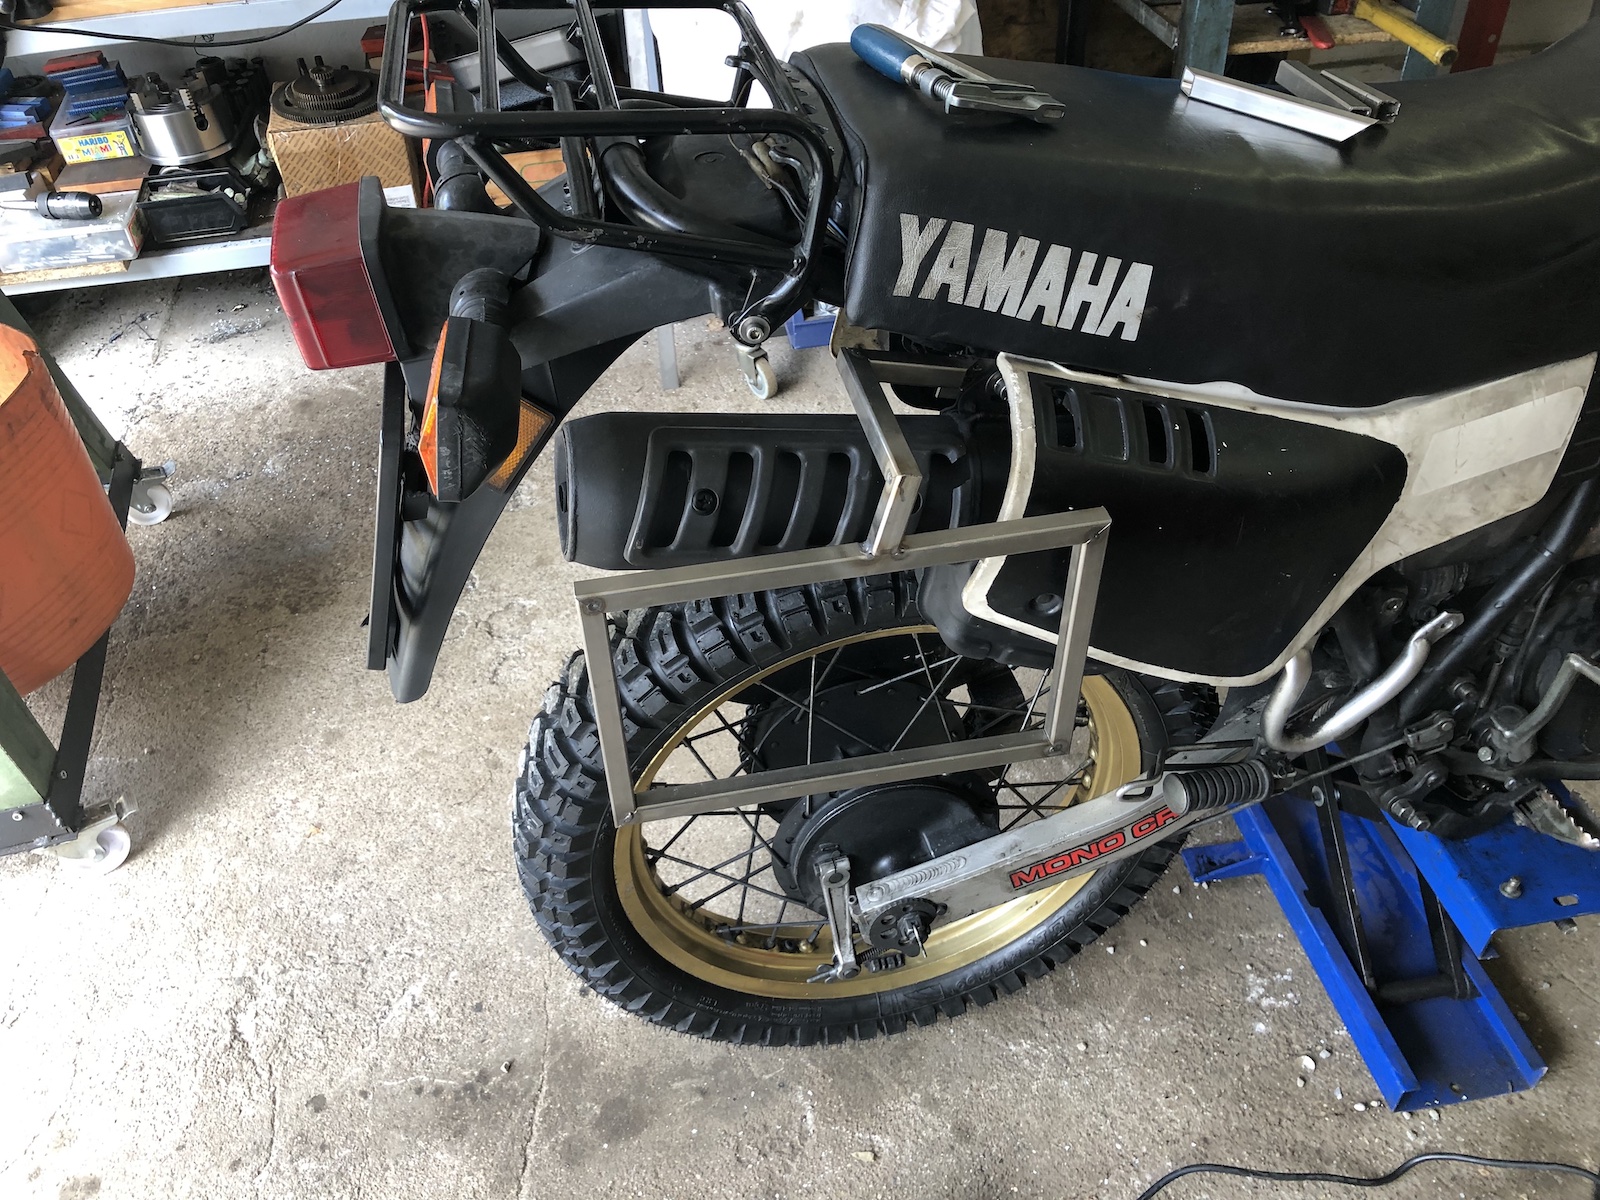
The big trick was to make them look symmetrical.

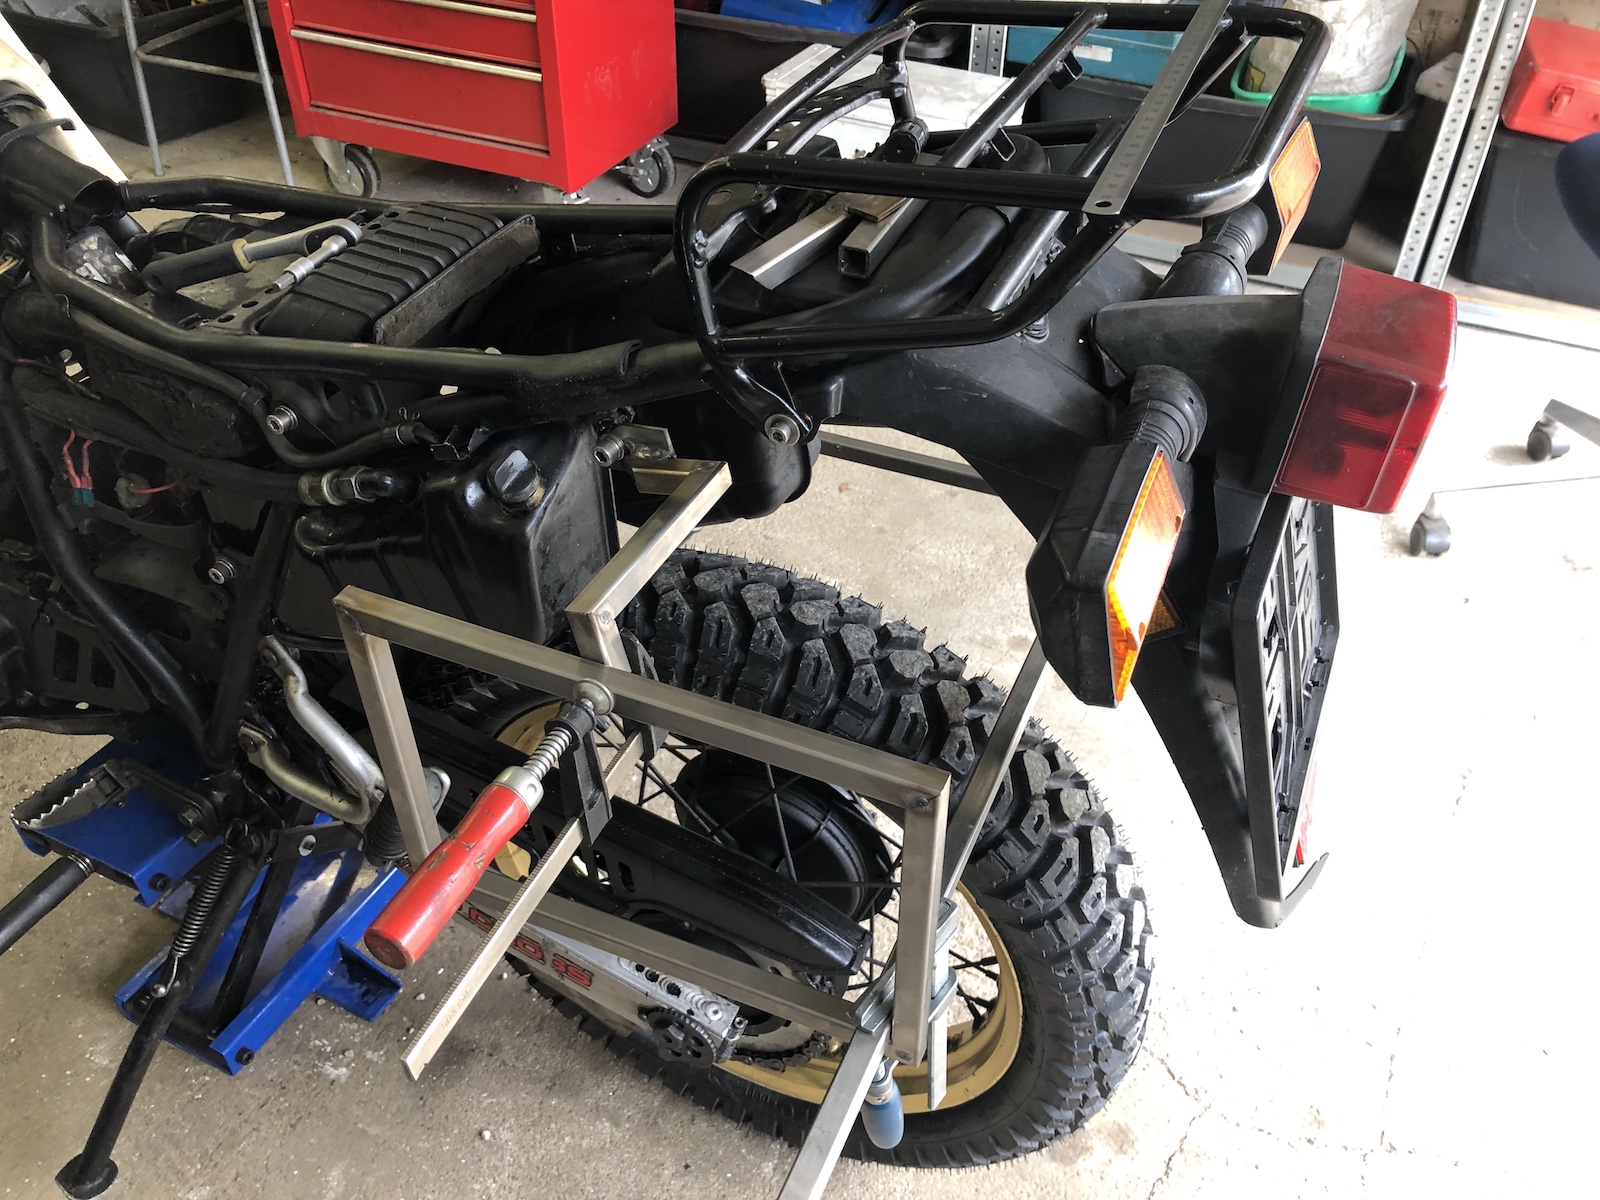
All of this is probably relatively easy, if you have someone, who can give you that elusive third every now and then. But C-clamps do a fairly good job too and some off-cuts can really help with aligning parts.


As might have been obvious, initially the boxes still sported the reinforcing ribs on the in- and outside. They were in the way on the inside and didn't quite look the part on the outside, so a bit of removal was due. With them being only spot-welded, an autobody chissel and a lumpy hammer make short work of them. Unfortunately sometimes they leave some (not so) small holes. What's more the old mounting holes weren't "exactly" identical left and right. So quite a few holes had to be filled in with the old MIG.
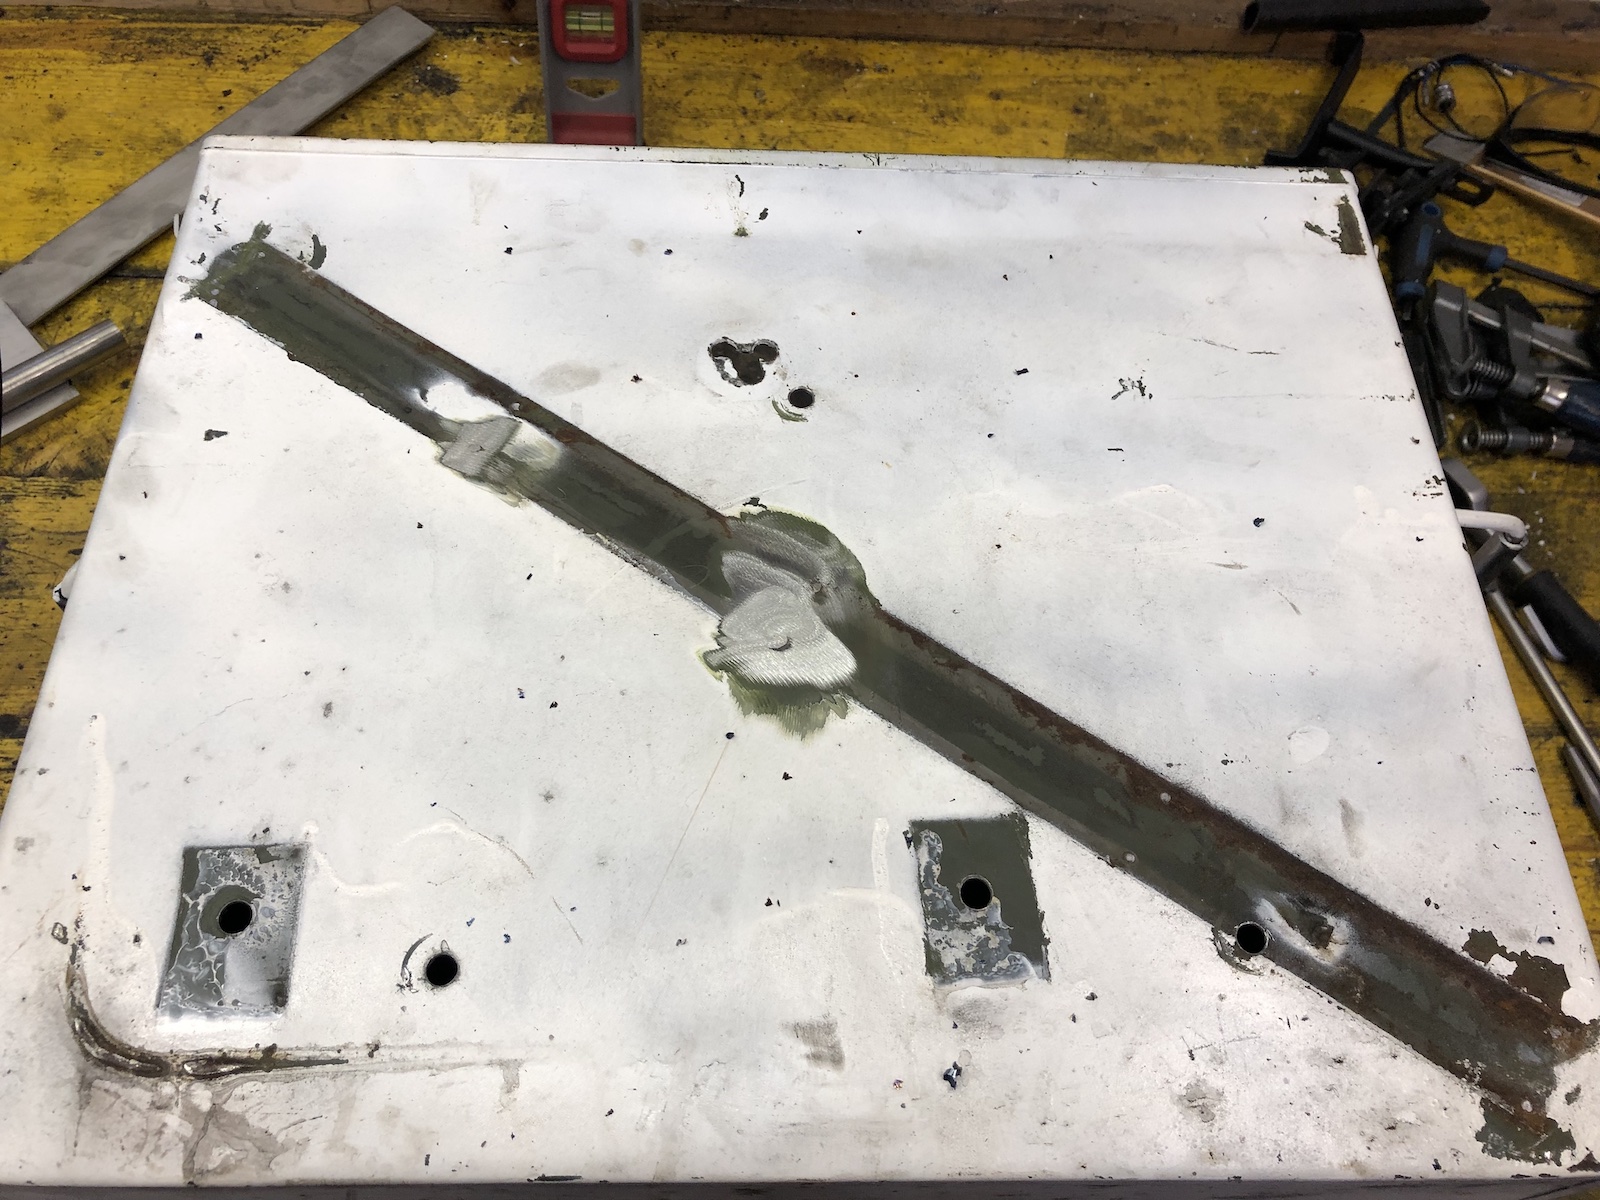
These small holes could probably be closed with just a small squirt of the old hot-metal gun, aka. the MIG.

The bigger 8mm holes, definitely needed a bit of back with a small copper off-cut. Aside from some slight warping this went waaaaay smoother than I imagined.

As hinted before, looks were of a somewhat secondary urgency in this exercise. To be honest, the whole lot came out so ugly only a mother could love it. Guess you can call me mum now.

The first testride revealed that even though the frames and the struts were well stiff enough, the 3mm strong tabs I used to bolt everything to the frame allowed for some or more precisely too much flex. As the whole lot allowed for about half a meter of leverage to the front-most mounting point the boxes could be shifted as much as 10mm to the left or right. This did absolutely NOT help with handling to put it mildly. The additional set of struts cured that issue pretty reliably. Now it's maybe 2-3mm, if you really lean into it.

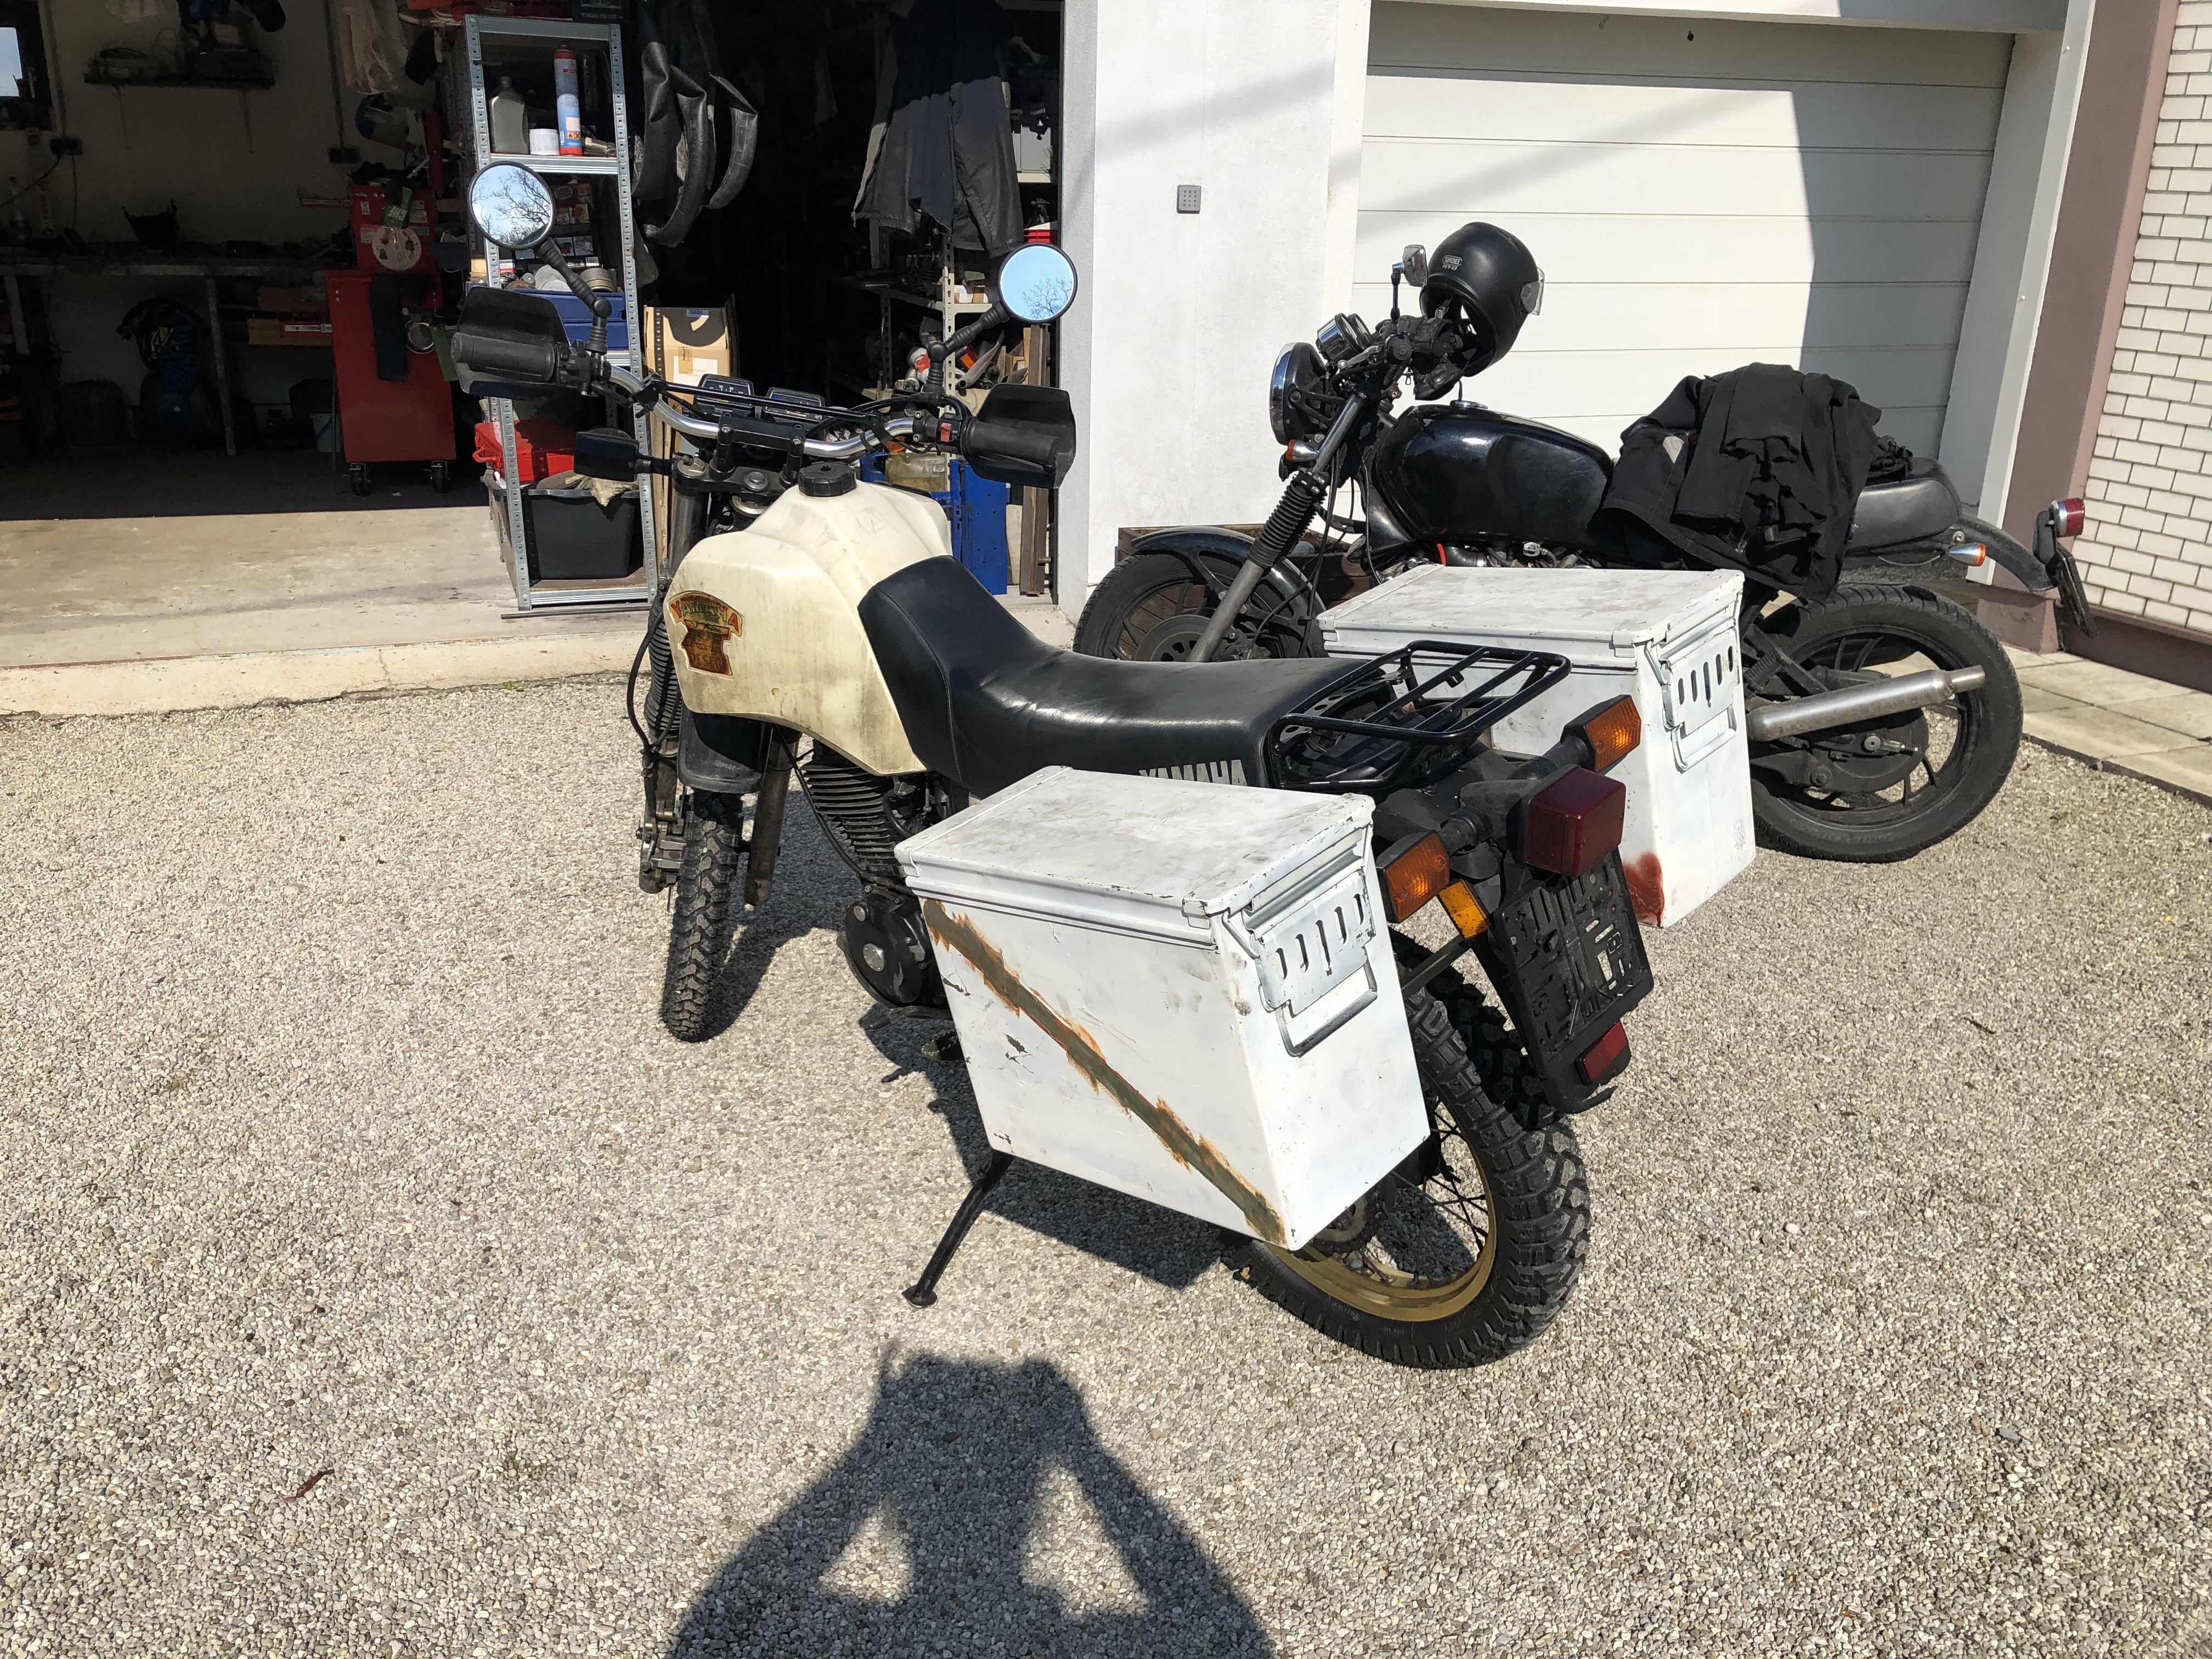
A bit of casually "thrown in roughly the right direction" paint was applied to the outside of the panniers and then it was time to do, what you do:

... and transport all the junk. All of it.

... and a backpack, because on some days close to 80L of storage space might not be enough. (The other pannier was still empty at this point.)
No comments:
Post a Comment