Showing posts with label volksrad. Show all posts

Sunday, 17 March 2024

Project Volksrad - something abouts prophets, mountains and stopping

 "If the prophet does not come to mountain, the mountain will come to the prophet"... and it better not have early 1980ies Honda Goldwing integral brakes - 1st book of Greg, the Goldwing sermons, p. 1200.

With the plug wires hooked up correctly and a handful of fresh ones, which (added bonus) actually were long enough to route them properly things started to look a lot better on the engine front. 

So naturally the next step was to go through my box with old steel braided brake-lines and start converting the Goldwing from integral to conventional brakes. This would basically mean doing two things: Fit the front brakes with a double banjo bolt to handbrake pump. (Which would later be swapped out for a unit from a GSX600F with a 5/8" bore as the stock 14mm was leaking like a sieve.)
And the somewhat more elaborate part, of sealing up one port on the footbrake pump btw. the pump turned out to be somewhat of a show stopper as, just like its front counterpart, it was leaking and the old brake fluid had eaten away the paint on the frame. (Luckily repair kits are readily available and on the way.)

The actual conversion is pretty straightforward, as all I had to do was to cut the hardline with the fitting installed in the brake pump and then weld it up. Why the hardline? Because the flare on the bottom is what actually seals and whilst I am 99 percent sure that an M10x1.25 bolt and copper or ally washers would have done the job just as fine, this is kind of the more correct way to do it. 
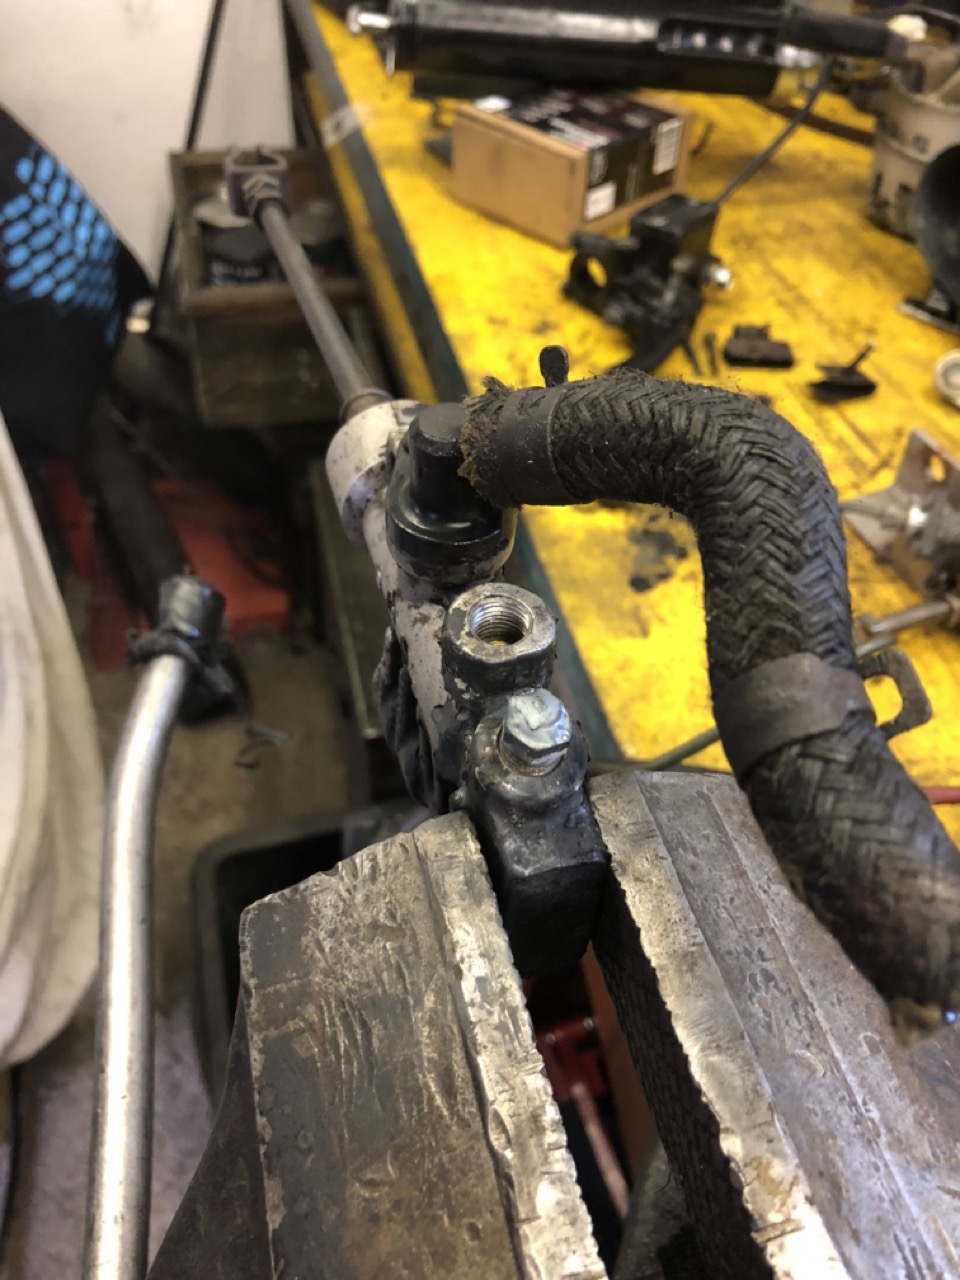
The remaining port got a bit of cleanup with a brush and a file just to make sure it would seal well with a washer (it does, thanks for asking) and then really just route a brake line along the swingarm. Easy peasy really.

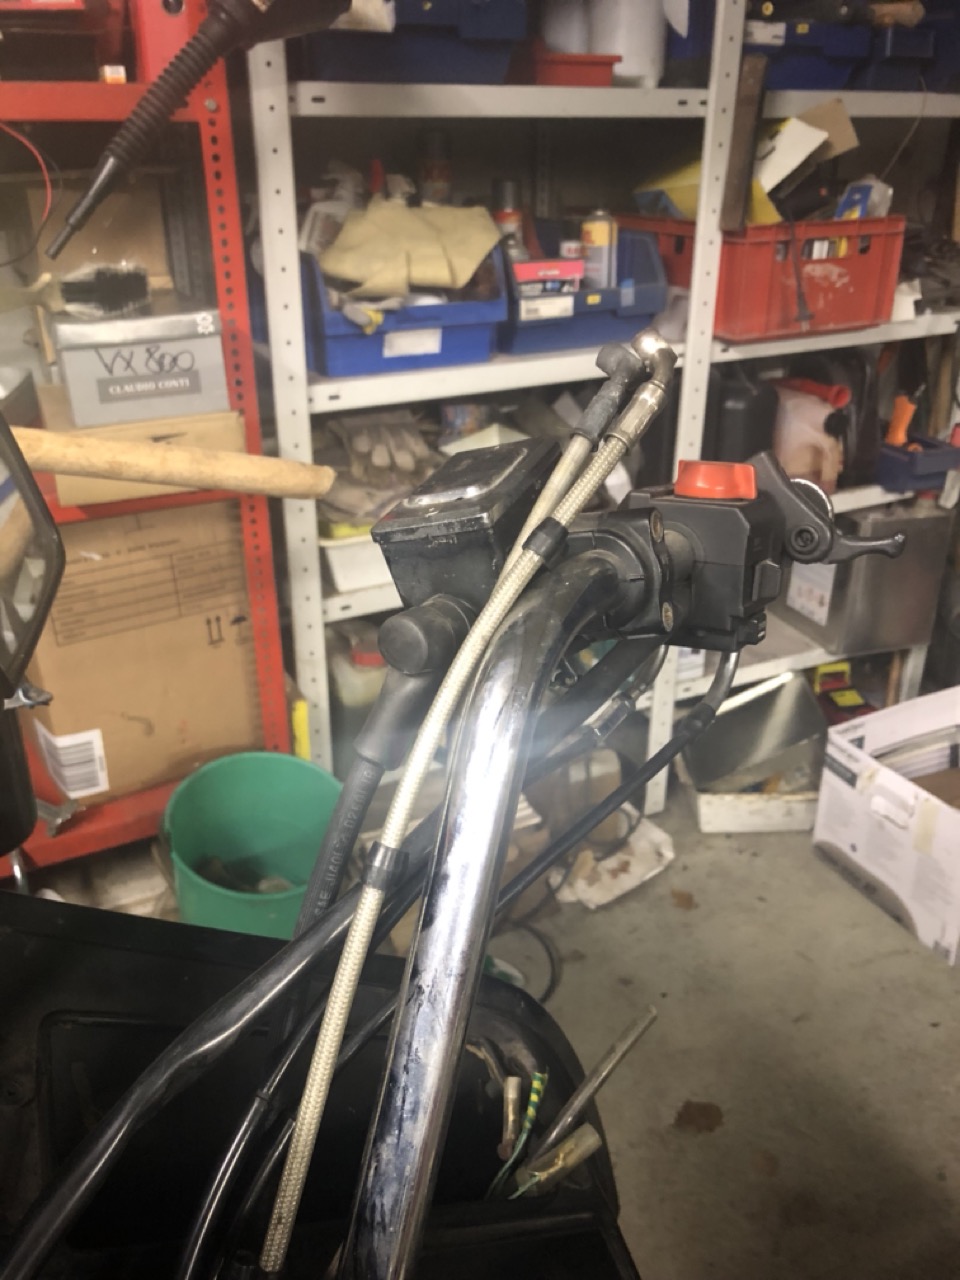
Which basically only left one hydraulic circuit left to tackle and for this one, as the name implies I went to a local hydraulics supply shop and bought a totally-not-a-brake-line to replace the bloated mess that was stock on this bike. 
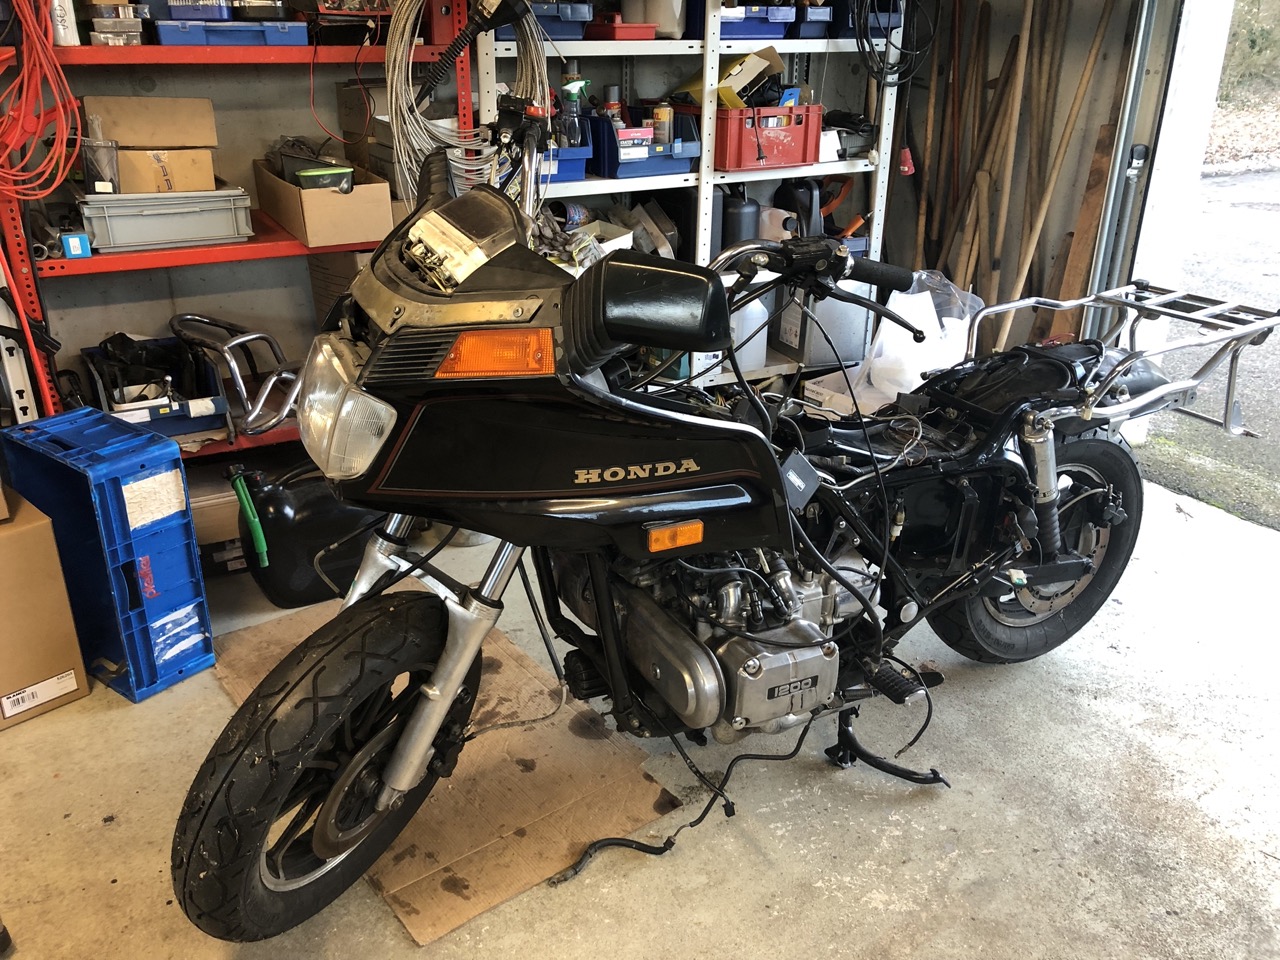

Aside from a completely clogged up bleed nipple on the clutch slave cylinder things went about as smooth as one would expect things to go, when pretty much all the components are new or freshly overhauled. (Even though I overhauled that clutch slave four years ago.)

(Also in this picture - the new brake pump and slightly re-routed brake cables to make them fit a bit neater.)
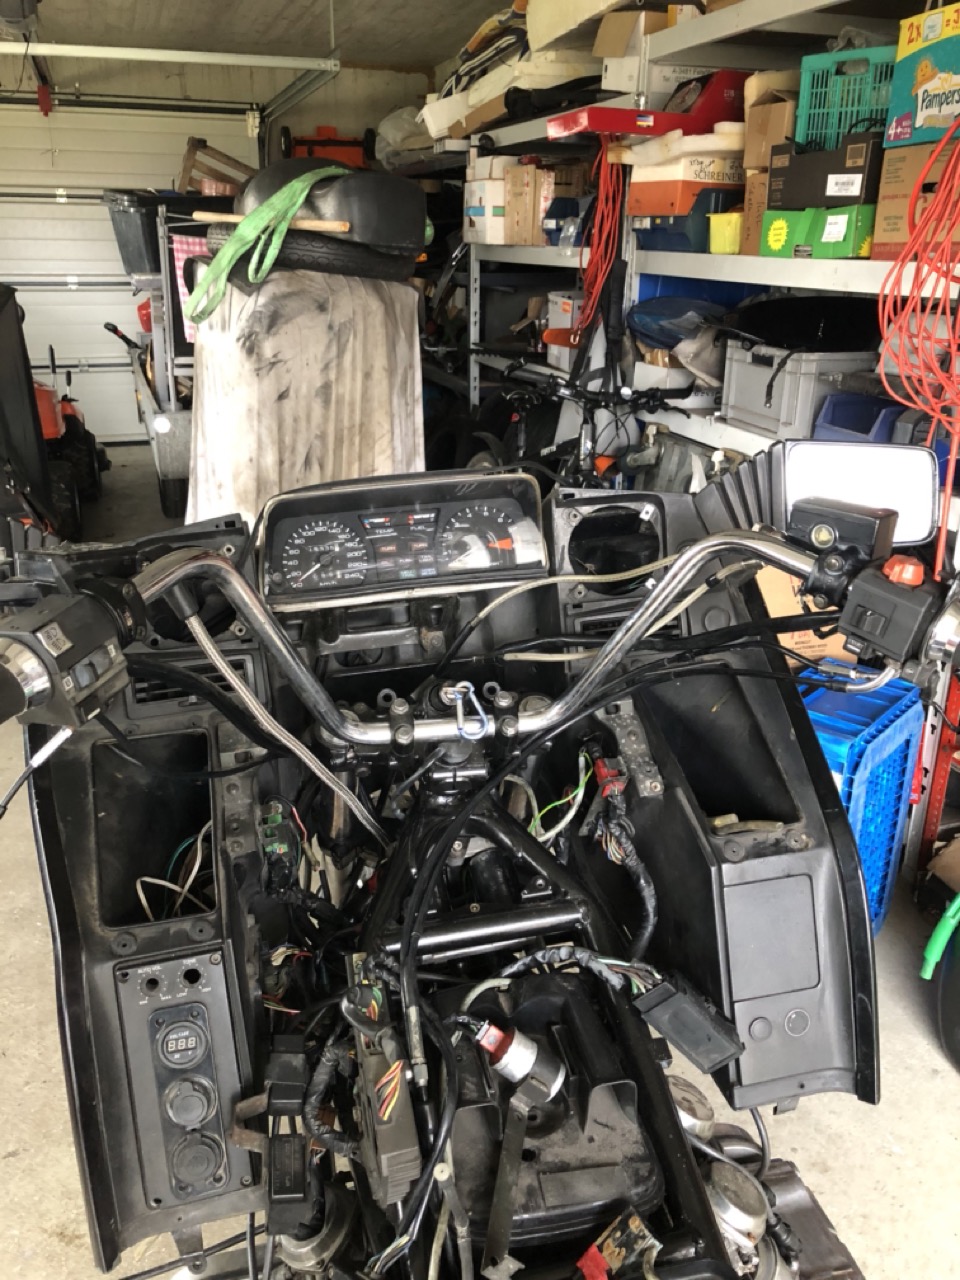
Looks pretty good or stock if you ask me.


Bleeding went... well enough to be honest, but as for now Project Pickle, my new (to me) Suzuki SJ410 has priority over the Goldwing and before fitting the exhaust, I really want to overhaul the rear brake system entirely as the pump is leaking and brake pistons are "a bit" sticky or in other words, once applied won't let you move the big girl an inch. As such,  for now she's back in hibernation, but I promise it won't be another four years...

Sunday, 7 January 2024

Project Volksrad - Goldwing reloaded

Of all motorcycles from the 1980ies the one I chose to bring back was a Goldwing 1200. A 700 pound amalgamation of steel, plastic and decadence. In a sense a vehicle that most likely represents the 1980ies like hardly any other. It is a testament to a time when striving for perfection in a (touring-)motorcycle meant installing each and every gizmo possible, creating a mountain of a motorcycle that is most likely best described as either a car with no roof or a couch with two wheels.

What we have here is a 1984 Goldwing GL1200 Interstate base model. In contrast to the higher spec Aspencade it comes with an analogue gauge cluster, no cruise control and no on-board air-compressor. It should have come with conventional brakes, but instead has the non-Euro spec integral brake system of the US-models.

So we left the old girl sitting in the shed almost four years ago getting assembled from various boxes of parts into a rolling chassis, basically only needing to be wired up completely or at least to see if the engine turns over and find out a bit more about its condition. 

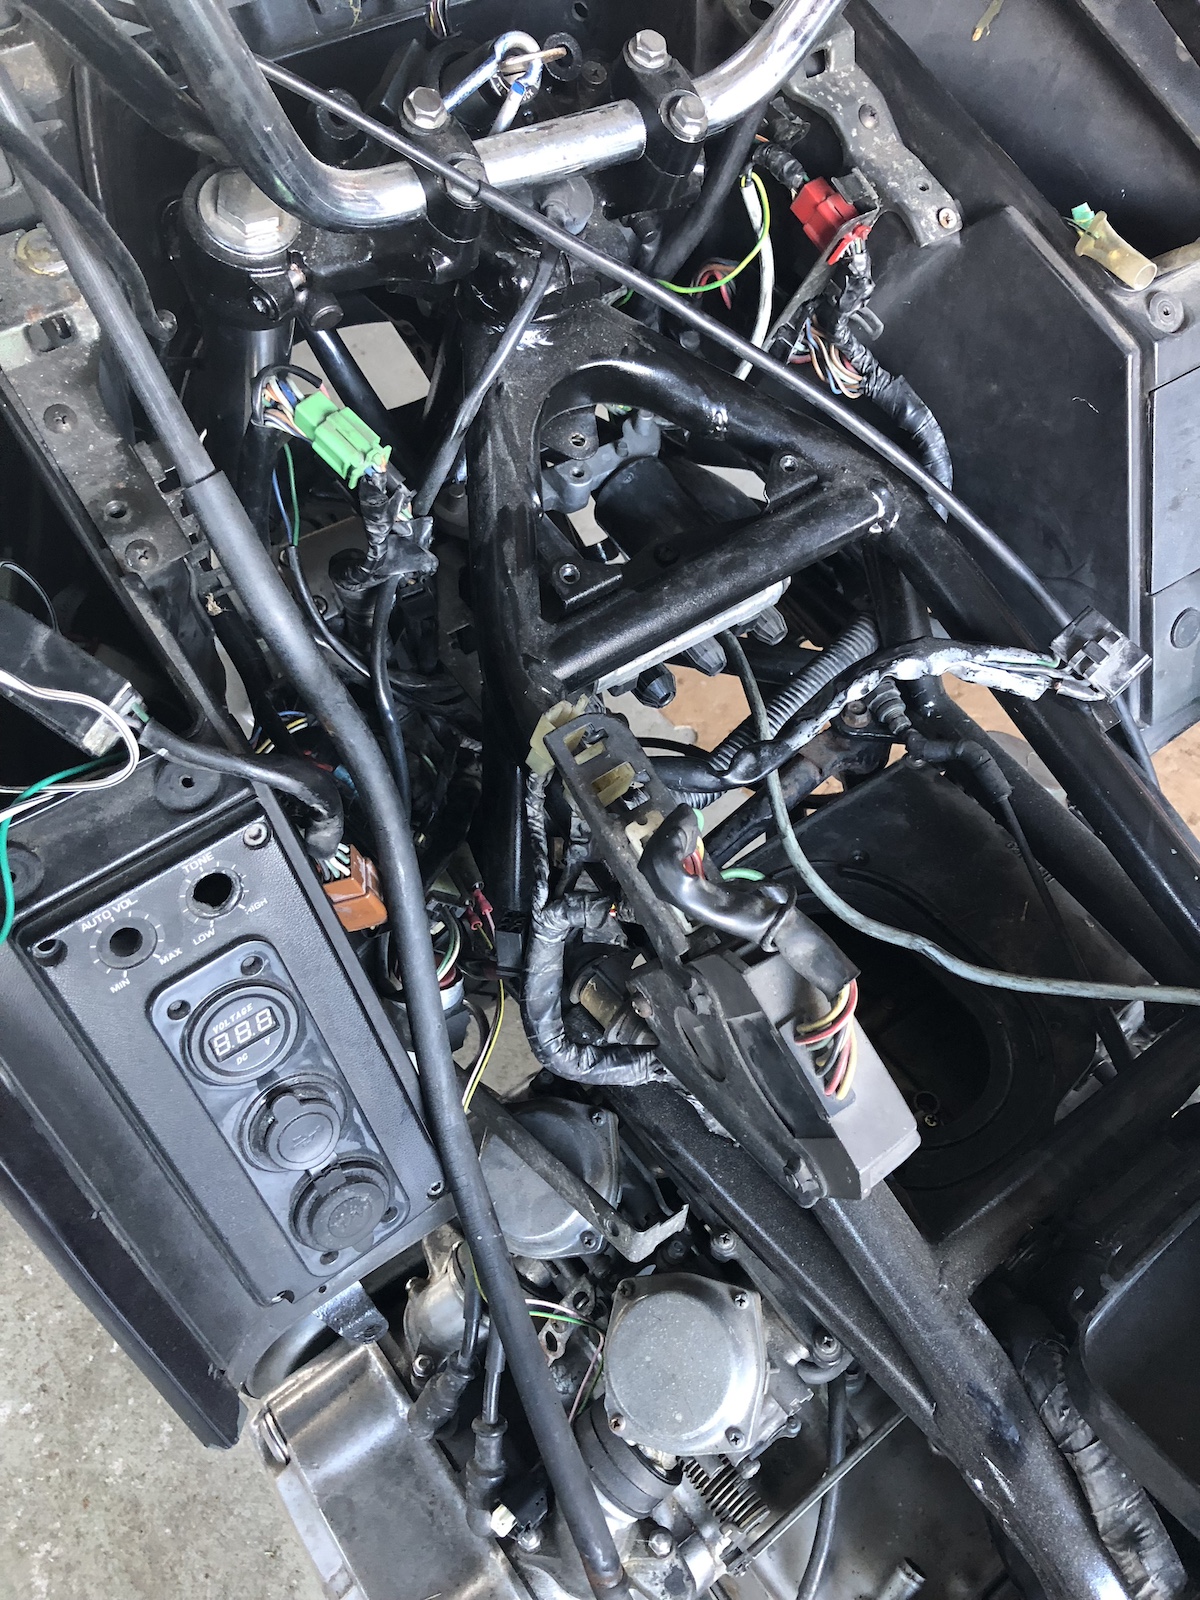
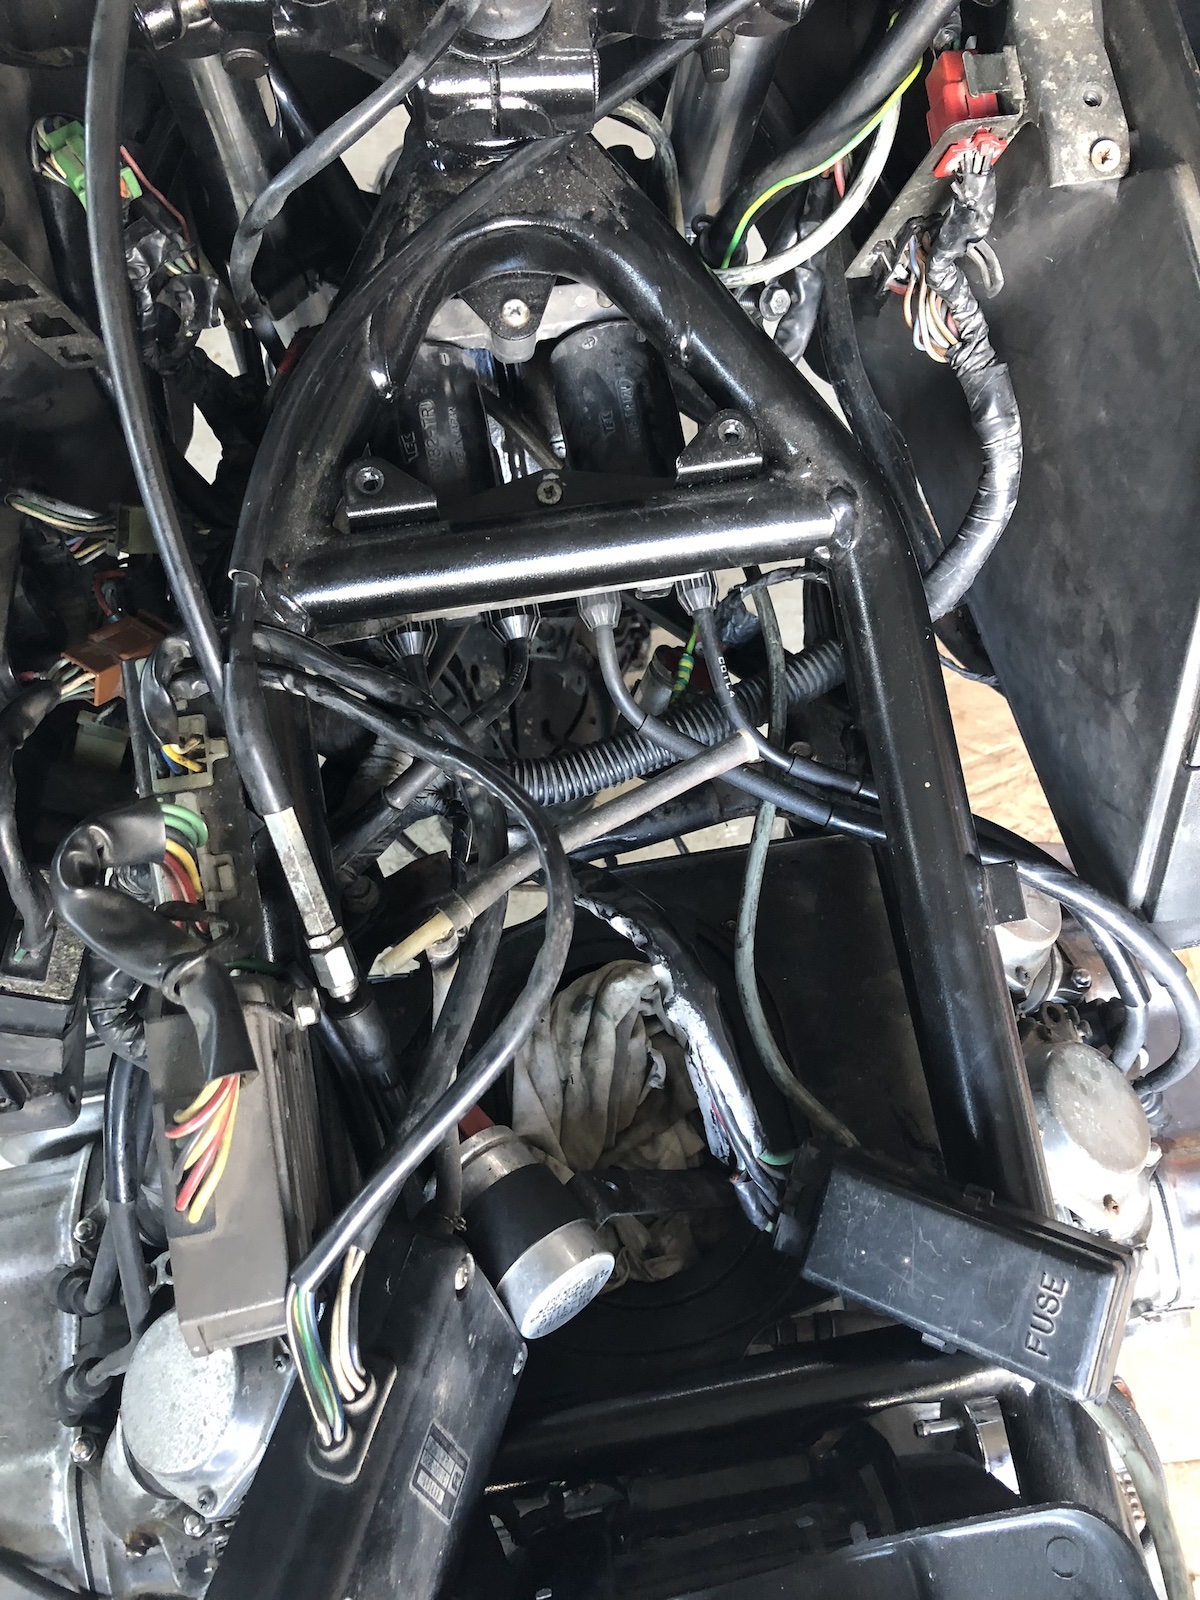
At first glance the wiring looks very daunting and to be honest it gets kind of worse when you realise that there should be a lid on top of it all and there's actually most of the components missing.

There has to be given credit, where credit is due, whilst the whole setup is overly complex not only by 1980ies standards, it is broken down into individual modules, which can be removed (I am not going to say easily) and worked on separate from the bike, which does make the whole madness under the tank cover a lot more manageable.

Now if the routing of the spark plug cables makes you wonder a bit, it did make me wonder too at the time, but the manual clearly stated that it had to be done in this way.

Another nice thing is the cable management on the whole bike - if there's a plug, there's also a holder nearby. If not, the cables are routed incorrectly. Not so much an issue under the left side cover with only two plugs present, but a proper game changer under the "tank".


There are certain moment, when I would love to ask the Goldwing engineers what their reasoning was behind certain solutions: See this dipstick? Very nice, now look slightly to the left and a bit further up that's the filler port. My only assumption is that there were sidepanels available to essentially hide all of the engine, which would have made the filler plug inaccessible. 

Using quite a few photos from the internet to find out where each component is supposed to go the space under the tank cover is now well populated and there's still quite a few spots left in those cable organizers, which is fair enough as none of the radio-equipment and the like is installed yet.


No smoke and quite a few lights doing ... something ... on the dash, but not even remotely willing to do anything at the press of a button. To cut a rather long story short, the first issue was the retrofitted sidestand switch, which had broken internally and would NOT cut the ignition in only one position and with that I mean literally only a few degrees out and it would do nothing or only very erratic things. 

Then there was one plug going to the dash that was plugged in into the incorrect counterpart, but the biggest one was, the official Honda factory manual was wrong. Scroll back up, if you like, where I wrote that it looked a bit weird and not quite how I would have run the spark plug cables myself.


A quick check revealed that my suspicion wasn't all that unfounded and turns out in later editions of the same manual this schematic can be found:

Aside from the fact that one of the spark plug cables was so worn out (and too short to be trimmed any more), it was then just a case of add fuel and fire the old girl up. 

It was a this point that thanks to a tip from Lars I attempted to take the back cover off from the fuel pump body and instantly found the reason, why the pump would do absolutely nothing. 

What's next: Swap those spark plug cables for new ones, install the radiator and whatever is missing there. Then the integral brake system has to go in favor of a conventional setup with steel braided brake hose and whilst I am at it, the hydraulic clutch also needs a new (braided) line. The exhaust is quite a mess and so far at best half of the electrics is done, but it runs (on three legs) and it charges, so I guess the rest will work out eventually.

Saturday, 14 March 2020

Project Volksrad - a watercooled beetle with only two wheels

Sometimes you fall over project-bikes, which are so unlikely and even more so, if they come in at an affordable price. And then the story becomes really interesting, when the person you least expected it, wants to actually have and ride it. Or in other words: I never thought my dad would turn into Goldwing'er.


Of course, for it to be in (my) rather limited budget range it had to have "a little" flaw. This one was in parts and it was a GL1200, which is the last of the flat-fours and has got a bit of the ugly duckling stigma to it.


Now the first thing you notice, when working on one of these: It's huge. Everything about the overall dimensions on this bike is somewhat enormous.

Strictly speaking, the bike itself isn't too bad, but once the pannier rack (the huge chromed bit of pipework) is fitted the overall dimensions are incredible.  


Fitting the swingarm was the first real challenge in re-assembling the whole lot. Unfortunately when the bike was painted, the swingarm-locator-pins got some paint on the bearing surfaces, so a bit of lathe-polishing-action was necesary.


The locating pin for the right rear-shock needed a bit of modification. In order to make it easier to slide-in, a slight taper was added as the stubborn little thing just didn't want to go into the thread on the final-drive housing.


 The other side was comparatively simple, you just have to be aware that the end of the bolt is also the locating pin for the rear brake-caliper holder.


Tank put on to get an idea. My dad wants to strip it from all the fairing bits and I do agree, a naked Goldwing does have some appeal and looks by no means as massive as the fully dressed version. 


As a next step it was time to turn to the engine and have a look at the things that I know are amiss on this one. First a quick glimpse under the skirt... Belts (obviously) need replacing, but the water pump still looks good. Also removing the covers allowed me (later) to slip the engine into the frame. (I know the manual says it's not necessary, but it was those extra few millimeters that counted in the end.)


One of the few things I knew that I would have to tackle was the clutch slave-cylinder. It had been leaking for quite a while and is an absolute nightmare to get to when the engine is installed. 


This picture was taken AFTER the all the dried up brakefluid was cleaned out. A thorough and long-winded cleaning and polishing session followed.


The piston hadn't fared much better, but after a bit of polishing it came out as good enough. If it really needs to be replaced, I can easily copy it in stainless.


And that's the whole clutch-slave being re-assembled and working again. 


With the clutch slave out of the way, the other problem I was reported was that the bike wasn't charging all that well anymore. Didn't matter much to the pre-owner as he mostly rode longer distances. I admit, I was slightly worried about that as the alternator is a rather special item, which is sold for  a rather premium price. (To be fair, a belt driven car alternator was on my list as potential fixes!) It was much more simple than that though.


Luckily all the plugs are (relatively) DIN- or Japanese standard these days, so replacing the odd mangled plug isn't all that bad anymore.

What's much more annoying is the fact that over Christmas (most of these pictures were shot on the 23rd of December), I lost all the pictures of the engine re-installation. Which in some way is fine, because it was an absolute b*st*rd job. Should you be in the same situation: Remove the belt cover, this gives you about 10-15mm extra. Also unlike the factory manual states, the short end of the shaft-drive coupler goes towards the rear-wheel or otherwise you're lacking about 5-6mm to couple the splines. And it has to be put into the swingarm first. Don't even bother about installing the engine and then fitting it all up afterwards as I can't see how (again) you're going to fit the coupling. The rest is fairly simple, just hook it up to the frame and that's it. Use a car jack to lift and level out the engine and it's quite doable.

Next stop: electrics and probably a first start.