Sunday, 11 August 2024

Project Pickle - more almost sadistic sill surgery: rust (part 7.3)

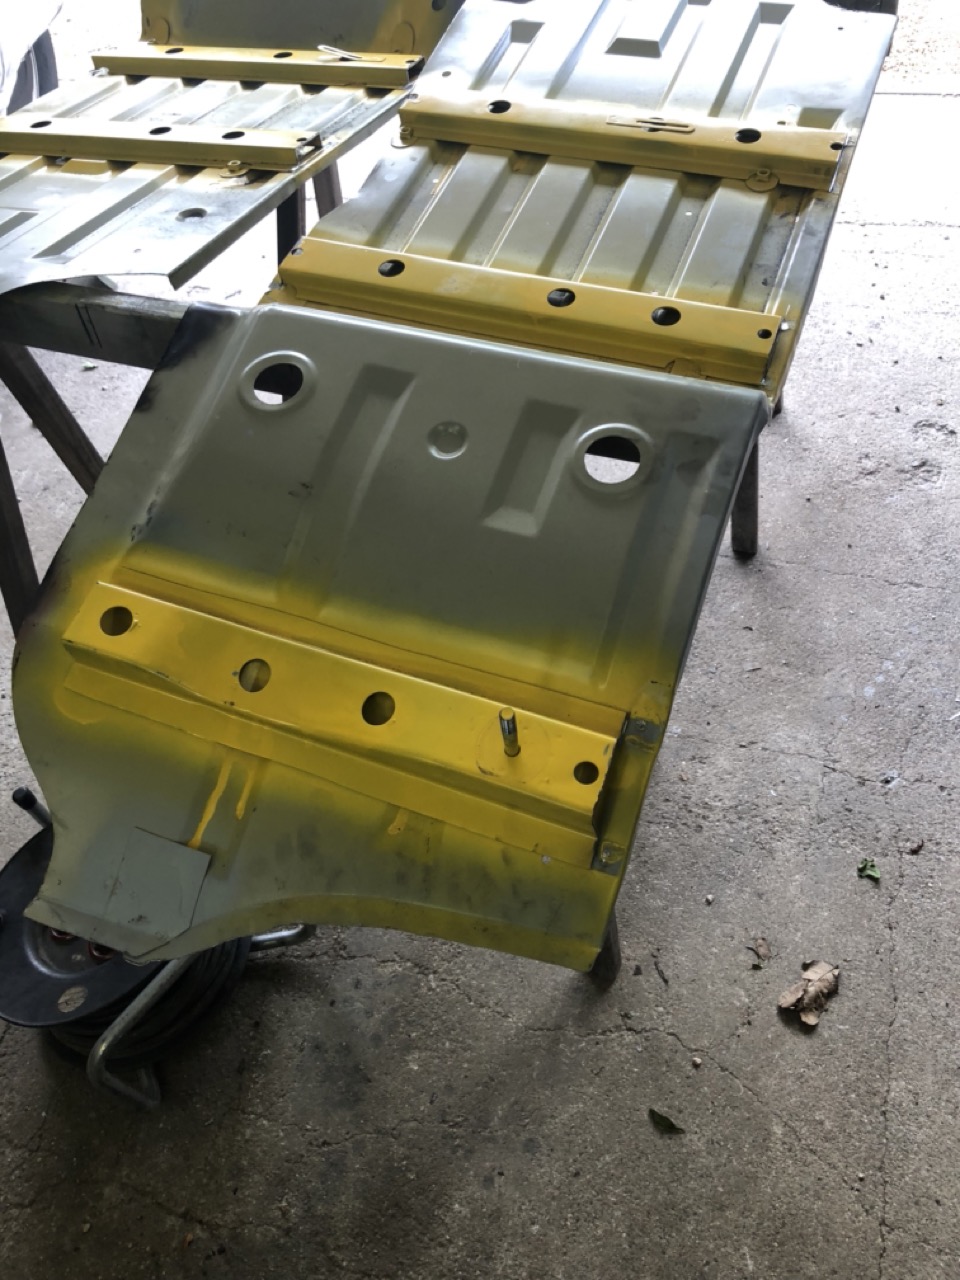
 Let's face it the front floor pans weren't the only bit that was rusted to buggery, it was *just* patched up more. The rear - oh the last guy got slightly less creative overe there, still it was well and truly f*****.


In order to get the boot floor out, I had to remove the towing hitch and the fuel tank. (Another one of those items, I had not planned to replace, but once I had it out...)


With the floor out, it became apparent that I got a bit more than I bargained for. I was well aware that the wheel arches were completely rotten, but the whole lower door frame as well... 


At about this time a slightly fatalistic: nothing to it, but to do it attitude had sneaked in, so a bit of 30x3mm flatbar was procured at my local steel supplier and now there's one bit of bodywork that's hopefully not rust out as quickly. 

And because all the mounting bolts had snapped off in the captive nuts inside the frame, this little beauty was fabricated.


At this point the body was light enough to lift it with one hand, sneak a wooden block in between the frame and clean up all the welds and bits with the grinder.


With the boot floor removed, the body had lost a lot of its rigidity, but not to worry - a ratchet strap and a few well placed spot welds took care of that (mostly!)


Turns out (duh), mine's not the only rusty Suzuki in the world yet most people probably don't quite go to the lengths to fix up theirs. Regardless of which, there's a few very smart repair panels available to fix the area around the rear door. 


With that in mind I felt a lot more comfortable chopping out a lot around the rear door pillar to fix some other rotten bits. 


If you don't look too close, the whole sheet-metal origami isn't too hard really and just takes quite a bit of time, a vise, a hammer and a ruler to get the dimensions right.


I am definitely not call it "invisible repair", but good enough and with a nice thick coat of paint you have to be actively looking for the patch-piece.

One of the "purely for vanity" fixes: I wanted to have the reinforcement rib underneath the seatbelt rollers in the B-pillar... 

Change of background scenery - moved to my dad's garage - and back to the sills. As should be evident by the second picture, the fitment wasn't terrible, but not exactly great either. 


Primer inside and out... 


Fitting the sills themselves isn't so much the time consuming bit... if you want to make the work last, quite a few bits in the periphery need to be touched as well.


I never thought I'd say this, but a good spot weld can be extremely satisfying. 

Butt-welding the seam was one of my more stupid ideas though. 

... and it took ages. Actually my gas-regulator froze over in the process. 

After a ton of grinding and quite a bit of primer, the result is rather stunning though.

If you take the photo from a slightly less flattering angle, you can see the weld, still that's well within "good enough" range for me. 

Rear wheel arches and front foot wells next.

Sunday, 4 August 2024

Project Pickle - patching up a can of worms: less (?) rust (part 7.2)

Late in March of this year, I made a post, which addressed the main issue of lil' Pickle - rust. Now, five months after starting the actual sheet metal work, the outside is patched up. The thing is, obviously there was a lot more work done than to "just" fix the sheet metal, in the same go, I fixed the transfer-case mounts, body mounts and prepared everything for a fuel tank swap. 
But let's start with... fixing the rotten lower corner of the A-pillar. 

What is truly nice about the lil' Suzuki is the fact that repair panels are still available and rather affordable. The only issue with them is: usually they are available from the 413 and newer models, which at first glance look identical, but then are ever so slightly different. 

Outer sills: no drama, quality and fit 'n' finish are a bit questionable, but once the previous owner's repairs were removed they were well acceptable. The floorpans on the other hand...


Looks quite alright, doesn't it? Well have a closer look at the transmission tunnel - quite the gap isn't it? So are the panels cut incorrectly? No, this is an early 410 and it has the older (narrower) transmission tunnel. Which is also the reason, why people tell you to avoid the pre-1984 models, if you want to do an engine swap...


Going with the later transmission tunnel would have been a smart move as it would have made work on the firewall A LOT easier, but the narrow tunnel also has its merits, as you have more space round the throttle pedal. Besides, at the time I didn't know you could just buy the tunnel as a spare part. As such the flange was widened by about 30mm.

In order to make rust-proofing the cavities a lot easier (and having been given a bunch of expired yellow spray cans for free), I decided to paint all the cavities in a bright colour to make later inspections easier. 

And because the roof is leaky right above the dome light (and pretty sure in some other spots as well), I pulled out the inner roof liner and started removing the foam. 

Whenever the frame became this nicely exposed, I brushed on a few coats of paint, because... well you know. 


After ordering new rubber body mounts, I decided that they were utterly unsuitable for the job, so a bar of black POM-plastic was bought and 9mm was decided to be the new spacing between frame and body. 

With the floor pan removed, I was able to access the mounting bolts for the transfer case - after wondering a lot, why the previous owner only did the rubber insulater on the other side, I realized that the only way one could do this with the body on, would have been by cutting two holes in the floor in order to get the bolts out.

Needless to say, the old stuff was hopelessly shot.

Test fit of the first POM bushing. It will be a bit more harsh, but then again this lil' truck is never going to be a Mercedes S-class and it'll make all the joints live a lot longer and probably with all the other stuff rattling about, what's one more sound. (I later flipped the mounting bolts upside down - so in case it really annoys me too much, I can swap in rubber bushings again without cutting holes in the floor.)

With rust being the main topic on this car, I decided to do one rather controversial mod: usually the reinfocements on the bottom of the floorpan extends all the way out to the inner sill creating an absolutely lovely pocket for all sorts of dirt and debris to collect and rot out both floorpan and the sill as it's almost impossible to get it out from there...

Then drill roughly a stupidizillion of holes for plug welding and work out a way how to sneak the inner sill and the floor pan in place.

weld in the pieces and rinse and repeat on the other side.

Btw.: have you noticed how the shifter boot of the transfer case shifter disappeared somewhere along the way when welding in the flange? Funny story... remember how some people say something like "I am *this* close to burning the whole bloody car down? Well... I was *THIS* close. 😆

Wednesday, 31 July 2024

SR500 sidecar - setting up the VM36 carb

 Let's just say, setting up a carb is a straight forward process, but it is by no means a quick process.

Only to ultimately end up on the next page and realizing I still have more work to do. 

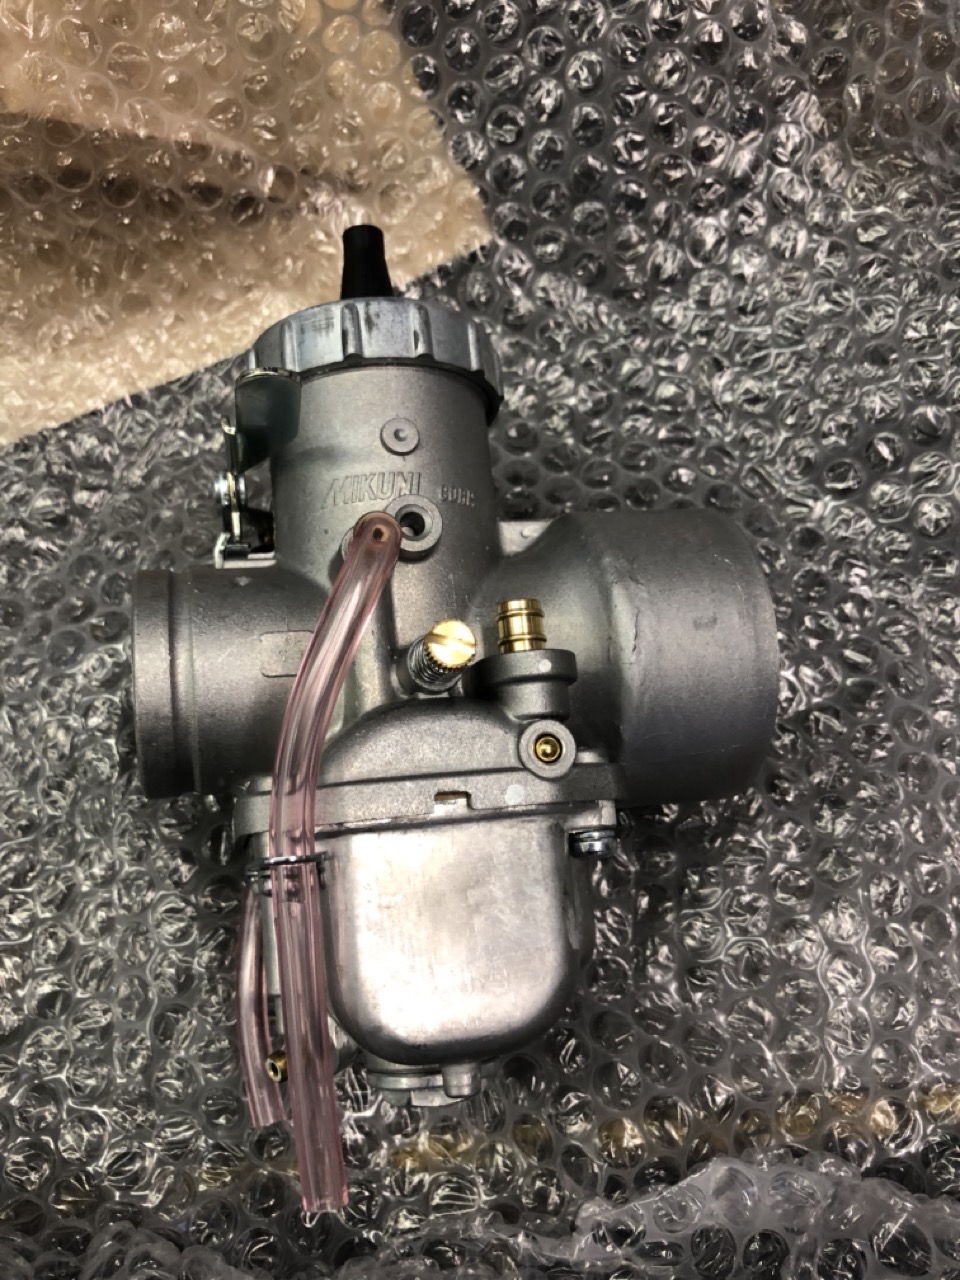
But *MAYBE* we should track back a little bit and start telling this story from the beginning: As I was a bit unhappy with my TM36 setup, with it being uncomfortably lean in the midrange, which is good for mileage, but terrible for torque and very happy with the top-end performance, I wanted to see if I could fix it. With all attempts failing or leading towards disabling the accelerator pump, I decided to make a bold move and get myself a VM36 and in retrospect that was an excellent decision, I just shouldn't have bought it from the shop I did as I basically had to replicate a lot of steps that would have been available with a pre-configured carb available in other shops. 

So there's a specific SR/XT500 version of this carb available, which mainly differs in jetting (duh), slide-cutout (3mm vs. 2.5mm)


needle jet P-8 instead of Q-5

and needle, which is a 6DH03 instead of a 6FJ06

and obviously a much more sensible 35/240 setup compared to 35/310 in regard to pilot and main jet. 

Sounds good, right? Didn't work at all. You see, I have fallen victim (and for about two weeks at that) of a badly deburred needle-hold-down clip. 


So whatever I did, the carb responded lovely at idle AND at the very top. Just everything in between was all but useless. Once I figured that out (the clue was that if raising or lowering the needle has absolutely NO discernible effect on the midrange jetting, there must be something wrong exactly there!), I started to trace my steps back and found out that the P-8 needle jet is too rich and the slightly richer needle wouldn't exactly help either. As luck would have it, I still had a pair of VM34s that I bought for my dad's CX500, but never got round to fitting to the bike and these come (in stock form) with a P-6 needle jet from the same family. 


And this was the break through in all of this mess. Suddenly I could get the midrange lean enough to make sense (it's still too rich, but we'll get to that) and I could start tackling the very top-end again and leaning that out until it would start to pull cleanly all the way.


And this is what this looked like - old battery in the sidecar, AFR displayed tucked in under the tarp, so I could have a look and then drive up and down that hill a stupidizilion of times and check AFR-ratios, take notes, make changes and do it all again. 

So why did I write "still too rich"? Well, because it is. If you look at the second note, you'll see that I erroneously noted down 10.8:1 for midrange (it's actually 11.2:1 after re-checking), but either way this is much too rich for part throttle. Now I don't want the 14:1 climbing towards 15:1 AFR-ratios of the TM36, but I'd like to see it in the 12s, because that would mean maximum torque and with a leaner needle-jet I could also run a bigger main jet again, meaning I would have a bit more thermal safety at wide open throttle as it tends to lean out after a while and once the oil gets REALLY hot (as in around 100 degrees C) I can hear detonation rear it's ugly head... As such the next step is to try out P-4 and even P-2 needle jets to get the midrange lean enough, also in the mean time, I'll probably step it up to a 185 main jet, even though that might cut peak performance a bit, it's better than detonation.

Sunday, 2 June 2024

VX800 - fixing the clutch lever

So my dad has got this somewhat weird, yet in a way wonderful Suzuki VX800. Whilst it has reached the point where it is actually usable by now, some of the bits on it are still heavily worn out and somewhat neglected. Such is the case with the clutch lever. It appears that the bike at some point was dropped onto the left side as the left footpeg is a bit mangled and the clutch lever slightly bent. 

The thing with the bent clutch lever is though that it wore out it's pivot very oval. In general a slightly sloppy clutch lever is not the end of the world, but here the hole has widened to the point where it affected the clutch disengagement. So the plan was to drill it out, fit a bushing made from bearing bronze and then bore/ream/drill that one to size as needed. 

So I drilled out the hole until I ended up with one that was round again and there was still some wall thickness left.

Chamfered the edges to make pressing in the bushing a bit easier.

I decided to make the bushing AFTER drilling out the lever mainly, because it is easier to make the bushing fit the hole than the other way round. I recall the bore being 8mm and I think made an 11 or 12mm hole, with a 3mm pilot hole and the bushing 1/10mm oversize. I had originally contemplated using some bearing retaining compound (e.g. Loctite green), but the bushing went in nicely and showed no signs of being either loose in the hole OR having deformed either part.

After putting the little engineer back into his cage, I realized that plain old drilling the bushing would be more than adequate for the task at hand.

... and fitted to the bike. Vacuum cleaner is strictly optional.

Obviously this one of those repairs which makes next to no sense unless you have the machinery needed to do it yourself, as it was easily a one hour job. On the other hand the bearing bronze bushing will last for a very, very long time now, especially if greased up properly. And if not, it can be replaced.

Saturday, 25 May 2024

The SR500 sidecar - fitting a VM36 carb

 Before we get into the topic at hand, nope the blog ain't dead, but lately I had to decide on how to use the available time and decided that making some actual progress versus documenting said process was the better choice, mainly because the Suzuki-project has somewhat spiraled out of control and other commitments kept me well busy lately. 


Enough excuses, time to get on with "it" and "it" is fitting a VM36 roundslide instead of the TM36 that used to live in there before. In essence the TM36 runs pretty good, but in order to make it work with the accelerator pump, midrange has to be jetted very, very lean. This on the one hand has some rather negative effects on the torque curve (it feels rather weak unless you crack open the throttle and ride it like a little racebike) and, and this is the bigger issue for me, especially in warmer weather I have huge detonation/pinging issues, when using the throttle a bit more sparingly. With the VM38s on the TR1 running like they do, it seemed like a bit of a no-brainer to go with a VM36 for the SR500 sidecar. In theory this will most likely have some negative effects on the fuel economy, but this will get me some much needed increase in torque.

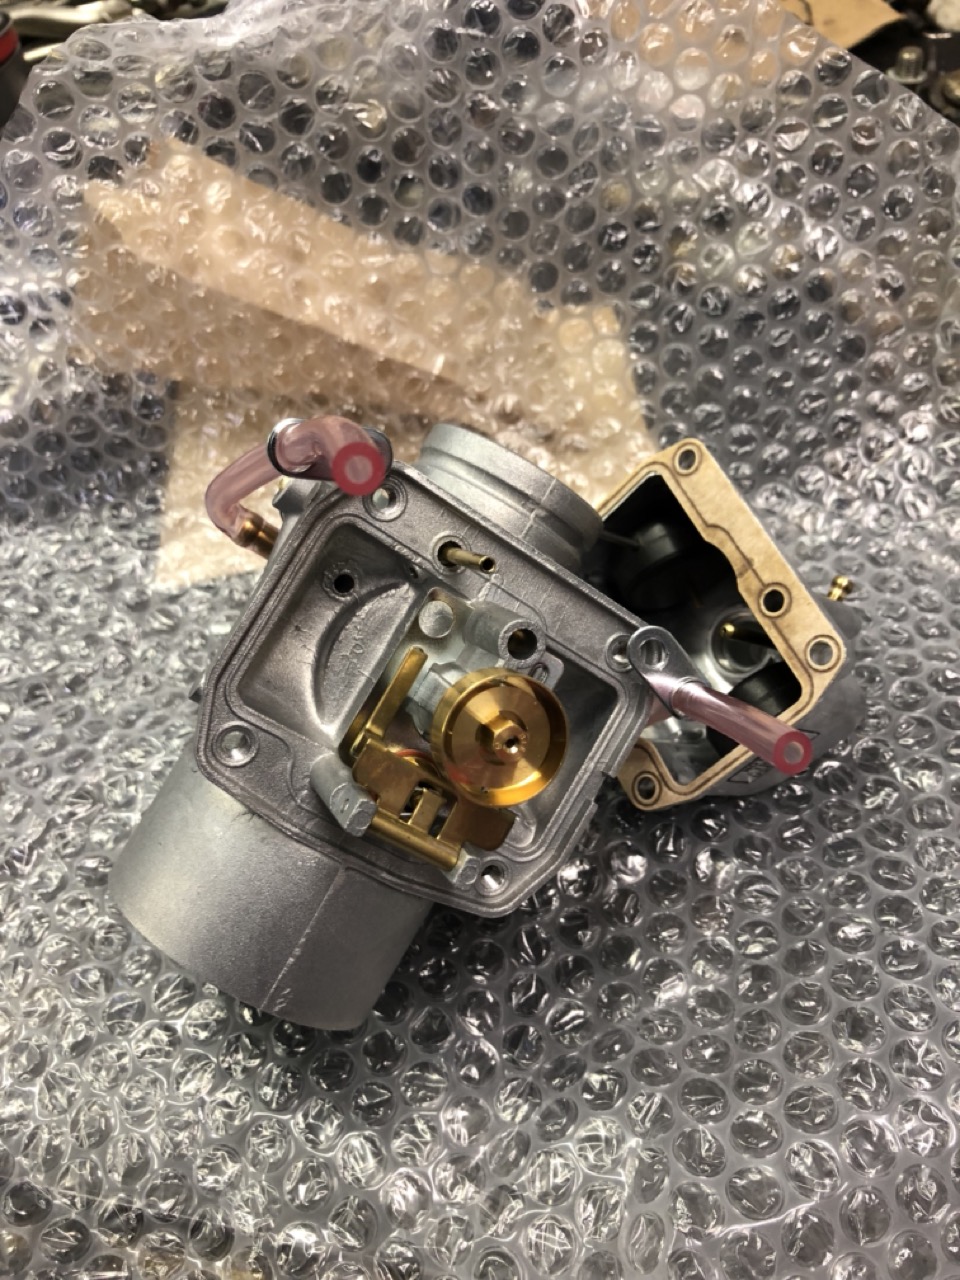
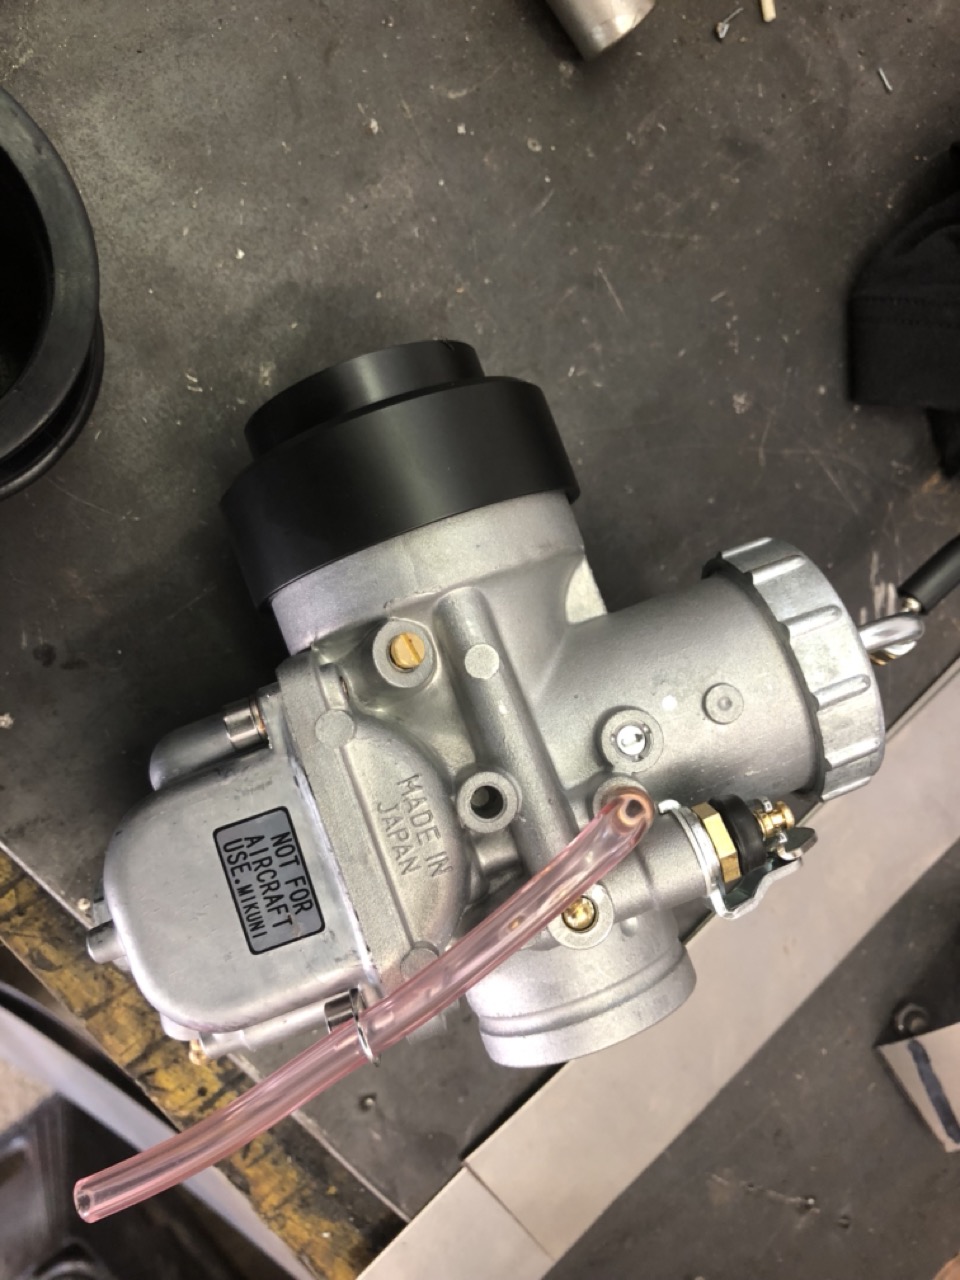
 The internals are as simple as always, a main jet and a pilot jet and a little dish to make sure the mainjet can always get some fuel in the bowl. Mine is the 2-stroke version (something I was not so happy about admittedly as there is a specific SR/XT500 version, which is jetted slightly differently, but Mikuni being Mikuni, you can find the jetting online and then get near this setup, with just a jet swap. I am currently running 30/240 with a very open airbox and free flowing exhaust and what am I supposed to say, the old girl is instantly as fast as with the TM36 and starts first kick. She just hangs a bit at 2/3 throttle, but once you get past that you'd better be careful as she revs to self-destruction in an instant. 


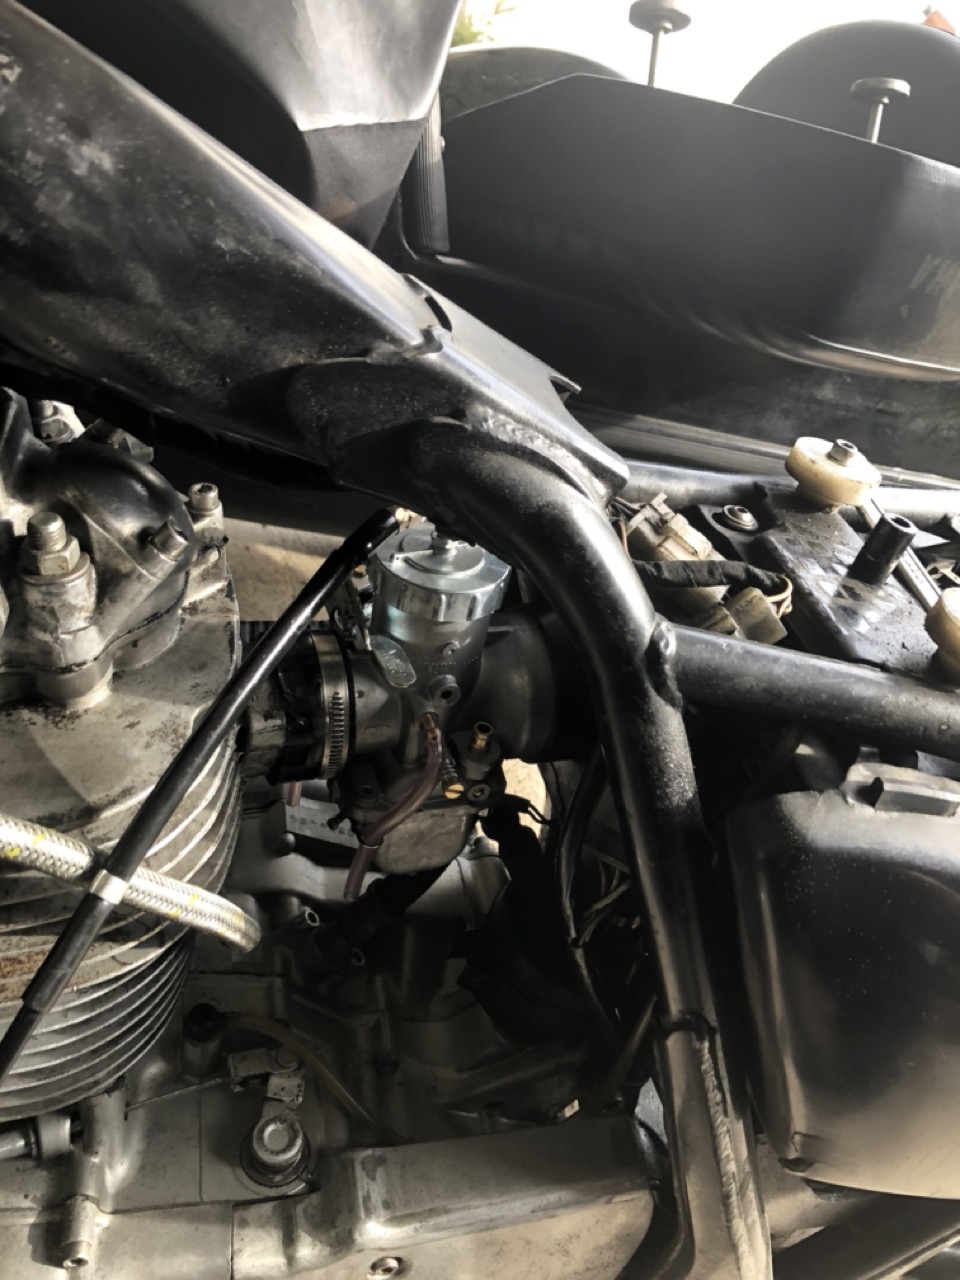
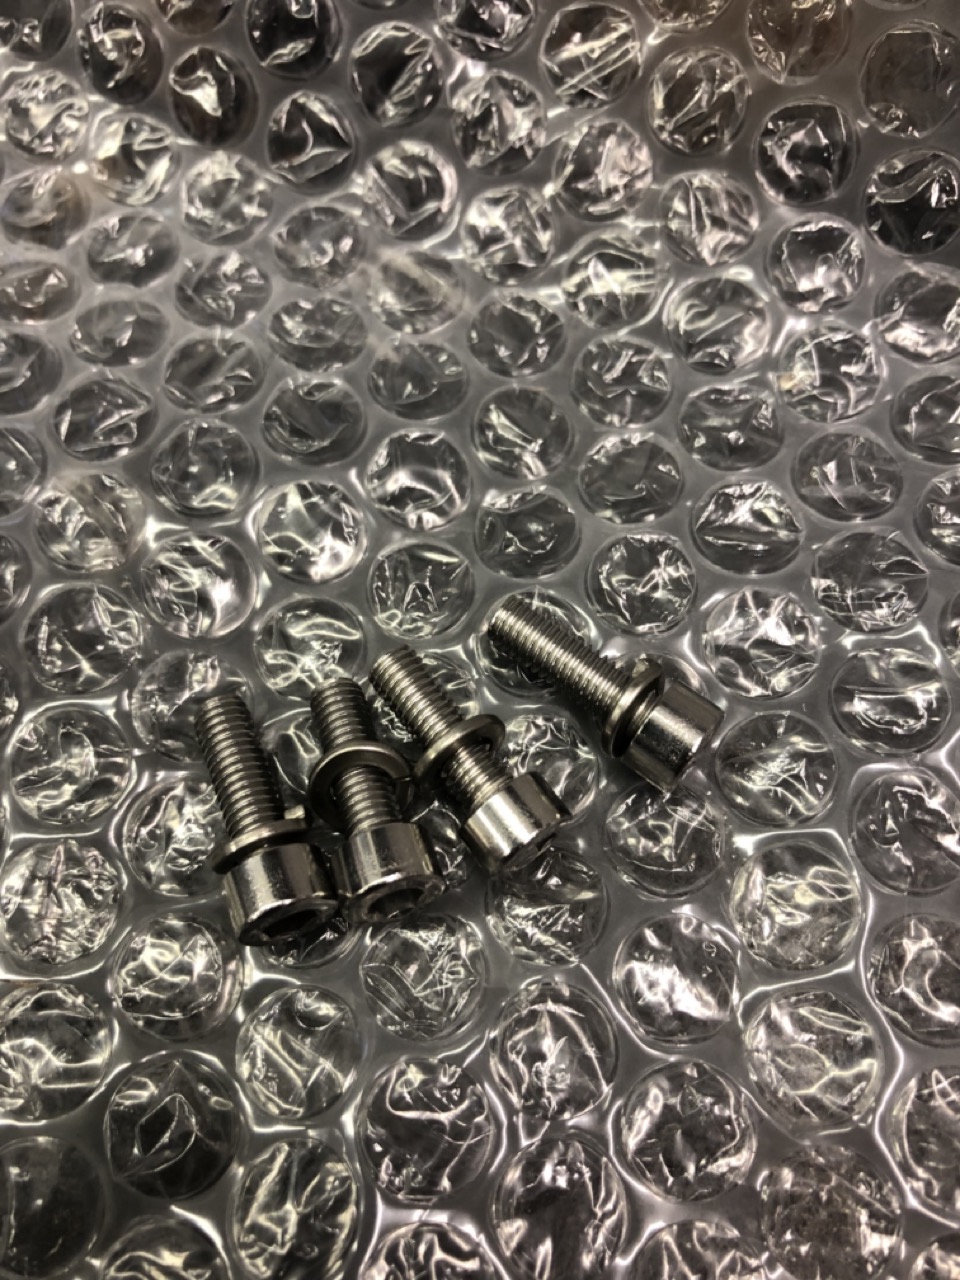
 During assembly I swapped the floatbowl bolts for M5x20 stainless allen head bolts with spring washers, so now I can take off the float chamber without removing the carb from the bike. 

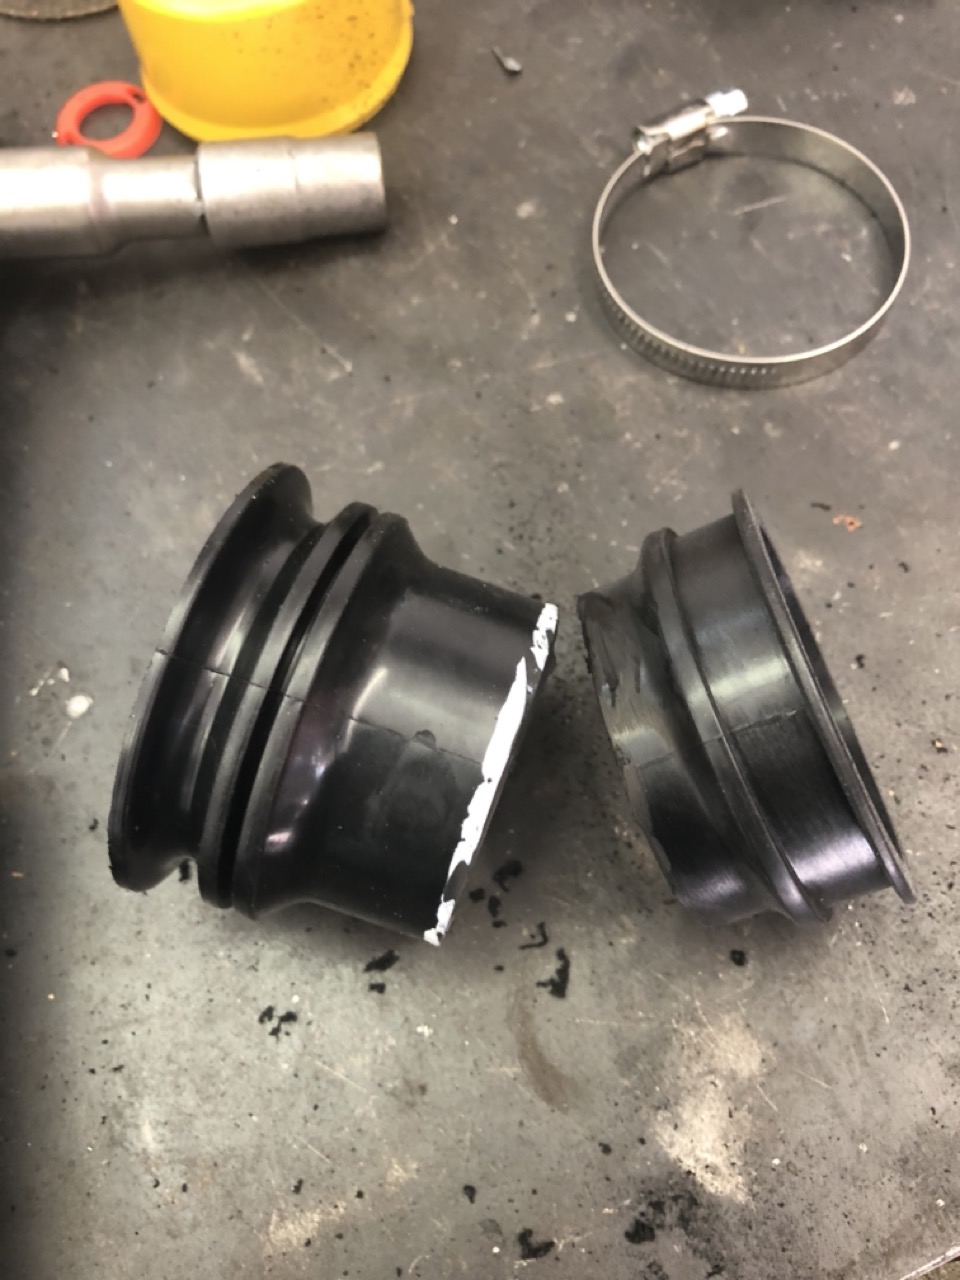
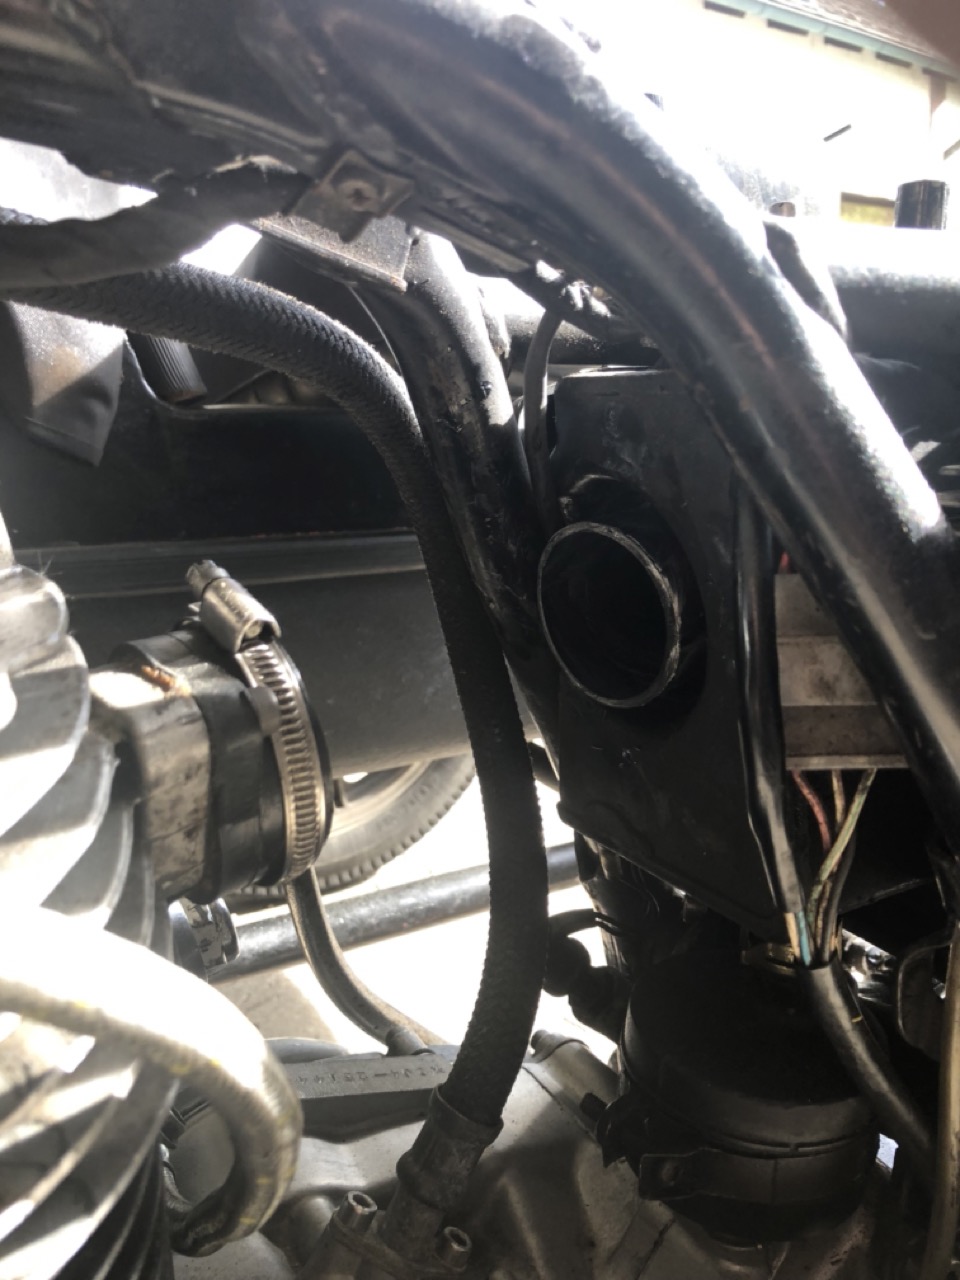
Talking of which, if odered from KEDO, there's an adapter kit for SR500s running the later 48T airbox to connect the carb to it. (And as that's a legal requirement overhere it comes in pretty handy.) It consists of a press-fit plastic reducer and some instructions to shorten the stock airbox hose by 30mm. Which is all nice and good, but there's so little room that you have to fit the inlet rubber onto the carb as well and then essentially slide it in from the side. Doable, but very, very tight.


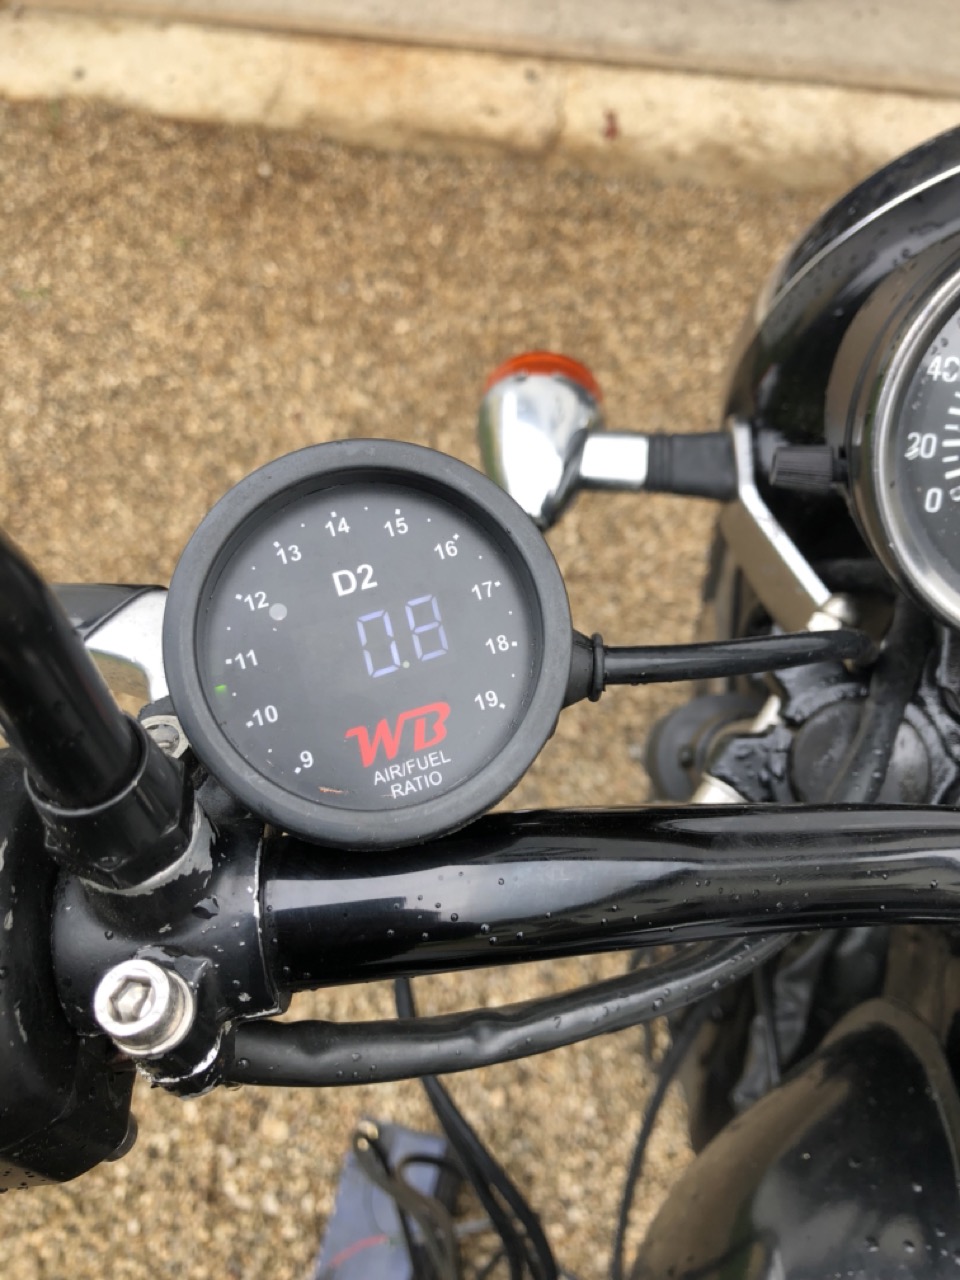
And with the carb in place it was only a matter of firing the old girl up and hooking up the wideband lambda sensor and see what happens. At which point I found out: stupidly rich (not surprising, I had overlooked the fact that it came with a #35 pilot jet downlow) and very good at the top (cause I had already changed that one.

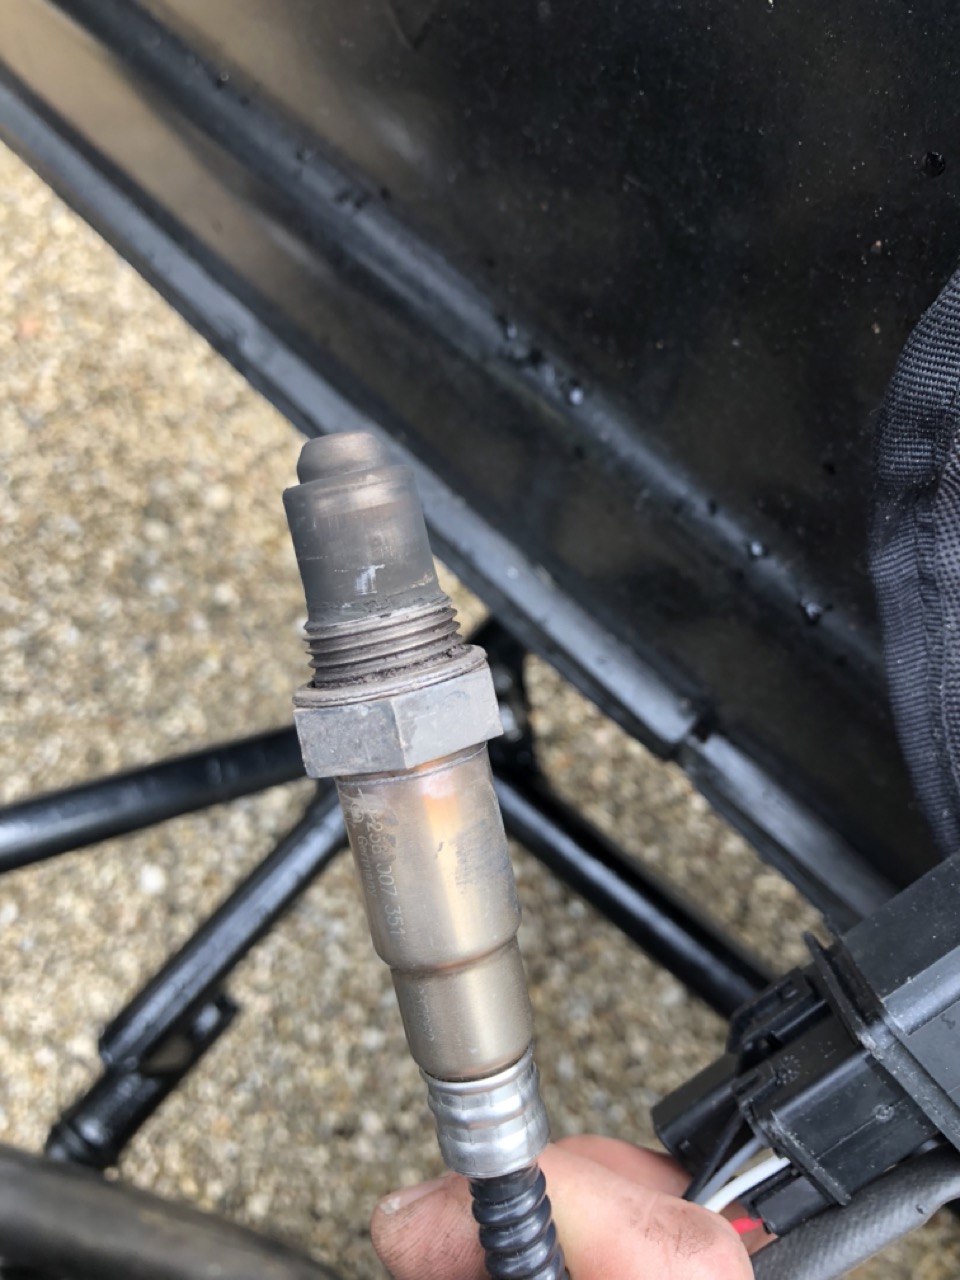
When your AFR sensor comes out of the exhaust looking like that, you know you're onto a winner.


So what's next: I am seriously contemplating buying the leaner needle and needle jet of the VM36-4 specification as that might solve the hiccup at 2/3 throttle instantly. It is VERY driveable already and feels a lot more relaxed, some naysayers might say a lot more boring, but then again it now feels like a small sidecar with an oldskool thumper engine, which quite frankly is what I want from the sidecar.