There really wasn't that much left to do on the engine. But it's the sum of those small jobs that can add up a lot.
First job was to install the clutch...
... a new oilseal for the oil-gallery to the head ...
... and all new dowels for the sidecovers. (Both sides use different ones.)
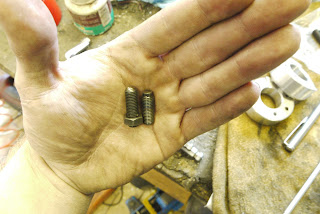
Then it was onto fixing the threads on the front cylinder head. For that matter I drilled out the old buggered threads and then made some press-fit inserts on the lathe.
In order to drill the pilot holes for the new threads in the right spots, I made a drill jig (not shown) and then glued on the valve cover with super-glue.
And that's the result: Two-perfectly good threads. (And yes, it would have been smarter to do that BEFORE painting the heads.)
All new starter internals... this will come to haunt me a little later.
Heads installed and the whole lot lifted off the bench.
One of the other things I always do when installing cams is to replace the original camshaft bushings with ball-bearings.
A word of warning: If you time the cams on XV engines, make sure you push onto the tensioner blade or you most likely end up one tooth off. Especially when you're not using a new camchain.
Swivel head valve adjusters.
New alternator plug as the old one was molten on one side.
At this point I started taking the TR1 apart, but more on that in the next post.


Excellent work. I have not fitted anything other than cams, and what I do then is put a dot of white paint on the cam chain pin that sits with the dot on the cam drive sprocket. As long as the chain doesn't shift on the lower sprocket, timing is correct when refitting.
ReplyDeleteI see I need to add something; the dot is put there before I remove the cam from the head - on a job where you do not remove the cam, or where the engine is stripped, that tip would not work at all.
ReplyDelete