
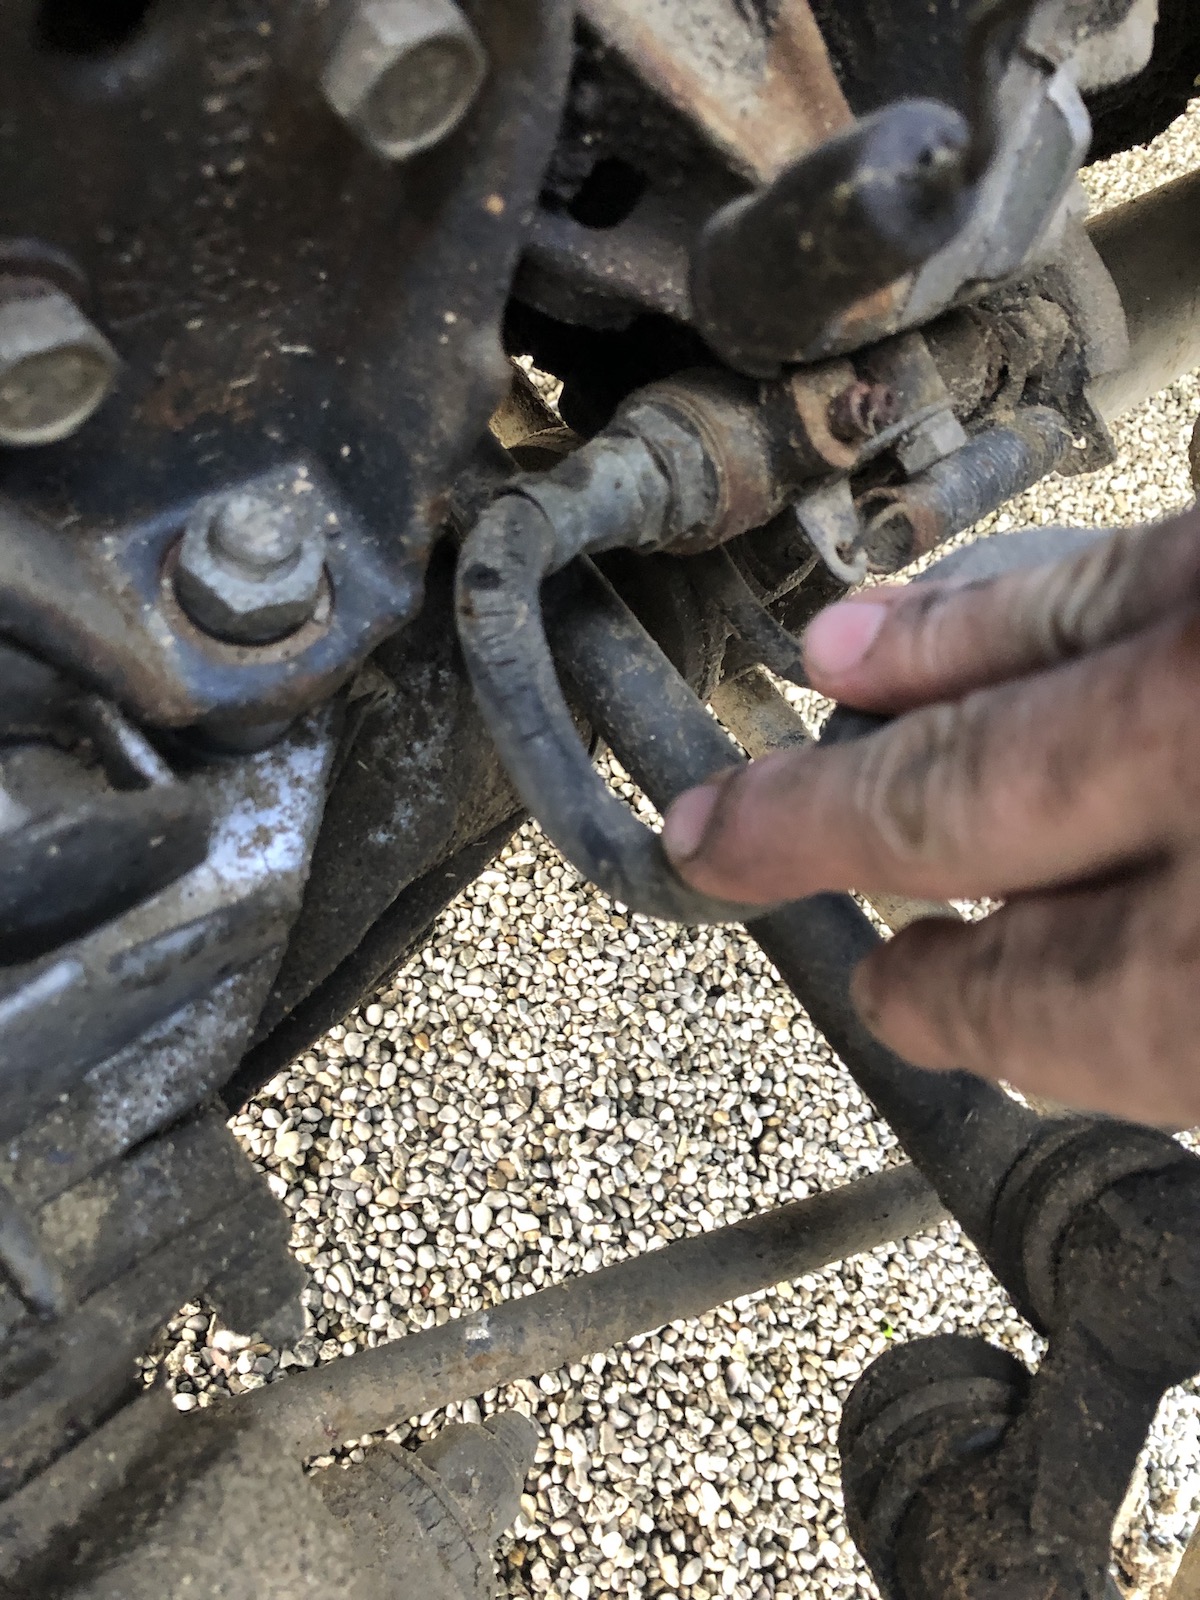
If there's one thing that Comrade Car has already taught me about, then it is the fact that even economy spare parts are mostly made to vastly different standards than what came factory in the 1980ies. At least as far as all sorts of plastic and rubber are concerned, when it comes to metal - totally different story.
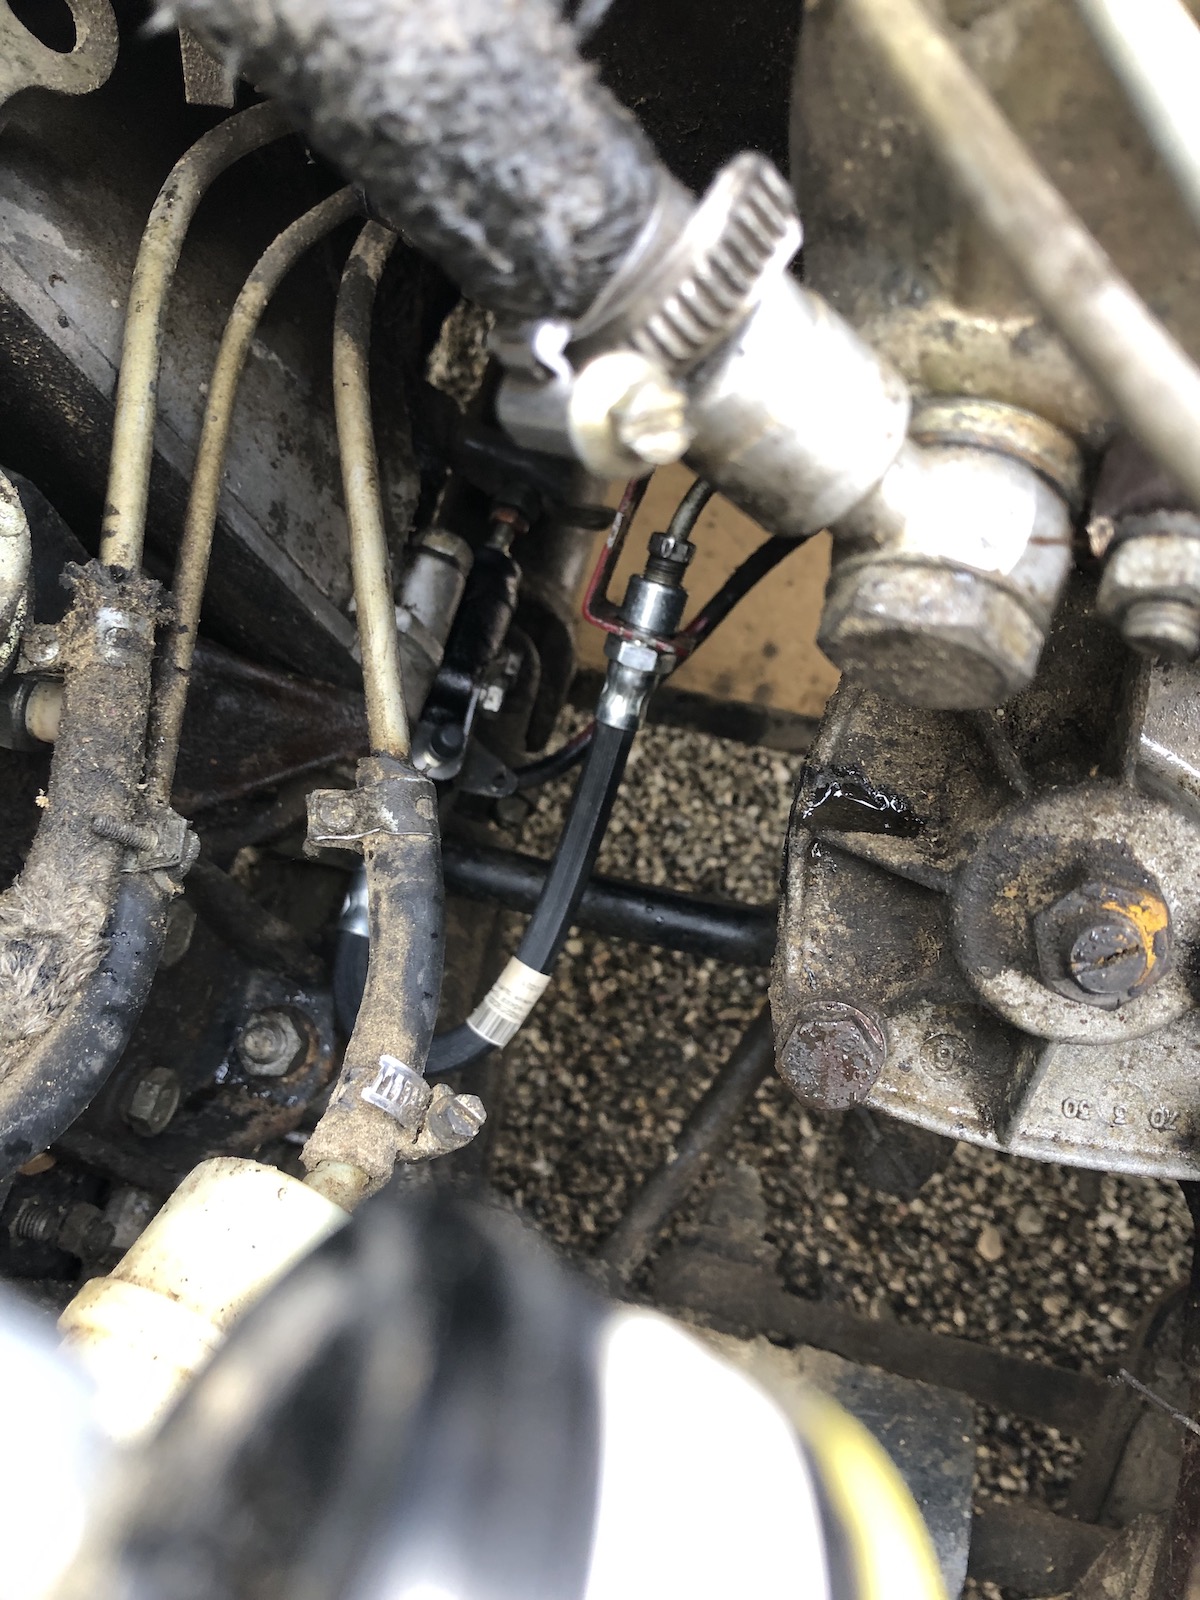
Take this beautiful clutch slave cylinder and it's hydraulic line...
... or the expansion vessel for the coolant. I swear, I only tapped it with my finger and it shattered like glass.
So out with the old clutch-slave, assemble the new one and chuck it in. I really have to give the Lada engineers a thumbs up here, because you can totally do this on the side of the road with not much more to remove than the spare tire.

And on almost the same matter - right when I sat in Comrade Car for the very first time, the brake pedal fell straight to the floor. So a complete brake overhaul was due.

At which point something absolutely amazing happened:
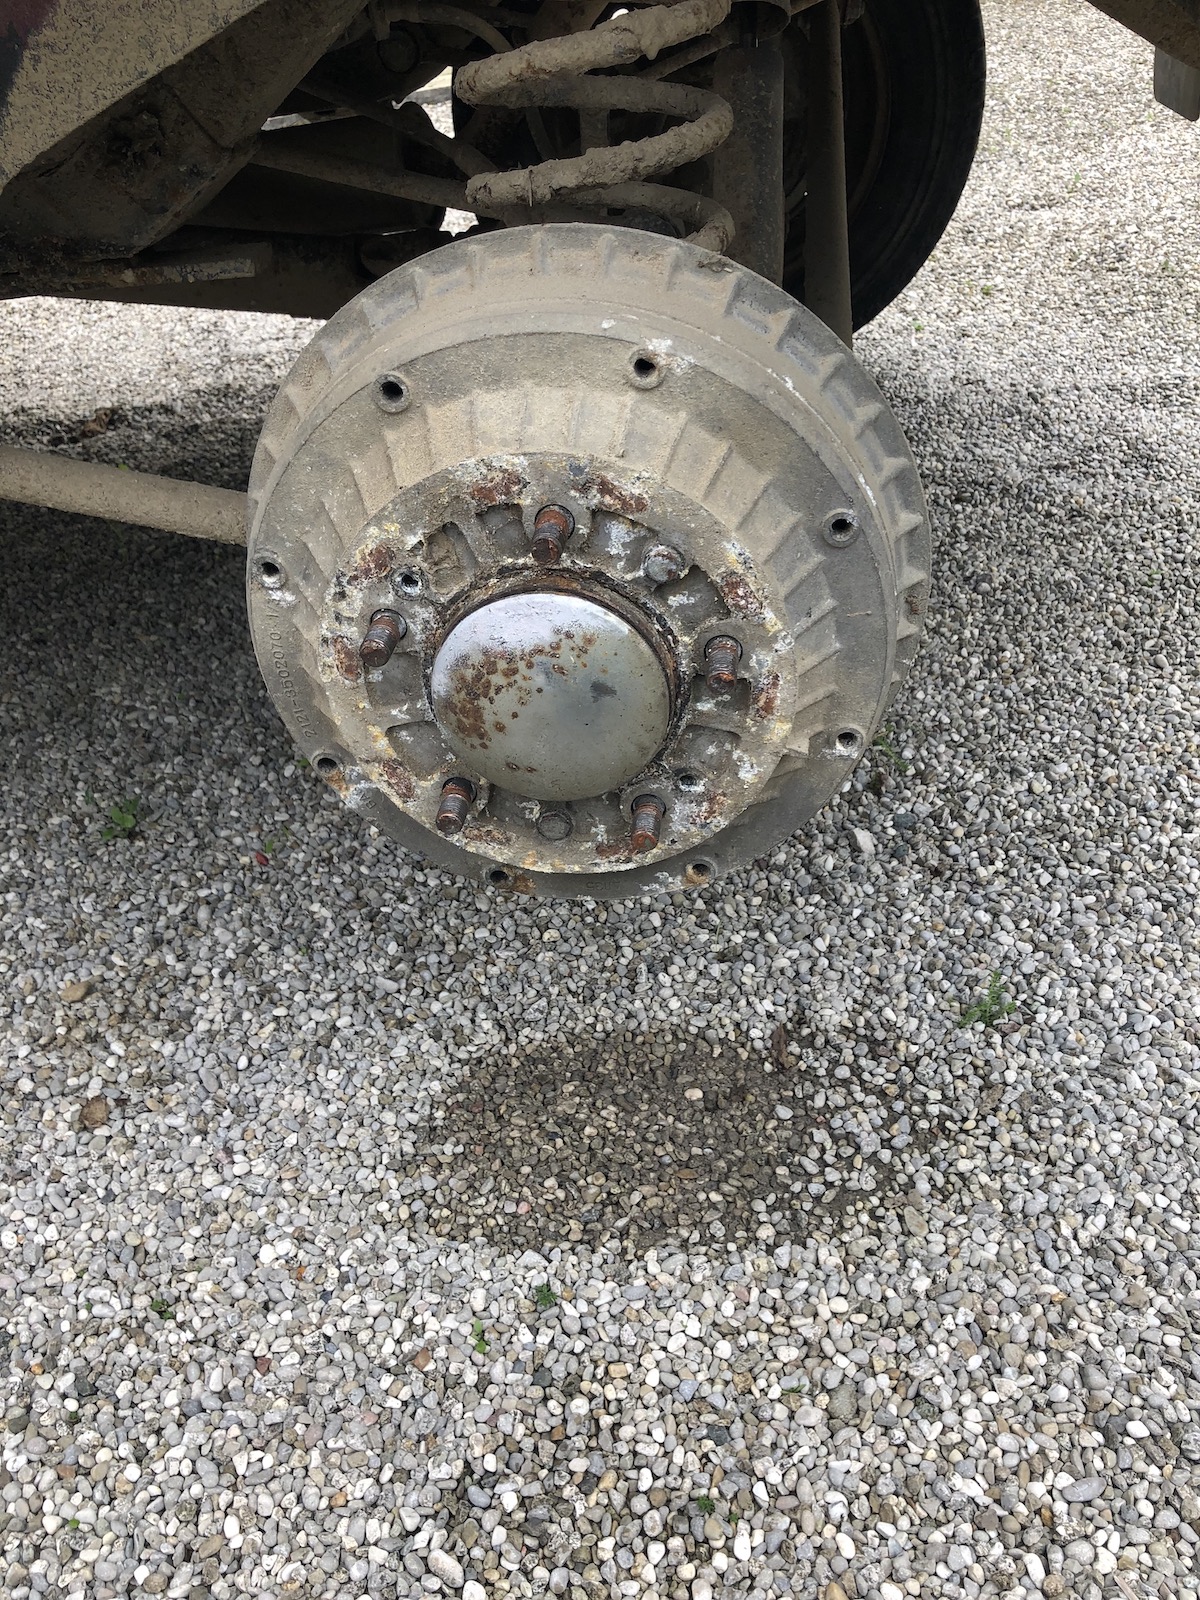

That's right, no heat, no violence, just take the drum off, swap the brake cylinder and re-assemble. Thanks to the unknown previous mechanic, who went through all the trouble and slathered all mating surfaces in anti-seize.

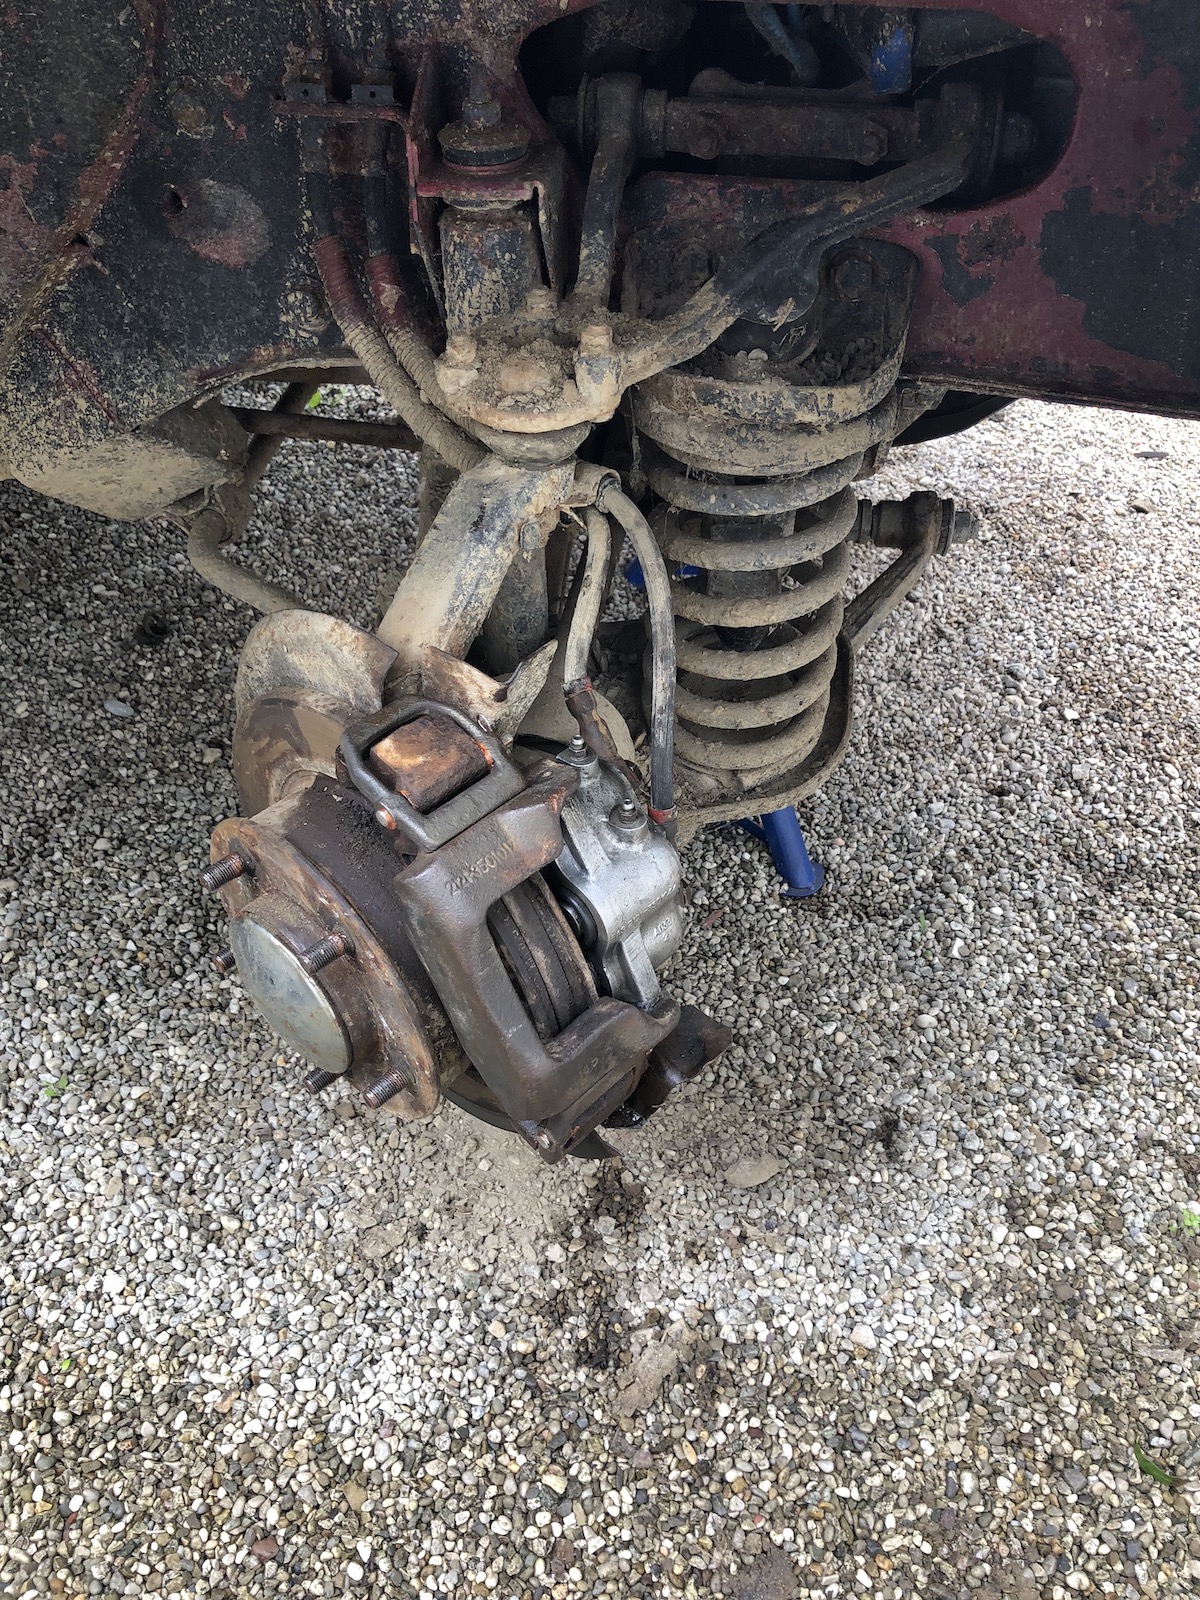
So next were the fronts. With this being a Lada Niva, they actually are both very weird and rather ineffictive, as the car basically sports two front brake circuits, one of which is also connected to the rear. Also the actual brake design is sort of free-floating, but not really.

Everything is held in place with these D-shaped rings and a pin through it.

Guess what took "a bit of persuasion" to come out. Defintely the bit of kit you buy new or at least have in stock, whenever you do the brakes on one of these.
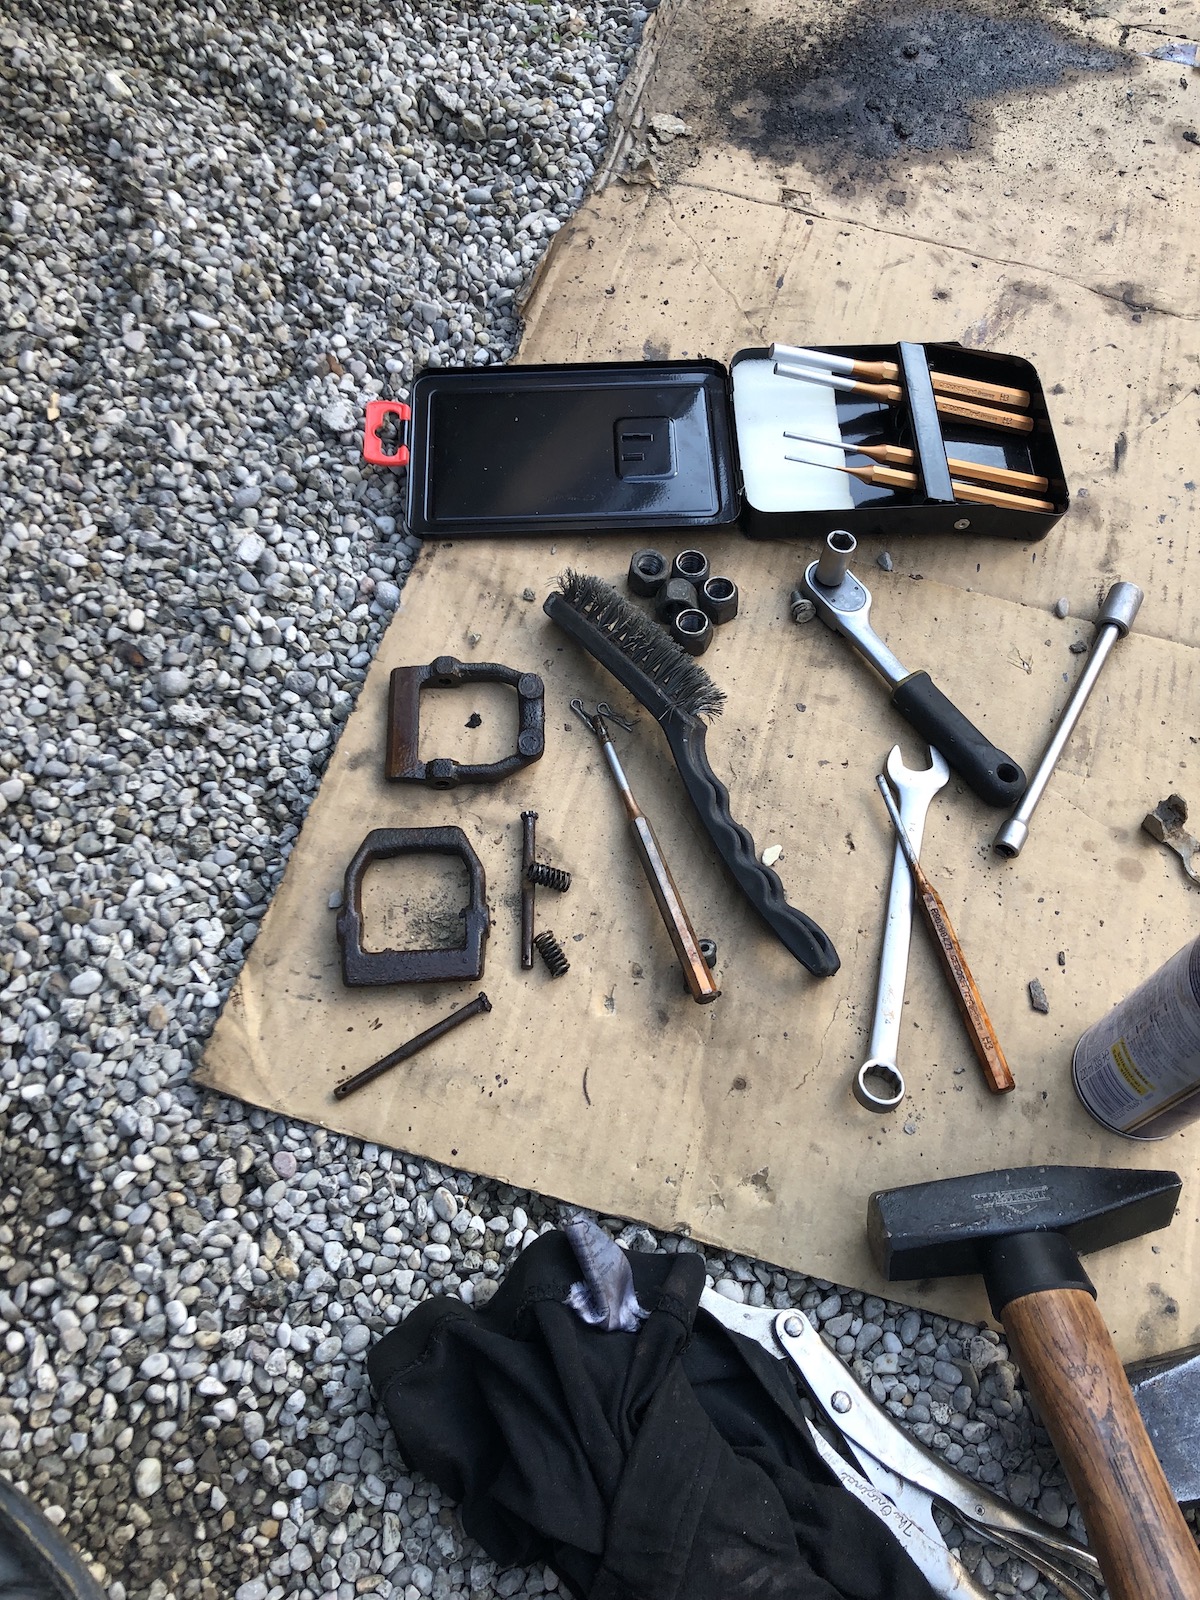

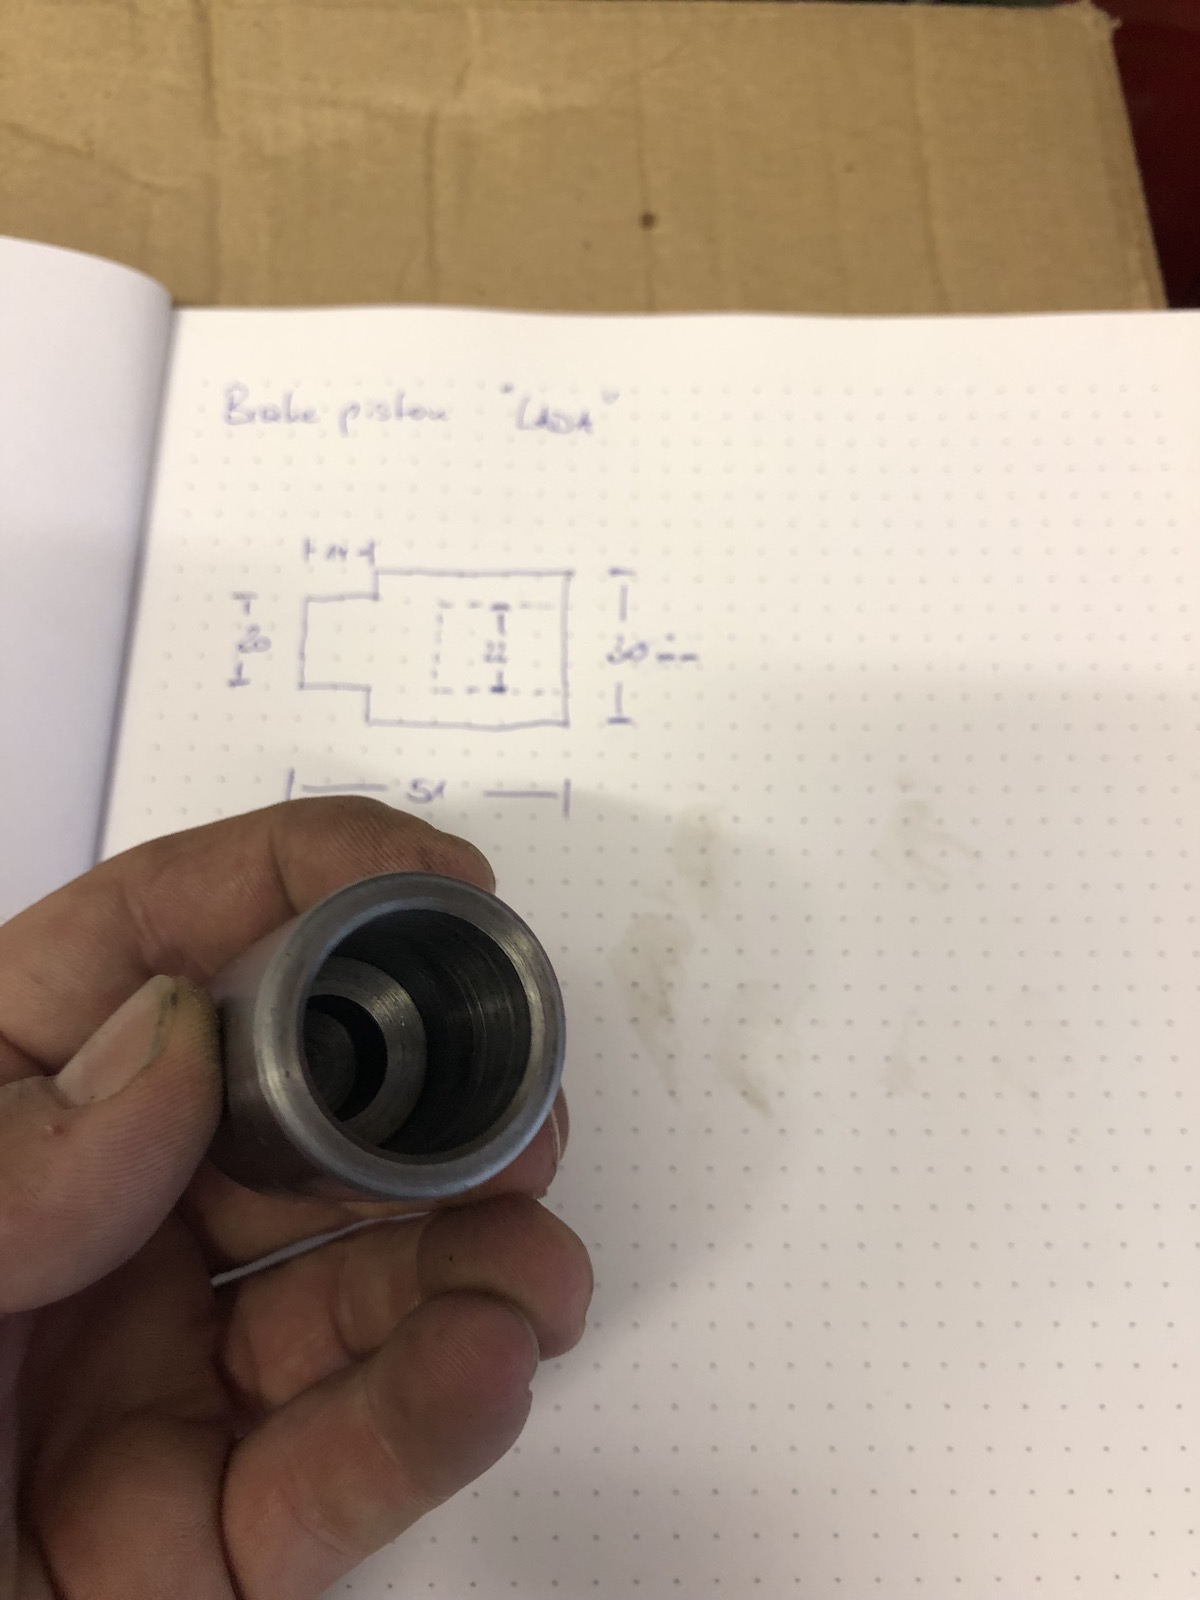
Respectable Lada-owners told me that usually the pistons never fail, but the seals inside the piston are a bit hit and miss. Well, I got lucky and had one piston, which was still good enough to be used as a template. That being said, the sketch in the background is just that - if you want to machine your own brake pistons, it will let you know that each one is 51mm long and has got an outer diameter of 30mm.

As you can see, I deliberately omitted some features (it's a sketch), so if you really want to make your own, take one of the pistons out and take the features off that one.
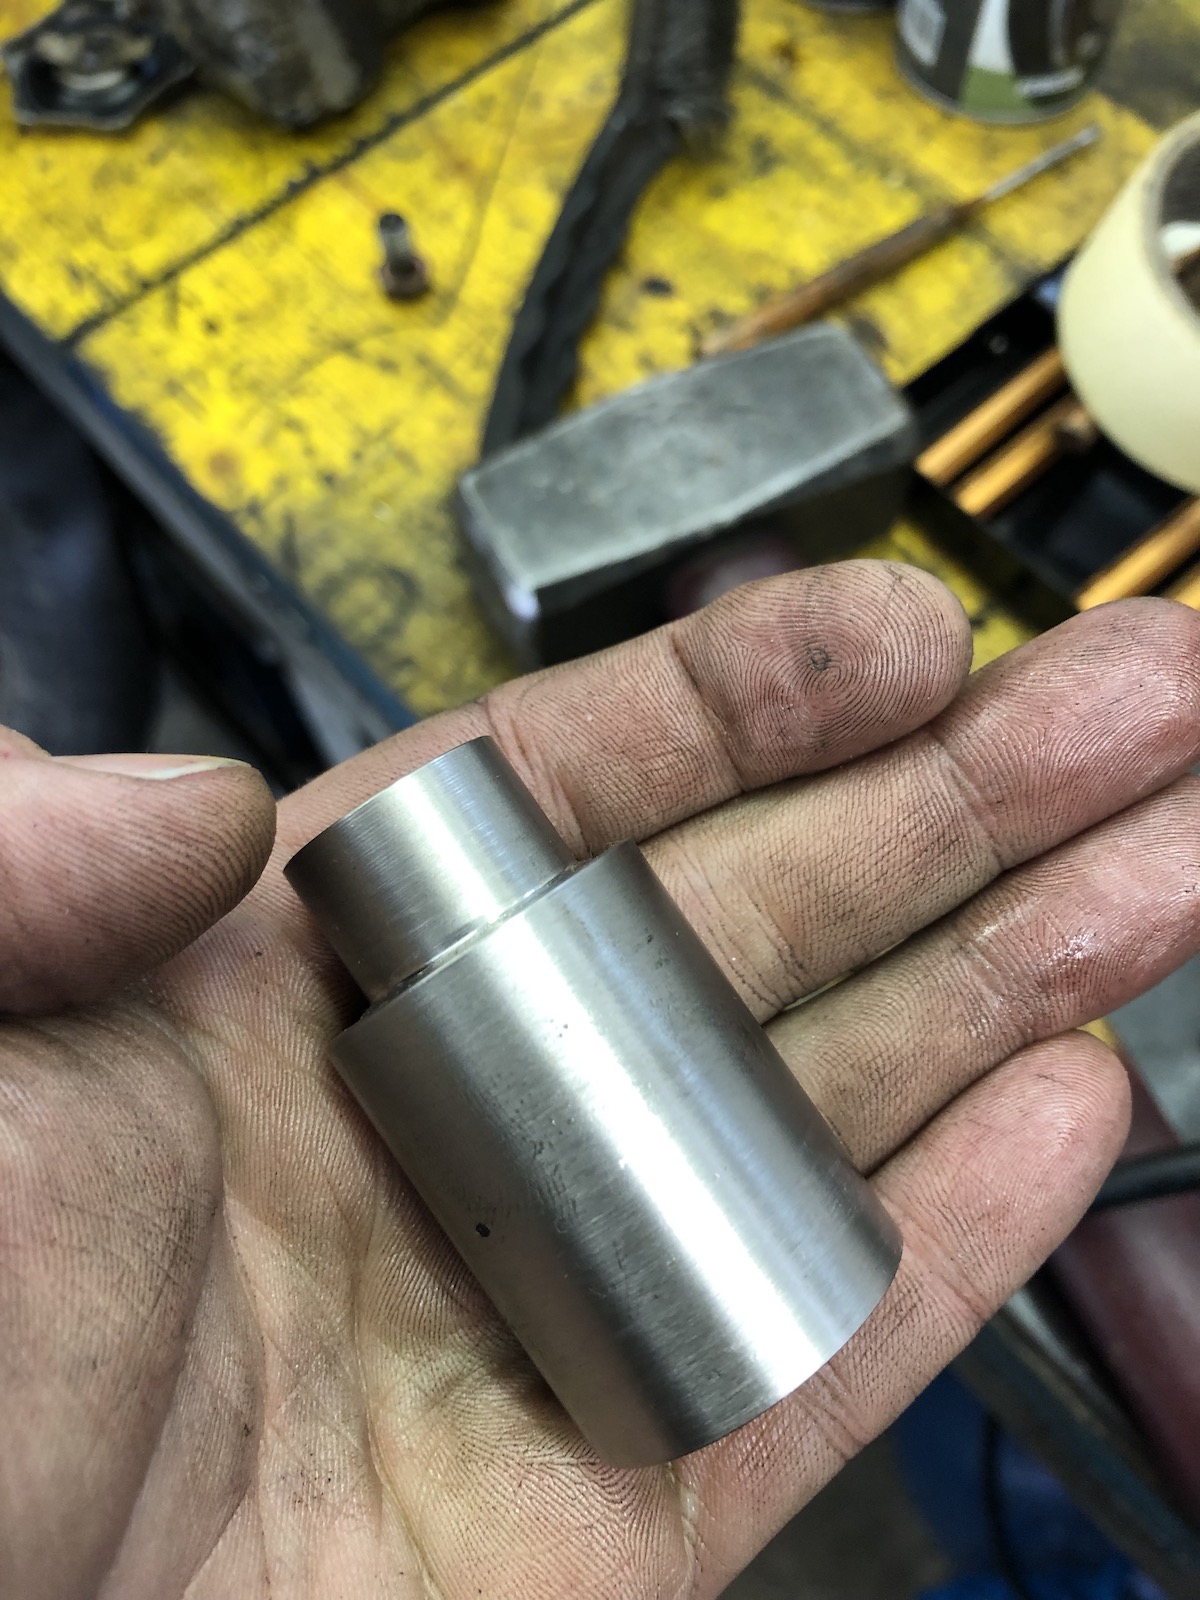
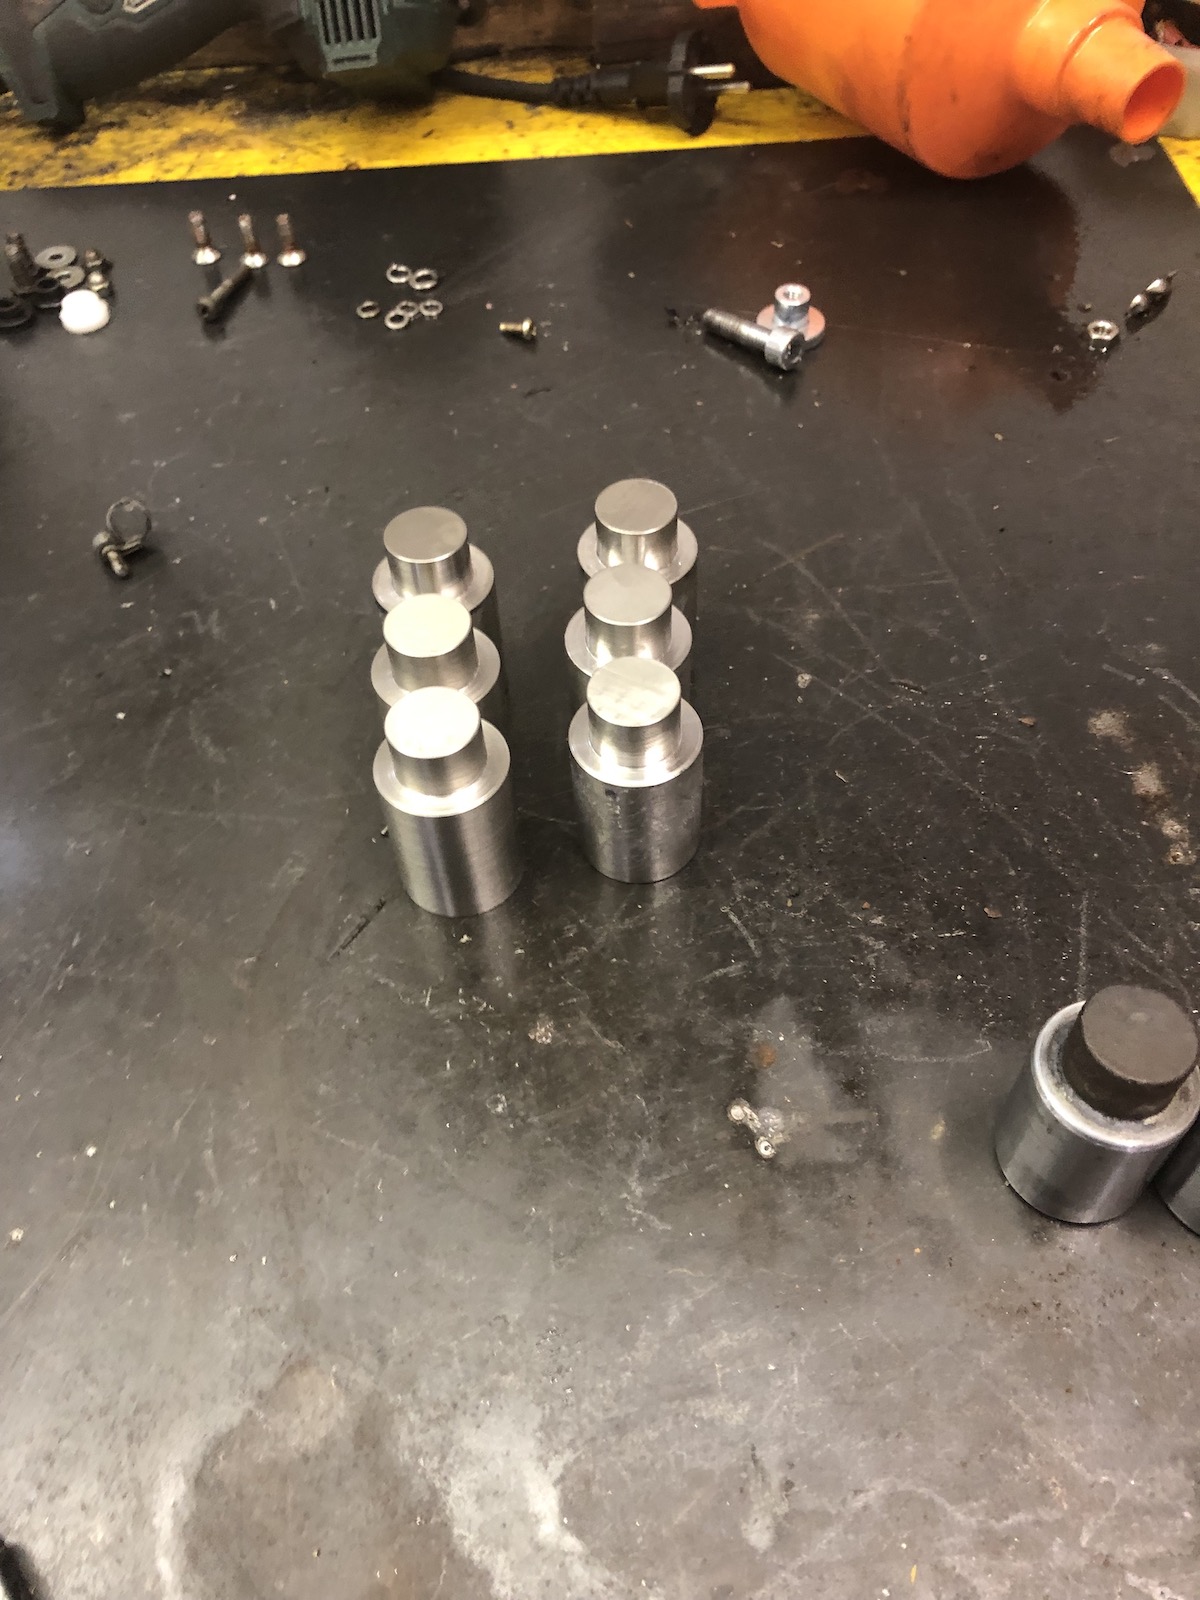
I decided to make them from stainless, as I don't really want to do this again any time soon. So after standing at the lathe for quite some considerable time, I had this in my hand.
The really big job is to clean the o-ring groove on the inside of the calipers as due to aluminium corrosion they will shrink and thus cause the piston to seize in the bore. (Which is also the reason, why normally the pistons aren't really the problem here.)


The other thing to note: the actual calipers are held in place with a pin, about which most people will tell you to drill it out. I found a much better way is to punch it in as it will get stuck on all the rust at the bottom, allowing you to quite easily free the caliper from the holder. Now the big trick here is, to fill the hole with some penetrating oil (so far not very surprising) and apply quite some heat. (Best done before resealing the caliper.) And then push it back a few times. After a while it will just happily fall out, the bore can be cleaned and everything assembled with a bit of grease, keeping that pin and spring assembly happy and in place. Also the pin has a locating pin for the spring on it, i.e. it's got a correct orientation.


Generally "lube everything" appears to be a pretty good strategy on this car. So all the pins and springs have been installed with plenty of copper-paste and the mating/sliding surfaces have been cleaned with a wire wheel.

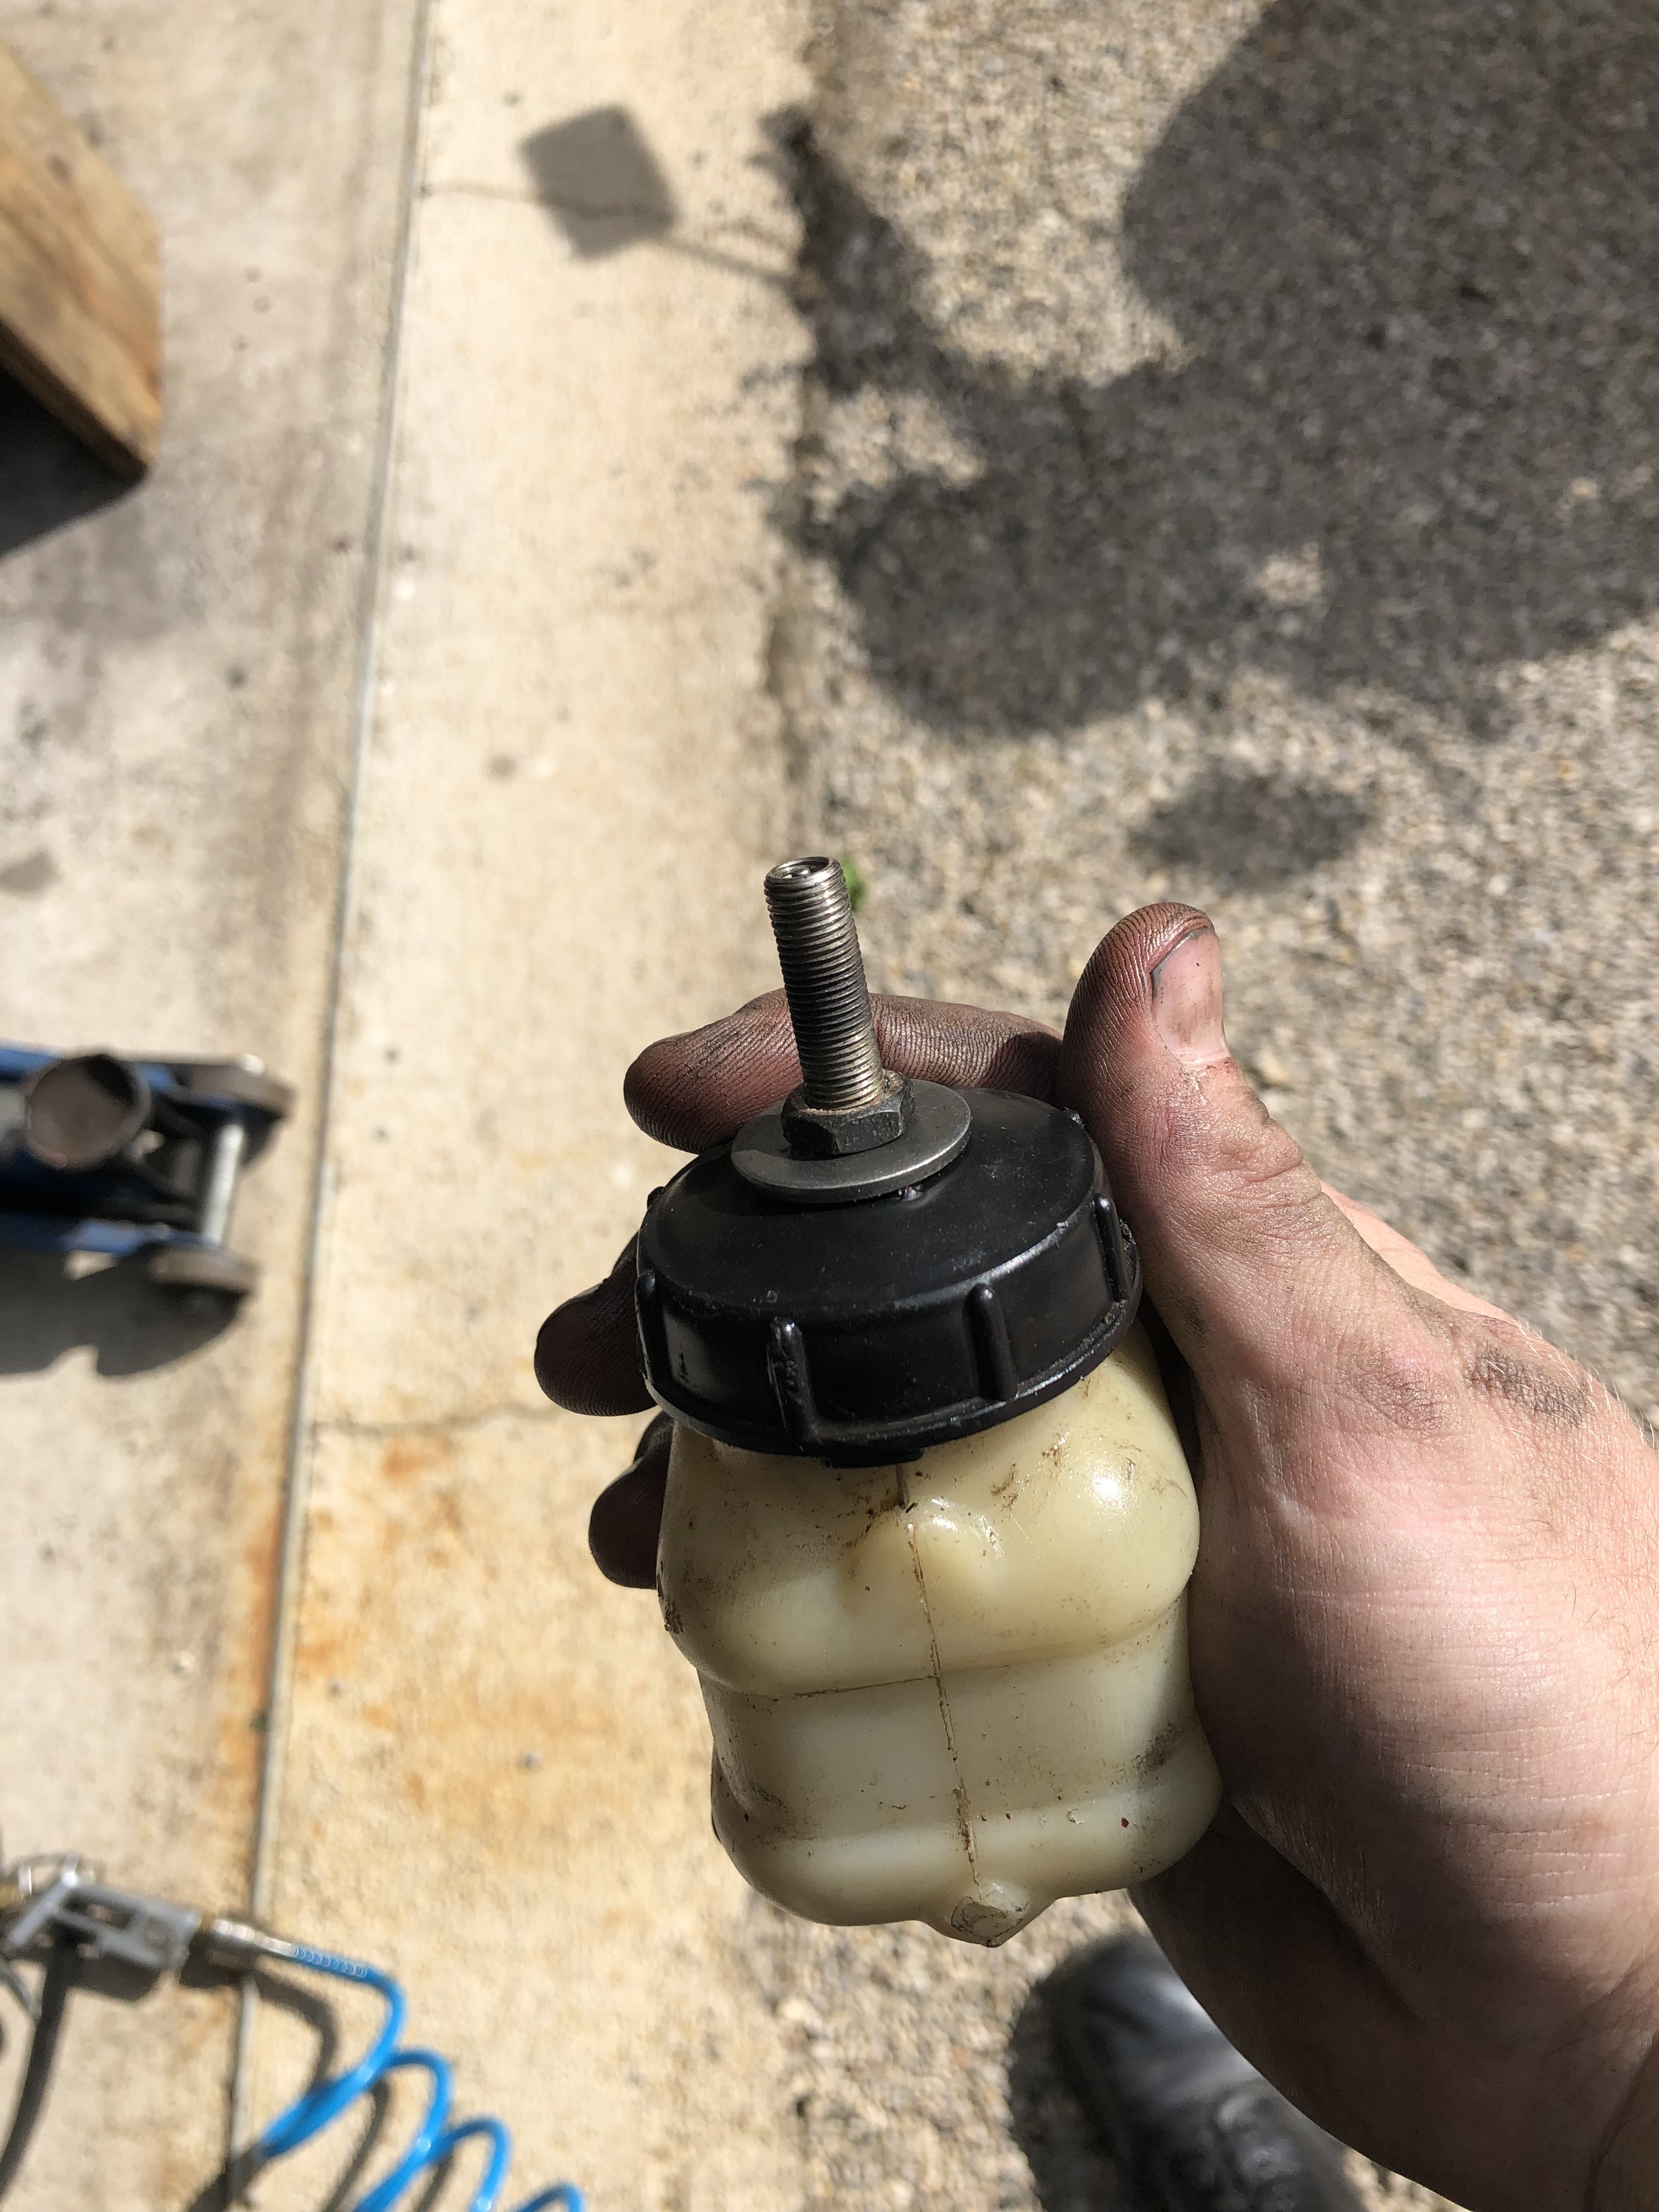
After being warned (again by some more experienced Lada drivers) that bleeding the brakes is more than "just a bit" of a chore, I built my own little pressure bleeder, by using a cap from an old Lada reservoir and drilling the top to feed through a valve stem. This way one can apply some constant pressure with the compressor and very comfortably bleed the brakes without needing assistance.

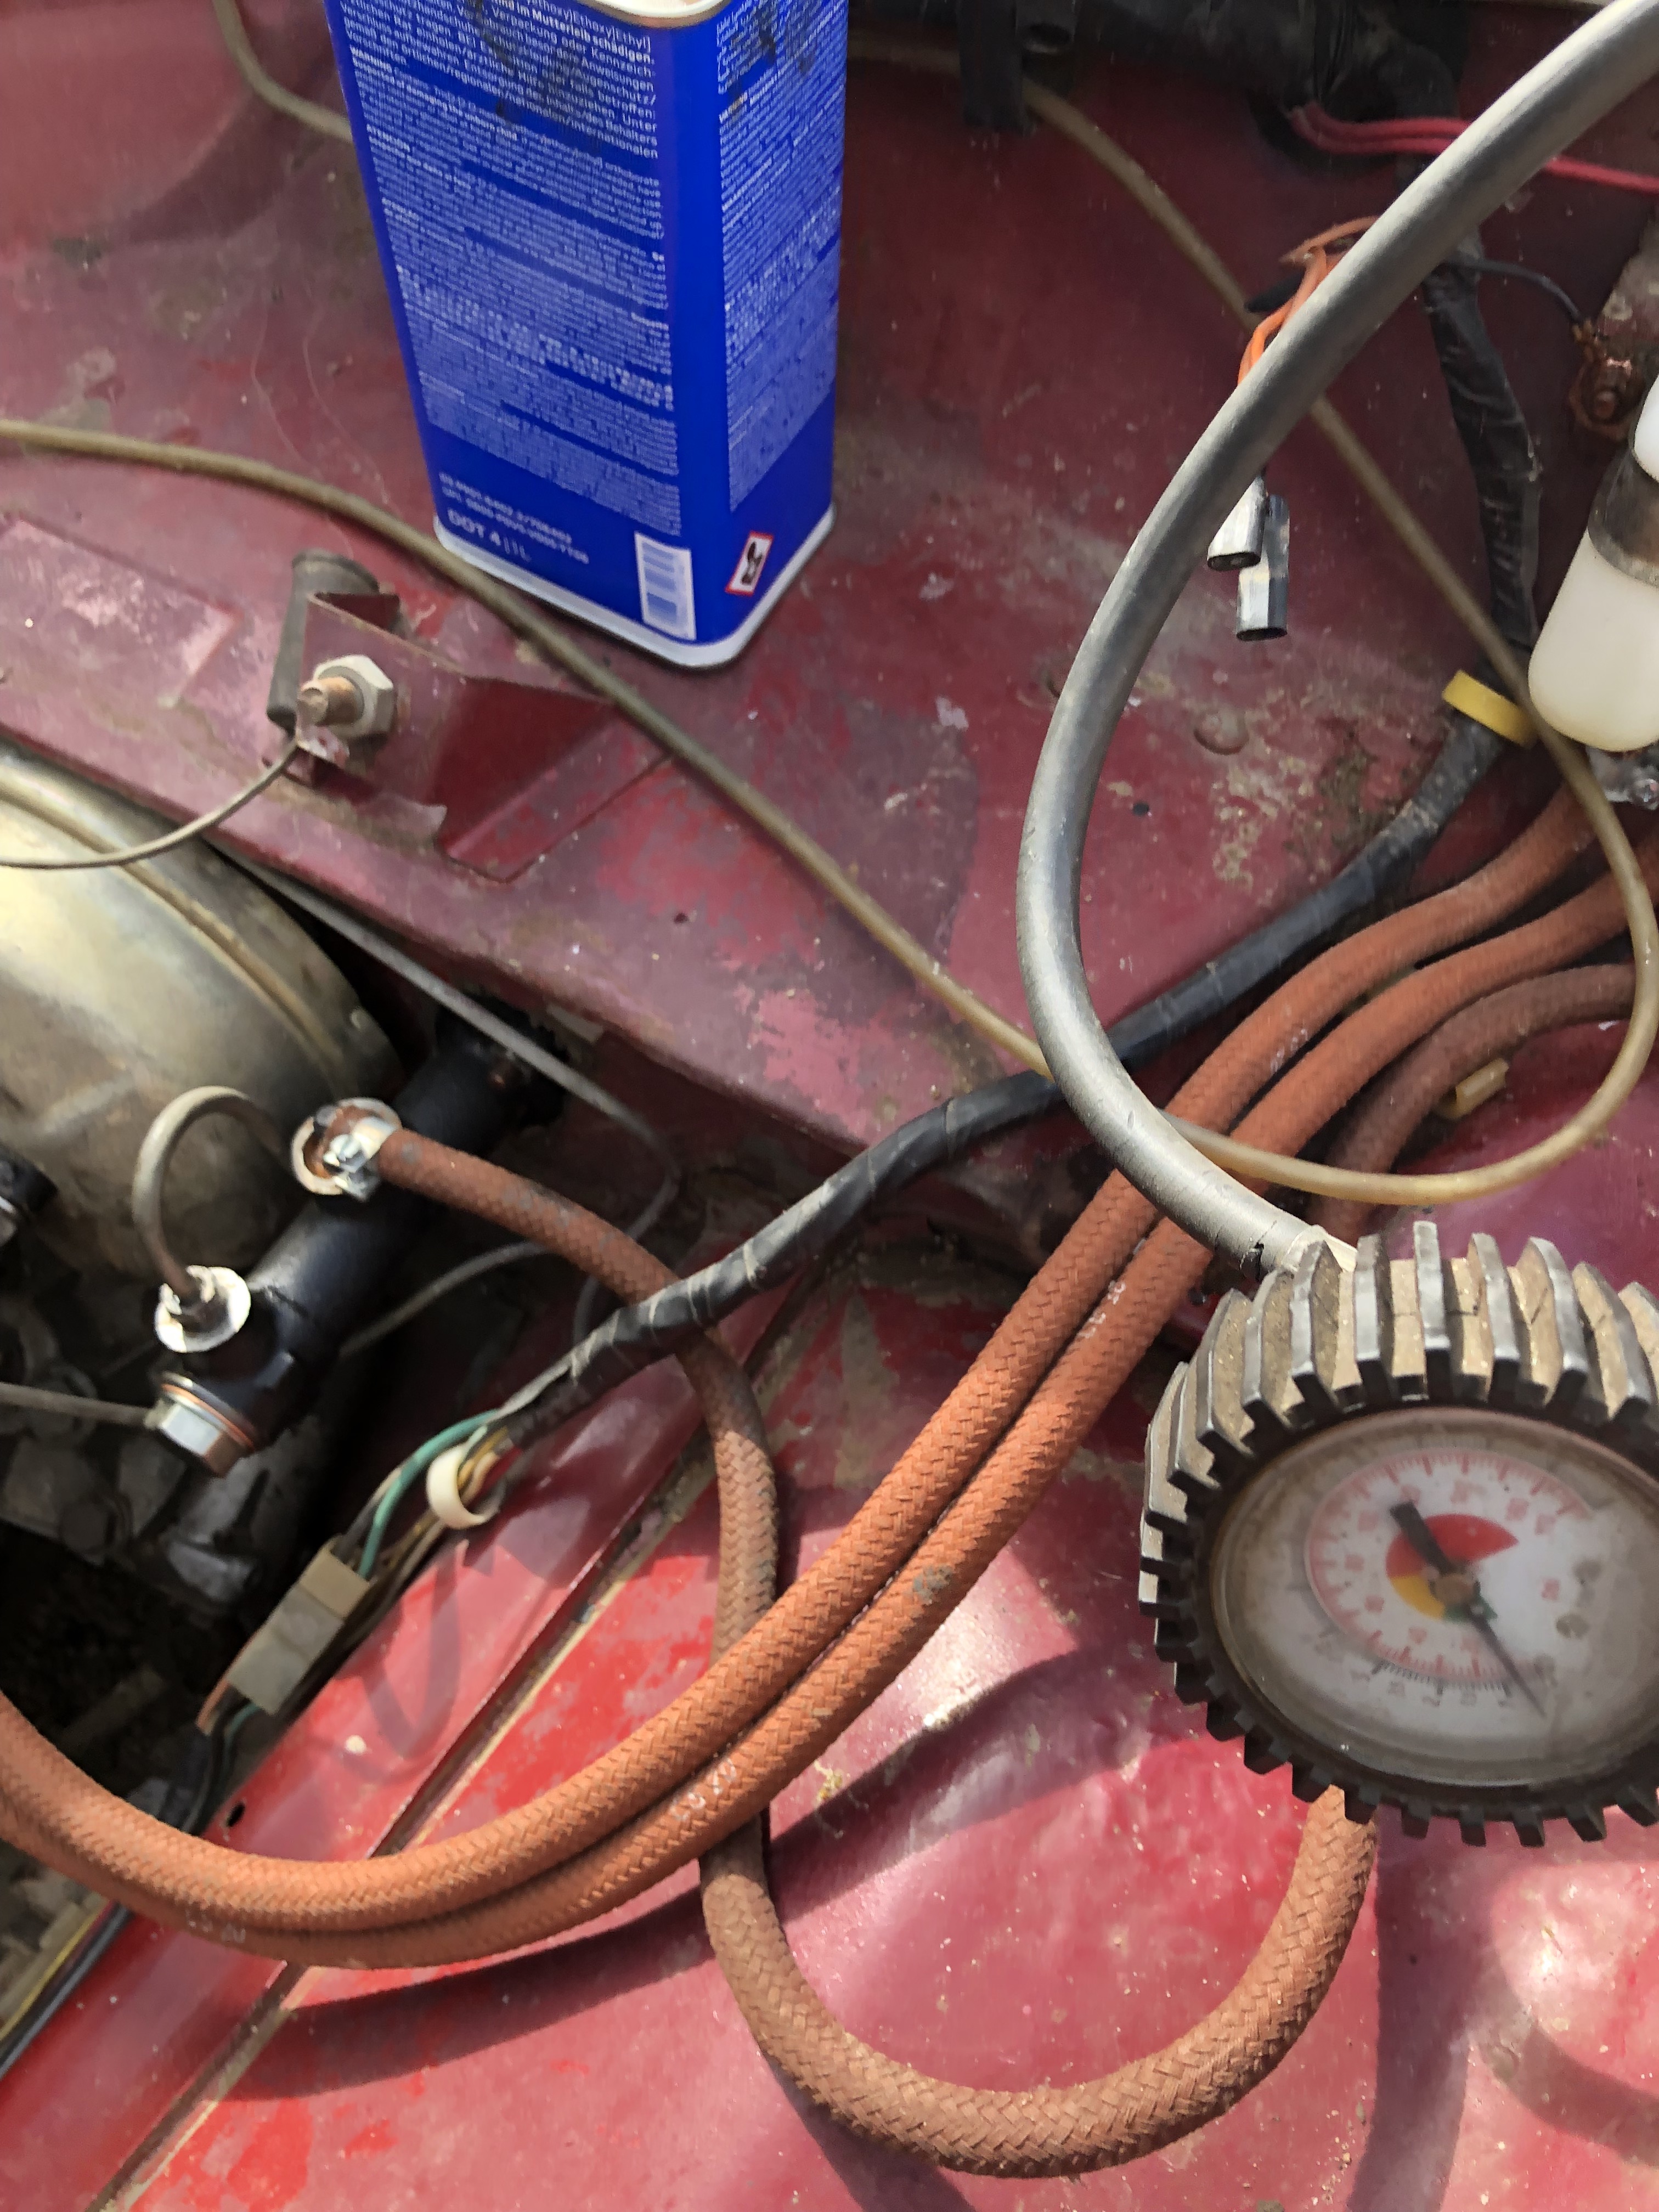
From here onwards it was a case of about one litre of brake fluid and about 30 minutes of bleeding on all four corners.
And in essence that's the brakes done on the old girl.
No comments:
Post a Comment