Showing posts with label exhaust-building. Show all posts

Sunday, 6 August 2023

Dre-XT-Stück - exhaust rebuild (even better-er?)

During the engine rebuild it became rather apparent that the exhaust might be in need of "some" love too. 


So step one was to permanently weld the db-killer in place as previously it was only held in by one (semi-)seized bolt.

Whilst fixing stuff that worked before, I also got a TT600S stainless steel exhaust header.

The big benefit with one of these is that they have better flanges, which do not bend the exhaust studs. Unfortunately this also meant getting all the old ones out. Now call me a pessimist, but I installed all of them with copious amounts of copper-grease, so it was just a matter of double-nutting and winding them out.


Stock studs are M6x32mm. I, following some advice from the XT-Forum, installed M6x45mm studs. Those are too long and I later on replaced them with M6x40mm (stainless) studs later on.

The TT600 headers are too long by about 40-45mm. In my case (take that with a grain of salt as all exhaust bits on this XT are now homegrown), I had to cut off close to 50mm to get them to the right length...

... because it wouldn't clear the airbox, I cut off another 30mm. Guess what, it was now too short by about 30mm. Turns out, you have to undo the 3 bolts that hold on the airbox and then everything will fall into place nicely. Also high-frequency (120Hz, 33% on-time with a 15/70A split) creates absolutely stunning welds with no burn-through to the backside.

With that out of the way it was time to turn my attention to the actual muffler. For that I bought some 2" and 55mm perforated tube. The bigger diameter tube was meant to locate the thinner tube, which slides over a hump on the far-side of the muffler. This way the inner tube is free-floating and can expand and contract depending on how hot it gets.

Another benefit: trimming the inner tube to length is very straight-forward.

As all four nuts where missing previously and the last guy who "fixed" the exhaust used the nutserts to hold both the cap and outer body together... a proper bit of welding was due.

Probably the smartest trick for repacking exhausts I learned ages ago is to wrap the inner tube with some matt (or wool it works the same) and then tighten and wrap it with (paper-)masking tape. You end up with a VERY tightly packed exhaust. The masking tape will burn off and the packing will unfold a bit and fill the whole exhaust more evenly. This way it also lasts a lot longer.

It is a bit loud though, when freshly packed. 

By the time I had come home from my workshop (about 15 to 20kms later), the masking tape had burned off and the sharp bark has all but disappeared. I actually think at around 2000-2500 rpm it is now more quite than my (leaky) stock exhaust.

Just showing off the model number (this Arrow exhaust is so old, it sorts of predates E-numbers) and is stamped on the inside to make it easier to see where the marking is. (Without the need to remove any sidepanels.)

Also yes, it is a heavily modified item originally meant for a Honda XR600R.

Sunday, 4 August 2019

The XS Triple Sidecar - a new exhaust

This was meant to be a fairly straight-forward build a new exhaust, do some maintenance and finally jet the sidecar right job. That was over a month ago. To be fair, I've built two exhaust, because the first one was rubbish, we will simply act as if the first never happened. 😉

That's what I started with – obviously the sidecar has already been removed.


As one can clearly see in the second picture, with the longer (and stiffer) shocks in the rear, the rear wheel can't be removed without removing the right silencer. This on its own wouldn't be too bad, but some numpty put a reinforcement of the sidecar subframe right over it, which makes removing the silencer a royal pain in the backside. 


Also I always I suspected that the bike would benefit from some sort of cross-over to increase low-end torque, which to be quite honest is the thing sidecar'ists like me care most about. Of course when taking the old headers off, the last few remaining studs came out as well, so now they're all made from stainless.


A new exhaust-bracket to position the silencer lower and further to the back of the bike to clear the centerstand. (Also take note of the still existing sidestand at this point.)


As I found out the hard way, every inaccuracy is multiplied by the length of the tube after it, the header bits were all trimmed to length on the lathe. 


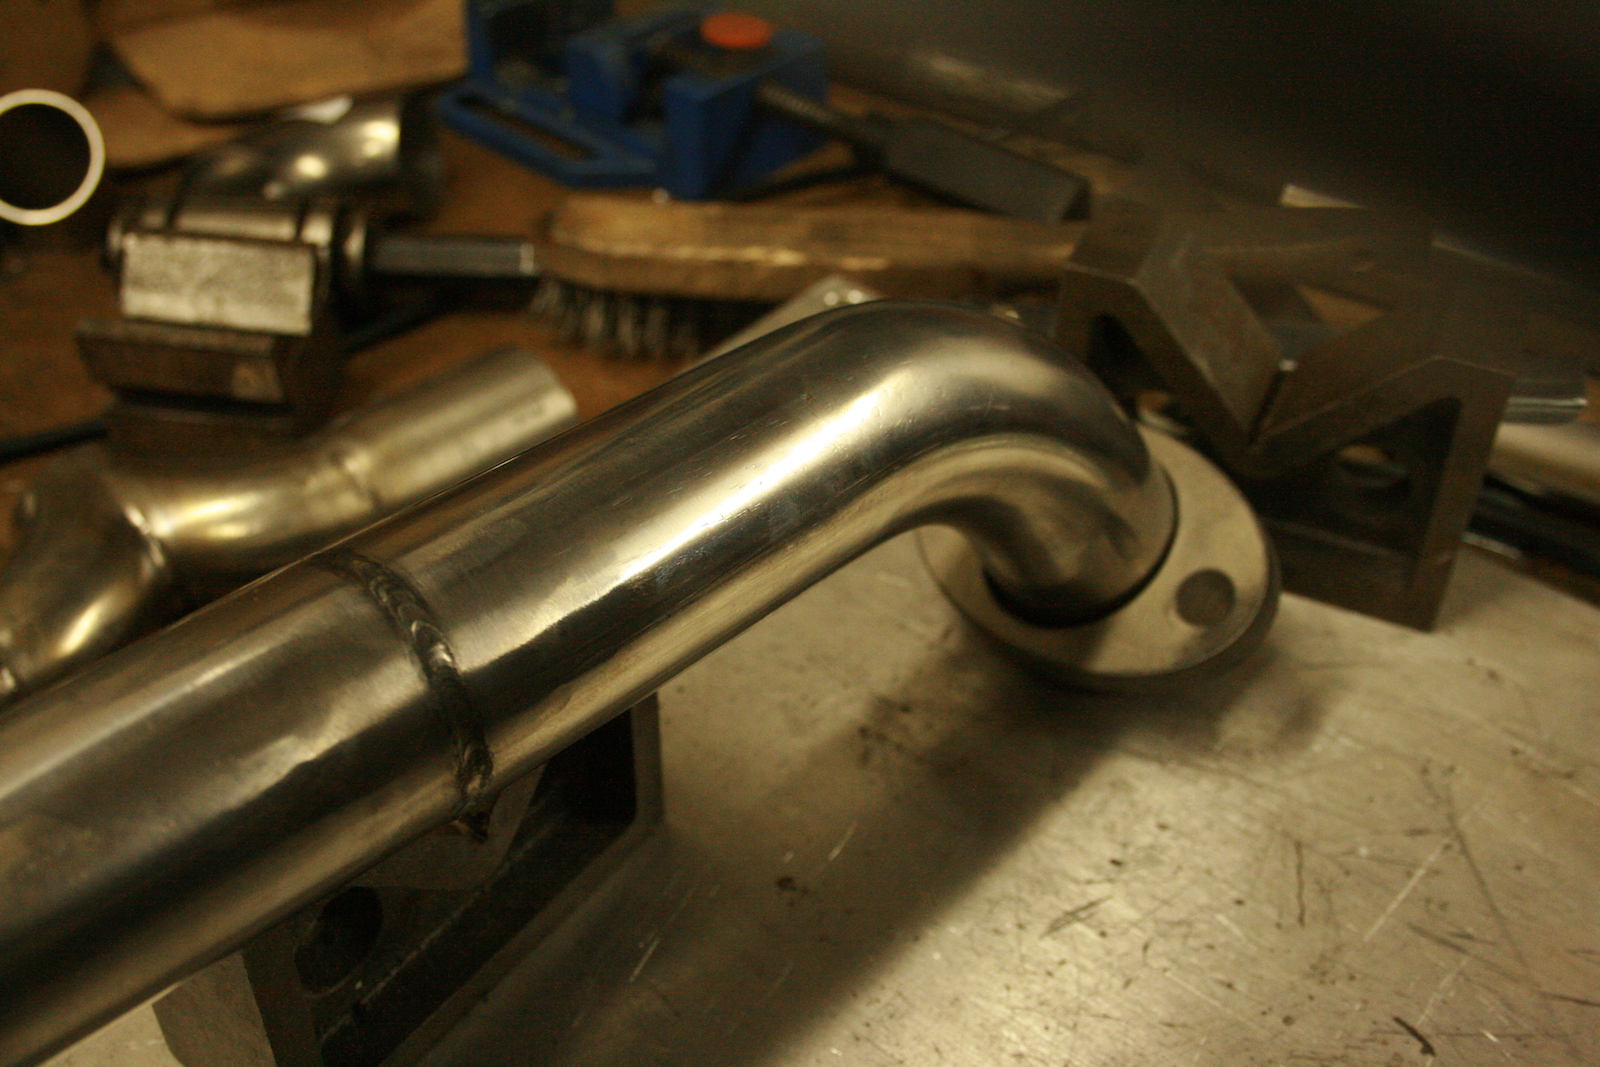
A pleasant side-effect of this was that the fitup (of course) came out to be phenomenal, resulting in some text-book tig welds.


The bit that caused the biggest headache was how to make the inverted y-section, especially as it would be in full view all the time.


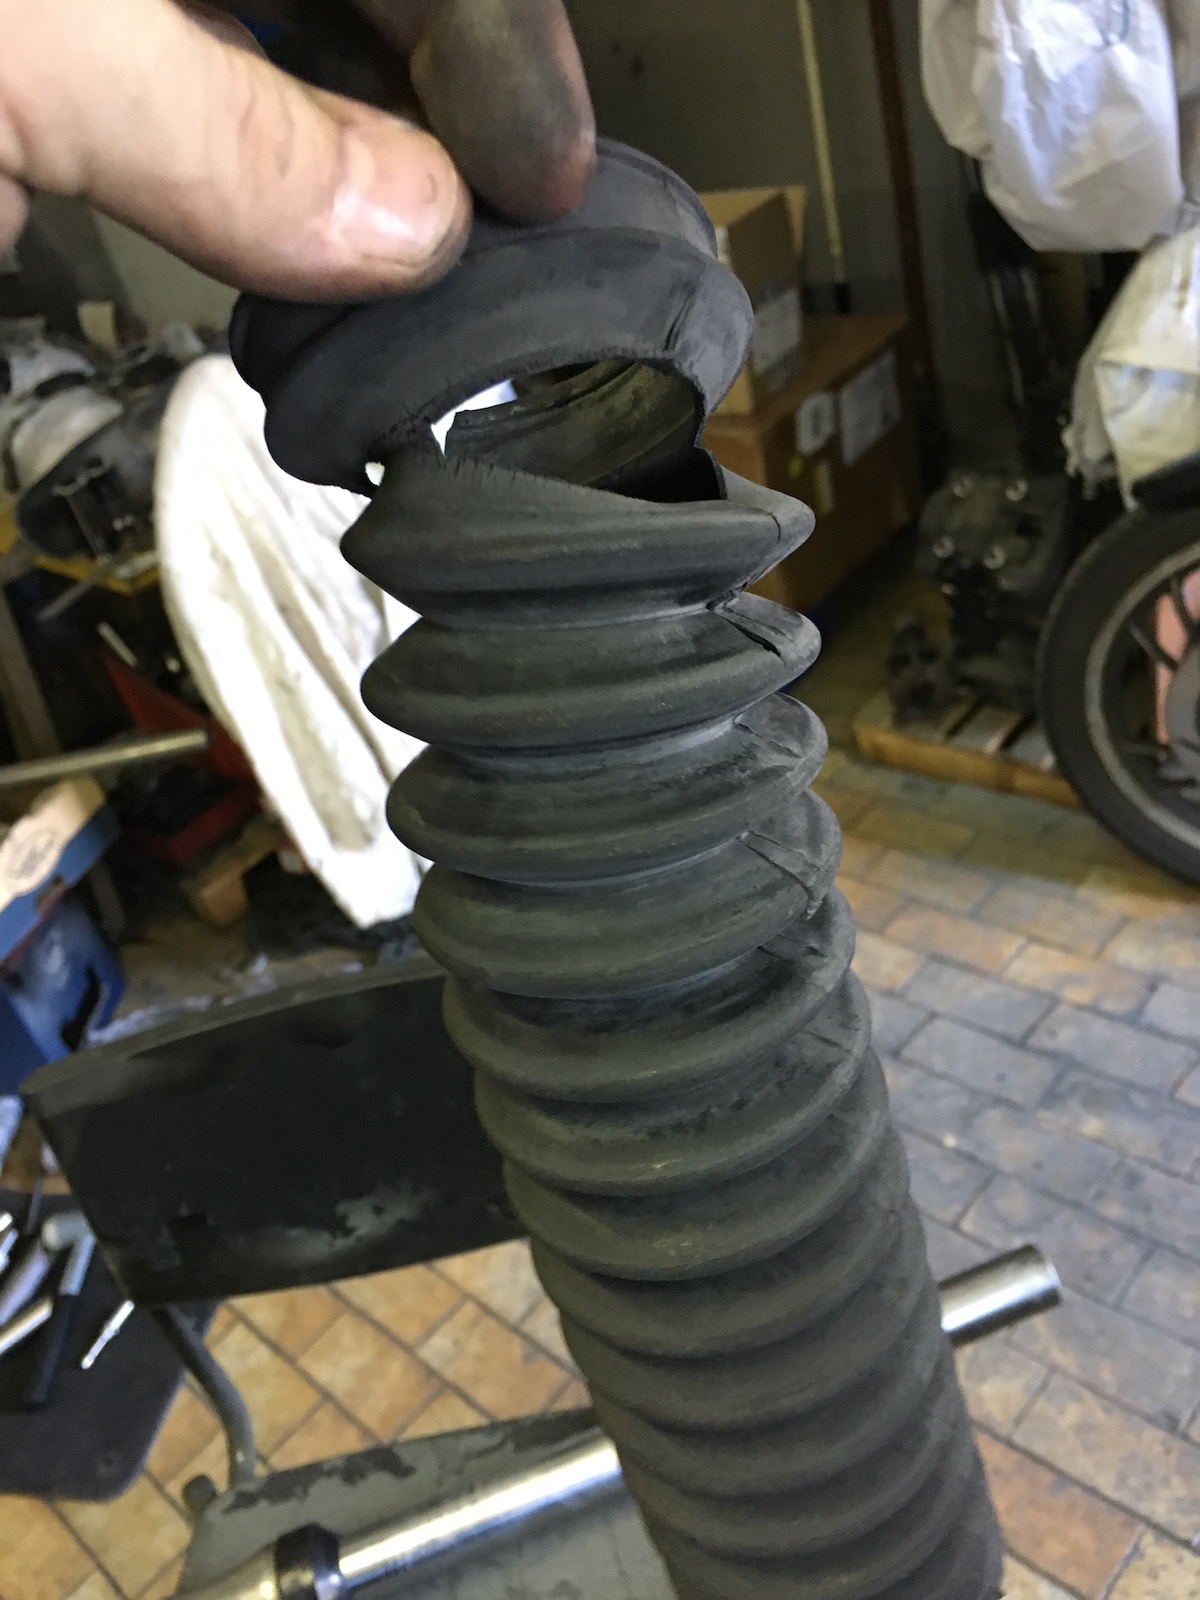
In order to get better access I then decided to remove the front forks and prop the bike up on the centerstand and subframe. When removing the forks, I found the fork gaiters to be in a way more desolate state than I originally noticed.


From the last picture to the ones coming up next was about a full day of work to fit up the tubing in a satisfactory manner.


... and when the flanges have dropped all the way down for the umpteenth time, you add some drops of filler to the backside to step them from doing that. 


Now I couldn't resist to do a little heat treating to the headers (yes, my neighbours still love me...) and gosh, do these flow better than the old stuff...


The last step in finishing the exhaust was to build an X-pipe collector. Not perfect for maximum throughput, but I have been more than willing to trade torque for horsepower on the sidecar. 


And that's the (more or less) finished header and X-pipe done. There's no realistic way to fit any more collectors on these headers anyway.


What I absolutely wanted was to have a bung to install my wideband to facilitate tuning the carbs.


Let's just say, my welding skills are proper hot. 😎 On a more serious note (as I found out the hard way), always apply PLENTY of copper-slip on both bolt and bung when welding in an AFR bung to prevent them from seizing during or after welding. If it burns off, it leaves PLENTY of carbon, which keeps things separate and ensures that everything comes apart smoothly. 


With all the bits laid out on the workbench it always looks a lot like next to nothing was achieved at all.


Really came to grips with the new welder finally - fused the db-eater (bored out to just over 1") into the silencer, so Mr. Policeman knows it's not easily removable. 


The installation-rubber-mallet is strictly mandatory of course. As was expected it runs a lot leaner down low, so shimming the needles and installing one size bigger pilots was necessary in order to make it idle properly again.


13.4:1 doesn't sound too bad, but that was after blipping the throttle and it would drop even further, making the bike very sensitive to oil- and air-temps. (Expect more wideband action in coming posts, I think this is a brilliant little toy to play around with!)


And of course, you want to hear it, don't you?


So what's the verdict? Big, big success. Usable torque now starts at about 2000 rpm and I can cruise around at 2500 to 4000 rpm, which makes the bike a lot more relaxed and economical. Also with the added torque, 5th gear is finally usable, which means I can actually use the bike on the Autobahn and cruise at 130 kph sitting in 5th at around 5000 rpm, not sure if there's a lot more to come beyond that, but to be the quite frank that'll do plenty for now...

Saturday, 16 March 2019

The next version of the Mk.7 exhaust

This is the third revision of my Mk.7 exhaust design, effectively making it Mk.7.3. Now the original Mk.7 prototype served me very well over the last or maybe even the last two seasons, but despite my best intentions, when building it, it still left some to be desired. First, I knew I could improve on the build quality thanks to a new welder. Second, I knew I could improve on the fit and finish thanks mostly to a much improved welding table, which actually kept the parts flat during welding. And then there was the issue of the old downpipe on the left touching the chain tube and melting it.

So when setting everything up, the clearance between pipe and chain gaitor was deemed essential. (That's about 10-15mm, measured at max. swing of the swingarm.)


But starting from the front, in this case the cylinder head, I wanted to have nice, meaty flanges and location rings to center the downpipes in the port and ensure good seal, as they wouldn't warp easily. I also turned a step into the rings to make it easier to weld them onto the pipe.


A great deal of time was spent on making these two collectors and unlike in previous versions making sure that all the sleeves are pointing the right way in order to prevent leakages.


As I had started from the silencers towards the collectors, the next logical step was to work back from the front in direction of the collector.


Because the tubes had lots of bending marks, a bit of polishing was due. The thing with polishing is though, once you start with polishing at one end, you have to do the whole lot or it'll look a bit odd.


With the two Y-pieces of the collector already being built, the actual collector almost built itself as it was more a pretty simple case of connecting the dots.


The last part that I had to build was the rear downpipe, going to the collector. Building it imposed two main challenges: 1) clear everything, go through the frame and allow suspension movement and 2) be of as close as possible of the same length as the front downpipe. Which if you have a careful look at the bike is quite the challenge in its own right. Suffice to say, making the rear downpipe almost took as long as all the remaining parts.

This is the go-through-the-frame-without-touching-anything-part.


And once it has come out of the frame it "just" had to clear the collector and other pipework and meet up with the sleeve.


If you look very closely at the last picture, you will notice a section, which in reality is about 25 to 30mm long which looks a lot like an afterthought. This was the hardest part to fit on the whole exhaust as it had to compensate for the total sum of all misalignments of all previous cuts.

The last step was to weld in a bung for an O2-sensor (even though I currently do not have any intentions of using one) into the main bend of the collector. The angles and positioning of these are rather sensitive, e.g. the nozzle of the sensor has to point downwards to prevent it from collecting moisture and it also has to be as close as possible (but at least 50cm from the exhaust valve) and there's should be no exhaust leaks ahead of it. If you want to follow all of these requirements, you aren't really left with too many positions to put it and as I didn't want to install two sensors, there was really only one position left.


And then it was ultimately the last time to take the exhaust apart and polish up all the parts.


And this is the final result (admittedly the silencers aren't done yet).


To be fair, there's been a lot of mishaps, as originally this was meant as a completely new generation of my exhausts, I had to redo the sealant on the cylinder foot, when swapping valve springs. Oh and then there was this little episode, where I woke up, because I was absolutely certain that I had mixed up the valve timing on the rear cylinder ...