Sunday, 27 November 2016

DSO 138 Digital oscilloscope - getting started

A digital oscilloscope (DSO) is one of those handy tools, which looks quite intimidating at first, but as a matter of fact is not a lot more than a voltmeter, which will graph the voltage over time. It helps in visualizing wave forms and thereby can be of invaluable benefit, when troubleshooting electronical components.

Now a standard DSO will set you back somewhere around 300 Euros for a rather basic one. The DSO 138 from JYETech (or one of the hundreds of copies) will only cost you 17 Euros and that's with shipping included. As such some trade-offs have to be expected.

Let's get straight into the meat of it: a 200kHz sampling rate is nothing to write home about and a sensitivity range from 10mv/div to 5V/div isn't either. This doesn't mean in ANY case, that it's just a toy, far from it. Due to the small size, you're much more likely to "have a quite look" at the signal than with a regular scope, especially when you're like me, intend to mostly use it around bikes.

The first hurdle to climb: make it start. It uses a 5.5/2.1mm powerjack and you should use a plenty powerful power-supply (min. 500mA) to make it run stable. Otherwise you'll run into the same issues as I did below.

Bootscreen - mine came with 113-13001-42 firmware installed
 Once you have it running, the first thing you'll have to do is unplug it and install a little bit of wire onto the two open posts on the board in order to be able to use the built-in 3.3V/1kHz signal generator, which you'll need for calibration.


Hook up the probe and then zoom in until you can see the flanks of the curve and then adjust with the c4 and c6 potentiometers.


C4 should be tuned to get a sharp corner.


In case the DSO-138 doesn't boot at all, check the voltage in the lower left (ground) and upper right corner. (+9V)


A diagnostic menu can be reached by pressing the [OK]-button for 3 seconds. Depending on firmware version this can flicker around quite a bit.
 

You'll see this one being put to good use a lot in the future as I have to troubleshoot quite a few electronical issues on the Turbo TR1 ...

Friday, 18 November 2016

The XS Triple Sidecar - building an exhaust

As you might have noticed, there hasn't been an update in quite a while. I won't moan or complain, but uni has kept me quite a bit busier than I'd like to admit and it will most likely be a few more weeks (pretty much Christmas to be honest) until there will be more updates and some serious progress on the XS Triple Sidecar. With that being said, let's get to it.

Unlike with all my other exhausts, I didn't start this one from scratch, but used the downpipes of a Triumph Trophy 900. They are spaced correctly, but hang a bit low on a normal XS 750 and the left downpipe would go straight through the sidestand mount. Oh and they're coated in black, even though they're actually stainless. What you don't see in those pictures are the two hours of polishing to remove (most) of said coating.


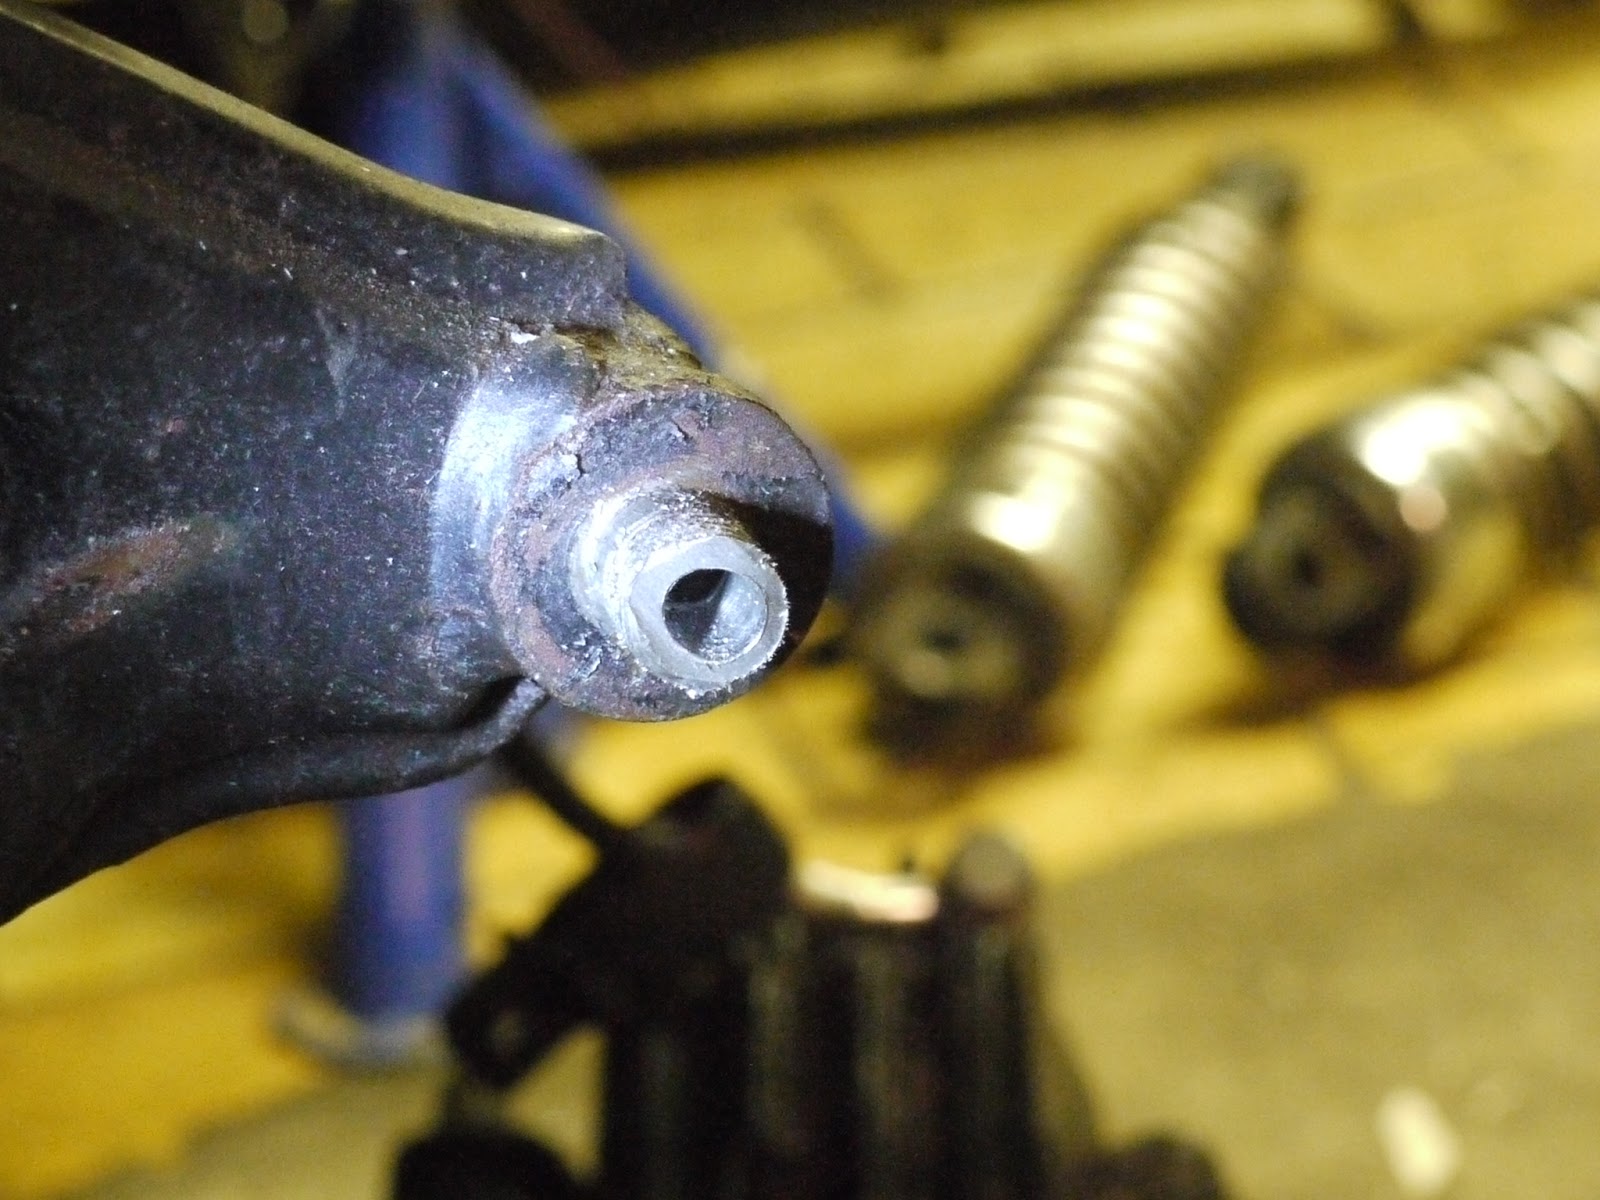
Next step was to alter the frame a bit. There's a through-hole on the right side for mounting the exhaust, but a stud on the left. The stud had to go and in order to do that concentrically I quickly knocked up a little guide with a 6mm drilled through and a 12mm opening on the other side.


Drilling the hole took quite a bit of time, but other than that was pretty straight forward. (Sorry for the bad picture quality!)


Luckily I had some left-over exhaust hanger plates originally made for the TR1, which only had to be drilled out to 12mm.


As the silencers originally are made for 45mm exhaust pipe, I had to get some step-downs and then it was "pretty much" just a case of connecting the dots (ends).


Now what does it sound like? Rather fruity, if I may say so...


Next step will be some finishing touches to both the subframe and the sidecar frame as I am a bit unhappy with the top rear mount. Once that is done, I will shift my attention towards making those Mikuni VM36 work!


Wednesday, 12 October 2016

Very late August/September project overview

... or what you could have missed:

  1. Most importantly I started a new project: The XS750 Sidecar project, which occupies quite a lot more of my (currently rather limited) time. So far I brought the bike back to life and made sure it would (sort of) handle and stop (pretty good) and built a subframe for the sidecar, which took quite a bit longer than I anticipated. It also was quite a bit trickier to fulfill all the requirements I put upon myself, so I mostly only have to blame myself.
  2. I did quite a bit of riding on the everyday TR1 and fiddled with some issues that bothered me for a long time, such as the missing oil-pressure sender and I've built the most sophisticated exhaust (Mk.7) I have done so far for it. 

  3. Lastly I just bought a "new" car - a proper soccer mum's Volvo estate from the late 90ies and as I usually intend to keep my cars for a while this means I have to do some repairs and maintenance to make it fit for the upcoming Winter, which is additionally eating into my time budget. 
Aside from that the next things you may expect are an exhaust for the XS750 sidecar and quite a bit of fiddling with the sidecar swingarm in order to make both the wheel and brake go on there. Additionally I have got my hands on a set of VM36 roundslide carbs, which should get things moving a bit more ... interestingly once they have been cleaned and jetted. Then have everything taken apart once more and have the subframe zinc plated and the tub sandblasted to make all of it last a little bit. Subsequently you shall get a little insight on the steps required to get such a homegrown contraption through with the Austrian authorities and then hopefully also some ride reports and first impressions!

Saturday, 8 October 2016

The XS Triple Sidecar - Building a subframe

... that ticks all the right boxes for me. (And that's quite a few!)

Ordered by personal importance
  1. Provide a sturdy set of mounting points to attach the sidecar to
  2. Prevent the frame from punctual overloads by distributing the stress as evenly as possible
  3. Retain the usability of the XS'es kickstart (even though it's only a backup, but still nice to have, especially in Winter)
  4. Not obstructing any place that has to be accessible for routine maintenance (daily driver...)
  5. Easily installable and removable, with all the bolts the same size and nicely reachable
My first step was to have a very close look at the frame and come up with a concept on how to realise both subframes so they could meet those requirements best.


 Then I had a look around and tried to find a shop that would provide the necessary mounting hardware, which directly affected the diameter of the tube to be used for building a properly strong subframe.


The next trip lead directly to my local metal-supplier and saw me buying quite a length of various tubings. The main bit of the subframe has been built from 25x3 tubing, plus the odd bit of tubing, where the inner diameter matches the parts of the frame, where it is supposed to be attached.

I started off with the front subframe, because you have to start somewhere and I expected it to be the more simple one to be honest. It's a relatively simple construction, which wraps around the right corner of the engine and connects both downtubes.


Not really that much to it, right? Well the rear subframe put up a bit more of a fight and left me scratching my head for several days. Mainly because I wanted to link both rear downtubes down from the shock mounts as high up as possible, as that's where the frame on my old XS 750 sidecar cracked more than once and also include as much of the swingarm pivot area to give the subframe the much needed strength.


Now that's the rear subframe all tacked up, but in order to give it a bit more strength more needed to be done. Most importantly all the tack welds had to be welded and dressed up and in the picture above the lower sidecar mount is held on with three tacks, once I found the right spot, but that was (of course) not the proper way to do it. After all most of the forces, when cornerning go into the rear mounts...

Ball cut off.


 Drilled a hole for the threaded bar to go through.


 And welded in from both sides, so it's not going anywhere anymore.

 Cooling the ball with a wet rag - check out the blueing underneath.

 And there you have the finished product.

The fact that this fine piece of subframe has taken me two weeks has a) strained my motivation quite a bit and b) is the reason behind the lacking updates on the blog recently.

The next posts will deal with the sidecar brake and axle.


Wednesday, 5 October 2016

The XS Triple Sidecar - Overhauling brakes

Of course you CAN make old brakes work again by pushing out the pistons and polishing them and yes even old master cylinders can be brought back to life by pretty much the same method, but let's face it: I'm building this XS Triple Sidecar to be a daily driver and it's a lot less fun overhauling a failed rear master cylinder, while it's drizzling down on you than doing it right now inside the workshop.

That said, the brakes were working(-ish), when rolling the XS down the ramp. But as usual with a bike parked up this long it wasn't exactly an act of vanity to overhaul them.

 Stainless steel brake piston for longevity and the standard Far Eastern seal kit.

 Doesn't look too bad, does it?

With the brake piston removed.

Sludge gallore.

The original piston after cleanup: The small dots are indents,
 where rust has eaten away the chrome plating!

I always keep a few sets of used pads handy, when you want to overhaul brakes and then still have to do for example the forkseals or are not sure whether the forks/rear shocks are truly oiltight.

Pretty much my standard brake mastercylinder: 14mm Diversion thingy. Works brilliant and is to be had rather cheaply. 

Next time: We'll get started on the subframe.


Sunday, 2 October 2016

The XS Triple Sidecar - new petcocks

One of the things, which are really annoying and really, really can ruin your day are leaky, vacuum operated petcocks. Which is why I commonly replace them with manual ones.

Now luckily the Italian motorcycle industry uses a lot of standardized kit. One of which are fuelt petcocks. No matter if Guzzi, Ducati, Cagiva or Benelli - they all use the same M16x1 thread and only have different orientations of the outlet and shape of the handle. And the second great thing: They're cheap - genuine parts can be had for around a tenner and good copies for about half of that price.


Now if you have a lathe with the right gears, you can of course simply cut a 1.00mm pitch thread onto a bit of 16mm bar, but let's simply assume you don't?

Still, get some 16mm aluminium bar and a M16x1 cutting die and cut the necessary thread onto the bar. Centre-drilling (admittedly) is a lot easier on a lathe, but not impossible even with handtools. Only downside: The filter measures 10.x mm, so in order to NOT make your life very miserable, you would want to drill at least a 10.5mm hole...

 Test-fit the nut BEFORE parting off.


I simply measured the bolt spacing on an XS fuel tank (47mm) and the base measurements of the backplate (23 x 69mm), corners rounded off to an 11.5mm radius and had the backplate waterjet-cut from 8mm aluminum plate. Unfortunately there was a little misshap and the centrehole didn't come out as a press fit, but 3/10ths oversized.


As you can see in this last pic, I used a high-quality epoxy, which I heated up to around 60-70 degrees Celsius to make it fill the gaps better and left to cure for 48 hrs.