
Now this one is going to be a long one, best buckle up and get ready for the ride - as some might remember, this was meant as a quick and simple engine overhaul. Among those, who have forgotten about it, was me, I guess.
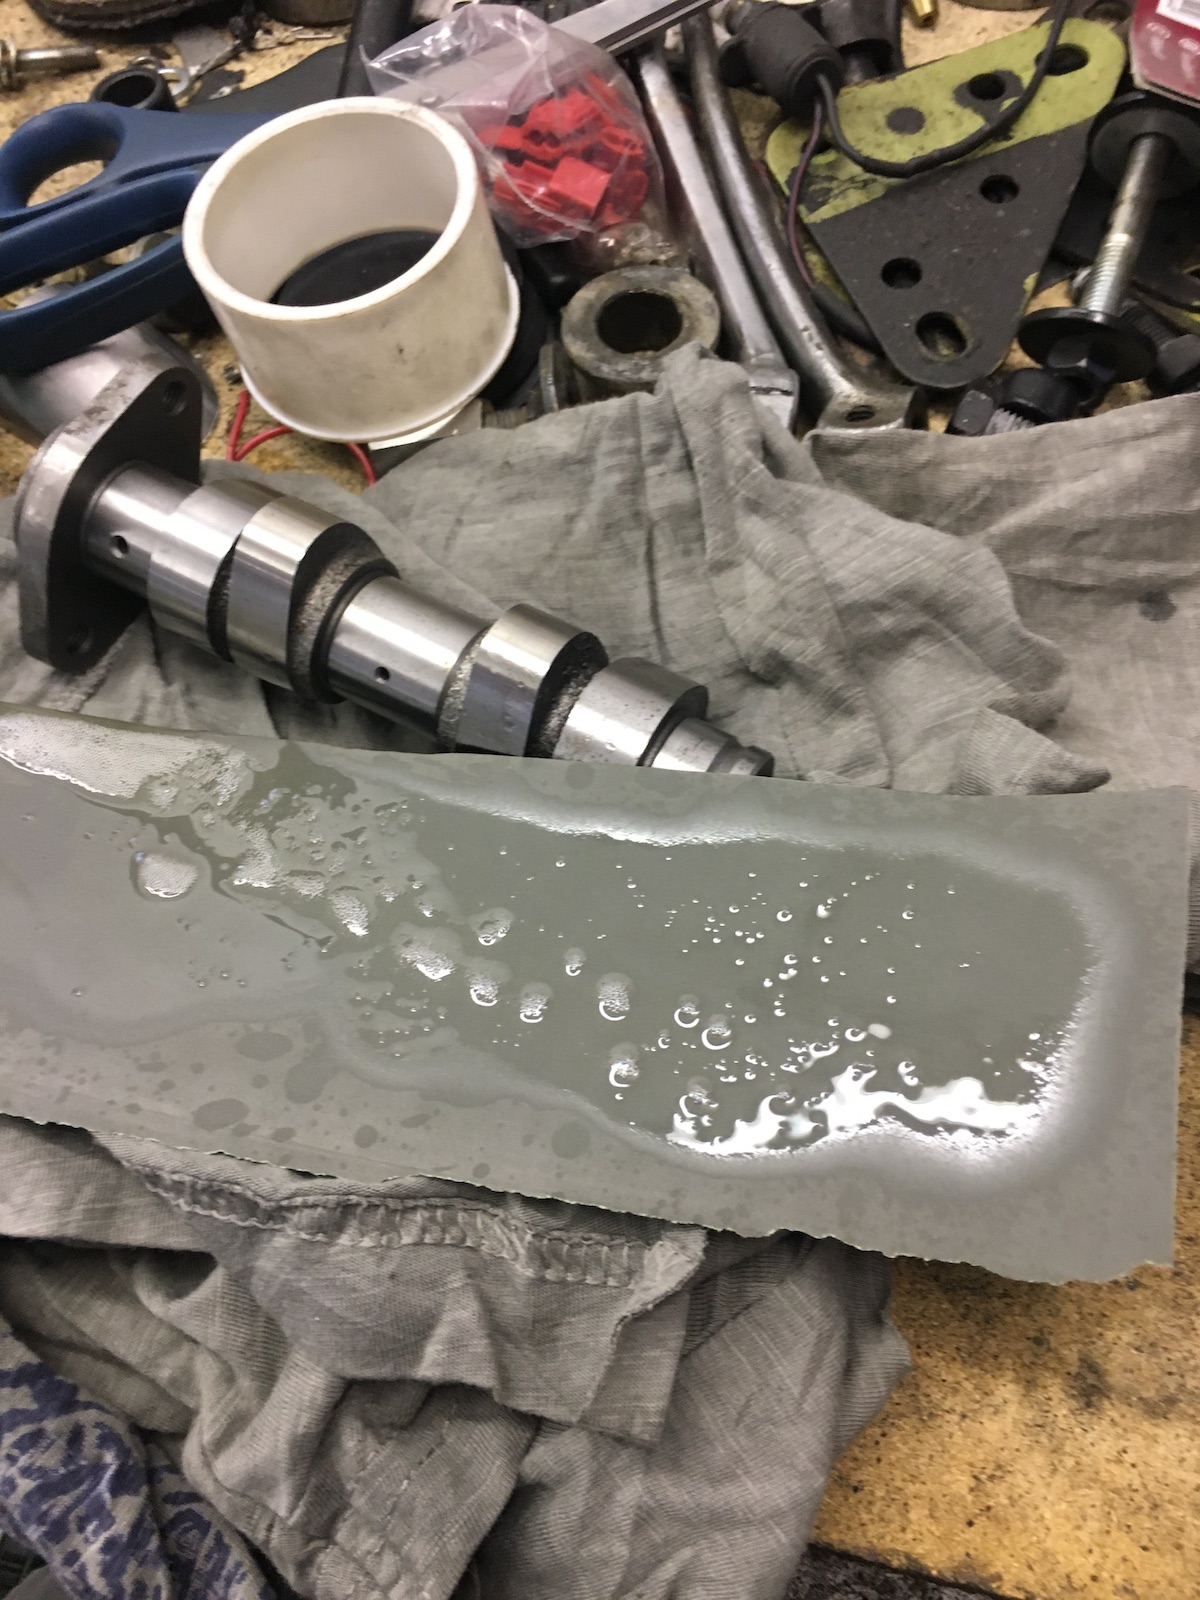
Let's kick it off with a lovely spicy cam for a bit more mid- and toprange fun. In order to use it had to be polished with some 2000grit sandpaper to smooth the nitrate-layer or otherwise the camshaft would eat my rockers for breakfast. A bit of WD40 does wonders to make that 2000grit sandpaper go longer.

The upper plug is needed to time the engine and admittedly the old one was properly mangled and almost impossible to open.

Then I dug out another cylinder head out of my stash and found out it was actually a 1VJ-head in acceptable condition. Even though I decided against using this one, I cleaned it up and went through it. It will be overhauled and if I am not happy with the performance from the 34L-head this will be the head I'll swap in.


Once more the new camshaft and a bit of plastigauge proves the bearing clearance to be well within spec, meaning that I might not have had to get a new head after all.

Rinse and repeat, I bought a 34L head, might as well use it - after some cleanup.

Touched up the ports a little around the seats as they were truly horrible there. Rough casting, edges, ridges the whole lot.

The second picture should show it a little better. Nothing fancy really, just some correctional work as overall the port design is pretty good for the era. (Heaps better than what can be found on a TR1 for example and the 700 heads on mine are from the same year...)

Spark plug thread got a little clean up with an M12x1.25 tap, not because it was strictly needed it, but its not going to be any easier than now.

The camshaft was missing an additional oil-supply hole, so as per manufacturer's recommendation a 2mm hole was drilled.

As usual, all the threads were chased with a tap, just to make sure there aren't any nasty surprises, when assembling.

Lapped a bunch of valves in and discovered that my aftermarket valves obviously are a bit smaller than OEM ones and thus the valves sit a bit deeper in the head. Still acceptable, but well you know... not textbook standard.

Viton valve stem seals are a must for me.

And finally the finished head - looking like new. (At least where it matters to me.)

Before getting into the engine itself I cleaned up the M8-thread of the drainplug on the oiltank as that felt very raspy.

When I took this picture, I didn't know that this gasket would be the one that would really bite me in the arse. Interesting to see those unused posts on the stator. Goes to show that Yamaha planned for an electric start version of this engine

One of the things a lot of people warned me was that the rotor might be stuck properly on the crank - mine was no exception, but with a hard-soldering torch and the sort of experience you get from taking XV rotors off... It did make a proper *plopp* when it came off. (The last sentence may contain traces from mild understatement!)

And yes the picture is a bit blurry, because I was quite shaky from excitement. Oh and always leave the nut on to prevent mushrooming the crank's end.

Getting the engine out (once you know how it is done) is dead simple: take out all the bolts push the swingarm bolt out of the crank case, insert a bolt from the other side to prevent the swingarm from flopping around.

Lift the engine out of the swingarm, turn it by 90 degrees and put it on the floor. Grin smugly. Takes about 30 seconds. Lifting the engine onto the workbench was actually the tougher task...

Now I only took the rotor off, because I wanted to swap the camchain. Guess the stretched chain wasn't the only reason, why it didn't sound as healthy as other XTs.

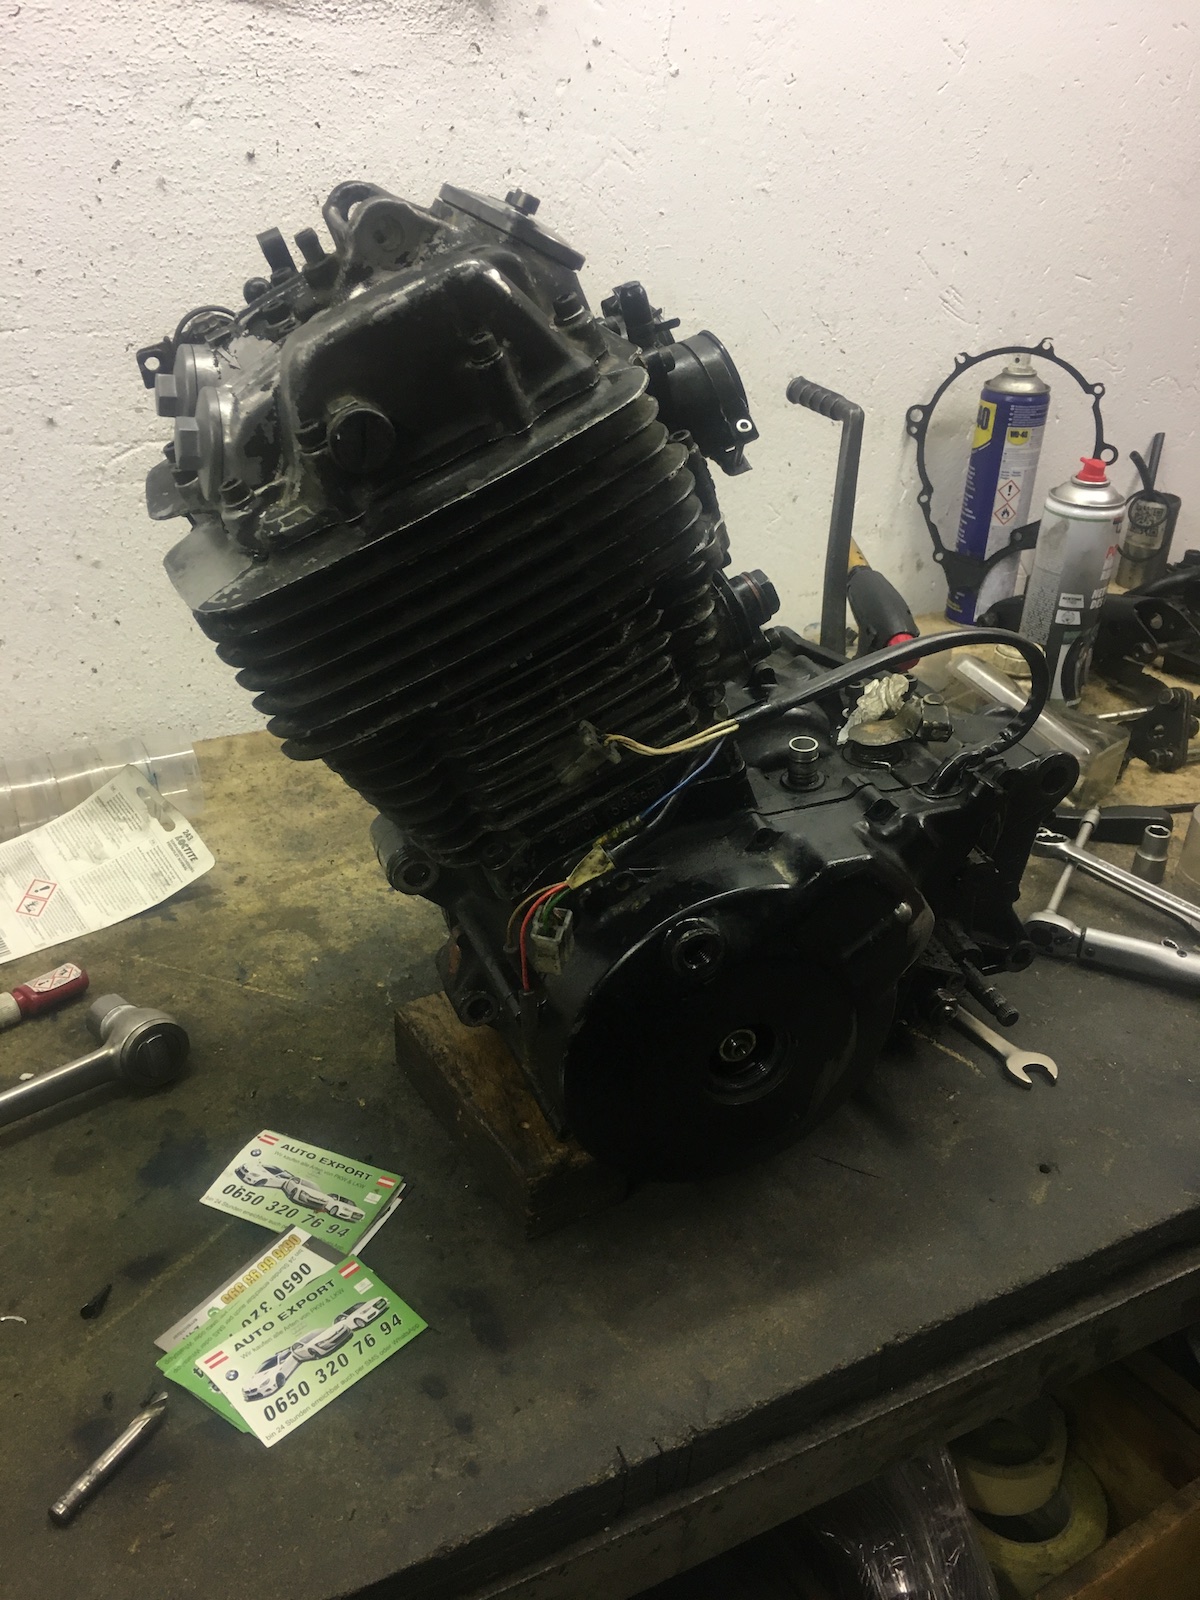
Top end looks respectable. (Made little unduly noises, so I didn't expect much mayhem anyway.)

Guess XTs really aren't interference engines.

Piston looked pretty good on the top, but the skirt shows some battle scars.


Enough of the old engine... better get started with the new bits. And well, I might have thrown the original plan out of the window as well, when it comes to the piston. A 96mm 11.5:1 forged piston will now be put into service. But as is the case with race-parts, first the rings had to be gapped. As the bore is approx. 3.78" the resulting ring gaps were 3.78" x 0.0045" and 3.78" x 0.0050" or in other words, get the file out, as both rings in stock form were only at a fraction of that.


Now that piston is (admittedly) one sexy beast. Really curious to see how it'll perform once it has bedded in.


As the stock ally longnuts were neither very functional anymore nor very pleasing to the eye, I treated myself to this set of stainless ones... They do look a bit posh, if I am honest. 😏


A while ago, I started to become a huge fan of engine assembly lube. Compared to MoS2-grease it doesn't compromise the clutch and still builds up a protective layer until oilpressure reaches the head on first startup.

Ready for install.
Put the engine back in (thanks David for lending a hand)...

... and check the oil-level.

And then onto the most uneventful first start ever. Three kicks later, the old girl ran and idled nicely.
If this were a fairy tale, this is where I'd ride happily into the sunset. Well I rode it and it sounded good and pulled nicely. It even has built-in waterproofing for my motorcycling pants and boots.
So why didn't I do that alternator gasket then? Simply put, I only bought a top-end kit and had completely forgotten about the left over gaskets from previous builds.

Swap this fella out, replace the two o-rings sealing the oil-galleries and then see what she can do. Sounds like a good plan to me. (I might have already had some issues with restraining myself regarding run-in-procedures anyway...)
No comments:
Post a Comment