
This post comprises about 6 weeks of on and off work on the SR500 sidecar in an attempt to get it closer to a decent level of usability. Quite frankly, there's still a lot to be done, but quite a few quirks have been ironed out already and for lot of the other work, at the very least, the foundation has been laid to get stuff working in a proper fashion.
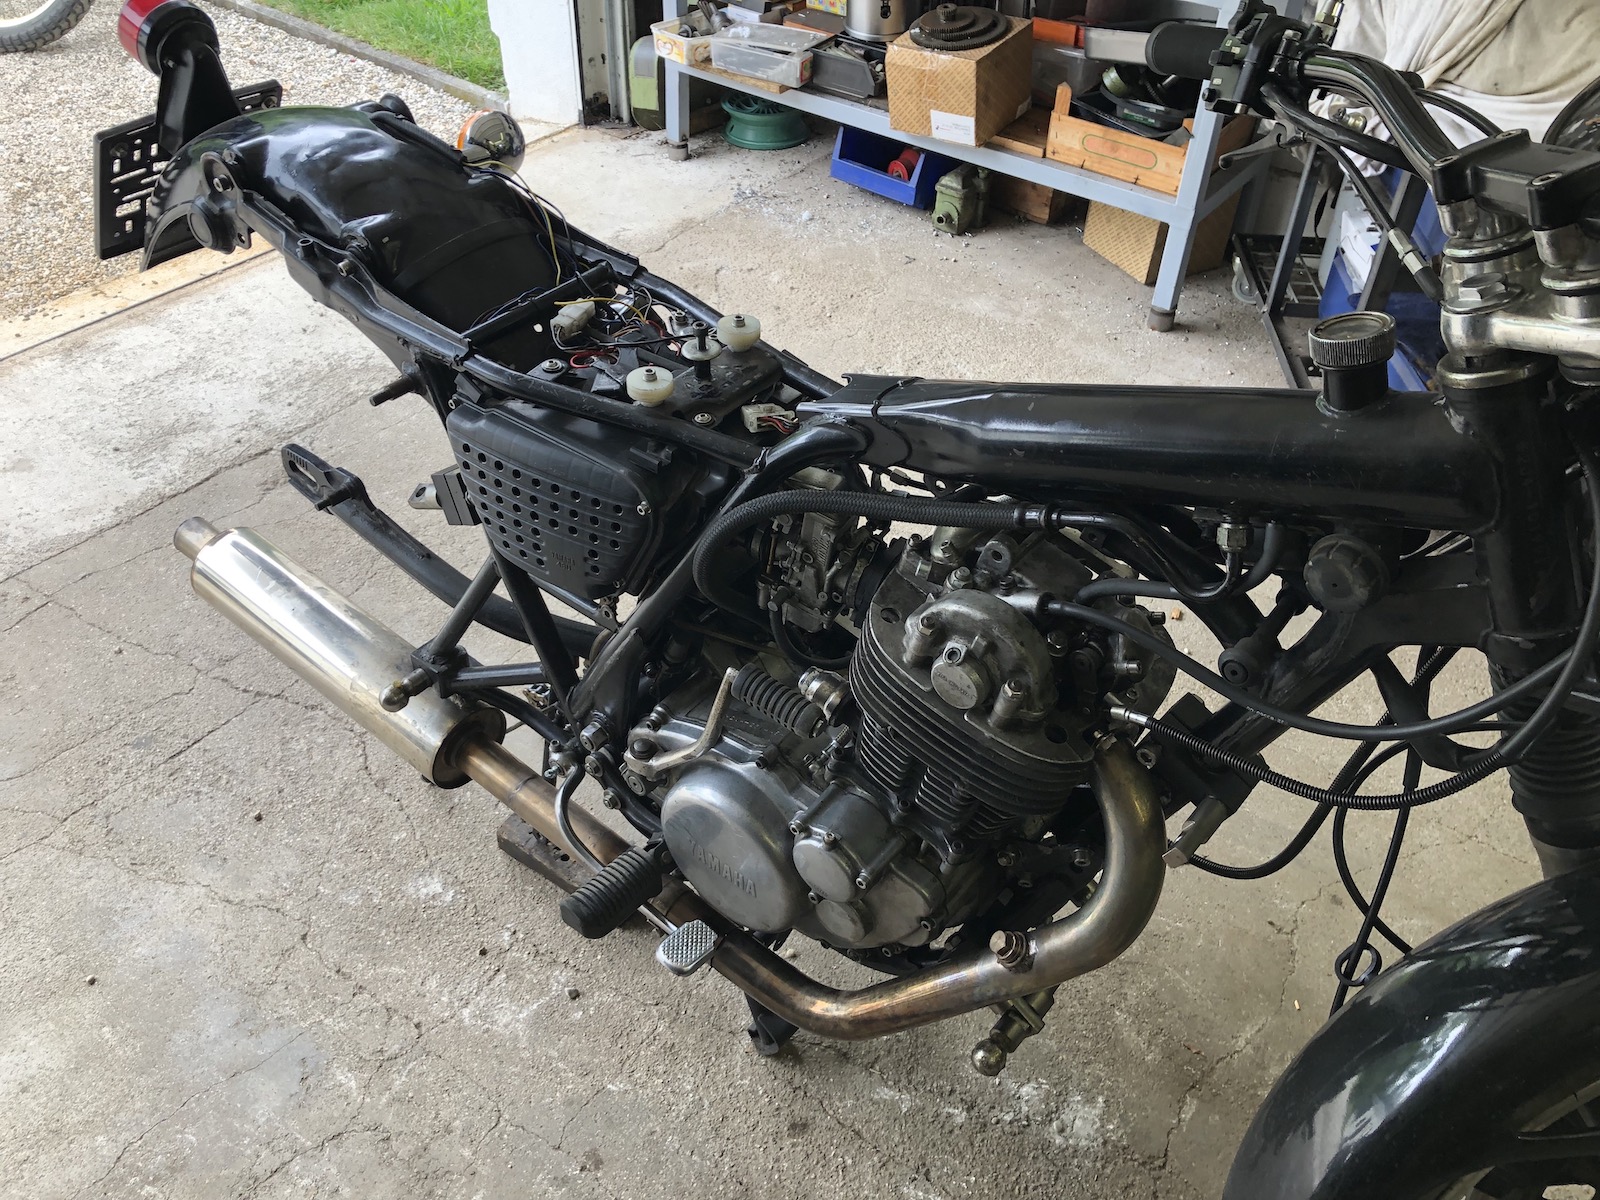
One of the issues that became apparent right on the first rideout was the inability of the old girl to breathe decently. Step one was to get out the drill and turn that airbox cover into a sieve with plenty of 8mm holes.


The second step was a new rear carb rubber, because for some unknown reason a late TT600 rubber was installed in the airbox, which as you can see is a couple of milimetres longer. That on its own is not a huge deal, but it mean that it would be compressed in the middle effectively reducing the inlet diameter by about a centimetre on each side.

Less of a real technical issue, but more of a nuisance - the bottom of the battery box was rather rusty and that one time I rode the sidecar in the rain so far resulted in brown traces from the rusty water everywhere. Bit of rust-converter took care of the matter quickly, only at a later stage to be followed with some etch primer and black paint to go on top of it.


A lot more vital: as I couldn't get the correct length M10 bolts during the build, I shortened them to a reasonable stickout during the rebuild.
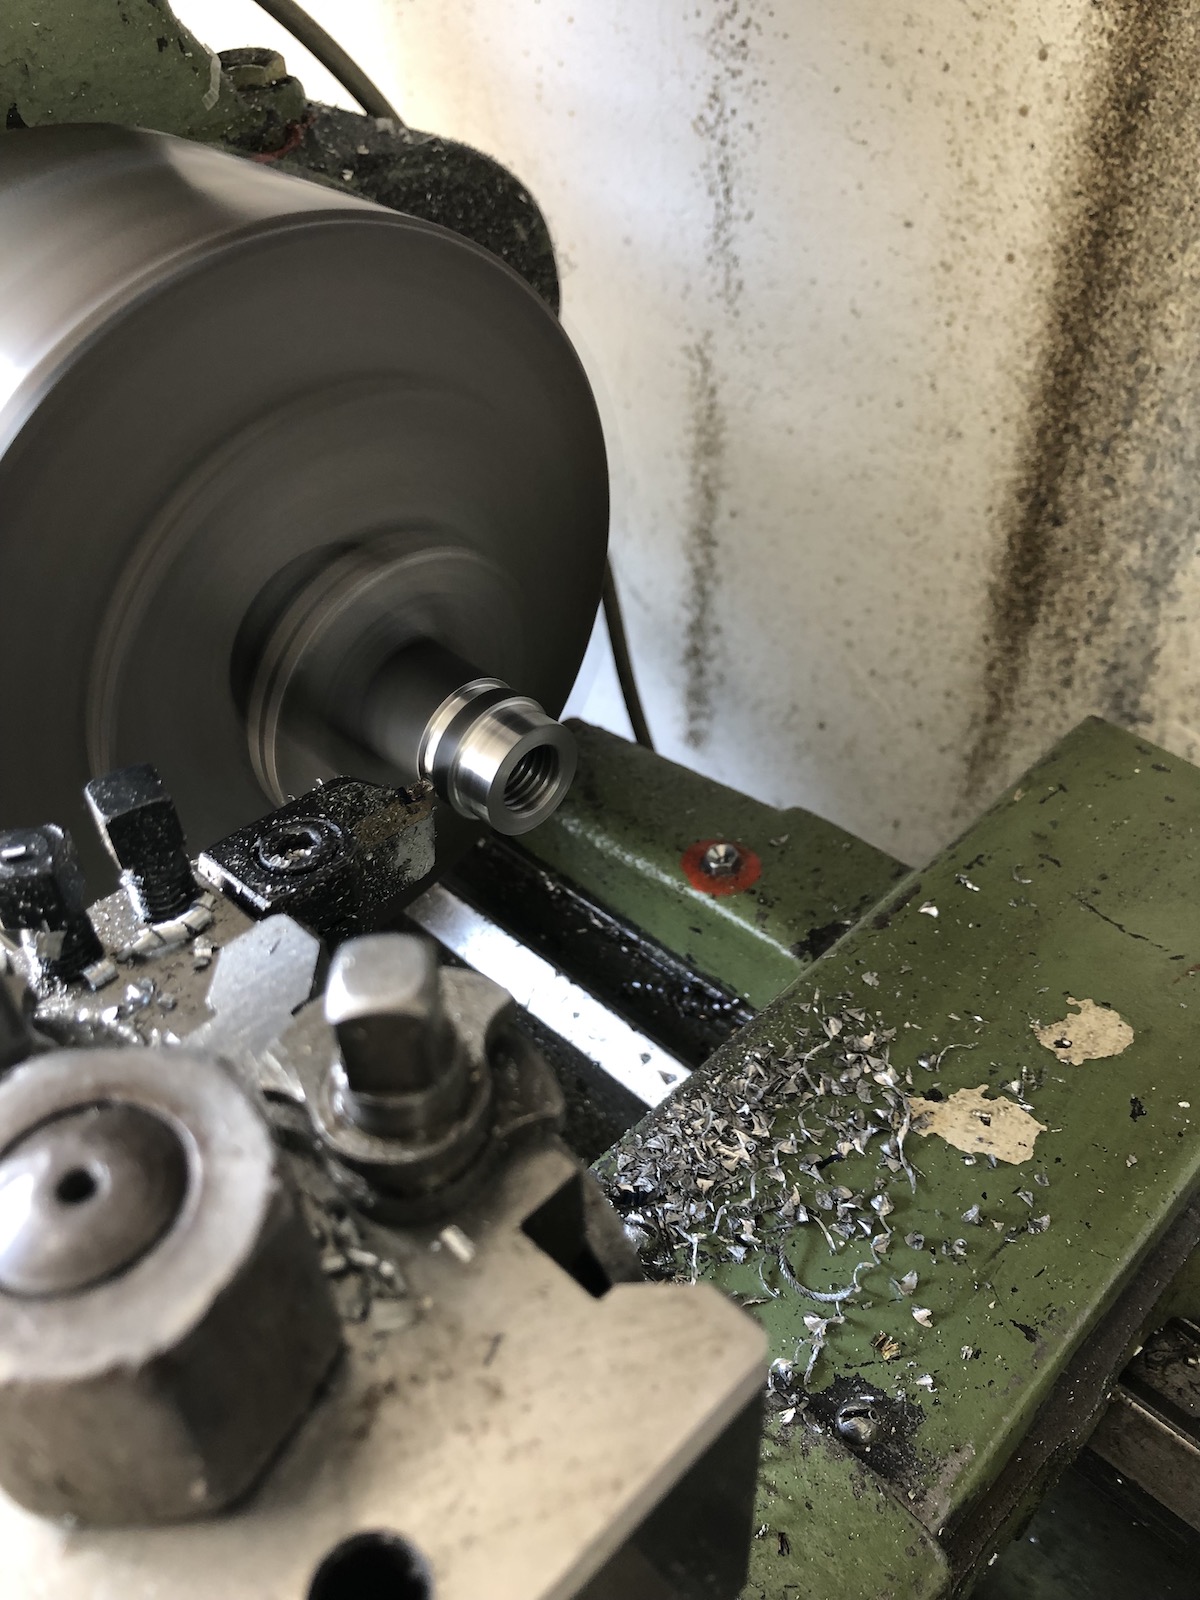
As I know that both my exhaust and airbox setup deviates quite a fair bit from a standard SR500, I somewhat expected that the TM36 flatslide would need a substantial bit more dialing in in the future. As a wideband AFR sensor comes in extremely handy in that case a bung had to be welded on.

With plenty of copper-grease and a blocking bolt installed, it's actually not too hard to do, even though I'll suggest getting one of the slightly more expensive ones with a curved bottom as it makes welding on SO MUCH easier. (This one is not one of those, hence the wide weld bead.)
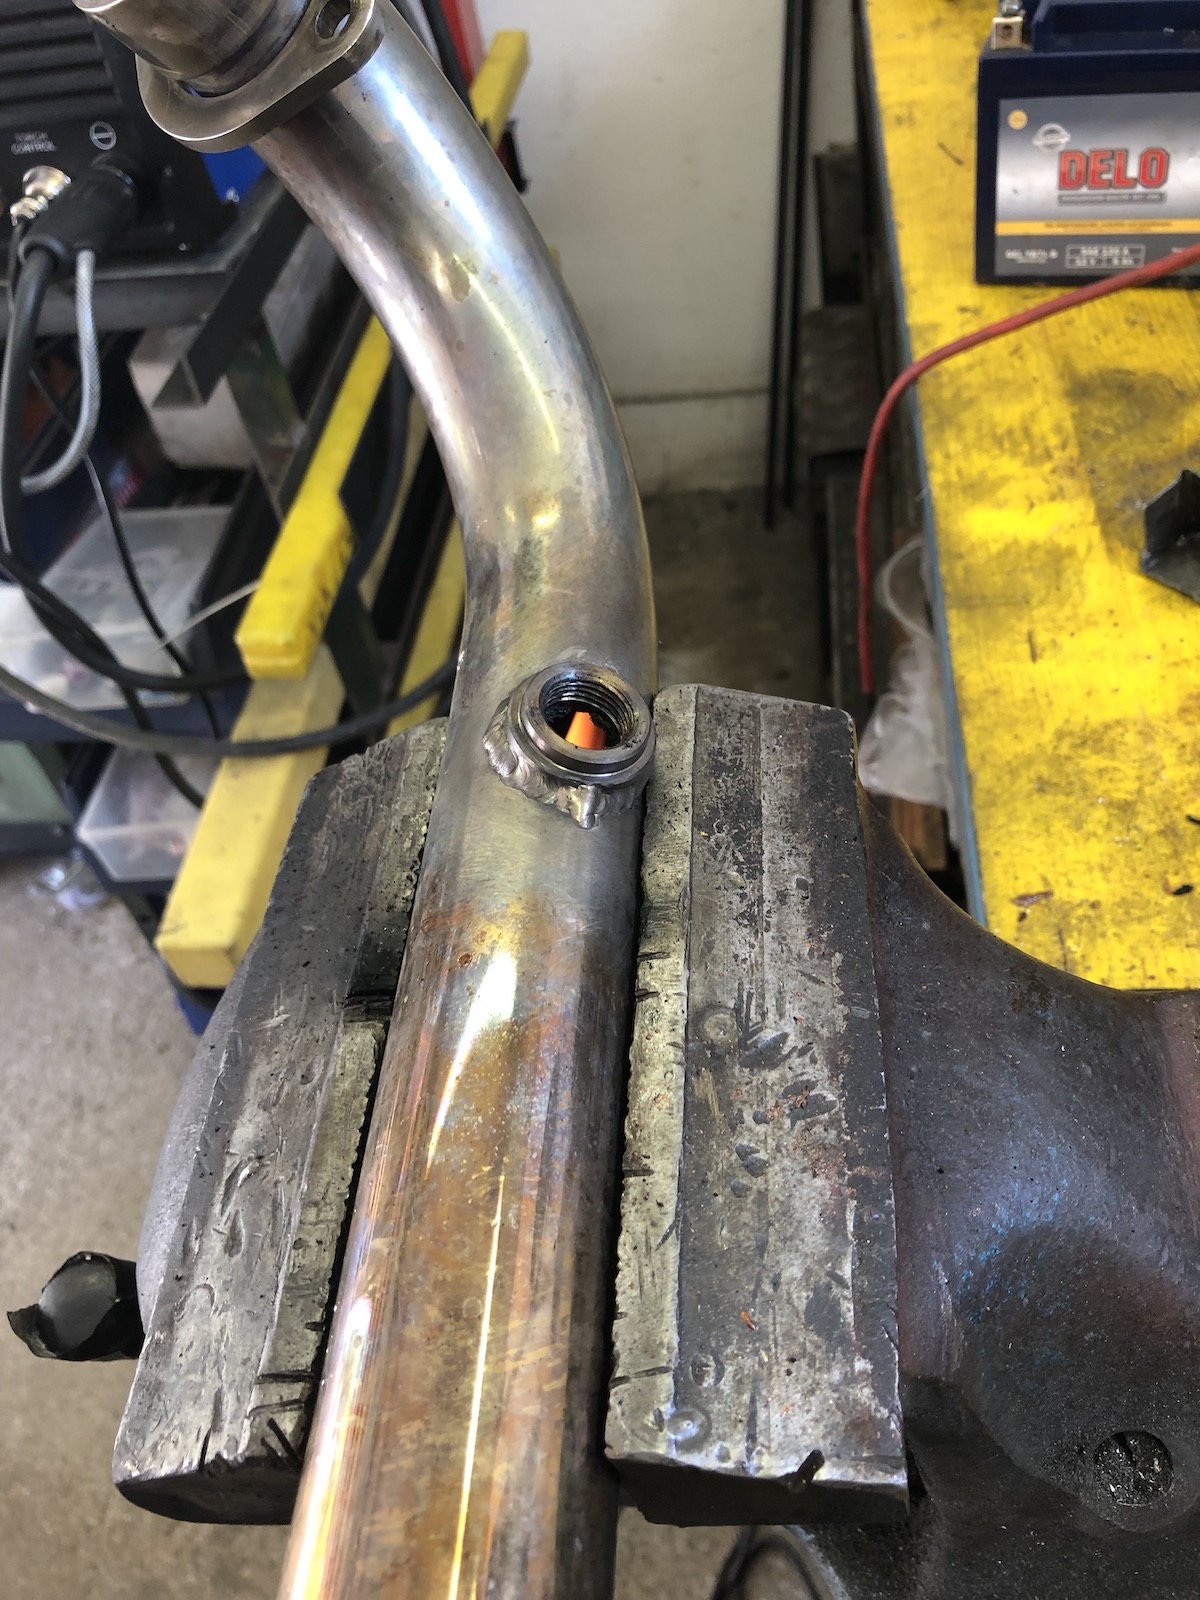
E presto!

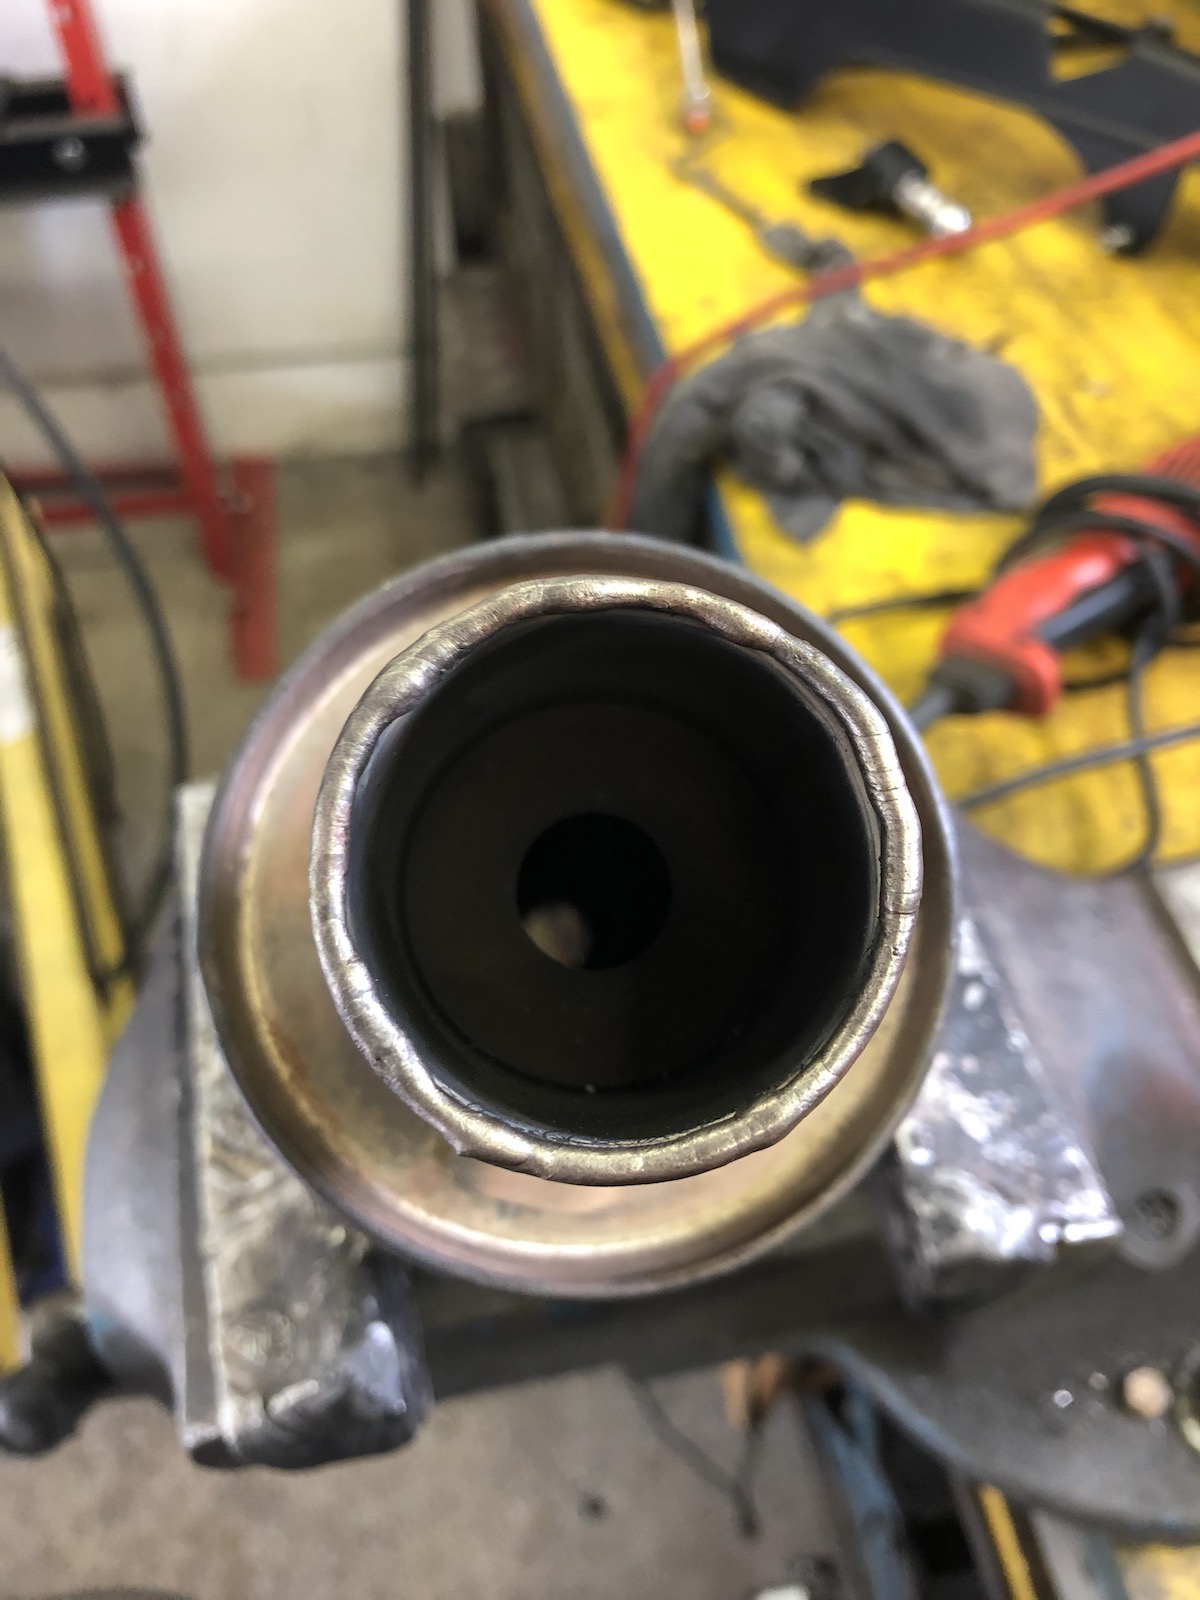
On the subject of exhaust, my idea with a conical muffler insert might have been a good one in theory, in practice it restricted gas flow dramatically and because the hot gasses were pushed with some serious pressure through the ring gap it also made a high-pitched chirping sound, which to my ears was rather annoying and judging by the DB-meter was actually louder than before.

Not going to say that I perfectly calculated the amount of Argon left in the bottle, but with a gas lense it does go down a lot quicker.

But then again, the exhaust is how it was meant to be - the light passes through unhindered, yet at the very end the gasses are squished together a bit.
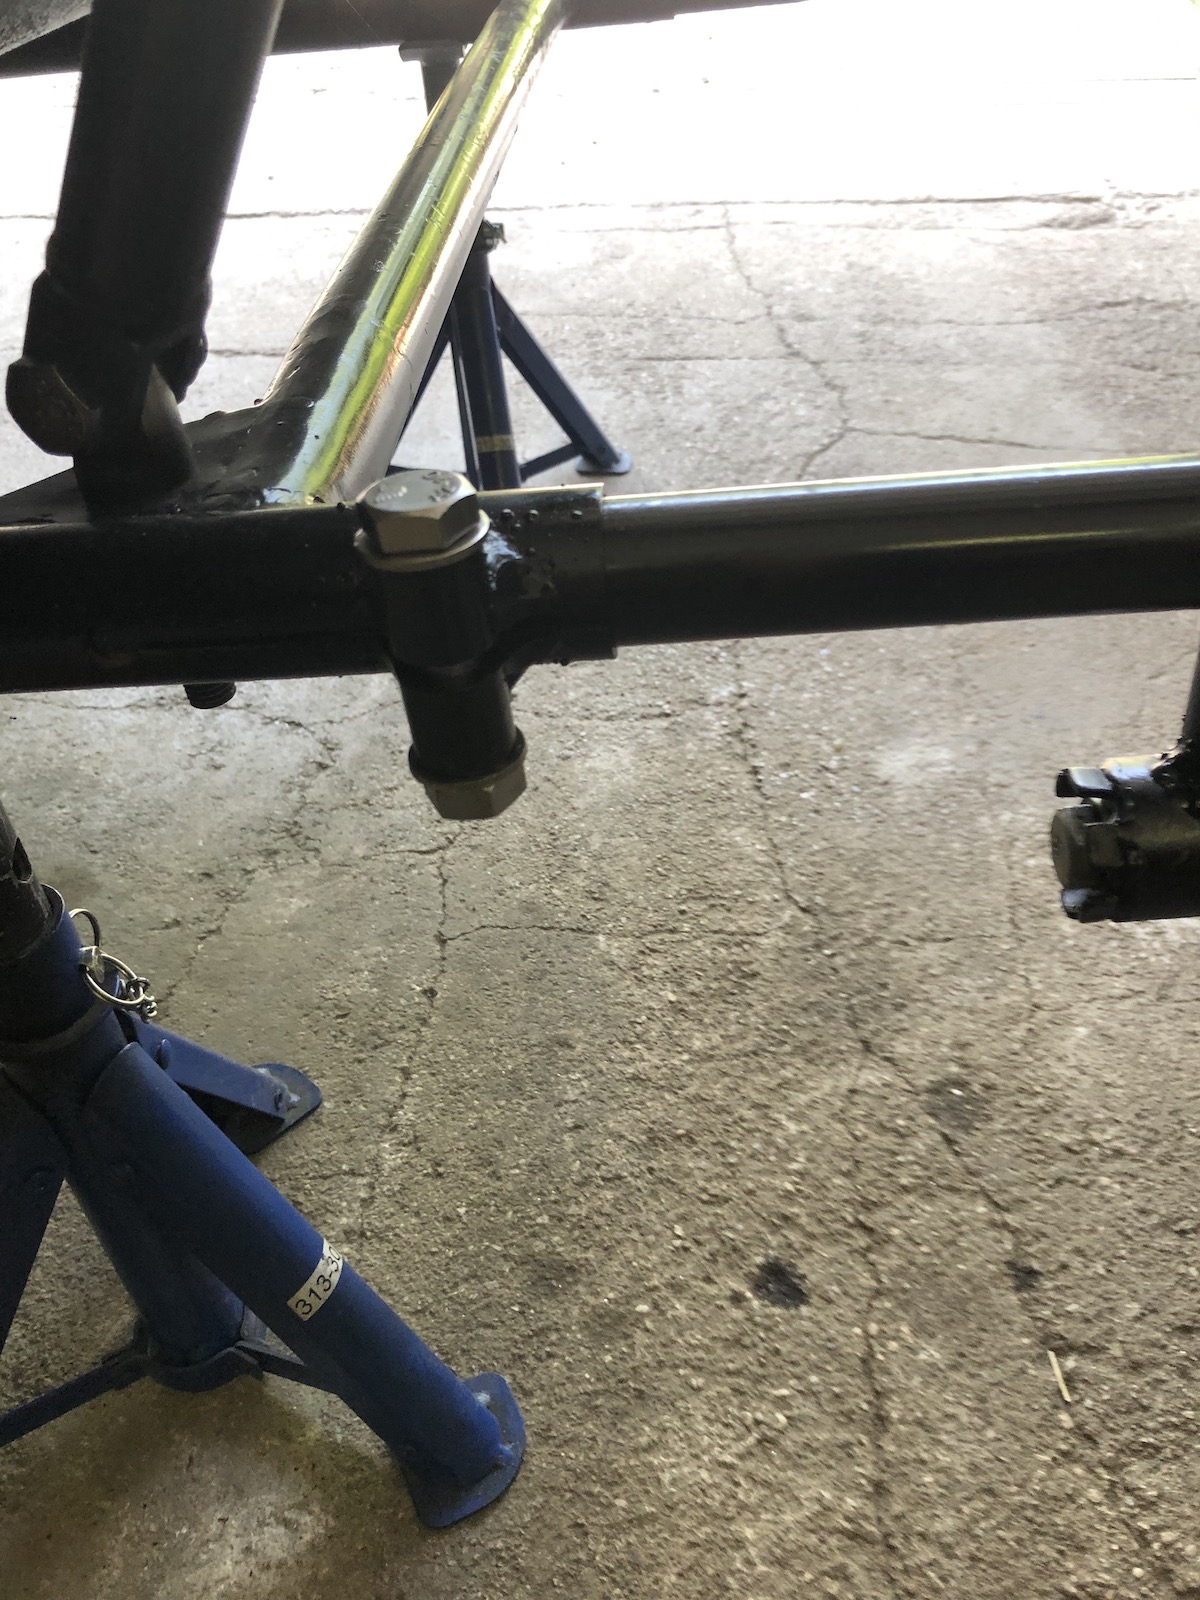
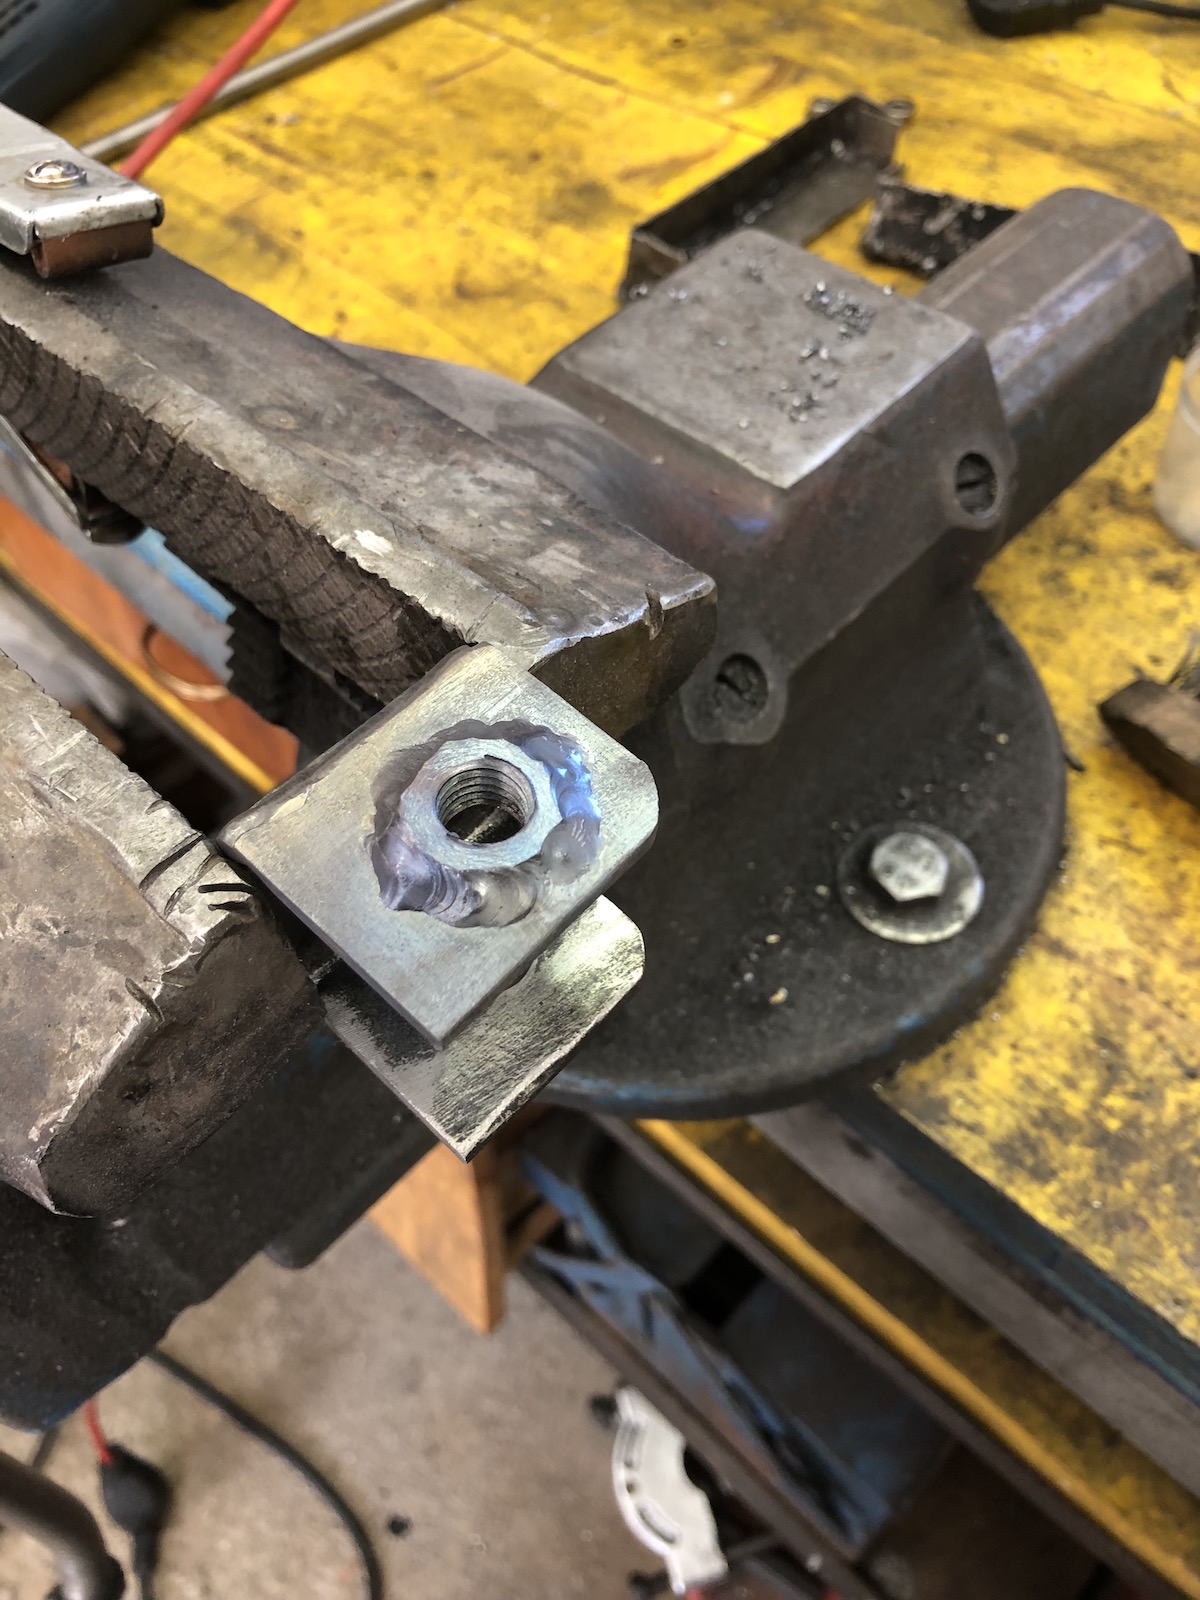
Another one of those "the idea was good, but the execution left room for improvement" areas was the lower rear sidecar mount on the frame. The boxed in section was definitely stronger than stock, but as it turned out, not strong enough. Also the arrangement with a bolt going all the way through from the swingarm side was good, but impractical as I run slightly longer shocks and therefore can't access that bolt anyway.

Then it was *just* a matter of cutting the old mount off and making your own.

So in order to get away from the current bolt arrangement, I made a threaded insert and welded it in.
Downside: now I have to take the sidecar off, in order to get the bolt out of the exhaust hanger. Before I had to take the rear wheel and rear shocks out.

Next step was to finally address the matter of the completely mangled shock absorber threads on the swingarm. Unfortunately a very common sight, as the threads are M10x1.25, which is not a common thread overhere so people, when they lose the original nut tend to go with the classic "whatever" nut...

Removed the ruined section.

Made a little bush to slide over it with a 6.5mm hole in the center.


Gave the drill a little tap and there you go, nicely on center and perfectly perpendicular.

... and then *just* drill it to the correct depth. (And tap it!) Whether one would go with studs again or some bolts is personal preference. As I stepped it down to M8 (still plenty in my book), I went with studs cut from some all-thread I had lying around.

As I had the lathe all warmed up and ready for some action already, I decided to replace the sad remnants of the chain slider with a homemade one from some black POM.


As this is the summary of six weeks of work, I will actually split this into two parts. Second one coming up tomorrow and will be all about frame braces, an engine rebuild and why happy little SR500 sidecars wag their tails.
No comments:
Post a Comment