Showing posts with label paint. Show all posts

Saturday, 19 November 2022

The SR500 sidecar - some setbacks on the way to becoming a usable daily

Admittedly I haven't cranked up quite as many miles as I would have hoped, but definitely have broken the engine enough times during the Summer months, so I guess this kind of evens out. But even then a few things have come apparent: 

The clutch lever I had on there, even though labeled for an SR500, definitely wasn't and I have to find a spare brake lever, but it's this weird ball and socket setup and I have to find out from which bike the master cylinder originally was. 


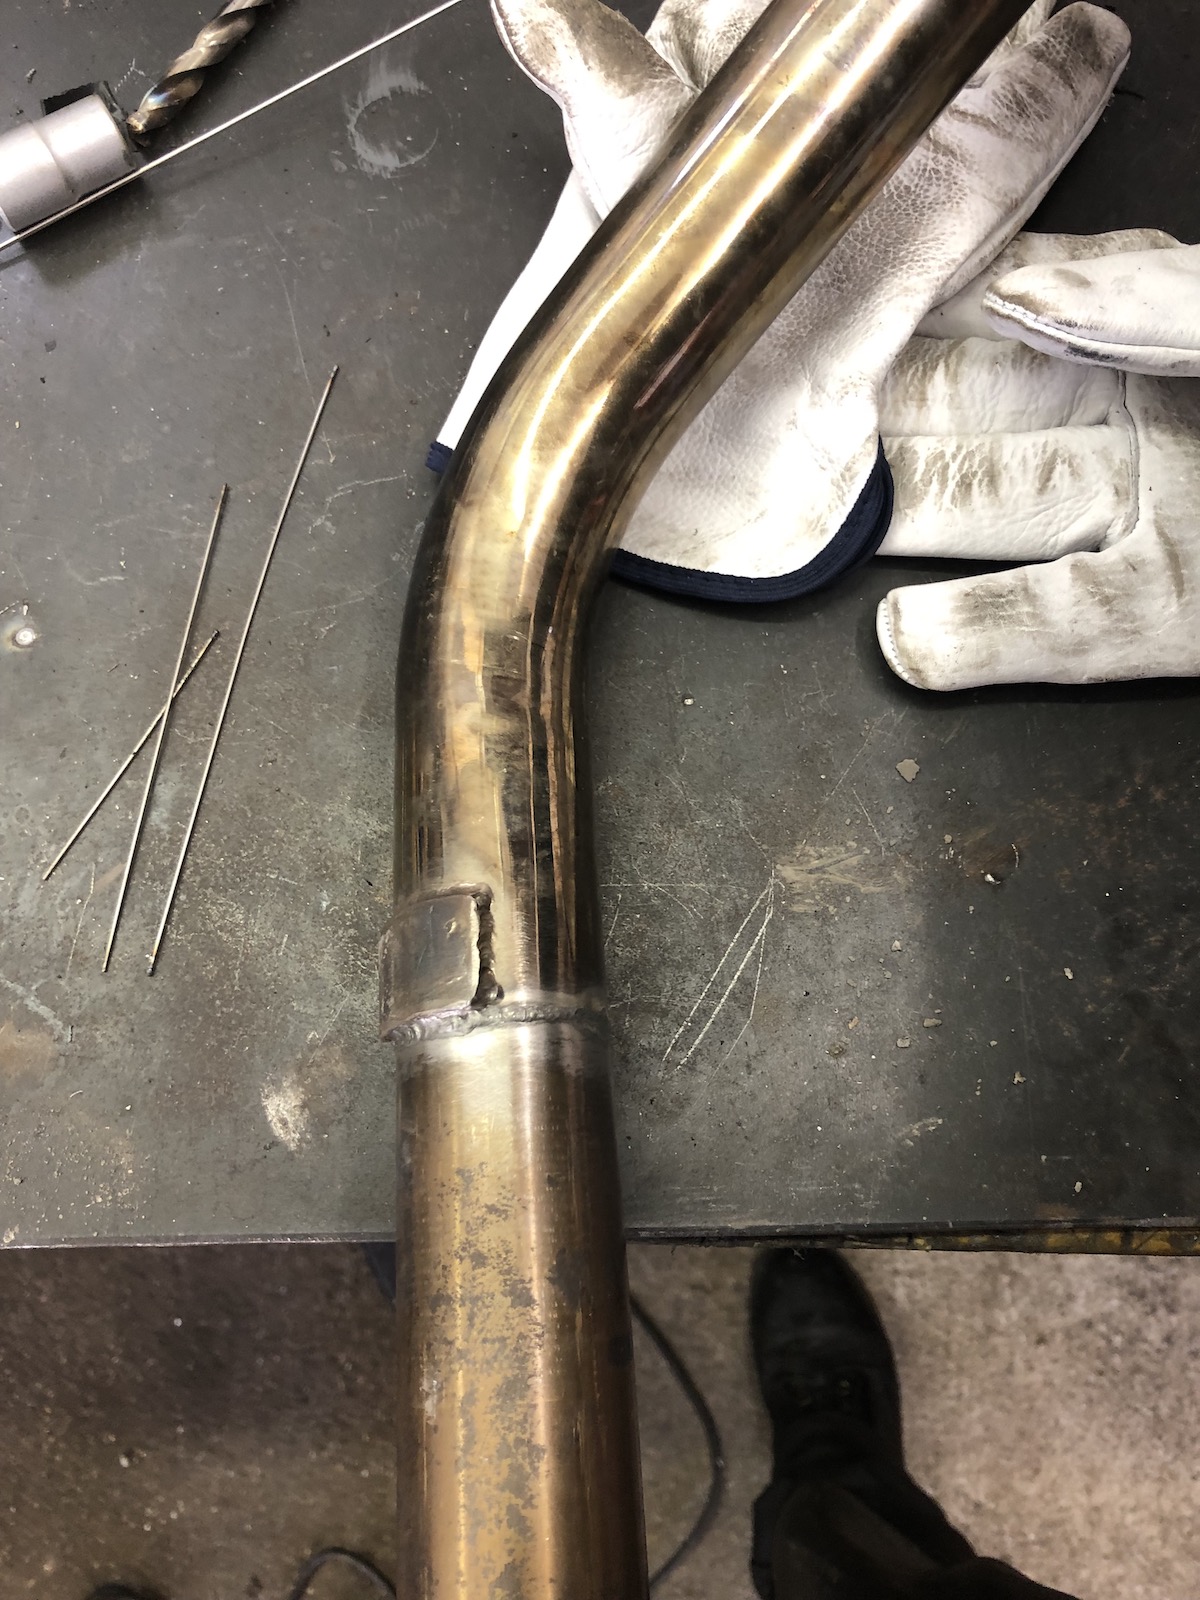
The other thing that drove me (mildly) nuts was the fact that the exhaust, despite my best efforts, was rattling itself to death and leaked at the joint between down pipe and muffler at the same time. Also, I am a strong believer in touching up the welds, for optimised flow. 
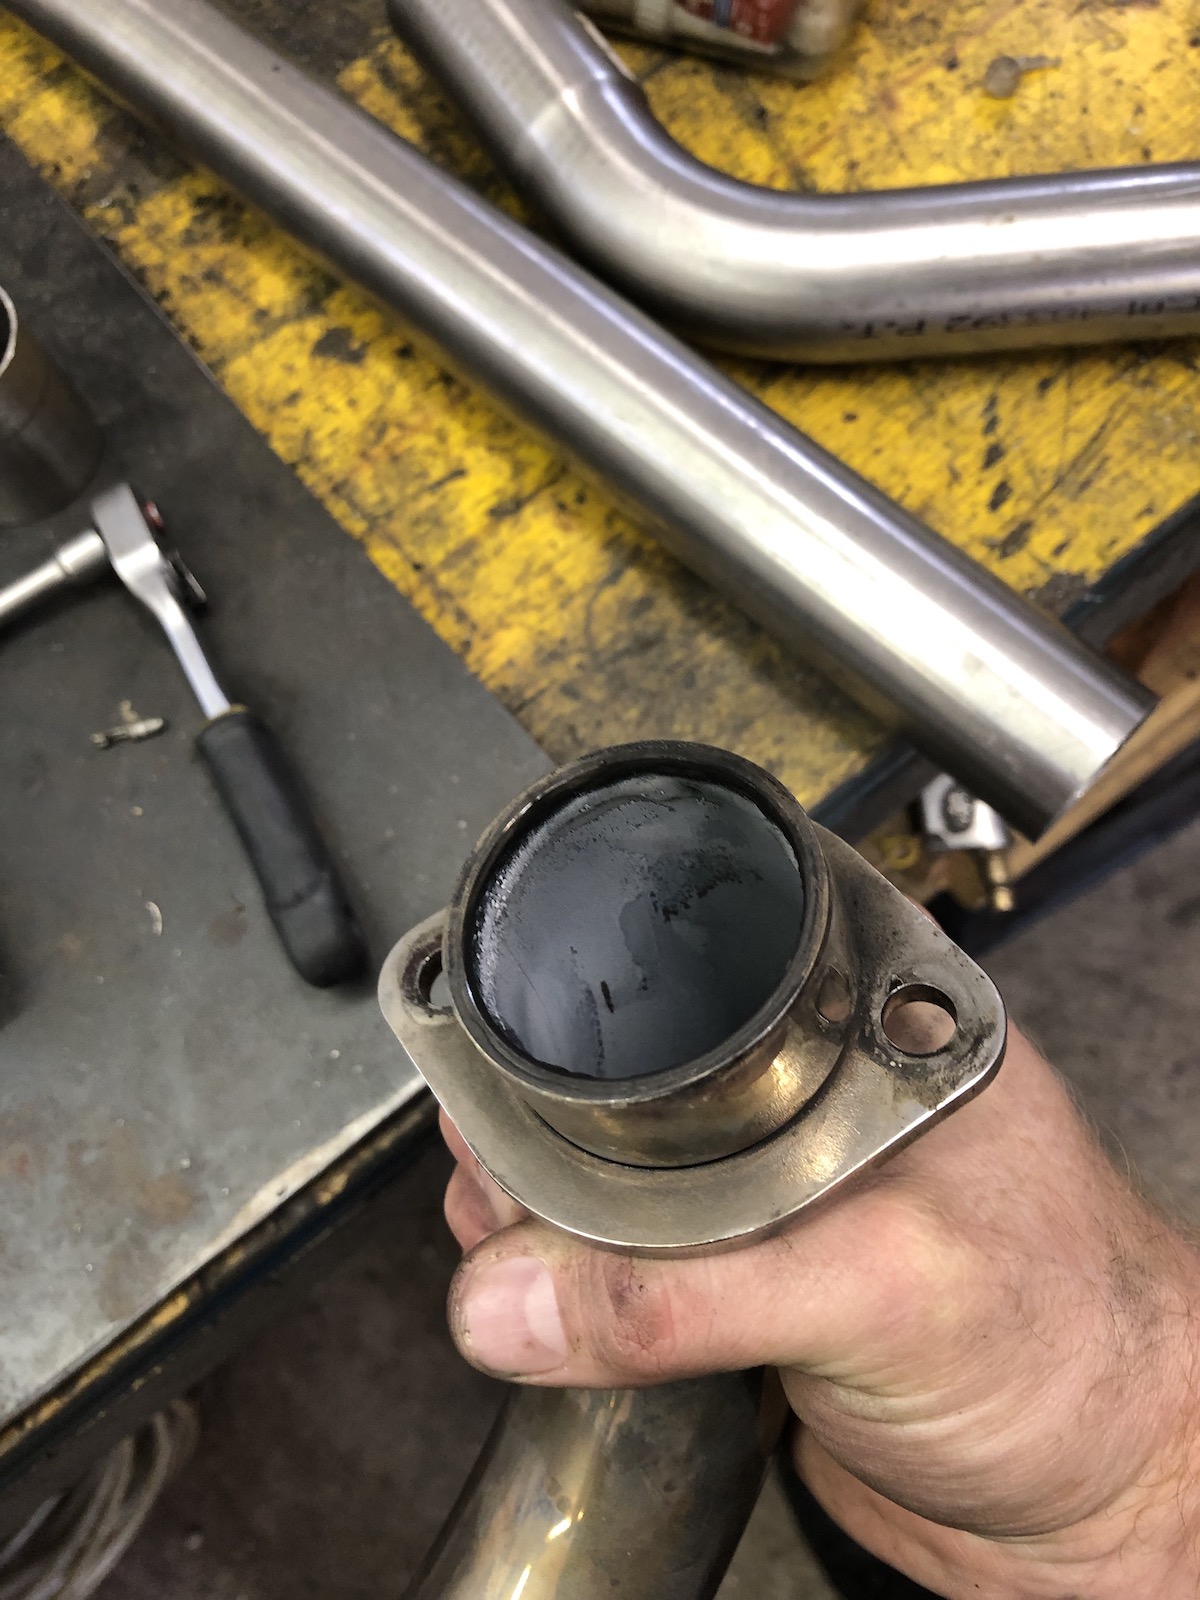

Also a proper joint and not the wobbly mess I had so far did wonders just to how rigid the whole setup felt. As can be seen in the first picture, the original tube had actually been eroded away from the muffler and the down pipe oscillating at different frequencies.

Added a slip joint on the muffler, so the exhaust gasses would have to do a 180 to get out, which makes it a lot more likely to seal up without a gasket than if you put it in direction of the flow.


... and then shortened the header pipe by roughly the same amount, so one would fit into the other.
What followed were a few days of happy thumper-ing along, when my sporty ambitions came back to me (maybe somewhat helped, by rather abysmal starting at even slightly cold weather) and I decided to throw that second hand TM36 back on. Instantly a few more kph of top-speed were found, but something didn't feel quite right. 

At some point, I had a look at the mix screw and found that the actual tip had snapped of inside the carb body. Throw in a few desperate attempts to get that tip out and it was decided to do, what I should have done from the get go.

Get out my wallet and buy a new TM36 and simply enjoy it. 

Not without swapping those JIS-screws out for some stainless allen-heads. (Whilst rejetting to the same jets I used on the previous TM36.)


You may not believe this, but it took two kicks and the SR idled like... well like a bike with a carb that no one has fiddled around with.

So I fitted my elephant ears (even without snow they are super handy to get the wet and cold away from your fingers), put some fuel in my freshly painted tank and...

F*ck.
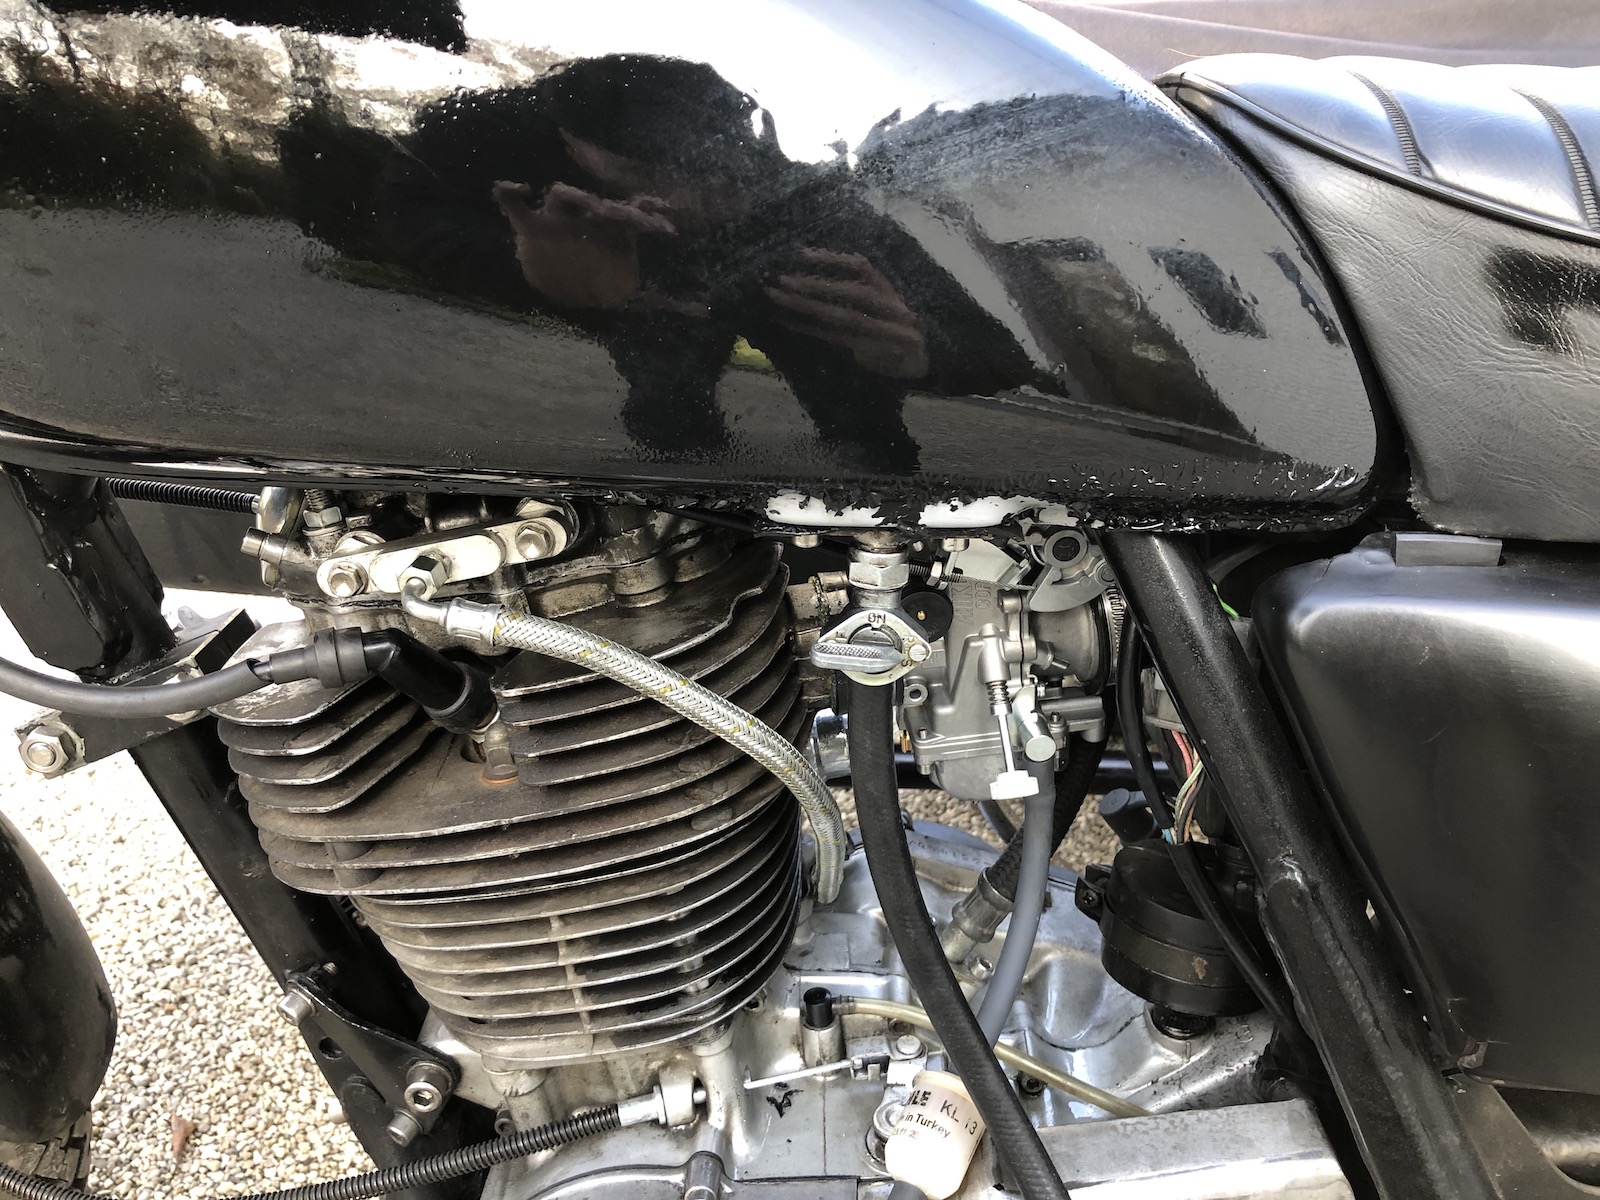
Removed the paint with fire (don't - I am a professional) and then repaint it with 2K-paint.

As I only had spray-can primer, I pre-heated the inside of the tank until was (very) warm to the touch, which made this whole affair doable, even though it was only about five or six degrees above freezing outside.


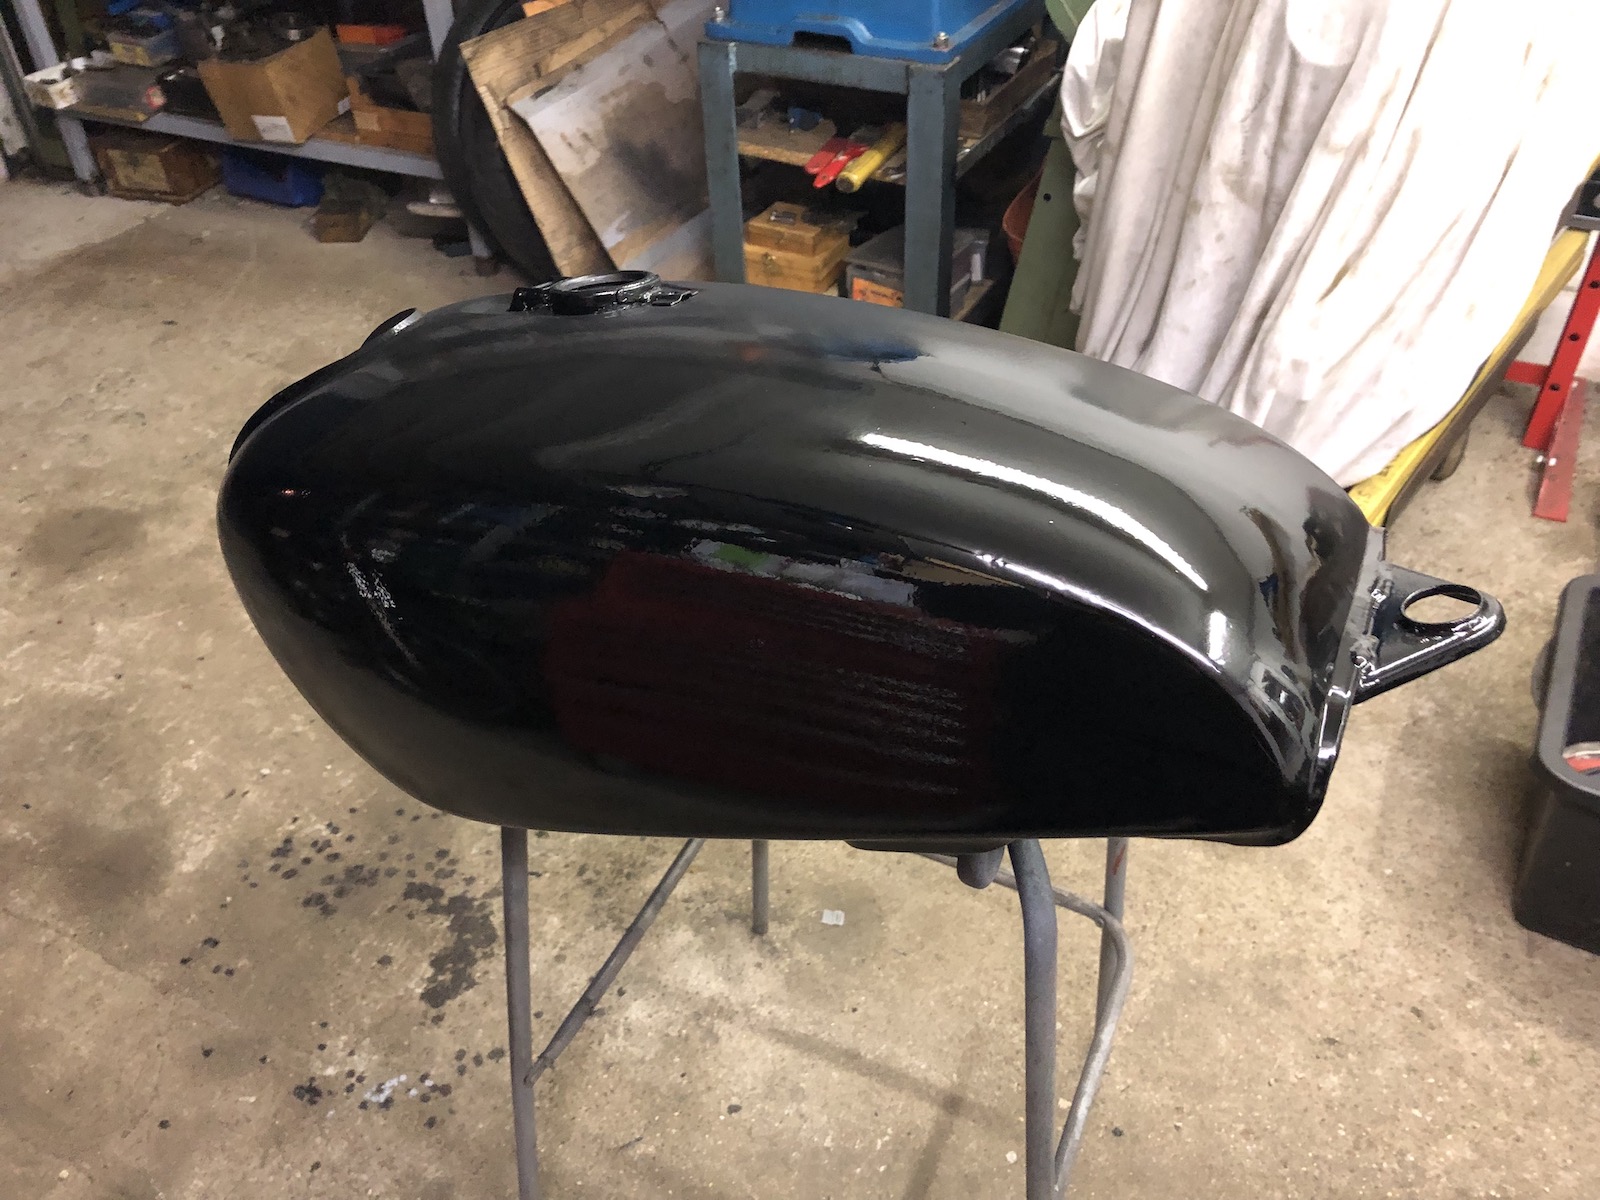
And that's it. Put on some wax and then find out if the new TM36 responds well to my jetting efforts or whether my timing might be off - guess we'll find out. (Oh and for those wondering, yes I am currently mostly working on the Lada, but not quite there to show some updates, as in: lot's of work, yet not quite as much to show for it...)

Little addendum: The carb setup is pretty close, starts nicely and can finally take full speed/full throttle for a while, which makes me quite happy.


Friday, 28 June 2019

Everyday TR1 - carb work and paint

This post is about a lot of things going (rather dramatically) sideways on the old Everyday TR1. This is a story about (new) leaking carbs and paint that tries to fall off more than once. And once it finally stuck on, the petcocks decided to leak and dissolve the paint around them.

Mikuni TM38s over the years have undergone quite some iterations in their design. As it turns out, the newer style floats (left and middle) only offer more buoyancy for as long as they don't fill up with petrol and then are better described as sinks than floats. The older design (on the right) is of rather elegant simplicity and is a direct swap. Only downside: They will fall out of the carb, if you don't turn it upside down, when removing the float chamber.


Older versions used longer studs with o-rings on the end to prevent the floats from falling out, but that is a rather bearable price to pay. Talking about price: They are also substantially cheaper and readily available.


Next, I finally got my wideband lambda (afr) gauge working and instantly put it to good use on the TR1. (It will really shine on the XS-Triple to iron out the last niggles on that, but testing it against a known quantity was meant to give me some rough insights in how (well) it would work).


That's 11.3:1 at idle, which correlates perfectly with my observations: a tad too rich down low and pretty much spot on from the middle upwards.


And then there was a certain someone's brilliant idea to "quickly" repaint the metal bits and make a new rear mudguard. The latter worked just fine, but the paint... different story.


It all started so well...


If you look closely you will undeniable notice quite a few scratches on the new tank. That's because it decided to jump off its painting hook. 


The really annoying part came, when it turned out, that one batch of the clear coat had somehow become chemically incompatible with the paint and started dissolving the affore-mentioned.


Heat gun and scraper: actually works a treat. It made a huge mess, but it was all cleaned up again in about an hour or so. 


The rear mudguard then went on without any notable hickups and looks fabby the way it is. Also if someone is looking for inspiration: The usage of an old (and somewhat hardened) breather tube and R-clamps to route the cable of the rear light on the inside of the guard is to be highly recommended.


Then I decided to make some fresh gaskets to go between petcocks and tank and that's where trouble started again. I specifically used some thicker rubber, thinking that it would seal better than my normal recycled motorcycle innertubes.


Well the next morning I was in for a bit of a fix-it-in-the-morning-before-going-to-work workshop session...


The leakage in itself was bad enough, but after draining the fuel from the tank – I had of course filled the old girl up good and proper...


... the fuel had dissolved the paint. 


More by chance than by perfect planning, I had bought a set of (used) XVS650 petcocks a while ago, only to find that (for my application) the spouts were pointing in the wrong direction. Still, I decided it would be better than nothing.


As is rather apparent in the picture below, this petcock was leaking as well. Luckily this time it was only, because all the gaskets had shrunk quite a bit. Still some rather rude words might have been uttered in my workshop...


A couple hours later the o-rings had swollen back to their regular size and all is well again. Plus there's new filters and fuel lines on the bike.


Next stop: Time to get the exhaust on the XS-Triple built.