Monday, 9 July 2018

Dre-XT-Stück - making her mine (part 2)

Right, so the Summer has come, I have owned the Dre-XT-Stück in my name for more than 2 weeks and still haven't ridden it more than from my dad's place to my workshop and at this point it has mostly been a rather large workshop ornament and agreed it does look somewhat cool, but I don't really have room for more than one two-wheeled conversation piece. (And the Turbo does that job really well. 😹)

One of the first things that needed adressing was to make a choke cable to connect a 43F choke lever with a 2KF (i.e. later model) carb.


The next step was to put the forks back to the correct height, as my dad lowered the front by about 30mm and this resulted in the bike weaving and wobbling at high(er) speeds.

(Oh and sorry for the blurry pictures from here onward, seems like my camera has decided that it had enough EMP-exposure...)


That's a whole lot better:


And the last major bit were some decent (as in not bent) ally handlebars. Nothing special, they actually seem to be rather close to stock and won't rust. I didn't swap the handlebar rubbers, even though they have deteriorated rather badly, because they are rusted in solidly and on some second thought a bit of vibration damping might go a long way.


Other stuff that was done was bend the gearshift lever back (the bike probably had been knocked over at some point), clean up some of the wiring, fitted a bash-plate (that's obviously from another model, so I may have to make my own in the long run and make a (hopefully) better fuel tank mount out of two TR1 dampener rubbers.


And some wind-deflectors (genuine 1992-made Acerbis brush guards) added for bad-weather protection.


So what's the verdict: After turning the mix-screw in to one turn, it actually goes pretty well, fuel consumption is at around 5.2 to 5.6 L/100km after the first 300km and she actually manages a top-speed of 130kph, which is quite impressive as this isn't the 600, but only a 500cc version. I will (wholeheartedly) admit, that this is the most sensible motorcycle I have in my stable at the moment, which also is the reason, why it hasn't really "clicked" yet. Don't get me wrong, it's really good at what it does and it will be quite a tad better with some panniers fitted and probably the seat re-padded a bit (it's rather worn in some areas), but truth be told, overtaking a car on a backroad gets a tad exciting and it is in fact a bit buzzy as you have to keep the revs over 4000 rpm to make good progress. Maybe a 600 engine truly is in the cards, as that should in theory give me the highway capabilities I am looking for.

Sunday, 1 July 2018

The XS Triple Sidecar - swapping out the ignition advancer springs

Thanks to a hint from another XS-triple rider, I found out that the German owners club actually does replacement ignition advancer springs. Now ever since, the ignition had been wandering quite a bit at idle and when hot I could also hear pinging at mid-rpm.


New springs installed, old black springs next to the ignition baseplate. Note: you have to cut them on one side a bit or otherwise you can't hook them into the holes on the flyweights. 


Checking up on the eyeball-timing I did at my mate's place and as you can see, the timing is so stable now, you can even take photos of it. 


And as I had the tools out anyway, I bent the bulb holder of the taillight a bit tighter, so the rear light would stop flopping around. 


Only downside to all of this: Now I really gotta tackle the carbs again. BUT I have an absolutely solid idle now.

Sunday, 24 June 2018

The new TR1 engine - Measuring the squish height (part 23)

Alright, it's exam time and what would be better suited to help me with learning for my exams than establishing some base data on the engine I have been building for literally FOREVER.

But first I had to retap the cases for the starter. With the aid of a little jig I made in the lathe it was pretty easy to hit dead-center, drill it and tap it.


Also in this picture: The oil-pressure-switch. It's the standard M10x1.00-threaded (opening at 0.9 bar) unit as used on a plethora of Volkswagens. Be aware there's two of them, blue and grey ones, one being a closer and one being an opener.


Now with that out of the way it was well about time to put the engine onto the other workbench and get the measuring clay aka. kid's plastilin out.

Install the headgasket, put on the head, turn the piston back from TDC and then give it a full revolution. 


If the amount of clay was sufficient, you wil have an impression of the combustion chamber on the clay.


Cut back the clay to the areas you really want to measure and fire away with the vernier caliper. In my case I ended up with 1.64mm as the tightest spot. I aim for just shy of 1.00mm, so that means this cylinder has to be shortened by 0.65mm. You then repeat the same procedure on the other cylinder.


The same method can also be used to inspect the piston-to-valve clearance, which can become interesting when you either run cams with more lift or bigger valves or a combination of both. It's the classic case of knowing what you can get away with. The next post in this series will give you an insight, why you haven't heard from me in quite a while, i.e. stories of carnage. I have a few ideas on how to rectify the situation, but I haven't fully come to a decision as of yet.

Wednesday, 13 June 2018

The XS Triple Sidecar - fixing the sidecar up for roadworthyness inspection

Normally fixing up a winter-sidecar means frantic hacking away on various rusted bits and bobs, but as I had already done most of that, this time it was about swapping out some rusty bolts, chamfering the brake pads, swapping the front tyre for a slightly less bald one.


One of those things was the lower clutch adjuster. It had fallen out on one of the very first test rides and was replaced with a spare M8 bolt I had with me...


It's a good idea to oil a clutch cable BEFORE it goes stiff, and a bit of old engine oil is perfect for the job.


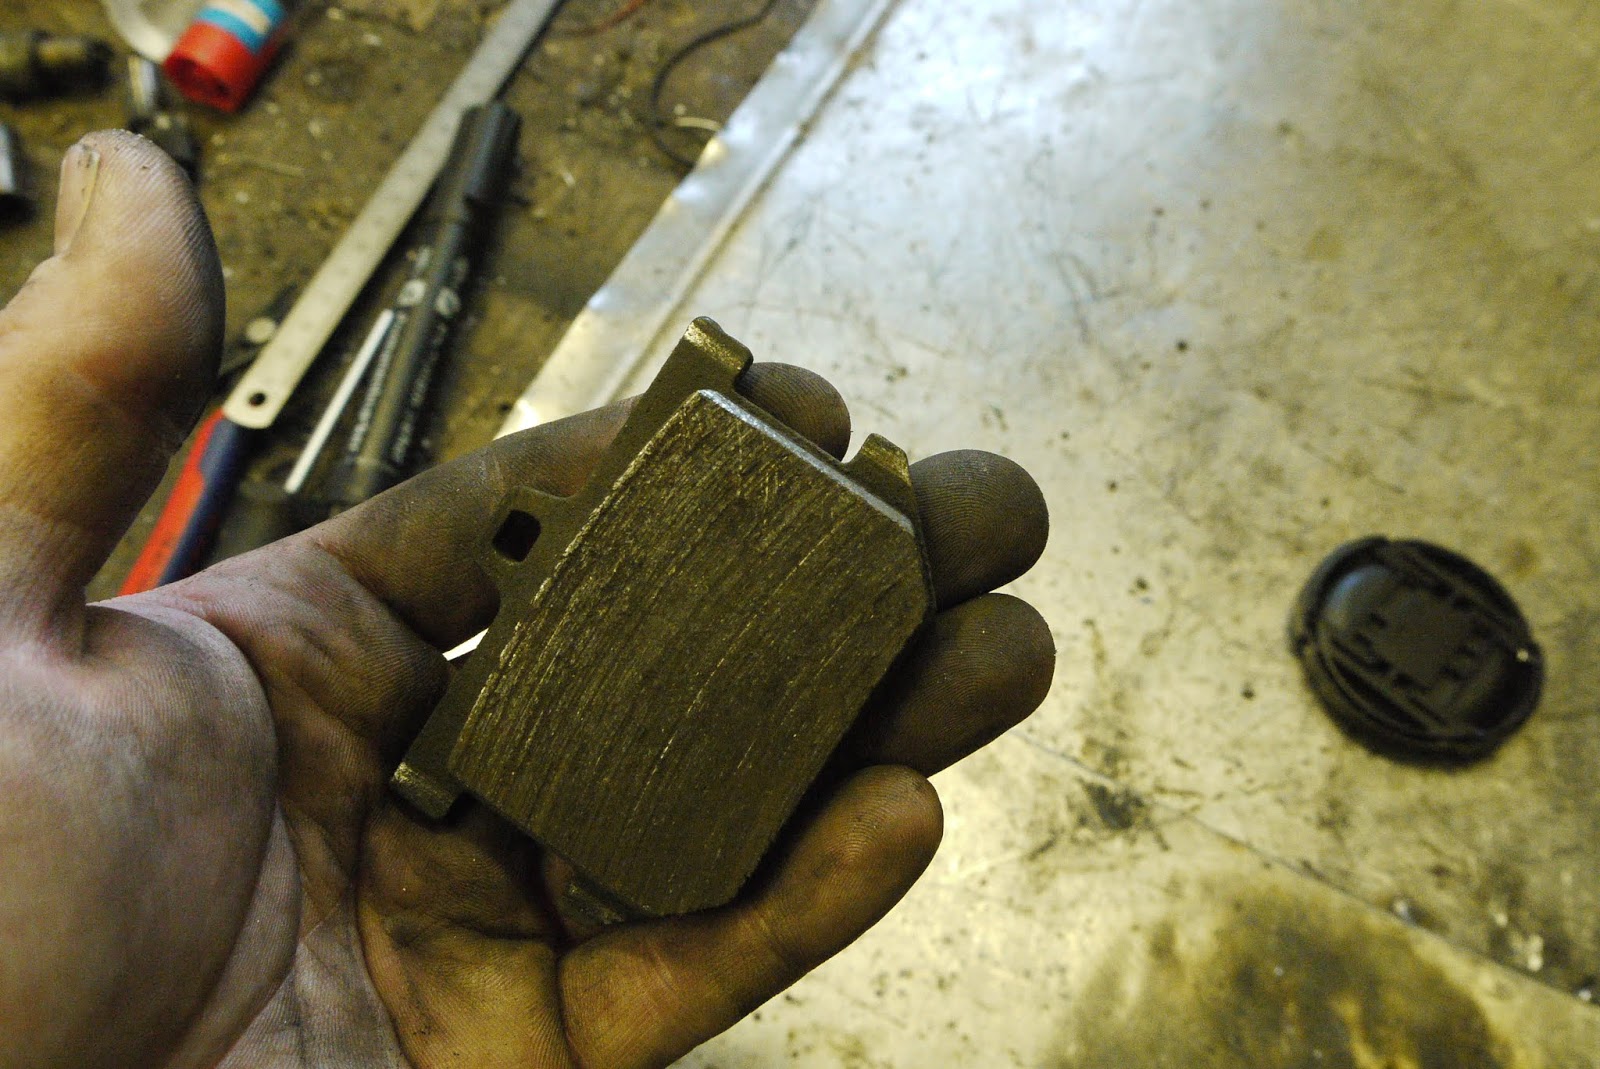
I always chamfer my brake pads as it prevents them from squealing. Especially these cheap ones are very prone to that. 


The speed cable may be rusty on the outside, but oiling it up in Autumn paid its dividends.


The bald front tyre was replaced with a super fine Pirelli Gordon specimen from the late 80ies. It's harder than a rock, has plenty of tread left and no hairline cracks. (Watch this space in two months, when it will look like I've dug it out of a swamp or the like, as they perish very quickly once re-exposed to UV-light.)


I was totally prepared to replace the rear tyre as well, but that super flat Block C has still got some life left in it. 


The last thing to tackle was to weld up the muffler inserts, as I had only tacked them in, when I took them out earlier in a vain effort to find some of the missing horsepower. (It was some well clogged pod-filters!)


As the old girl sometimes struggled a bit with starting I deduced, that (just as on my first XS-triple) a lack of grounding to the right handlebar switch resulted in bad starting at times.


Another thing that I had spent a lot of time contemplating on, was how to solve the lack of a lock to hold the seat in place. I've come up with beautifully elaborate solutions with milled, turned and welded parts of finest stainless or 6000-series aluminium alloys. But in the end a simple R-clip and a hole will do the job almost as fine and the amount of time invested was, as I have to admit somewhat more reasonable.


The sidecar passed the inspection with flying colors, which also means, as soon as the mule is sorted out, I can tackle the mods I have planned for the sidecar, which are: different exhaust setup (angled up a bit so I can swap the rear wheel, without removing the exhaust) and a slightly altered rear-subframe.

Wednesday, 6 June 2018

The new TR1 engine - a fixture for shortening cyllinders (part 22)

Before we get into the matter at hand, let me show you a result. Some people asked me, what kind of finish could be achieved with such a big and heavy flycutter on such a small and puny mill. A pretty shiny one, if I may say so.


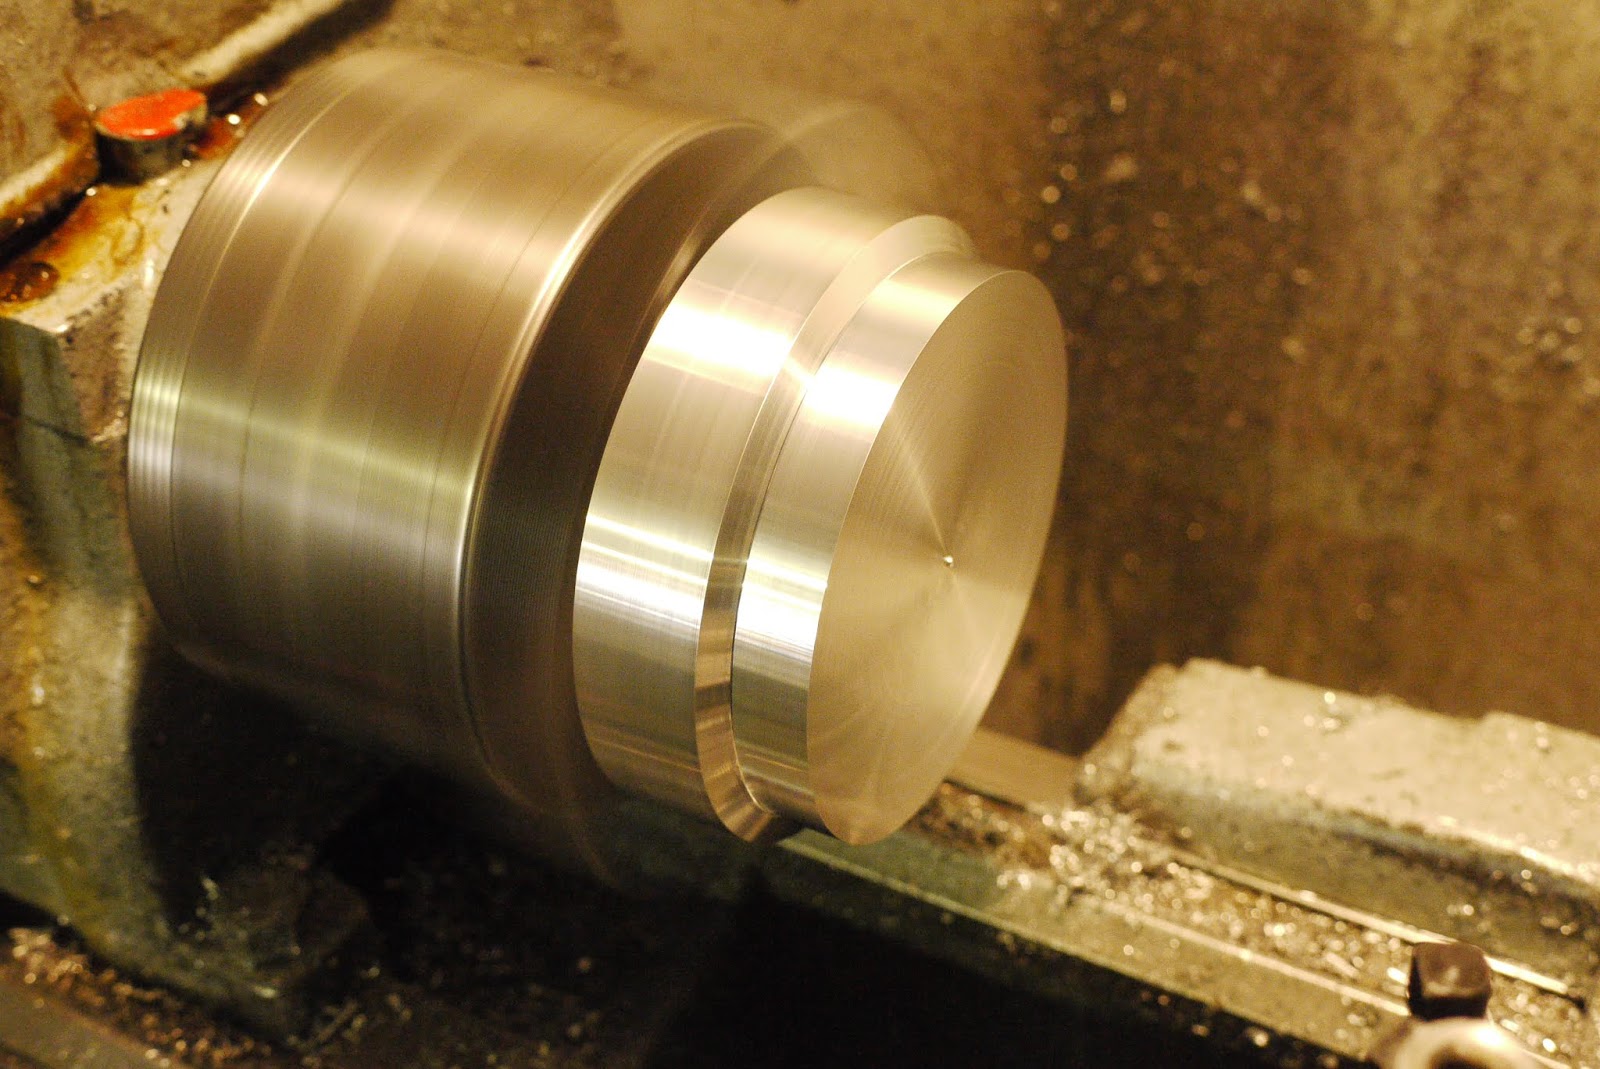
What was needed next was a means to hold the cylinder in the lathe. (More on that later!) This was finally the time to REALLY chase the accuracy of my lathe. I ended up with two plugs that would almost seal the bore and would only go off with a slight. *plopp*


Looks good doesn't it and it over the lathe's bed. Well, not so fast... as it doesn't clear the outriggers of my support.


So what you will see in the next installments, is on the one hand establishing the missing base data regarding the squish-height, which in turn defines the amount of material to be removed from the cylinder foot and on the other hand tooling up even further to get my rotary table working with the chuck I have for it.

Friday, 1 June 2018

The new TR1 engine - welding up and machining heads back down (part 21)

Now you can't make an omelette without breaking a few eggs (a lot actually). With the fixture done, the next step was to put it to good use. But first a base-value for the cylinder head volume had to be established and yes, a TR1 head has actually got a chamber volume of 54cc.


To maintain repeatability, I marked out the lines I wanted to meet on a headgasket.


Welding the heads up with MIG and a spool of AlMg5 is messy, but works beautifully. It has to be noted, that you get so much heat into the heads that pre-heating had little effect on the final outcome as I found out on some test pieces.


One of the locating dowels was one hell of a stubborn b*st*rd, but it had no chance against a TIG used in anger and a bolt. (Some hammers and rods were part of the equation as well...)


Pre-heating the head on an old hot-plate.


The first head was milled to size before flycutting, but it turned out, that it was easier to first skim the head and then mill the wedge to size, as this helped a lot with accurately aligning the head gasket with the cylinder head.


No photoshop trickery here: With a nicely balanced flycutter, a large flightpath and high rpm a nice finish was really simple to achieve.


CC'ed the new chamber and et voila: 47 to 48cc. Which means, now I will end up with the same 10.5:1 compression ratio as with 750 heads. 


At the time of this posting another set of cylinder heads will have been fabricated as these had a little more material removed than I would have wanted as the heads themselves were a bit warped. This unfortunately also means, that the piston to valve clearance is reduced, which is not a big issue with stock cams and stock squish-height. Two other issues that will be addressed very soon in the course of this build.