Sunday, 7 August 2022

The SR500 sidecar - What needs to be done? ALL of it. (Part 2 of 2)

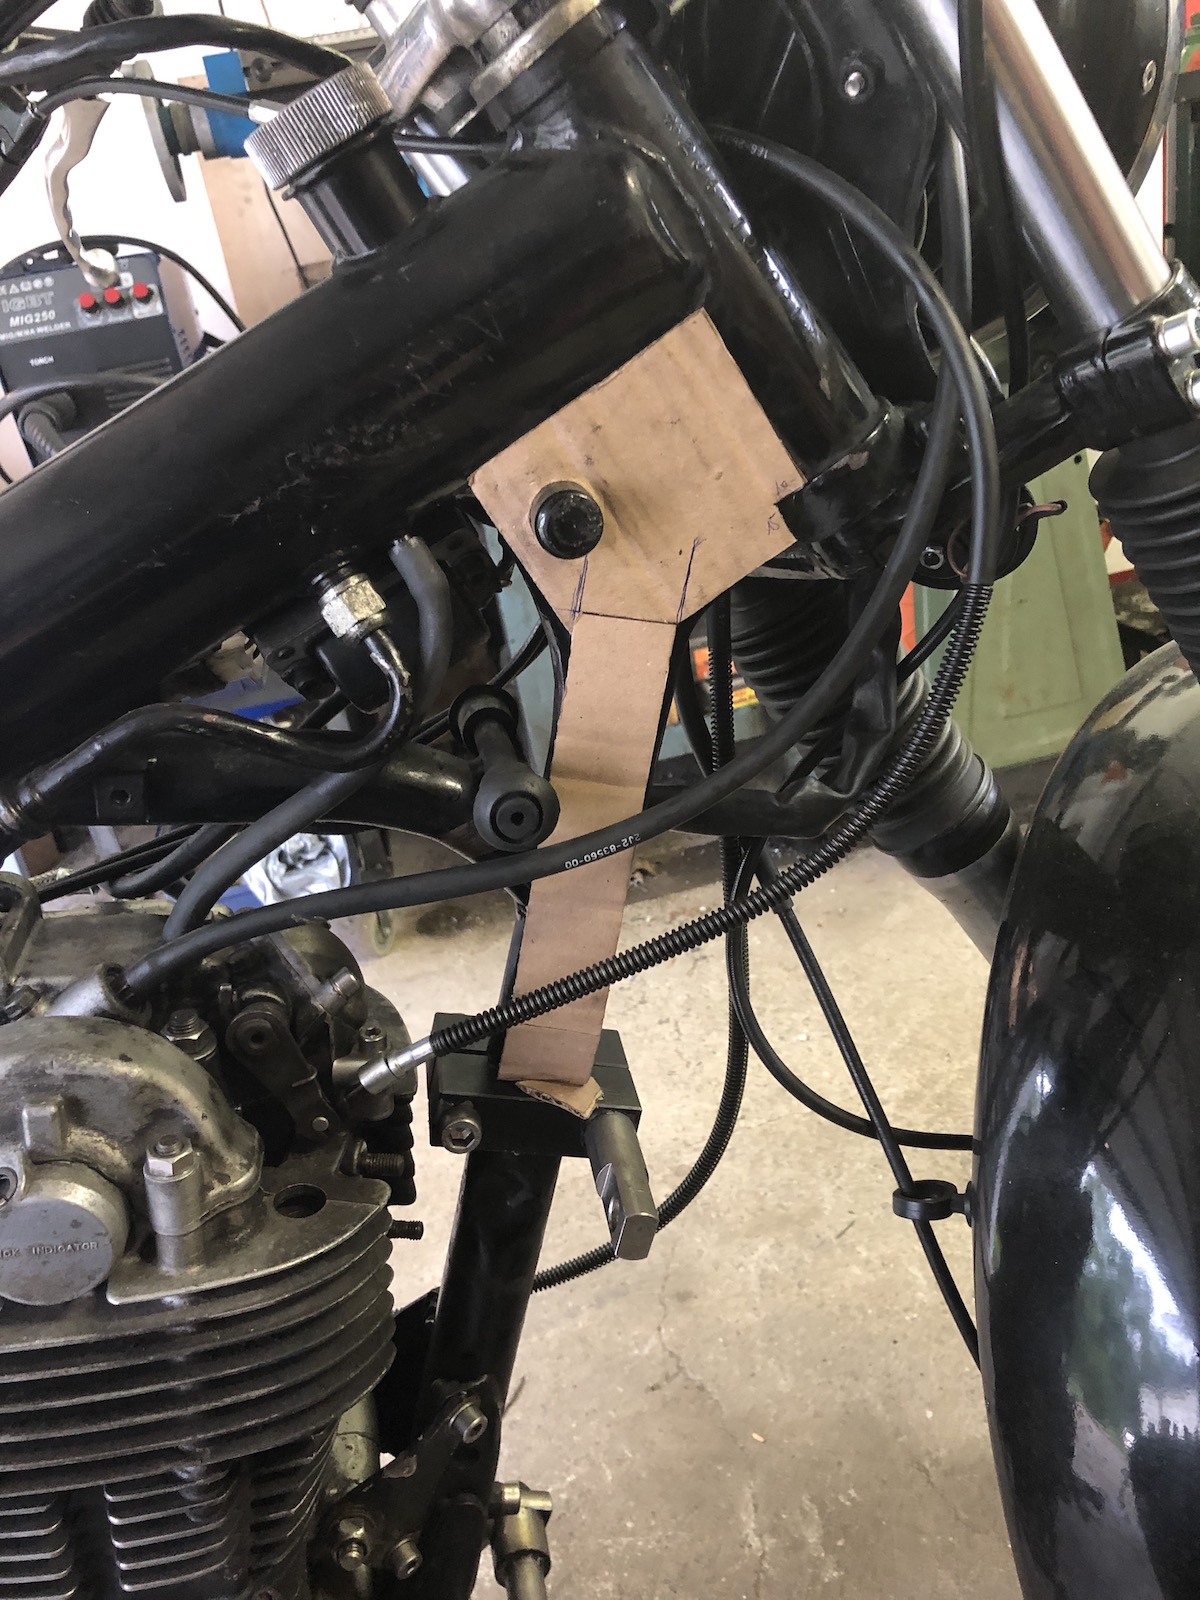
Procrastination is a term, which describes behaviour or more specifically a set of actions undertaken to avoid doing something else. I knew, I had to make some reinforcement plates for the steering head, yet I also dreaded the thought of making them and/or welding them on. (Not sure, which aspect I thought was worse, but they both were rather scary for me.)

So I started with a bit of cardboard and a rather basic shape. (Top tip: if you need a round hole of a certain size, take a small hammer and a nut and just tap the cardboard, that'll cut a perfect hole into it.)

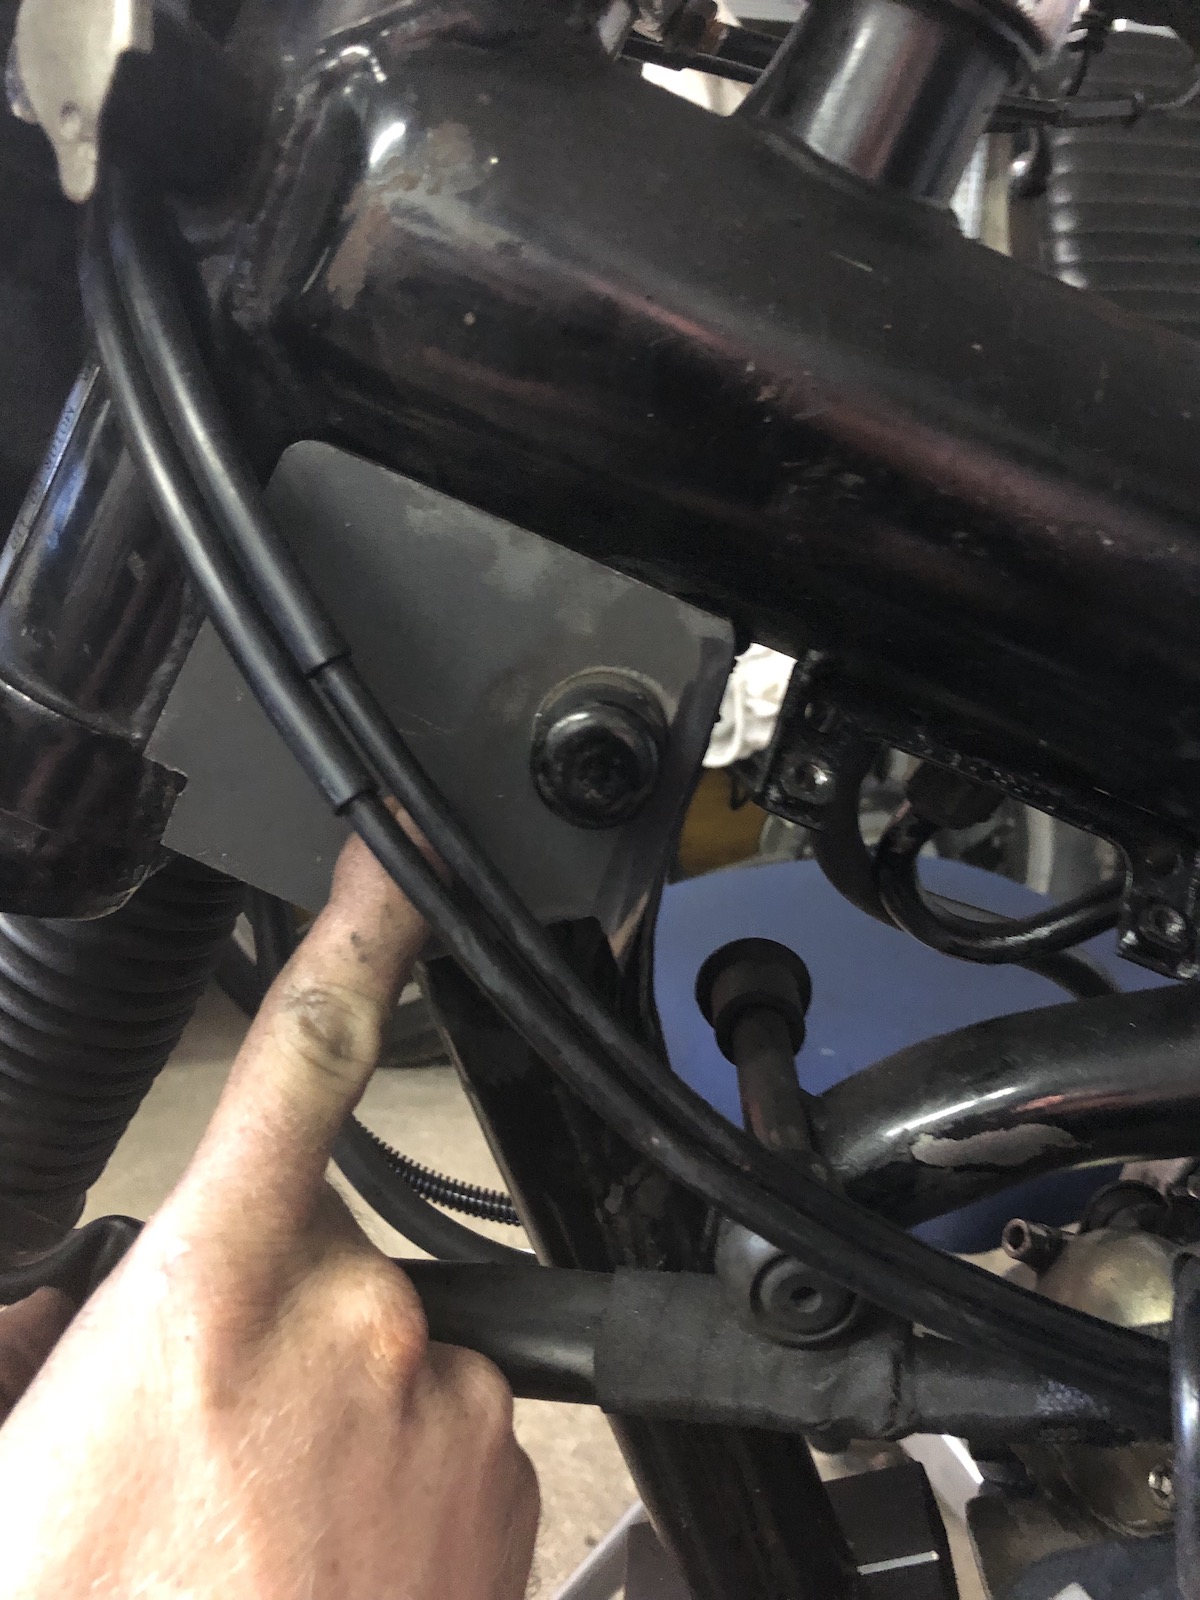
That's the position determined and from here onwards just slowly add all the shapes and cutouts.


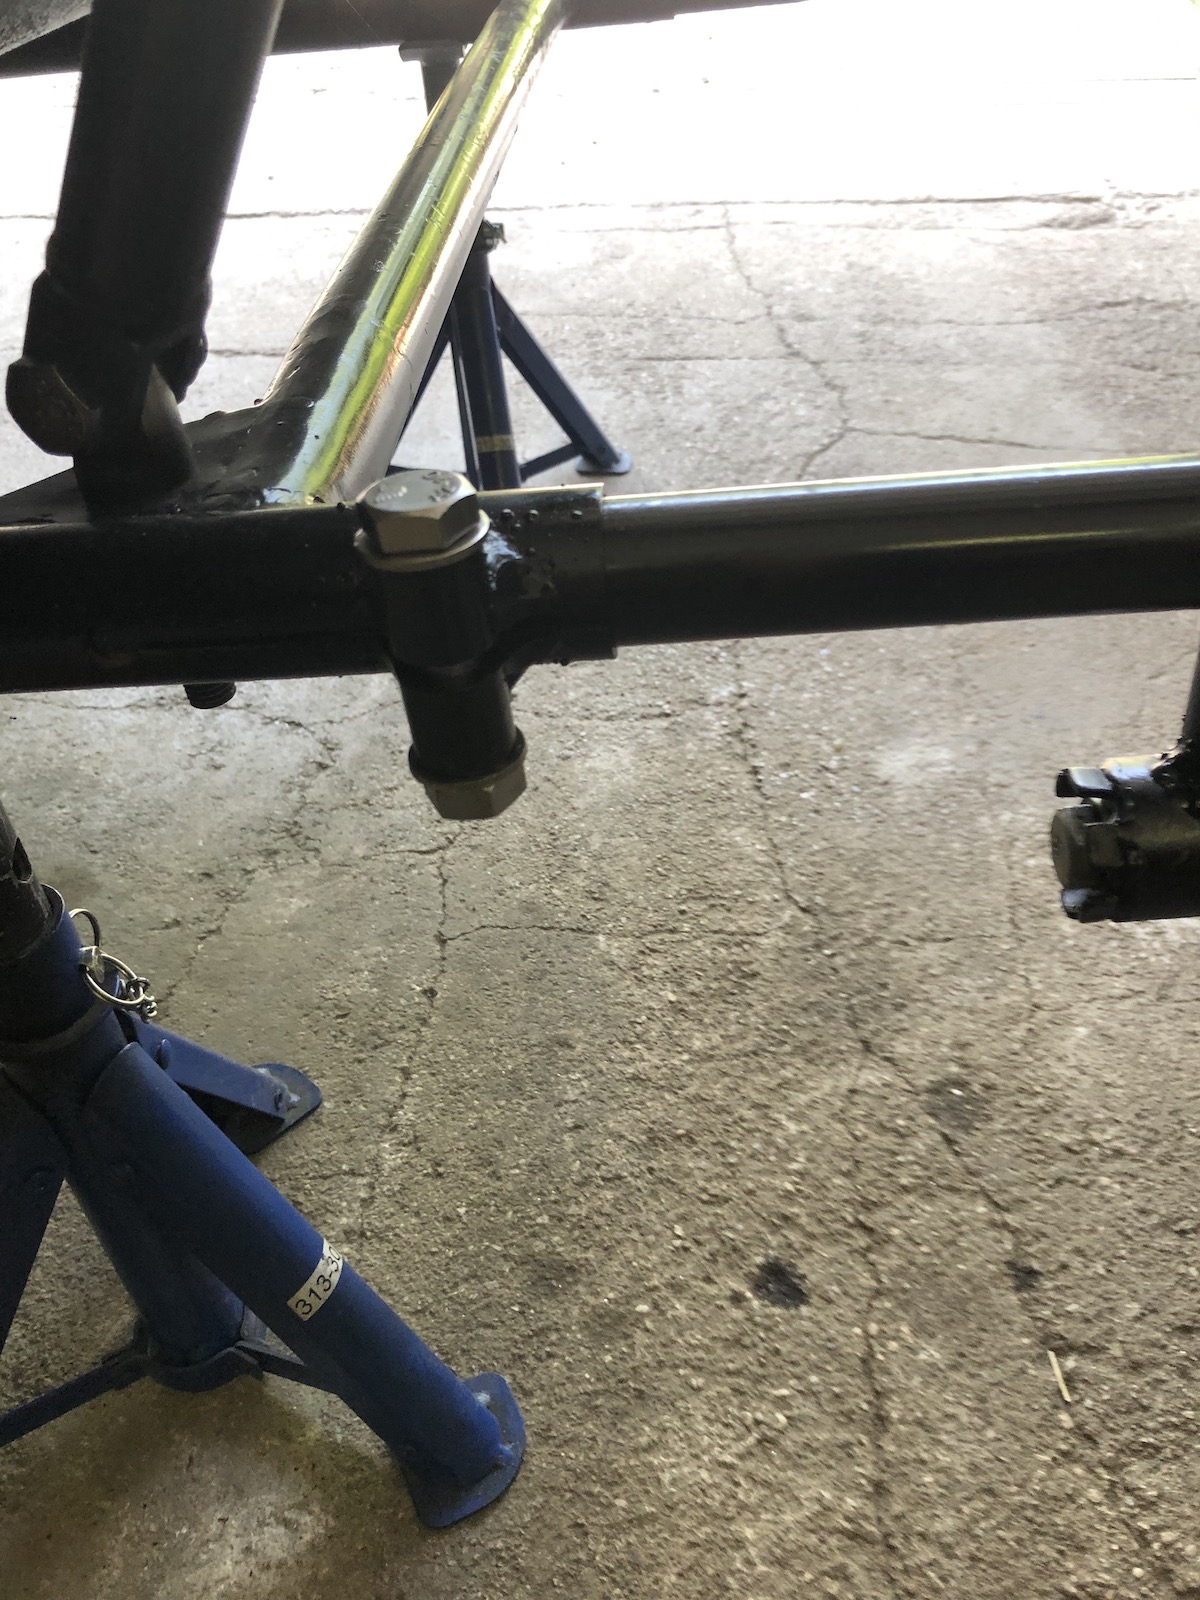
I left an about 3-4mm gap to my upper sidecar mount as I wanted to have some room for welding.

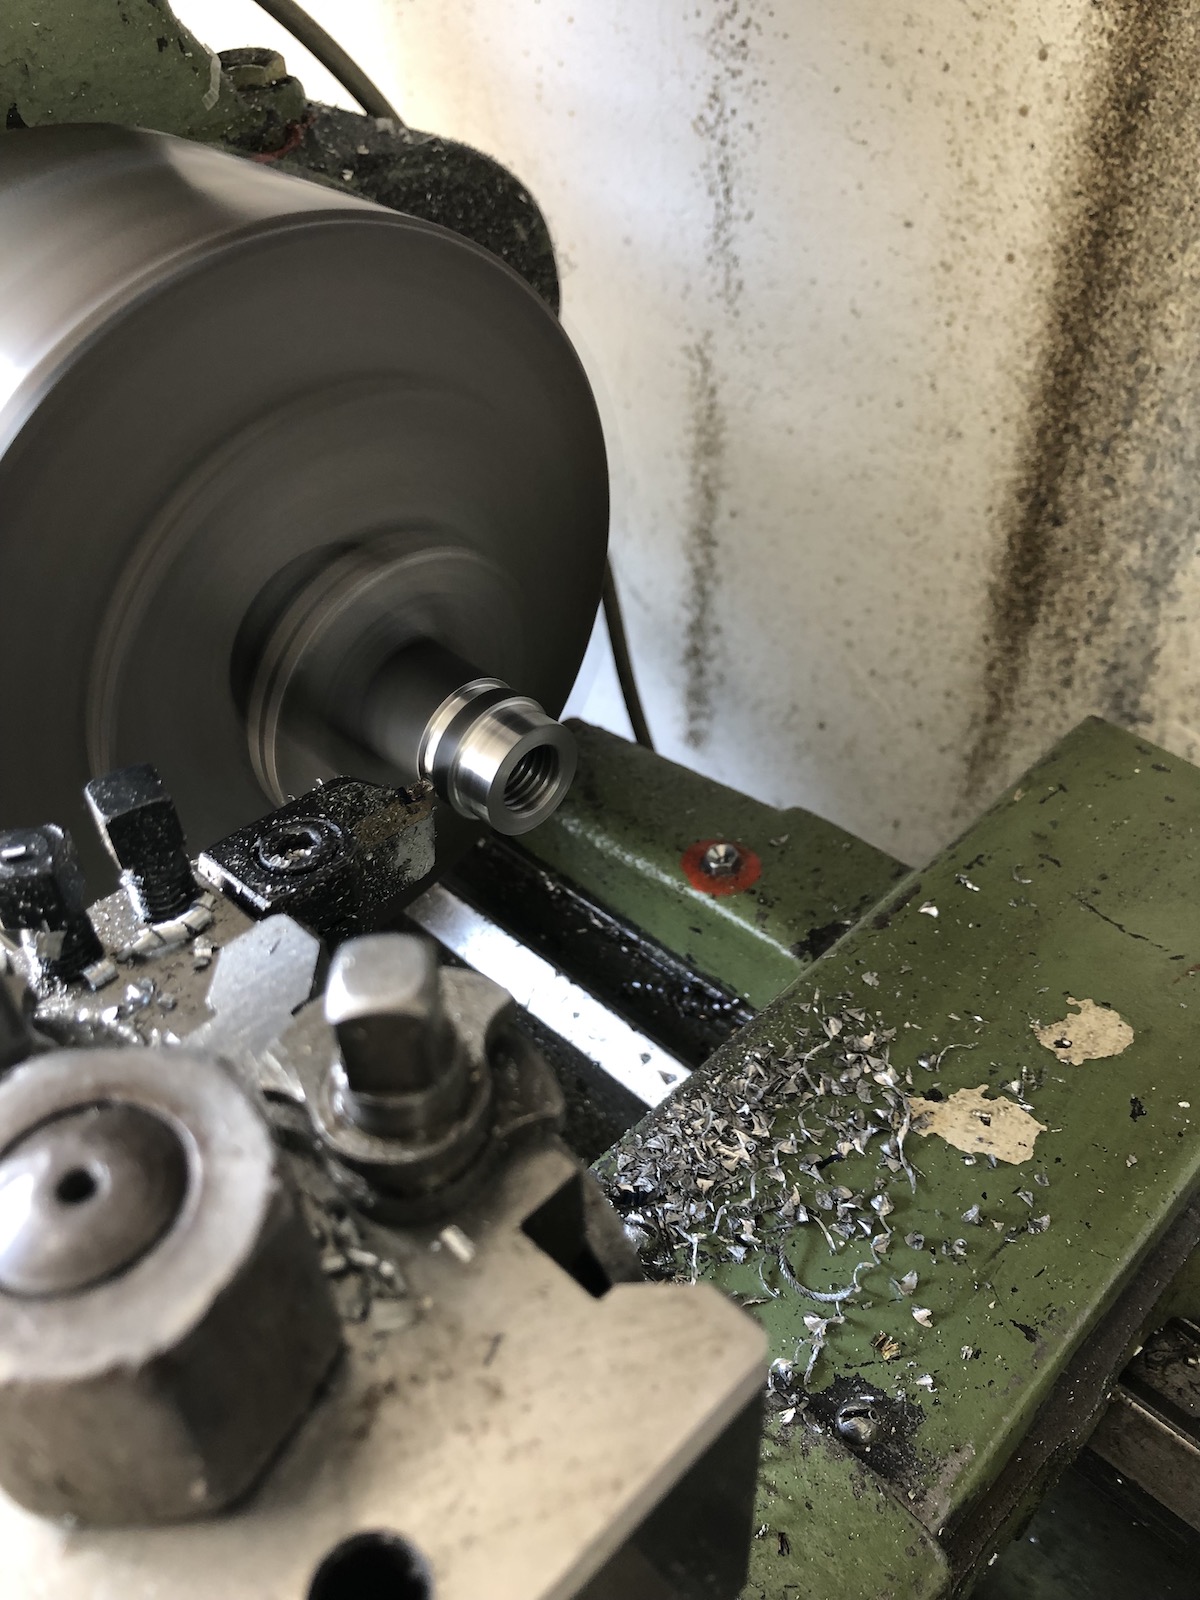
The fabrication side of things wasn't too challenging and in order to produce two (close to) identical plates, I welded both future headstock plates (3mm thickness) together and started to machine them.


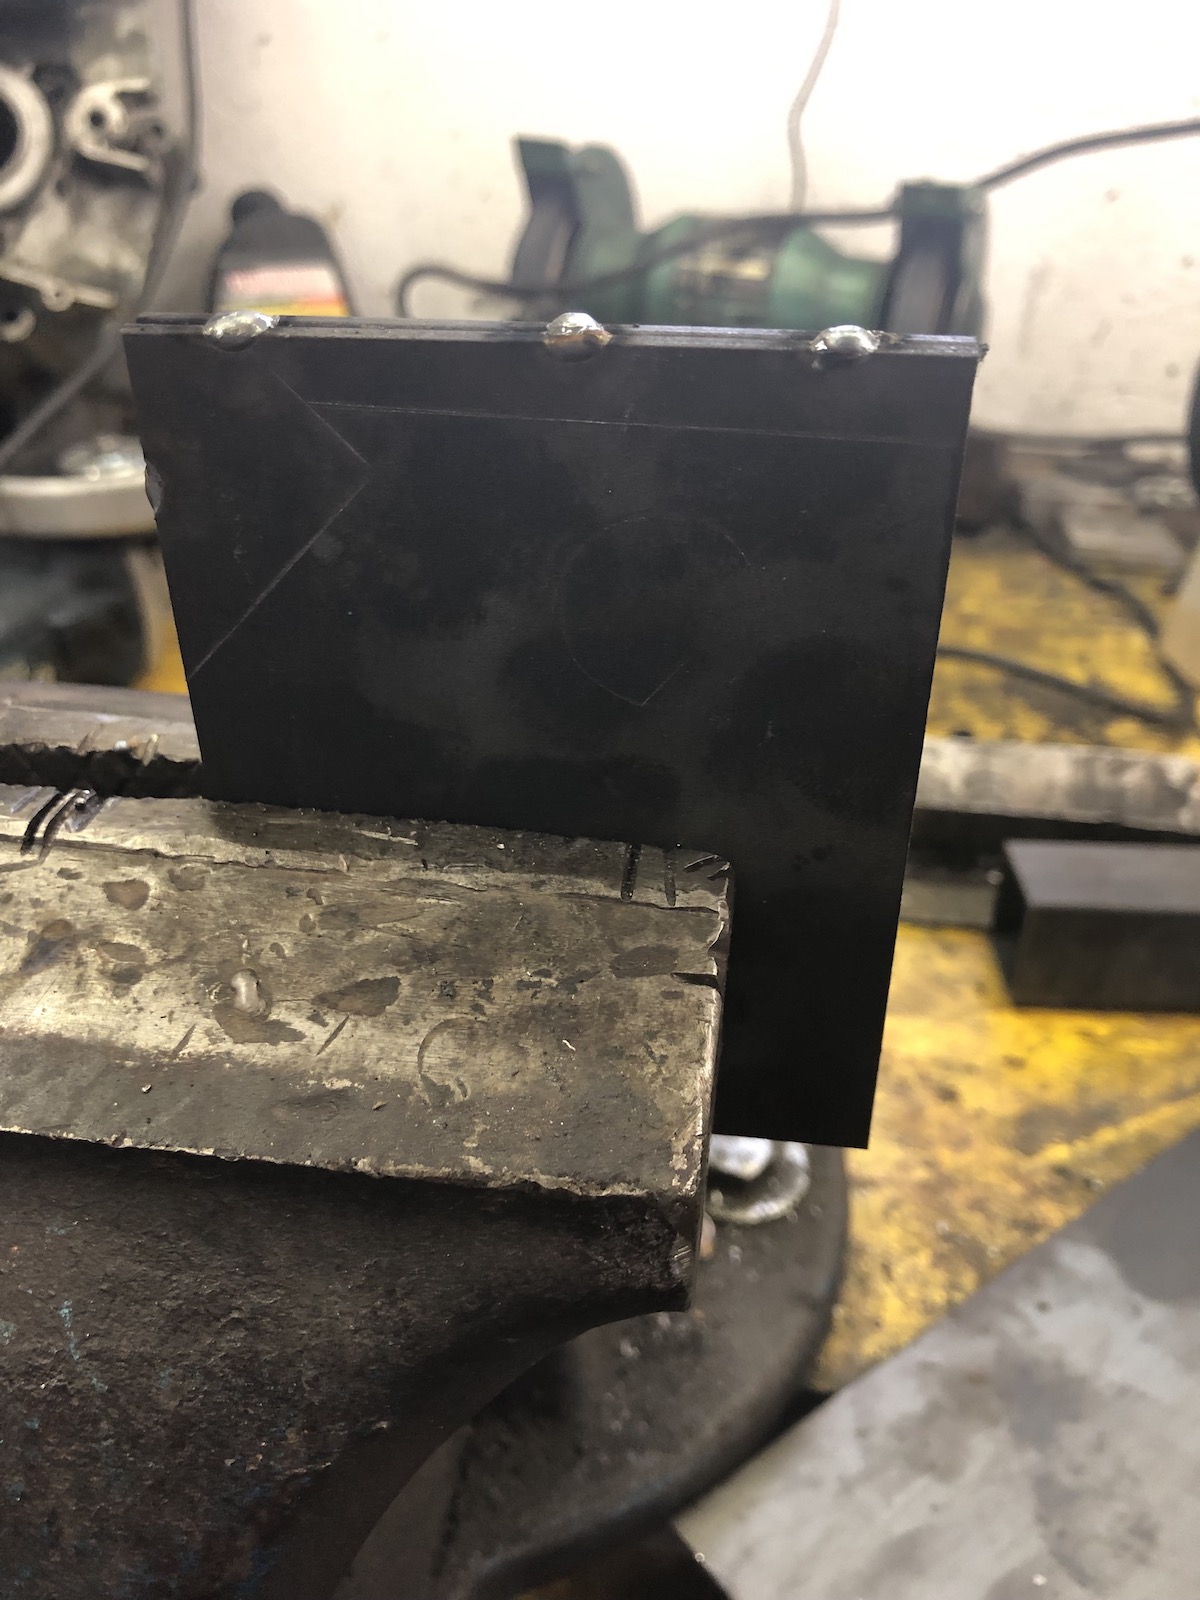
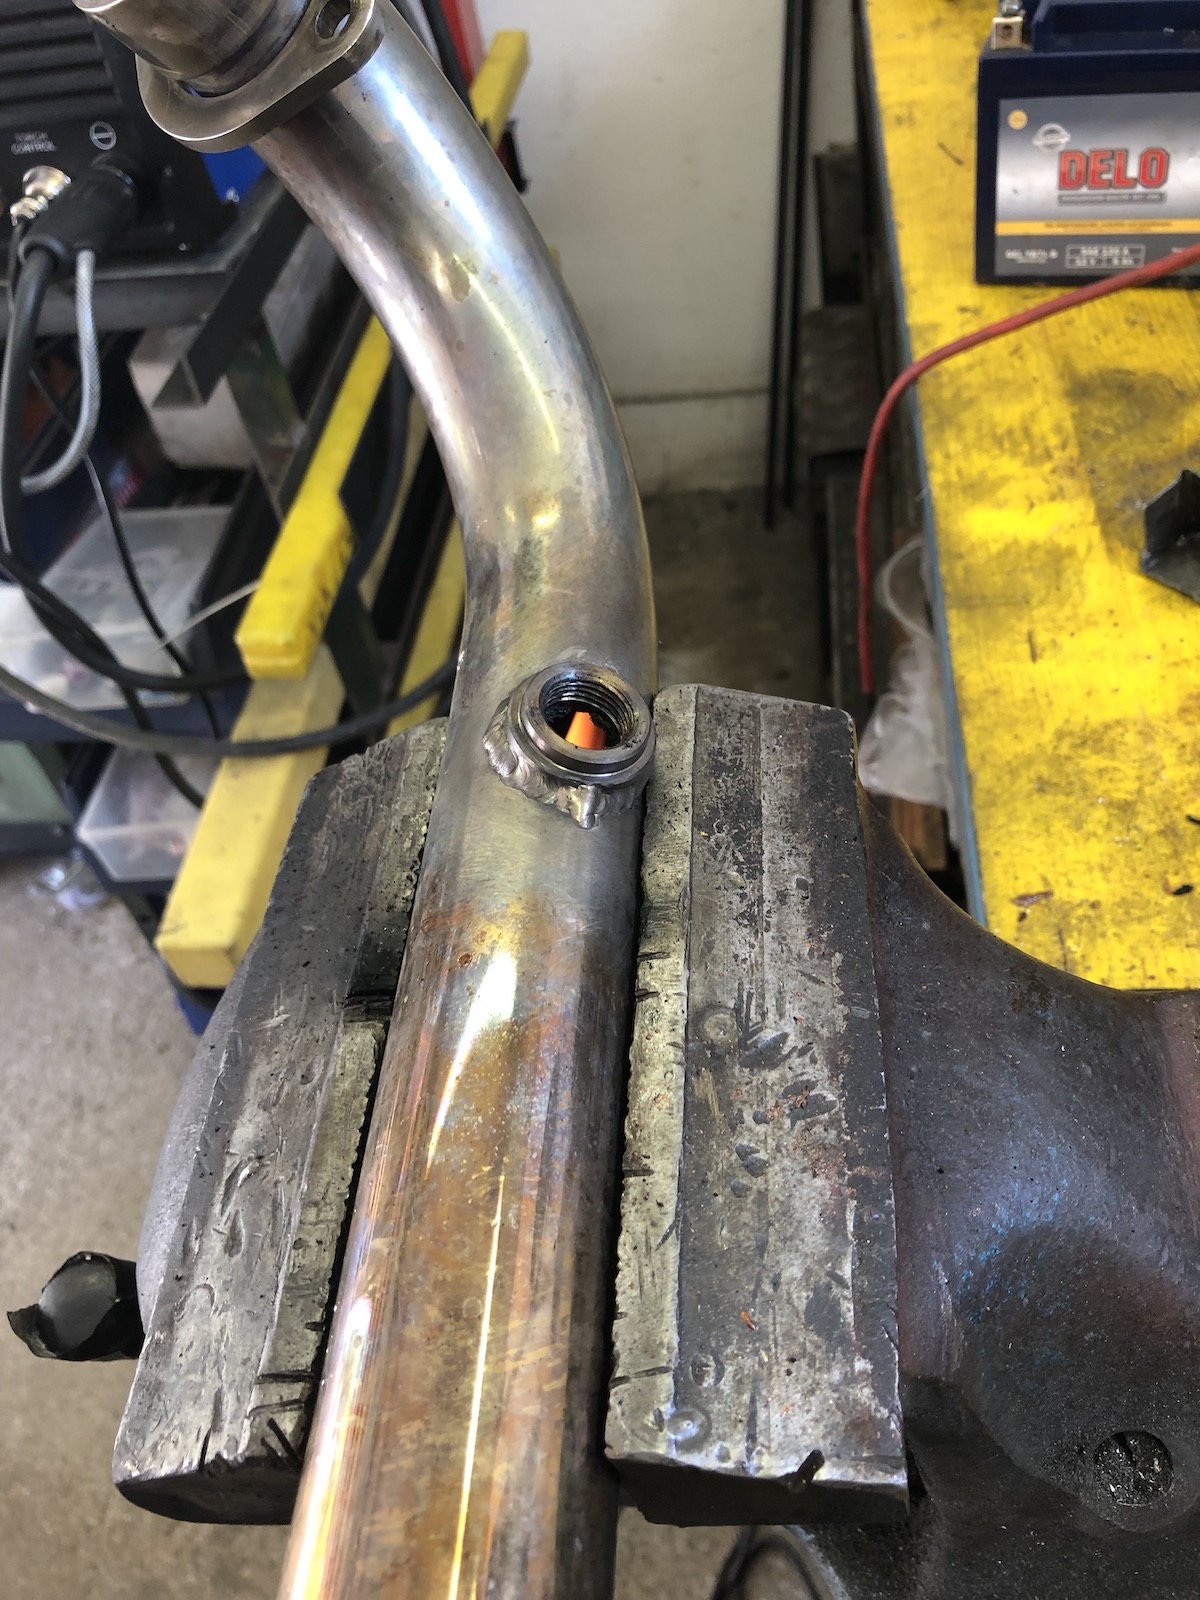
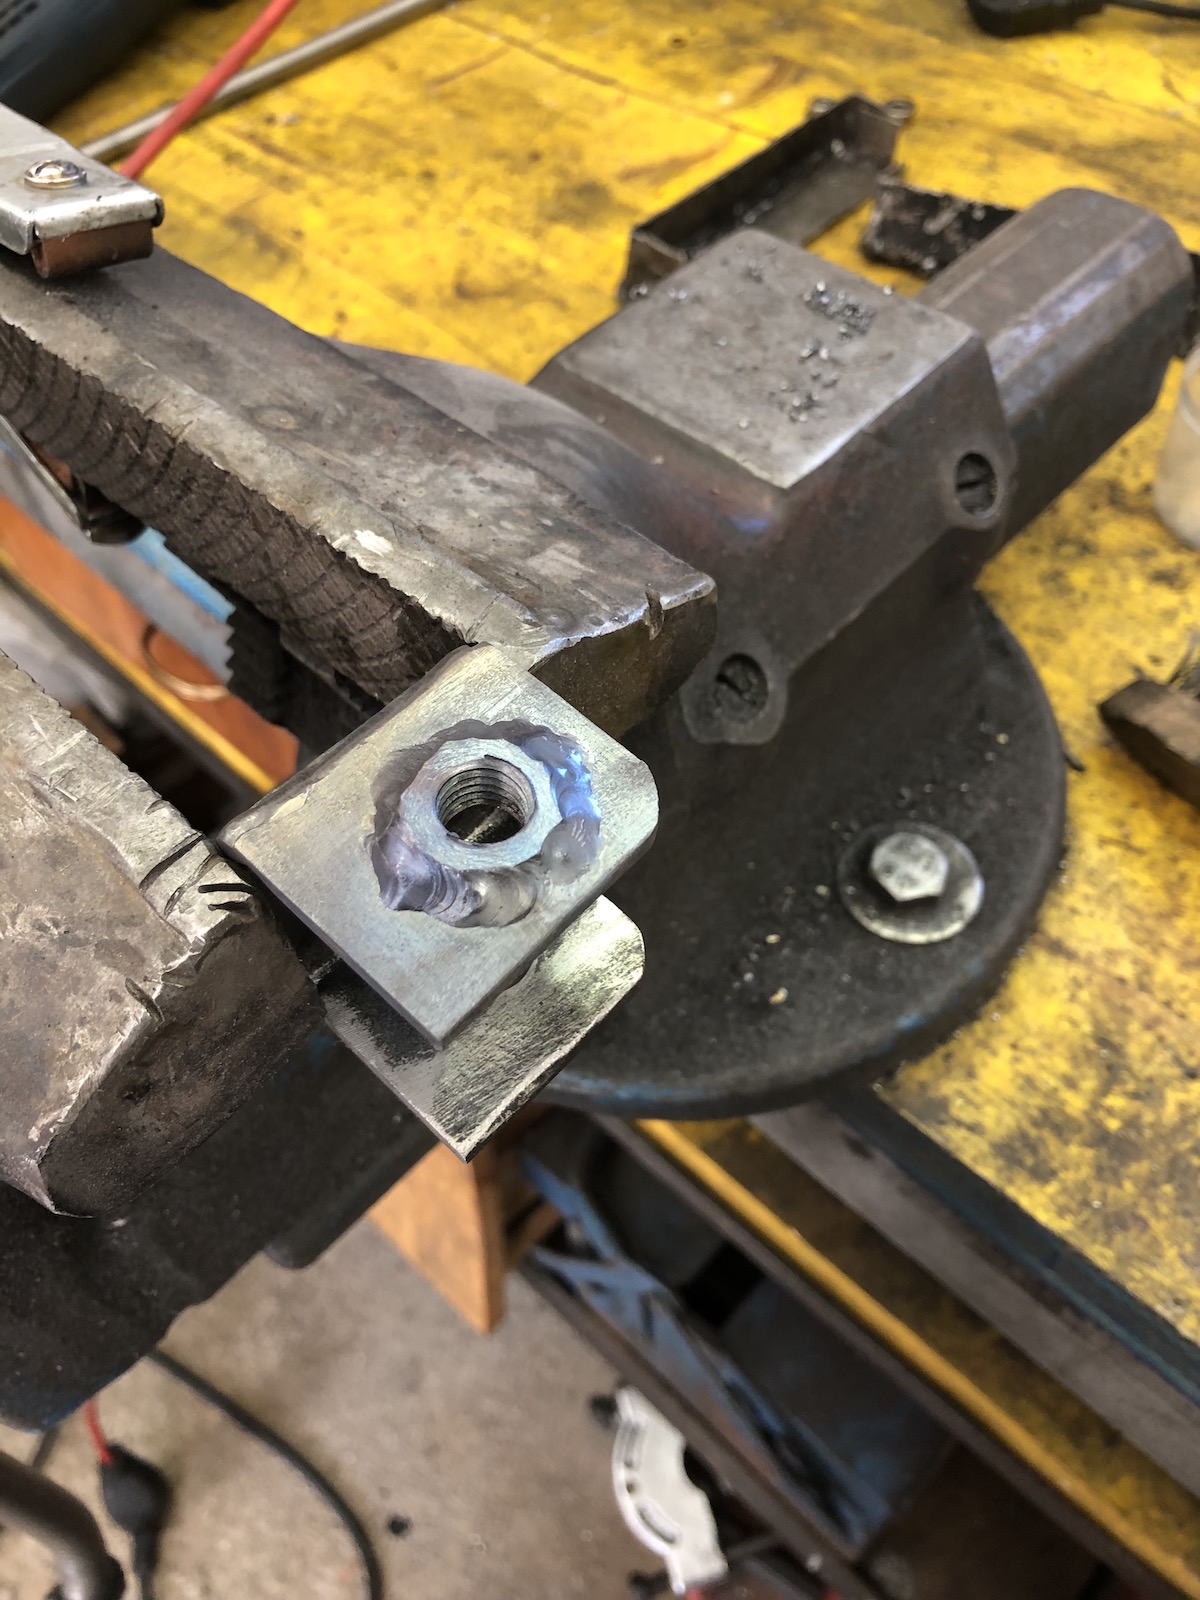
Welding time - warning these are no Instagram/weld channel welds and admittedly I am not very happy with the way they look. BUT they are definitely functional and to be honest that's what counts. 


Admittedly these pictures were taken before I did even the slightest bit of cleanup on those welds, not even a wirewheel and at least the spot welds and the seam between the two plates was later ground flat.

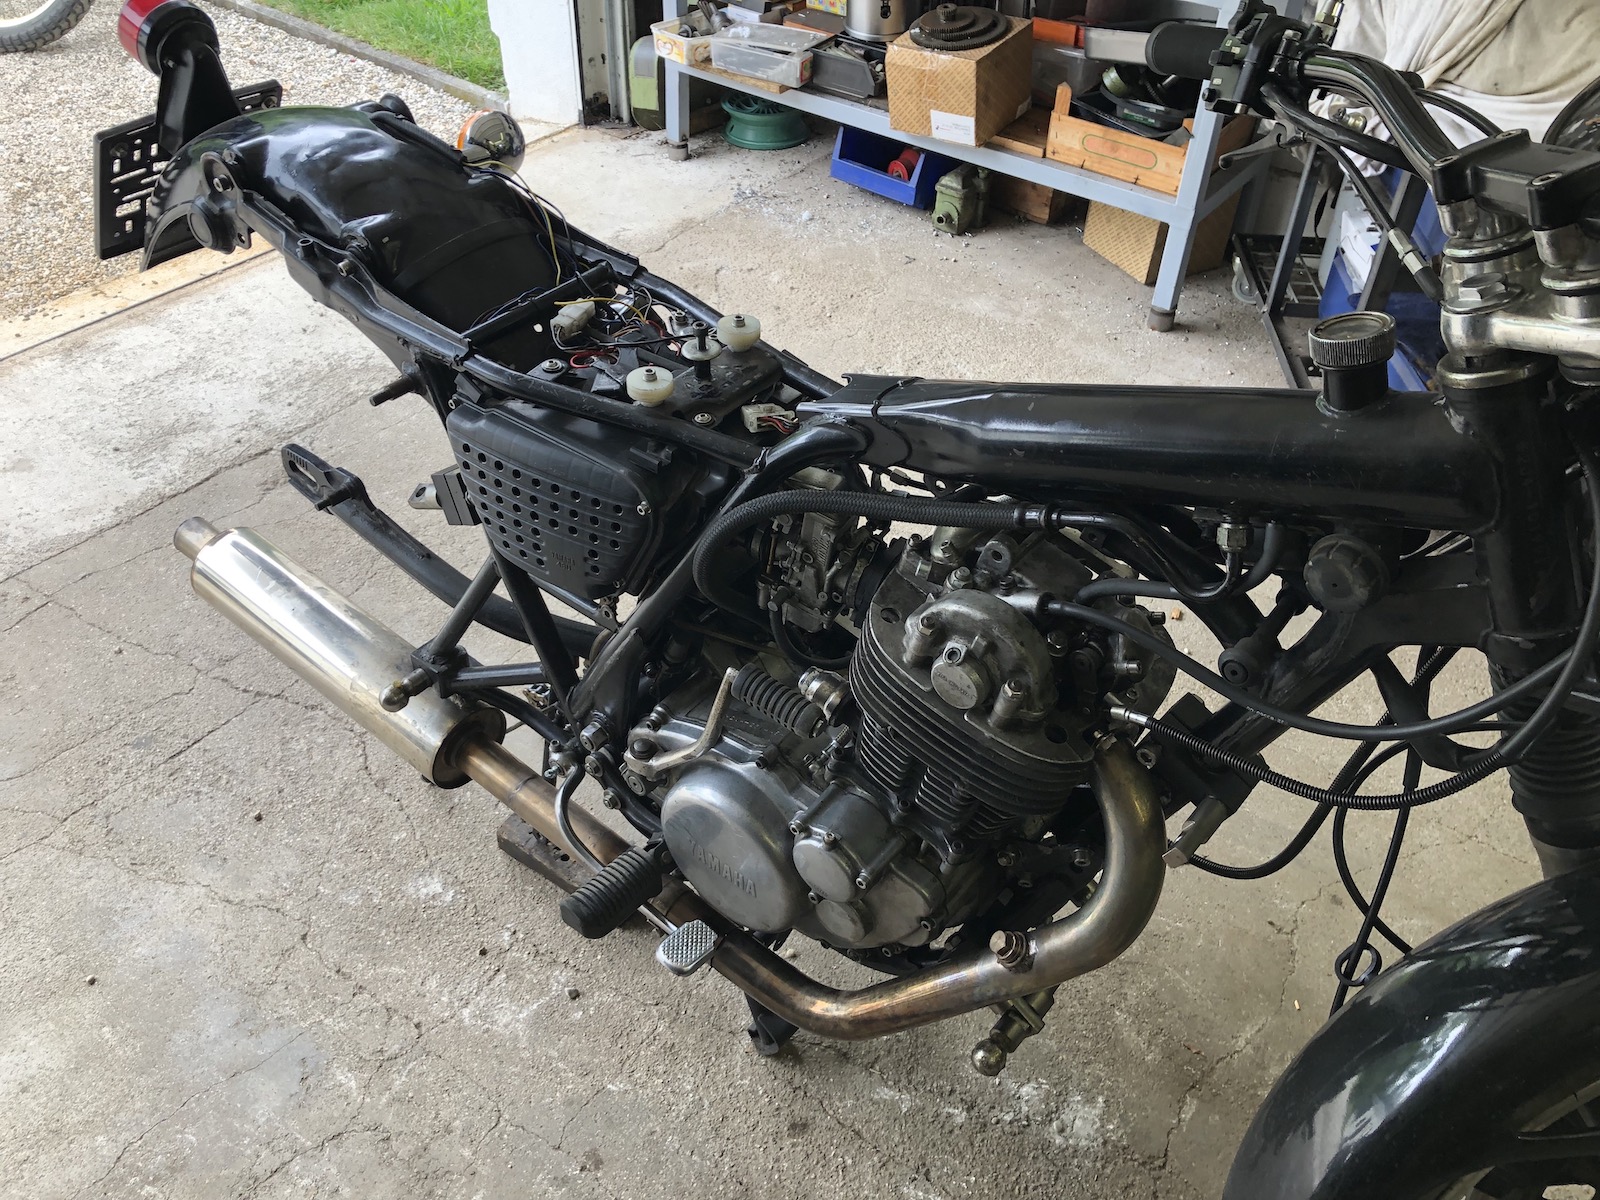
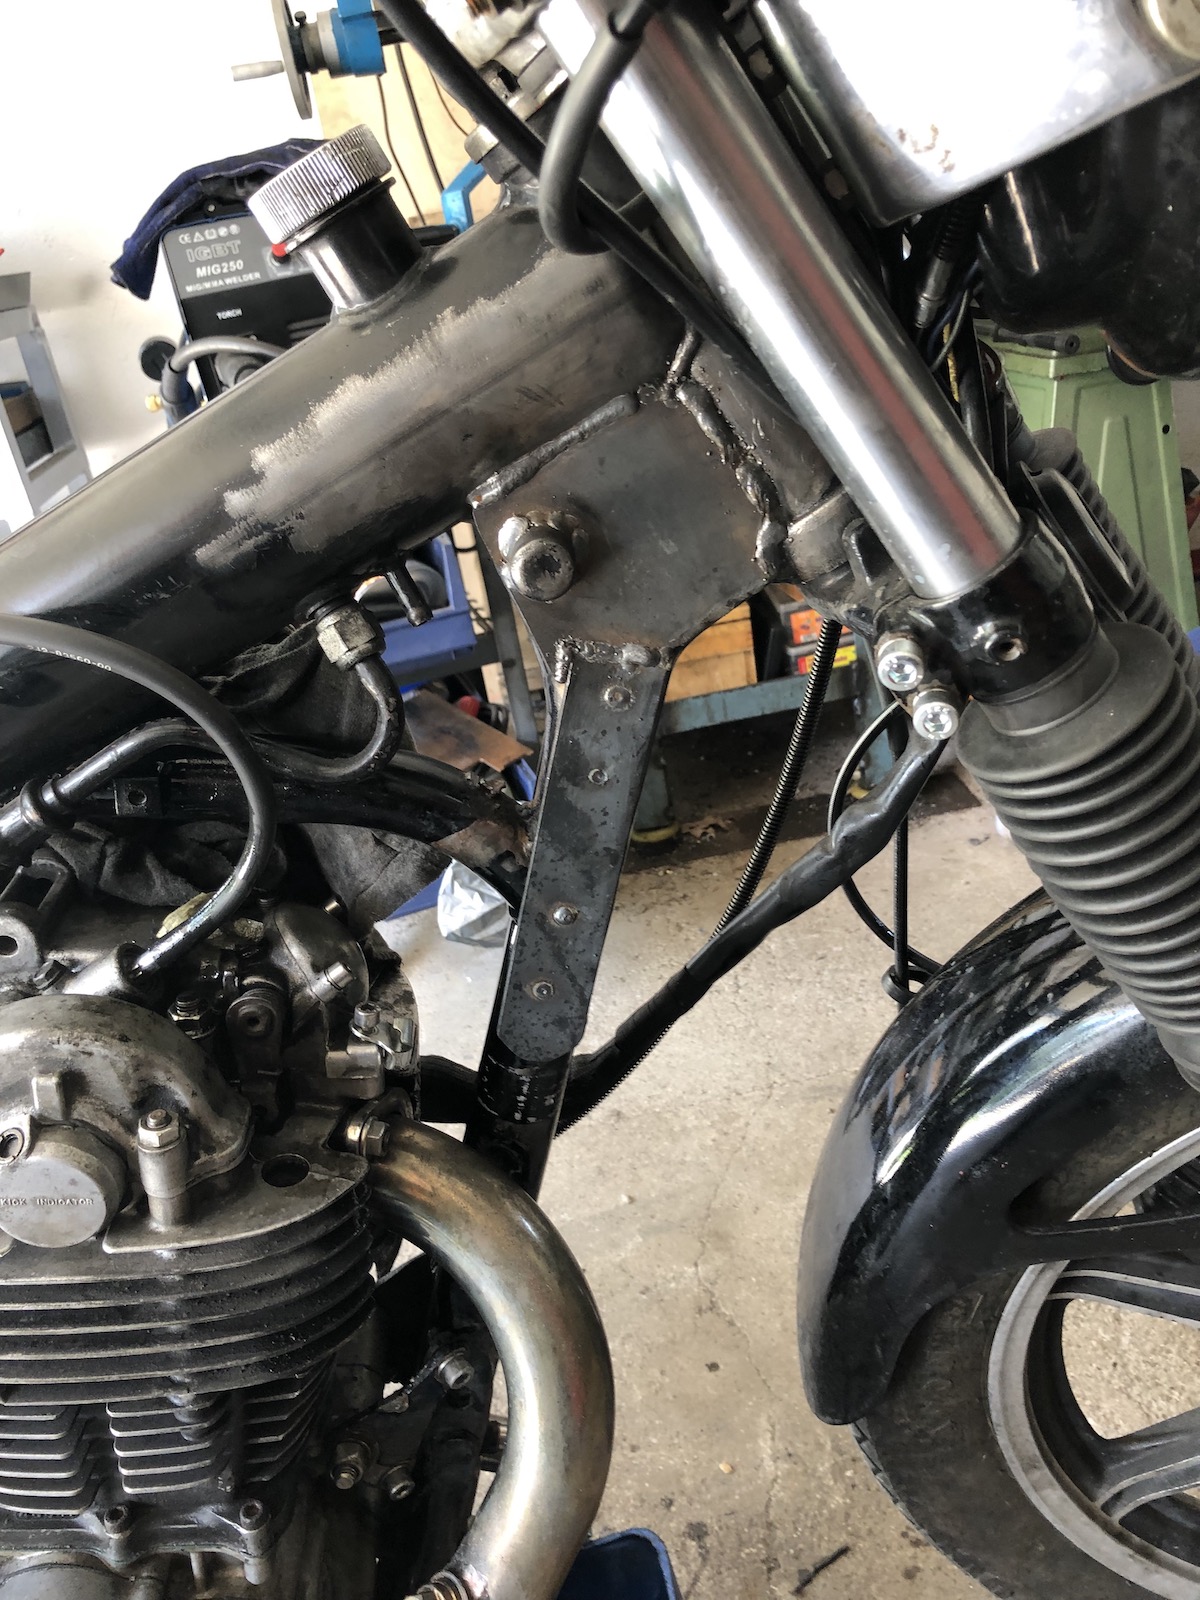
Not only because it made welding on the inside a lot easier, but also because the engine needed some attention as well, the engine came out. I didn't know it at the time, but the biggest f*ck-up of the whole build is already documented in this picture - when I cut off the hanger for the coil, I got a bit too deep and gauged the frame's backbone. 

And as it's usually mostly hidden - the star of the show, when it comes to holding the sidecar in place, the lower front mount.

Not sure what sort of impulse hit me, but I decided to attack the in-frame filter with a one-meter-breaker bar and guess what... the filter came out. And it was completely clogged with all sorts of old schmoo. So after roughly one can of brake cleaner, it looked like this again.


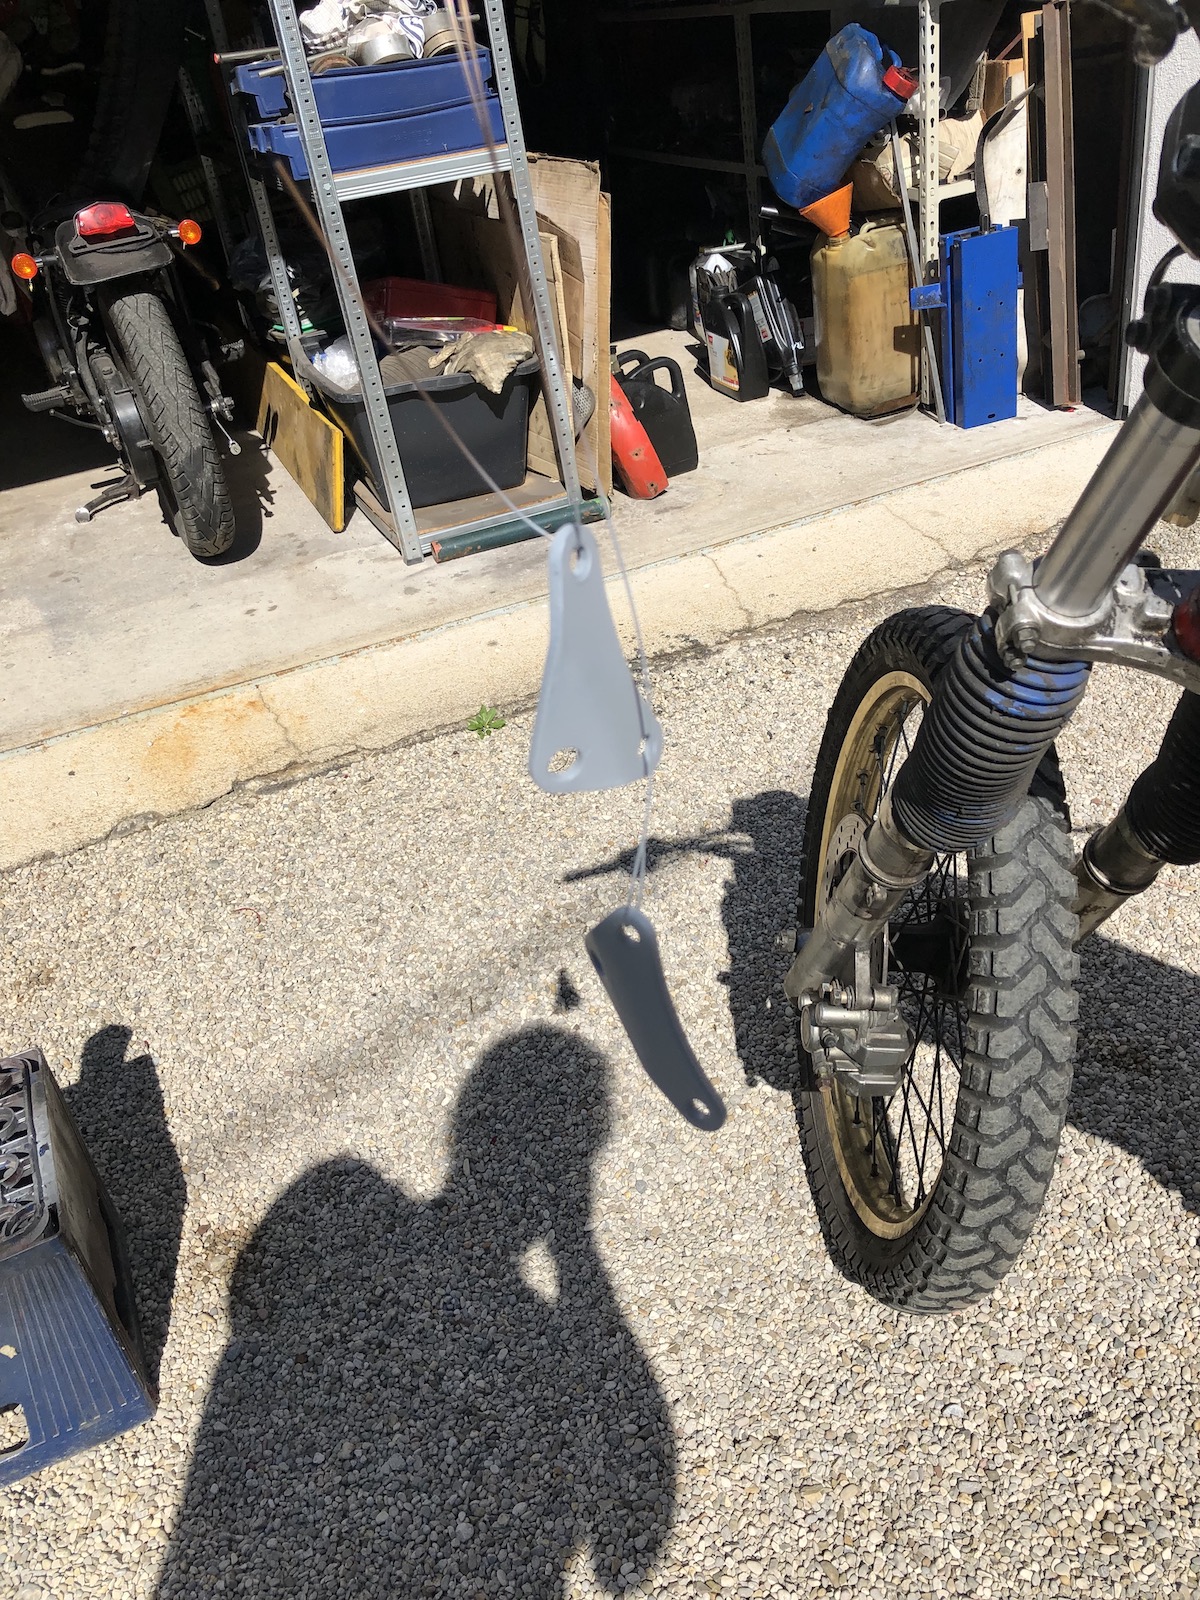
And *just because* I had the wire wheel out anyway, all the mounting plates got some fresh paint.


I've heard that watching paint dry is supposed to be very meditative, but I had this SR500 engine as an alternative. Even though piston and cylinder came fresh from the machine shop, the oil-consumption was QUITE in excess of one litre per 1000km, more like two or three and as such I expected some carnage. A lot of carnage. 


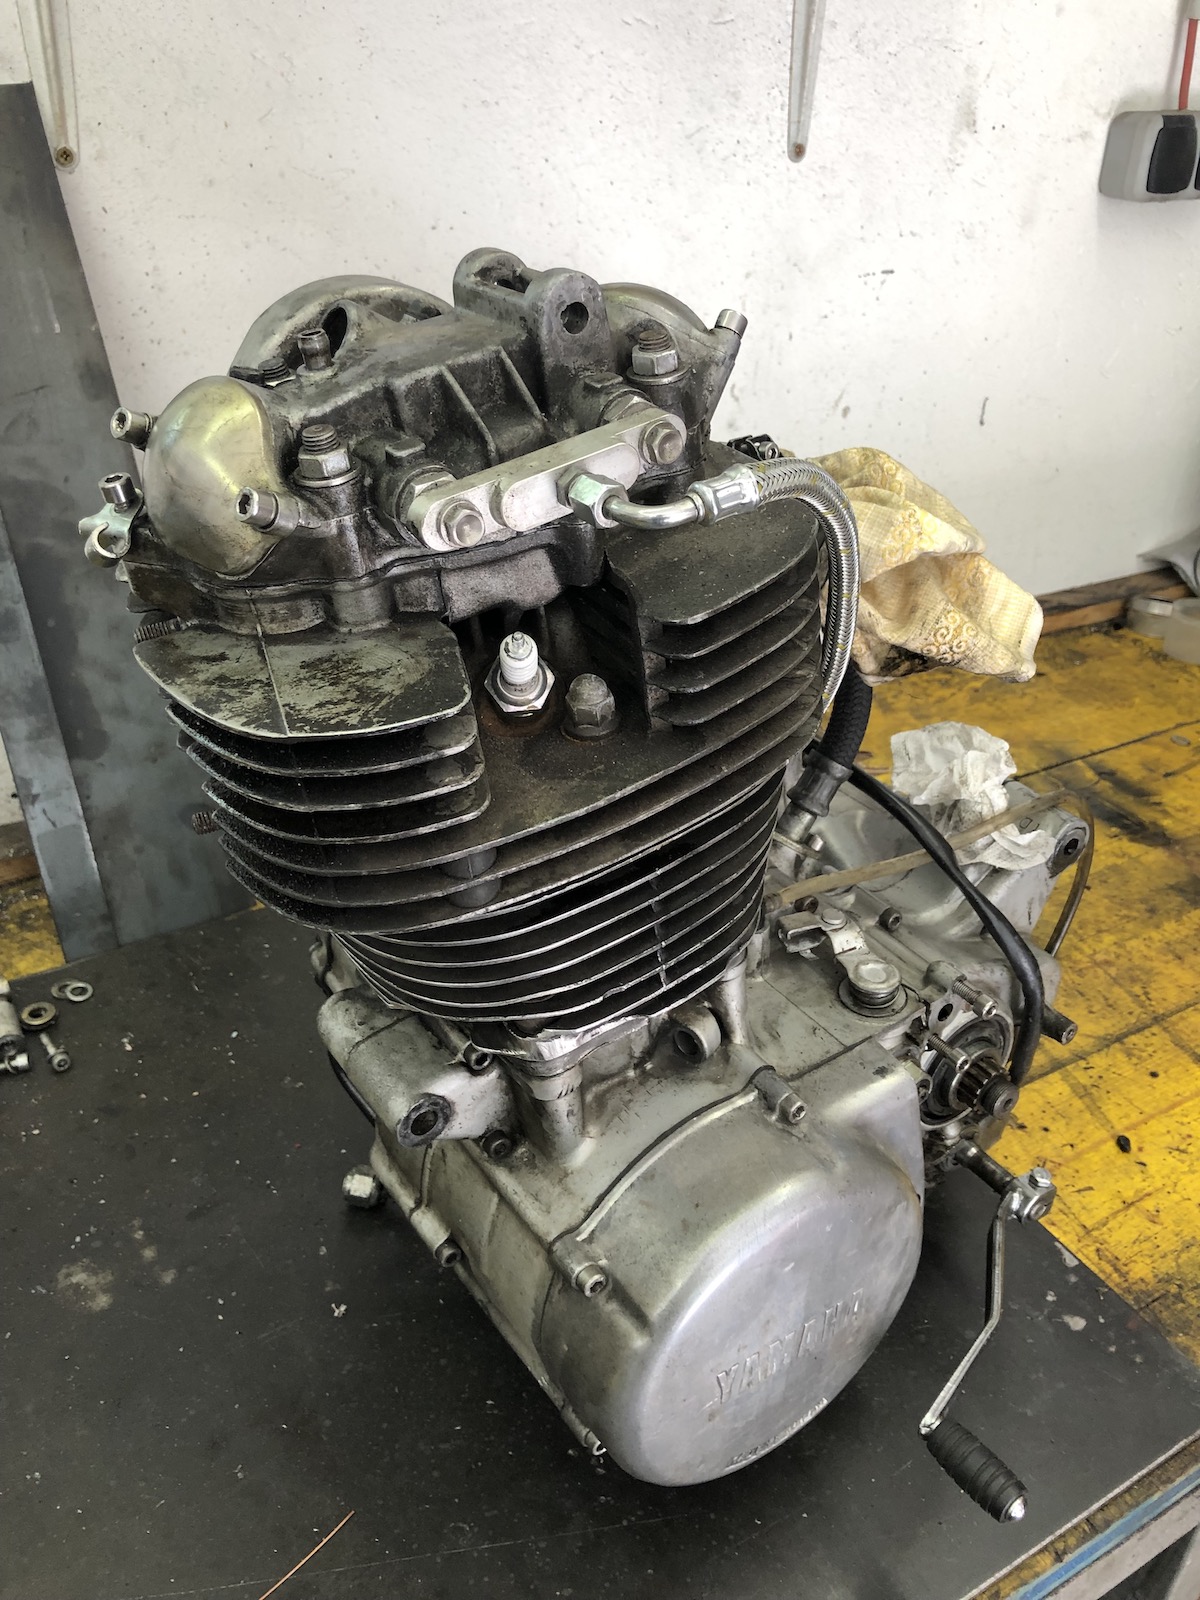
So I started to go through the engine with the proverbial fine toothed comb.

At this point I was pretty sure that the valve stem seal of the inlet valve was the culprit.

The oil-caked inlet valve would have been quite a good indicator to be honest. But no, all tight and sealing well.

Hmm, cylinder not looking too good. Which is a bit bizarre as that's  a genuine 0km item bored to 88.50mm . (I am so sure about that not only because I double checked it, but also because I got a special deal from a machine shop, which said they had a bunch of 88.50 pistons sitting on the shelf and thus got a very good price on this one...)


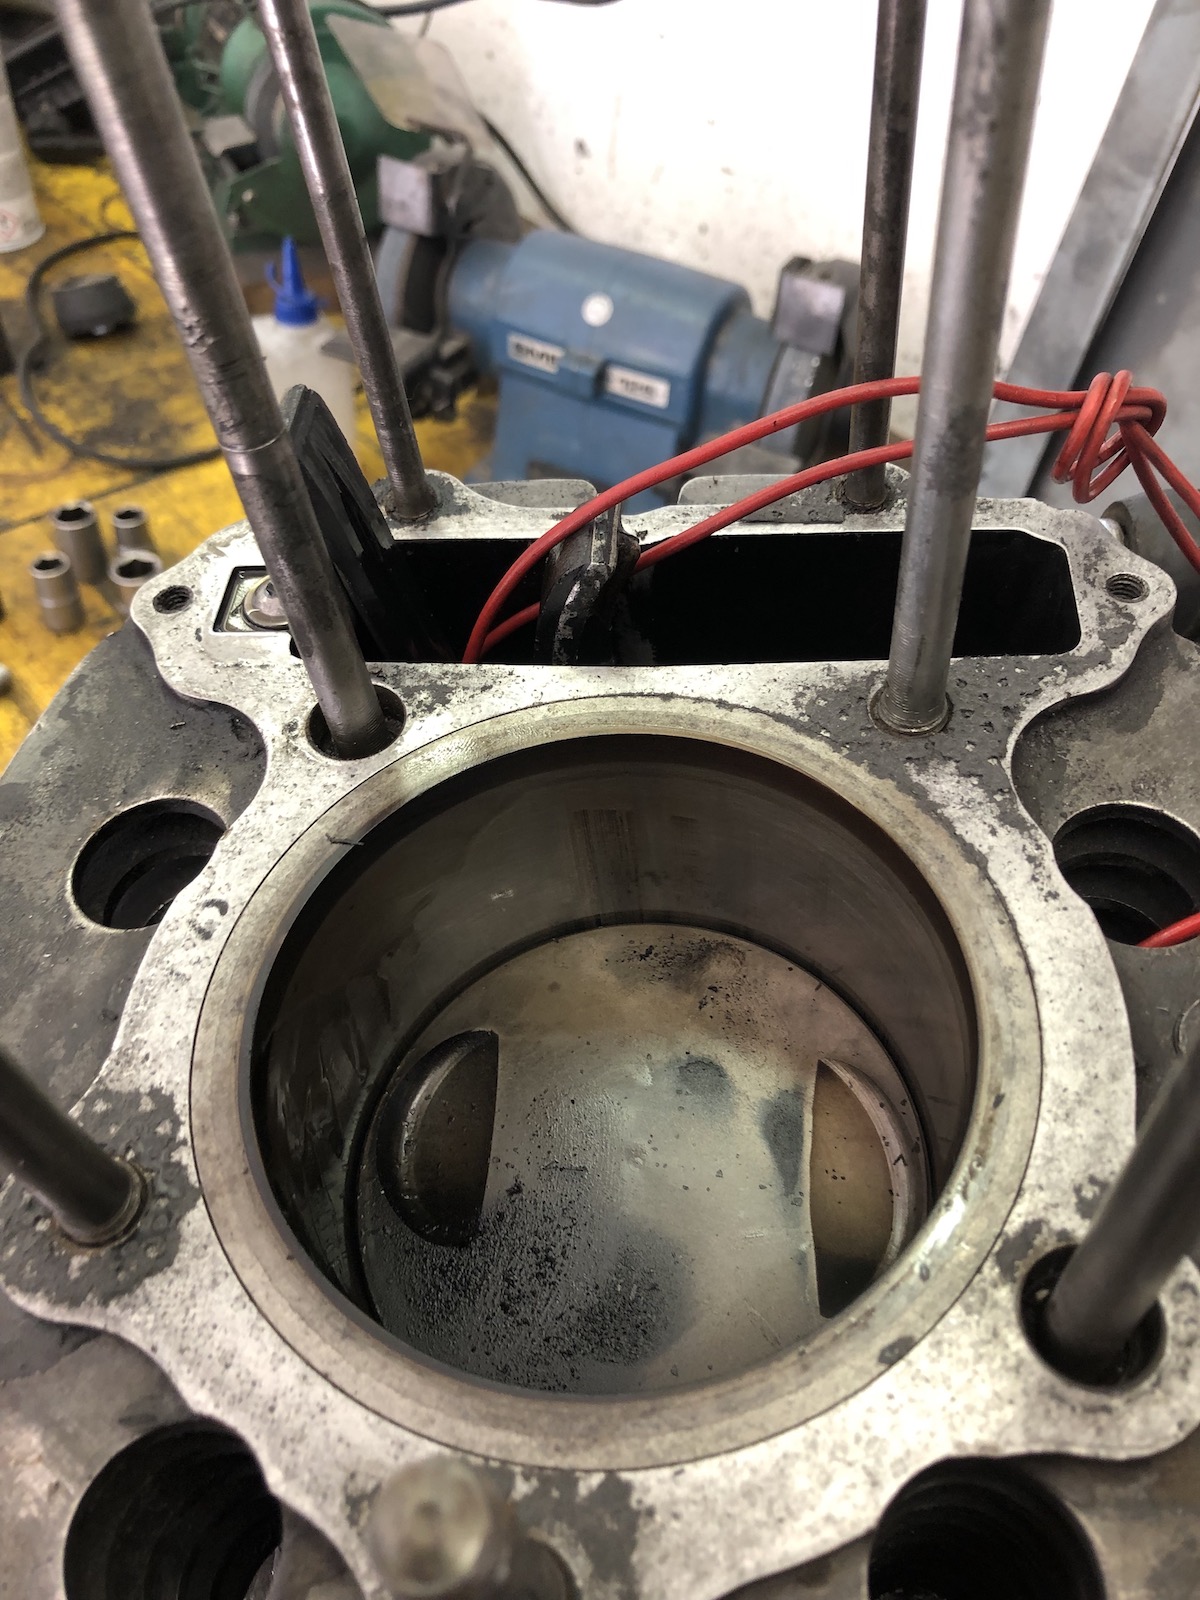
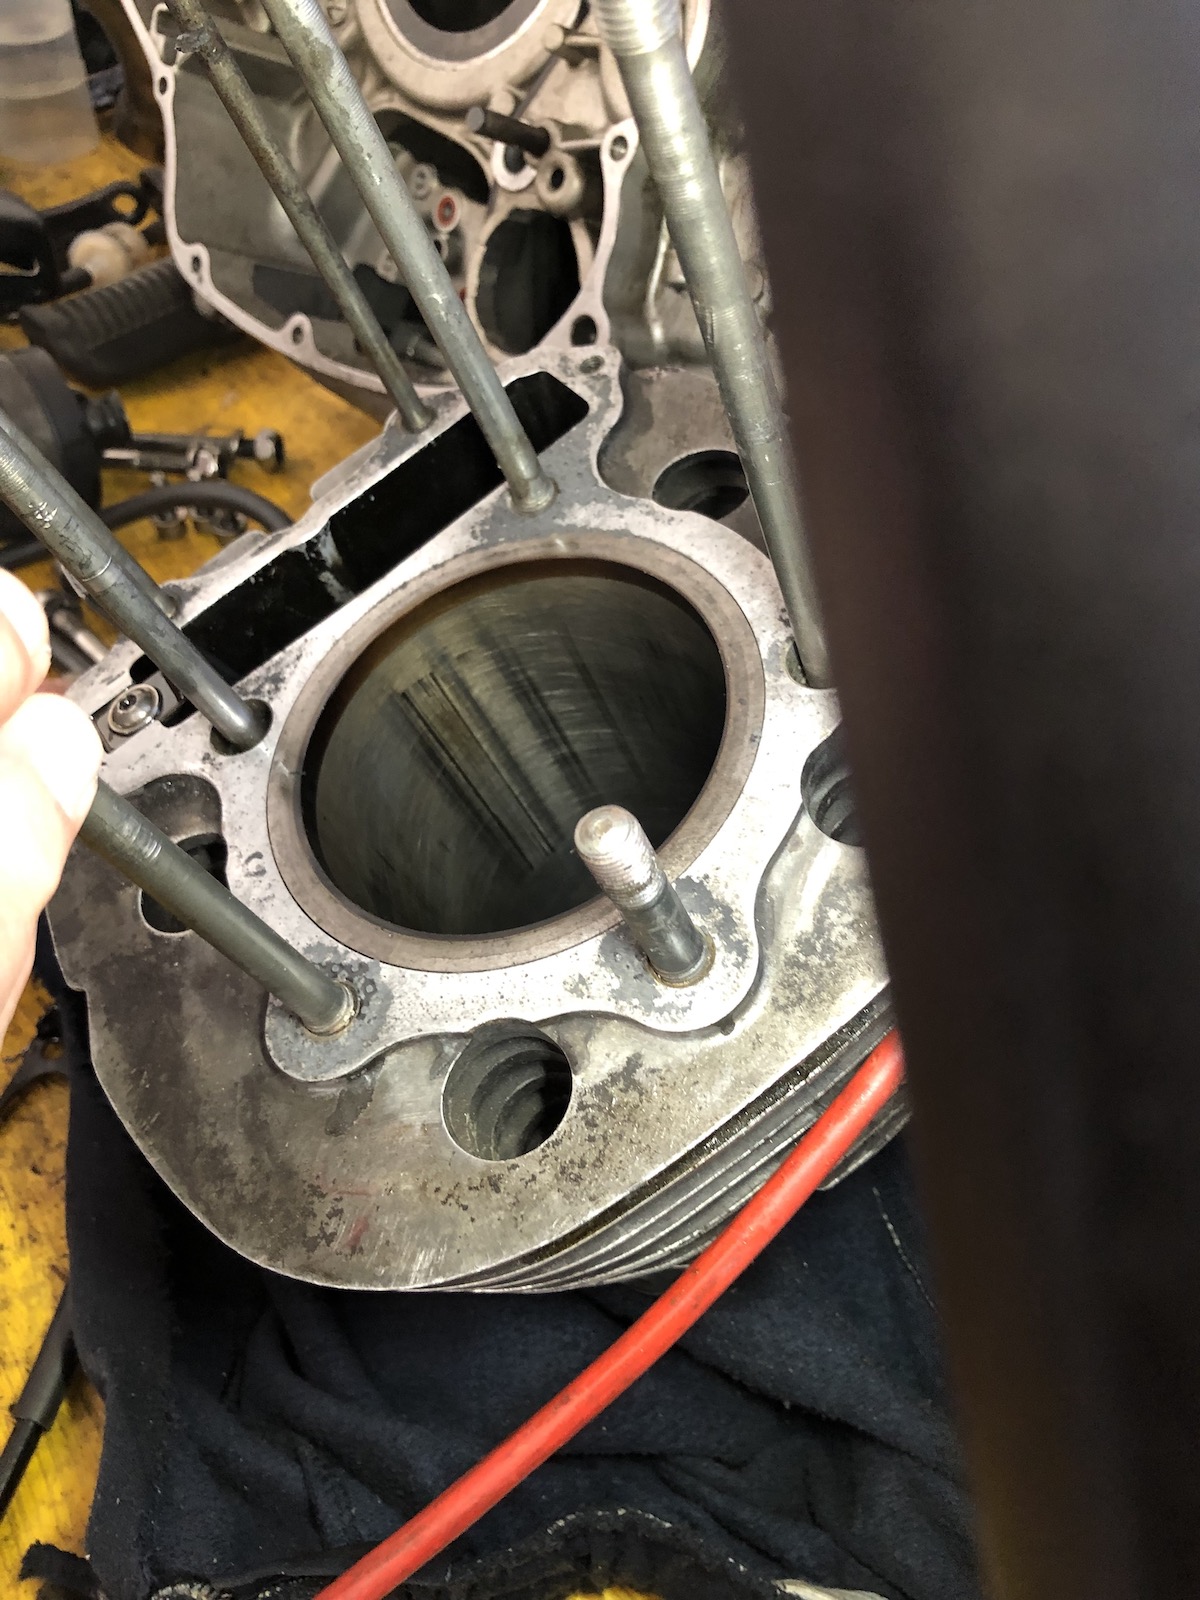
... so why does it say 1.25mm (88.25mm) on the piston? 😮 In other words, I know have the answer to a question no one asked. "What's the side-effects of a piston with 0.33mm play in a big four-stroke single?" To give credit, where credit is due, nothing broke or shattered and as the new cylinder and piston setup is already at 88mm and this piston has only done about 400-500km, I am willing to give it a second chance at a later date.

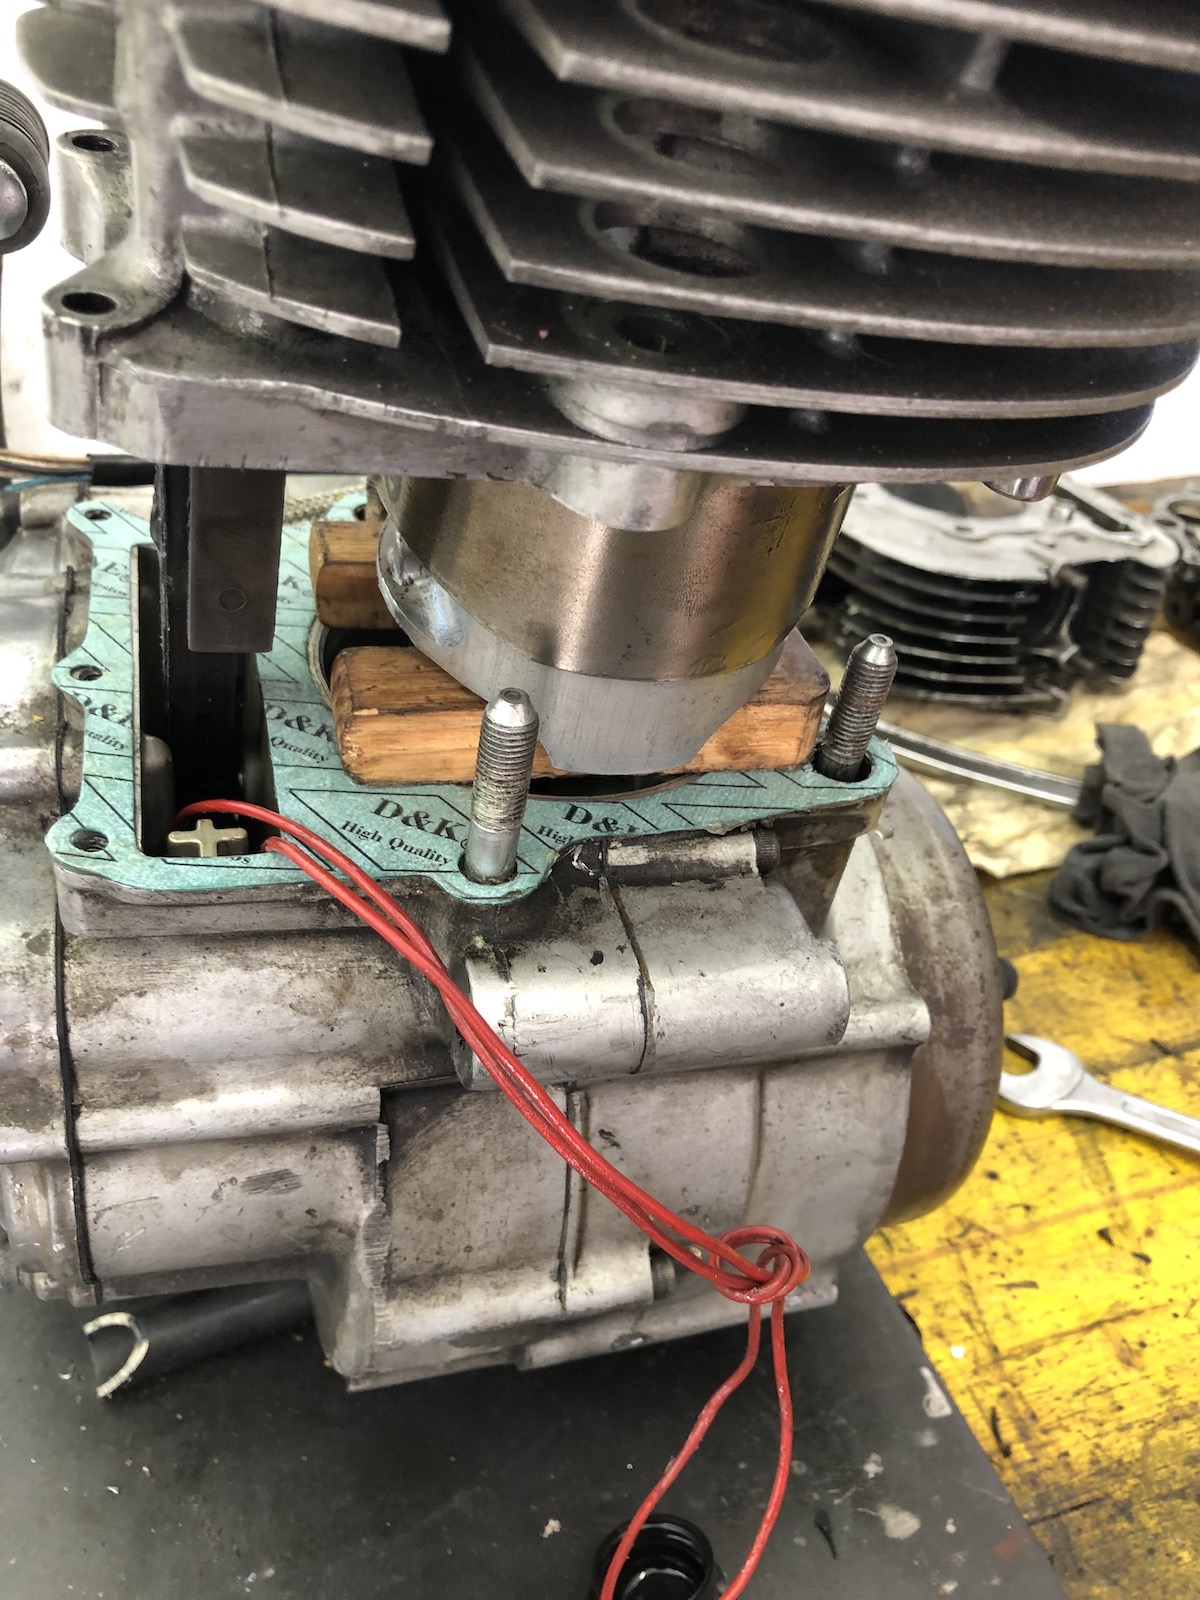
... at which point everything could have been just sooo easy. Also that little piston support was something I made for my very first XT and it makes installing pistons so easy, because the whole piston is supported from underneath and you just have to concentrate on getting the piston and the rings into the cylinder.


Also: Polished valves are awesome - about 3 minutes with a brush and they are clean again.

Unfortunately the camchain came off the lower sprocket, so I had to open the clutch cover and completely forgot that about 1.5 litres of oil were still hiding inside... 


My welding plate will definitely not get rusty any time soon.

Bit of assembly lube goes a long way.

Also completely forgot just how simple the whole top end is on the old 2V XT500 and SR500 engines.

Quickly knocked up a new bracket for the ignition coil. 


And then there was this oil-line, which had this really bad idea of attempting to fight me... turns out I must have bent it somehow, when I took the engine out.


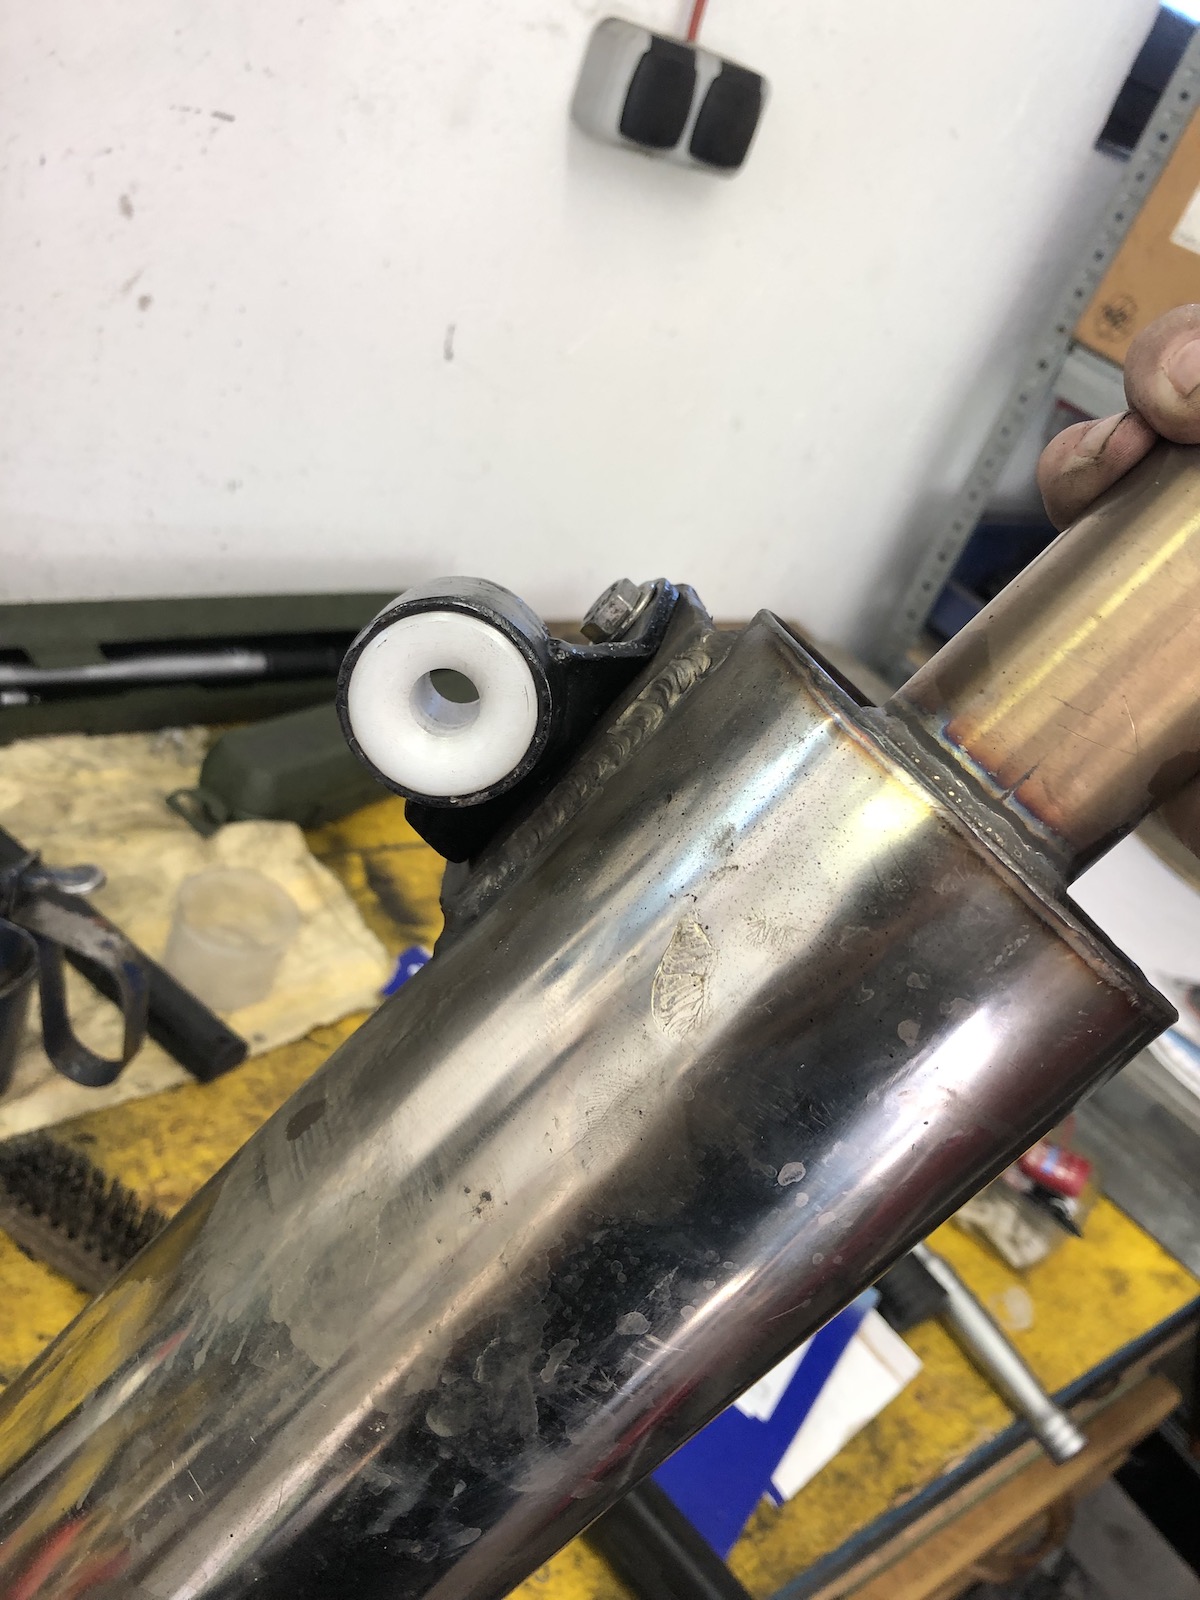
The first start went something like this - smokey, but that's something to be expected, because I am a strong believer in assembly oil. But it also showed that the bushing was REALLY dead by now.

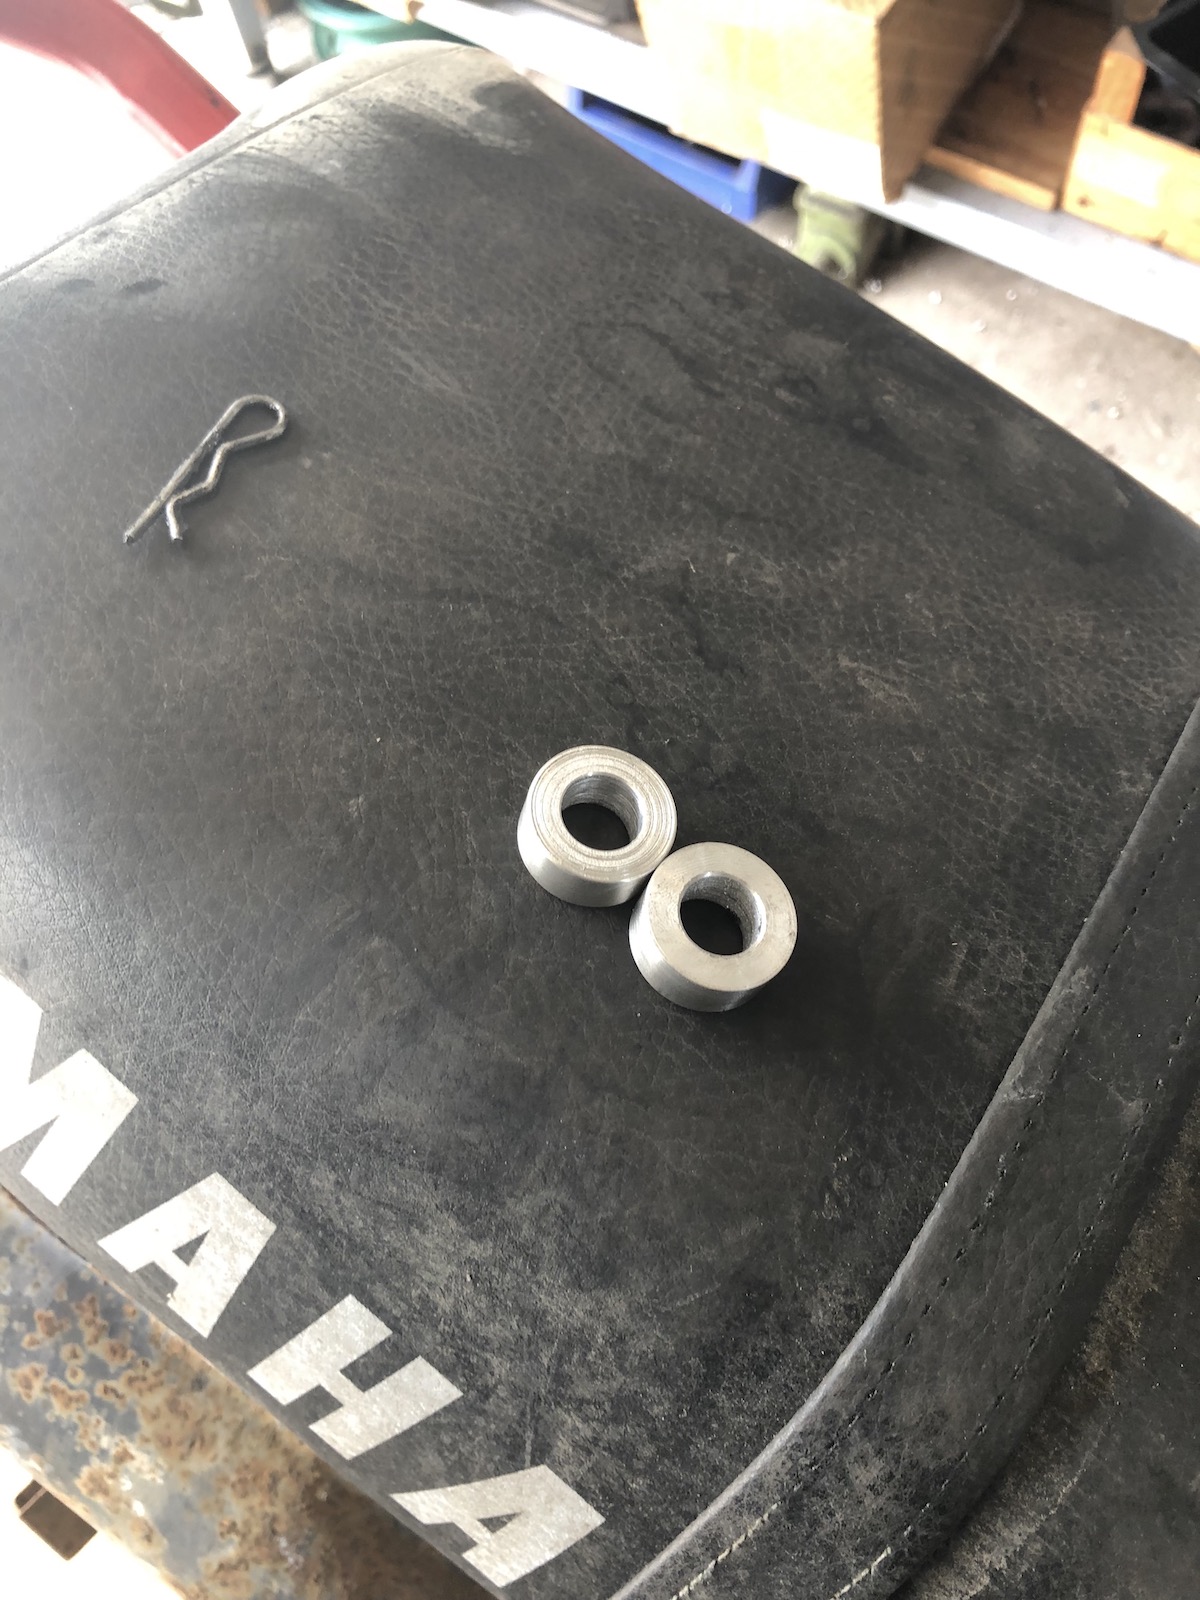
Nothing a bit of POM-plastic can't solve...


And there you go, essentially looks like before and I suspect the engine that 88mm piston and cylinder came out of where taken apart, because of excessive oil-consumption, but hey, at least I tried and with less than 10km on the clock there's still a good chance that the rings will come around again once they've gone through a good few heatcycles. Oh and she's pretty. 😍


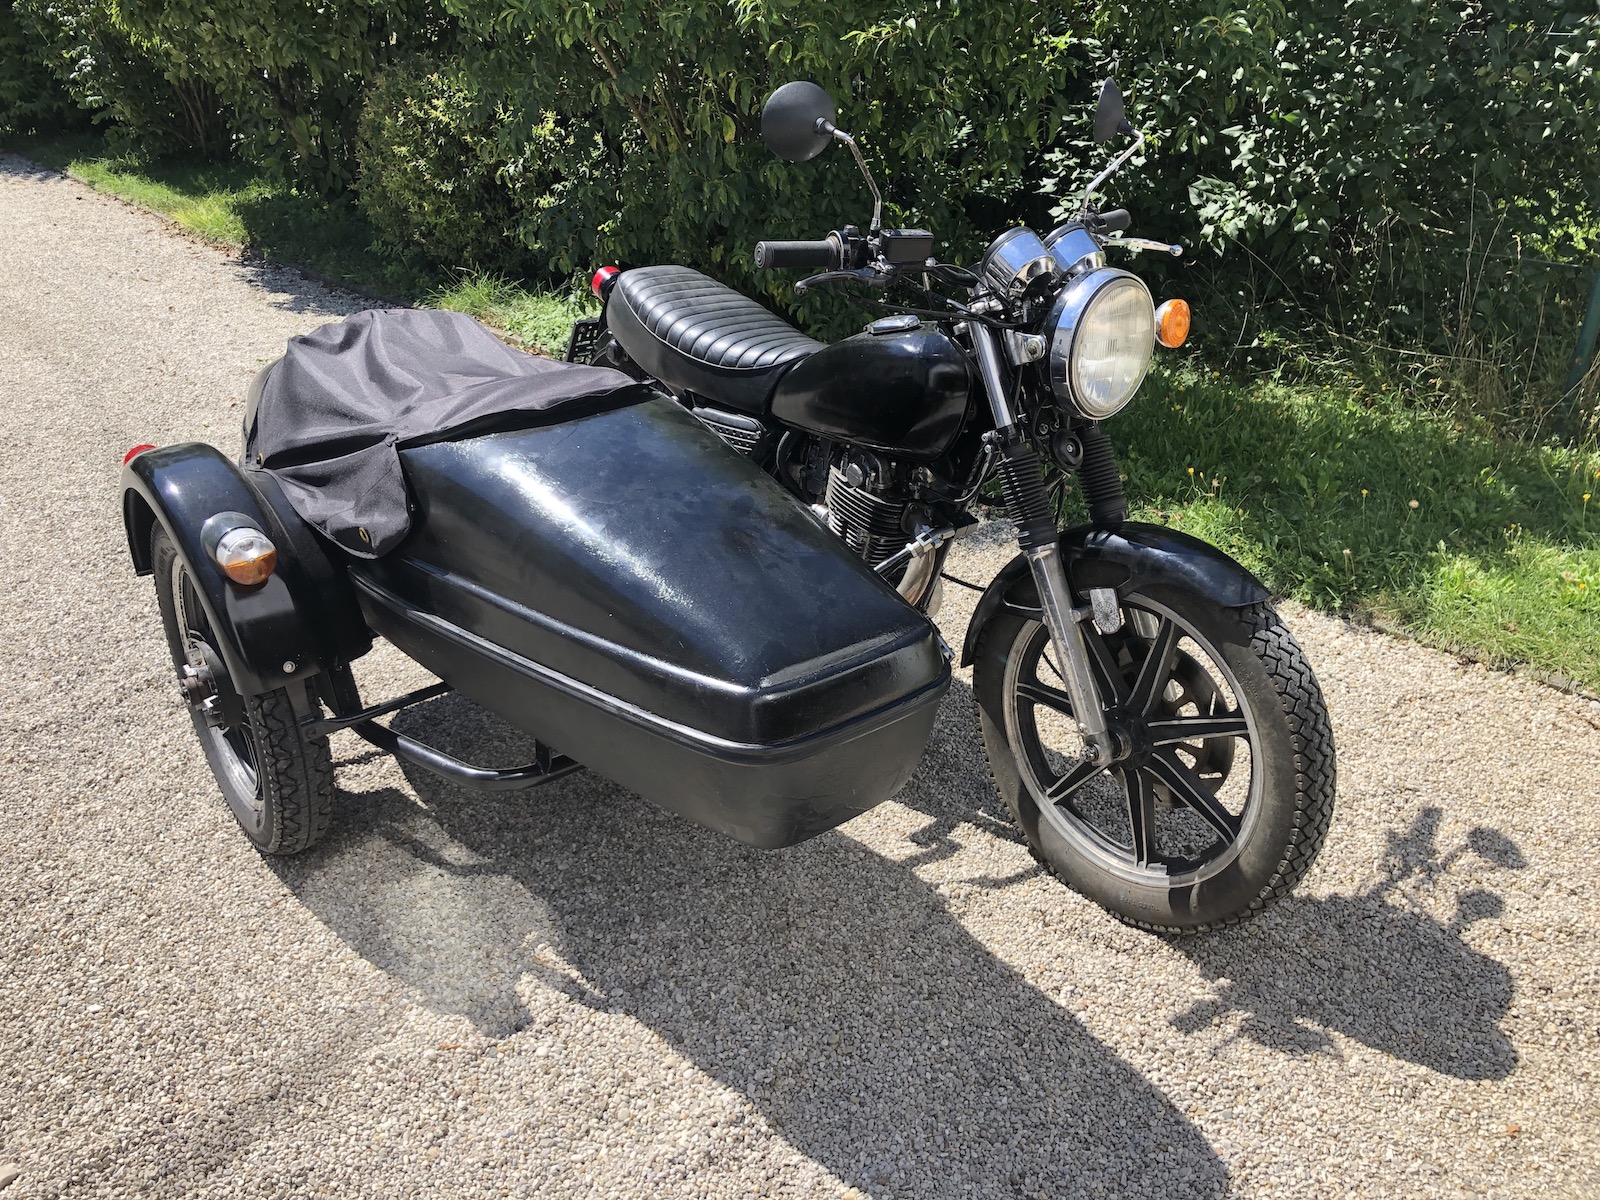
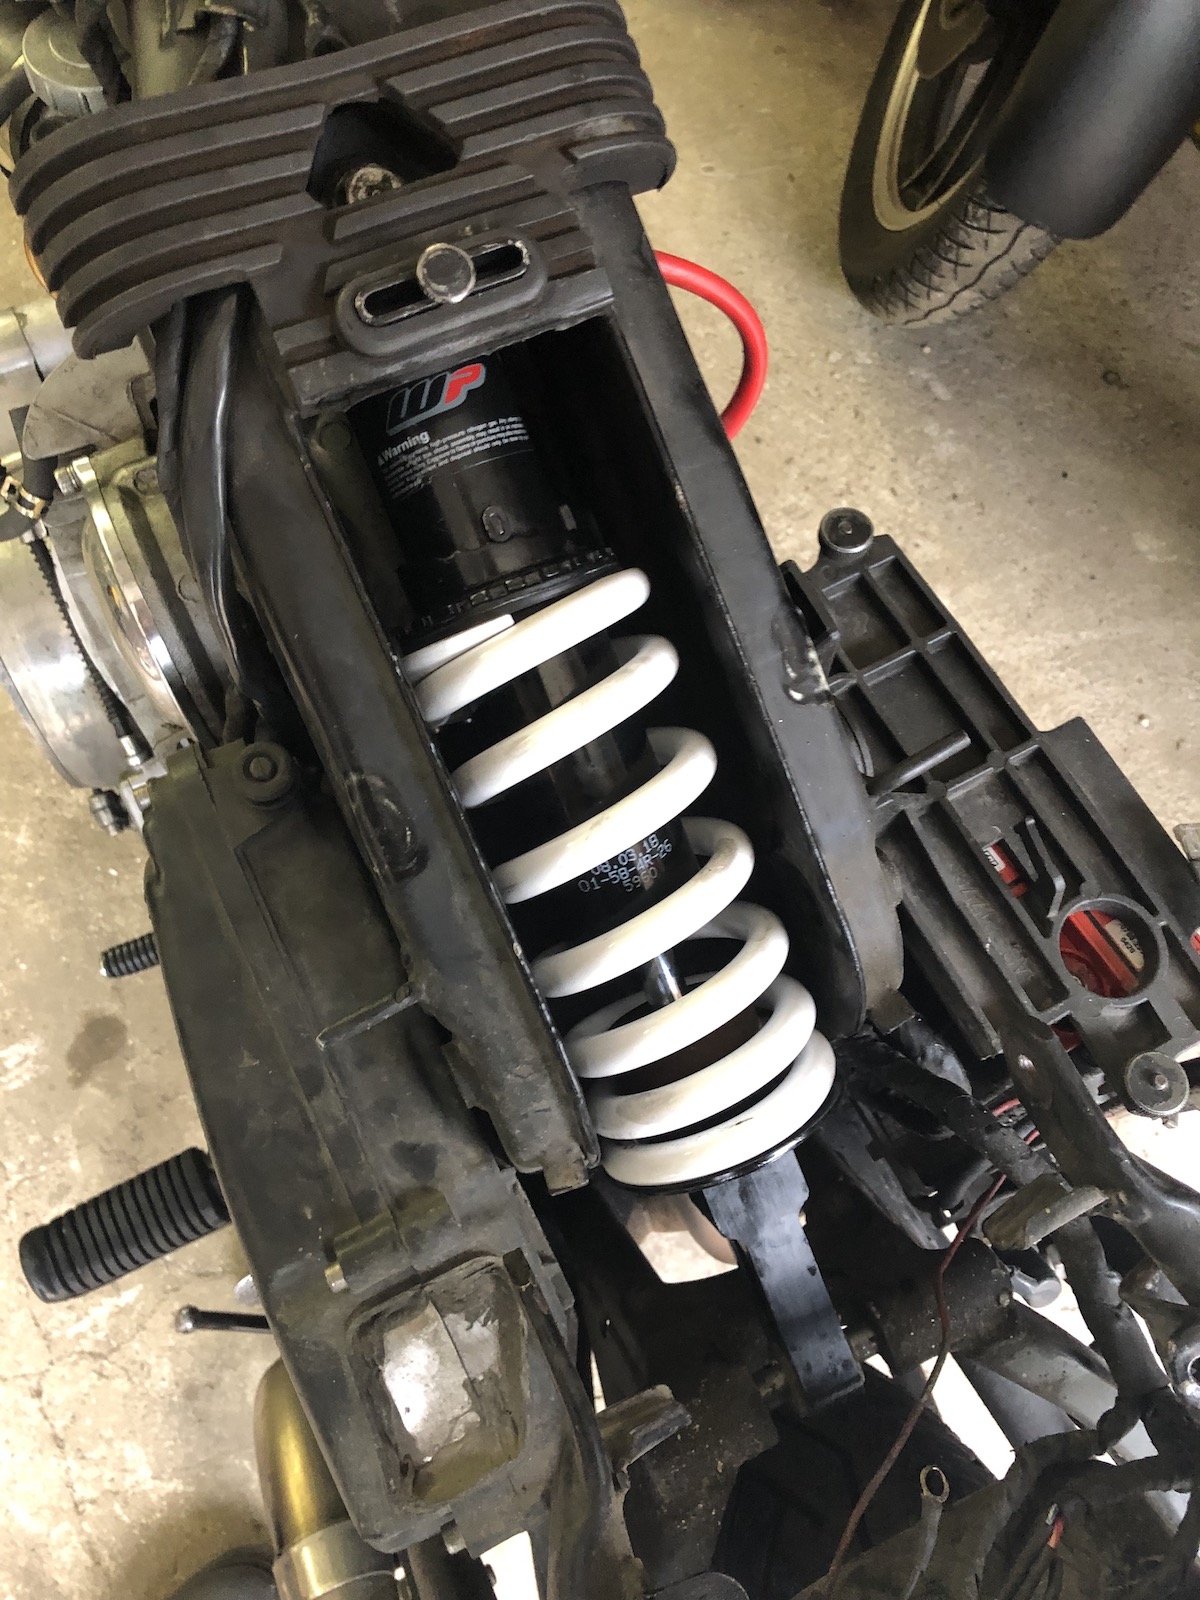
Also with all those mods I had to dial in the sidecar almost from scratch. She never handled this well before. So at least the chassis mods and suspension dial-in were a big success.

So, I have two stock cylinders and an almost new 87.25mm piston and an (installed) 88mm cylinder and piston combo with a spare 88.25 piston. Life could be a whole lot worse. 

Saturday, 6 August 2022

The SR500 sidecar - what needs to be done? ALL of it. (Part 1 of 2)

This post comprises about 6 weeks of on and off work on the SR500 sidecar in an attempt to get it closer to a decent level of usability. Quite frankly, there's still a lot to be done, but quite a few quirks have been ironed out already and for lot of the other work, at the very least, the foundation has been laid to get stuff working in a proper fashion. 

One of the issues that became apparent right on the first rideout was the inability of the old girl to breathe decently. Step one was to get out the drill and turn that airbox cover into a sieve with plenty of 8mm holes. 


The second step was a new rear carb rubber, because for some unknown reason a late TT600 rubber was installed in the airbox, which as you can see is a couple of milimetres longer. That on its own is not a huge deal, but it mean that it would be compressed in the middle effectively reducing the inlet diameter by about a centimetre on each side. 

Less of a real technical issue, but more of a nuisance - the bottom of the battery box was rather rusty and that one time I rode the sidecar in the rain so far resulted in brown traces from the rusty water everywhere. Bit of rust-converter took care of the matter quickly, only at a later stage to be followed with some etch primer and black paint to go on top of it.


A lot more vital: as I couldn't get the correct length M10 bolts during the build, I shortened them to a reasonable stickout during the rebuild.

As I know that both my exhaust and airbox setup deviates quite a fair bit from a standard SR500, I somewhat expected that the TM36 flatslide would need a substantial bit more dialing in in the future. As a wideband AFR sensor comes in extremely handy in that case a bung had to be welded on. 

With plenty of copper-grease and a blocking bolt installed, it's actually not too hard to do, even though I'll suggest getting one of the slightly more expensive ones with a curved bottom as it makes welding on SO MUCH easier. (This one is not one of those, hence the wide weld bead.)


E presto!

On the subject of exhaust, my idea with a conical muffler insert might have been a good one in theory, in practice it restricted gas flow dramatically and because the hot gasses were pushed with some serious pressure through the ring gap it also made a high-pitched chirping sound, which to my ears was rather annoying and judging by the DB-meter was actually louder than before. 


Not going to say that I perfectly calculated the amount of Argon left in the bottle, but with a gas lense it does go down a lot quicker.

But then again, the exhaust is how it was meant to be - the light passes through unhindered, yet at the very end the gasses are squished together a bit.

Another one of those "the idea was good, but the execution left room for improvement" areas was the lower rear sidecar mount on the frame. The boxed in section was definitely stronger than stock, but as it turned out, not strong enough. Also the arrangement with a bolt going all the way through from the swingarm side was good, but impractical as I run slightly longer shocks and therefore can't access that bolt anyway. 

Then it was *just* a matter of cutting the old mount off and making your own. 

So in order to get away from the current bolt arrangement, I made a threaded insert and welded it in.


Downside: now I have to take the sidecar off, in order to get the bolt out of the exhaust hanger. Before I had to take the rear wheel and rear shocks out.

Next step was to finally address the matter of the completely mangled shock absorber threads on the swingarm. Unfortunately a very common sight, as the threads are M10x1.25, which is not a common thread overhere so people, when they lose the original nut tend to go with the classic "whatever" nut...

Removed the ruined section.

 Made a little bush to slide over it with a 6.5mm hole in the center.


Gave the drill a little tap and there you go, nicely on center and perfectly perpendicular.

... and then *just* drill it to the correct depth. (And tap it!) Whether one would go with studs again or some bolts is personal preference. As I stepped it down to M8 (still plenty in my book), I went with studs cut from some all-thread I had lying around. 

As I had the lathe all warmed up and ready for some action already, I decided to replace the sad remnants of the chain slider with a homemade one from some black POM.


As this is the summary of six weeks of work, I will actually split this into two parts. Second one coming up tomorrow and will be all about frame braces, an engine rebuild and why happy little SR500 sidecars wag their tails.

Thursday, 7 July 2022

Turbo TR1 - more cowbell!

Let's kick it off with another mod to the Everyday TR1 (aka Tractor) - I found out that either the old Turbo had a longer footbrake lever than stock TR1 or what is more likely as the original Everyday TR1 had been crashed before I bought it, had a shorter one. We're only talking maybe 15-20mm, but as always with levers and mechanics, every bit helps.

But back to the star of the show - the Turbo. One thing I didn't check after awaking the old girl so rudely, was whether the alternator would actually charge the battery. 

As a matter of fact it does, but only on two of three windings. (Which answers the question, where the good stator in the Tractor came from...) In other words, as long as the lights are not turned on it will have *just* enough juice to charge the battery. Good enough for what I have in mind, if I am honest. Also with most of the lighting converted to LED it was good enough on the Tractor for several years.

On the other hand, I realised that without a fuel pump the float chamber on my BS40ies is a bit on the small side. So even though it performed rather nicely, on a longer pull the float chamber would run dry.

Grab a bit of stainless exhaust tubing and some engine silicone...

... and bring out the big boy. (Mikuni VM44)

It doesn't look too big in the picture, right? You may want to see it in proportion to the turbo (or the cylinders):


And what can I say, if you don't run the float bowl dry, a lot more interesting things happen when playing around with forced induction. I will soon take up the project again and see what can be done, so far I've reached the point where boost is easily going into the 5PSI region and you can start to feel how it actually gets quicker the more boost is applied, so...

Wednesday, 6 July 2022

The Everyday TR1 - KTM Duke 790 rear shock

If you go through the various Yamaha XV-related forums, FBook-groups, etc. you will see the same five or six models of rear shocks being recommended. Very few people actually dare to try out something completely different or even worse: something new. 

Well, I happened to more or less fall over a 2018 KTM Duke 790 shock, which had done less than 10,000kms from new. In KTM circles this shock is not quite regarded to be quite the cream of the cake, but this also meant it would be rather cheap. Also, what are the odds for it to be worse than a shock from a mid 1980ies dirtbike?

The shock measures 390mm from eye to eye, which is 25mm longer than a TR1 stock rear shock, but exactly the same length as my previous XT600 Tenere rear shock and it's got another trick up its sleeve: both mounting bushes are of 12mm inner diameter, making it a straight fit.

Now if you were a cheeky bastard, you could ignore the fact that the swingarm has got a 45mm cutout...

... yet the shock is only 24mm wide.


And quite frankly, aside from the lower shock pin being sprayed with water and a rather theoretical chance of the shock twisting a bit and thus getting bent over the years, I'd say totally doable. 

But we're not after doing a fix in some emergency situation. So two spacers approx. 25mm OD, 12mm ID and 10mm wide where quickly made on the lathe from some leftover ally scrap. 


Et voilá: Rear shock properly located inside the swingarm.

At the same time, I had one of those: You really know you had a bike for a while, when you have to replace the horns, because they have stopped working due to bad weather motorcycling, i.e. at least partially rusted to buggery.

Verdict after the first test-ride? Well, suspension technology made some notable leaps forward in the last thirty years. It's a bit stiffer than the old XT shock and it should be brilliant when riding two-up. That being said, I may actually end up reducing the pre-load a notch or two. Shame the 890 has got an external reservoir, which makes it impossible to fit into the TR1 frame.