
Oilchanges - not much to it: drain the old oil, swap the filter, fill in new oil. As I said not much to it.

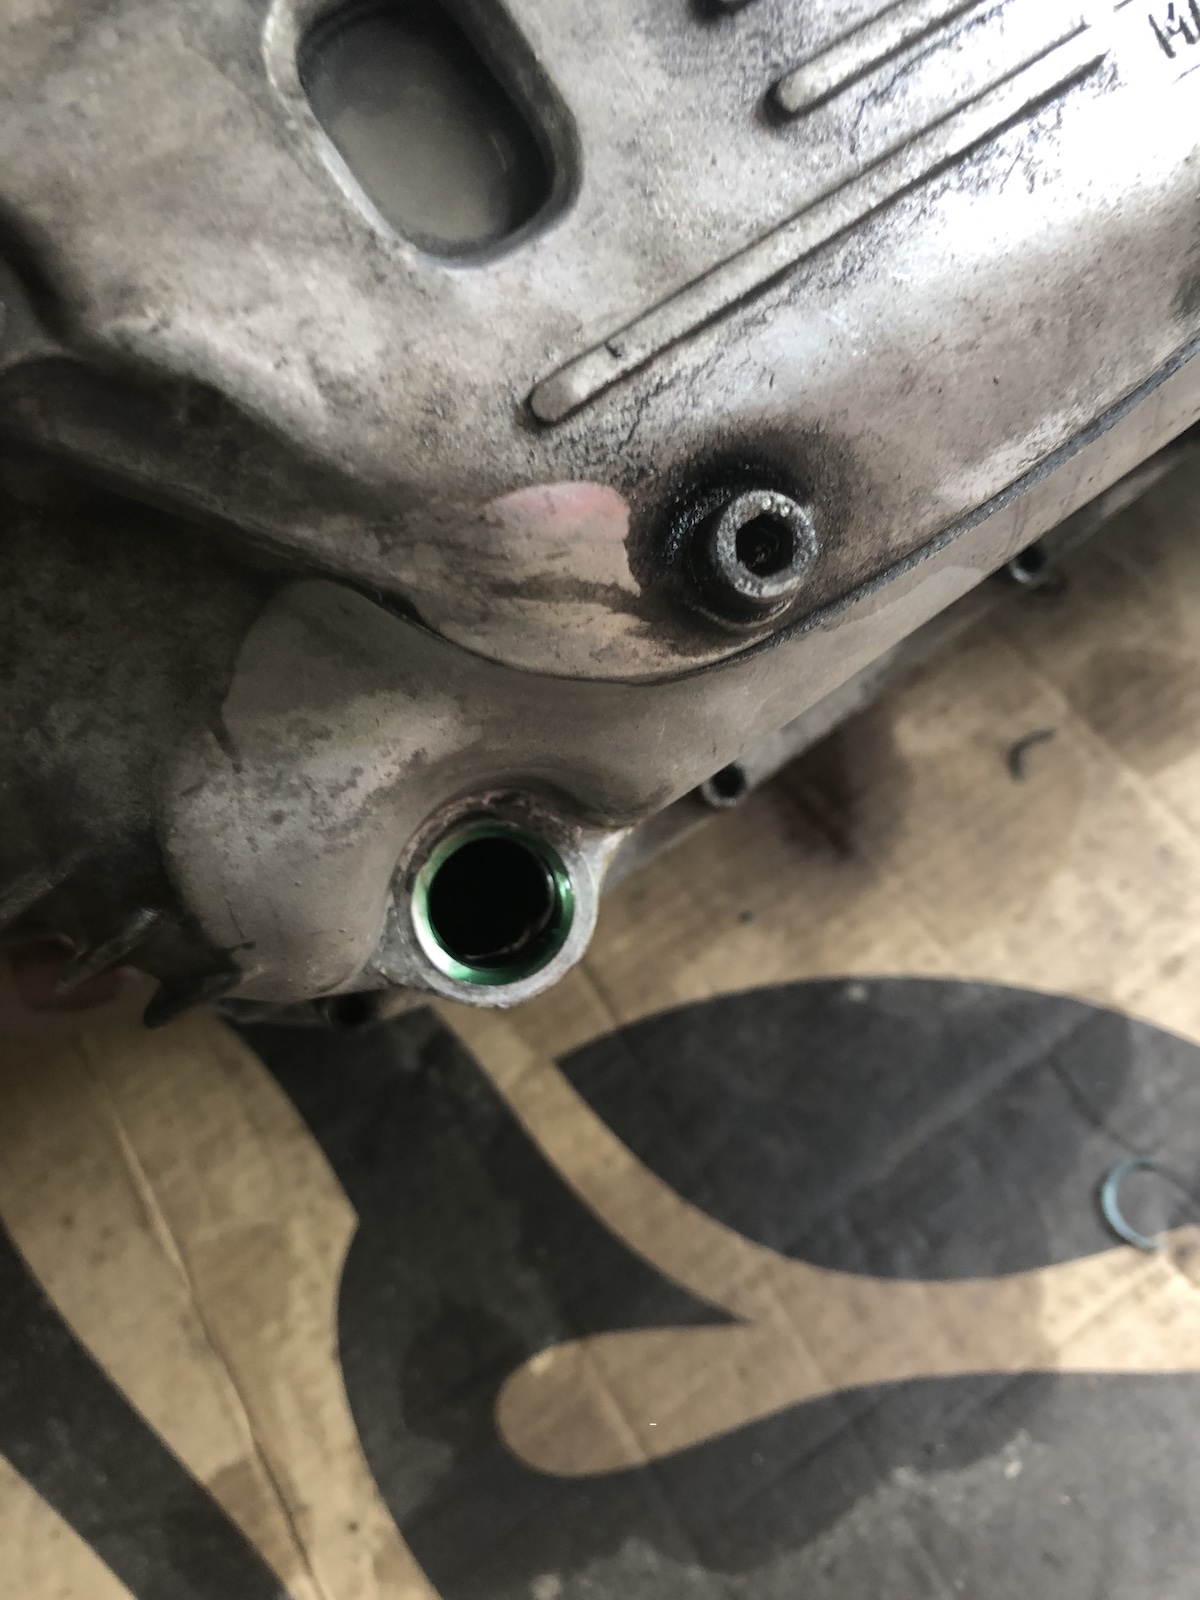
What you see here is almost to the day last year's attempt in fixing the stripped thread of the drain-plug. As the very astute amongst my readers might have noticed that's both the thread insert AND the drainplug coming out in one piece. I traced this back to two specific issues during installation: first, I used medium strength thread lock and second I only tightened the insert by hand and solely relied on the thread lock to hold it in place.
As a result two areas of improvement have been identified, the first one being the use of high strength thread lock and second come up with a means of torquing the insert down to a level that ideally exceeds what the drain-plug will be installed to and only use the high strength thread lock as an additional level of safety.
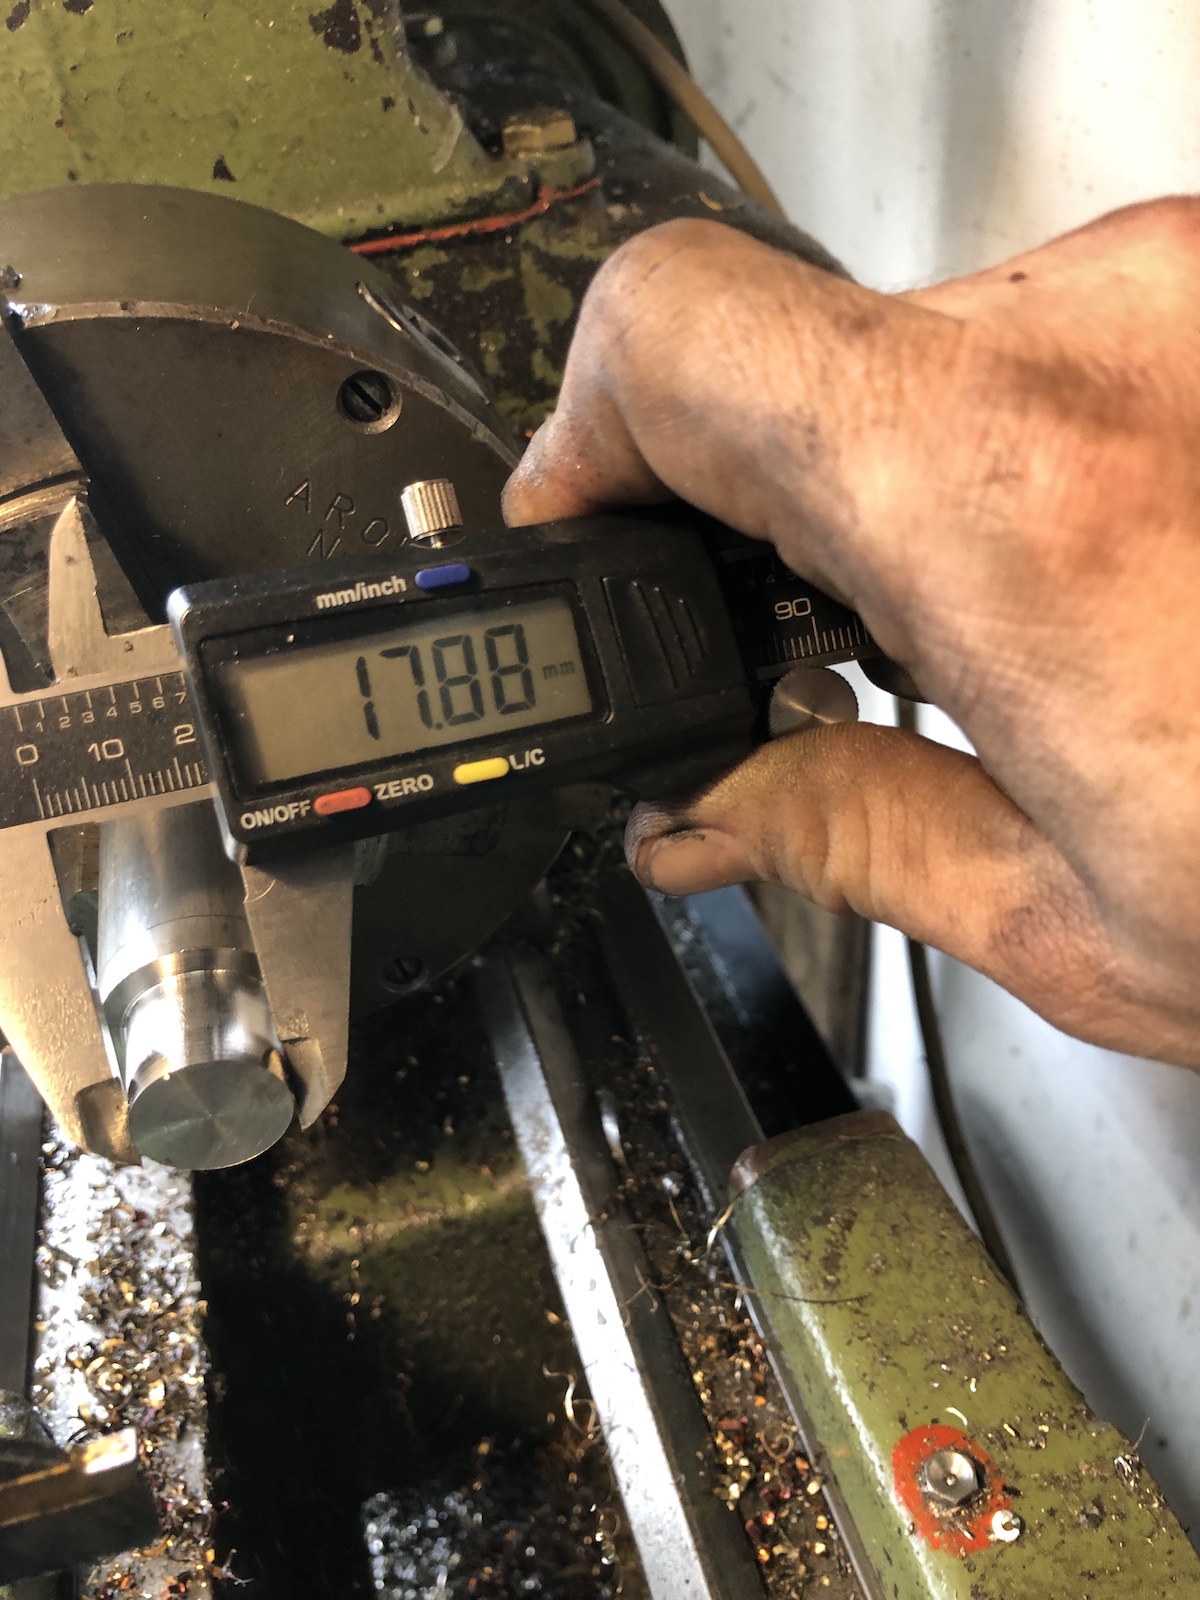
With the threads on the old plug being a bit chewed up anyway, I went ahead
and made a new one from stainless. M18x1.5 on the outside and M14x1.5 on the
inside. Overall length 20mm, with 16mm of M18 thread.


Which put me pretty much where I ended up with the old insert and meant next was the need for a decent way to torque it down.

So my first idea was to mill a hex onto the head in order to be able to torque
it down this way.

Used some paper to protect the threads and countersink it/remove the burrs
from parting off.

The finished product.

So after some very, very thorough cleaning of the thread in the engine case, copious amounts of high strength thread lock were applied and the insert installed.

As you can probably tell, there's not exactly a lot of room around that hex to torque it to spec. So I sacrificed one of my cheaper 22mm wrenches and milled its jaws down to fit.


As you couldn't really make the hex-head any smaller, because some surface area is needed for the copper washer to seal against the idea was then abandoned. M14x1.5 is a weirdly specific kind of thread, for example spark plugs use it, but also wheel studs and -bolts of a lot of German cars do.

So another threaded insert was made...
... and in order to turn this into an installation tool a M14x1.5 locknut had
to be made. (Impossible to buy locally.) In a first step, I milled two flats
onto the "nut" in order to be able to tighten it down onto the wheel bolt.


Followed by milling it to a 20mm width hex.

The finished nut, after some touch up with a file.
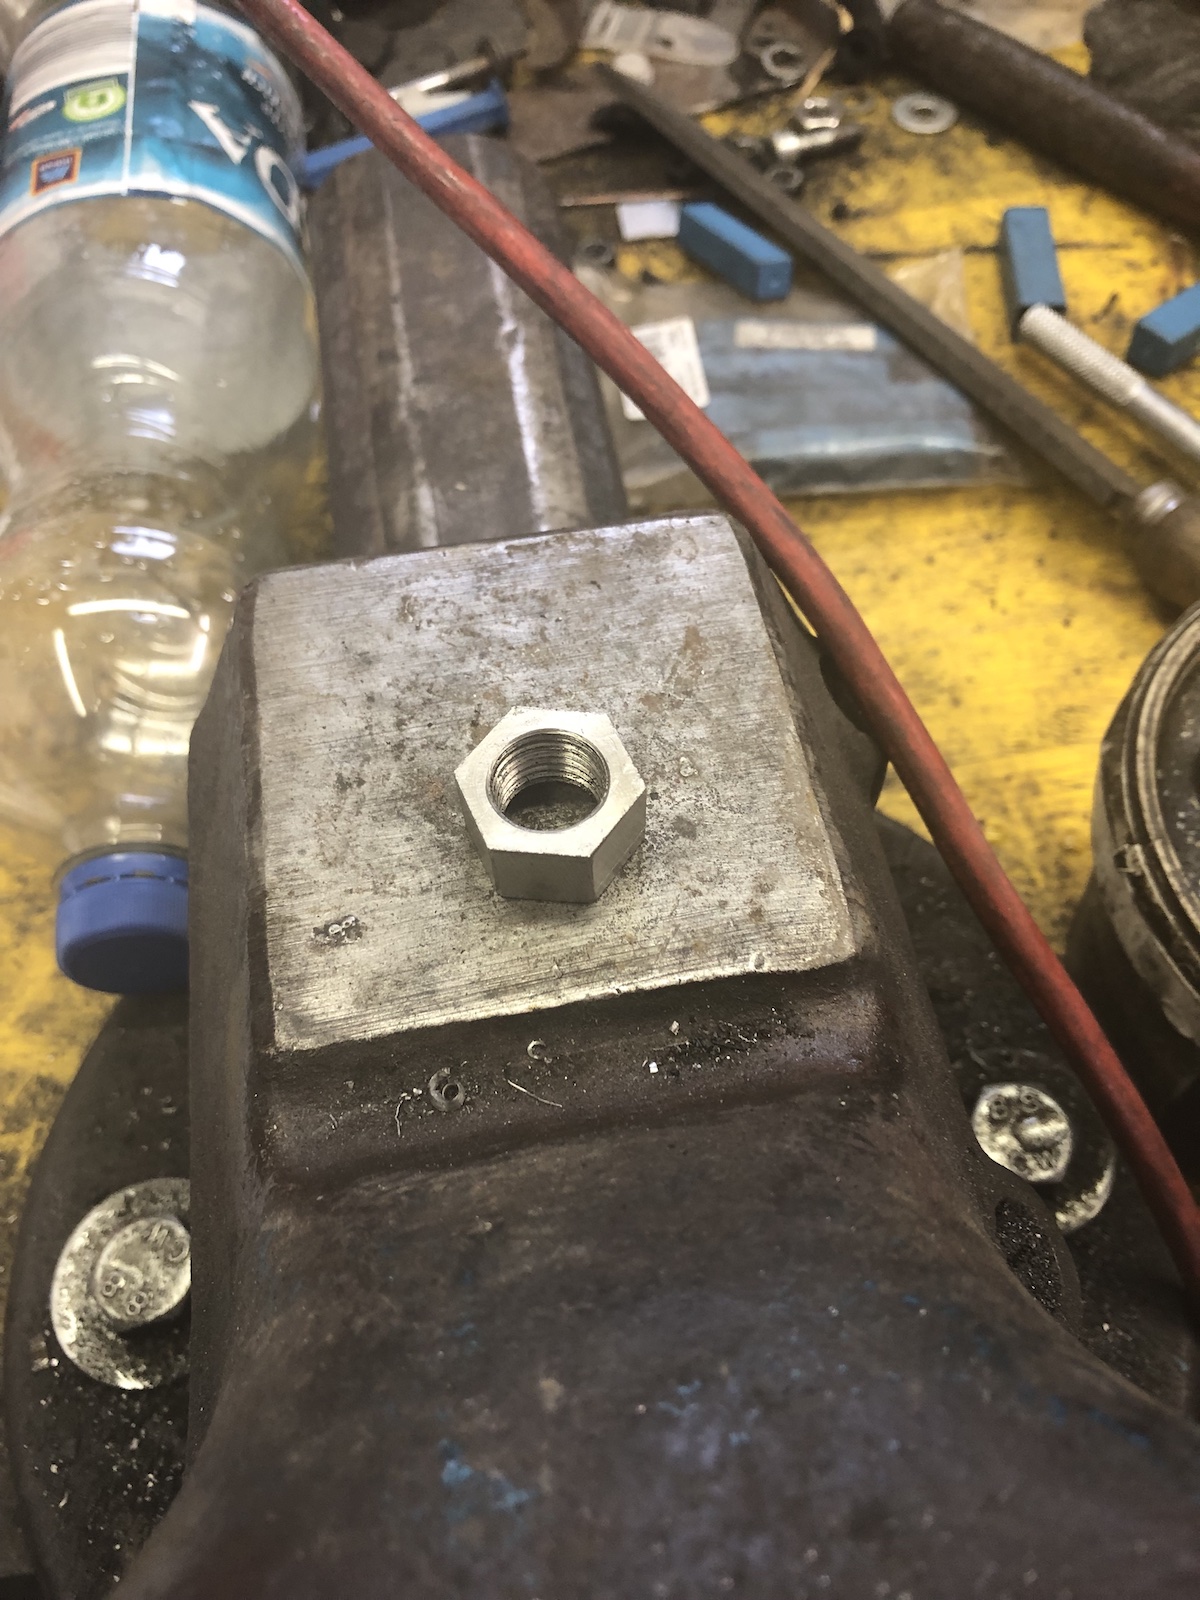
The picture below should also give an idea why I decided to make the lock nut so tall. In order to install the whole lot, nut and insert are threaded onto the wheel bolt and locked down with the nut and bolt. Then use the head of the wheelbolt to thread it in and tighten it down PROPERLY (assisted with some high strength thread lock).

Hold the bolt still (which is why you have to do this immediately, before it starts to cure) and undo the nut and simply wind out the bolt. As I gave the whole lot a good tug (far more than I would tighten down the drain plug) and the high strength thread lock should add another 30 to 60NM of break away torque, I'd say this is rather likely to work.
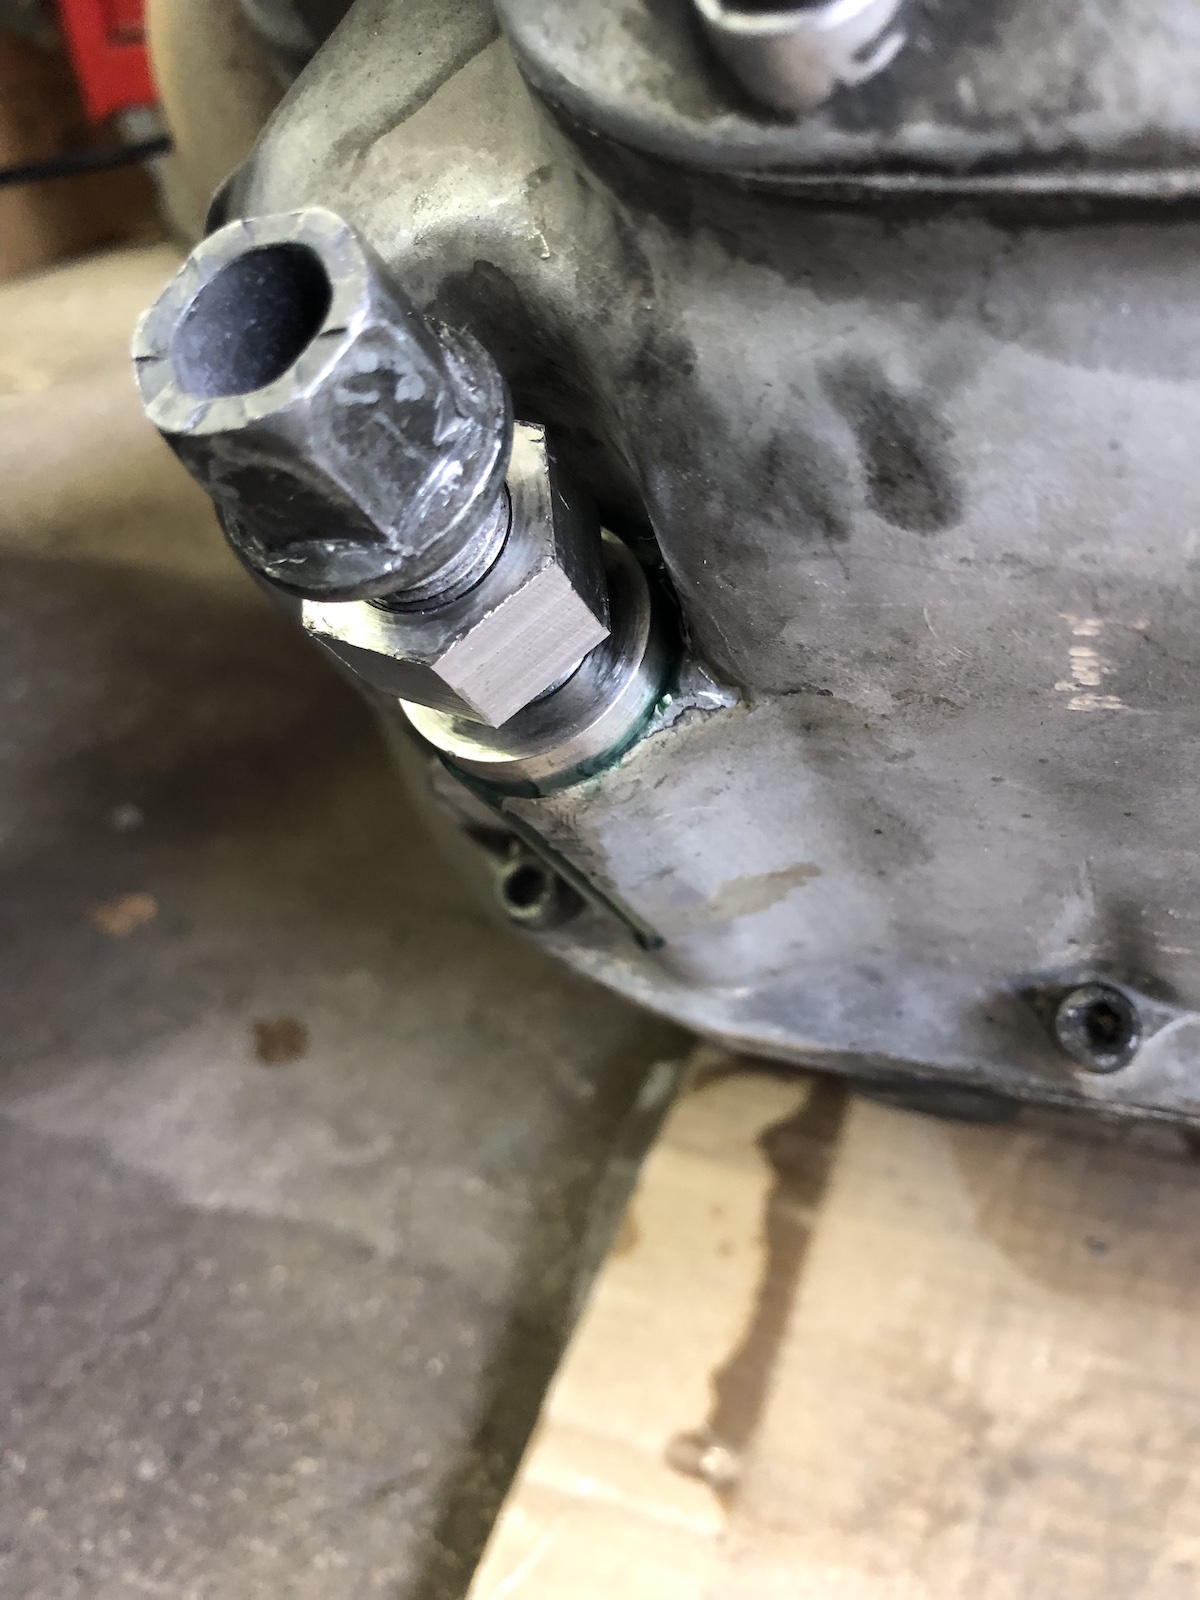

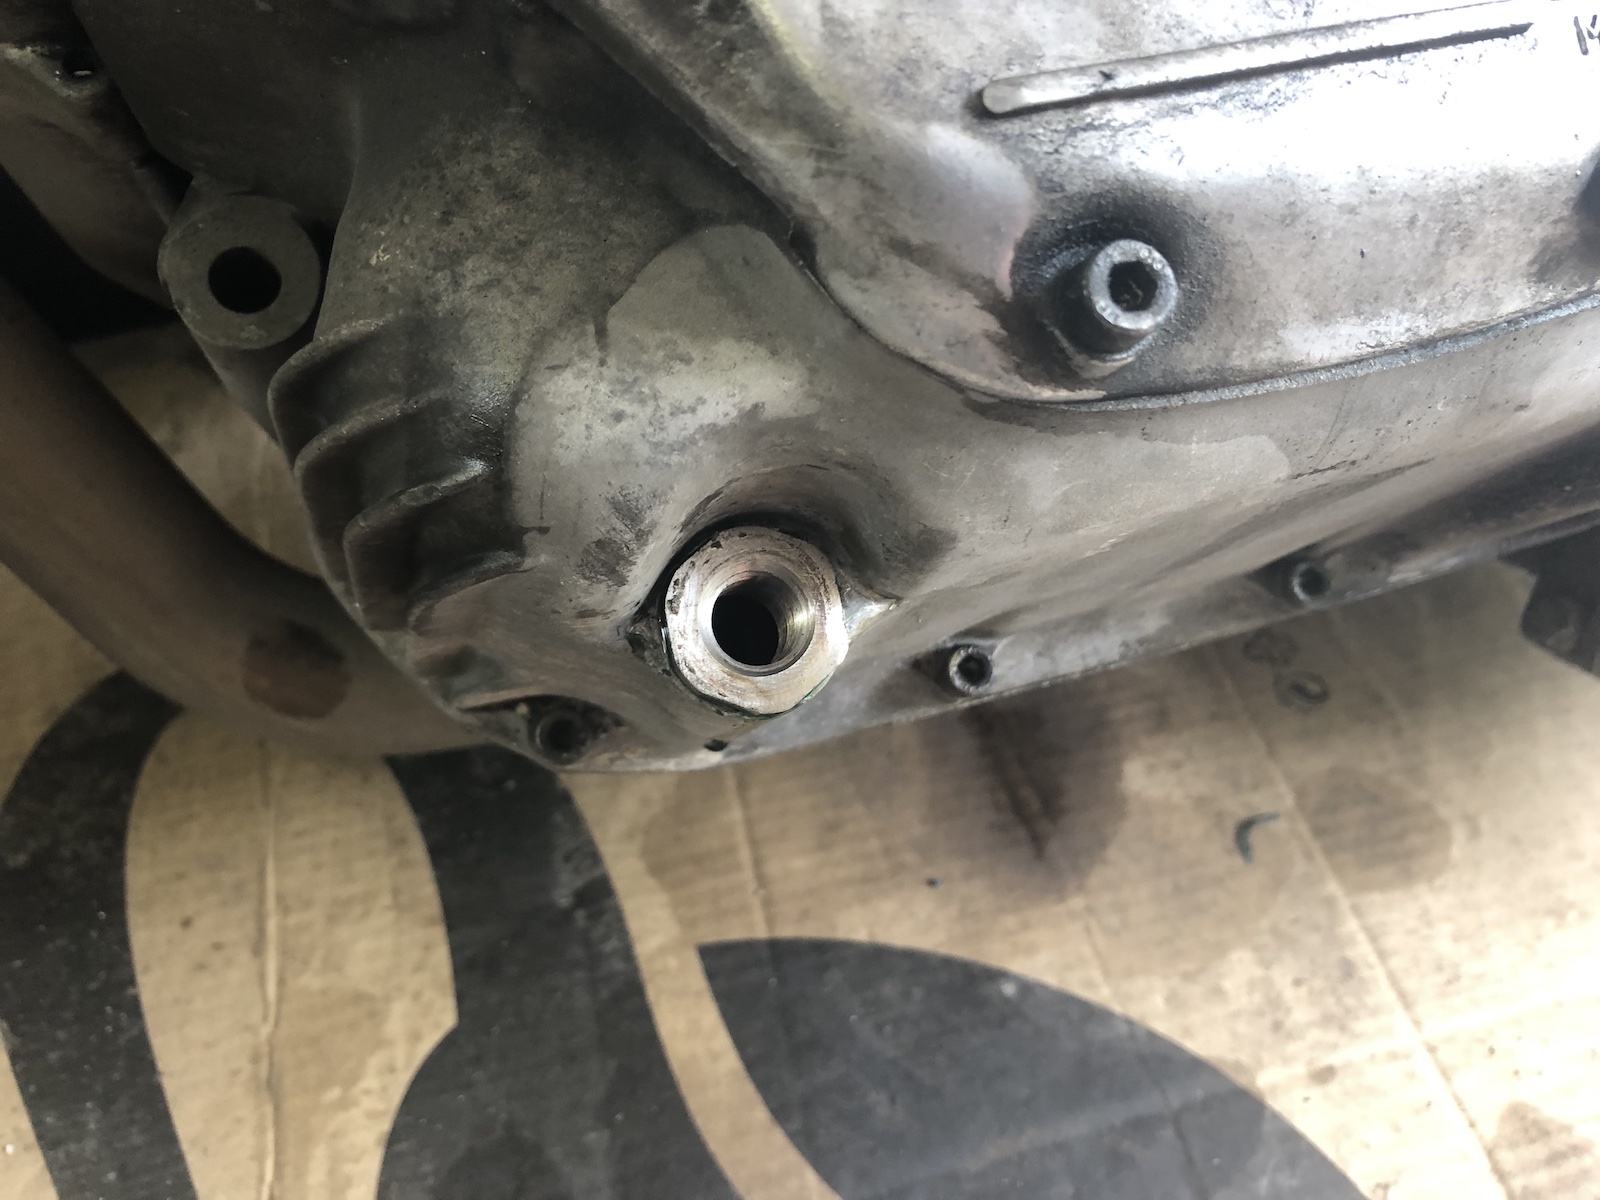
... and it did. Check out the witness marks on the two photos below.


So why this somewhat "elaborate" solution and not just go with a M18x1.5 drain plug straight away? (common on a lot of cars) First of all the 40 year old ally is pretty tired by now and in case this thread failed again, there wouldn't have been any material left over for a more oversized (and still at least half-way common) thread. Additionally despite my best efforts, I somewhat doubt that the M18 thread in the engine case is perfectly perpendicular to the mating surface given the fact that I had to drill it free hand. An undoubtable benefit also lies in the fact that from now on a steel bolt is threaded into a stainless steel drain and thus this would in theory allow much higher torque and no more wear on the well aged ally.
No comments:
Post a Comment