With carbs and fueling sorted out, the next step was to beef up the front brake and suspension. A stock XS400 will run a spindly 32mm (which was bent on mine) front end with 270mm brakedisks and a single piston caliper. So I went ahead and swapped the frontend out for a 35mm fork straight out of an early XS650 (but SR500 and various others from the Yamaha family of the same era will work just as well.)
Now you may quite rightfully say: Why a 35mm and not go for something beefier? Two reasons: I had a set of 35mm forks around and lots of vintage racers use them, so there's lots of setup info available to make them perform quite nice.
Now the other thing that is completely underrated is the stock Yamaha single piston caliper. The real reason, why it is often given such bad credit is that the stock brakepumps are too large, they usually are in a bad state of maintainenance and people try to run them with 30 year old rubber brake hose, which inflates like a balloon on a children's birthday party.
 |
| Pre-overhaul |
The caliper above is pretty much in representative of what you will find on a used Yamaha of the era and exactly the reason, why some people think they have to uprate the brakes madly on these old bikes.
 |
| The brake was still working (-ish) |
This is what the average brake overhaul kit consists of (actually that's two kits in the picture.) I will not go into detail on how to overhaul the brake, as I don't want to be held responsible, if you c*ck it up. That said, make sure that the seal sits in a perfectly clean groove, clean it out with a rotating brass brush (it has to be a softer material than the aluminium or otherwise you may damage something) and then re-assemble it with brake grease (usually provided with the overhaul kit) or lots of brakefluid and make sure everything works smoothly.
 |
| Post-overhaul |
If you've done a proper job, the piston will slide into the caliper only with some gentle pressure applied by your thumb.
Slightly less critical, if you do it wrong, but equally important: Remove the slider bushing on the bottom of the caliper, clean it until it is spotless, lube it up with brake grease and reinstall it. This will stop your pads from wearing unevenly.
Now luckily, these calipers have been fitted to a lot of different models over the years and as such overhaul kits are cheap and plentiful and you can even get pre-made stainless steel brake pistons for them.
One of the other benefits of beefing up the front end was that the XS could now run the bigger 298mm brake disks. Incidentially this is also the diameter of the full floating brake disks on various later Yamaha sport replicas (e.g. FZRs) and the bolt-hole-circle is still the same. Unfortunately the off-set is a bit different, so one has to knock up a spacer to centralize the brake disk in the caliper.
 |
| Old vs. new |
Ironically you already have the perfect spacer if you go with a FZR-brakedisk: The centre-section of your old brake disk has got the holes where they have to be, is the right thickness and only requires liberation from its old outer part. (You could always buy a rear 270mm Yamaha brake disk and take it from there - they are dead cheap as nobody wants them.)
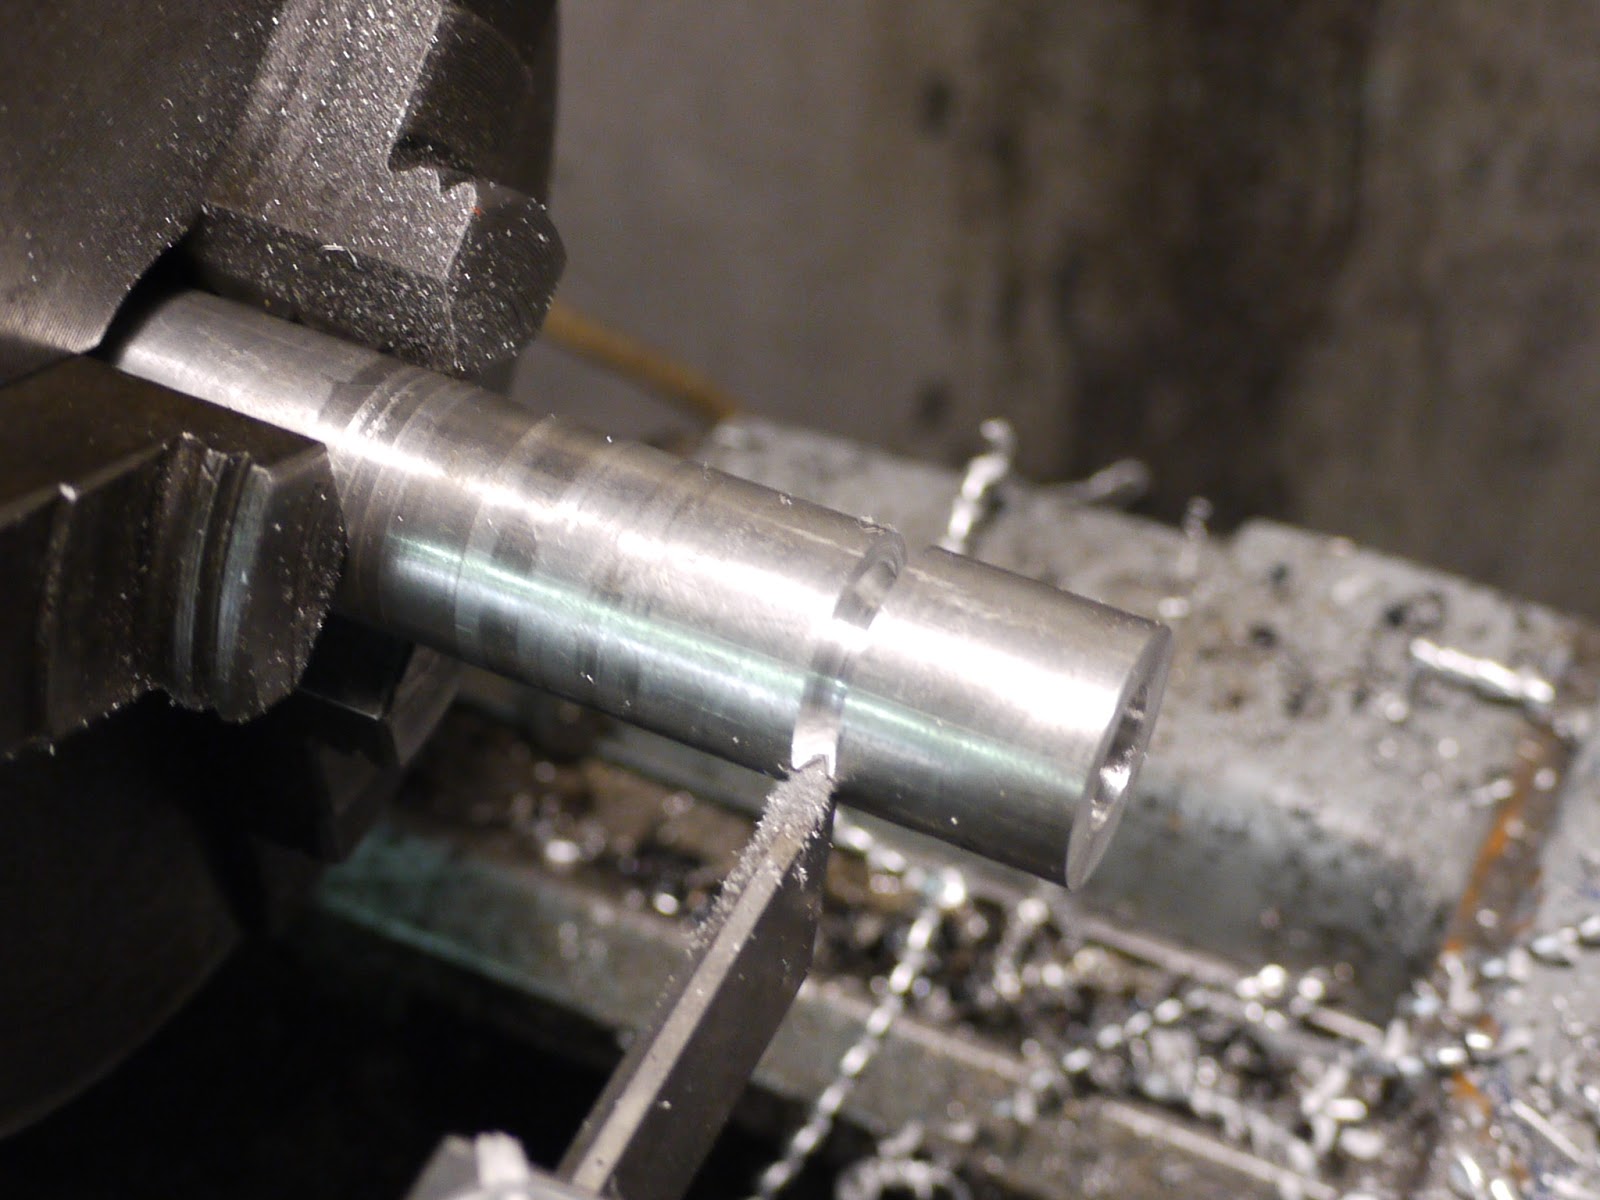
I tidied mine up a bit on the lathe to make it look the part and killed quite a few lathe tips when doing that - this stuff is really, really hard. So it may make sense to go to your local waterjet-cutting place and have one made from aluminium and save yourself a lot of hassle.
 |
| The finished product |
 |
| No adapters on the caliper required |
Now the rest of the show is pretty simple. Get a set of steel braided brake hose from your preferred manufacturer and get the CORRECTLY SIZED brake pump to go with. For a single Yamaha caliper somewhere between an 11mm pump (very soft, yet very strong) to 1/2" pump (very firm, still heaps better than stock) is the weapon of choice. If you plan on upgrading the brake pump on a Yamaha with twin disks a 14mm pump is generally regarded as the weapon of choice.