Saturday, 28 August 2021

Everyday TR1 - TM38-86 (revisited)

Now I don't like failures or giving, especially when I know there's an actual solution to the problem. As such it seriously annoyed me that I didn't find a way to have the old TM38-86s run nicely on my TR1. So I bought another set. 

Additionally I bought (per carb):

  • 2x M3x10
  • 2x M4x16
  • 4x M5x20

 Plus a 40 degree throttle-cable bend and a 2in1 throttle cable 51-6506.

I started with unscrewing the splitter and then GENTLY clamping the cables in the vice using the splitter as a funnel to oil both sets of cables. 


Then hooked up the cable and replaced all the hardware for stainless allen bolts with plenty of copperslip on the threads. Also a bit of grease goes a VERY long way on the paper gasket of the carb top and prevents it from sticking to the carb body and subsequently tearing apart.


The stock jetting of #22.5, #230, 1.5 turns on the airscrew is probably a good starting point, if you run huge velocity stacks or something like that, but for me a more modest #17.5, #185 and 2.0 turns stopped the smoke and yielded some rather respectable performance on the way home from the workshop. (Mind you my exhaust is far from stock...)


Out with the old VM38-9s ...

... and in with the fresh TM38-86.

The difference between 1.5 turns fluctuating between 11.0 and 11.6, because it wouldn't run cleanly.
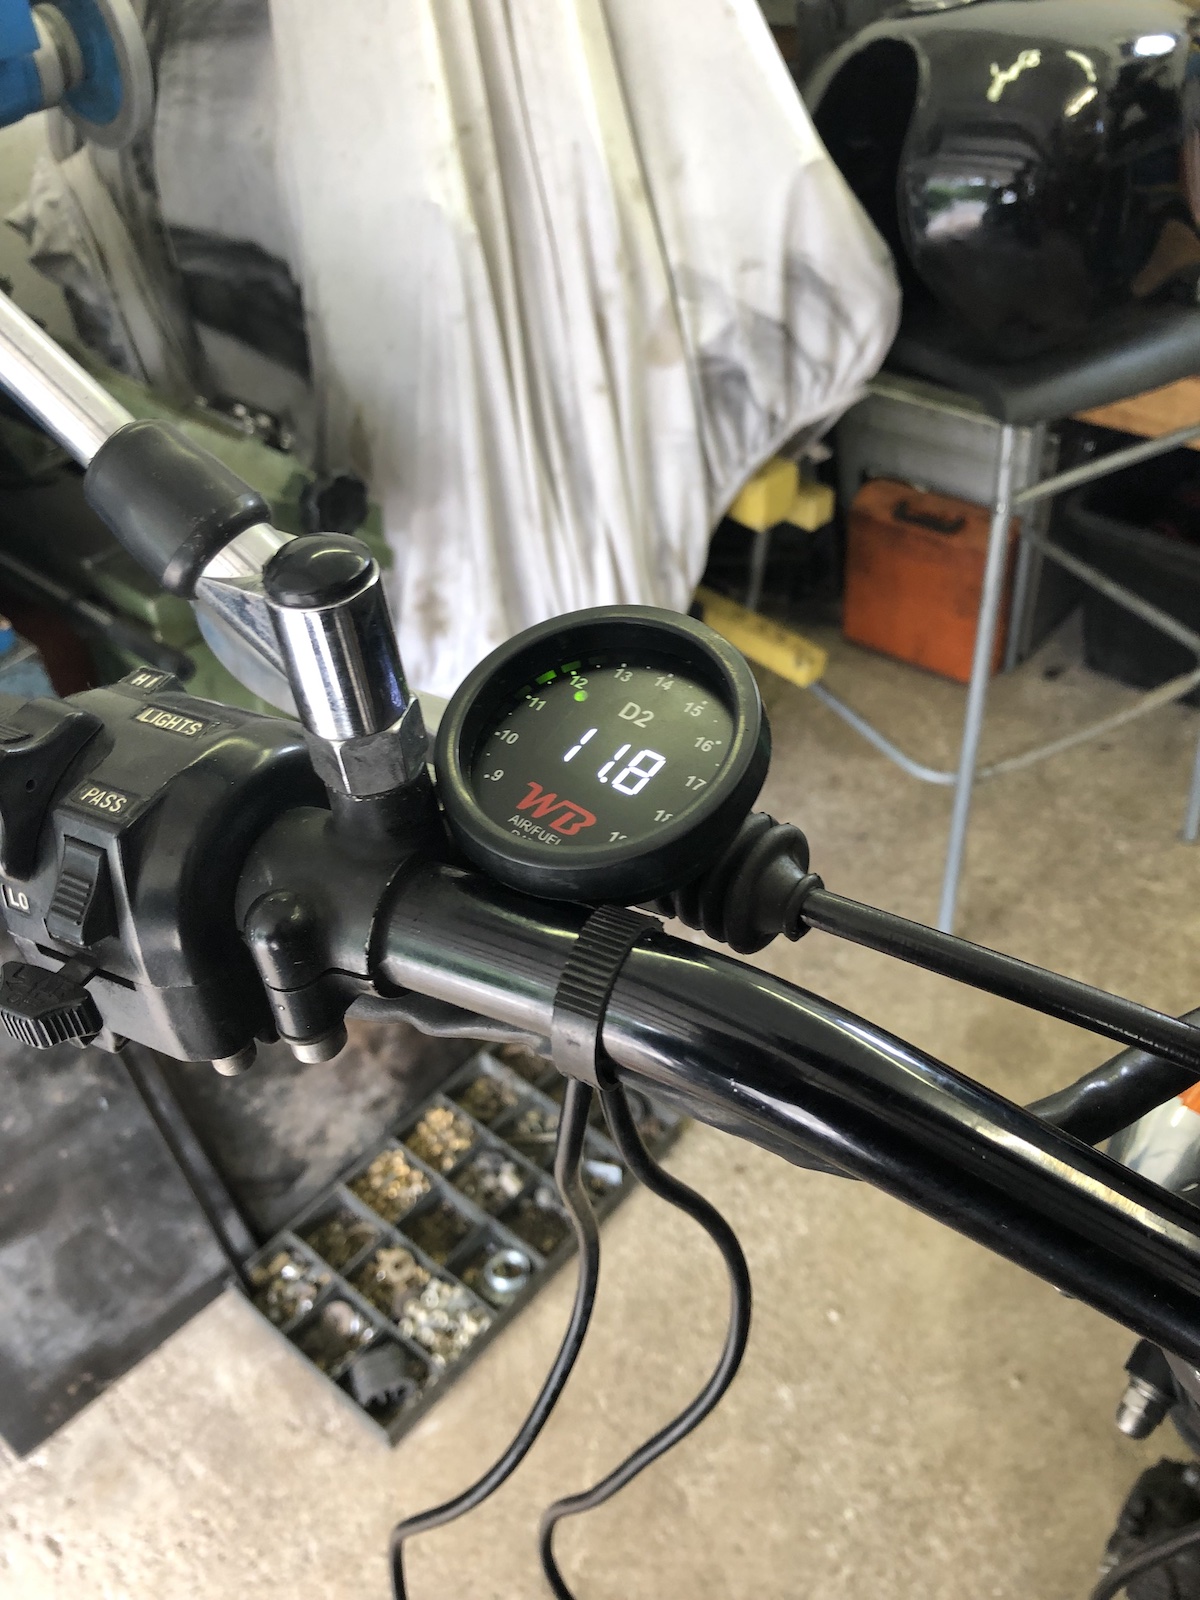
And 2.5 turns out, running a stable 12.2 to 12.4:1 at idle.

On the way home I noticed that the idle had crept up considerably and now with some slight detonations on a very hot engine, probably around 2.0 turns out would be more the right ball-park for the setup. 

But even with quite some room for improvements this is where we're at at the moment:

Addendum: Air-screw 2.0 turns out from a soft seat and idle set to roughly 1400rpm, when hot did the trick. Bike runs better than ever and I can't hear any detonation or notice any stumbling or hesitation in the rev-range.  I also went ahead and sync'ed the carbs once more and shot a little video of it, especially for those, who keep telling me they can just "eyeball" it. (I can't - at least not to this degree.)

So the next step will be to find out how good or bad the fuel consumption is. 😏

Wednesday, 11 August 2021

Dre-XT-Stück gets drilled and new ears

 ... something, something rude joke. The by now rather trusty XT600 has got a slight airflow issue, stemming from the fact that someone (me) put a huge mudguard in front of the engine, which hasn't got a single hole to let air pass through. 


... and then when rummaging through various boxes and stuff, I found these folding mirrors, which I had bought originally for my old XT500, but didn't give the seller. That being said, these aren't the real deal ones, but Chinese knock-offs, so once that single is buzzing properly there's not much one can decipher in the mirrors.

To be fair, aside from quite a bit of riding, not a whole lot is going to happen to the old girl in the coming weeks. Eventually I will make the pannier rack for it, but there's no imminent need for it at the moment and there's a new project in the shed that I have to turn some wrenches on...

Wednesday, 28 July 2021

Getting the VX800 roadworthy

It's been a while since the old VX800 moved in into my dad's garage to get her ready to go on the road again.

In order to achieve this (moderate) goal, I will not lie, but the fuel tank had to be welded three times. (Don't laugh you haven't seen the other addition to the fleet yet!)

The other "mildly" interesting feature was that the front pads were COMPLETELY covered in oil, but the fork isn't leaking any or showing any signs that it did so in the past. The caliper is super easy to take apart, just a tip, the rear pad comes out second and then it's easy sailing.

Brake fluid looked well seasoned, but interestingly nothing was seized or the like.

Talking about those brakepads - I read on a forum a while ago, that if you heat them up for a prolonged period of time, the oil will cook out. My dad and I tried that out on the barbeque and admittedly we haven't put them back in, but the oil was forming drops on the side of the pads, so it must have worked to some extent. 

Last and definitely not least, the original orange fog-light-substitutes had to go. Instantly. Also they were only present on the front and some weird ones were fitted to the rear. A universal flasher relay was necessary as well to actually make them go, but that's only minor stuff.

So what's she like to ride and I tell you, it's a very, very gentle bike. No big surprises there, perfect daily-driver material, if you wanted a v-twin that can do everything from Autobahn to cruising, yep this one will be it. 


The handling, after pumping up the front tyre to stupid pressure (3 bar) it stopped feeling like the bars were connected to the forks with rubber bands. The engine, oh the engine is sweet once warmed up it easily revs to 9000 or even 9500rpm. Not that there's anything dramatic happening up there, but you know... better have those RPMs in the backpocket and not need them, rather than the other way round. And that's a pretty good way to describe the whole bike - just... no pressure, do as you please.

Sunday, 4 July 2021

The XV sidecar - (mostly) wiring

In order to be less of a hassle down the road the first thing that I wanted to address was the location of the center stand spring as I plan to route the exhaust through there just as I did on my TR1. 

The other thing was the fact that the frame with some other bits being repainted now, looked a lot worse for wear in comparison, so a bit of fresh paint was due...

... and then put the tag back on.

a


And once the frame was re-assembled, I really wanted to use those XS750/850 headlight ears, but I was lacking the correct size locating rings...


... and if you thought that by now it was really well about time to dig into the wiring: WRONG. As the timing marks between crank- and intermediate-pulley didn't line up (mind you, I probably just didn't turn the engine over often enough and was overly worried about making mistakes), I pulled the head and cylinder and retimed everything.


And then after having them soaked in engine oil for about 2-3 days, I also completed the clutch, while I was at it. 


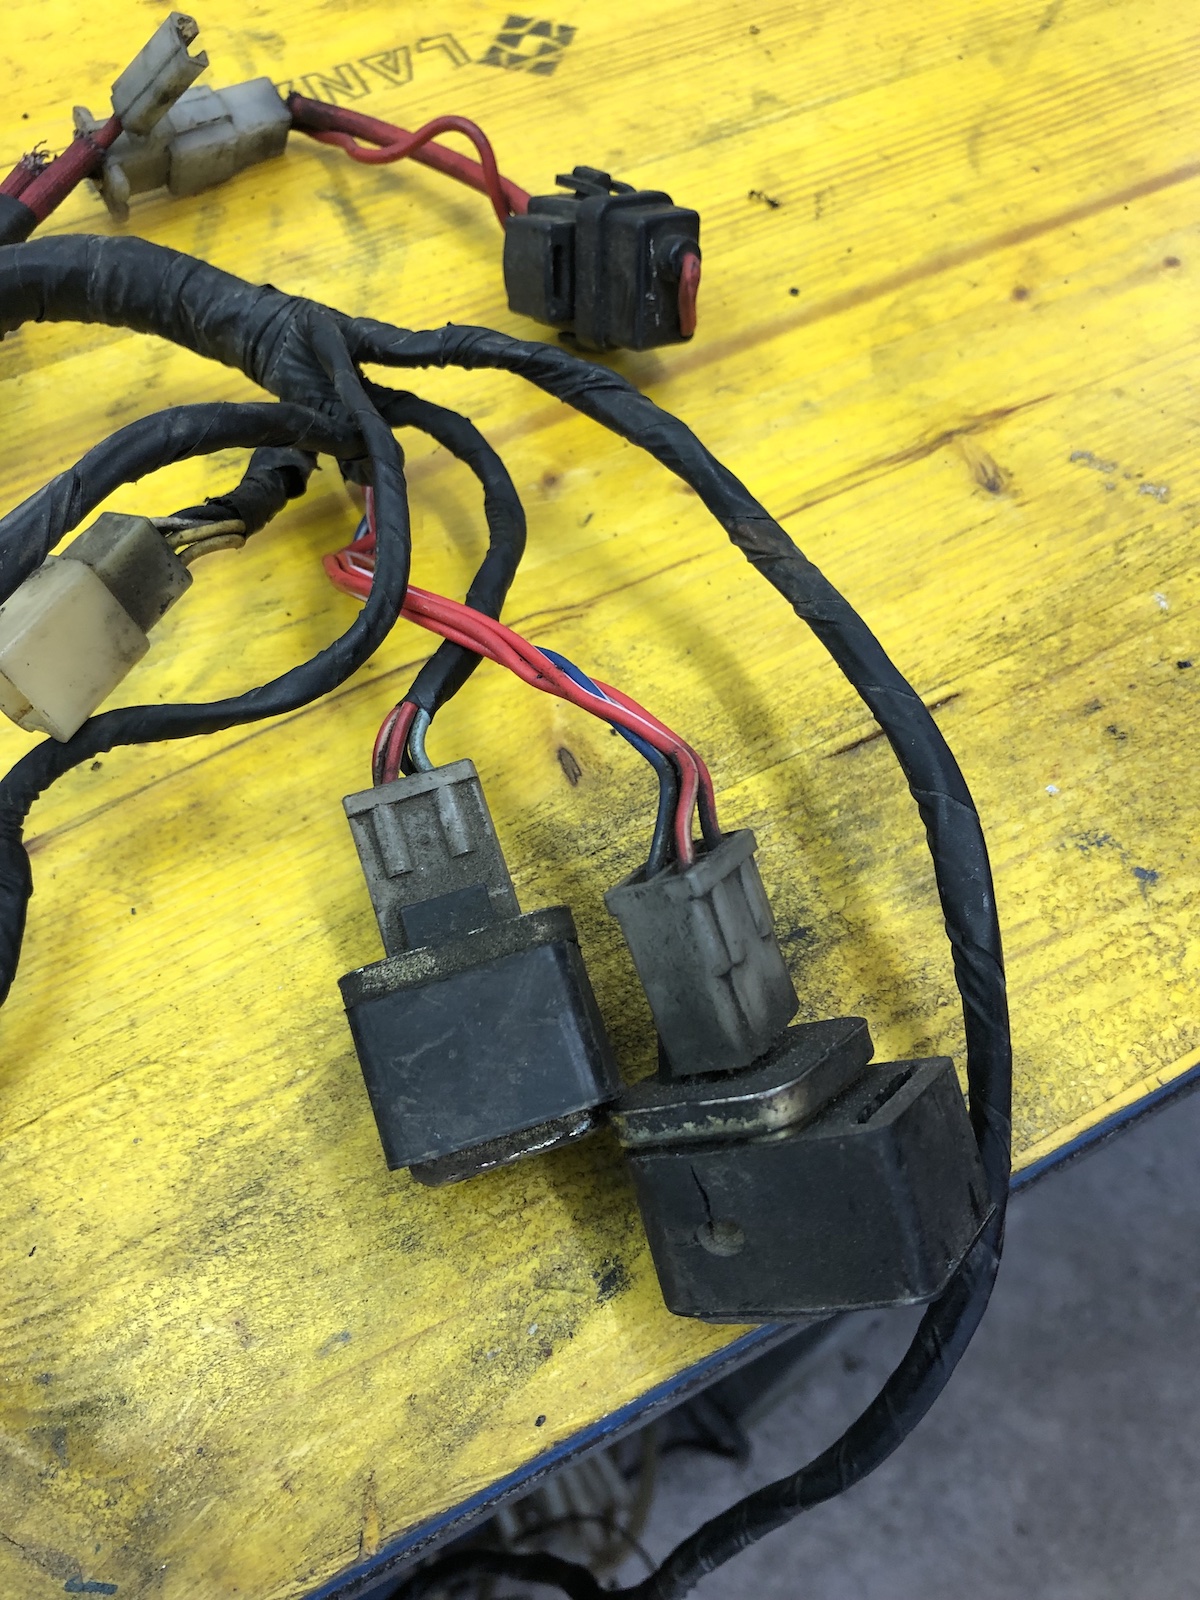
With that out of the way, it was time to turn my attention to the loom. There's two main areas of concern: first is to remove a set of safety cut-out relays as they were specifically made for Yamaha and are no longer available new and as all old electronics they don't exactly become more reliable with age. (On the right end of the picture - the pair of golden relays.)

Once you unwrap this section of the loom, it becomes pretty obvious that the first relay just loops the red-white (ignition +) cable to the second relay.


This basically means the second one is the one, which does all the "cutting-out-or-not" work. The light blue cable is from the neutral switch, the blue and yellow one from the clutch-switch. As such the extra wire from the y-section of the neutral switch can go.

Ultimately you end up with these four wires, where the most important thing to know is, that the one red-white cable that comes down from the kill-switch and is hot (unless the kill-switch is engaged) goes to yellow. Blue-white is the trigger-wire for the starter solenoid.


Next to these two relays is an unused triple-plug, which is used for the automatic indicator cancelling unit and is equally superfluous, of which the green white cable goes to the speedo and the other two go to the light switch (where the pin is blank on European market models) and the flasher relay, where it is usually looped onto itself. This is really just to remove some excess cables. 

The second and more important mod (to me) is to run a separate cable from the ignition box to the tach, which comes in handy when running an aftermarket box like a ignitech, but the stock boxes can be modified very easily and from the last three or four years experience this actually helped with the longevity of those tachs.

Next up will be throwing all of this onto the frame and hoping that it will stick...


Monday, 14 June 2021

The XV sidecar - Aiming for perfection or maybe really just stroking my ego

As the title suggests, it's one of those instances, where I am my own worst enemy. Ever since I assembled the engine, I disliked the fact that I installed one subpar crankshaft roller bearing. It would most likely have been fine, but it has bugged me for about a month or so until I finally gave in and accepted that I won't be happy until I know for sure that the bottom end of of this engine is solid. 

But first, I had to swap out the rear wheel for an XJ650 rear-wheel, so I can run the bike with the stock brake configuration and pass an MOT with it. 

About one and a half hours later, the bike was well in bits, the engine on the bench and the crankshaft roller bearing sharing a tray with some frozen veggies in my dad's freezer.


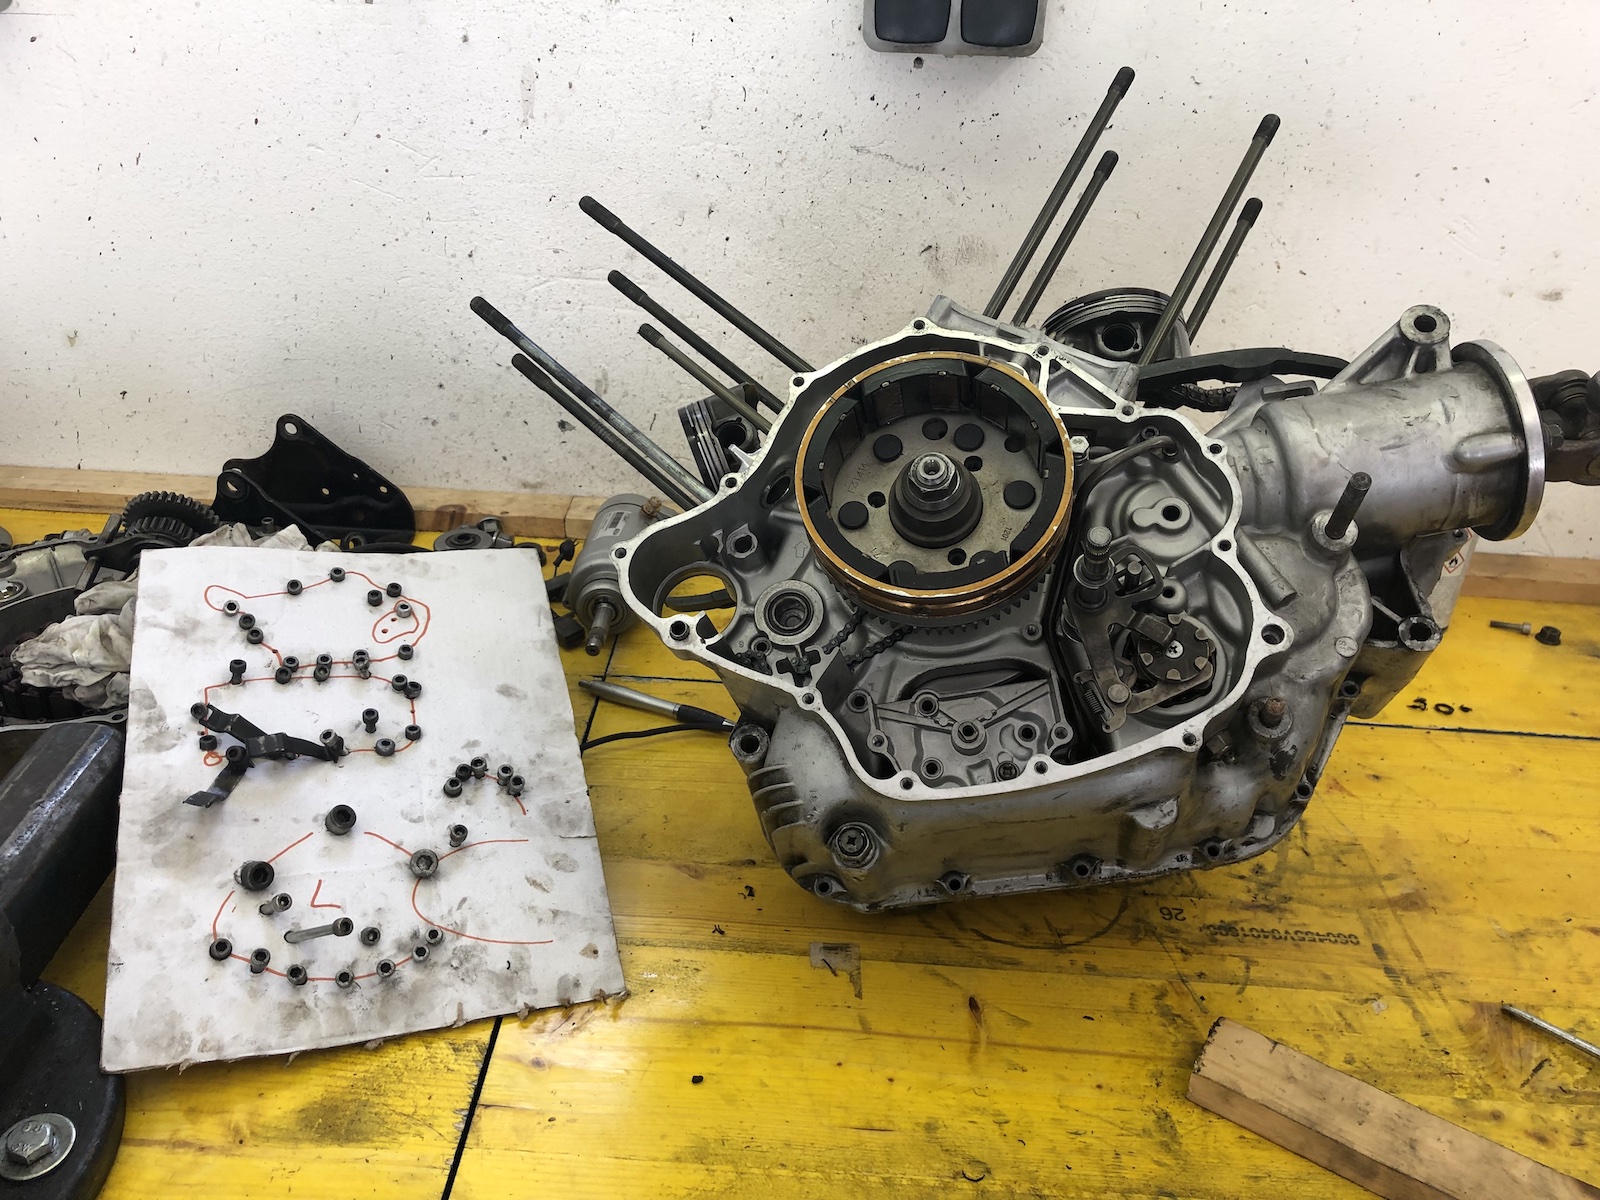
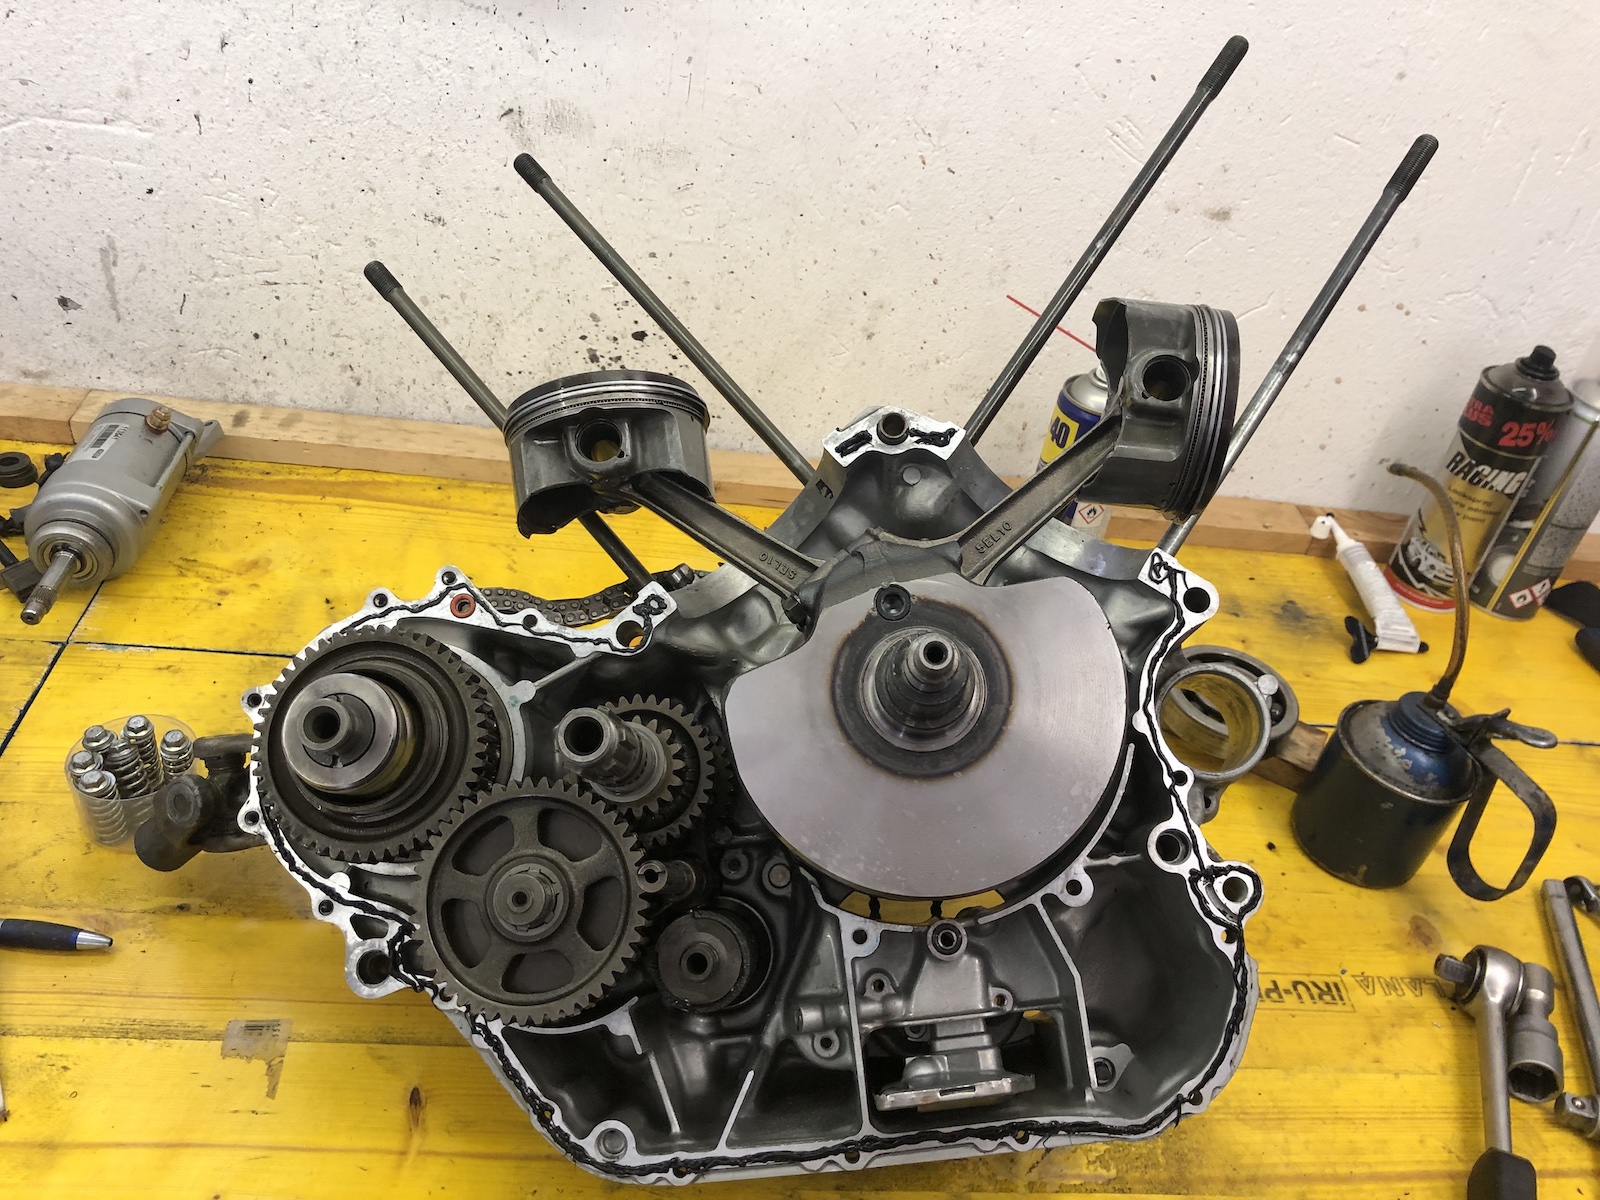
The following day I turned my attention towards taking the engine apart, which quite frankly, if you've done it as often as I have, it was roughly a one hour job.

The only tricky part this time probably was that I had to access two bolts hidden behind the oilpump, without taking the oilpump out entirely

Luckily the crankshaft bearing in question was the right one.

As a wise Ozzy once said: it's never too late for a proper barbie... (seriously though, my dad's oven was too small to get half the crankcase in. Heated it up to a solid 160 degrees C and chilled the bearing to around -30 or thereabouts.

... and it fell into the case with the most satisfying *clunk* one can imagine.

Following the legendary (and stupid) phrase from the book of lies: assembly is the reverse process of disassembly. I tried out Loctite liquid gasket for the first time and by now I am not entirely sure, if I like it or not as it is a lot thicker and once dry it's almost impossible to remove. (Something I liked a lot about Dirko - 24h after application you sprayed it down with some brake-cleaner and you could just peel off the excess material. On the other hand, this probably also means it stays put better inside the engine. Either way, I think it will work brilliantly for glueing on rubber grips.

As I had collected a few more bits, all the necessary ones for a 9-disk-clutch are in my possession now. So first cut the posts to length...

... then mill them, so they are the same length as the basket ...

and ultimately mill out another section of the outer basket, so trapped oil can escape quicker between the clutch plates.

And oh yes, I love the new mill. So what's to be expected in the next post? A frame swap and repaint, a modified center stand and surely some other things as I come along the way. I may say I am a bit excited as the first noises aren't all that far away.

Wednesday, 9 June 2021

6x26 mill - bolted it down properly and made some swarf

 Last time I admittedly didn't have time to actually try out the new mill, which among other things was down to the fact that the mill wasn't bolted in a way that would have made me feel comfortable to work with it.

The main reason being that the previous mill was being held on with some bits of M12-allthread with nuts on both ends. With the new mill's baseplate being a bit bigger, I had to resort to lobing off "a bit" of the bolt head, so I could fit them. On the upside, tightening the nuts needs no spanner on the underside as they rest against the frame. 

What you see in this picture is a an XV1100 clutch basket being modified for use in my new XV-sidecar. The extra breakout is to improve the oildrain, to allow for quicker shifts. (But more on that - and it will be a lot - in the next post on the sidecar.

But what most of you will be most interested in, how does a Taiwanese 6x26-mill stack up against the old RF25 or a proper industrial size toolroom mill, e.g. a Deckel FP1 or a Bridgeport? In short a) world's apart in a good way and b) well, there's at least half a ton of pure gravity separating this little lady from a Bridgeport... and it shows.

The long version: Oh this is a completely different caliber of milling machine than my previous RF-25. Obviously with being able to work with a knee is a completely different story to moving the head up and down in practical being limited to working with the quill. The other thing I instantly noticed, unlike my old round column mill, this girl now runs on a 1.5kW motor instead of a 750W 3-phase motor, where I sneaked in the 3rd phase via a capacitor. There's just a lot more grunt everywhere and with a lot I mean a lot. The next thing with the machine being new, the way the table runs in its dovetails, well it made my giggle like a schoolgirl seeing a sausage shaped object. One of the next tasks that I have to address will mean working with steel and I guess this is when this mill will really shine. On the roundcolumn mill it was certainly possible, but mandated very sharp as in brandnew milling cutters, very gentle feeds and lots of patience. I am realistic in knowing that this is not and will never be the kind of machine, where you measure depth of cut in inches, but it will a be nice change to do more than just the odd light pass in steel. (I hope.)

All in all, the difference is as big as anticipated, as I moved on from a drillpress on steroids to an actual small milling machine. And no, we're not done yet with making it my milling machine, in fact, we haven't even really started. Expect posts on spacers for the milling head for another 150mm of Z-axis clearance and a 4-axis DRO as two of the bigger projects.