Sunday, 9 June 2019

Been out to the Sölkpass SR/XT meeting

... and my dad and my humble self did more km on the XTs in a single rideout than he did in the entire last year.

Now there's a distinct reason, why my dad's XT is called "the pretty one" and mine's called "Dre-XT-Stück".


A few corners before reaching Pyhrn-Pass.


If it's called "Kirchenwirt", it's only stereotypical that the local church official has got his own reserved parking spot.


The meeting itself is rather small and at the end of gravel-track (hence us riding on the ol' XTs), but the turnout was good and a lot of old friends have been met.


Even though not quite an SR/XT 500, that BSA B31 was probably the sexiest bike at the meeting (at least in my opinion. Even though my dad heavily drooled over the endearingly well-used Guzzi LM4.


We only paid a short visit to the actual bike rally as there was another action item that had to be tackled. On top of the Hengstpass is a little hut, which amongst other things sells some rather delicious Kaiserschmarrn. (Sort of a sweet omelette served with homemade fruit-jam)


Unfortunately on the way home at an intersection we had a bit of a misunderstanding that caused a bit of bent metal, a broken mirror and some bruises.


But as we had some discussion, why the performance of the pretty one was somewhat lacking a bit compared to the Dre-XT-Stück, I dug out a well perforated airbox-lid. As I suspected, the old girl was running rich in all places and that extra bit of air made her very, very lively.


So lively in fact, that I decided that the old Dre-XT-Stück will eventually get the same treatment, especially as she's awaiting a 600 engine transplant some time later this year.

Friday, 7 June 2019

Fixin' the TIG

... and while I am at it also make some overdue modifications.

The thing that had to be fixed was the gas-solenoid. Unfortunately this seems to be a rather common issues with these TIGs and mine was no exception. So the stock solenoid tended to not shut the gas off unless it was gently bumped.


As I know, not everybody takes apart a new welder, here are two shots, showing off the internals. And all joking aside, Chinese electronics manufacturing has come a long way in the last years. The PCBs are nicely laid out, the traces are soldered up where needed and silastic/hot glue prevent stuff from dangling around and all the boards are conformally coated nice and even. 


... and they didn't skimp on the copper heat sink. 


After soldering the wires back together to fit the new solenoid, I hot-glued it to the fan-housing as the original fitment with zip-ties might have broken the cables in the long run.


One thing, where my old welder terribly spoiled me was the quick-release on for my TIG-torch'es gas-line. This will allow to start using my flex-torch setup again and keep the stock one set up for the heavy stuff (and aluminium). 


My local pneumatics-shop had all the fittings for the conversion on hand and it was a whopping 24 Euros, so not exactly breaking the bank on that one. 


I still need a different plug for my other torch-setup as the older welder had the small bung and this one runs the big-one, but that should be rather easy to sort.

Friday, 31 May 2019

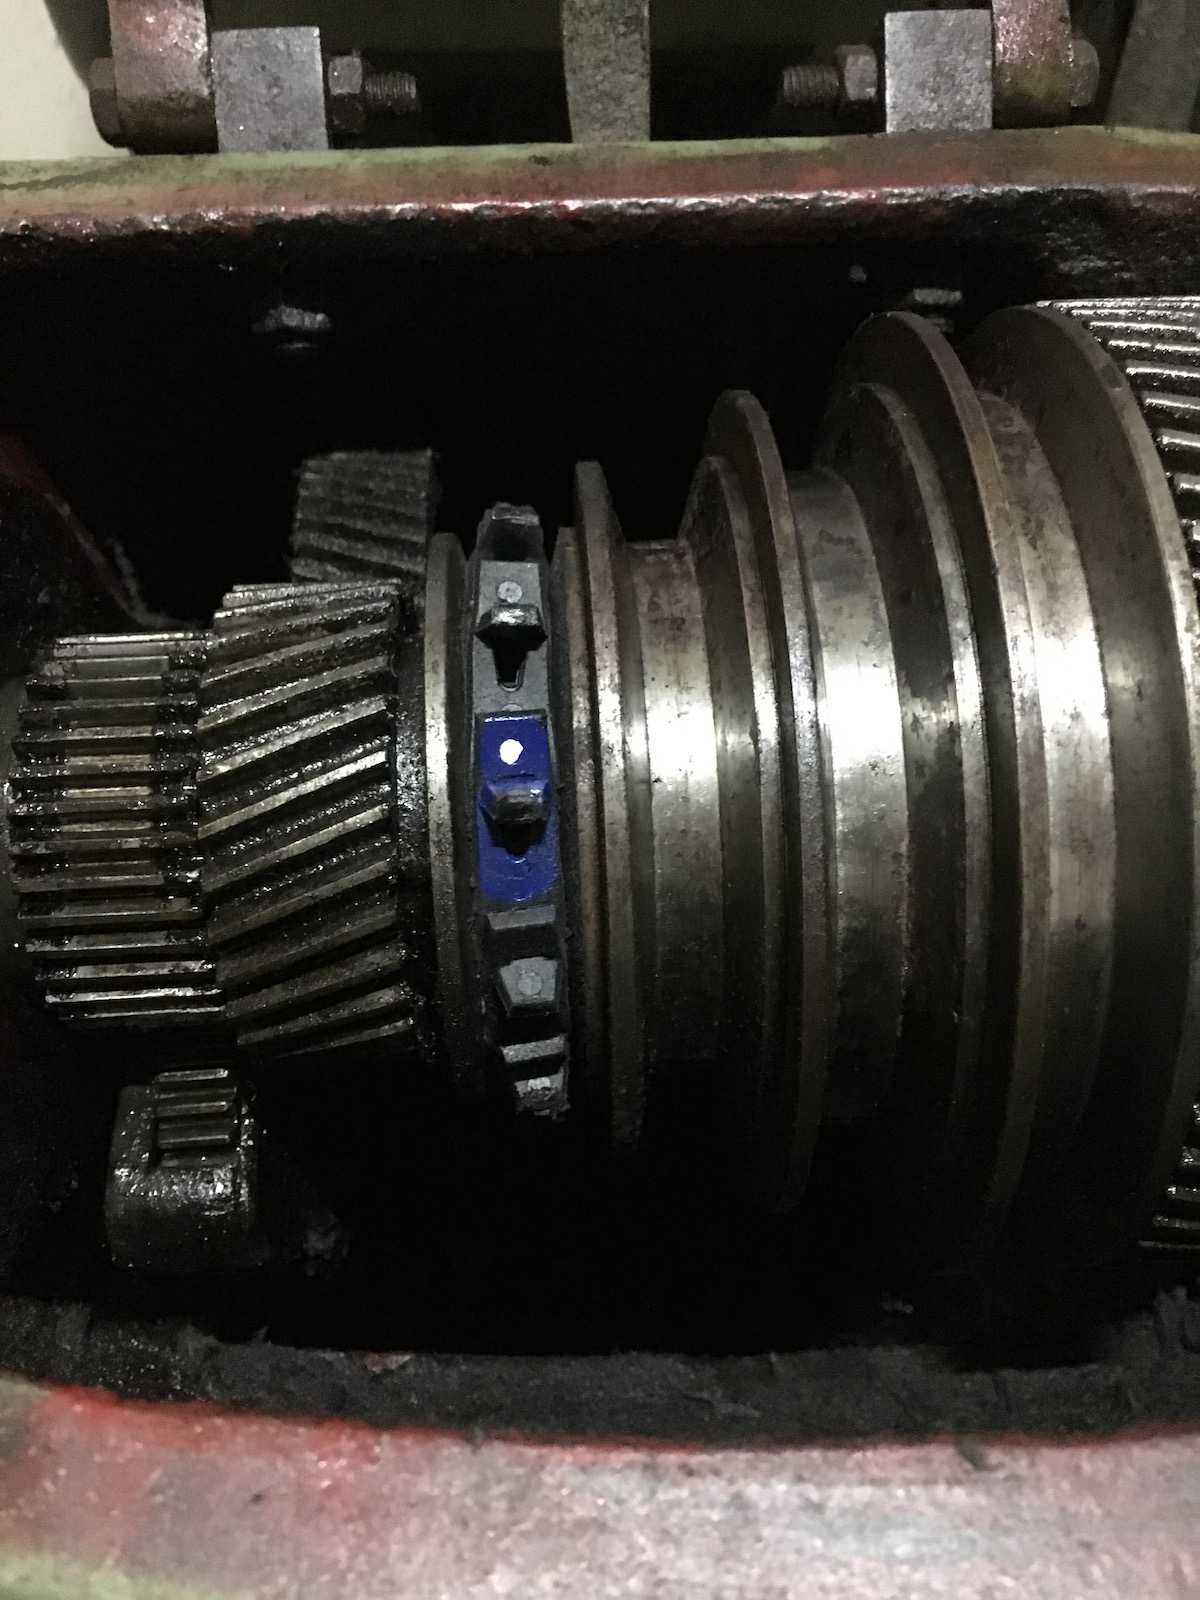
Rotabs make the mill go round...

... or how to fit a 190mm chuck on a 150mm (6") rotary table. In reality it is quite easy: make a backplate, fit it on the table. Done.

It's the details that make jobs like this tricky. Originally I attempted to make the backplate entirely on the mill, but the surface finish was rather dissatisfactory.

So first step was to get both sides parallel with each other and correct a spot, where the mill had eaten into the step.


The top side needed a bit of attention too, the M6 bolts are plenty to hold the adaptor to the rotary table. 


Should you happen to know the brand (most likely Soviet-era Ukranian made) or where to get a set of internal jaws for it, please let me know.


The countersunk allen bolts needed a bit of touch up to clear the locking handles in the vertical and a reduction of diameter to reduce the size hole needed to be countersunk.


Vertical runout after all this jazz: 0.02mm between highest and lowest spot. 


I admit, it's quite a bit higher than I had hoped, but to be fair it is massive and it will be perfect for what I have in mind for it. That being said, it might be replaced with two smaller 125 (5") chucks that I have left over from my old Myford. So if you're in the market for a ready made solution for a 6" rotary table...

Friday, 24 May 2019

Belts 'n' suspenders - more on the Rhino lathe

The best one can say about an old lathe is probably that there ain't much to say about, because it just does its job. In reality that's pretty much accurate with this old beast. But I have to admit that the lathe belts had a rather nasty tendency of slipping... a lot.

Now in order to swap the belt on this lathe, one would have to take the spindle out. (Which on its own wouldn't be the dumbest move to start with, because the bearings certainly could do with a bit of cleaning!) But what if, there was a way to avoid this?

Bring on the fenner belt or as the seller calls it "linked v-belt". As the name implies, it is comprised of sections that make it possible to lengthen or shorten the belt according to the needs of the situation and also you can link it up in place. 


A thing to note: After running the belt in for a few revolutions, it had to be shortened. A process which I had to repeat quite a few times and I attribute to all the links seating correctly. I was expecting it to run rather roughly, but to be honest, it's not worse than it was with the old belt. Surely you wouldn't do this to some Schaublin finishing lathe or the like, but for jobs like this one: perfect.

Friday, 17 May 2019

Everyday TR1 - umpteen little jobs round the bike

Currently I am very strongly aiming towards getting all my two-wheeled junk moving in a direction, which could be summarised as: working condition (with minimal impedencies). The bike that is used the most is, somewhat as implied by the name, the Everyday TR1. Hence the old girl is getting most of the attention.

Four main problem areas have been identified and subsequently remedied, which were

  1. The washer of the oil-pressure switch was a joke,
  2. the Ignitech produced a slightly unclean signal leading the tach-needle to jump around a little,
  3. due to the bad weather and riding in the same, the rear brake axle started to feel sticky
  4. and lastly the bushing for the gear lever was completely worn out, leading the shifter to wobble around in all sorts of directions.

The oil-pressure switch was an easy fix, yet it called for draining the oil.


After some thorough cleaning a bit of flower was sprinkled onto the area and the bike taken out for a spin. If any oil had come out, due to the capillary effect it would have become clearly visible. 


Also whilst I was in there a new set of footpeg rubbers were fitted. (The one in the picture is the better of the old ones.)


Next was the Ignitech swap, which unfortunately didn't fully cure the jumpy needle, but it was well worth a try. The blue dot on the plug is to tell them apart.


The last part was to fit a grease nipple to the brake shaft.


Even though I had the shaft out two or three months ago and greased it up nicely with some GOOD saltwater-resistant grease, there's not much greasyness (pun intentional) left in there... Also rather well visible the adjuster is heavily bent from a previous crash and had to be bent back to stock position.


Originally I wanted to do it in the lathe, but with the shape of the backplate it turned out to be impossible to hold in the lathe chuck without making an adapter. So the trusty drillpress had to be employed for the task at hand.


... and the last bit to tackle was to make some proper new bushings for the shift lever. Luckily I had some 24mm stainless steel barstock sitting around that just had to be turned down to 16mm.


And that's the sideplay and the general indifference of the shift lever taken care of.

Friday, 10 May 2019

Aprilia Moto 6.5 - spring maintenance

Lately there was some left-over work to do on one of my dad's Moto 6.5s. The most important one was to do some empirical carb jetting research.

Now as it's a mild pain to get that carb out and the bike was bogging down, it was easier to just restrict airflow and see how that affects the performance as that only meant taking the seat off.


The other source of constant joy on one of these are failing brake-light switches. Turns out you can either buy the 60 or 70 Euro stock part or go to your local electronics shop and get a microswitch for a whopping 1.89 Euros, which in my cases almost puts it on par with the fuel costs, and then just solder it on to the stock cables. 


The only other modification required was a 5mm bearing ball. Now, where do you get a single 5mm bearing ball, if you don't want to go to the shops to buy one...


They say German bikes are built without any hint of emotion, Japanese bikes are fine-mechanical marvels and Italian ones? Well, they need a slightly more laid back approach with built-in ingenuity and creativity. 😉

Saturday, 27 April 2019

The Turbo TR1 - oildrain and first start (part 6)

Instead of this blog entry there should be a success note on how I got the flatslides on the sidecar spot on and am rolling around on three wheels like an absolute boss. To be honest, I tried my very best and at some point I needed a break from working through all the jetting options chasing both a consistent idle and also some top-end power.

And during that break, I simply decided to get the turbo in running order. The first (and one of the more simple tasks) was to to modify the turbine housing to get a boost-reference port for the wastegate.


Then secondly, because some numpty (that'll be me, thank you) put an exhaust where the oil-drain wanted to go, I had to fabricate a slightly more elaborate oil-drain-pipe than I originally anticipated.
(The picture actually shows the final version, if you compare it to the video clip and some of the pictures above and below, you will notice, that this wasn't exactly the only one built... 😏 )


As I pointed out before, I was a tad grumpy that day, so I decided to hook up a fuel line, plug some of the open ports on the inlet rubbers and see what happens next.


To my utmost surprise, it fired up more or less instantly and after somewhat clearing its throat it fired up.


One of the backfires "fine-tuned" my boost gauge and inspired it to from here onwards give some rather "optimistic" boost readings. (That's with the engine not even running.)


A bit more fine tuning and well the whole engine and setup proved to be hopelessly overbuilt as it lasted more than a quarter mile already.


Next step will now REALLY be to swap out the inlet-rubbers for the ones, with plug vacuum ports and space them in a bit to clamp the inlet manifold a bit tighter. Oh and a seat might come in handy, sitting on a rolled up rag is dead cool, but not exactly compliant with some of the rules and regulations of the racing bodies I want to take part in OR local vehicle road safety legislation. And talking of the latter as some people dropped me DMs on Instagram - nope, I don't see a simple legal way to get this on the road in Austria. Might be a different game in Germany or some other European countries, but I have received a big, fat "no way, mate" from the local authorities, when I presented the whole project to them.