Saturday 24 December 2016

The XS Triple Sidecar - finishing the subframe and lots of other small things...

... hardly anyone will notice.

Let's start off with the subframe. With all the mounts and clamps in the right places, it was about time to plug the ends. Originally I wanted to turn up some plugs on the lathe, but in the end I decided that it would be quicker and easier to just weld the ends shut.


Next were some touch ups on the frame, where I had to remove a bolt.


For the very first time I tried a paint-system, which was two-pack, but in normal spray cans. Now I am by no means a talented painter of sorts, but the results are pretty impressive. (As are the paint fumes...)


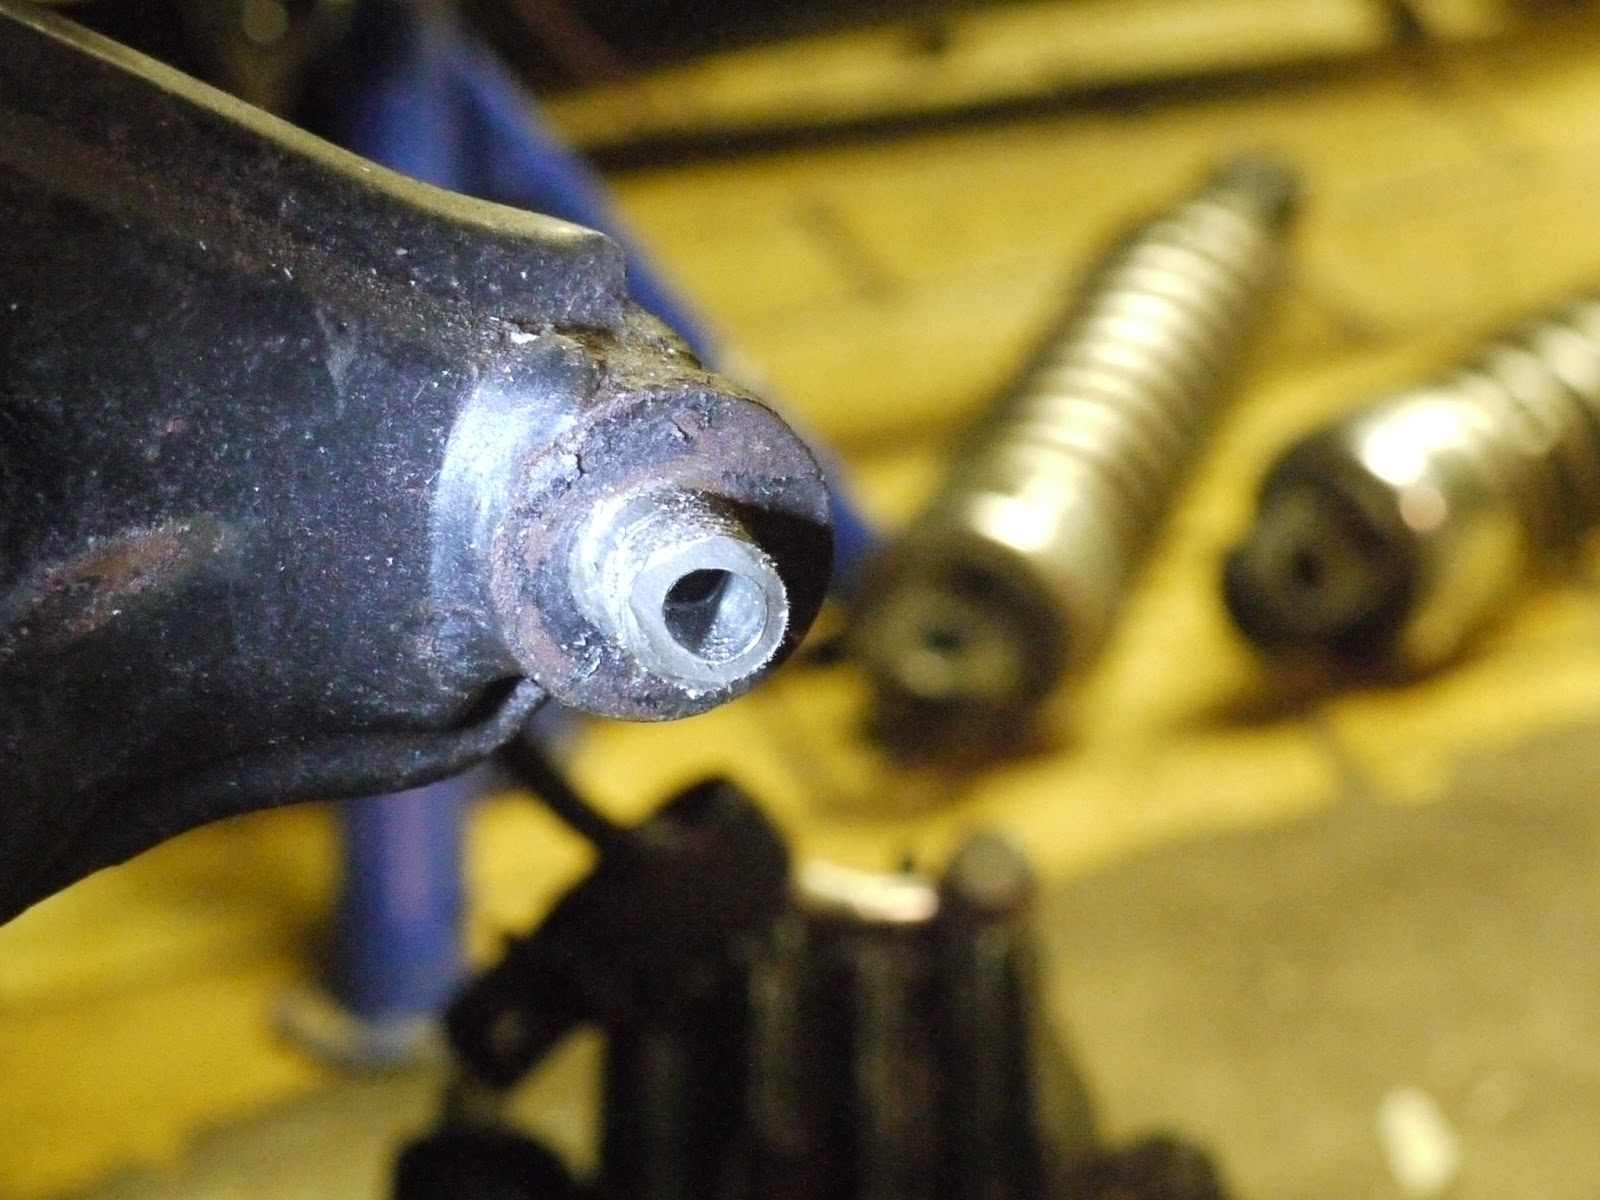
The last thing I wanted to address, was a "little" issue I noticed during my first test-ride: The rubber dampers of the bar mounts were completely shot, as in torn and completely mushy. Therefore I turned them up from some POM-barstock I had lying around, with the result that the steering is now nice and direct. (Probably one of those mods, which would also make sense on a bike without a sidecar!)


One of those priceless, middle-of-the-night freehand sketches...


And once run outside of the workshop the bike's sounds quite reasonable and not as obnoxiously loud.


Wednesday 21 December 2016

Everyday TR1 - overhauling the killswitch and fixing the rear light

Most of the time this year, the Everyday TR1 has done just that: Run every day, start fine, run fine and generally be an awesome bike. Except for when it intermittently cut out.

Luckily this isn't an entirely new problem (thanks XS650 v*br*t*r-on-wheels-guys) and can be cured with relative ease, by drilling out the plastic with a 1/4" (6.5mm is fine too) drill and then adding some metal spacers. When new the plastic was relatively elastic and made sure that the screws holding the terminals onto the killswitch wouldn't come loose. 35 years later - not so much.

The process is pretty straightforward and whilst I was in there I used the oportunity and lubed the throttle cable.


The other thing I finally got round to doing was to trim back the rear-light holder, so the baseplate was finally smaller than the actual rear light. Doesn't look all that different on the photos, but makes quite a difference in real life. The other thing was to add a proper ground-cable as the flickering was said to be pretty annoying, if you rode behind me.


That's it for today. In the next installment there'll be quite a few news on the XS-Triple Sidecar subframe and finally a testride to report.

Sunday 27 November 2016

DSO 138 Digital oscilloscope - getting started

A digital oscilloscope (DSO) is one of those handy tools, which looks quite intimidating at first, but as a matter of fact is not a lot more than a voltmeter, which will graph the voltage over time. It helps in visualizing wave forms and thereby can be of invaluable benefit, when troubleshooting electronical components.

Now a standard DSO will set you back somewhere around 300 Euros for a rather basic one. The DSO 138 from JYETech (or one of the hundreds of copies) will only cost you 17 Euros and that's with shipping included. As such some trade-offs have to be expected.

Let's get straight into the meat of it: a 200kHz sampling rate is nothing to write home about and a sensitivity range from 10mv/div to 5V/div isn't either. This doesn't mean in ANY case, that it's just a toy, far from it. Due to the small size, you're much more likely to "have a quite look" at the signal than with a regular scope, especially when you're like me, intend to mostly use it around bikes.

The first hurdle to climb: make it start. It uses a 5.5/2.1mm powerjack and you should use a plenty powerful power-supply (min. 500mA) to make it run stable. Otherwise you'll run into the same issues as I did below.

Bootscreen - mine came with 113-13001-42 firmware installed
 Once you have it running, the first thing you'll have to do is unplug it and install a little bit of wire onto the two open posts on the board in order to be able to use the built-in 3.3V/1kHz signal generator, which you'll need for calibration.


Hook up the probe and then zoom in until you can see the flanks of the curve and then adjust with the c4 and c6 potentiometers.


C4 should be tuned to get a sharp corner.


In case the DSO-138 doesn't boot at all, check the voltage in the lower left (ground) and upper right corner. (+9V)


A diagnostic menu can be reached by pressing the [OK]-button for 3 seconds. Depending on firmware version this can flicker around quite a bit.
 

You'll see this one being put to good use a lot in the future as I have to troubleshoot quite a few electronical issues on the Turbo TR1 ...

Friday 18 November 2016

The XS Triple Sidecar - building an exhaust

As you might have noticed, there hasn't been an update in quite a while. I won't moan or complain, but uni has kept me quite a bit busier than I'd like to admit and it will most likely be a few more weeks (pretty much Christmas to be honest) until there will be more updates and some serious progress on the XS Triple Sidecar. With that being said, let's get to it.

Unlike with all my other exhausts, I didn't start this one from scratch, but used the downpipes of a Triumph Trophy 900. They are spaced correctly, but hang a bit low on a normal XS 750 and the left downpipe would go straight through the sidestand mount. Oh and they're coated in black, even though they're actually stainless. What you don't see in those pictures are the two hours of polishing to remove (most) of said coating.


Next step was to alter the frame a bit. There's a through-hole on the right side for mounting the exhaust, but a stud on the left. The stud had to go and in order to do that concentrically I quickly knocked up a little guide with a 6mm drilled through and a 12mm opening on the other side.


Drilling the hole took quite a bit of time, but other than that was pretty straight forward. (Sorry for the bad picture quality!)


Luckily I had some left-over exhaust hanger plates originally made for the TR1, which only had to be drilled out to 12mm.


As the silencers originally are made for 45mm exhaust pipe, I had to get some step-downs and then it was "pretty much" just a case of connecting the dots (ends).


Now what does it sound like? Rather fruity, if I may say so...


Next step will be some finishing touches to both the subframe and the sidecar frame as I am a bit unhappy with the top rear mount. Once that is done, I will shift my attention towards making those Mikuni VM36 work!