Saturday 28 October 2017

Yamaha XV crank-o-logy

Recently someone asked me again, why I am building my hopped up XV engines around the "ancient" XV1100 crank.

So I decided to make this post entry, just to give you something to look at. On the right the TR1 crank and on the left the XV1100 crank. You don't have to be a physics-genius to see, that the 1100 crank is quite a bit heavier. (Exact numbers to follow and will be inserted here.)

Otherwise the cranks are pretty identical except for one, minute detail:

The XV1100 crank has got a slightly larger thread on the alternator shaft.


Which is why, you can't swap the nuts around.


As a final note: XV1100 cranks are actually 1.6kg heavier than TR1 canks, which only weigh 9.6kg. The more moder XVS1100/BT1100 crank comes in at 8.4kg. 

Wednesday 25 October 2017

Project "pretty one" - re-assembling the engine

After having assessed the reason for the incredible amount of smoke being down to the oil-rings not doing their job anymore, my dear old dad broke out the credit card and ordered quite a few bits. Luckily the piston and bore were both in immaculate condition for the given mileage, so it was really down to a top-end gasket kit and a clutch cover gasket and a set of rings to re-assemble the engine.


All oddities aside, a set of standard SR500, XT500 2-valve piston rings works a treat and is quite affordable.


I use a rotating nylon brush and some chemical gasket remover for best results. The assembly hammer is mandatory of course.


This was a bit of a first for me: a piston pin clip that was actually 1mm too long. No you have to use a set of good wire-cutting pliers to cut them to length, because if you'd use the ol' grinder, you'd risk overheating the wire and thus reducing its springy properties.


Bolted up beautifully.


Add copious amounts of oil and smear it onto the cylinder walls. Then go for a coffee/brew as you deem fit.


Last remnants of the old headgasket removed. That triangular, roof-shaped combustion chamber is a mighty interesting one, if you ask me. That is, when modern engine means early 1980ies stuff...


Piston on TDC.


Bit of stiff, solid-core wire for securing the cam chain makes the job a lot easier.


Clutch back on. (Actually done twice, as I found the push-rod ball on the bench after assembly!)


Timing these is a bit of a job, as the piston didn't want to stay at TDC and the camchain is still within spec, but a tad elongated.


All timed up, time for RTV.


Bit of the ol' assembly grease to give those rockers a good chance of surviving the first few revolutions of the engine until it builds up oilpressure.


With all that being done, the engine is pretty much ready to hop back into the frame. (And very likely as the blog is a bit far behind, it most likely already has by the time this post has come out.)

Wednesday 18 October 2017

The XS Triple Sidecar - a set of new bars and new brakepads

... really just a quick morning job.

Truth of the matter, I had those pads kicking about for more than two-weeks, but honestly have been using the sidecar, whenever it was somehow possible to do so. The other thing with the bars came after a quick ride on my Tractor (the everyday TR1) and noting that I found those slightly higher bars a lot more comfortable.

If done right, it means that you only take out the centre-bolt holding the caliper onto the baseplate back out the pad-retaining screw a few turns and you can remove the caliper from the baseplate. 


Same front and rear. If you use this occasion to push back the brake-piston, you can a) make a huge mess, because the reservoir overflows and b) press that last bit of air out of the line, which on XS triples you simply can't get out of the rear brake. (With the irritating side-effect, that your rear brake is now unhealthily aggresive and locks up the rear whenever you want, while at the same time having a rock-hard feel on the lever. Guess, I have to do some de-tuning in the near future.)


On the front I installed a set of old Dunlopad-Sinter racecompound pads to skim the disks as they are super hard and eat brakedisks alive. Now with the bigger of the grooves and ridges flatened out, I am moving back to a standard (unbranded) organic set of brakepads and they work really nice. Just a bit more squishy. To be fair, those Dunlopads usually need five to ten hard stops to come to temp and then they bite like crazy, so not exactly ideal for road-use. 


Removing the old bards (some LSL Streetbar, which was nicely wide, but just a bit too low, thus creating strain on my thumb-joints and having me crouched over the bars just a tad too much for comfort) was a quick ten minute job as luckily all the cables were long enough. 


New bars are a so-called Streetbar-high, which are approx. 50mm higher than the old bars and all of a sudden, it's a very nice and upright seating position. 


Saturday 14 October 2017

The XS Triple Sidecar comparison

First and foremost, I am utterly sorry for the partially poor quality of the pictures, but I literally shot them within 5 minutes, whilst the new buyer was preparing the trailer to load the Other XS Triple Sidecar.

So here's a little series of photos of both sidecars, really just to show you two very different concepts on how to attach a sidecar to a bike. And mind you, both work. The Velorex-setup relying heavily on the flex in the sidecar-frame and mounts to prevent overstraining the motorcycle chassis, whereas my own setup relies on a very rigid subframe to basically take whatever is throw at her.

As a matter of fact, the Velorex setup is MUCH older (has been run several years before being parked and forgotten), so for you nay-sayers out there, this one has already proven itself. For my own setup? Well, I hope for the best and not treating her overly carefully, much rather trying to explore the full potential the old girl has. 


View from behind, as you can see, both are 4-point constructions.


Both running stock forks and Konis on the rear. 


Massive steering damper on the other XS Triple Sidecar and clamps bolted directly to the frame. 


Sturdy subframe with clevis mounts, trying to make the mounts so there's as little bending force as possible. 


Will my setup work? I honestly don't know. I am curious to see, what the paint will look like after the Winter as that'll give me a first indication on potential stress areas. Based on the assumption, that if the tube bends too far, the paint will crack and it will start to rust.

Wednesday 11 October 2017

Ms. Braaaaaap - the (re-)awakening

So recently I had dug out the ol' Ms. Braaaaaap, flooded the carb, gave her two rather manly kicks and there she was. Roaring into life and terrorizing the neighbourhood as a good girl with a difficult past would.

A couple of days later she wouldn't. I tried offering her coffee, but that didn't exactly help as such I concluded it must be an electrical fault. Now luckily these old girls aren't exactly equipped with a wiring loom that would make a Saturn rocket proud, but these do have their moments (see below).

To start things off, I had gotten a new coil and plug-cap, mainly because I used them on another bike (without success) and I had my doubts, whether it would work.


Remove the seat and fuel tank, undo two bolts and unplug a cable and you're there.  But still nothing.


Now as you can "clearly" see, the white cable is supposed to be yellow and as it is well bleached, I mixed it up with the white and black cable. Plugged it in...


... brrRRRRRAAAAAAAAAAAAPpppp. (It's what she does.) Also blindingly obvious in the picture, why you should convert to 12V and LED instrument lighting.  😉


And because I was working on it anyway, I tweaked an old Sebring Enduro 2 to fit onto the old  Ms. Braaaaaap, to cut noise-emissions back a bit and finally get my MOT sorted. 


Saturday 7 October 2017

The new TR1 motor - crank (part 3)

No need to get all cranky, but today it's all about the new crank for the Tractor and a failure, I haven't encountered on TR1/XV1100 before.

But let's start at the beginning, quite a while back I picked up this set of engine-cases for a more than fair price, but it was disassembled the wrong way round and the pre-owner stole the conrods off the crank. Now the thing is, you can (unlike stated in the manual) get the crank out of the cases with a very simple tool without removing the oil-pump gear and left main bearing.


As mentioned before, this engine had a unique failure as in both main roller bearings were shot. But truth be told, I only new about the left one at this point, so... 


I drove it out, only to find out, that it wasn't running one-hundred percent smooth as well. A classic "oh-well..."-case.  Should you ever be in the unpleasant situation of having to buy one of these: The XV700/750 use standard 6308-C4 bearings, but the XV1000/XV1100 run on 4mm larger 40x94x23 SB0809-C4 bearings only available from a single manufacturer. Shopping around for the lowest price makes sense though as I found the same bearings ranging from 43USD to 122 Euros. (Around 130-140 USD at the current exchange rate!)


I was secretly hoping, that it was only some coked up schmoo that got in the way of a roller, but no... 


 With the bearing being what it is, I turned my attention to the crank itself. I had a set of black (-10 suffix) bearing shells on the shelf and after doing the maths (crank-no. minus conrod-no. equals bearing size), it turned out that the black shells might be either one size too small or spot on the money.

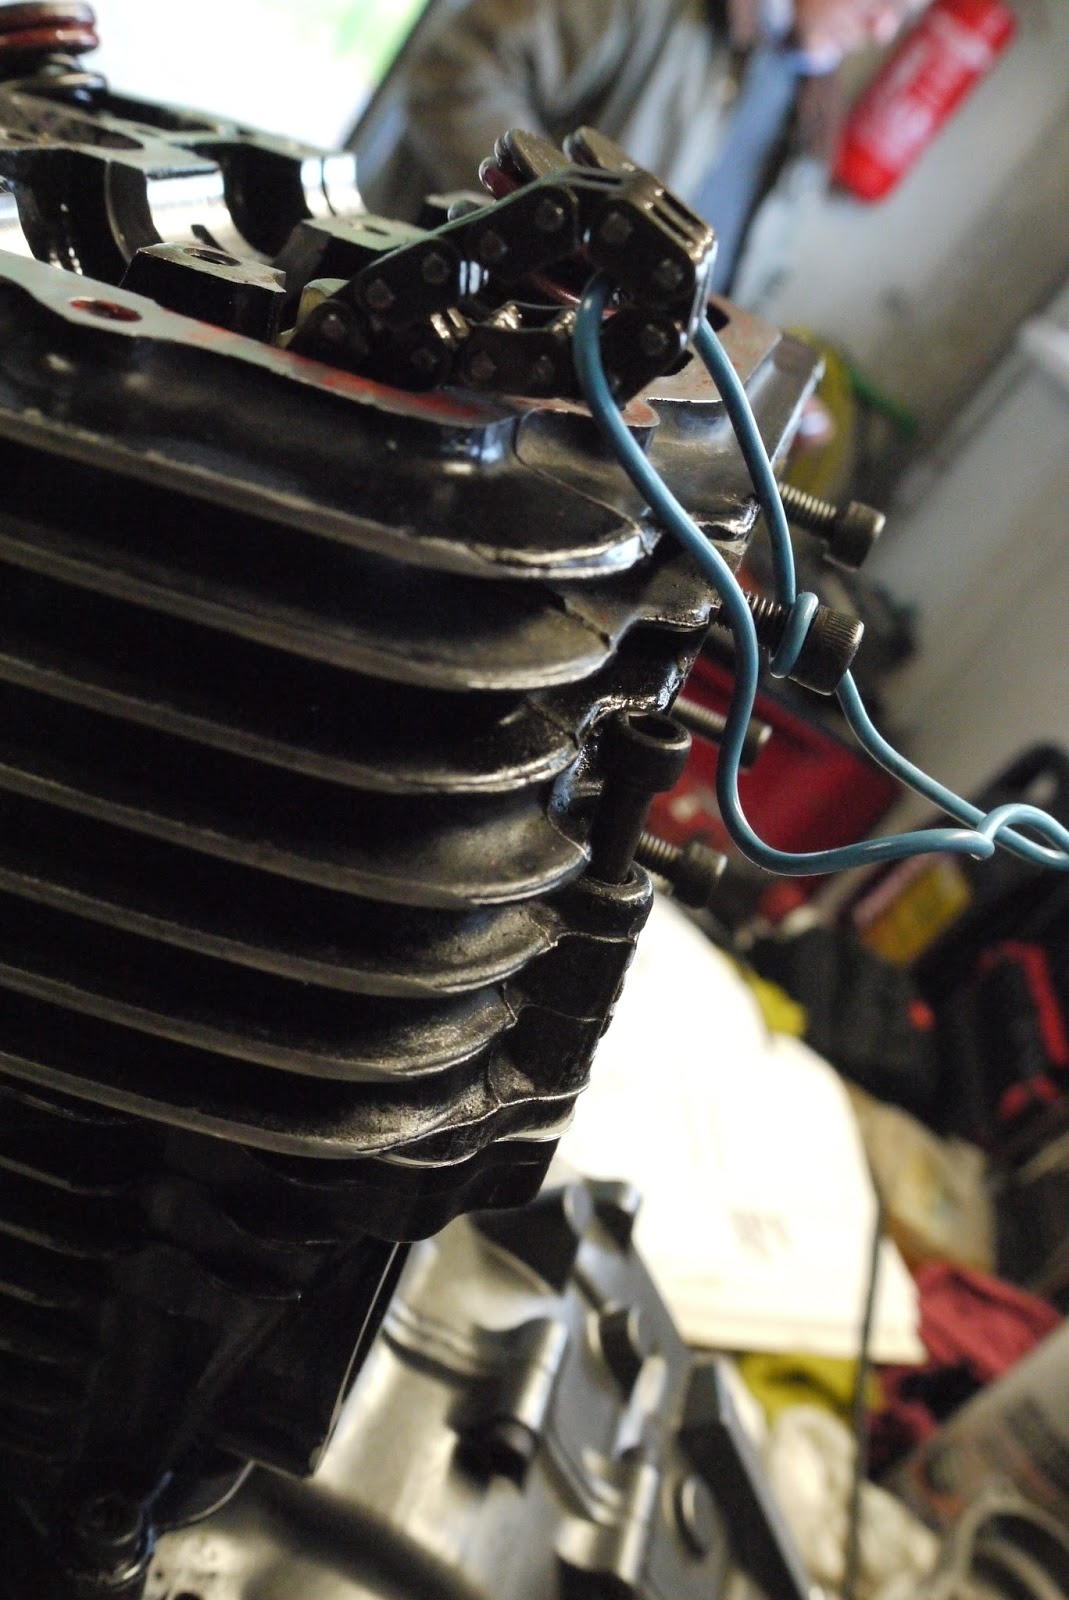
Now plastigauge is some badass cool stuff. It's basically strips of wax, which you put between bearings shells, it gets squished and with a special ruler, you determine the clearance.


During the process I also found out, that tightening the bolts to spec made a 0.020mm difference to the picture shown below on the right. And as the spec is 0.030 to 0.054, the crank ended up being P-E-R-F-E-C-T-L-Y on the tight side. Which is what you want for longevity of your setup. 


I had the pistons soaking in gasket remover gel for about a week, so it was a matter of just quickly cleaning them up with a nylon brush to remove all the carbon deposits from the top.


Say hello to uber-rod. Now one of the things I did for this engine (and I admit I originally planned it for the turbo engine, but that crank had done so little mileage that it seemed like a sacrilege to take it apart), I installed two rear conrods. This was done to have oil-squirters for piston crown cooling on both conrods, which is a mod, which later came from the factory on BT1100/XVS1100s.


So that's it for now. In the next installment, we'll have a little look at the new engine cases and do a lot of cleaning. Well, I do and you enjoy the fact, that your hands are still clean, because mine won't be for days...
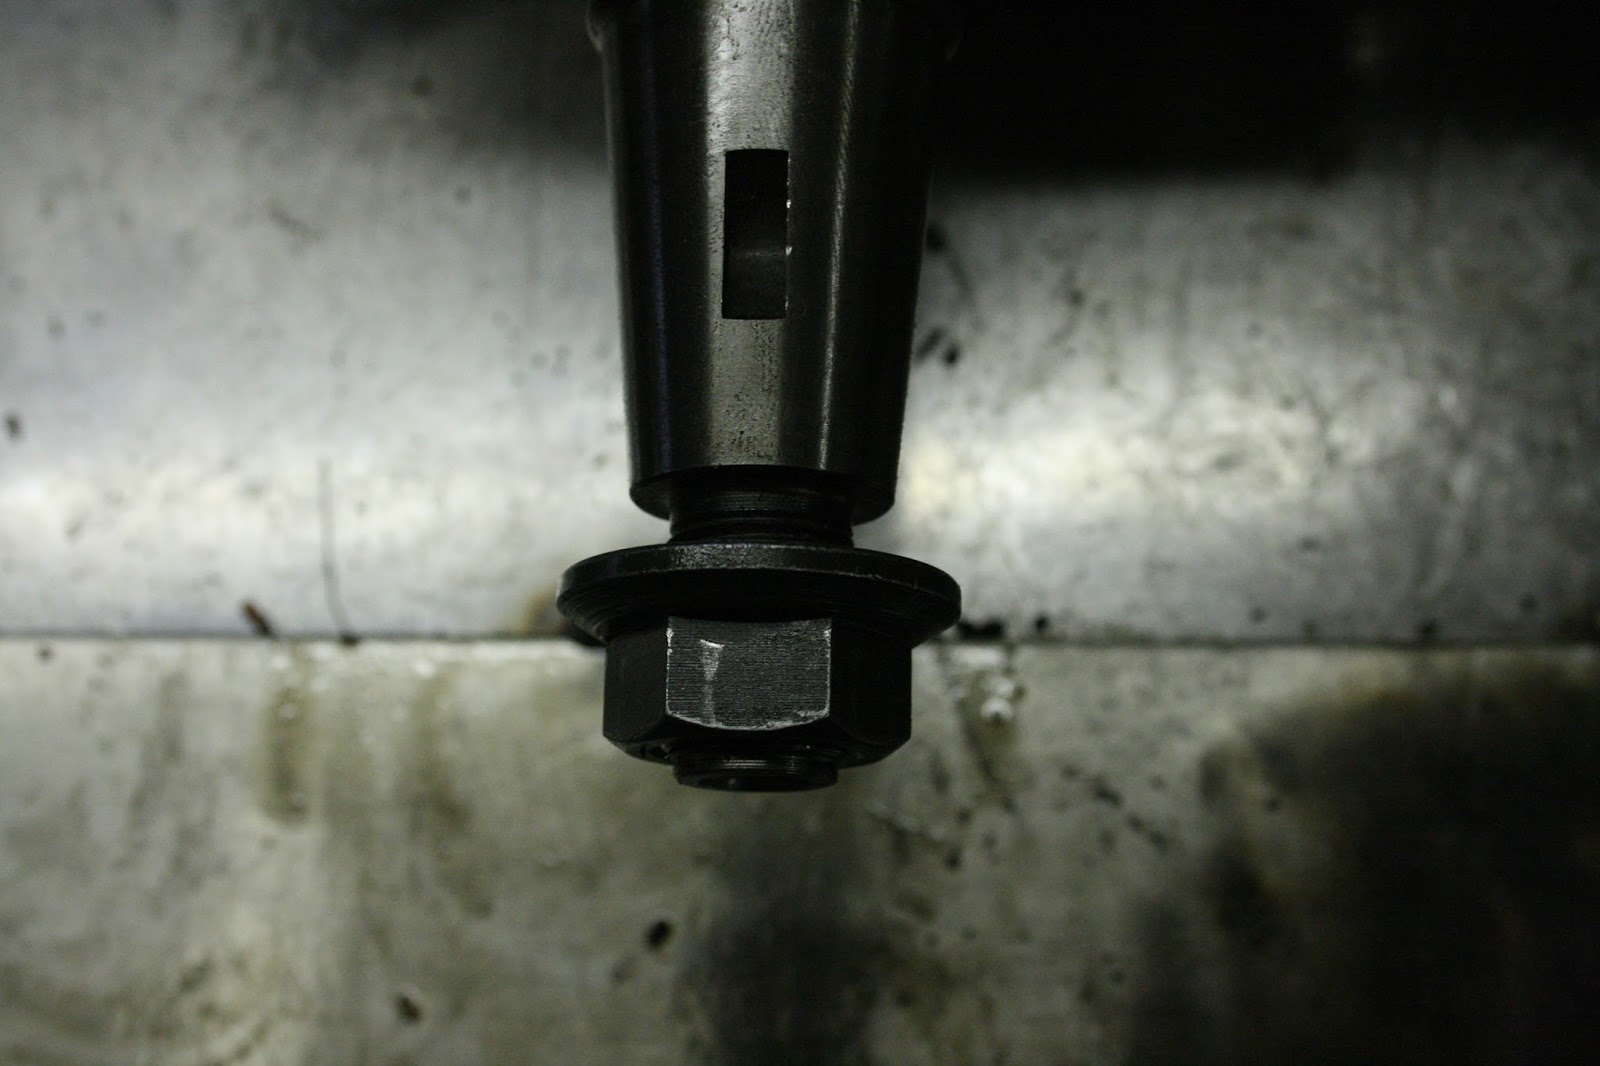