So, if you have a mill at some point you will want a rotary table,
because they are stupidly handy. The downside to a good rotary table is
usually the size and thus the weight. So if you have for example a 150mm (6")
rotary table and fit a 190mm chuck on it, you don't have to do any more weight
lifting for the day. This among the other fact that I only had external jaws
for it, drastically limited its usability for me. Add to that that I have been
a very good boy, so I treated myself to a new Chinese 125mm chuck.
Originally I thought I'd make a completely new adapter for the chuck, but
after having a very long look at it, I decided that with some precision
lathe-work I could not only modify, but improve the base-plate and also have
an excuse to let the little engineer inside of me out.
So how do you hold a 200mm plate in a 125mm chuck? The trick here was super
simple by using an 8mm allen head bolt and use that as a datum/reference for
all other work. Interestingly enough in the first picture the surface finish
looks absolutely terrible, which it isn't at all in real life.
Not only did I machine the chuck face, but also the back side and unlike in
the past, I now have two alignment edges, in the center it will locate into
the morse tape in the rotary table and also on the outer edge.
Now I don't want to pat on my own back too hard, but that chuck registered on the hump in the middle like you wouldn't believe. Just downright perfect.
Three M8x70 bolts, a bit of tapping and countersinking later and there you go.
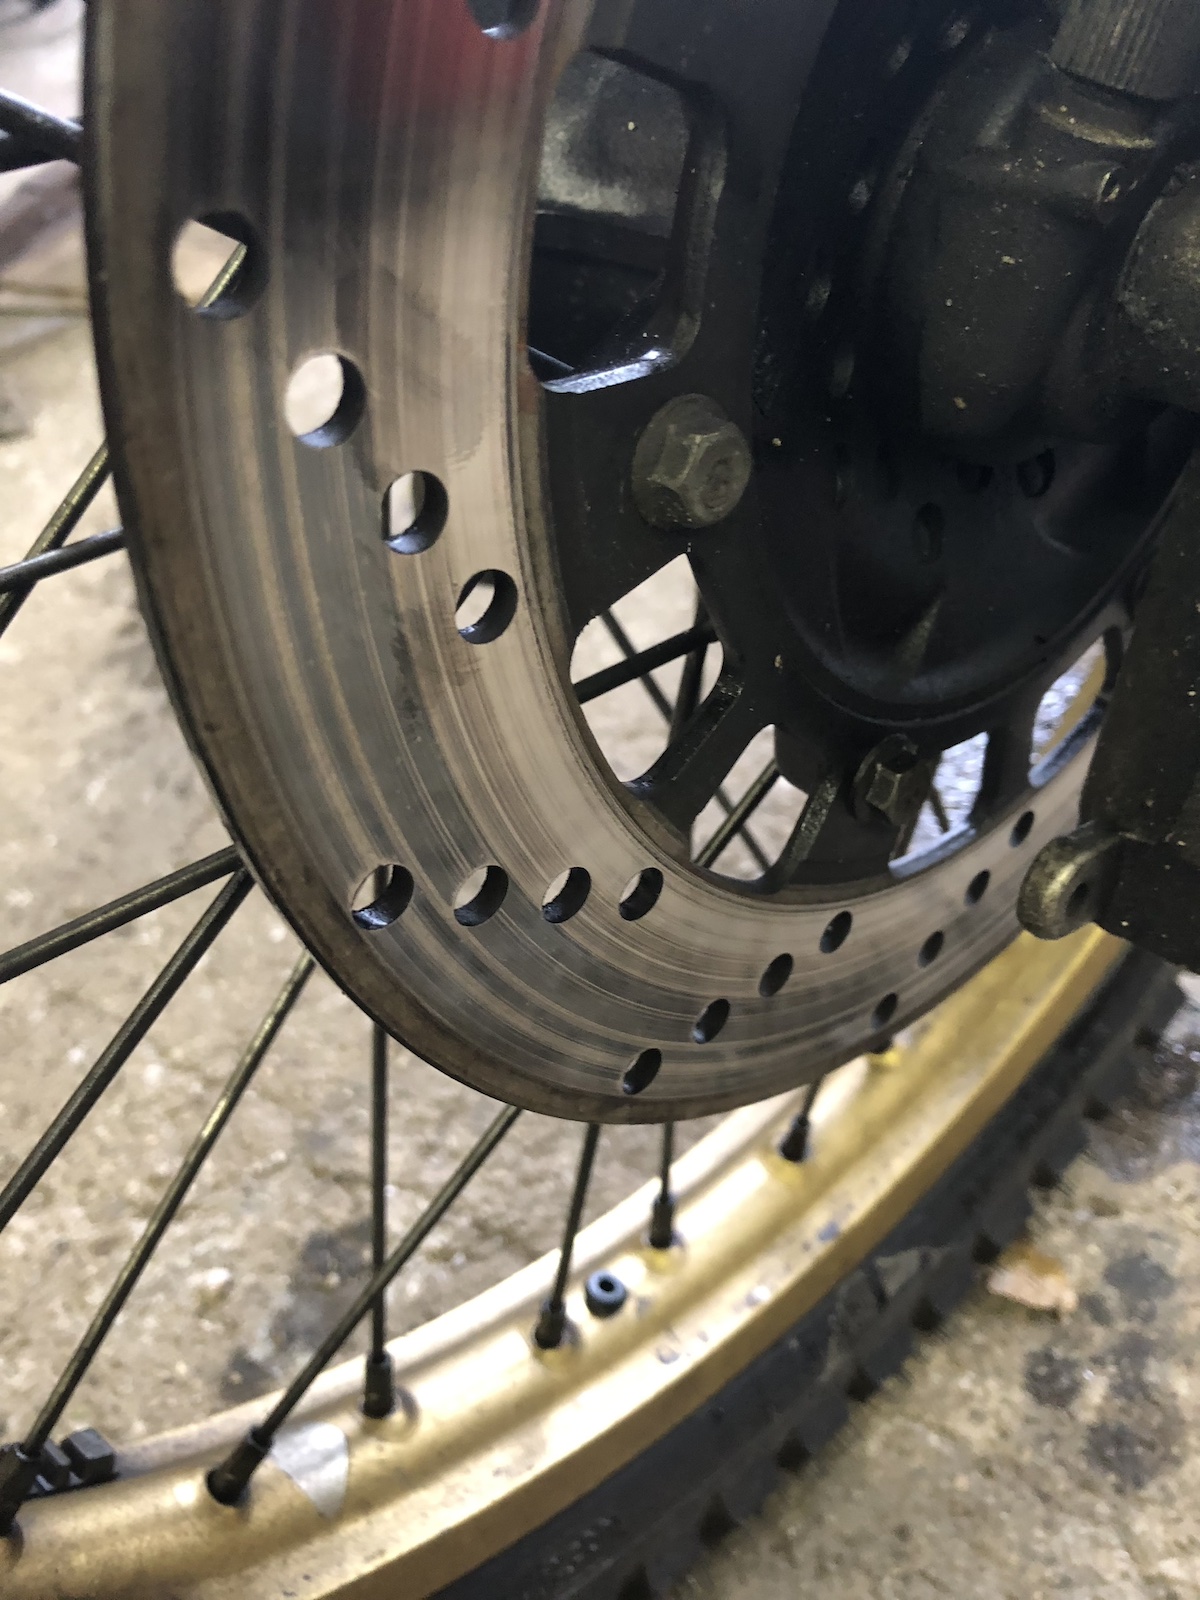
So why the rush you ask? First of all I will need it make a few of the parts that I want to make for the Hotroad TR1, specifically cut some hexes onto shafts and more immediately, the little green pickle has got almost new front brake disks on it (seriously), but as it was parked for so long the pads rusted to the disks, so giving them a skim is the order of the day.
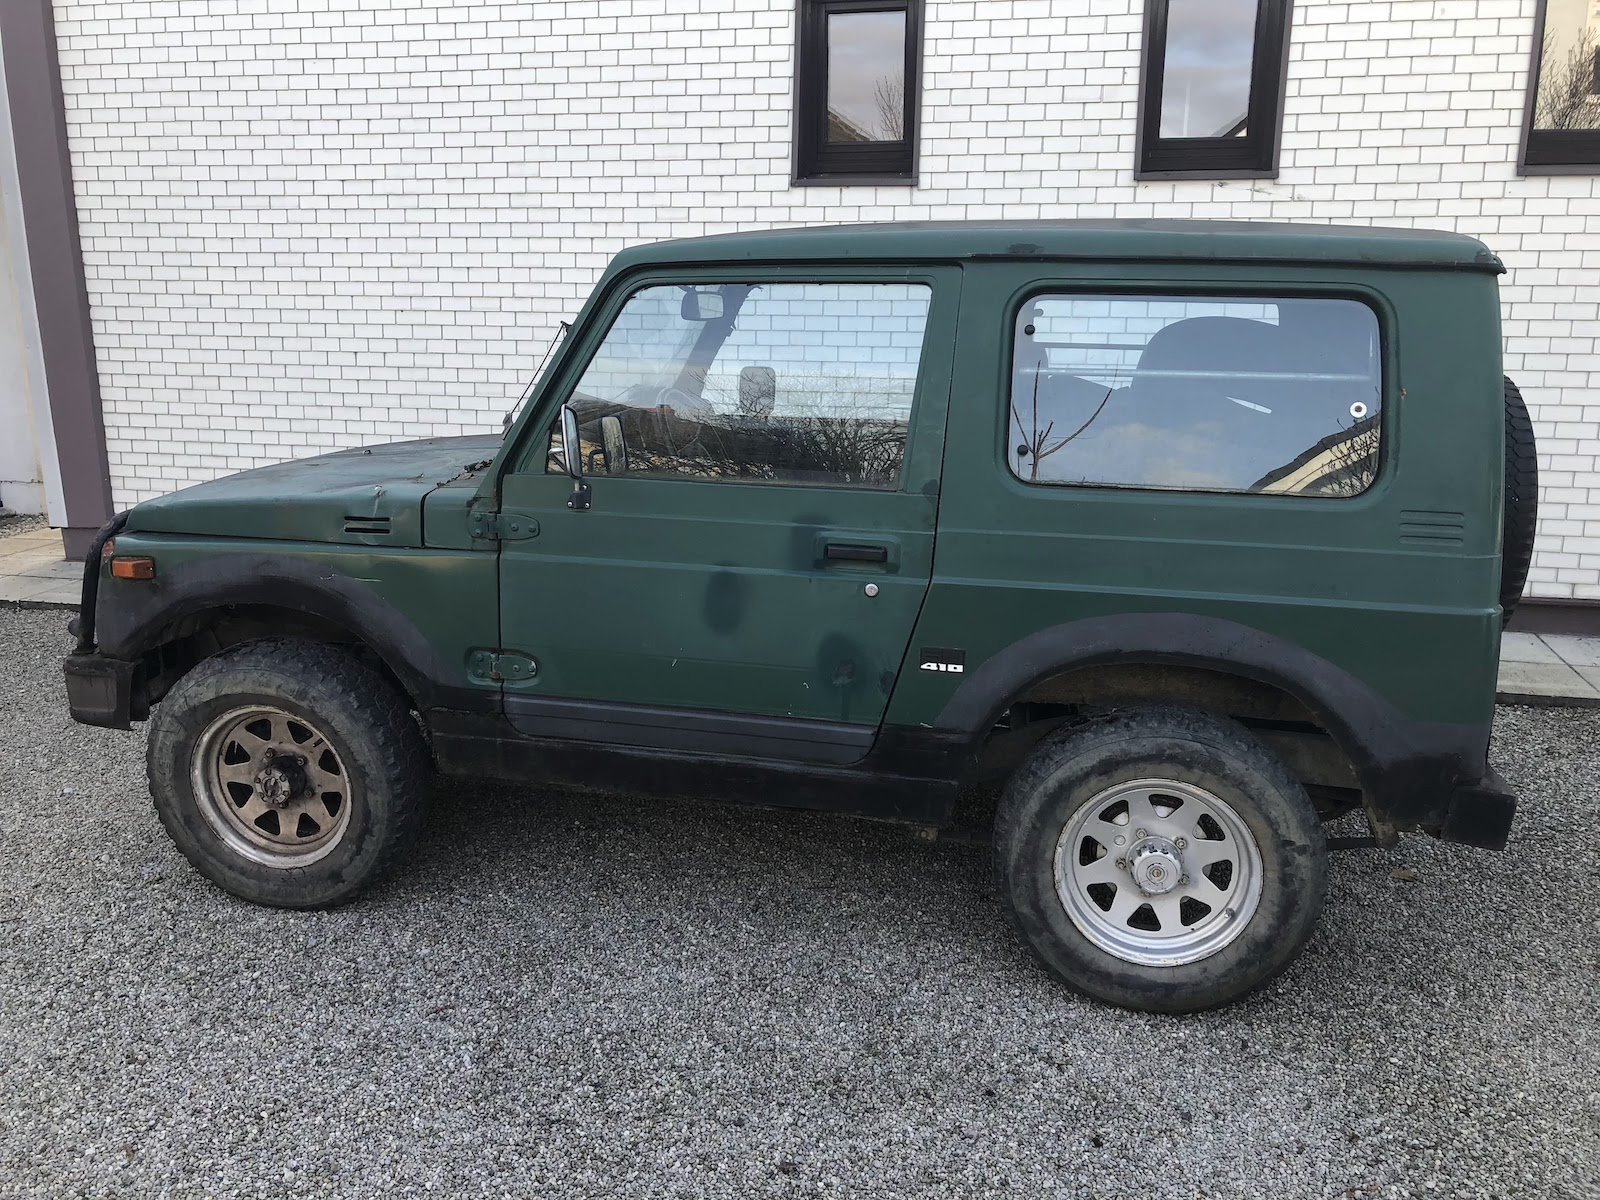
What if you had some unfinished business with a certain 4x4 of suspiciously Soviet origin and wanted something that had a bit of that "let's do it even more simple" charm? It's sort of hard to imagine that someone would consider the Niva as too opulent, too luxurious, too much of anything really and then you meet it's biggest competitor of the same era. May I present "the pickle", a green-ish, overgrown with moss 1983-model Suzuki SJ410. (And don't you call it no "Samurai" - this is the grandma, the OG if you will.) 970cc, 45hp (at the flywheel when new), 860kg room for four (kind of) and I am pretty sure the designers had no compass at hand when designing it.
I'll be honest, I was on the hunt for one of these for a while, but it was incredibly difficult to find one I liked. Most of them were stupidly priced for what they are and to keep things interesting rotten as all hell. So earlier this week, I passed by one of those rather dodgy car salesmen that are next to some of the bigger roads leading out of town and there it was. Hood dented as all f*ck, enough moldy leaves on it that you couldn't tell were the bumper ended and the front grill started, rusted brake disks, the distinct scent of wet dog, when opening the door and as I was informed, it doesn't start. In other words an almost perfect candidate. After a bit of back and forth a price was agreed, money changed hands and I had become the proud owner of "the pickle".
What instantly caught me was this dash, where later models have a tach and a clock, here as this is the absolute base model: a fuel gauge, a temperature gauge, some idiot lights and that's it. No fluff, nothing playful or extra-vagant and this drives home a message with a mighty big hammer: what if you took a vehicle and then pulled out your red sharpie and crossed everything off that wasn't necessary until the essence of a vehicle was left over?
... and the essence lies in its off-road capabilities: There's a proper transfer case, with a crawling gear ratio and a manuel rear diff brake (even though that one is really only there, because the handbrake acts directly on the drive shaft and with an open diff it could still roll out of its parking position.
As the engine turned over nicely and made rather healthy sounds, I admittedly had only very few qualms buying a car that was a non-runner. Unlike later models, it still has points ignition and no brake booster at all. Whilst the lack of brake booster is rather irrelevant for now, the points ignition really only needed a bit of love with a piece of emery cloth to be back in sparking order.
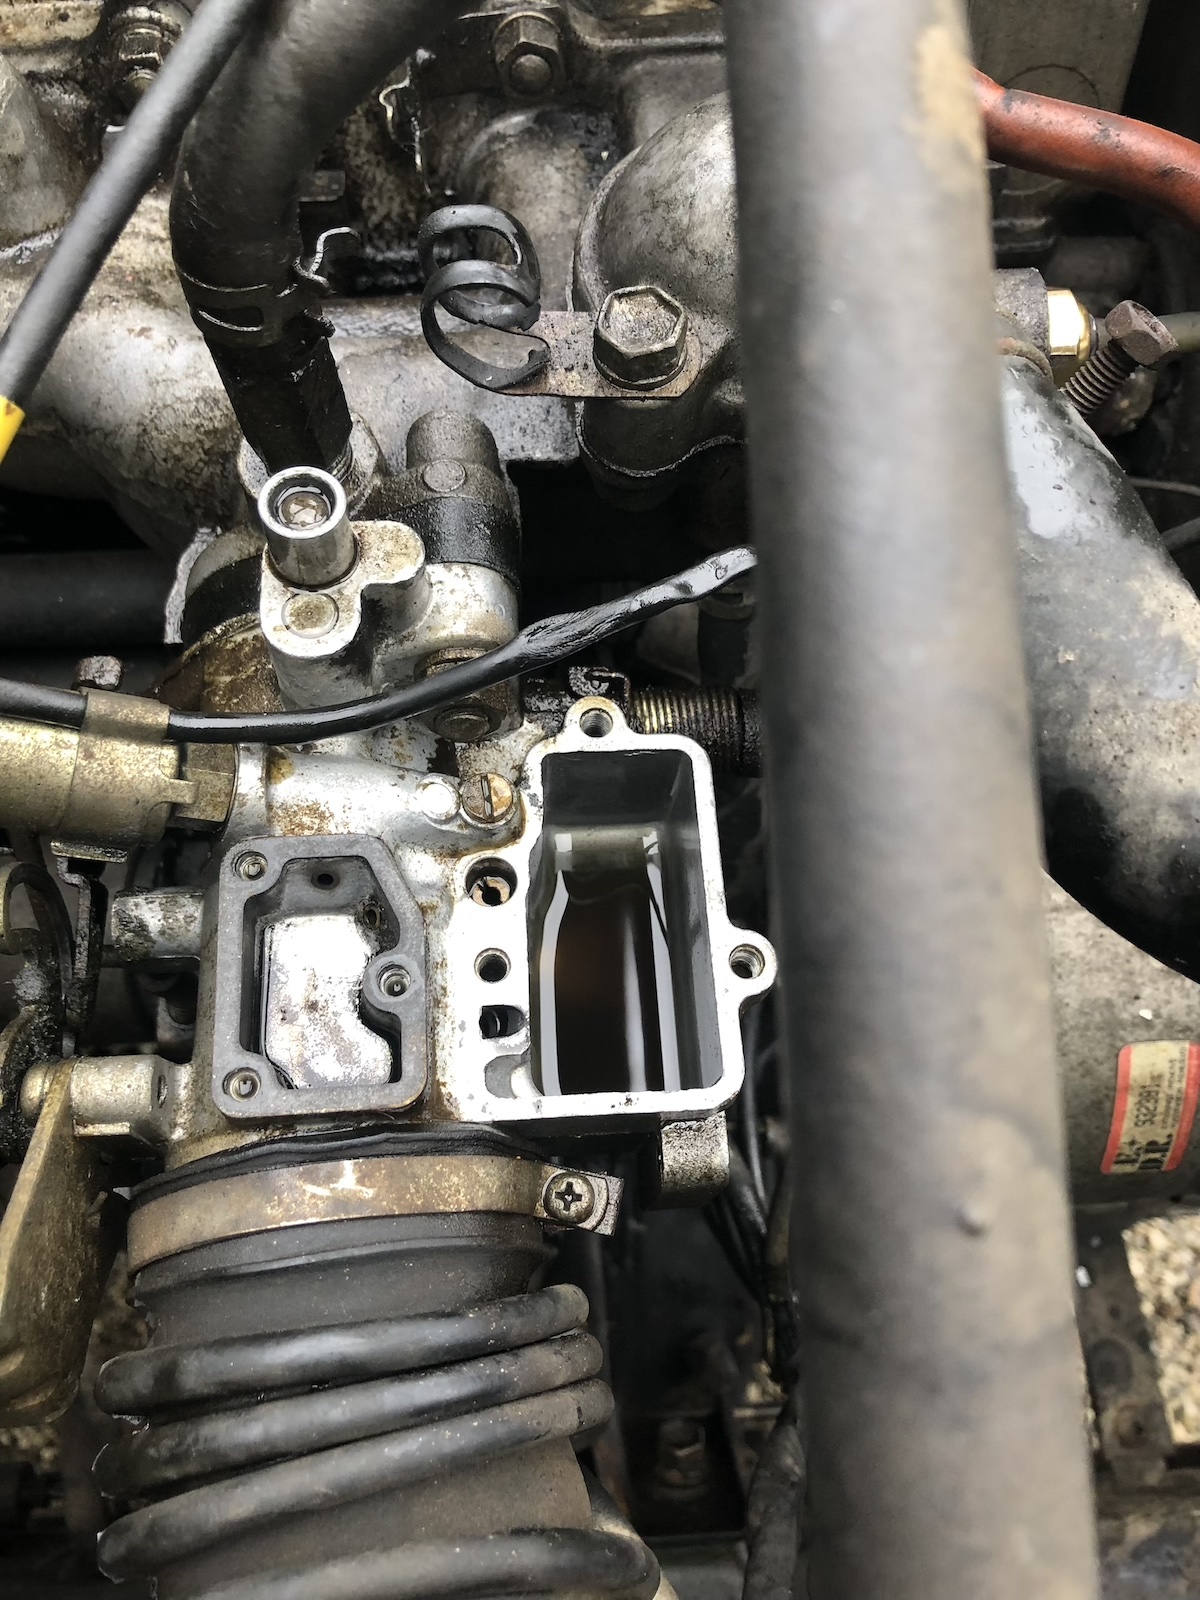
Almost equally simple is the whole carb situation, everything is accessible from the top and if you (like me) soak it for 12hrs in carb cleaner, then clean out the float bowl, blow some compressed air (and brake cleaner) through various ports and jets and guess what:
What you saw there was the first attempts after cleaning the points and then after some good old fashioned carb cleaning the tiny pickle runs, as a matter of fact, it fired up and almost instantly fell into a solid idle.
Which in turn meant some treats like cleaning out the airbox again and then fitting a new airfilter.
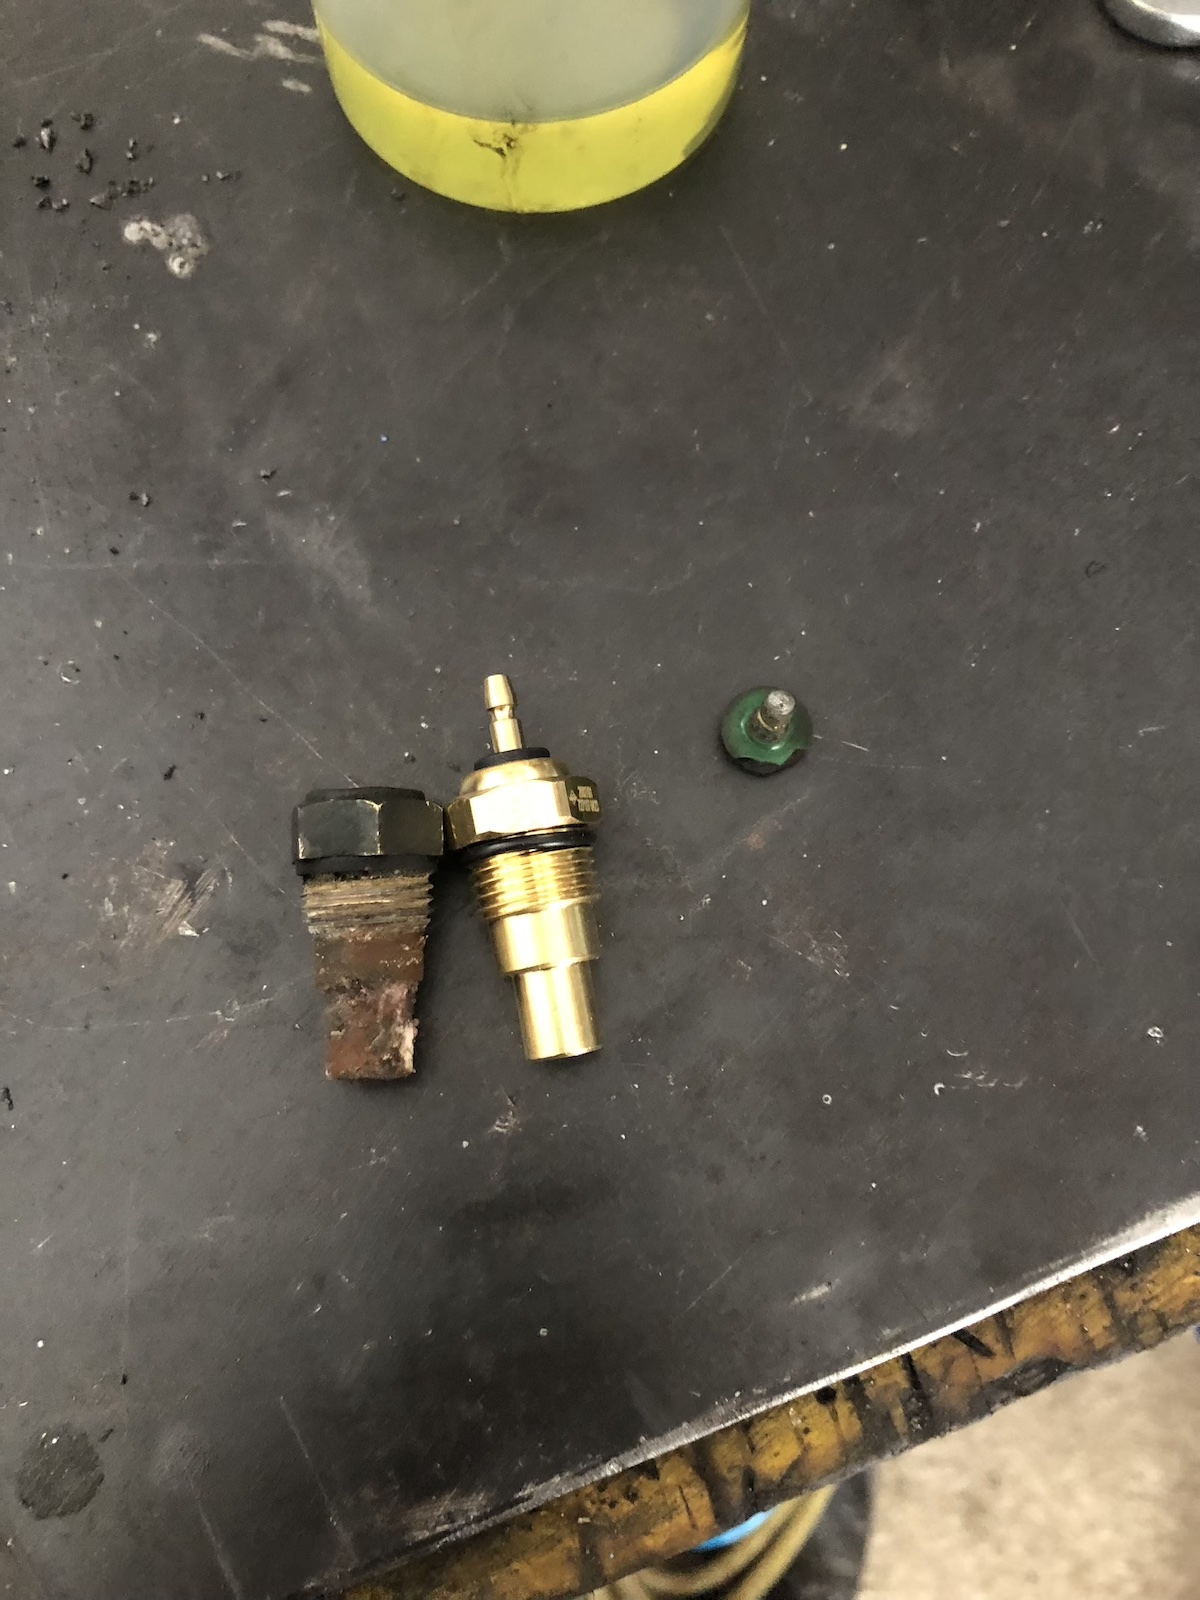
Fix the coolant temp sensor where someone had snapped off the post, most likely when attempting to open the drain plug on the carb.
And ultimately top off the radiator with some anti-freeze as the overflow bottle was frozen solid.
... just to prove it: I actually drove it over to my dad's house, to see if I could make it there and back.
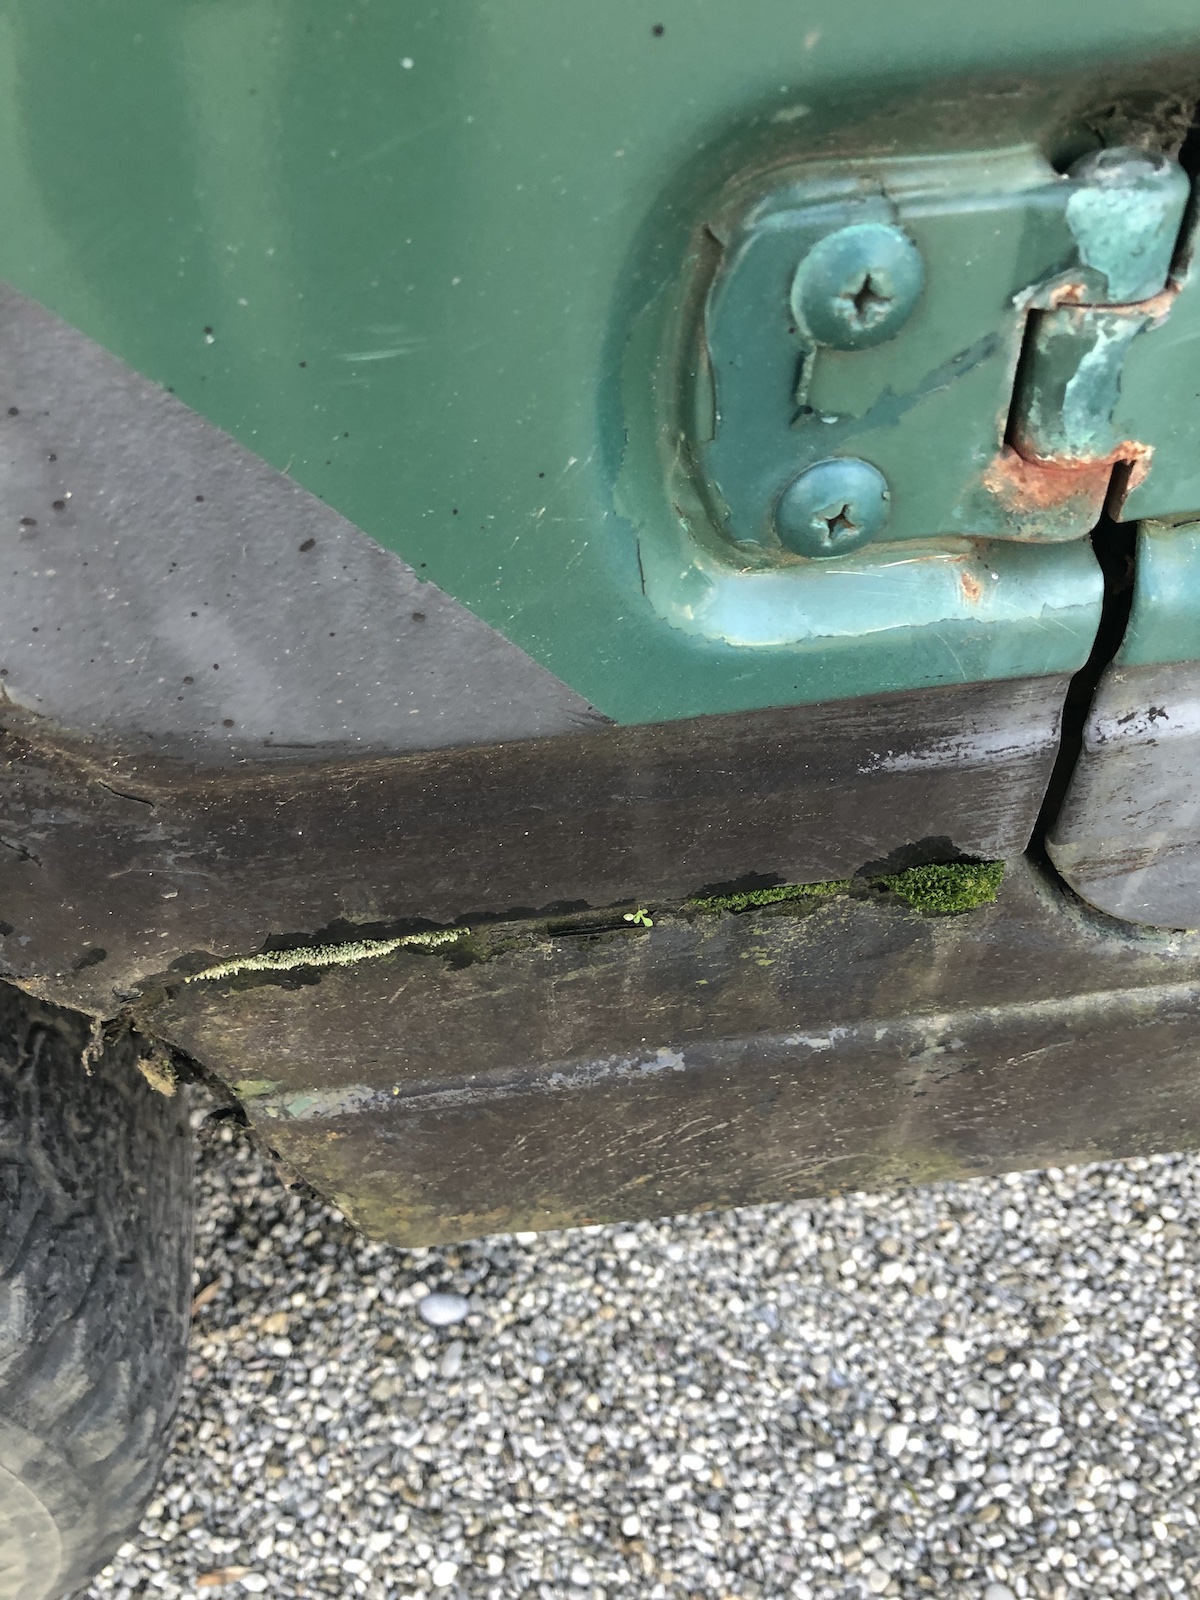
So what's next: Basically when this post comes out, I will have spent an afternoon mostly on the floor underneath the car to look for rust spots, rotten gearbox mounting dampers (I already know about that one), leaking axles and kind of most important for me: find out which brakes are installed on this one and exactly which version this is as there's some very subtle differences between a type 1 (no 4wd warning light on the transfer case) and a type 2 (4wd warning light, thicker shafts) and then also check which timing belt I need as this probably hasn't been done in ages and the waterpump (and various other bits on the cooling system) appear to be leaking. So if my next post starts with a famous quote from Joseph Conrad's heart of darkness, well then you know I found stuff.
Let's agree that even when new XT600s weren't exactly known to be the absolute wonder-weapons when it comes to braking and admittedly the addition of a later model (still single piston though) brake caliper, steel braided brakehose and a freshly rebuilt brake master only got it to a level, where I am willing to call it a very early version of ABS. Or in other words: that front brake sucks.
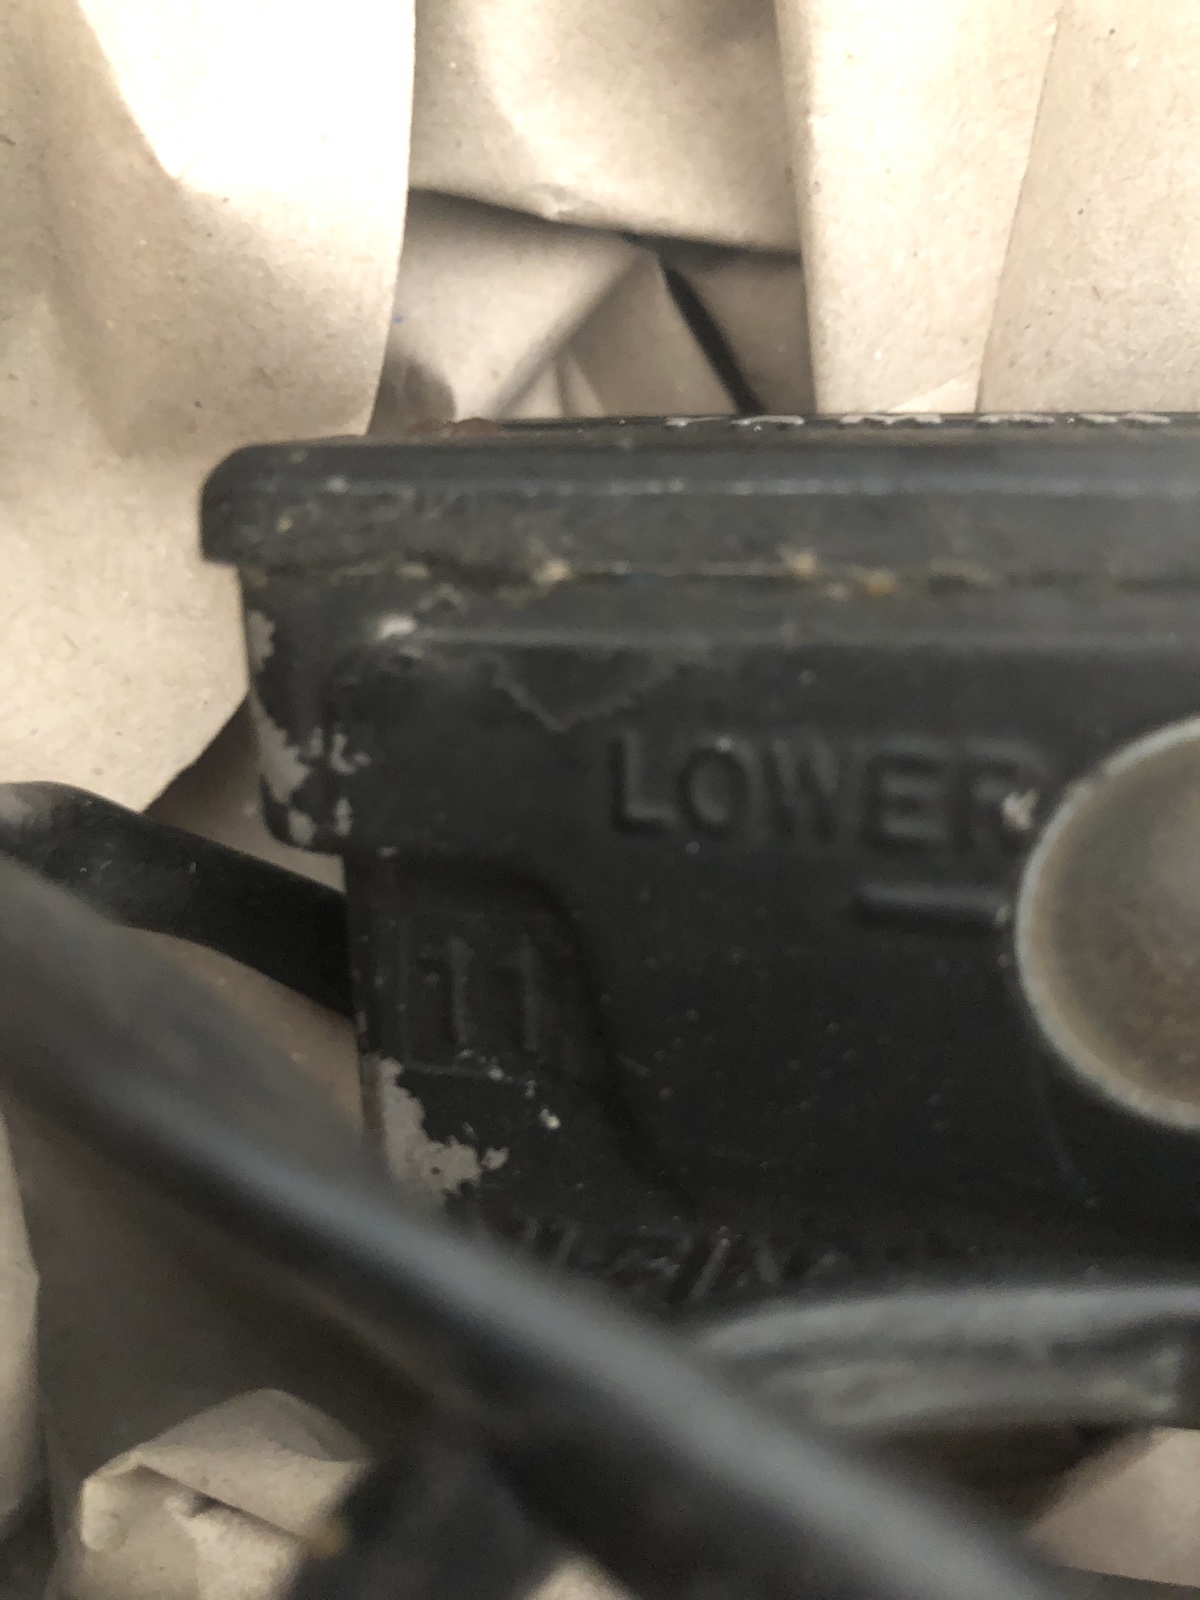
And here it is, the answer to the question: what else can you do? What we have here is a 1980ies vintage XT350, 55V brake pump. Looks pretty similar to the one fitted at the moment, except for this little "11" marking.
Which stands for 11mm brake piston diameter instead of 1/2" (12.5mm) and those 12 percent less diameter result in 12 percent more travel on the lever, but also 12 percent more clamping force on those brake pads.
Unfortunately this isn't a genuinely new idea or in other words, these pumps are pricey. So much so that at the current rates, four pumps would cost the same as the bike. Which in turn means, I went for a rather affordable example. It wasn't affordable without a reason, the lid has got some road rash, the bolts holding on the lid are hopelessly rusted and obviously the original brake lever pivot bolt was replaced with the "box-o-random-nuts'n'bolts" finest.
Not that this ever stopped me from anything really. A bit of heat and a bit of penetrant got both the old mirror mount and the bolts off the lid open. The latter admittedly with the help of a bit of Newtonian persuasion.
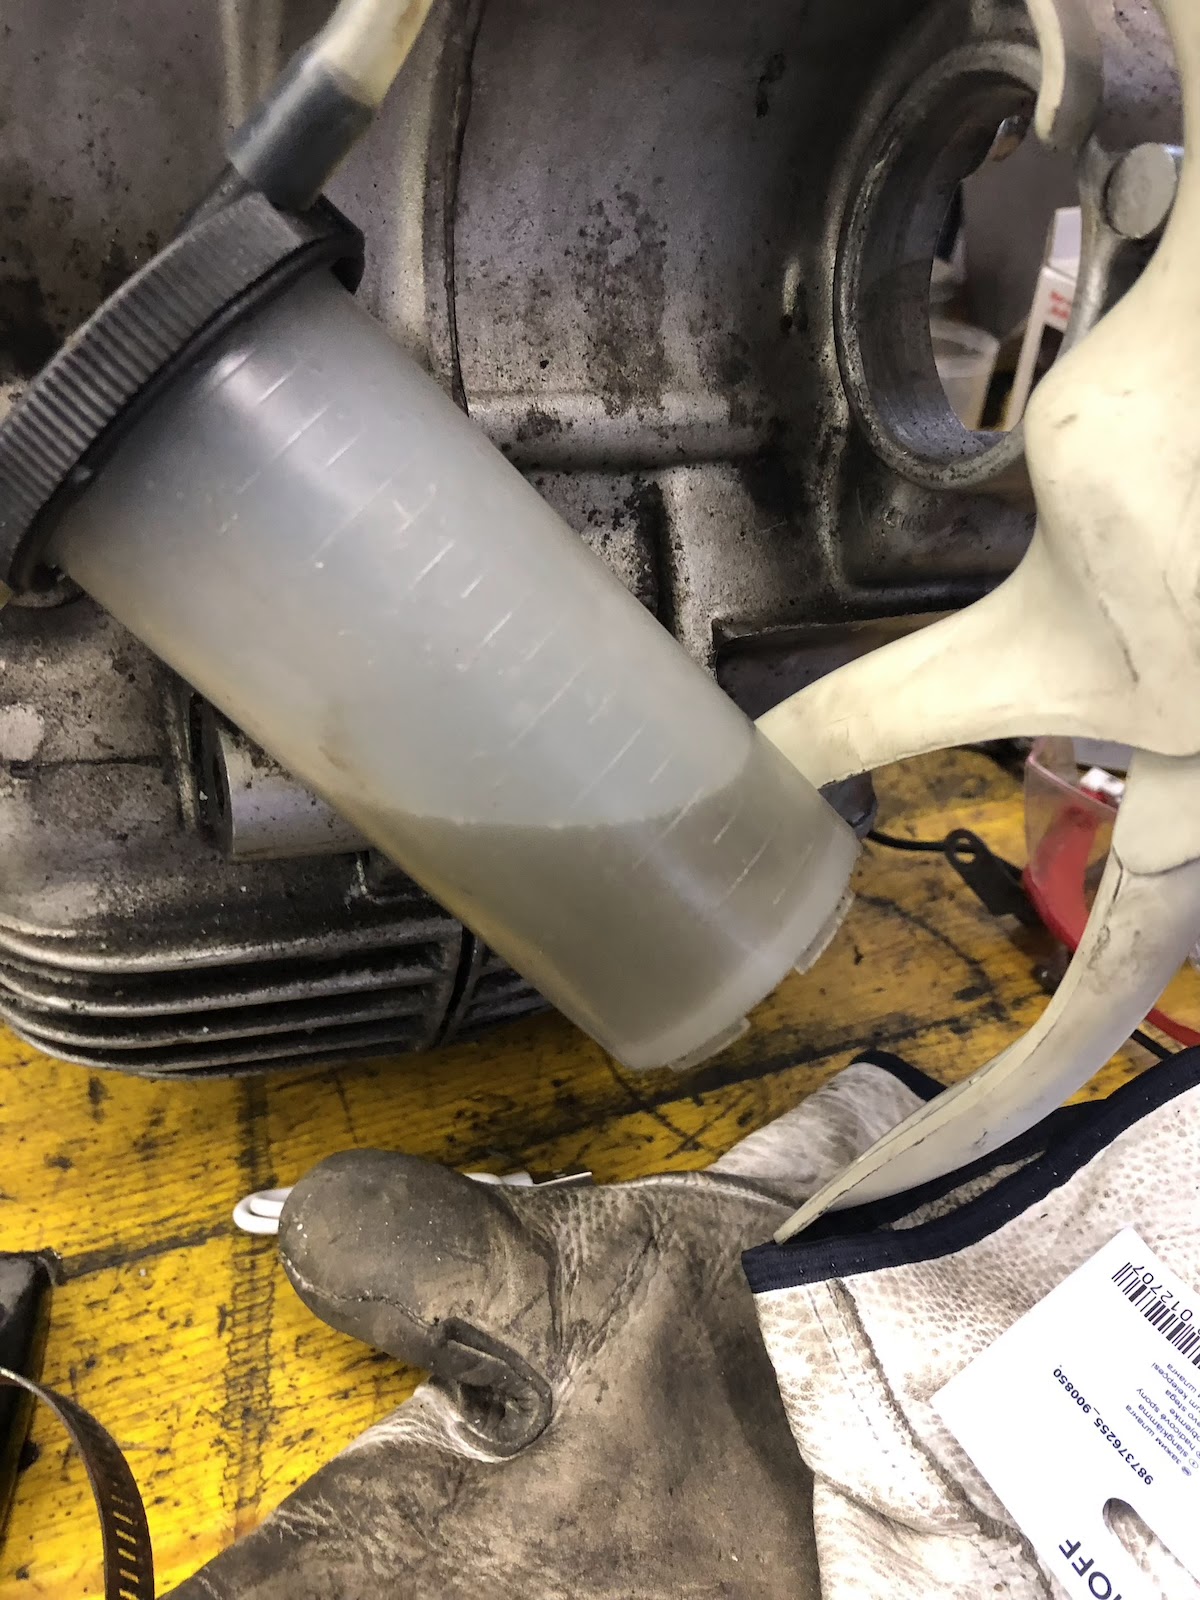
The brakefluid in the reservoir had turned into something rather nasty.
Some decent bolts and a new(-ish) brakeline later, brake performance was at bluing the disk levels and that was still with a set of glazed pads.
As is already somewhat custom, the sightglass wasn't just a bit dull, but completely blind. So I drilled an 8mm hole into the plastic, well I tried as the "glass" crumbled away and then levered out the backside metal shield and knocked the remnants of the glass out with a drift. This also meant that the outer metal ring was pretty much unsupported and I could easily pry it out with a flat blade screwdriver.
As there's a very convenient hump on the inside, the new glass was pressed in with a set of parallel-jaw pliers in absolutely no time.
And with the mirror and the handguard reinstalled it looks pretty much as it did before.
Verdict: can't recommend enough to do this mod. In fact 1984 and 85 models would have come with a variant of exactly this brake master cylinder, so strictly speaking on the very first Teneré model (34L) and perhaps the very first XT600 (43F) models, it would actually be the right tool for the job. Unfortunately it was too cold and icy to really test out what the new setup can do, but with a set of half decent (i.e. not glazed) pads I bet it can work wonders.
ADDENDUM: With the temperature being in the double digits above zero in the last few days, I had a go on the Dre-XT-Stück, really just running some otherwise rather bland errands, but boy oh boy does the old girl brake now. She even did her first (little) stoppie at a traffic light today.
Of all motorcycles from the 1980ies the one I chose to bring back was a Goldwing 1200. A 700 pound amalgamation of steel, plastic and decadence. In a sense a vehicle that most likely represents the 1980ies like hardly any other. It is a testament to a time when striving for perfection in a (touring-)motorcycle meant installing each and every gizmo possible, creating a mountain of a motorcycle that is most likely best described as either a car with no roof or a couch with two wheels.
What we have here is a 1984 Goldwing GL1200 Interstate base model. In contrast to the higher spec Aspencade it comes with an analogue gauge cluster, no cruise control and no on-board air-compressor. It should have come with conventional brakes, but instead has the non-Euro spec integral brake system of the US-models.
So we left the old girl sitting in the shed almost four years ago getting assembled from various boxes of parts into a rolling chassis, basically only needing to be wired up completely or at least to see if the engine turns over and find out a bit more about its condition.
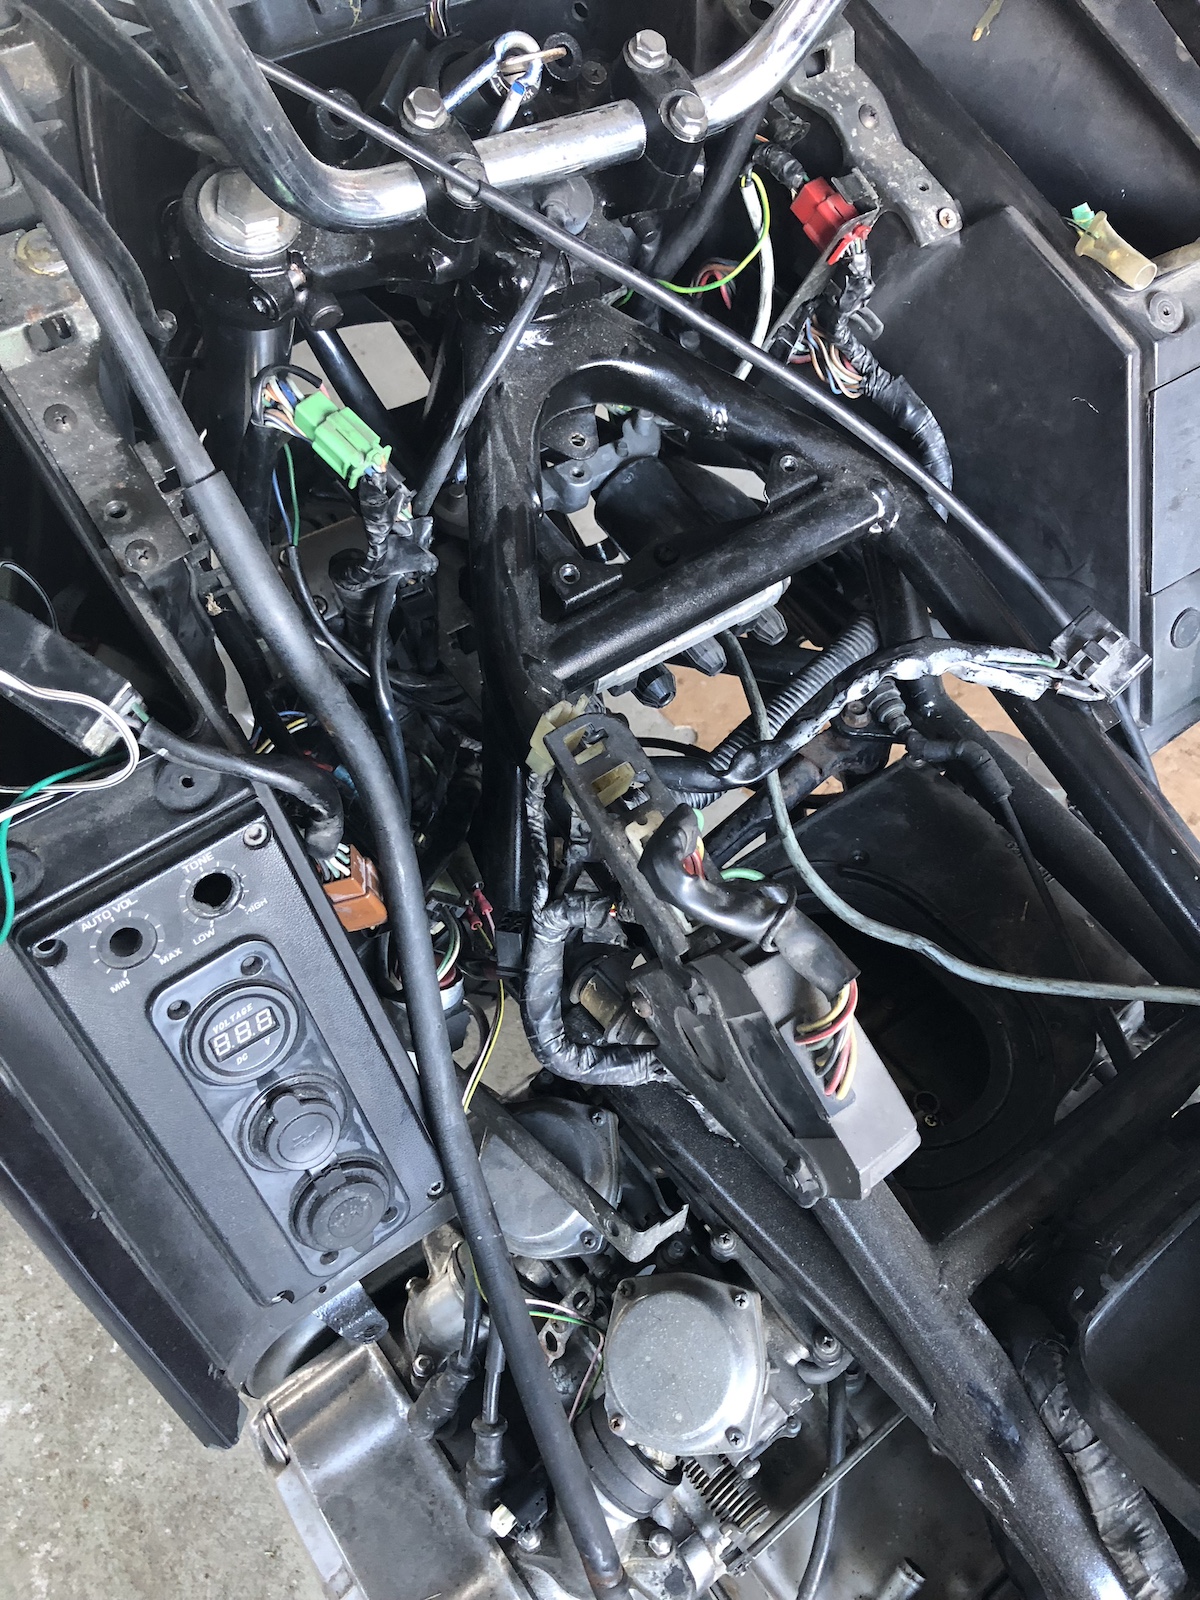
At first glance the wiring looks very daunting and to be honest it gets kind of worse when you realise that there should be a lid on top of it all and there's actually most of the components missing.
There has to be given credit, where credit is due, whilst the whole setup is overly complex not only by 1980ies standards, it is broken down into individual modules, which can be removed (I am not going to say easily) and worked on separate from the bike, which does make the whole madness under the tank cover a lot more manageable.
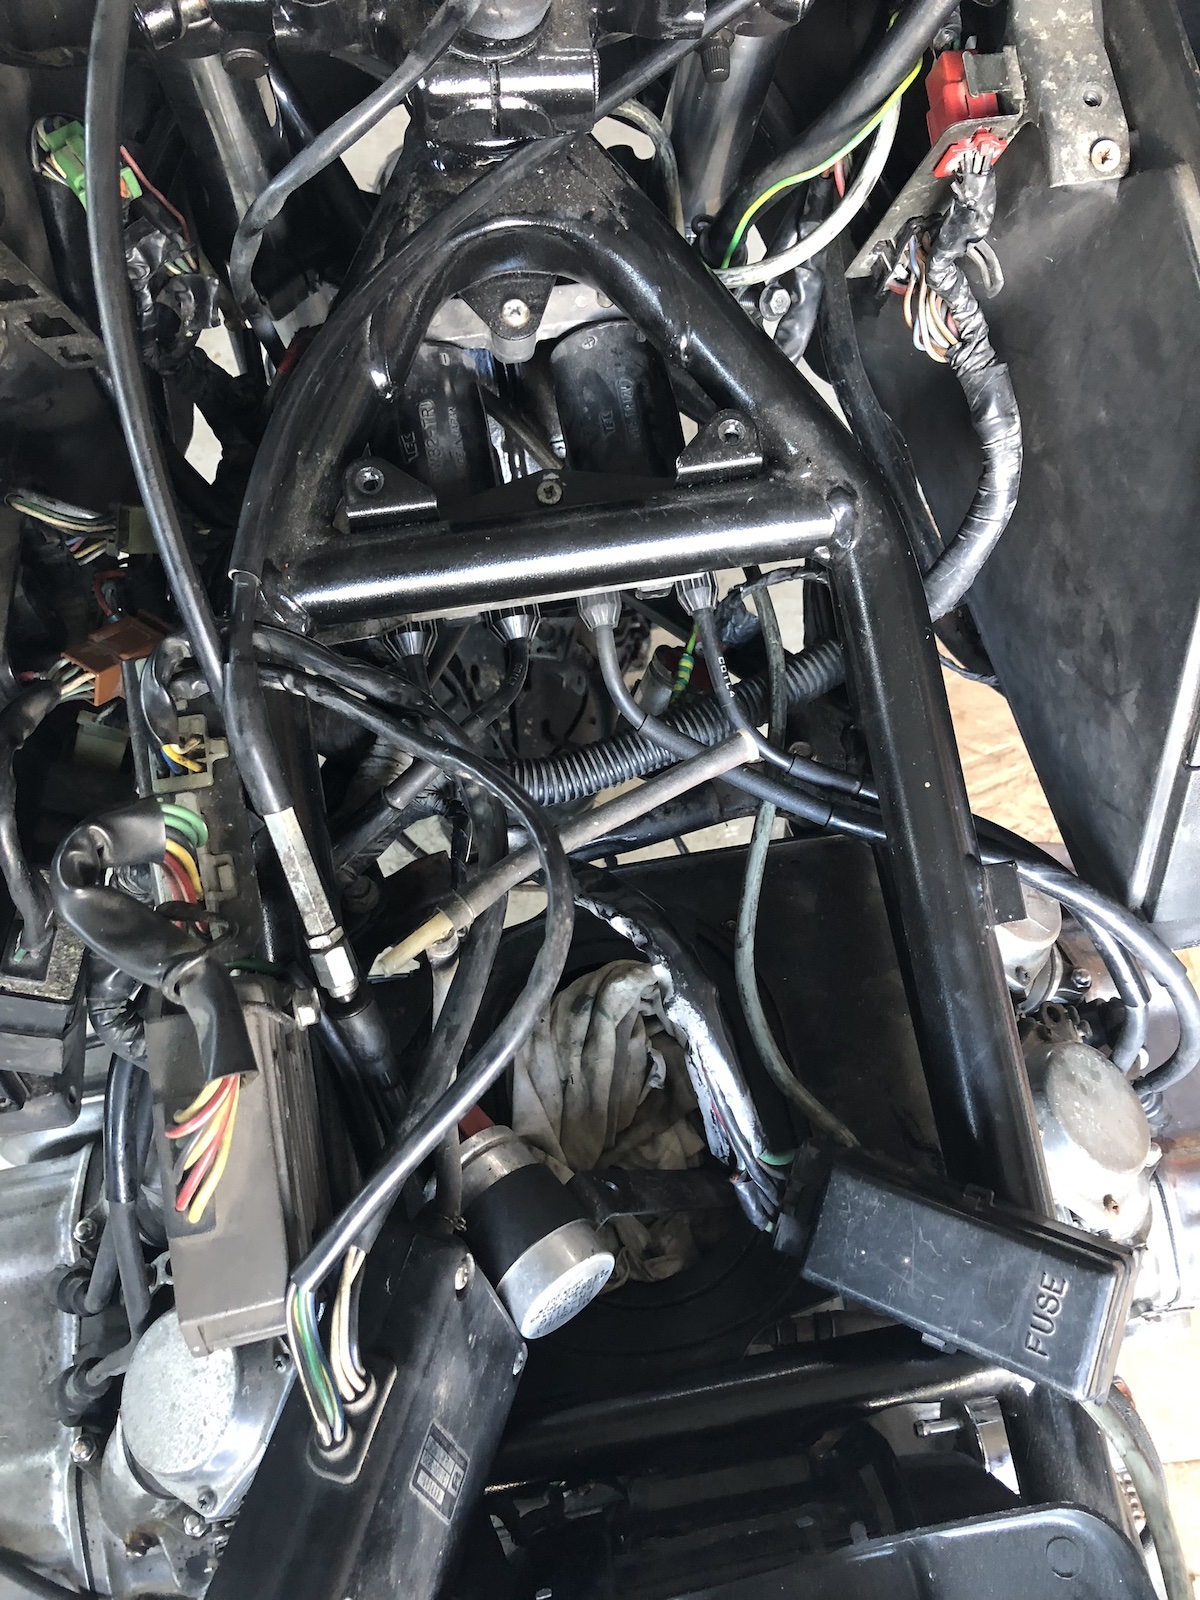
Now if the routing of the spark plug cables makes you wonder a bit, it did make me wonder too at the time, but the manual clearly stated that it had to be done in this way.
Another nice thing is the cable management on the whole bike - if there's a plug, there's also a holder nearby. If not, the cables are routed incorrectly. Not so much an issue under the left side cover with only two plugs present, but a proper game changer under the "tank".
There are certain moment, when I would love to ask the Goldwing engineers what their reasoning was behind certain solutions: See this dipstick? Very nice, now look slightly to the left and a bit further up that's the filler port. My only assumption is that there were sidepanels available to essentially hide all of the engine, which would have made the filler plug inaccessible.
Using quite a few photos from the internet to find out where each component is supposed to go the space under the tank cover is now well populated and there's still quite a few spots left in those cable organizers, which is fair enough as none of the radio-equipment and the like is installed yet.
No smoke and quite a few lights doing ... something ... on the dash, but not even remotely willing to do anything at the press of a button. To cut a rather long story short, the first issue was the retrofitted sidestand switch, which had broken internally and would NOT cut the ignition in only one position and with that I mean literally only a few degrees out and it would do nothing or only very erratic things.
Then there was one plug going to the dash that was plugged in into the incorrect counterpart, but the biggest one was, the official Honda factory manual was wrong. Scroll back up, if you like, where I wrote that it looked a bit weird and not quite how I would have run the spark plug cables myself.
A quick check revealed that my suspicion wasn't all that unfounded and turns out in later editions of the same manual this schematic can be found:
Aside from the fact that one of the spark plug cables was so worn out (and too short to be trimmed any more), it was then just a case of add fuel and fire the old girl up.
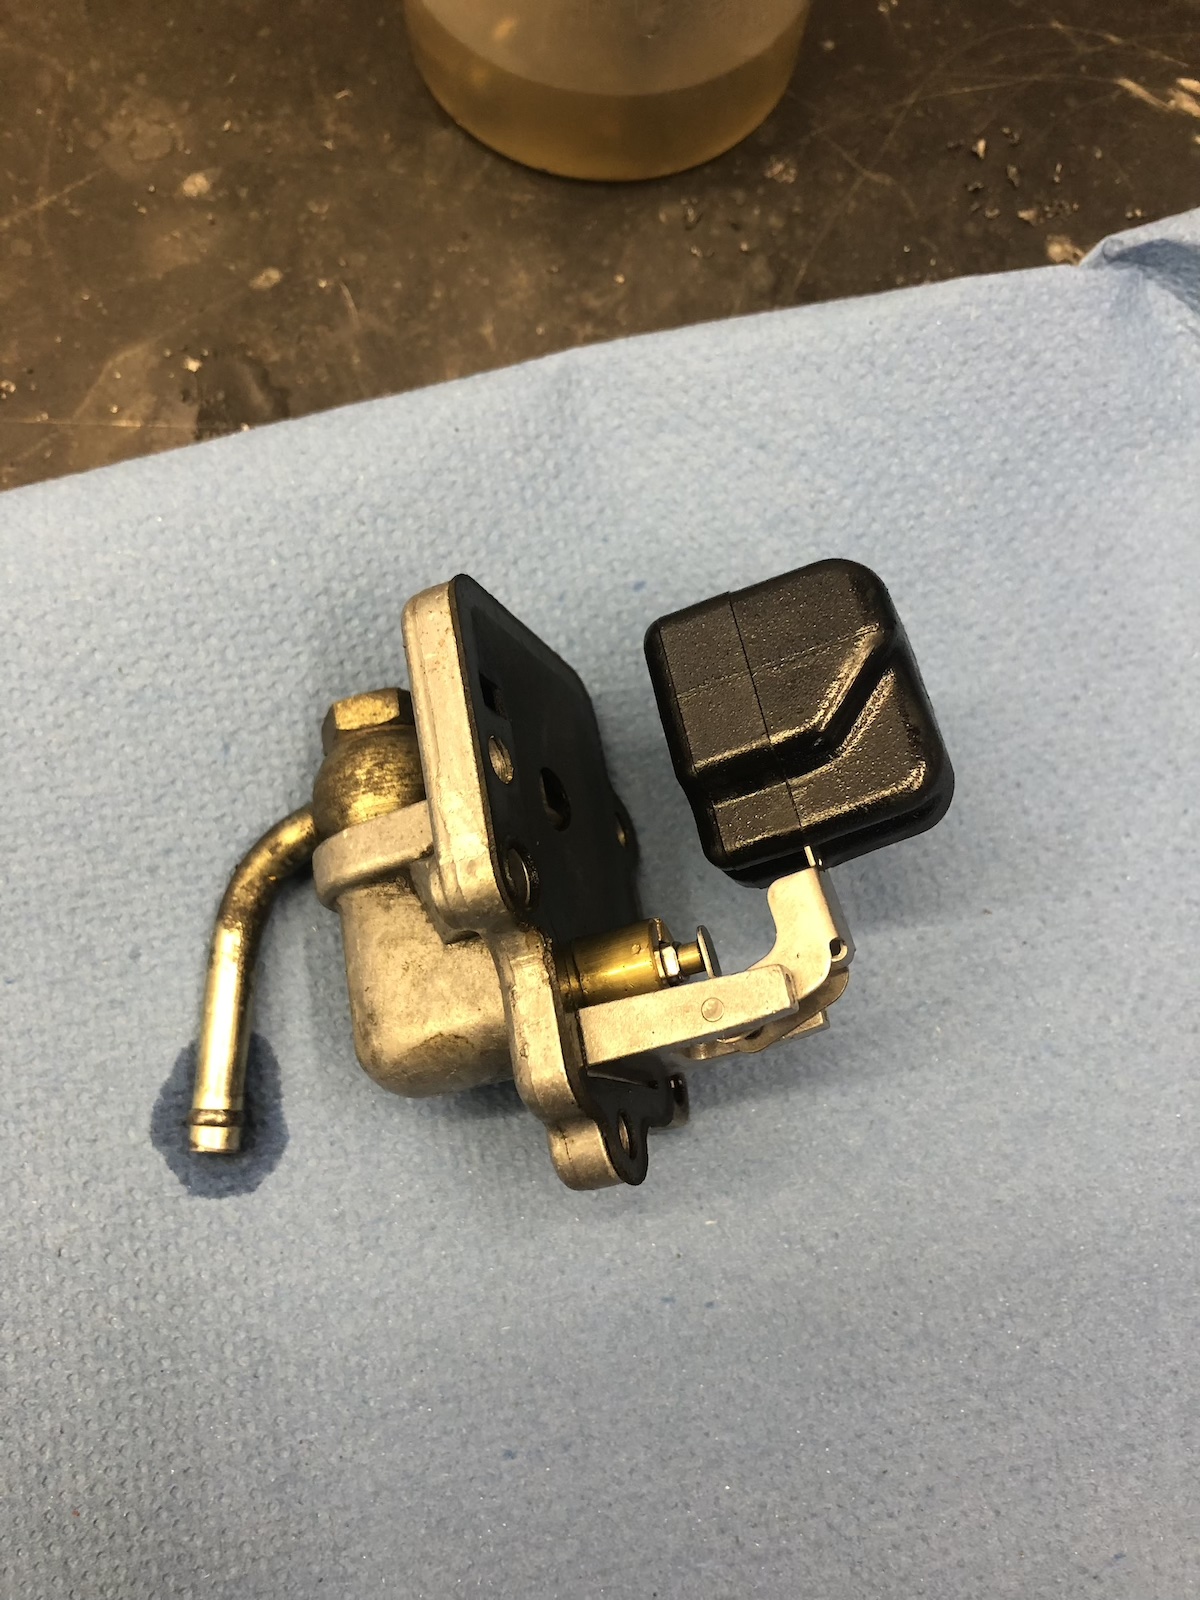
It was a this point that thanks to a tip from Lars I attempted to take the back cover off from the fuel pump body and instantly found the reason, why the pump would do absolutely nothing.
What's next: Swap those spark plug cables for new ones, install the radiator and whatever is missing there. Then the integral brake system has to go in favor of a conventional setup with steel braided brake hose and whilst I am at it, the hydraulic clutch also needs a new (braided) line. The exhaust is quite a mess and so far at best half of the electrics is done, but it runs (on three legs) and it charges, so I guess the rest will work out eventually.