Sunday 29 May 2016

The Turbo TR1 (part 12) - Igor, it liiiiiiiiiiiiiiiiiives

Right, after last week's disaster with the cracked cases it was well about time to push forward.

No sense in wasting a lot of good bits 'n' bytes and get right to it.


Now that was with the out-of-the-box-setup of the VM44, with #35 pilots and #310 main-jet. After swapping out the mainjet for a #250. The whole she-bang ran heaps better, yet still only on just one pot.


Lots better, but still not exactly the ticket. Now with the exhaust tightened up properly things improved substantially. After throwing in a #25 pilot-jet, it now runs on both pots.


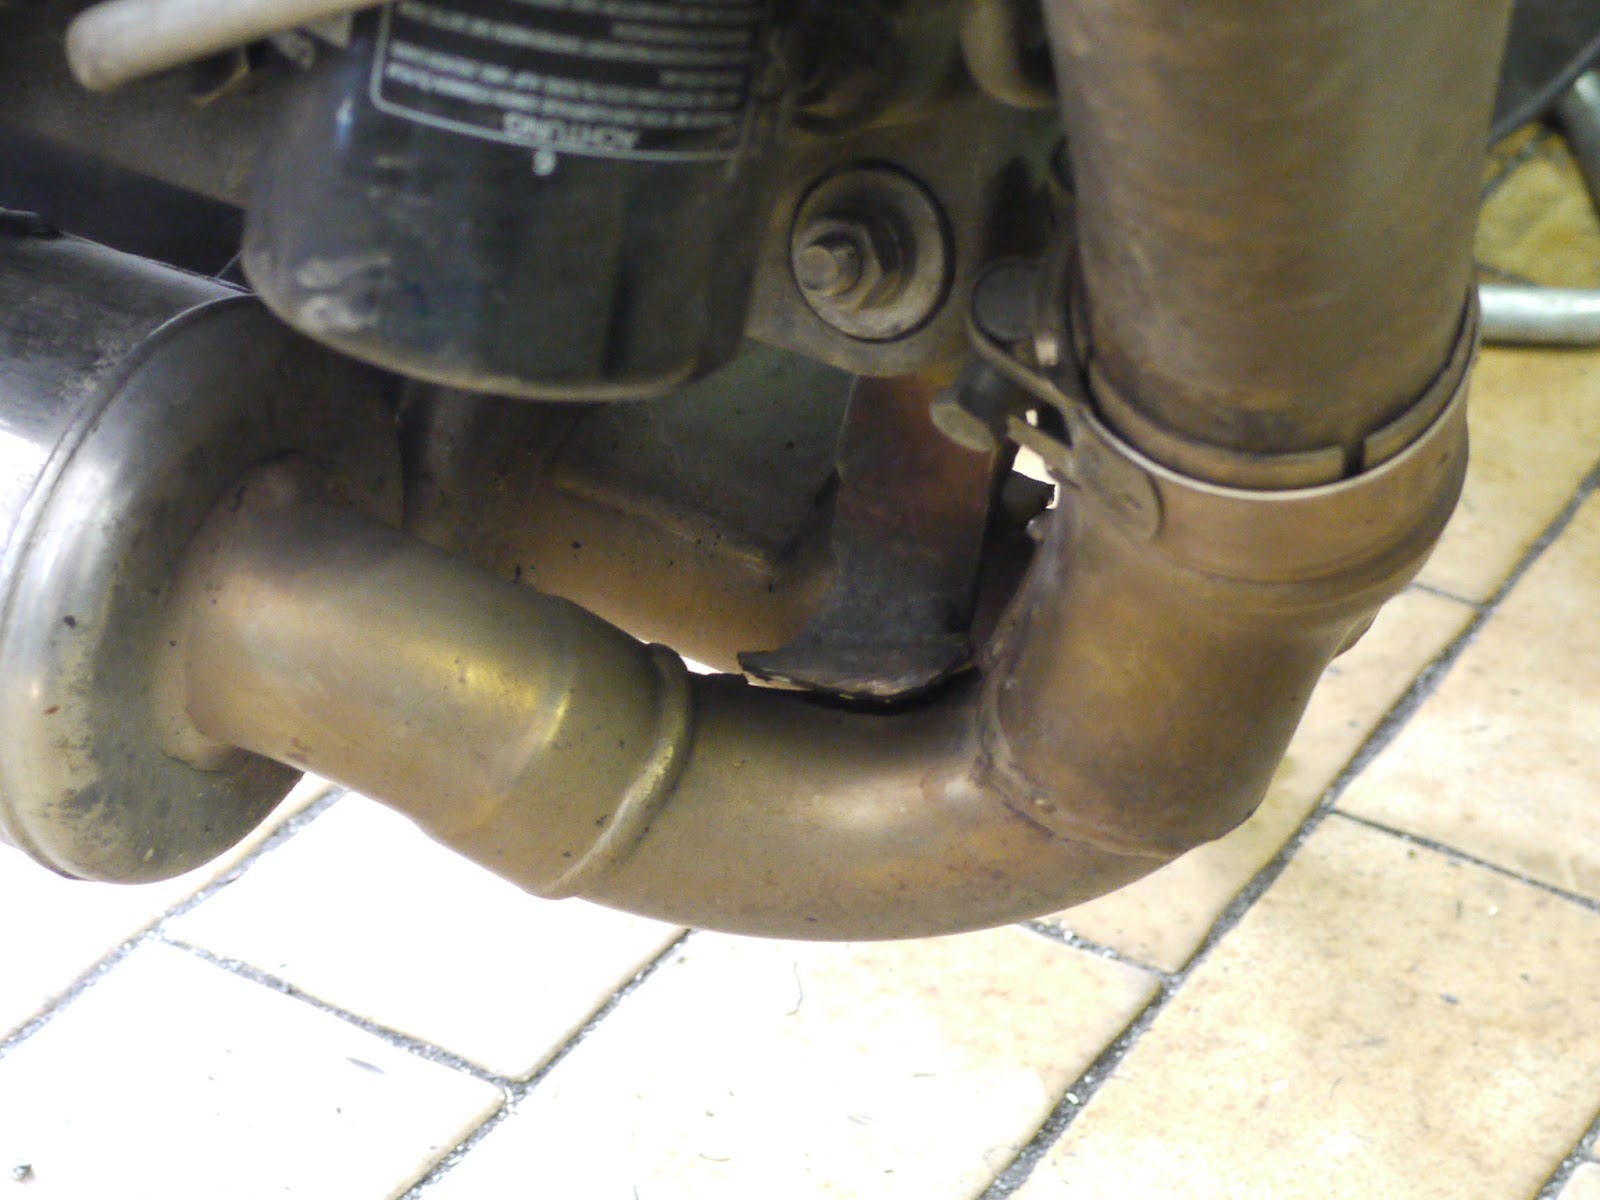
Amongst LOTS of other things, a boost-pressure-take-off was welded into the manifold, so I can fit a boost-gauge in the coming days. And swap out the main-jet for a #220.

The turbo-housing picked up some lovely colour, if I may say so. 

 The take-off for boost-pressure.


By now the carb is fed directly from the fuel tank. No more auxilary fuel tanks anymore.


What is notable though is that boost seems to come on A LOT later than I calculated. Judging by the tach in the video, it must be in the 4000 RPM range and not at the calculated lower half of the 3000s.
(Which might still be attributed to the engine not smoothly running on both cylinders...)

Thursday 26 May 2016

Everyday TR1 - gets another makeover

With a little trip to CZ ahead of me, I thought it would make sense to deal with the last few missing items on the todo-list for my everyday TR1, some of which I have put off for ages.

First on the list, were a set of new fork gaiters as the old ones were really showing their age now


Trust me, when I say that the left one wasn't a lot better.


Next on the list: The studs clamping the front axle. On one of them the nut had seized onto the thread always taking the stud out of the forks, which honestly, was quite annoying.


Lastly on the forks, I found out that the left spacer was a bit too short, causing the forks to bind a bit, when tightened.


That was the frontend taken care of. Next step was to make a little bracket that holds the rear mudguard at the right angle. Additionally you can (not) see quite a few surplus brackets in this picture, which were removed for aesthetic reasons.


And there you have it, I found some time to clean the old girl a bit, but in reality it looks almost as before.


Wednesday 25 May 2016

The Turbo TR1 (part 11) - oil-leaks from cracked cases

You know, the lovely thing about old bikes is, things are NEVER going to be boring. So the Turbo TR1 was basically ready for it's first start on Sunday, so I did the last bits of the wiring, fiddled with the throttle cable, fitted petcocks to the fuel tank and heaps of other small bits.

On of the very last bits on the list was to fill the engine with oil. Unfortunately said oil left the engine almost as fast as I was able to pour it in...


So a well assorted collection of drill bits was used to return the opening to somewhat round shape again. 


And then a couple of minutes on the lathe resulted in a mighty bung to be shoved down that orifice and be glued in for good.


In situ.


The gooey stuff isn't me proving that I have issues with controlling my bodily fluids, but wet epoxy.


And this is what the old girl looks like right now. Came out every bit as brute as I wanted it to be. Taillight is still missing, but I'll go with a classic Triumph rear light.


Monday 23 May 2016

Ed Buell's exhaust repair

It's always nice, when friends pop in at your workshop and say hello. I still don't get it, why certain people always have to pretend they suffer from failures on their bikes, I mean, seriously, you can just simply come round for a chat, if you want. ;-)

That said, the fierce vibrations on the old Harley-based 984cc V-twin can crack pretty much everything.

So here we have Mr. Ed in full touring trim.


And the problem in full view. (The camera gratiously ignored all the hairline-cracks)


Roughly, what felt like 1kg of stainless TIG-welding rod later and it's mo' solid than ever.


Bye, bye (for now) Mr. Ed! 


Sunday 22 May 2016

The Turbo TR1 (part 10) - oil-return and oilfilter cap

I have to admit (even though I might have said that before) the Turbo TR1 is pretty much on the home-stretch now. Some issues on the oil-return and oil-filter side had to be overcome and the whole lot assembled.

First step fit the T3-oildrain-adapter onto the turbo. Fairly easy, except for the fact that my Chinese turbo uses M10 instead of M8 bolts hold the flange on.


After fooling around with another Garrett-oil-drain adapter for the better part of half an hour, I duly accepted the fact that this is simply not going to work. So I rummaged in my raw-stock bin and found a chunky bit of aluminium-billet and made the world's most chunky oil-return... 


It looked even worse in real than the pictures suggest and there was no way I could fit that on the engine without a) hitting the exhaust pipe and b) not dreading the thought that the bike would constantly steer to the right. (Ok, the last part's a bit of a joke, considering of how bl**dy heavy that turbo is...)

So I threw it on the mill and put it on a diet.


X-marks the spot. 


Aaaand it's fitted with some gasket goo.


Unfortunately, when I took the cover off, the lower nose of the oilfilter-cap broke off. Luckily I still had a leftover cap from a Virago 1100 engine.


Mighty shiny... 


 But hey, what's that? Yamaha in their infinite wisdom decided to alter the location of the oilfeed-hole to the cylinder head.


Bit of work with the die-grinder sorted that one out nicely.


Fitted to the bike.


And the whole she-bang is back on the bike. 


Yes, it's every bit as beefy as it looks at the moment... and I totally dig it. 


Saturday 21 May 2016

A friend in need is...

... a poor sod on a Honda 500 Four. I do not even remotely intend to hide the fact, that I am led to believe, that the small Honda Fours are amongst the most overrated motorcycles in the world, but still, if it's owned by a friend and he broke down near your workshop, it's kind of an obligation to get the tools out.


This one was interesting though. It turned out, that the actual clutch cable holder must have been broken for quite a while and now finally had a hot date with the chain, when the two of the got a bit more intimate than was to be desirable for Mr. clutch lever.


So after a bit of bending and hammering the whole lot looked substantially better than before. A little drop of the magic blue-glue (aka. TIG-welding) and then a bit of grinding with a die grinder returned  the cable mount back to usable shape.


 I do admit that the candy-colour-paintjob still appeals.

Wednesday 18 May 2016

XS400 RatRacer - the finishing touches

Finally the XS400 is dialed in and ready to leave the safe harbour of my workshop.

First I timed the ignition and adjusted the points gap. (One of those things you can spend hours on, but truth be told, it's more of a miracle that the bike actually ran at all...)
 Synced the carbs (yes, this is the left carb, but the fixed carb is the right one...)
 And finally built a wooden subframe to reinforce the seat hump.


The only things left to do: knock up some nicer heat shields and touch up the tank and then the XS is up for grabs, because after all... I am still a two-stroke guy and this is just too heavy, bulky and most importantly four-strokey for me! So if you're interested drop me a line, I do have a number in mind, but it's not a shocking one at all.