Sunday 24 June 2018

The new TR1 engine - Measuring the squish height (part 23)

Alright, it's exam time and what would be better suited to help me with learning for my exams than establishing some base data on the engine I have been building for literally FOREVER.

But first I had to retap the cases for the starter. With the aid of a little jig I made in the lathe it was pretty easy to hit dead-center, drill it and tap it.


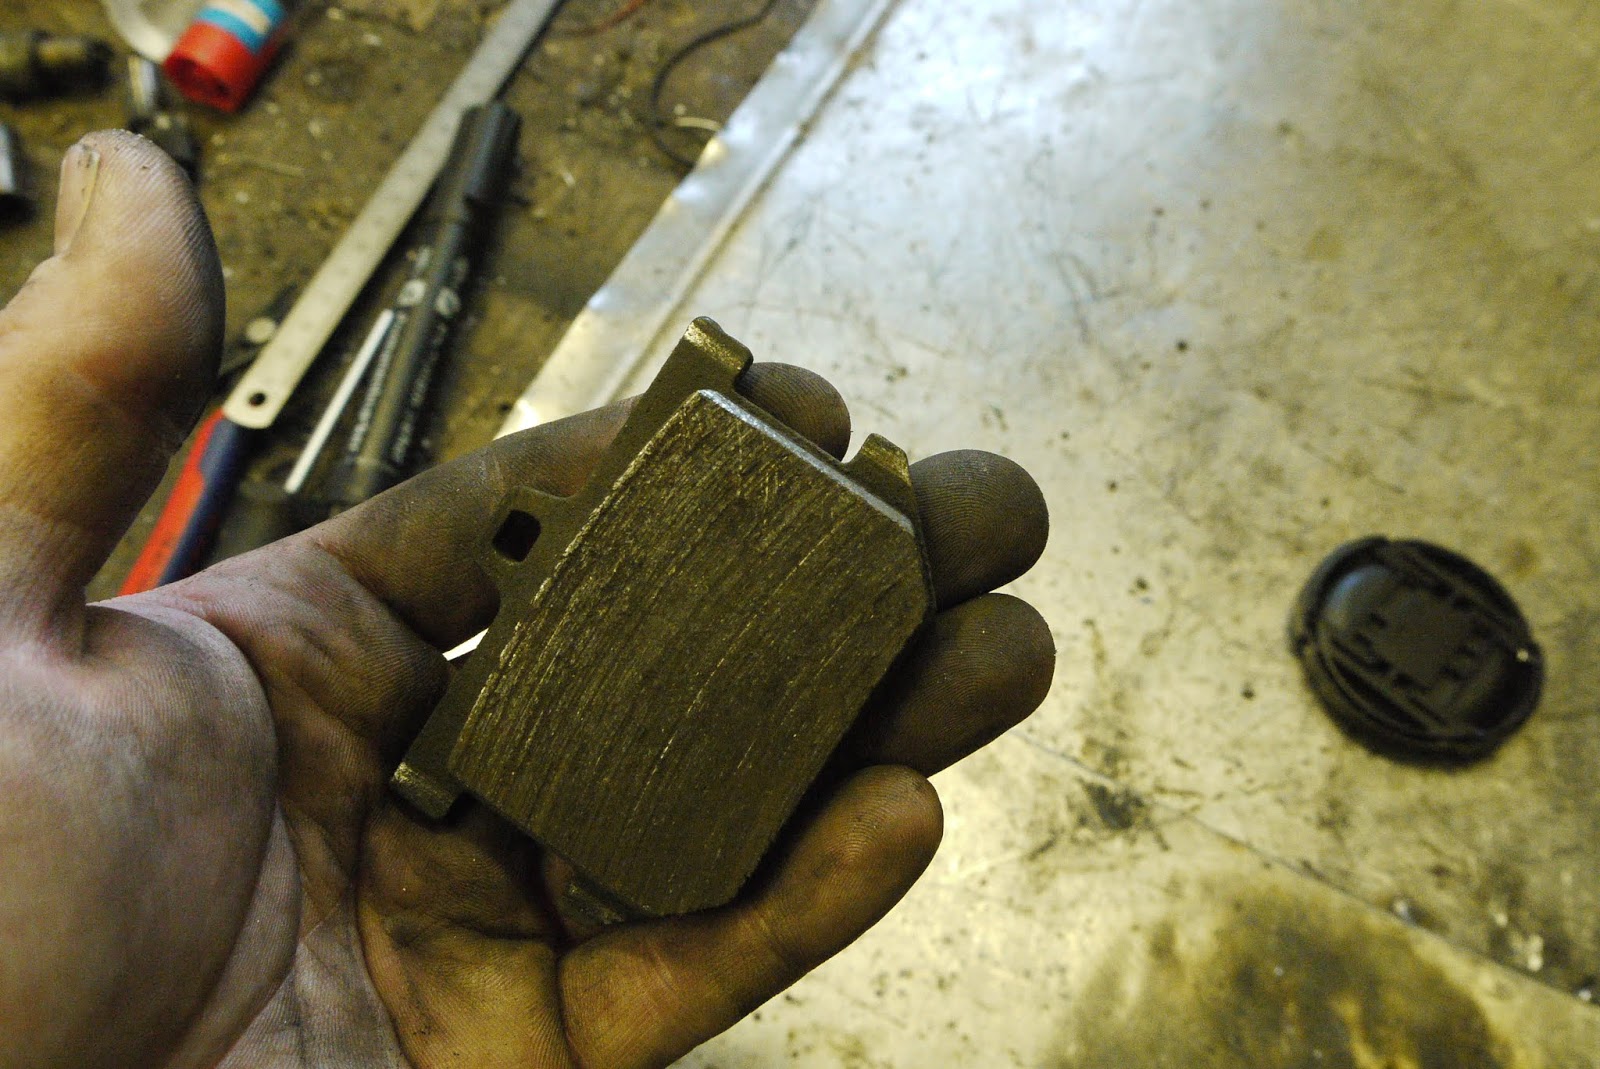
Also in this picture: The oil-pressure-switch. It's the standard M10x1.00-threaded (opening at 0.9 bar) unit as used on a plethora of Volkswagens. Be aware there's two of them, blue and grey ones, one being a closer and one being an opener.


Now with that out of the way it was well about time to put the engine onto the other workbench and get the measuring clay aka. kid's plastilin out.

Install the headgasket, put on the head, turn the piston back from TDC and then give it a full revolution. 


If the amount of clay was sufficient, you wil have an impression of the combustion chamber on the clay.


Cut back the clay to the areas you really want to measure and fire away with the vernier caliper. In my case I ended up with 1.64mm as the tightest spot. I aim for just shy of 1.00mm, so that means this cylinder has to be shortened by 0.65mm. You then repeat the same procedure on the other cylinder.


The same method can also be used to inspect the piston-to-valve clearance, which can become interesting when you either run cams with more lift or bigger valves or a combination of both. It's the classic case of knowing what you can get away with. The next post in this series will give you an insight, why you haven't heard from me in quite a while, i.e. stories of carnage. I have a few ideas on how to rectify the situation, but I haven't fully come to a decision as of yet.

Wednesday 13 June 2018

The XS Triple Sidecar - fixing the sidecar up for roadworthyness inspection

Normally fixing up a winter-sidecar means frantic hacking away on various rusted bits and bobs, but as I had already done most of that, this time it was about swapping out some rusty bolts, chamfering the brake pads, swapping the front tyre for a slightly less bald one.


One of those things was the lower clutch adjuster. It had fallen out on one of the very first test rides and was replaced with a spare M8 bolt I had with me...


It's a good idea to oil a clutch cable BEFORE it goes stiff, and a bit of old engine oil is perfect for the job.


I always chamfer my brake pads as it prevents them from squealing. Especially these cheap ones are very prone to that. 


The speed cable may be rusty on the outside, but oiling it up in Autumn paid its dividends.


The bald front tyre was replaced with a super fine Pirelli Gordon specimen from the late 80ies. It's harder than a rock, has plenty of tread left and no hairline cracks. (Watch this space in two months, when it will look like I've dug it out of a swamp or the like, as they perish very quickly once re-exposed to UV-light.)


I was totally prepared to replace the rear tyre as well, but that super flat Block C has still got some life left in it. 


The last thing to tackle was to weld up the muffler inserts, as I had only tacked them in, when I took them out earlier in a vain effort to find some of the missing horsepower. (It was some well clogged pod-filters!)


As the old girl sometimes struggled a bit with starting I deduced, that (just as on my first XS-triple) a lack of grounding to the right handlebar switch resulted in bad starting at times.


Another thing that I had spent a lot of time contemplating on, was how to solve the lack of a lock to hold the seat in place. I've come up with beautifully elaborate solutions with milled, turned and welded parts of finest stainless or 6000-series aluminium alloys. But in the end a simple R-clip and a hole will do the job almost as fine and the amount of time invested was, as I have to admit somewhat more reasonable.


The sidecar passed the inspection with flying colors, which also means, as soon as the mule is sorted out, I can tackle the mods I have planned for the sidecar, which are: different exhaust setup (angled up a bit so I can swap the rear wheel, without removing the exhaust) and a slightly altered rear-subframe.

Wednesday 6 June 2018

The new TR1 engine - a fixture for shortening cyllinders (part 22)

Before we get into the matter at hand, let me show you a result. Some people asked me, what kind of finish could be achieved with such a big and heavy flycutter on such a small and puny mill. A pretty shiny one, if I may say so.


What was needed next was a means to hold the cylinder in the lathe. (More on that later!) This was finally the time to REALLY chase the accuracy of my lathe. I ended up with two plugs that would almost seal the bore and would only go off with a slight. *plopp*


Looks good doesn't it and it over the lathe's bed. Well, not so fast... as it doesn't clear the outriggers of my support.


So what you will see in the next installments, is on the one hand establishing the missing base data regarding the squish-height, which in turn defines the amount of material to be removed from the cylinder foot and on the other hand tooling up even further to get my rotary table working with the chuck I have for it.

Friday 1 June 2018

The new TR1 engine - welding up and machining heads back down (part 21)

Now you can't make an omelette without breaking a few eggs (a lot actually). With the fixture done, the next step was to put it to good use. But first a base-value for the cylinder head volume had to be established and yes, a TR1 head has actually got a chamber volume of 54cc.


To maintain repeatability, I marked out the lines I wanted to meet on a headgasket.


Welding the heads up with MIG and a spool of AlMg5 is messy, but works beautifully. It has to be noted, that you get so much heat into the heads that pre-heating had little effect on the final outcome as I found out on some test pieces.


One of the locating dowels was one hell of a stubborn b*st*rd, but it had no chance against a TIG used in anger and a bolt. (Some hammers and rods were part of the equation as well...)


Pre-heating the head on an old hot-plate.


The first head was milled to size before flycutting, but it turned out, that it was easier to first skim the head and then mill the wedge to size, as this helped a lot with accurately aligning the head gasket with the cylinder head.


No photoshop trickery here: With a nicely balanced flycutter, a large flightpath and high rpm a nice finish was really simple to achieve.


CC'ed the new chamber and et voila: 47 to 48cc. Which means, now I will end up with the same 10.5:1 compression ratio as with 750 heads. 


At the time of this posting another set of cylinder heads will have been fabricated as these had a little more material removed than I would have wanted as the heads themselves were a bit warped. This unfortunately also means, that the piston to valve clearance is reduced, which is not a big issue with stock cams and stock squish-height. Two other issues that will be addressed very soon in the course of this build.