Friday 26 October 2018

Dre-XT-Stück - making her fit like a glove (part 5)

Now that the old girl runs like she's supposed to and in my humble opinion starts to sport the looks to back that up, there were a few more nuisances that I wanted to tackle.

Step 1: Bar-risers. Even though I bought the highest (and widest) bars I could get, they were a bit lower than I wanted them to be. This is a generic set of 25mm riser blocks and *boom* all of a sudden it feels like my arms go straight forward from my elbows and not down.


Step 2: Decrease the leakyness of the exhaust. As can be seen by the black spot on the frame, this isn't exactly a vanity mod. Lots of bashing out the pipe to get it straight again plus some exhaust-adaptors and nope, I'll have to re-visit that one again and make a joiner out of stainless or aluminium.


Step 3: If your bike's airbox looks like this, a changed might be due. Especially if you have visions of riding the old girl somewhere, where it might be sandy...


Mind you, in order to get the airbox in and out, you have to undo the shock and lower the swingarm, so you get *JUST* enough clearance to squeeze it in and out. Oh and do you want to hear something funny? The new airbox isn't the same as the old one, as the breaker had sold me the incorrect model, so I'll end up going back to the original one as the sidepanels won't fit over it.


Step 4: The old girl had some nastily bent footpegs, which mean that my right foot was sitting about 20mm further back than my left, which doesn't sound like a lot but becomes a HUGE thing, when you're riding the bike for an extended period of time as you tend to sit in a weird and unnatural position.


After having slept over the airbox-issue, I will give lowering the box a shot, but if that doesn't work, I'll most like re-install the old airbox and then take it from there...

Saturday 20 October 2018

Time to breath some life into the old girl...

Now let's put it this way: Richard the Rhino is quite a different beast than Martha the old Matra was. Where the Matra lathe was an epitome of German engineering, the Rhino/Coronet lathe is much more simple and crude.

But in order to experience that the first task was to swap out the old 3-phase motor for a single-phase one. (In case you wonder, yes it's omnidirectional and I will add a switch for that, but one thing after the other.)


Luckily I had purchased the new motor before I even picked up the lathe, as I somewhat suspected that with all the rust on the outside the old motor would most likely be shot anyway. What we have here is a genuine Soviet era (1987, if the name-plate is to be believed), Polish-made, 1.5kW, 1400RPM single phase motor and in all honesty: it's really well made. 


Talking about rust, this picture should give you an idea about the before and after...


Rummaging through my boxes, I found an unused B18 chuck and together with a new MT2 arbor that replaced the somewhat shoddy chucks that came with the lathe.


First task make a reducing sleeve for the QCTP, as what was on there wasn't going to cut it... at all.


One interesting thing: Most lathes come with a vast array of gears for thread cutting. The old Coronet/Rhino only has four, which can be arranged in three different combinations to cut both imperial and (some) metric threads. Getting them off was an entirely different matter, as with pretty much everything else on this lathe they were a bit rusty. 


After some cleaning it turns out, that these are actually painted red. 


... and a proper billet lamp-mount, so I can actually see what I am doing on the lathe.


So after working with the old girl, what's the verdict, I hear you ask? Well she's a different beast compared to the Matra. Probably hardly any use before me, so after some adjustments everything feels really tight and snug. On the other side, most bits are rather crude and made in a simple, yet efficient way. But the biggest change for me are the much lower speeds. The matra ran at around maximum 1700-1800rpm, whereas this one does 1043rpm, which means a lot less heat and a lot slower working pace. I think we'll become very good friends over the coming months and years...

Sunday 14 October 2018

Dre-XT-Stück - just a "quick" headlight conversion (part 4)

Even though I like the big brutish fours of the late 70ies, early 80ies, I've never been much a fan of the square headlights that had come up by the time on enduro bikes. Being a big fan of the classic XT500 didn't help much either. Luckily there was a role model: the much unloved and (mostly) forgotten XT550, which in its own right is sort of dreambike, when it comes to off-road bikes.

It all started very harmlessly though: The trip-meter on my Dre-XT-Stück has developed the bad habit of getting stuck at 199.9km, which made judging the remaining fuel for the next tank stop a bit difficult. So a new speedo (along with some other parts) was acquired.


... and right about here is where things escalated quite quickly. An XT550 headlight bracket had been acquired a while ago, just as an XT500 headlight. 


As I had hoped the 550 bracket was an almost perfect fit. It only meant cutting off all tabs and welding them back on in other places and raising the clocks by about 12 to 15 mm. 


Classic Mig/Mag welding to blend in with the other welds, but mostly because it was more convenient and faster.


Painting this thing (in a way that actually covered the piece suitably) took the better part of last week. 


And the finished product. It's funny how the removal of a piece of plastic not only changes the looks of the bike, but also the way it feels when riding it.


Free-floating clocks make the bike look a lot lighter (and older), even though at the time the bike was new, the 550 probably still was for sale as a special offer at your local dealer's. Oh and the bike has lost almost exactly to the kilometer 19,000km with the new speedo. 


... and the new trip-meter works. Which is basically what all of this has been about, right?

Sunday 7 October 2018

The new TR1 engine - learning from mistakes (part 30)

As the saying goes: you can't make an egg, without breaking some omelettes – the same applies to make go-fast-engines. By now roughly 1200km have been clocked up and a flaw of the welded up heads has reared its ugly head. The engine has got a ferocious appetite for spark plugs. I mean, when it runs, it just runs. It goes. It really does. Until it doesn't.


So it was time to take things apart, swap back to the somewhat tried and tested setup of 700/750 heads as the Tractor isn't referred to as the "Everyday TR1" without a reason. Piston and head show no obvious signs of mishap. Some carbon buildup as is to be expected with my bad habit of using lots of oil on first assembly and rings that had to bed in. All in all (even though AFR said otherwise), it looks a lot like a rich condition. As such my hypothesis goes along the lines of some weird turbulence or flow issues? Contrary to that the carbon buildup on the piston shows an almost perfect swirl pattern.

Either way, I need a second daily bike to complement the Dre-XT-Stück and that's what the Tractor is there for. (Actually the Dre-XT-Stück is meant to complement the TR1, but digress...) Luckily I still had a set of XV700 heads, with some transportation-damage. Welding the fin back on was terrible, not being helped by the fact that I was "a tad" pressed for time.


The combustion chamber on these is again a bit smaller than on 750 heads, mainly due to the additional squish area near the sparkplug. A very knowledgeable friend talked me out of these originally and suggested I should go with the bigger port, welded up heads.


The heads overall were in pretty good condition, but the usual re-threading of all studs and threads was due, as were new valve stem seals and lapping in the valves. 


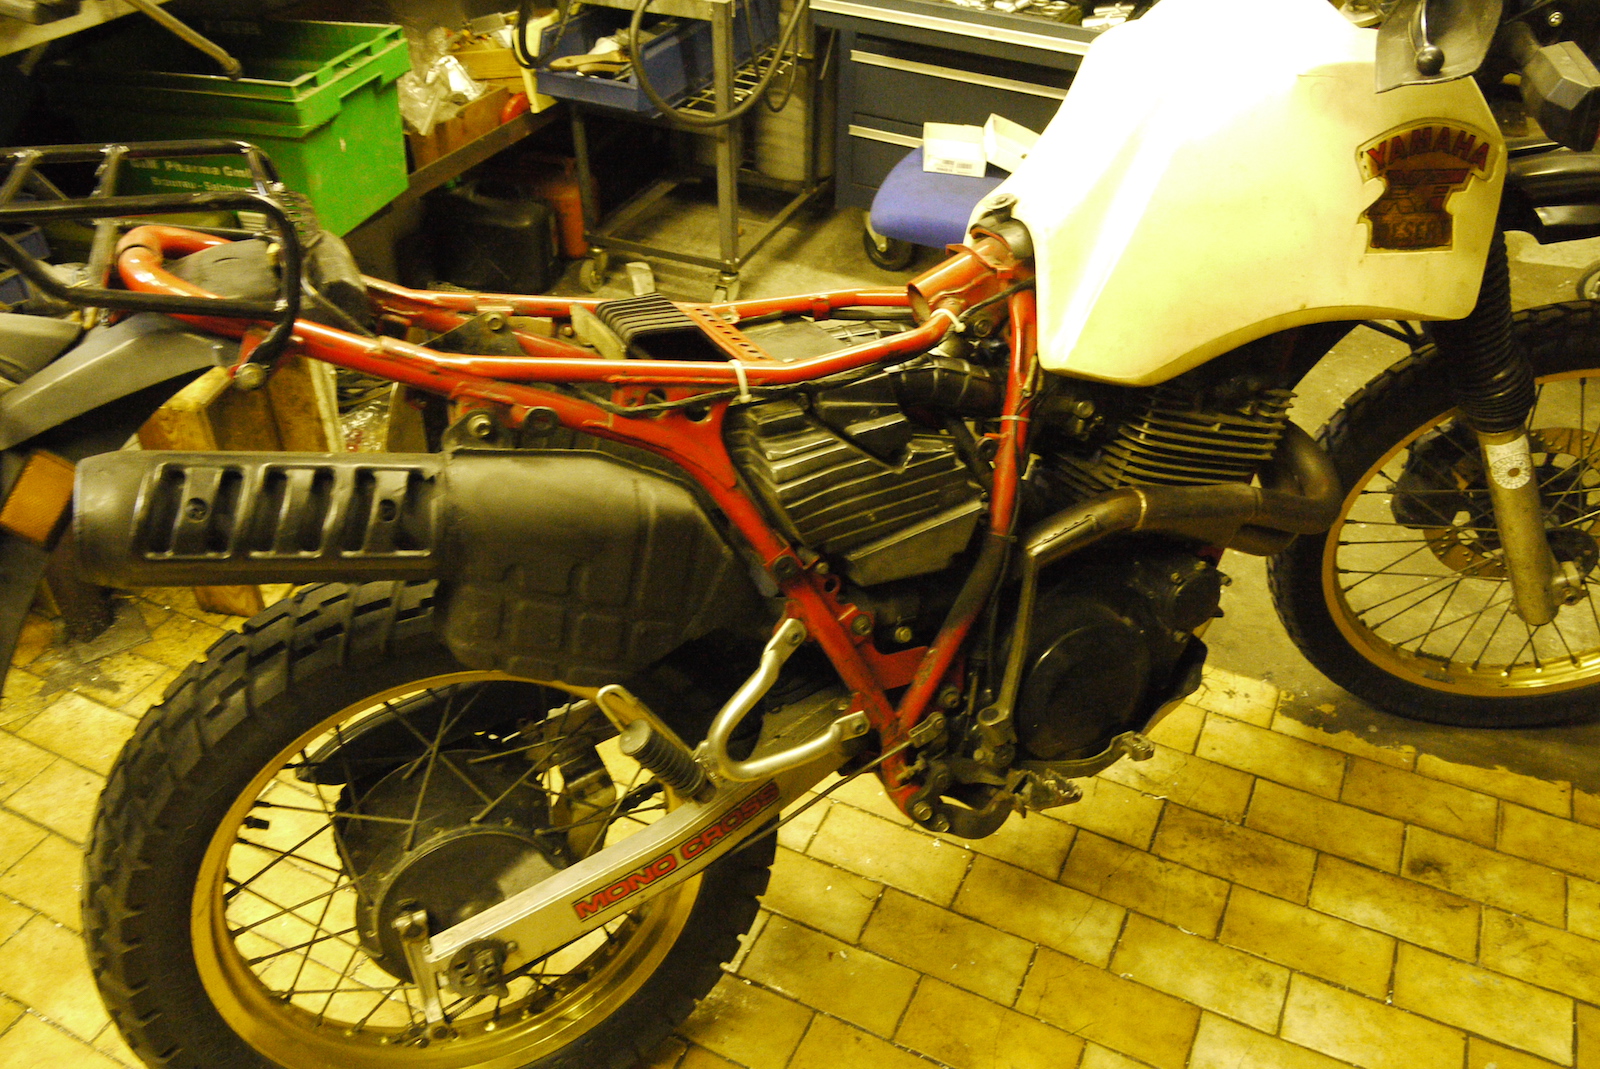
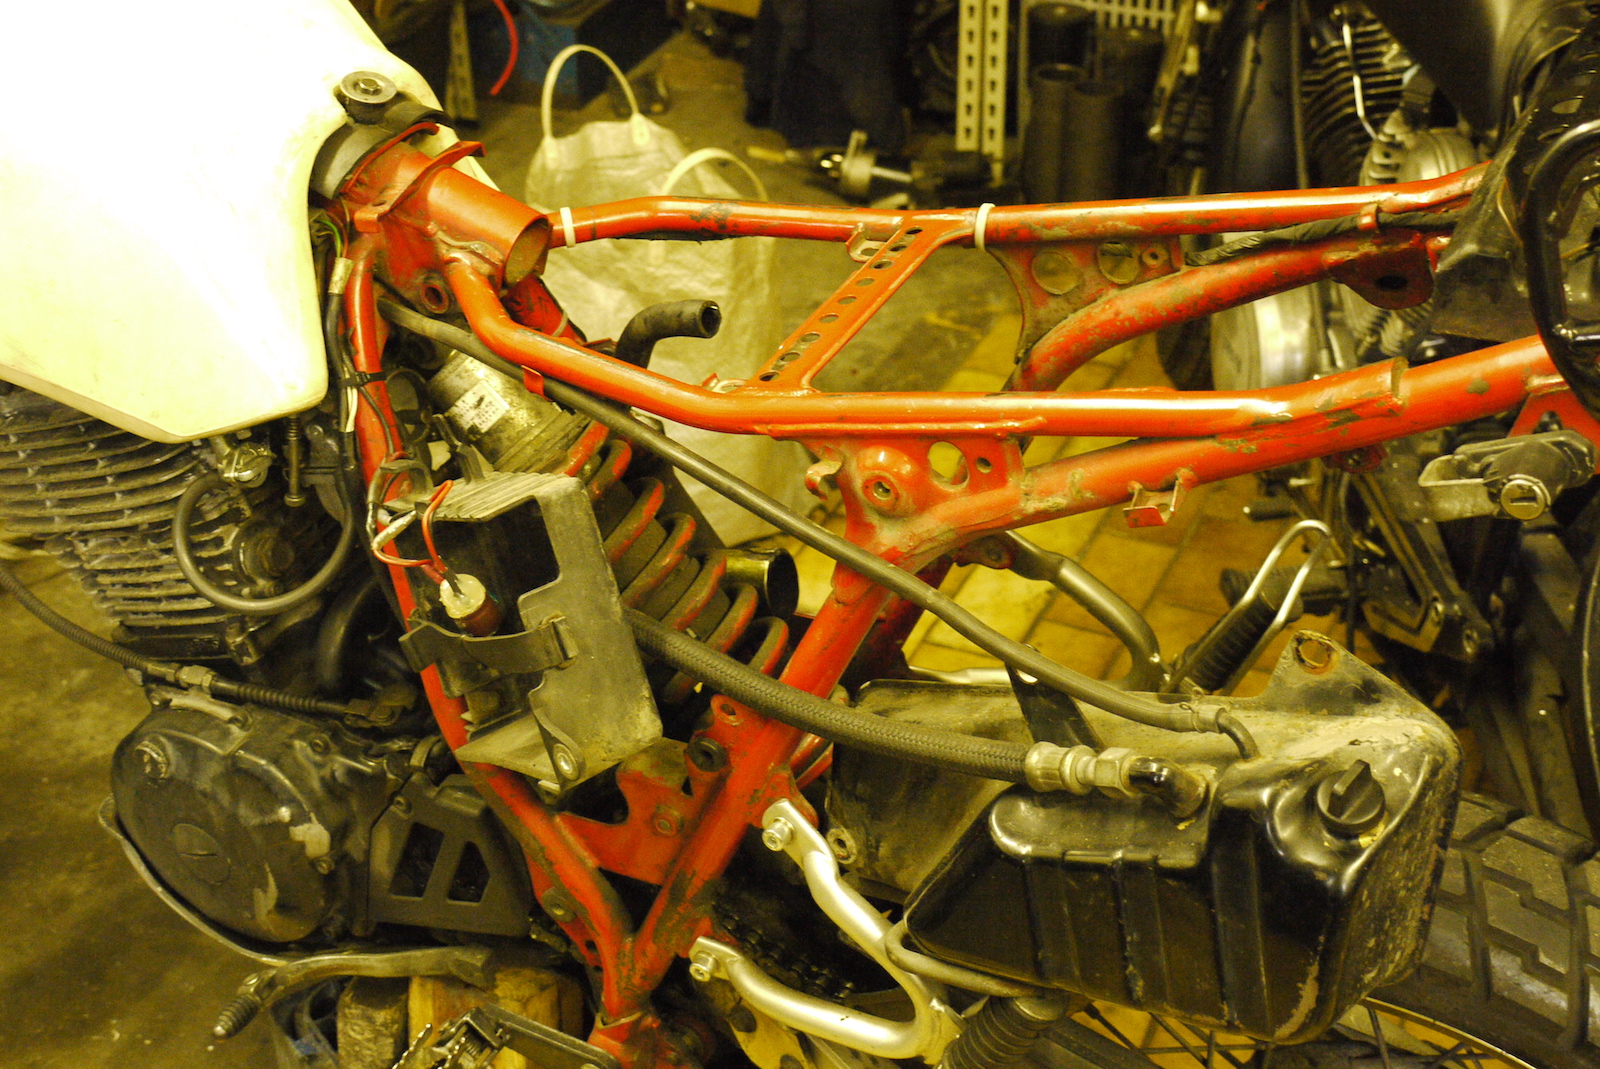
The procedure should be quite well known by now - strip the bike back to the engine and rear wheel.


Unfortunately my supply of good Gen1 cams and rockers is a bit limited so I had to remove all the bits from the welded up heads to use them on the new heads, which added a bit of extra work.


I've had to look it up so often, that I finally decided to simply write it on the engine, which mark is which.


Behold the mighty throttle-cable-oiling-spider that lurks next to the door...


Oh and the carb-fairy dropped off two uber-sweet TM38-86. Why new carbs? Simple: these fit the same inlet manifold rubbers as the older VM38-9 roundslides and as such allow back-to-back testing. Also they are somewhat better affixed in the rubbers as the TM38-85 in the stock TR1 rubbers. Additionally I am using 45 degree cable bends, as I saw that in the original XS650 kit the throttle cables come from, these are used as well and guess what: No more shortening of cables necessary.


Jetted: #22.5 (pilot, stock), #175 (mains), Needle in mid position (stock) and air-screw 1.5 turns out (stock) the bike is an absolute beast. I hate to admit it, but I am not sure it was really much faster with the bigger ports. It now cleanly revs to my hard limiter at 8000rpm and pulls all the way. The #22.5 is a tad richer than I'd like it to be, but the needle is too rich one notch up and with the #20 pilots there's some slight detonation, when the bike is really hot. I still may try to go back to #20ies once more and just retard the max. advance by one or two degrees, but as you should be able to read out of this, it's really close.

Monday 1 October 2018

Dre-XT-Stück - making her run fast, look good and generally be a bit more awesome (part 3)

I admit, my initial attitude towards the Dre-XT-Stück was a very sober one. It is without a doubt a very good dual-sport bike, it stops well, it handles well and yet... that little extra was missing. And then I thought to myself, it's useful and it's a good backup, maybe I am just expecting too much. After all it's predecessor Mrs. Braaaaaaaaap was the first big single I heavily tuned, raced the snot out of it and broke countless times.

How could she possibly compete? More power being quite obviously the answer. And better starting might be contributing towards a more positive attitude.


Decent hardware instead of the original metal imitation (M4x25) goes a long way. 


Next on the list was to file out the seat mounts to make fitting and removing the seat a bit easier. (Something I wanted to do for a long while now...)


And lastly a new ally basplate.


There's a couple more parts, but they haven't arrived in time for this post. As a matter of fact, they haven''t arrived at all until now.