Saturday 25 July 2020

Everyday TR1 - doing drumbrakes

Whenever I talk to someone, pretty much everyone is quick to point out that drumbrakes don't work as well as disks or don't really work too well at all. After all, disk brakes were the future back then...

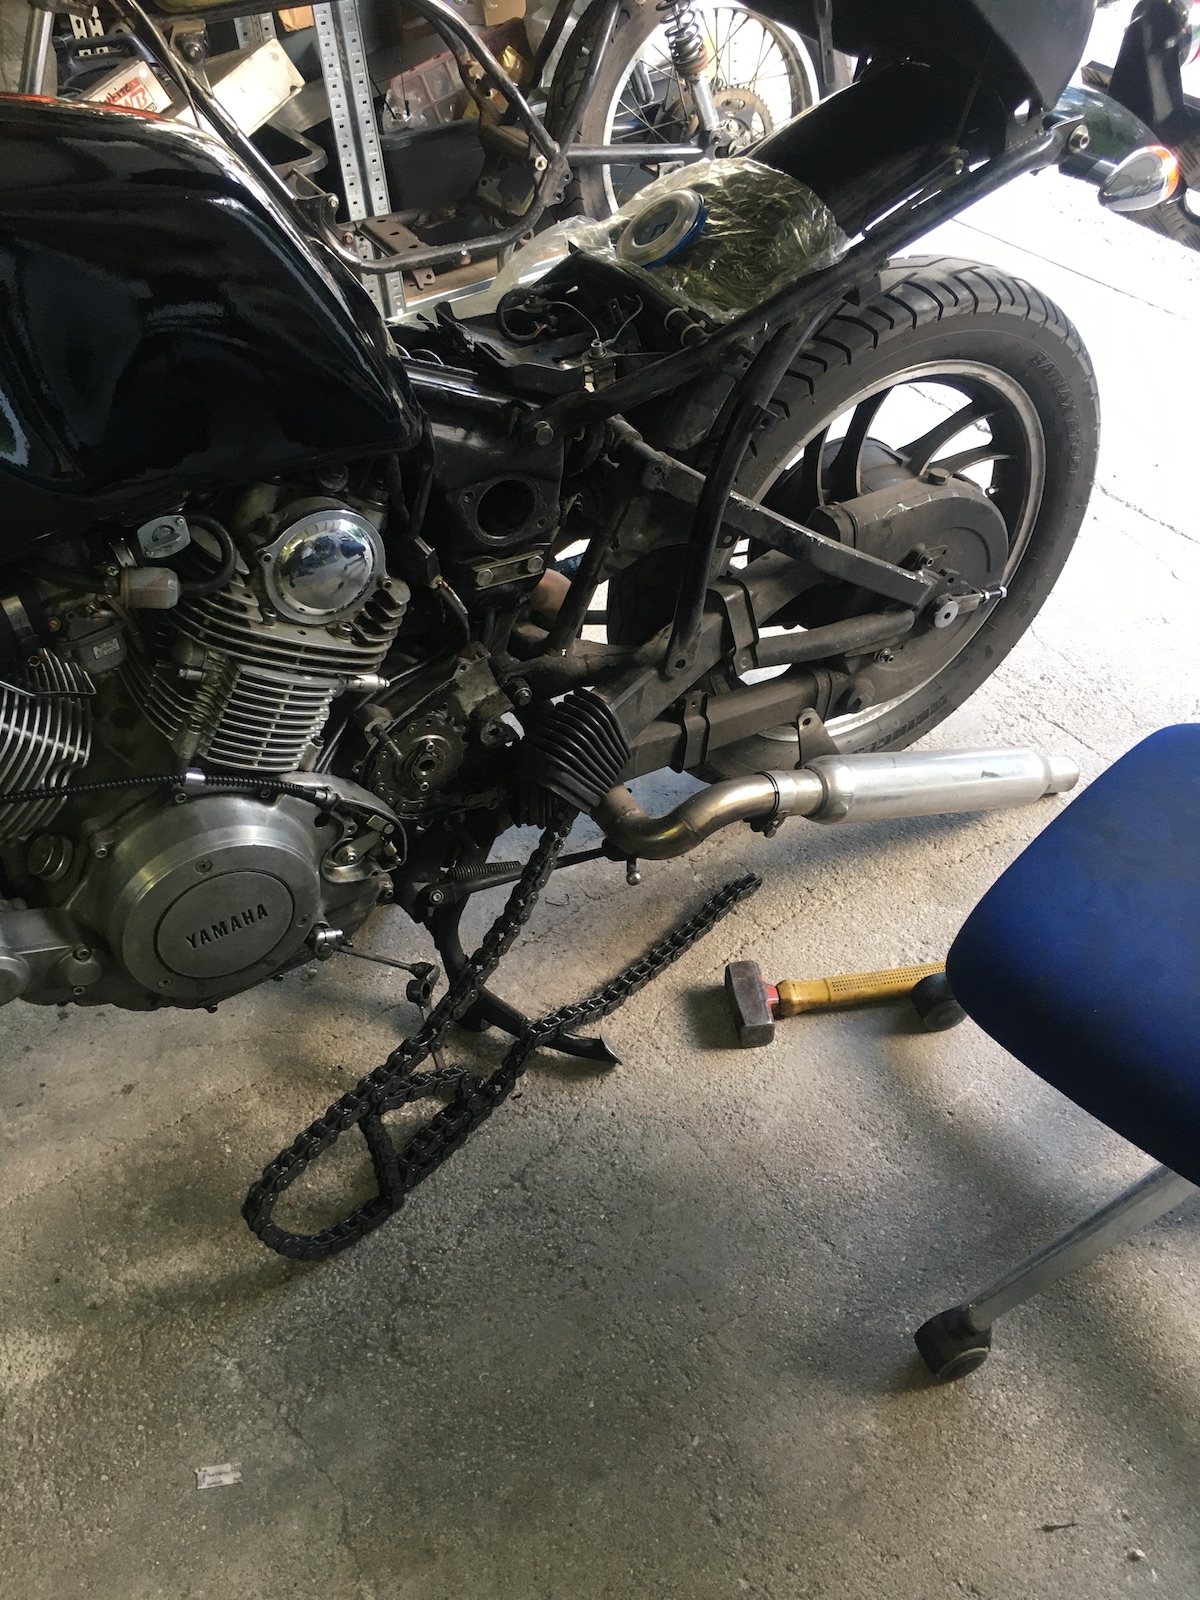
Let's start with one Yamaha TR1 rear drum brake, which performs very, very poorly.


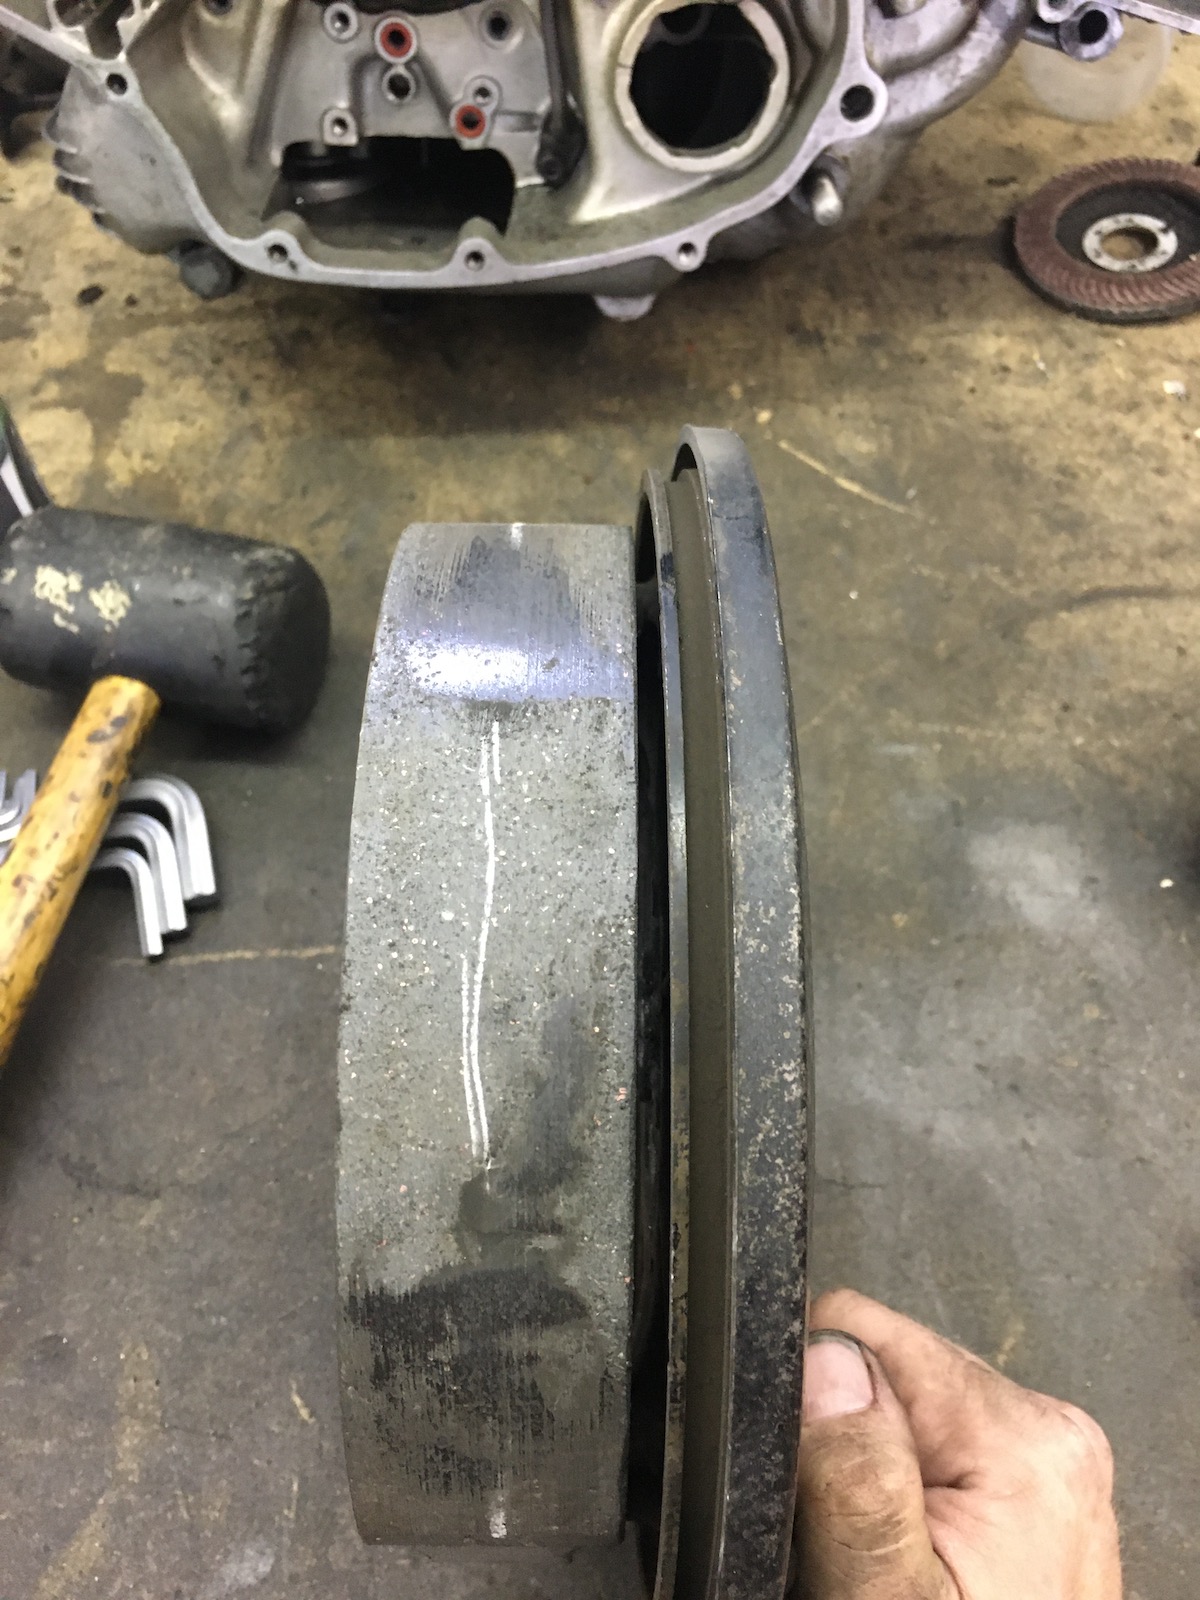
The wear pattern looks pretty good, a bit glazed, but looks like it touches on pretty much the whole surface? Wrong.


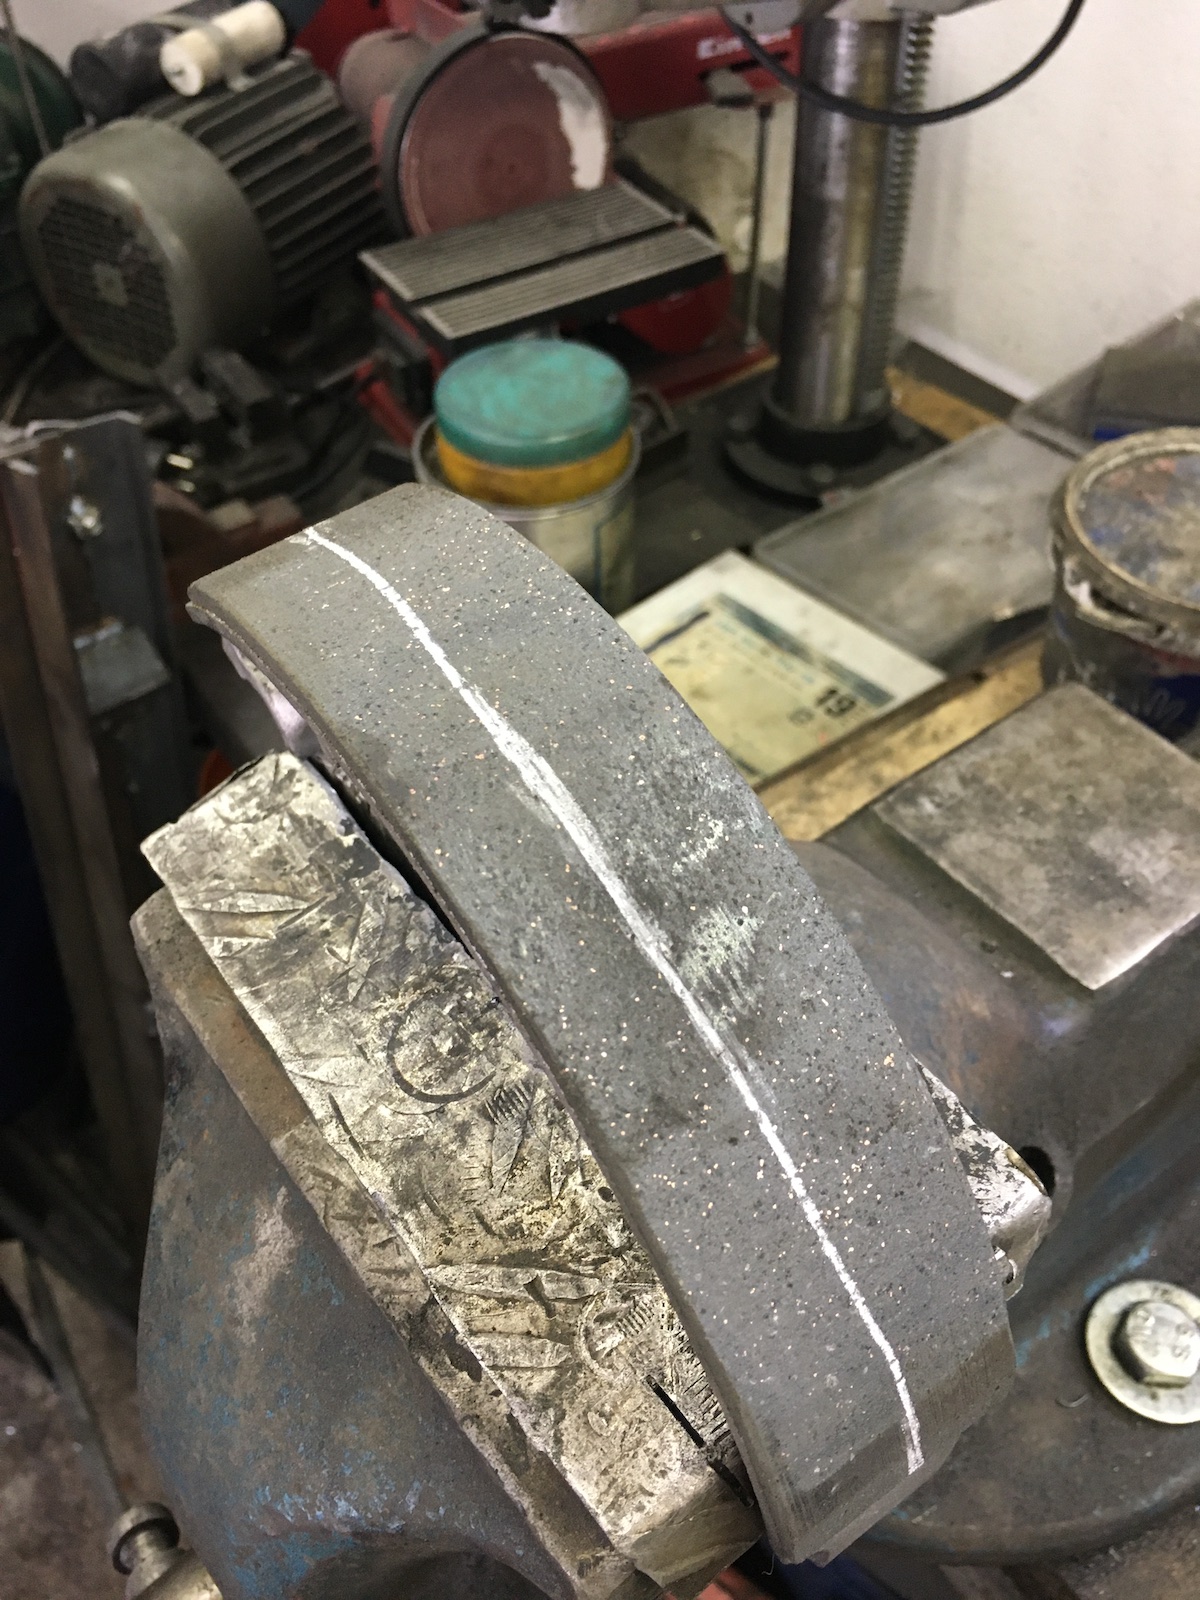
 After scribing a line with some chalk on the shoe, you see it only touches in one spot.


So what do you do? You get your best handfile (or an electrical one, if you're feeling lazy) and file down that high spot a bit.


Then you draw a new line...


... assemble the whole lot and notice that not much has changed.


So you file it down a bit further.


Rinse and repeat ...


 ... and at some point the wear pattern (and the spots where it actually touches) will start to change.


At this stage you file down the (new) high spots down again, making sure to take off less material every single time.


And once you reach the point, where the spots are distributed pretty evenly over the whole pad, they will actually bed in nicely by themselves. But beware... your rear tire may all of a sudden start locking up under hard breaking even at relatively high speeds (70kph), as I got reminded when testing my work...

Now there's one more aspect that needs some attention, when working on drumbrakes: And that's the mechanics. At full compression of the brake lever the one on the drum should be close to 90 degrees in order to achieve the maximum mechanical advantage.


So in order to do that, the lever had to be moved on the shaft for a better angle. 


And lastly all internal friction are losses, so cleaning and lubing the shaft and the cam is totally worth it.


After lubing the shaft, it would do almost a full rotation just from the weight of the brake lever. Before... well it was more like it was filled with sand. 


The outcome of all this work? After just 80km (50mls) the wear pattern on the shoes looks like this. (Which means, now you touch up the high spots again and after some more kilometers they will actually have bedded in and touch on 70-80 percent of the surface, which is more than plenty...)


Yes, this is a tedious process and you could (of course) go with relatively soft pads, which just mandate you to dust out your drum more often and wear faster, but a good drumbrake-compound actually has to be hard to be able to last some time.

Saturday 18 July 2020

Everyday TR1 - getting ready to race

If you work in a company, where there's some motorcyclists, an annual rideout is a given. (And I am really looking forward to it to be honest.) But given the sporty nature of the rideout and the fact that I am pretty much certainly going to ride the oldest bike of the pack, well some tweaks have to be applied to remain competitive.

But before I could dive into that, first I had fix the mechanics of my fuel cap and grease up the locking mechanism. 


And then it was time to do something that might sound counter-intuitive: I swapped my o-ring-chain for a standard chain. (As it lives in an oil-/greasebath, the o-rings only mean additional drag anyway.)


If you run a bike with a (proper) chain-enclosure, swapping a chain is a bit more work, but then also means that you only do this every 100,000km or so...


It does get a lot easier, if you just connect the two chains...


... and then pull them through. 


Now this is a personal fetish of mine, but with clip-locks on chains, I always mark them with some paint, which makes finding it again a lot easier. (Not so much an issue with an open chain, but if you only have a peep-hole to look into the chain enclosure...)


And lastly add about 0.5kg of grease into the enclosure to make sure this chain never runs dry.


As I was already on the subject of greasing the gear-lever pivot needed some attention too.


Let's simply assume that less drag also means more power making it to the wheel. As a result this implies that something needs to be done about slowing down as well. (I know, it's overrated 'n' all...)


I've run this type of organic pads before and had some rather good experiences with them. With these? Not so much. They squealed like it was going out of fashion AND performed rather poorly feeling unpleasantly dull.


So I took a chance and settled for some sintermetal-ceramic pads in a "hotter" compound, i.e. by the company's own description, the "S3" is on the edge between road use and road-racing. (This is not a sponsored post, but I am very pleased with the pads, but be forewarned, they need two or three attempts at braking to come up to temperature and actually show the full potential.) The same pads are also available in their "AD" compound, which is strictly more road-oriented. (And notably cheaper!)


So let's see what the rideout brings this year. Last year it led me to overhaul the engine and ultimately build bumblebee...

Saturday 11 July 2020

Phour days to phantastic - Fine tuning the dirty snowflake (pt. 7)

At last - the dirty snowflake is transitioning from making her (barely) run towards ironing all the bugs out that were considered too minor to bother with, when the initial goal was to make her run in four days.

As such a testride was had and a mighty fine one it was. Tyres were scraped in, tachometer needles learned that their rightful place is on the lower right corner of the scale and essentially zero f*cks were given that day. On a more serious note: it's hard to believe that this is a pushrod v-twin with 4-valve heads as the old girl quite happily revs past the red-line and actually really comes to life, once 6000rpm are exceeded and then, honestly, she's one quick lady.


The handling is a lot better than I anticipated and I think I nailed it with the tyre-pressure, as she's very willing to corner as hard as she'll suffer.


Once the brakepads had settled in, well it became rather obvious that the forks might be a bit too soft. 


The biggest issue (still) is the carb. First off, there's still tons of rust coming down from the tank. The picture below shows a brand new filter after 75km.


The other thing is, that I had to swap one of the carb-housings along the way and apparently I only swapped needles and needle jets in only one of them.


 As the allen-bolts were a bit too long (and tended to come loose) some spring washers were added.


And lastly a new filter was fitted.


Now the factory manual states the mix screw 2 full turns out, but honestly this doesn't work at all with this one, so for now (i.e. until more time for fine-tuning comes up) 0.75 turns will have to suffice. And all of a sudden the old girl starts fine, runs well even from low-rpm and then has got a nice second bite, once she goes past 6000rpm.

Saturday 4 July 2020

Phour days to phantastic - fighting the small things (aka. day six)

Even though we managed to get the old girl rolling in (sort of) four days, as usual the tricky part starts once the old girl is on the road, as that's where all the "small" niggles rear their ugly heads.

So the first rideout didn't go very (it didn't have to), but it revealed a rather nasty tendency to not rev past 3000rpm and then once you pulled through, rev straight past red-line.


Also the new M14x1.5 petcock was leaking like a sieve, whilst simultaneously clogging up with rust debris from the tank - sort of Schrödinger's petcock. So I had to make an adapter to fit one of my preferred Guzzi M16x1 petcocks instead.


A bit of poking the wiring of the alternator with a stick (i.e. a multimeter) revealed that it wasn't a jetting issue or at least not alone, but that one of the coils had burnt out and as such an Ignitech was needed as this one only used the stock ignition trigger but not the coils to actually produce the spark.


This went rather well until it started to develop a weird running issue on one side, with it cutting out in the midrange. Initially I assumed this would be down to a clogged filter or the like and I started cleaning the carb like it was going out of style, including taking the tops off and finding out that the slides and cases are paired and they worked nice, when fitted in the correct bores.


And then this cheeky fellow smiled at me, chilling out in the float bowl instead of staying put, where he should have been. Also right next to it, the little rubber bung that is supposed to block the idle circuit was also found down there.  


A bit of shrink-wrap to the rescue and it now sits firmly in its place resulting in a decent idle.


Also I found out, you can actually leave the cables installed and slide the whole carb assembly out to one side to work on it. 


If you scroll back up, you'll notice that this filter looks distinctively different as it is a clear filter now. Yup, after 20km or so the first one had clogged up really, really badly, but at least now most of the rust is out of the tank. (Yes, I deliberately ran the petcock with no screen to do just that!)


... and this is the reward for all my efforts (ignore the temp gauge, that's still f*cked):


Yup, revs cleanly past the red-line. May need a bit more fine-tuning at around 3000rpm as it slightly hangs there, but boy... she is fast... for a CX500 that is.