Wednesday 28 July 2021

Getting the VX800 roadworthy

It's been a while since the old VX800 moved in into my dad's garage to get her ready to go on the road again.

In order to achieve this (moderate) goal, I will not lie, but the fuel tank had to be welded three times. (Don't laugh you haven't seen the other addition to the fleet yet!)

The other "mildly" interesting feature was that the front pads were COMPLETELY covered in oil, but the fork isn't leaking any or showing any signs that it did so in the past. The caliper is super easy to take apart, just a tip, the rear pad comes out second and then it's easy sailing.

Brake fluid looked well seasoned, but interestingly nothing was seized or the like.

Talking about those brakepads - I read on a forum a while ago, that if you heat them up for a prolonged period of time, the oil will cook out. My dad and I tried that out on the barbeque and admittedly we haven't put them back in, but the oil was forming drops on the side of the pads, so it must have worked to some extent. 

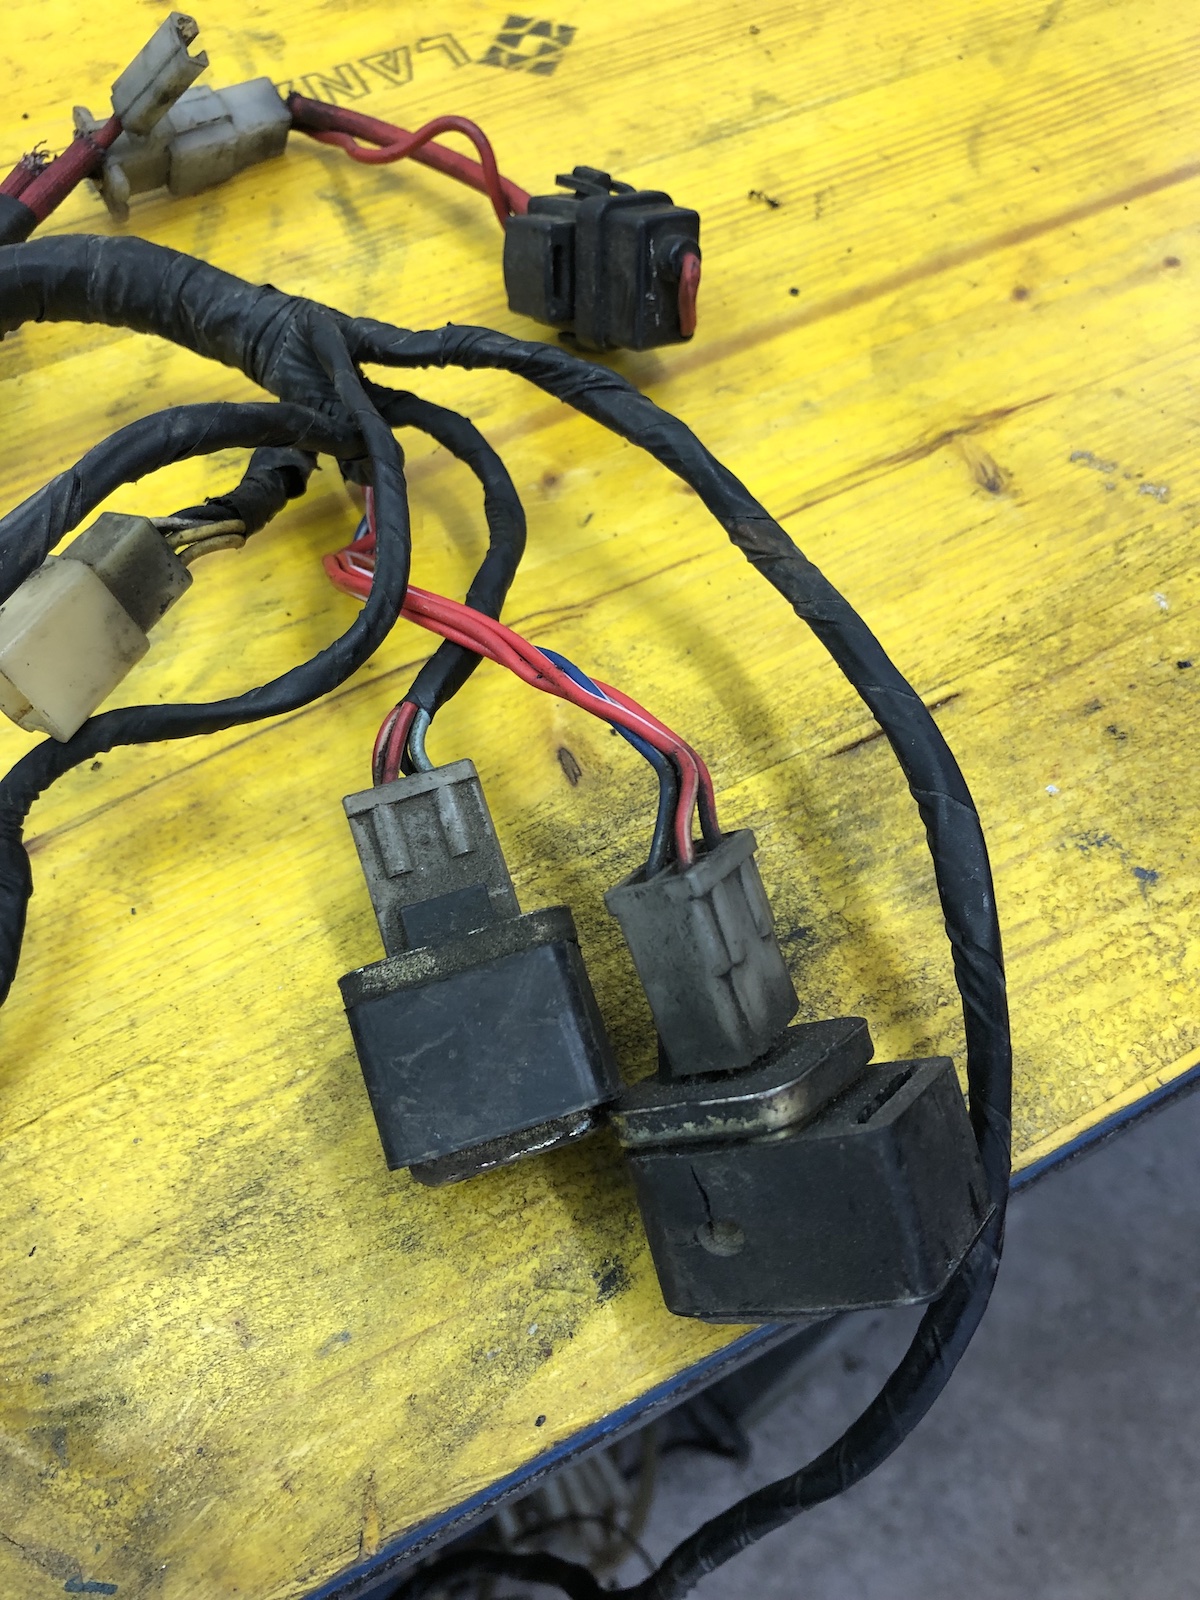
Last and definitely not least, the original orange fog-light-substitutes had to go. Instantly. Also they were only present on the front and some weird ones were fitted to the rear. A universal flasher relay was necessary as well to actually make them go, but that's only minor stuff.

So what's she like to ride and I tell you, it's a very, very gentle bike. No big surprises there, perfect daily-driver material, if you wanted a v-twin that can do everything from Autobahn to cruising, yep this one will be it. 


The handling, after pumping up the front tyre to stupid pressure (3 bar) it stopped feeling like the bars were connected to the forks with rubber bands. The engine, oh the engine is sweet once warmed up it easily revs to 9000 or even 9500rpm. Not that there's anything dramatic happening up there, but you know... better have those RPMs in the backpocket and not need them, rather than the other way round. And that's a pretty good way to describe the whole bike - just... no pressure, do as you please.

Sunday 4 July 2021

The XV sidecar - (mostly) wiring

In order to be less of a hassle down the road the first thing that I wanted to address was the location of the center stand spring as I plan to route the exhaust through there just as I did on my TR1. 

The other thing was the fact that the frame with some other bits being repainted now, looked a lot worse for wear in comparison, so a bit of fresh paint was due...

... and then put the tag back on.

a


And once the frame was re-assembled, I really wanted to use those XS750/850 headlight ears, but I was lacking the correct size locating rings...


... and if you thought that by now it was really well about time to dig into the wiring: WRONG. As the timing marks between crank- and intermediate-pulley didn't line up (mind you, I probably just didn't turn the engine over often enough and was overly worried about making mistakes), I pulled the head and cylinder and retimed everything.


And then after having them soaked in engine oil for about 2-3 days, I also completed the clutch, while I was at it. 


With that out of the way, it was time to turn my attention to the loom. There's two main areas of concern: first is to remove a set of safety cut-out relays as they were specifically made for Yamaha and are no longer available new and as all old electronics they don't exactly become more reliable with age. (On the right end of the picture - the pair of golden relays.)

Once you unwrap this section of the loom, it becomes pretty obvious that the first relay just loops the red-white (ignition +) cable to the second relay.


This basically means the second one is the one, which does all the "cutting-out-or-not" work. The light blue cable is from the neutral switch, the blue and yellow one from the clutch-switch. As such the extra wire from the y-section of the neutral switch can go.

Ultimately you end up with these four wires, where the most important thing to know is, that the one red-white cable that comes down from the kill-switch and is hot (unless the kill-switch is engaged) goes to yellow. Blue-white is the trigger-wire for the starter solenoid.


Next to these two relays is an unused triple-plug, which is used for the automatic indicator cancelling unit and is equally superfluous, of which the green white cable goes to the speedo and the other two go to the light switch (where the pin is blank on European market models) and the flasher relay, where it is usually looped onto itself. This is really just to remove some excess cables. 

The second and more important mod (to me) is to run a separate cable from the ignition box to the tach, which comes in handy when running an aftermarket box like a ignitech, but the stock boxes can be modified very easily and from the last three or four years experience this actually helped with the longevity of those tachs.

Next up will be throwing all of this onto the frame and hoping that it will stick...