Sunday 26 September 2021

Everyday TR1 - empirical carb research (continued)

One of the big things you learn at uni, is to work methodical. Formulate a hypothesis, then conduct an experiment and ultimately compare the outcome with the hypothesis. Then take that as the basis for the next iteration of research. What sounds incredibly lame, becomes a lot more exciting once you throw in some real life at it... 

All of this is incredibly easy, if you only have one variable, which if you're lucky you can even directly control. Let's say carb needles for example. The Mikuni manual for TM38-series carbs specifies 3 alternate needles for this carb. Each of them not only being richer than the previous one, but also differing in where the taper starts, starting diameter and final diameter. (For simplicity's sake they are all the same length.)

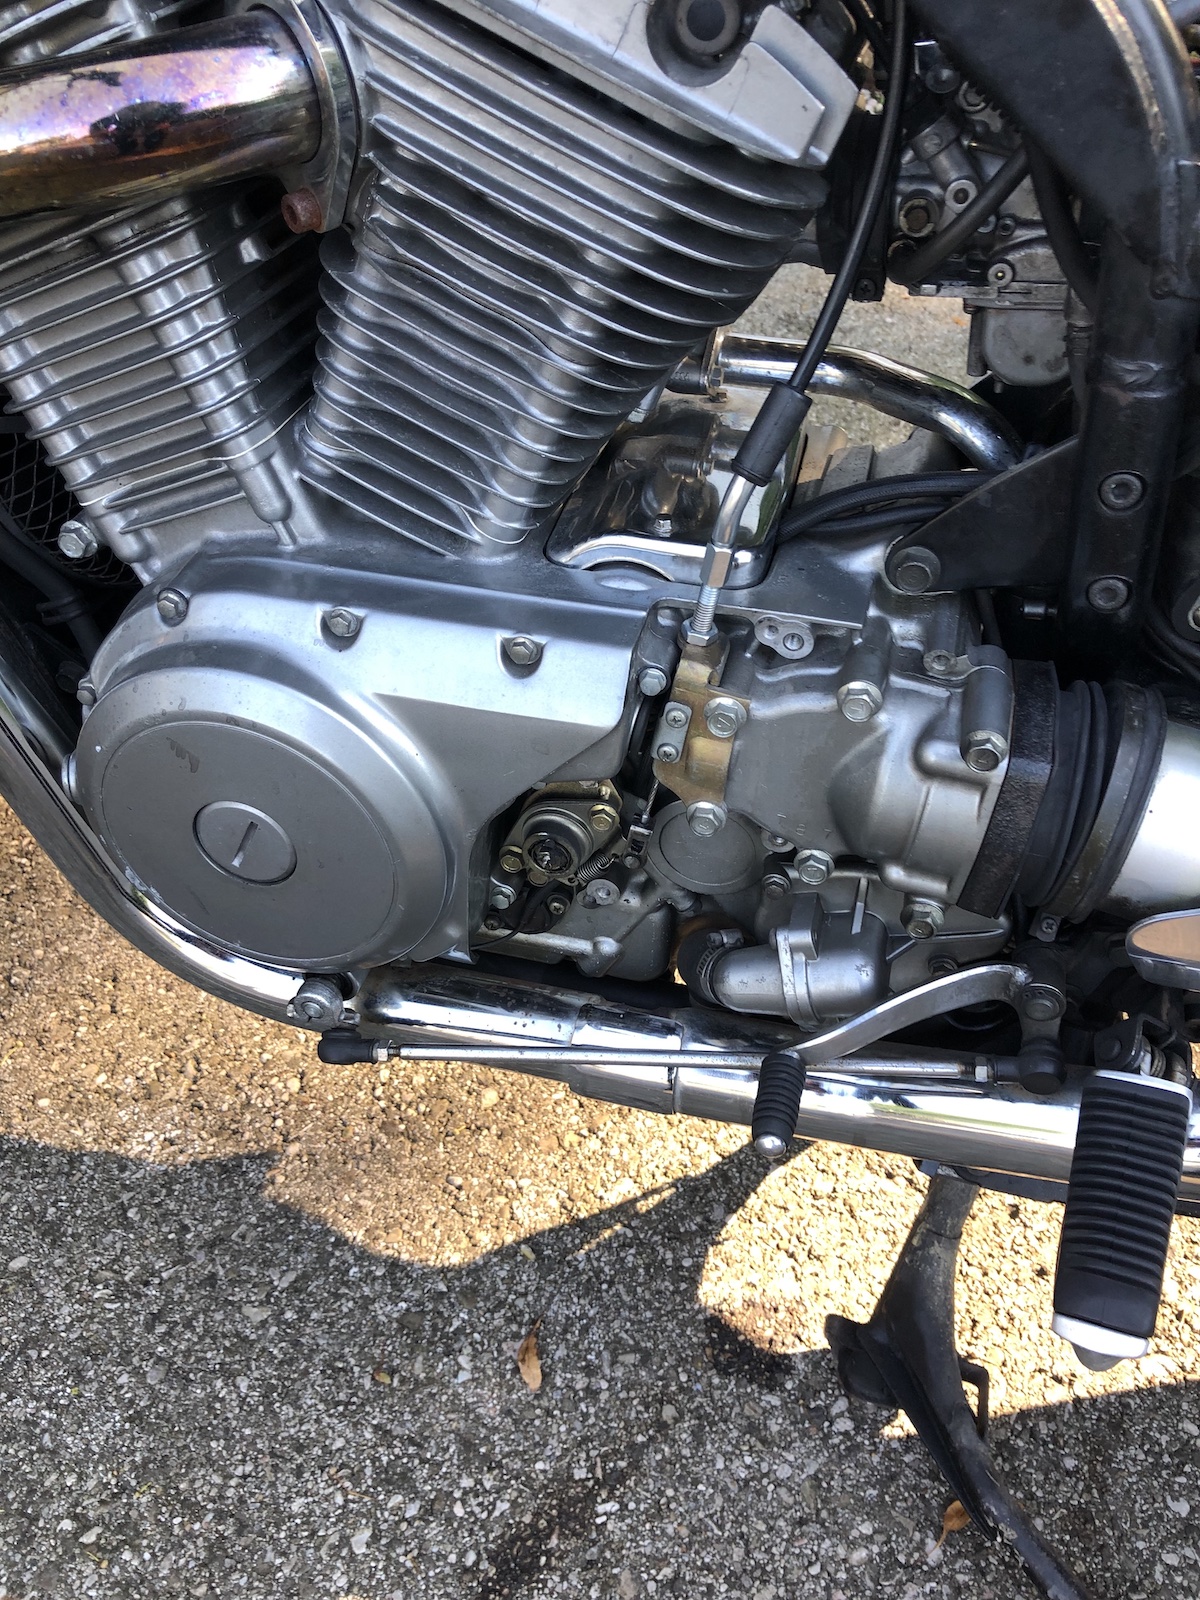
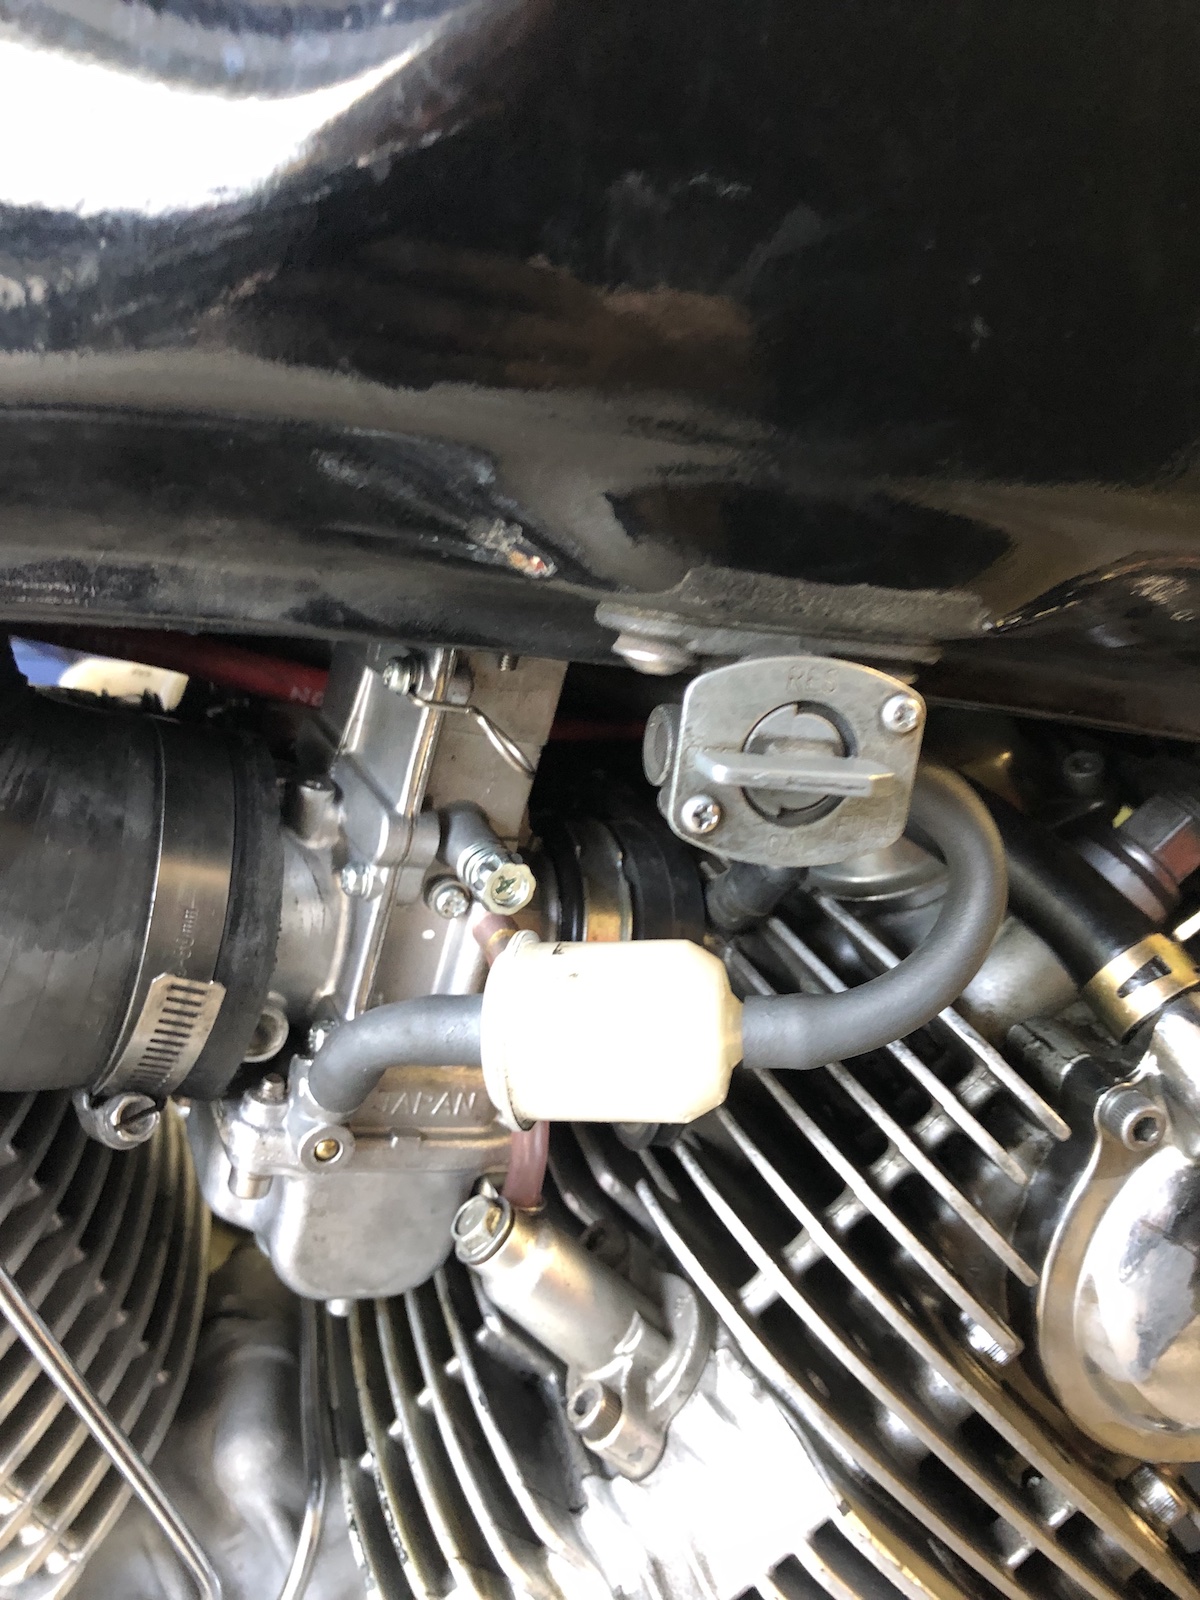
So, because the carb is running slightly lean at midrange, one swaps out the needle... and opens a can of worms of epic proportions. Because for example as now the initial taper is vastly different, the pilot jets are completely off...

All of this doesn't exactly get easier, with the wideband sensor deciding that this was its last hurrah and no matter what you do, it will only register 9.9 or 10.0 from here onwards, which is not quite as useful as it used to be.

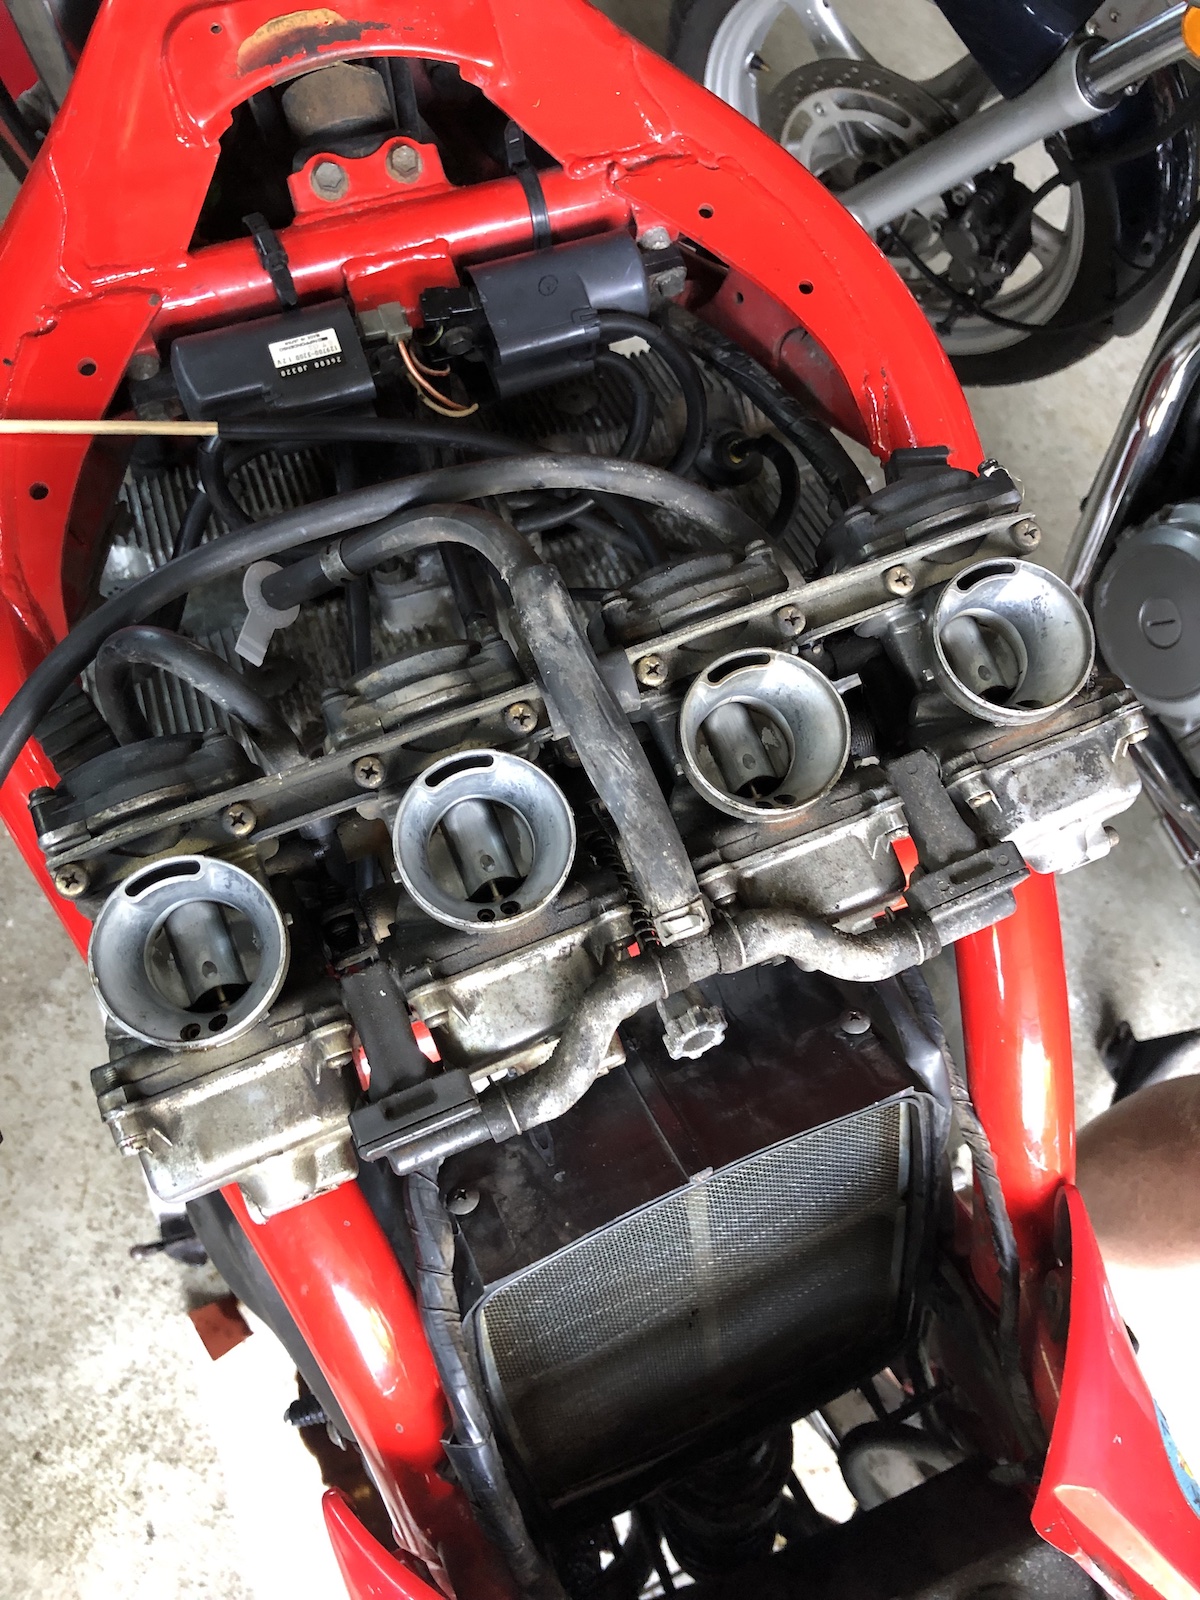
Another method is to conduct multiple experiments and then compare the results. This is extremely useful, when you are VERY sure that you're on the right path and need a bit of dampening of your optimism. On other occasions it can be rather eye opening. For example I didn't notice anymore that my VM38s were stuttering at very small throttle openings... even after being freshly synced.

So I swapped back to the TM38 flatslides again, but this time with smaller 17.5 pilots and back to stock needles. Guess what, it runs leaner down low and the slight habit of fouling the plugs seems to be gone and oil-temps appear to have remained the same. I think I am pretty happy with the setup by now.

Undoubtedly though, the old girl looks the part.

Addendum: By now there's nearly 240km more on the clock and the average fuel consumption has gone done to 6.1L/100km.

Final jetting: 17.5, 185, stock 6FJ41 needle in mid (3rd) position, airscrew 1.75 turns out

Saturday 25 September 2021

VX800 - from roadworthy to worth all the work

Just because you've put all that work in, doesn't mean it's worth it in the end. And quite often it's small stuff that gets on your nerves: subpar brakes, leaky petcocks or just badly sync'ed carbs can make all the difference, between getting on the bike or rather playing a game of golf. (Ok, the comparison might be a bit dramatic, but you get the idea...)

Now this VX800 started off as a tatty but somewhat sound basis. Over the course of time some of the fleas it had presented itself:

1) a ripped diaphragm on the rear carb

2) another pinhole on the fuel tank (by now I feel like this is what I've done all Summer - weld up fuel tanks)

3) Pinholes in the petcock's diaphragm

4) The clutch mechanism needed a good deal of adjustment - which only inadequately hides the fact that the clutch will eventually have to be done.


5) Steel braided brake hose all around, because the rubber lines acted more like party balloons


6) And then a good ol' sync of the carbs. Something which I'd like to elaborate a bit, because all the manuals are a bit overly complicated on the matter. In essence, you dial in the idle with the knob on the rear most carburettor...

... and then both carb butterflies are linked with the link-cable. 

So far, so simple. If you encounter a bike which is completely off on the sync (like this one): Make sure the throttle cable from the throttle-grip to the front cylinder's carb has got sufficient play or you can adjust whatever you want, but you will never manage to sync the carbs at rpms below 4000rpm and that's where your new idle is. Also there's a throttle stop on the front carb, which is the little philipps-head bolt and basically makes sure you could set the idle on each carb individually. Also take note that the bar the idle adjuster pushes against can seize... took me a while to figure that one out.

Once you have all of this figured out, it's a really straight forward job.

Guess the proof of the pudding is in the eating ... or riding in this case.

Sunday 19 September 2021

The (new) SR500 sidecar - kicking it off (part 1)

So it all started with some unforeseen issues with the XV-sidecar, including somewhat plummeting levels of motivation. In combination with a bit of thinking about, what I want in a sidecar, I wondered what to do next. The answer sort of presented itself in the form of my good friend Rollie wanting to get rid of the SR500, I sold him about 3 years ago. A well-priced Velorex 562-chassis came up only days after a deal was struck and because it was cheaper to buy a complete sidecar than just the sled from my favourite Hungarian Eastern-Block vehicle dealer that was quickly chucked into the back of my car.


The wheel's horrible and belongs to an IZH 350 - if you need it, give me a shout.

All in all the SR is still every bit as rough as it used to be and as there's no way overhere the powers that be would let me register it this way, a bit of cosmetics are due. (Which was roughly when I realised that the front fender is pretty rotten and has to be replaced as well.)


So what's the plan I hear you ask? Rather simple: Basically copy my old SR500 sidecar and build it the same way Walcher and (in his early years) Kassens did it that is without a subframe, but with a reinforced frame. As by the time of this writing I was able to procure a sidecar (drum) brake wheel I like (XS400 2A2), the sidecar will actually have a brake. 

Pretty much like this:


Tuesday 7 September 2021

Raffis ratty Suzuki Bandit 600 (part 3)

 ... in short that sucker is done.


First thing that had to be tackled - the (seized) speedo drive had eaten the gear. 


Sawed the gear off, flipped it and glued it back on with superglue. (As I couldn't find a speedo-drive for reasonable money.) To my own surprise this seams to work flawlessly.


A shortened first hose from the overhauled (again as the first diaphragm gave up) petcock to the filter helped immensely with the routing and stopped the hose from kinking.

And then there's this one thing you do with small fours: you absolutely and totally rev' their nuts off and ride them like a bl**dy lunatic.


Shift at 11,500rpm, because at 12,000rpm the rev-limiter kicks in and cuts the power at 12,500rpm.

If it were my bike, I'd probably overhaul the front brakes and do a proper service on the forks, but to be fair this is going to be a stop-gap-learner-bike for lil' Raffi, so I guess it's just fine.

Monday 6 September 2021

Raffi's ratty Bandit 600 (part 2)

 ... following all the fun one had with the fuel tank, the other issues almost seem minor in comparison. 

The carbs were a bit on the crusty side, but that's more of what was to be expected anyway. Again a first was the fact that one of the carb needles was actually stuck in the valve seat. 

Resulting in a "slight" seepage also known as the Exxon-Valdez disaster of Austria.

The other issue was that after the front fairing was removed, intermittently the bike wouldn't spark. After having a bit of a bet with my dad, the fault was found in under a minute in the shape of a snapped wire. 


Let's just say, maintenance wasn't exactly the forte of the previous owner and the airfilter was of almost legendary crustyness... Interestingly the front brakes were just fine.


Yes there's a clutch-pushrod seal in there and yes, maybe it's leaking, but one can't be sure...

The rear brake is generally a somewhat questionable construction on those older Bandits, where the VX has got pretty much the same rear caliper in an upright position, which results in all the dirt falling out again, it is pretty much trapped on these bikes.


Pro-tip, when your freshly overhauled calipers still have a tendency to stick, check the pads, if they are too thin, the pistons won't go back cleanly.

As it was clear by this point that the bike would be salvageable, a set of steel braided brake hose (front and rear), were installed and to be fair after the first rideout: those brakes improved notably compared to 26 year old rubber hoses.


But in the end there's only thing that matters with small fours: Just how hard can you rev' em?

The answer is 12,500rpm, but there's not a lot happening once you go beyond 11,500. I guess a bit of tweaking of the carbs is still necessary. 😏

Sunday 5 September 2021

Raffi's ratty Suzuki Bandit 600 (part 1)

 In case you were wondering, why for example on my instagram account repeatedly pictures of me welding up a Suzuki Bandit 600 fuel tank showed up, well here's the answer. The short version is, if someone gives you a free bike it usually only is free, because it needs a fair bit of mechanical sympathy to get going again. This one needed a bit more than just sympathy.

Take a 1995 Suzuki GSF600 with almost 83,000km on the clock, a couple of crashes under its belt and it most likely had been washed the last time, when you still paid for gas with Schillings overhere.


The washing part was done on a somewhat superficial level, but resulted in a tremendous visual improvement. The fact that it wouldn't run was at best a minor nuisance as the original pictures make the bike look a lot cleaner than it actually was.

Aside from the usual dirt and junk in the carbs, the biggest issue was that the tank wasn't rust-proofed prior to parking the bike up several years and several terrible bodge-jobs that were done before. The worst one involving a huge GRP-mat, which was glued to the bottom of the tank and had one of the edges rust paper-thin, due to all the moisture trapped inbetween.

At this point I seriously thought this would be one "cut-and-shut" type of job...

One of my personal highlights was the fact that even the aluminium of the original petcock had started to dissolve. Something I have never seen before.

Of course once filled with petrol for a while, the tank developed another wet spot. Again, instead of fixing the problem properly the first time, someone decided to glue on a patch of dissimilar metals resulting in even more rust.


As mentioned before, the bottom of the tank, especially around the petcock had become PAPER-thin and welding warped it to the point that the petcock just wouldn't seal anymore - but dramatic problems mandate dramatic solutions, so a new support-plate for the petcock was made on the mill from 3mm steel.


Quite literally a base one could work from. From here onwards making the fuel tap seal to the tank's bottom side was no more a topic of concern.

Also even after several efforts of blowing out the tank with compressed air, this rusty mess is the fuel that came out of it.

Which was worsened, when someone came up with blowing some compressed air through the petcock (so far so good), but forgot to open the tank's fuel cap. Spoiler alert: luckily it had so many spots where it was nearly rusted through or the tank's shape would be best described as "a conversation piece".


... and this was literally the last hole, which I found only after adding more than just three or four litres of petrol.

As I was in a bit of a hurry, I resorted to a slightly more dramatic technique of draining the tank and then burning off (most of) the remaining petrol vapors inside.

Quick touch-up with the mig and the igniting vapors inside instantly killed the arc making for a VERY NICE and strong weld. (Not a technique I recommend.)

What you just so casually read, is about a month or two's progress or the lack thereof... more tomorrow.