Showing posts with label workshop-life. Show all posts

Sunday, 1 September 2024

Everyday TR1 - risers and a broken clutch cable

You know how sometimes small changes can make a huge difference? Handlebars or in this case handlebar risers can make the difference between a sore shoulder or nah, let's do another de-tour. 


So I swapped my 25mm risers for 15mm ones.

So all was well and the old girl put to a lot of use (someone might have been without a working car at the time) and on my way to the workshop, minding my own things, all of a sudden the clutch lever pulled all the way to the handlebar.

I suspected the nipple on the lever or the actual cable being broken, but no: the lower nipple had broken apart. As a matter of fact you can even see the broken bit sitting at the bottom of the housing right next to the spring.

Now with the cable still being GOOD, this meant a bit of lathe activities in order to make a decent nipple from brass and solder it on.


To be fair the repaired cable has been relegated to spare-part duty, not because I don't trust it, but because it's the last of my "long" cables and I have multiple new ones, which all are the same (free) length, meaning, I don't have to adjust the clutch when swapping cables. So plenty of oil was due...

Saturday, 27 January 2024

Rotary table gets a new 125mm chuck

 So, if you have a mill at some point you will want a rotary table, because they are stupidly handy. The downside to a good rotary table is usually the size and thus the weight. So if you have for example a 150mm (6") rotary table and fit a 190mm chuck on it, you don't have to do any more weight lifting for the day. This among the other fact that I only had external jaws for it, drastically limited its usability for me. Add to that that I have been a very good boy, so I treated myself to a new Chinese 125mm chuck.

Originally I thought I'd make a completely new adapter for the chuck, but after having a very long look at it, I decided that with some precision lathe-work I could not only modify, but improve the base-plate and also have an excuse to let the little engineer inside of me out.

So how do you hold a 200mm plate in a 125mm chuck? The trick here was super simple by using an 8mm allen head bolt and use that as a datum/reference for all other work. Interestingly enough in the first picture the surface finish looks absolutely terrible, which it isn't at all in real life.

Not only did I machine the chuck face, but also the back side and unlike in the past, I now have two alignment edges, in the center it will locate into the morse tape in the rotary table and also on the outer edge.

Now I don't want to pat on my own back too hard, but that chuck registered on the hump in the middle like you wouldn't believe. Just downright perfect.


Three M8x70 bolts, a bit of tapping and countersinking later and there you go.


So why the rush you ask? First of all I will need it make a few of the parts that I want to make for the Hotroad TR1, specifically cut some hexes onto shafts and more immediately, the little green pickle has got almost new front brake disks on it (seriously), but as it was parked for so long the pads rusted to the disks, so giving them a skim is the order of the day.

Friday, 9 June 2023

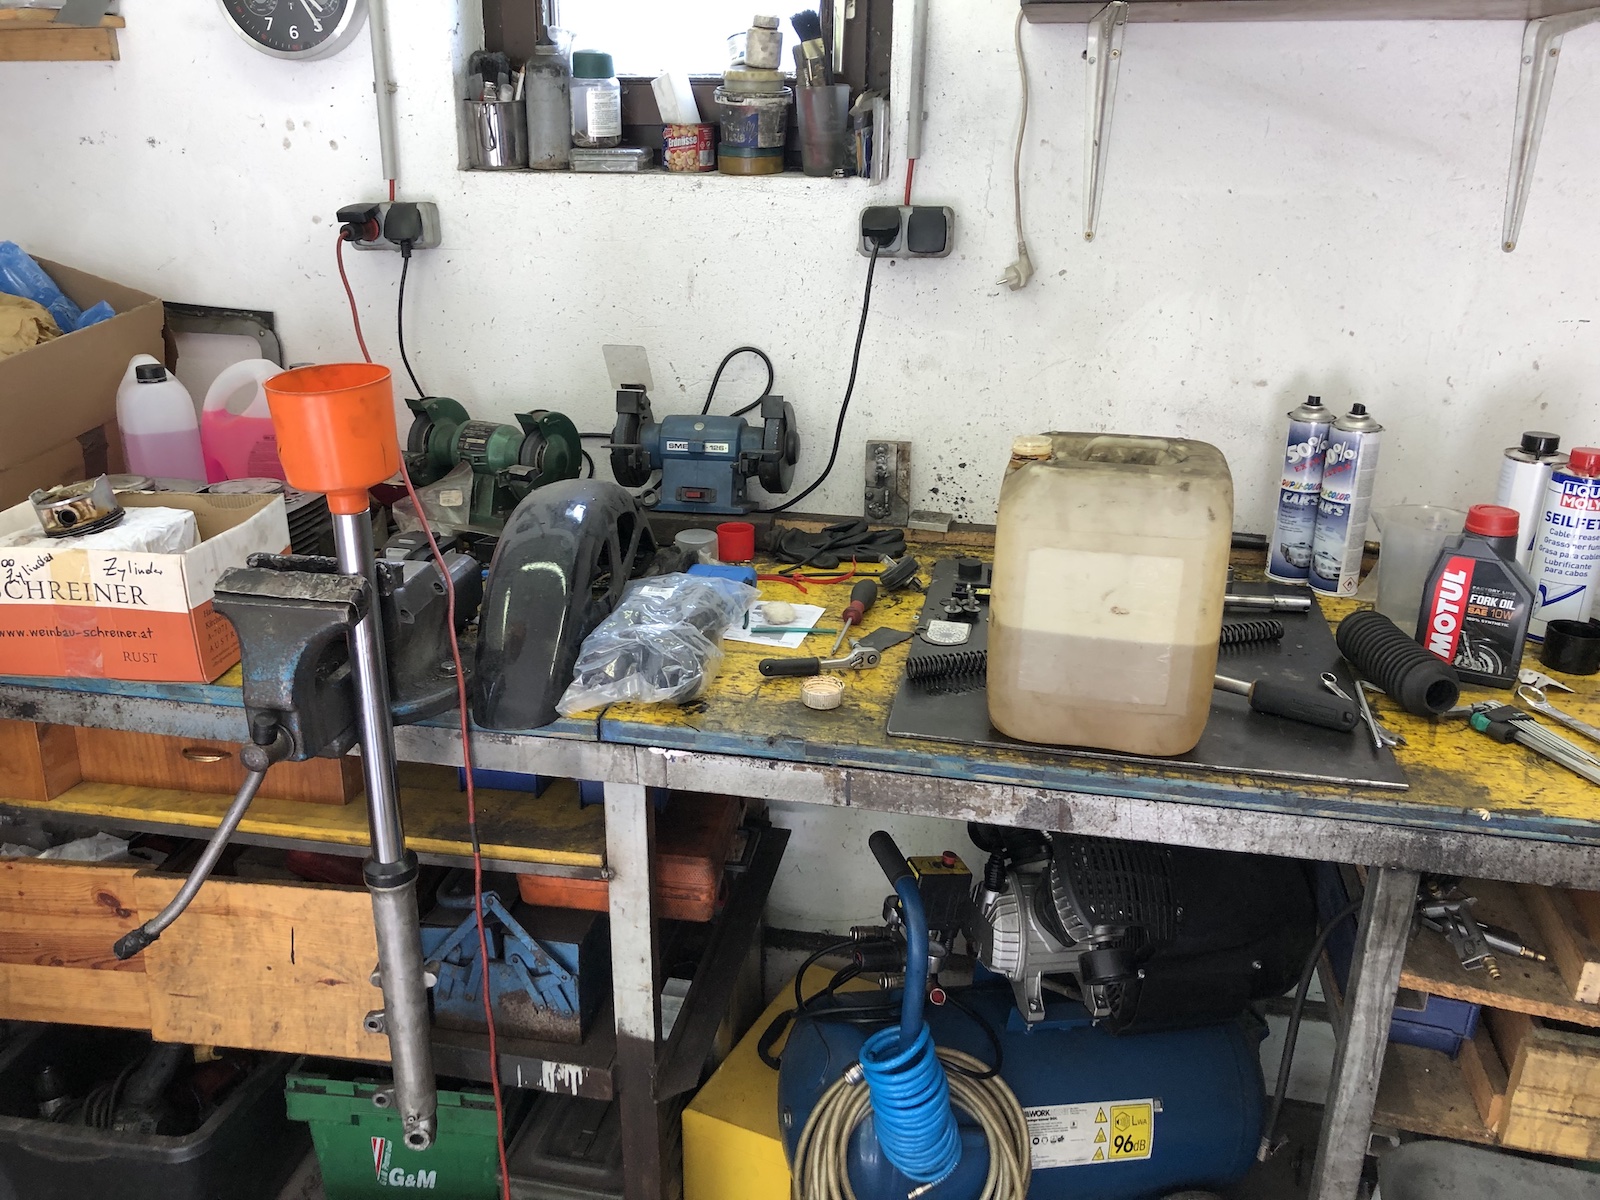
Everyday TR1 - Fork oil change

 ... together with a bit of theory. To kick said theory off: My TR1 doesn't run a pair of stock forks, but an old XS1100 set, because I wanted to use the bigger 298mm disks. They are almost a straight swap, you'd only need a different XS1100S front wheel or special wheel bearings for the thicker axle.

That aside, the XS1100 forks have a few other things going for them: first they are intended for a substantially heavier bike. Which means, the fork springs are perfectly adequate for a TR1 and if one were so inclined he or she could run some much lighter weight oil than is common on bikes of this era and thus improve the overall riding comfort A LOT.

Also, unlike the stock forks, these specific ones aren't bent, which resulted in a bit of a surprise after I loosened the pinch bolts and both fork-legs still attached to the front mudguard just started to slide out.

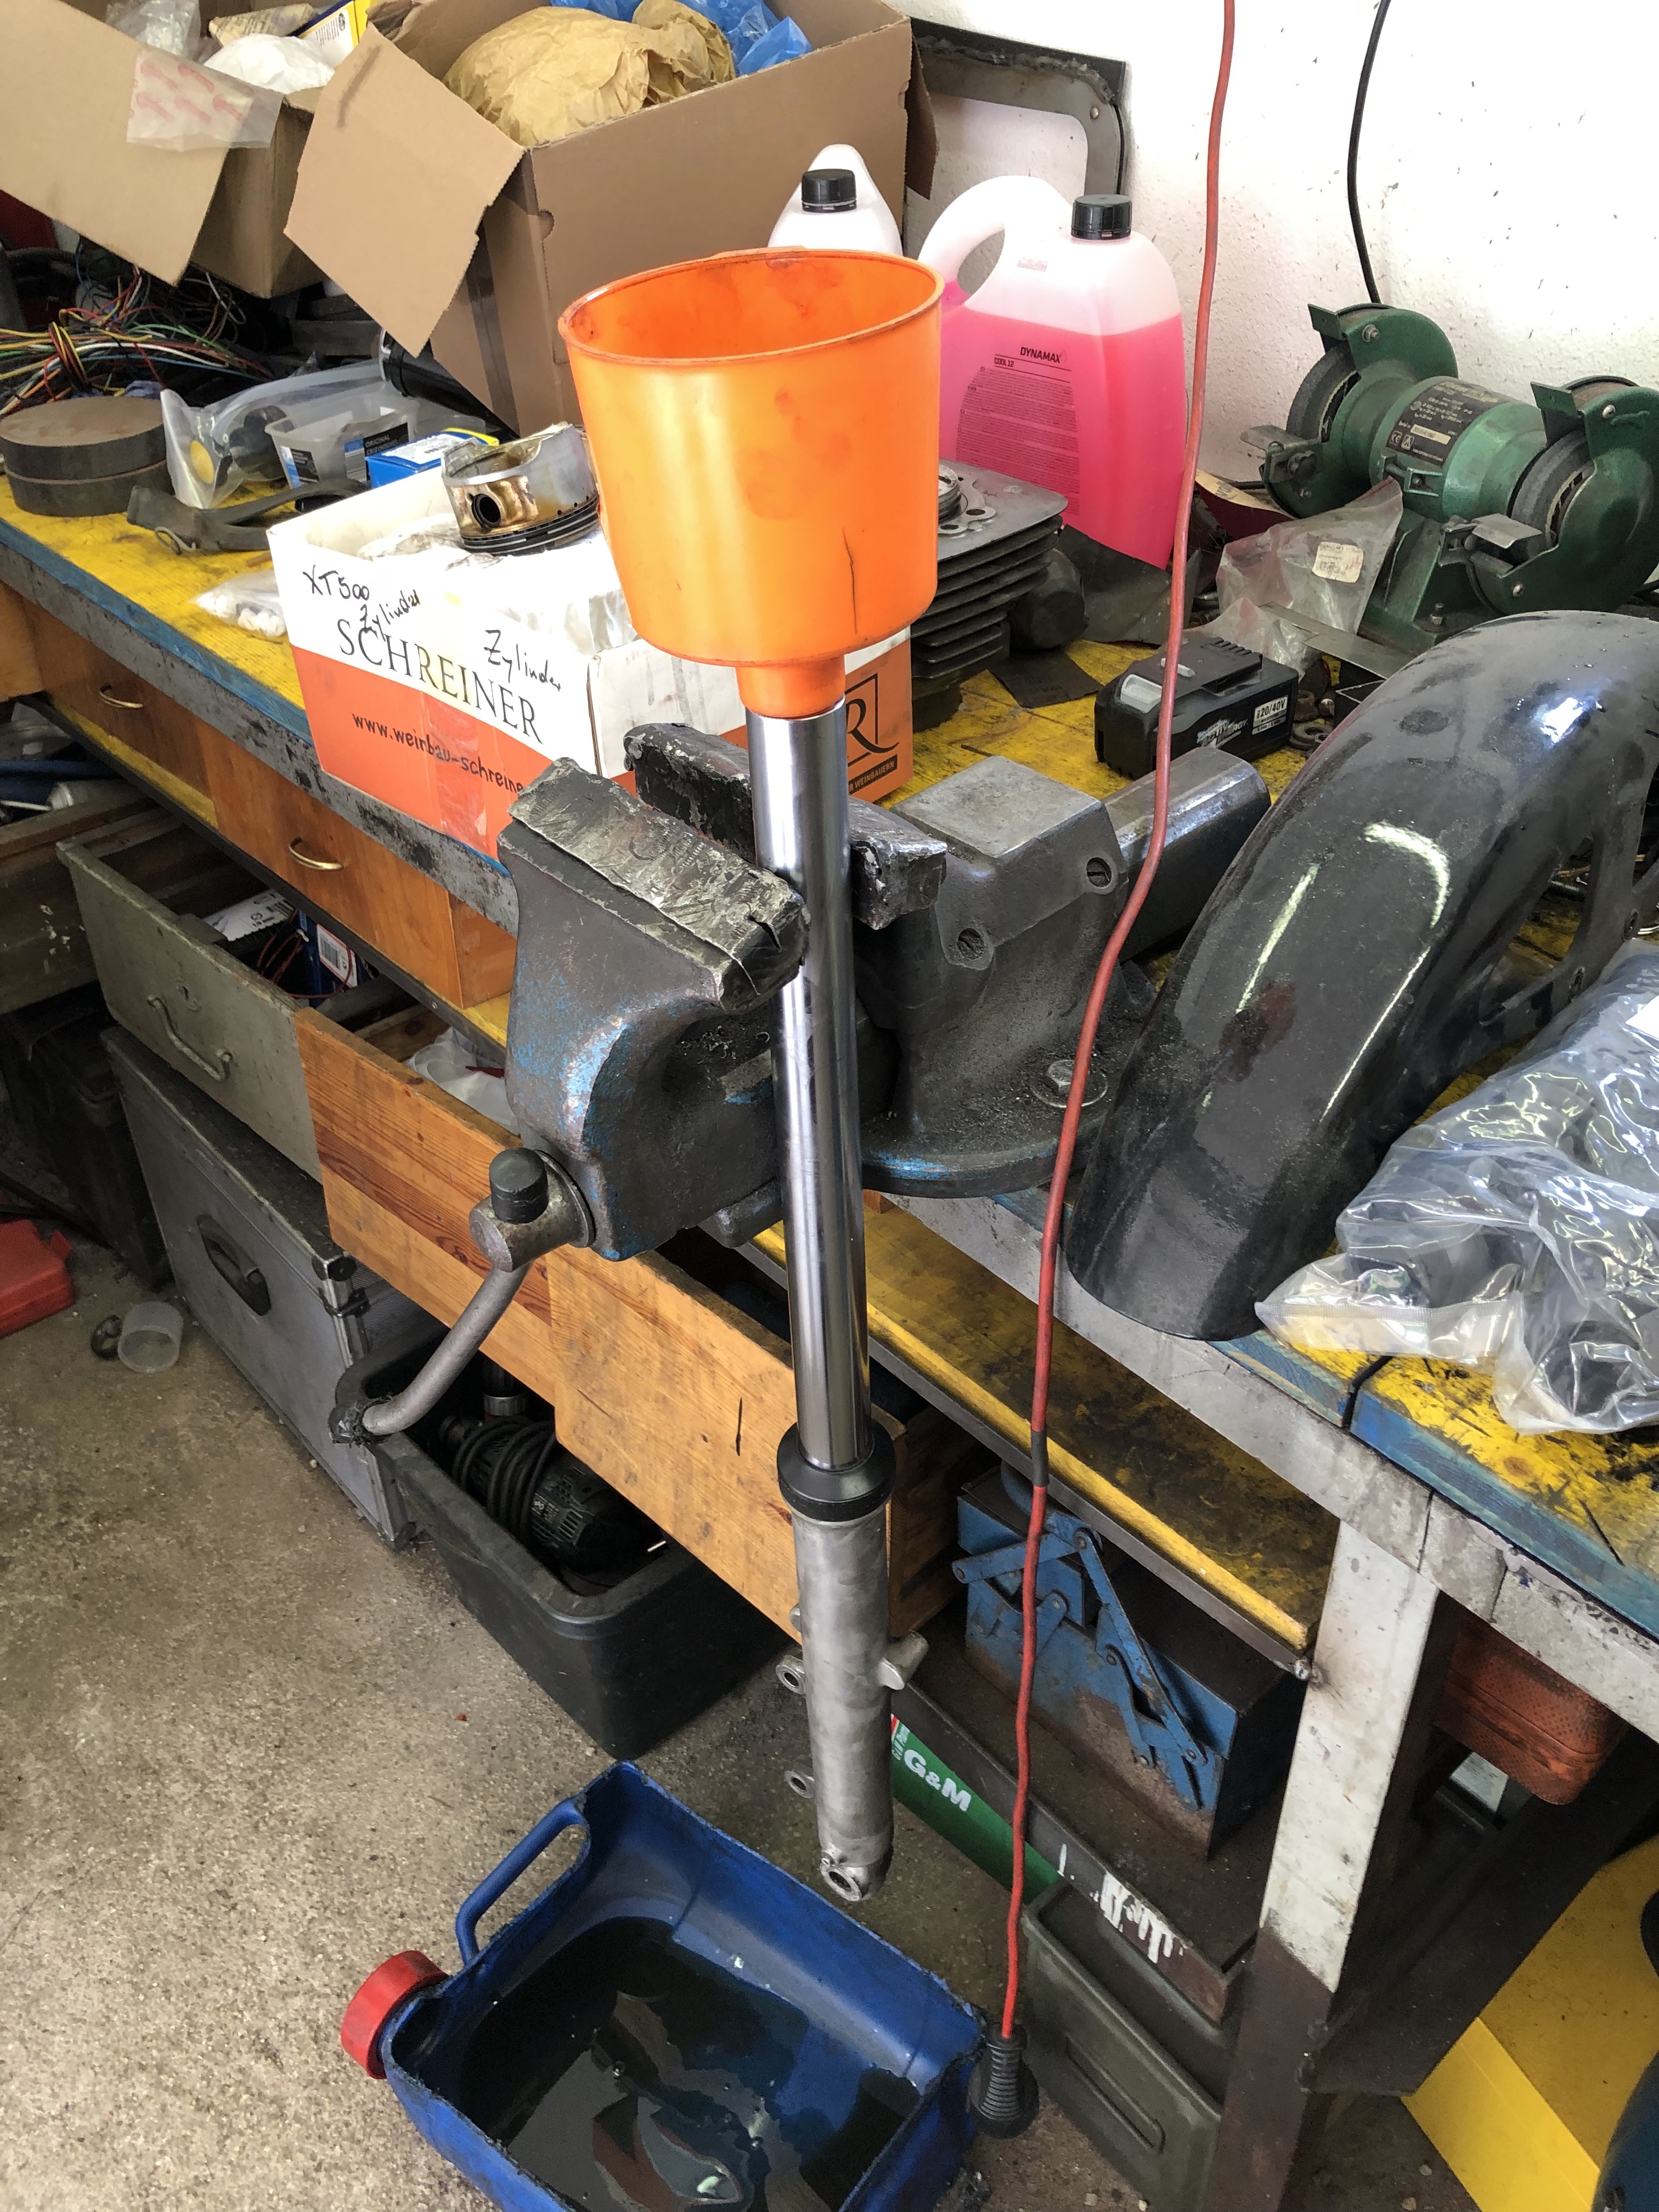
With the caps off, I tend to rinse them with diesel until no more damping can be felt and the diesel, that comes out is (mostly) clear again.

Bit of patience and turning them up-side down gets rid of whatever it was that was in there before.


And in the case of XS1100 forks, which should be filled with 212ml of 10W30 oil, I went with 230ml of 10W fully synthetic fork oil.

And no the mix of old oil with diesel didn't smell very pleasant. I think "pretty rotten" would be a rather appropriate term to be honest.

The surprising bit: This isn't the original 1978-vintage oil, but only two or three years old, yet still it smelled terribly. Regardless of which, the whole episode was totally worth it as the suspension quality is in a league of its own compared to before. Might try a slightly lighter weight oil next year, just to see if it improves the overall finesse of the forks (I doubt it), but they are very responsive even on light bumps and don't bottom out on hard braking anymore. I guess I have to call this a massive success.

Thursday, 18 May 2023

Everyday TR1 - two ways of not fixing the oildrain and a third one that actually worked

 Oilchanges - not much to it: drain the old oil, swap the filter, fill in new oil. As I said not much to it. 

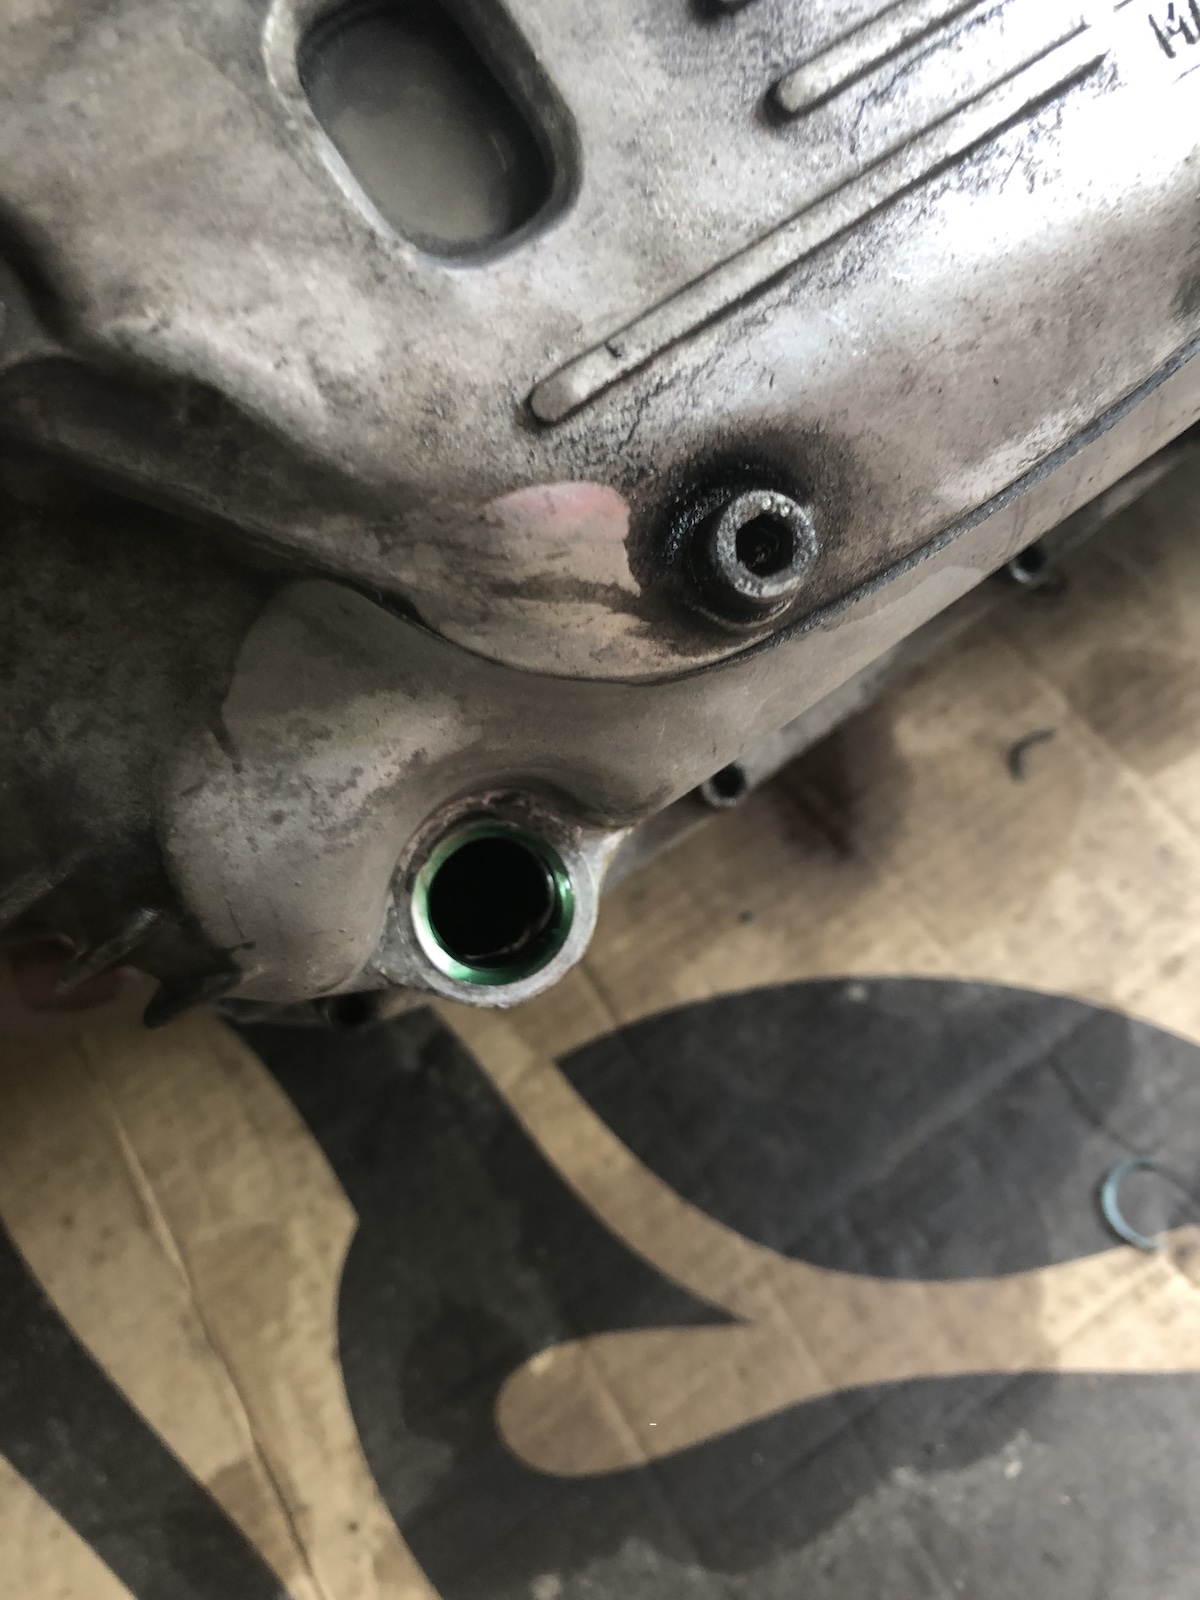
What you see here is almost to the day last year's attempt in fixing the stripped thread of the drain-plug. As the very astute amongst my readers might have noticed that's both the thread insert AND the drainplug coming out in one piece. I traced this back to two specific issues during installation: first, I used medium strength thread lock and second I only tightened the insert by hand and solely relied on the thread lock to hold it in place. 

As a result two areas of improvement have been identified, the first one being the use of high strength thread lock and second come up with a means of torquing the insert down to a level that ideally exceeds what the drain-plug will be installed to and only use the high strength thread lock as an additional level of safety.

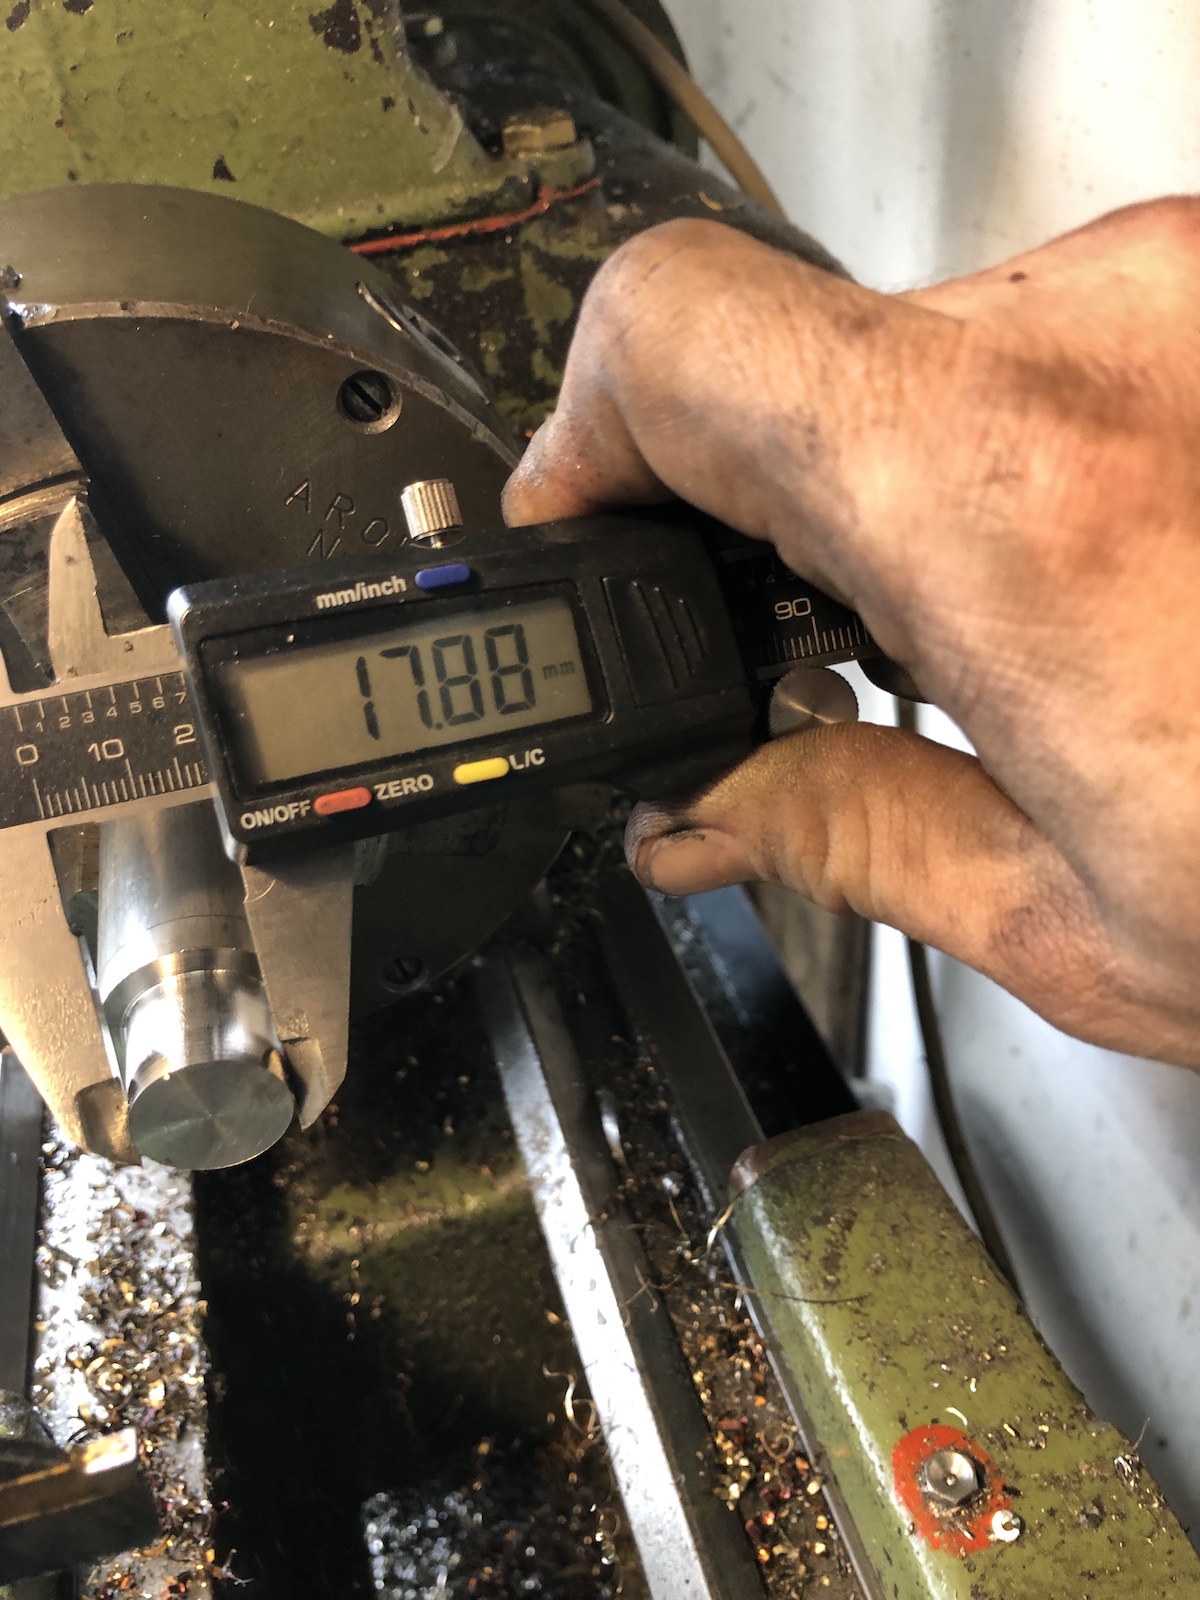
With the threads on the old plug being a bit chewed up anyway, I went ahead and made a new one from stainless. M18x1.5 on the outside and M14x1.5 on the inside. Overall length 20mm, with 16mm of M18 thread.


Which put me pretty much where I ended up with the old insert and meant next was the need for a decent way to torque it down. 

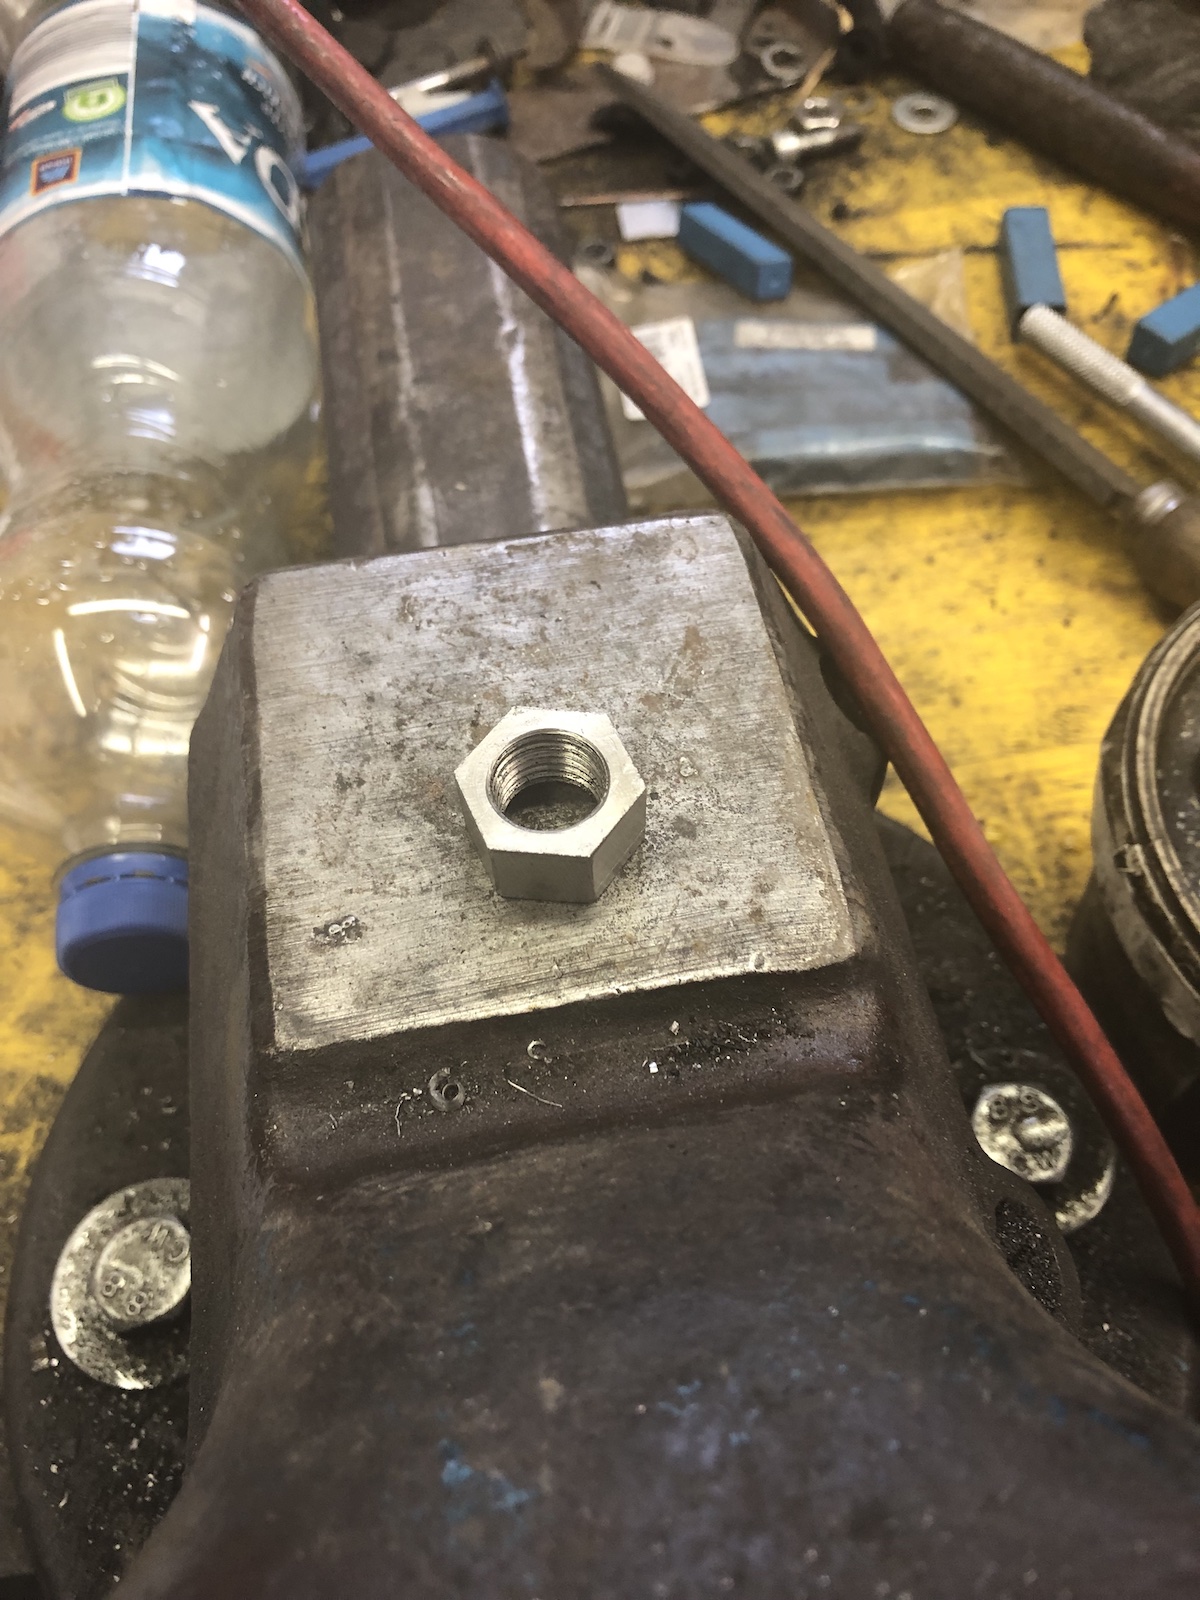
So my first idea was to mill a hex onto the head in order to be able to torque it down this way.

Used some paper to protect the threads and countersink it/remove the burrs from parting off.

The finished product.

So after some very, very thorough cleaning of the thread in the engine case, copious amounts of high strength thread lock were applied and the insert installed. 


As you can probably tell, there's not exactly a lot of room around that hex to torque it to spec. So I sacrificed one of my cheaper 22mm wrenches and milled its jaws down to fit. 


As you couldn't really make the hex-head any smaller, because some surface area is needed for the copper washer to seal against the idea was then abandoned. M14x1.5 is a weirdly specific kind of thread, for example spark plugs use it, but also wheel studs and -bolts of a lot of German cars do.

So another threaded insert was made...

... and in order to turn this into an installation tool a M14x1.5 locknut had to be made. (Impossible to buy locally.) In a first step, I milled two flats onto the "nut" in order to be able to tighten it down onto the wheel bolt.


Followed by milling it to a 20mm width hex.

The finished nut, after some touch up with a file.

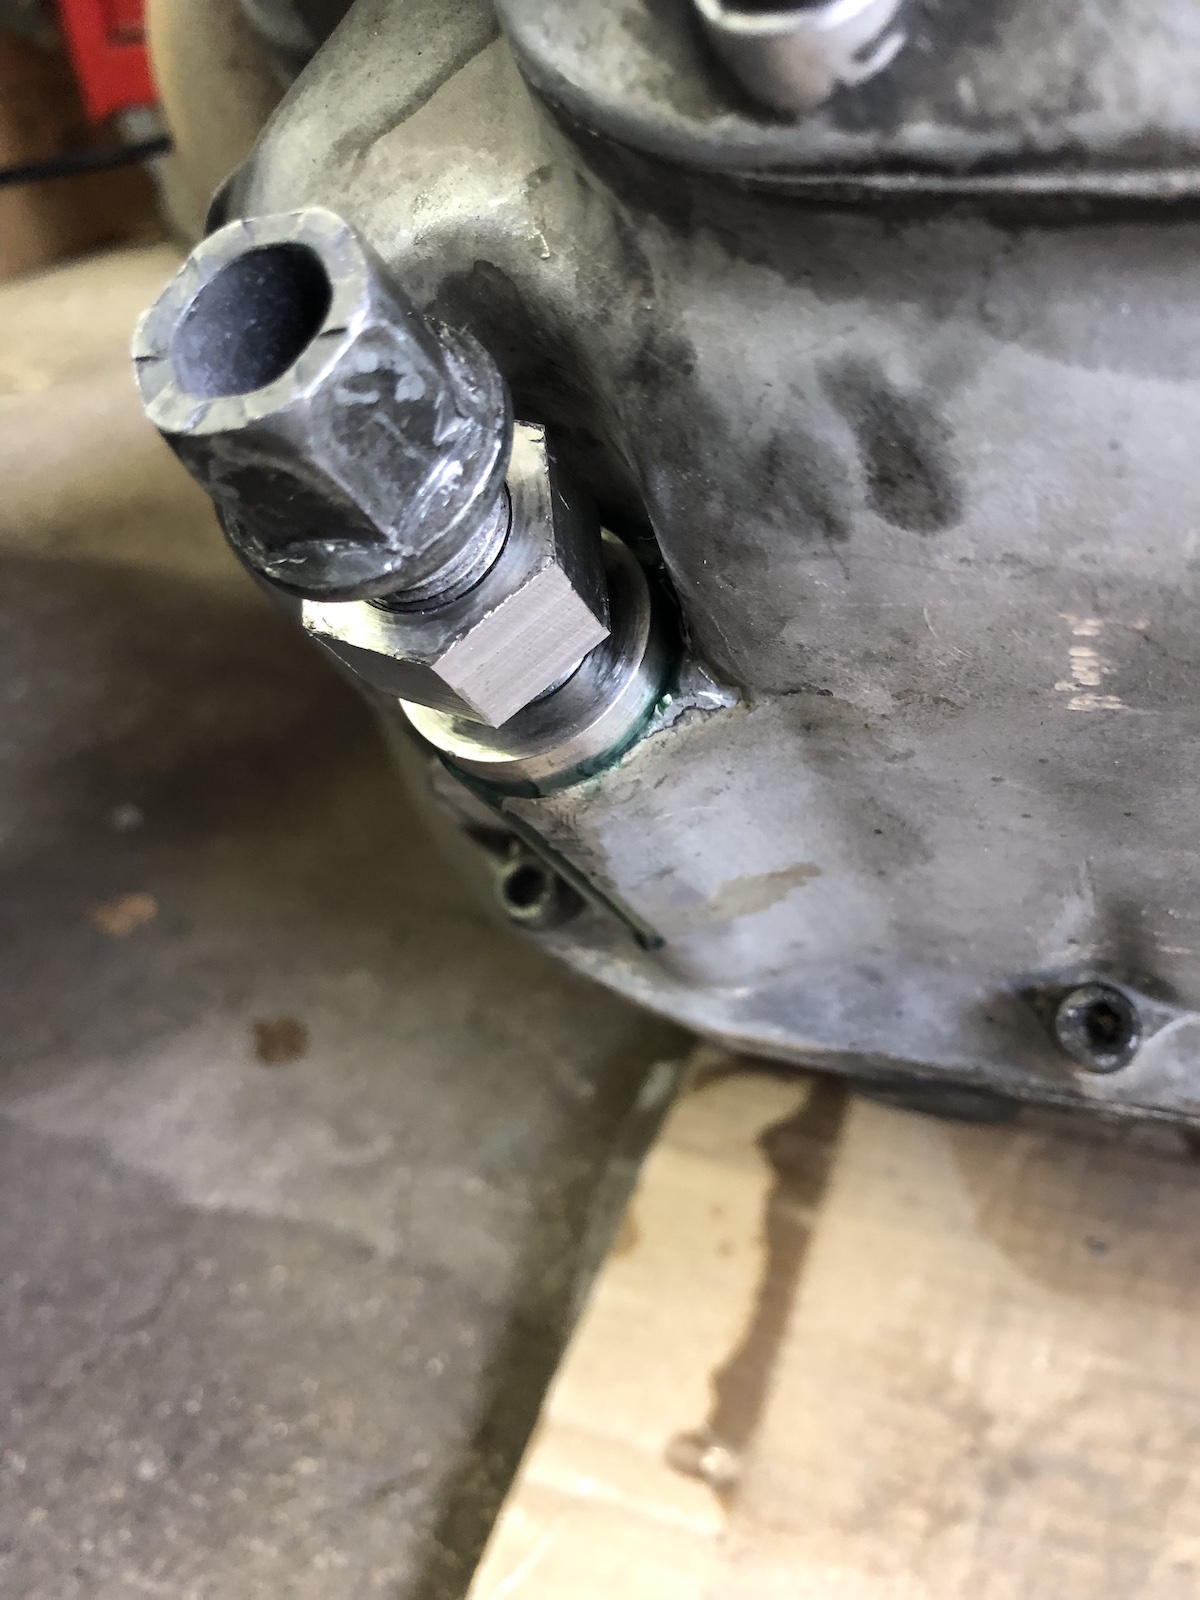
The picture below should also give an idea why I decided to make the lock nut so tall. In order to install the whole lot, nut and insert are threaded onto the wheel bolt and locked down with the nut and bolt. Then use the head of the wheelbolt to thread it in and tighten it down PROPERLY (assisted with some high strength thread lock).

Hold the bolt still (which is why you have to do this immediately, before it starts to cure) and undo the nut and simply wind out the bolt. As I gave the whole lot a good tug (far more than I would tighten down the drain plug) and the high strength thread lock should add another 30 to 60NM of break away torque, I'd say this is rather likely to work.


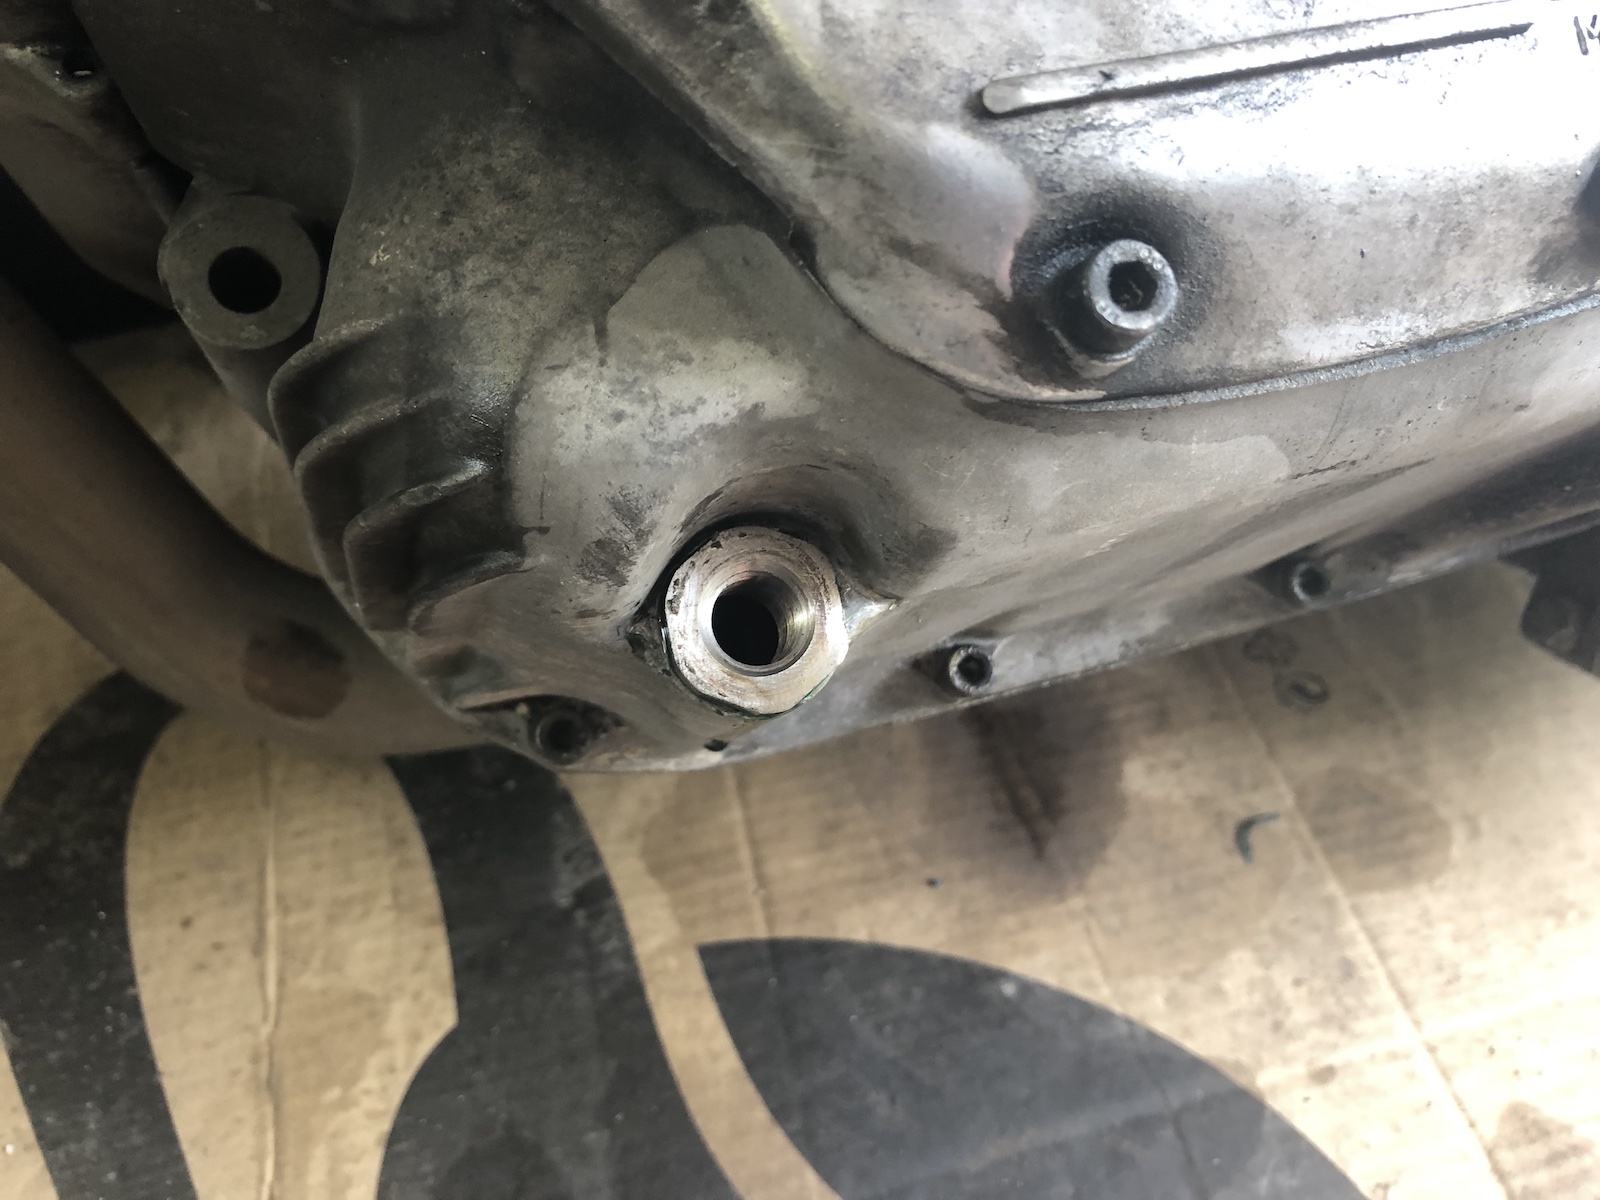
... and it did. Check out the witness marks on the two photos below.


 So why this somewhat "elaborate" solution and not just go with a M18x1.5 drain plug straight away? (common on a lot of cars) First of all the 40 year old ally is pretty tired by now and in case this thread failed again, there wouldn't have been any material left over for a more oversized (and still at least half-way common) thread. Additionally despite my best efforts, I somewhat doubt that the M18 thread in the engine case is perfectly perpendicular to the mating surface given the fact that I had to drill it free hand. An undoubtable benefit also lies in the fact that from now on a steel bolt is threaded into a stainless steel drain and thus this would in theory allow much higher torque and no more wear on the well aged ally.

Saturday, 10 September 2022

The SR500 sidecar - finally gets ready for daily use

Just because the sidecar now "runs", the old girl was pretty far from being actually usable in its intended role. 

The department of exceptionally good looks - totally working in our favour.

Especially for breaking in the new engine a working tachometer would definitely come in handy, so that was one of the first things to be tackled to align the racket the engine makes with some real life rpms.

The next highly important thing is to do some destructive quality control in the form of breaking the rear innertube (which was new). 

With the tube swapped (twice), because the first new innertube suffered from a magically appearing snake-bite, when getting mounted, it was time to turn to another issue. The locks in the fuel cap and the ignition barrel weren't even remotely compatible.

Take the actual locking tabs out.

 And almost magically it's a universal fit lock.

I'll admit I was more than just "a bit anxious", so when the engine had outlasted the last one's 67km a photo had to be taken. 

And then there was the other issue of dialing in the carb - as some may recall, I drilled the airbox-cover to allow proper airflow and let's say, I might have overdone it a bit. What followed were COUNTLESS rideouts with a big car battery in the sidecar, a wideband AFR-sensor in the header and the display on the handlebars. 


And they would reveal a few things, first of all that no matter what I did, my inlet rubber and the TM36 wouldn't get along very well. Right after the installation of the carb, everything was fine and the bike was running plenty rich.

But after a few seconds of running, it would go stupidly lean. Now I always install carbs into slightly greased rubbers. (Vaseline is rather handy to have around the shop.) Apparently it takes about 10 to 15 seconds with an ill-fitting carb to suck away the vaseline and make the carb leak and draw in air.

In parallel to this, the accelerator pump acted, to put it mildly, rather random, so a plug for the actuator was quickly turned on the lathe.

I wasn't aware at the time that the whole situation was inlet-rubber related and thus continued to tape up all the extra holes and the result was... exactly the same. (Aside from mains and needle being slightly better fits now.)

So out came an old friend. A trusty (and super simple) Mikuni VM32 out of my XT500. 

Ever since I owned this carb, the mainjet "quick-access" cap was stuck and as I rejetted that carb A LOT OF TIMES, I decided to chance my luck, heat up the float chamber and then give it my best effort with a 14mm nut.


Ultimately my efforts were rewarded, the mainjet looks big enough to be considered reasonable accomodation for some not so small animals, but to be fair, the wideband doesn't lie.

Tell people you've "done science" without telling them... seriously though, I noted down the changes including the corresponding lambda-values and I am sure to follow up on this to see for example how much a dirty airfilter affects AFR etc.

At this point things were looking pretty good, but there was still a notable rattle. To cut a long story short, it turned out that I was missing a damper disk between the camchain tensioner's plunger and its spring. As I didn't have one handy (obviously, or I would have installed it in the first place), I had to make one myself. 


This worked like a treat, even though admittedly it needed a revision as the damper shown above was a bit too thick on its base and thus limited the max. stroke of the camchain adjuster and the 6mm center hole was dragging on the plunger's rod.

At this point, I was pretty convinced that all was well... until it wasn't. There's a distinct reason, why cheap aftermarket ignition barrels are cheap. Mine decided to shed its M4x12 bolts that hold the actual barrel to the baseplate. This in itself wouldn't have been too bad, but it also meant that it would eventually lose contact and thus cut out. Now imagine this happening in Friday late afternoon city traffic. A set of allen head bolts and generous amounts of loctite made sure that the next time I would wonder how to get the barrel apart. 


If an eye injury hadn't stopped me in my tracks, I am sure there would be a few more tales on adjusting the needle and then subsequently going over the main jet once more and hopefully a tale or two of some nice rideouts with the old girl. But, this will have to wait another week or two.