Friday 25 May 2018

Everyday TR1 - starter swaps and other woes

Now my everyday TR1 "mule", is a good old girl. Generally she only lets me down when there's really no way of keeping it up anymore. And it was well about time again.

The most obvious issue was the starter, originally I thought the battery (well deserved after five years), was a bit weak in the knee, but...


Now the beautiful beads you see in there are most likely grease I applied last year to grease the shaft in the bushing. Unfortunately it smeared all over the rotor and shorted everything out. 


After a bit of cleanup, I thought I was in the clear again. But unfortunately the brushes are already bottoming out and are quite badly.


So after the old starter had come out, there was even more graphite shmoo everywhere...


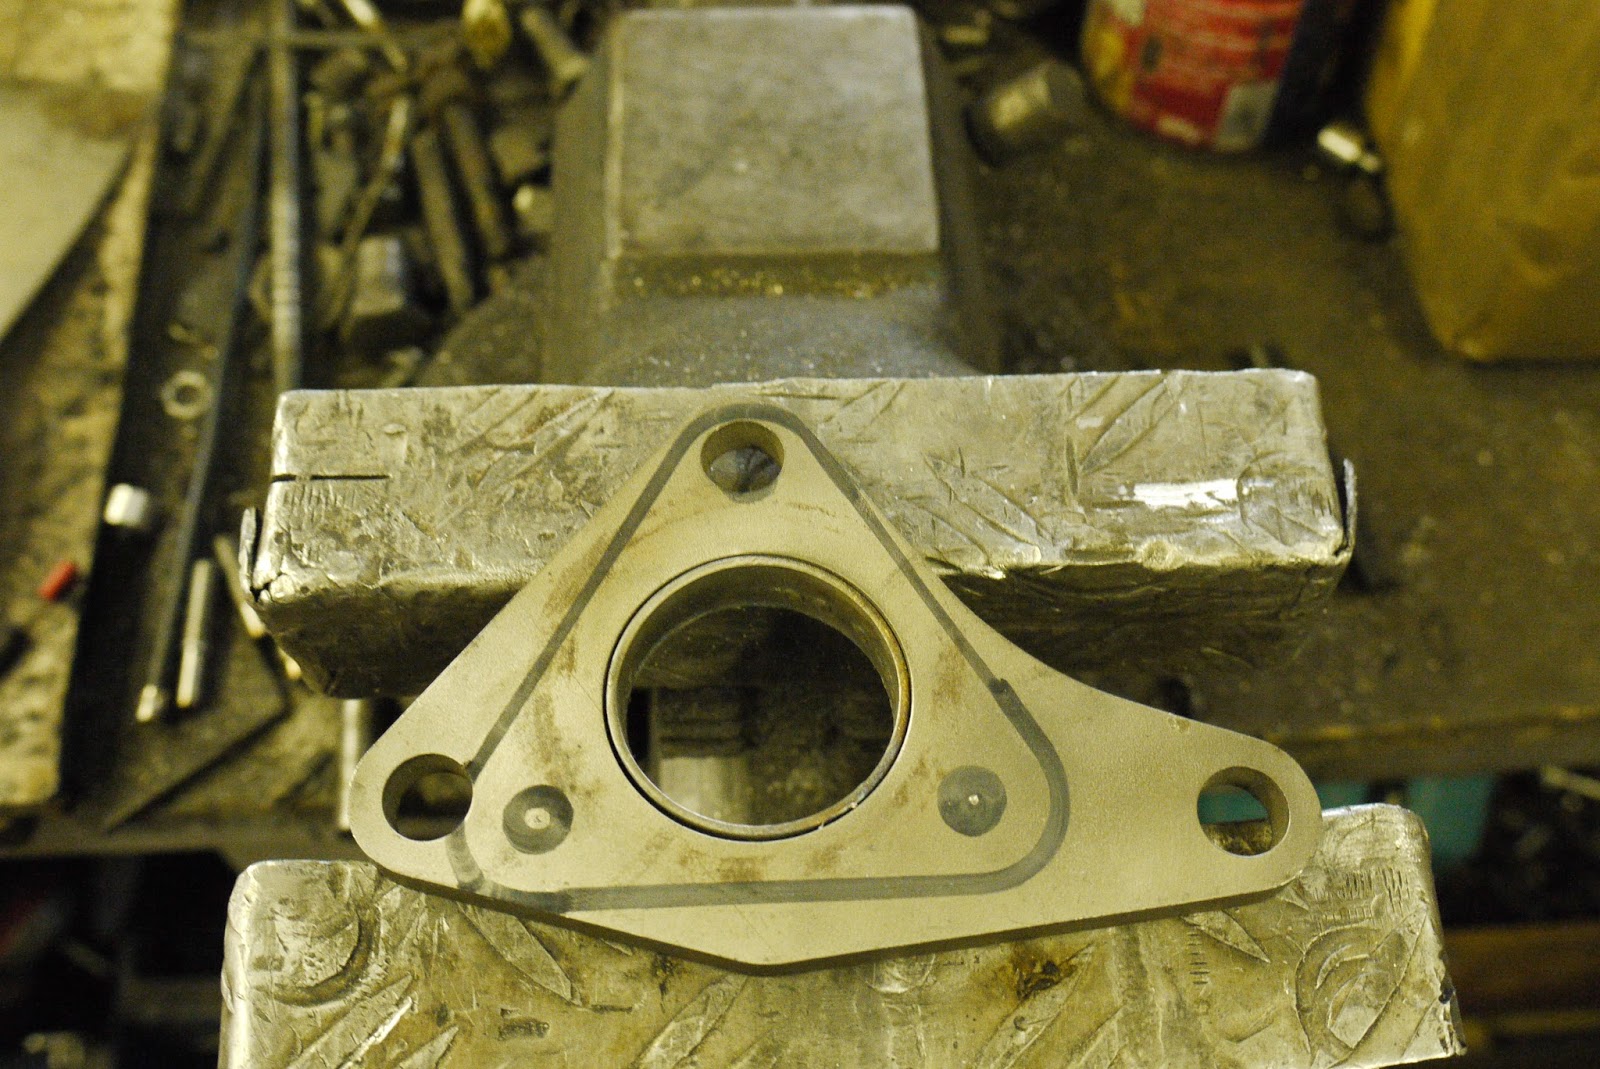
Now for some odd reason, I started taking new starters apart and so far I have always found something... Pictured below is the pin that is supposed the hold the outer planetary gear ring in place.


Luckily the planetary gear were alright, so the starter swap was doable without draining the oil.


And then... not much the old girl was limping on just the rear cylinder. New spark plugs didn't cure it and after a bit of thinking (and much cursing) the coils were swapped and guess what: at least the front coil was plagued for quite a while, as all of a sudden the misfires that started during Summer last season had vanished.


While I was at it, I applied a new tune to my Ignitech ignition and also apply a tune to the turbo's box, just to make sure it actually works. 


Tricky trick: as the rev-limiter hits really hard, I programmed the advance curve so it goes down from max. RPM to zero advance, which leads to the bike softly stopping to rev any further.


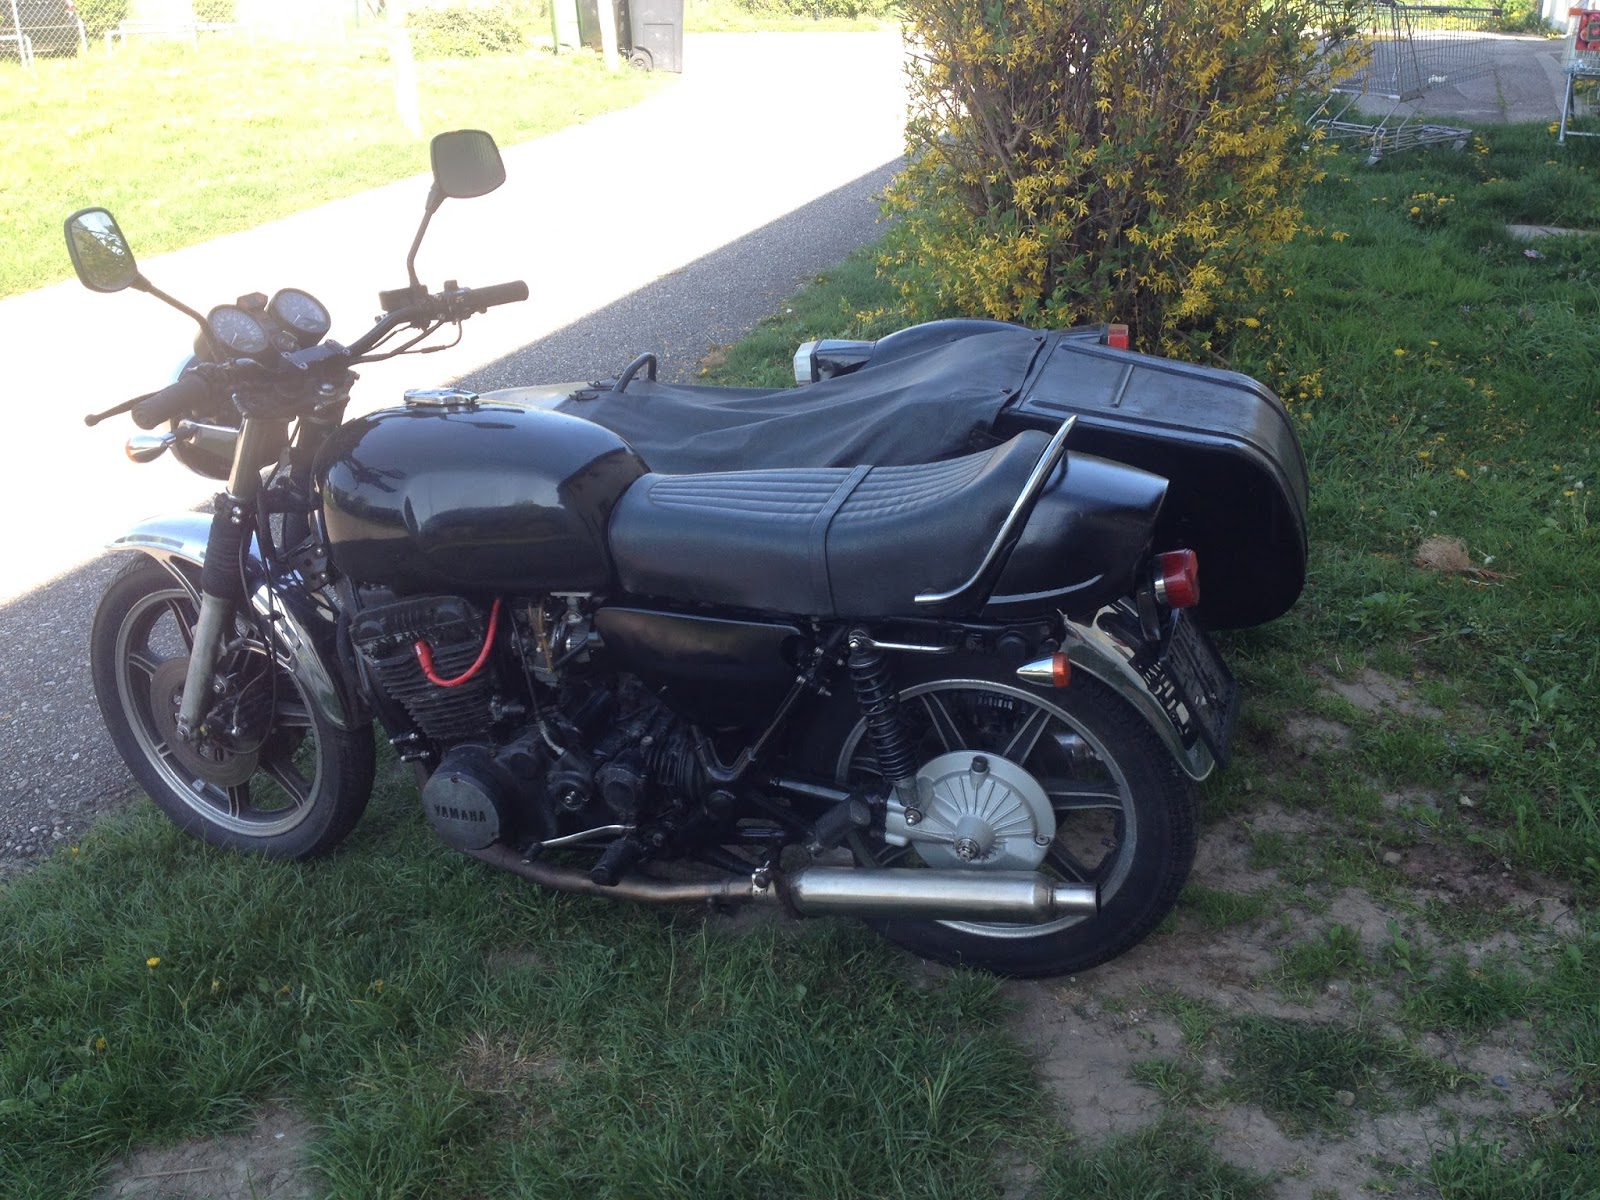
So this is a kind of short break from building the new engine, but as I have written before, this is my DAILY and as such it has to work...

Tuesday 22 May 2018

The new TR1 engine - tooling up, making a head fixture for skimming and milling (part 20)

Making the fixture to affix and also align correctly on my milling machine was one of those projects which I totally underestimated. The key problem is, that the cylinderheads on Yamaha XVs are case as one piece and don't have a valve cover in the common sense, which means I had to come up with a fixture to be able to fly-cut after welding them up.

Open the stage for four 60mm tall, 30mm diameter pieces of aluminium roundstock. 


Of course they had to undergo some surgery to be usable. Interestingly enough all came out within 0.10mm of each other in length, after just some eyeball measuring with a caliper. Before they are actually put to use, they will faced off once more.


All the posts had to be center-drilled and tapped M6 on both ends.


Have you ever wondered how you can hold a piece, when you can't use a bolt and nut to hold it down ?


Basically what I am doing here is applying the idea of an ER-collet in the opposite direction. So I sliced the stud and used the countersounk bolt as a spreader.


And as you can see, as the studs are turned 0.10mm undersize, about a quarter turn is sufficient for them not to go back into the hole.


Now this is all nice and dandy, but... this is not how I want to fix this to the milling table. So a baseplate was due.


Of course a mandatory "lifting" test was due and even without extraordinarly tightening the 4 spreader bolts it was an easy-peasy affair to lift the head up from the bench. Next up is some more trimming of the baseplate and then make some alignment pins, so taking the fixture of the mill and putting it back on is a quick affair that doesn't require the usage of DTIs or the like.

Sunday 13 May 2018

The new TR1 engine - welding up and skimming a test piece (part 19)

The more observant and knowledgeable amongst the fine readership of this blog will instantly notice: This is not a XV1000 cylinderhead - and you're absolutely right. But just as with walking, you first have to walk, before you're able to run, it was necessary to ruin an already broken XT500 cylinder to try out my hefty flycutter and more importantly to figure out the potential pitfalls, when it comes to welding up cylinder heads.

The biggest issue I found was heat. Even though I put the cylinderhead on a hot plate and got it to well over one hundred degrees, it would cool down within minutes and basically just soak the heat away from the weld.  Next time, I'll go with the hot plate and the real XV1000 heads only need to be built up in one spot, I'll heat that spot up with a propane torch.


 Second was cleaning action. Even though a I ground about 0.5mm deep into the material, there is still quite a bit of peppering in the welds. As skimming showed it was mostly only cosmetical, yet still, it kind of bothered me.


That's the head in a different light, when put on the mill's table and you can see some of the inclusions a lot better. 


Still after running the flycutter over the whole thing, it becomes obvious that the peppering was superficial and nothing to worry about. A lot more worrying is the gap on the right side of the combustion chamber, as the weld didn't fuse all the way round with the base metal. (Mind you, this was at 200 amps...)


As usual, any input of knowledgeable folk is greatly appreciated. I tried out 4047 (AlSi12) filler, which crystalized instantly, so the rest of the welding was done with 5336 (AlMg5), which wetted out nicely and if the metallurgical handbook is to be believed, will work harden after a few heat cylcles.

Things worth considering for the next attempt: Try grey ceriated tungsten electrodes (I used golden ones and they stood up to the task nicely, white and blue failed rather quickly), maybe get a bottle Helium-Argon mix to get more heat into the head and heat the work area with a propane torch. Additionally, I will look into getting a digital TIG in the future as there's no way of playing around with frequency-settings on mine, when in AC mode.

Wednesday 9 May 2018

The Turbo TR1 - GT15-turbo build (part 1)

"Auferstanden aus Ruinen" used to be the national anthem of the former German Democratic Republic and pretty much the same goes for this turbo setup. (Guess what, I haven't been working on the turbo for no reason...)

As I am a dedicated believer in recycling, I took an older set of turbo-headers, which I built for a TD04 and cut the flang off, as the waterjet-cutter messed this one up ages ago.


Turns out, with a bit of wiggling around you can fit a GT15 flange onto a TD04 flange, even when the whole flange came out roughly 10 percent too small. 


Drilling 10mm stainless steel, which has already work-hardened due to welding, is no fun though.


Not perfect, but it seals up good enough and it meant reusing some older headers. 


Fitted to the bike. It's just incredible, how much smaller the GT15 is compared to the T3 that was on there before. 


Next up on the list is to build a new 2in1-inlet-manifold and make an exhaust-flange from some stainless plate. As this is a bit of a side project, please be patient, this will take the backseat more than once against other projects like building the new everyday TR1 engine.

Saturday 5 May 2018

Tooling up for the TR1 engine build - fly-cutter

Amongst the things I need to get the new hopped-up TR1-engine working, is a means to re-surface the cylinder heads after welding them up. As I don't own a large surface grinder, a fly-cutter is the means to an end.

First up was a chunk of 110mm diameter tool-steel, that was squared up on both sides and then center-drilled.


The future-shaft was made to a hefty press-fit and then, as the thought of a roughly 5kg fly-cutter arbor flying off through the workshop gave me a "slightly" uneasy feeling in my stomach, I decided to additionally TIG-weld it. 


Once it was welded up, it was put back in the lathe to turn it down to final dimensions and also decrease the amount of potential wobbles. 


After some thinking, I decided to decrease the overall mass by milling both sides flat. (Which incidentially also made tapping for the set screws quite a lot easier. 


The result is pretty acceptable, especially when considering that this was done on a flimsy RF-25 roundcolumn mill. 

Tuesday 1 May 2018

The XS Triple Sidecar - modifying flatslides to work (part 3)

If you thought we were done last time... well, think again. 😏 The whole setup is pretty much alright by now, except for a somewhat leaky middle carb.

So first things first: Find out where the leak is. I used some tyre chalk, because that's what I had at hand.


Now that was no good news, mainly because it wasn't leaking at the flange, but to the left of it.Time to paint the sidecover and do some thinking.


As it was absolutely impossible to spot, I took the carb out and hooked it up to a fuel bottle and ... see for your self. The mother of all hairline cracks, but only visible under the right lighting.


Copious amounts of metal-powder-reinforced epoxy raisin should sort that out. With that sorted, I should finally be able to focus on jetting them correctly now.


And a day later, it's finally sorted, the raisin has cured and there's no leakage (but lots of pollen!)


Oh and while I was at it, the old girl now sports a lovely taillight of a Guzzi V7 Sport from the 1970ies.