Saturday 30 December 2017

The new TR1 motor - Assembling the longblock (part 16)

Last time we left off with the engine cases being re-assembled and the sealant hardening. On today's menu is the reassembly of what US-V8-engine builders would call the long-block. This post will also mark the end of the necessary and somewhat mundane section of the build and finally makes us progress towards the part where finally some provisions for extra power are made.

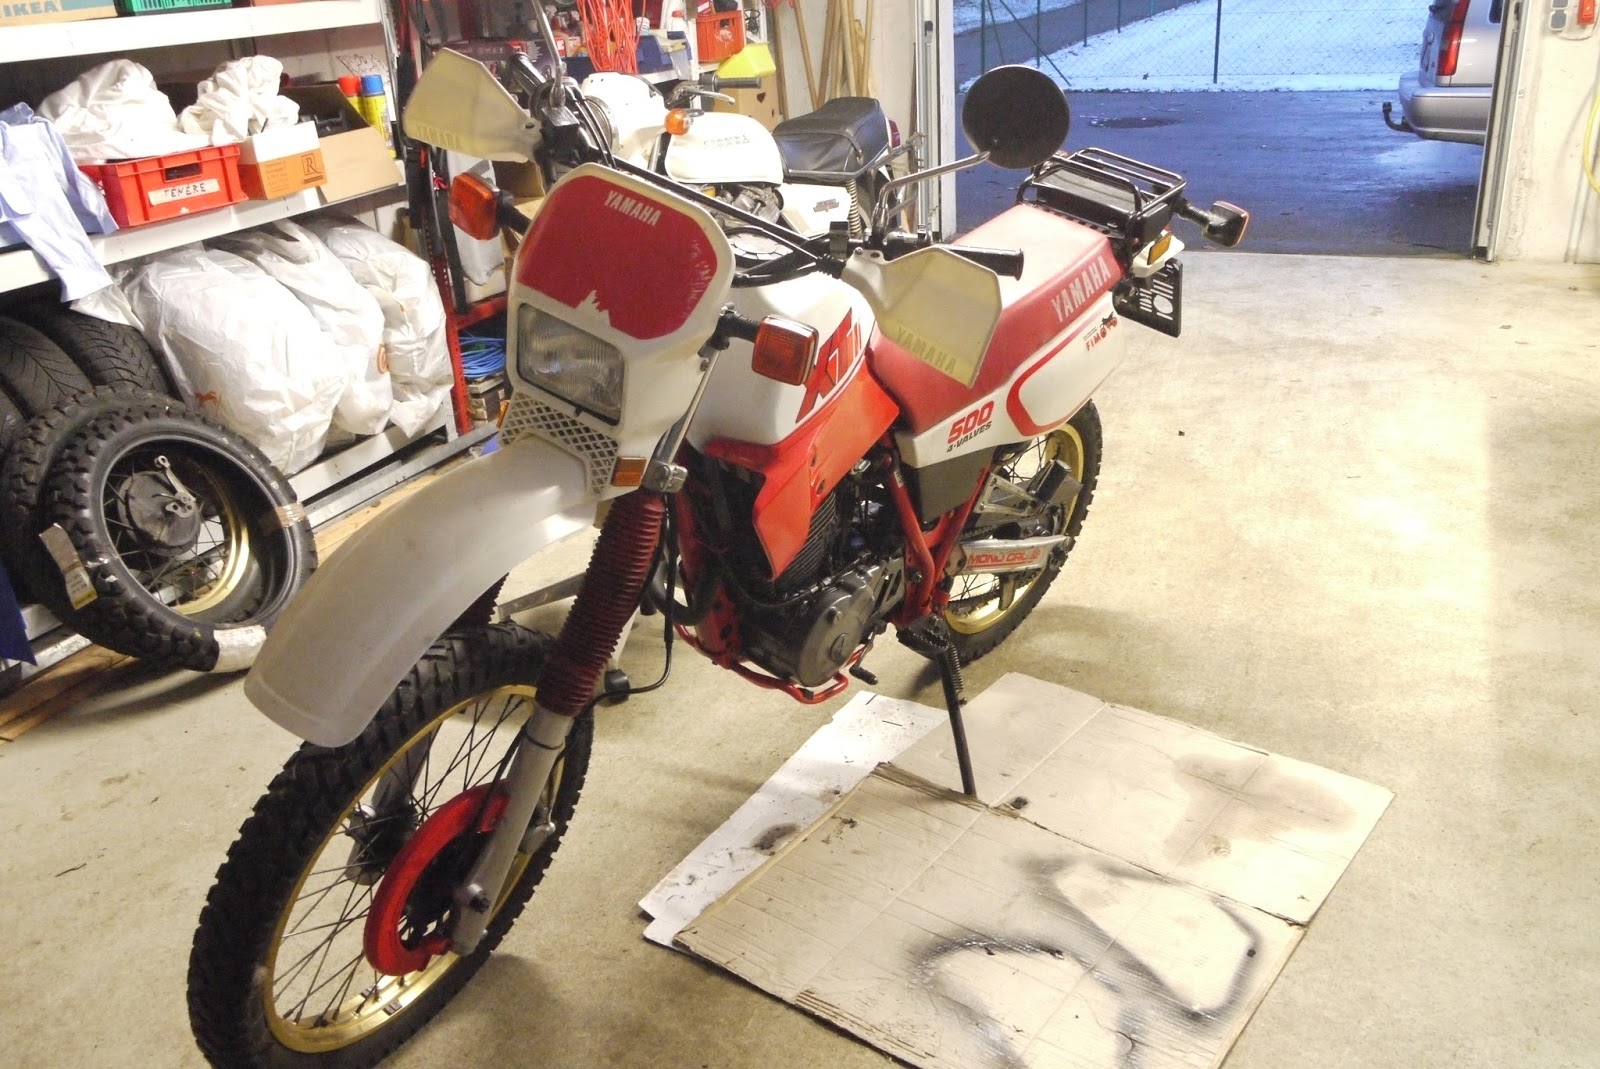
The main task this time is to install the timing gear and test-fit cylinders and pistons to assess the tolerances.


Timing is a lot easier, when all the timing marks are clearly visible. I have started to mark these with a bit of paint incl. the corresponding tooth to make installation of the flywheel easier.


The spring-loaded primary gear needs to be pre-loaded in order to mesh with the gear on the backside of the flywheel. Yamaha engineers conveniently placed a M6-hole in the gear, so you can lock the spring in place nicely.


After-reinstalling the gear on the back of the flywheel, I also painted the timing mark and the two adjacent teeth to make the installation a bit easier.


Before fitting the flywheel put on the oil-pump-chain, as you won't be able to put it on afterwards.


With the teeth marked in white it's fairly easy to time everything right.  


Once installed it is easy to pull out said M6 bolt.


The right side is a lot easier as you can clearly see what you're doing. 


The shaft of the primary gears is hollow bored and won't mind a bit of oil to lube the bushing of the gear nicely.


Of course I could just have fitted the later (larger) oilpump, before the flywheel, but as dozens of people have told me you can't do it, I took some photos showing how to do it. 


Always make sure you put in fresh o-rings on the oil-channels as a pressure loss would be incredibly hard to track...


As a lot of people pointed out, you can't sneak the oilpump past the flywheel. They are right. So you losen that one philips bolt...


... and install the back section of the oilpump into the cases.


I use medium loctite on these bolts, as they are only torqued to 10Nm.


Now fit the front section of the oilpump and you've got the oilpump installed without taking the flywheel off.


Gearshift selector installed on shifter drum.


Neutral switch with freshly annealed copper washer. (Hint: test it outside of the engine first. They rarely fail, but ...)


That's the 1100 outer clutch basket fitted.


The last section of this post is dedicated to installing the pistons and cylinders and assessing the tolerances as XV-pistons are notorious for sitting low in the bore.

Always grease up base-gaskets. Makes removal a lot easier and sometimes you're even able to save the gaskets for later use.


Pistons installed with fresh rings.


Cylinders were given a quick hone as their overall dimensions were quite like new (not bottle-shaped) and as such going for an oversize would have been a waste.


 Cylinder and piston installed ...


... and the rear one sits low at a whopping 1.3mm. The front one is "only" low by 1.1mm. Add 0.8mm for a compressed headgasket and this basically means: A lot of work to correct that.


Next up: Building a 9-disk clutch and then it's on to turning down the cylinders to get the squish right and then welding up the cylinder heads, which is where the power of this engine will come from.

Wednesday 27 December 2017

Setting up a Stahlwerk AC/DC 200 Pulse correctly

Those following this blog might have noticed earlier, that I actually do quite my share of welding, but for as long as TIG is concerned, I am doing mostly stainless. Now with the TR1 engine build I have a situation, where I have to dust off my old aluminium welding knowledge and get to it. In order to do that I had to do a couple of things to get that Stahlwerk 200 AC/DC Puls working as it should.
To be fair and just to get this out of the way, my TIG set isn't the most expensive in the world and with it being an analogue setup, if it weren't for the inverter setup instead of a transformer and the HF-start, I could have been straight out of the 70ies technologically. After doing some welding in the last few days it's actually a whole lot better than I dreaded, but there's a couple of catches to make it work, some of which are down to somewhat insufficient q.c. on the manufacturer's/retailer's site. The following points are therefore not meant to shed a bad light on the machine, but to give you some info on how to professionally do some fault-finding, if it simply doesn't work.

1) If you want to use a footpedal and NOT use it as a on-off switch, turn all the amperage dials on the machine to zero.


2)  At least on my footpedal the pedal-stop was stopping the pedal to go all the way down. Actually it was more set up to be around the 50 percent mark.


3) The potentiometer on the footpedal doesn't seem to be perfectly matched with the machine, I can only turn it up to 8-ish or so or it will turn the footpedal into an on-/off-switch again. Only this time it's pedal to metal means full-throttle really.


4) Impulse-amperage can and has to be set at the machine and once it goes over zero in AC-mode, it means that display shows some rather random numbers.

5) If you want to weld AC, make sure pulse is set to off, or the pulse generator will randomly interfere with the HF-start, which makes lighting the arc a bit of a gamble. Once that is covered, the HF-start is really nice.


6) On the subject of AC-welding. The manual explicitly states that in AC-mode the machine can only do 100Hz as max. frequency. Turning the knob to a value higher than that will have the pulse-generator interfering with the welder, resulting in a terribly flickering arc.

7) Pulse-width is marked in "Everlast"-style, displaying "DCEP" or cleaning, i.e. 80 percent on the dial means 80 percent positive or cleaning action.

8) This is slightly more general, but worthwhile to know: Up-slope and down-slope only work in 4T, which basically means: A proper TIG-welder uses a footpedal.


So what's my verdict: It's a proper oldskool machine in the spirit of one of those half-ton lumps that used to clutter workshops in technical colleges and secretly died out many years ago with the advent of modern inverter technology. So if you learned the welding craft on one of those, you'll love it. The arc is nicely stable on even the lowest settings and once you get the hang of it, it truly is quite a good machine to use. To be honest though, there's a few things, I really want in my next machine, which incidentially means, I'll finally go digital on my next TIG set: More than 100Hz in AC-mode (because 150+Hz really makes that arc tighten up), up- and down-slopes working in 2T-mode, multiple wave-forms in AC and pulsing beyond 200Hz in DC mode for working on really thin tubing.

Sunday 24 December 2017

Project "pretty one" - finishing

Well, Merry Christmas dad. So this week on Monday, I secretly sneaked into my dad's garage and finally completed the "pretty one". It was more than just a tad cold which made certain tasks... interesting.

The starting point:


(Auto-)Decompressor cable fitted. Note to self: Take measurments next time and maybe solder a spare.


Chain and front sprocket fitted.


Fitting the carbs and airfilter hoses was the toughest job and I honestly failed on the right side, so that hose will need re-doing, but the rubber was roughly as stiff as hard plastic.


As I found out, it's a lot easier to install the carb from the right without the header pipes installed, so the headers were next.


And that's what she looks like with her clothes back on:


And there you go dad. Still enough cleaning left to do to keep you entertained over Christmas and the following points are still open:
  • needs oil
  • right airfilter hose needs to be re-done when it's warmer
  • battery-eliminator (condenser instead of the battery needs to be found)
  • new engine breather hose as it cracked during install (did I mention it was "a tad" cold?)
Well, Merry Chrimbo to you all. 

Wednesday 20 December 2017

The new TR1 motor - the gearbox conundrum and reassembly (part 15)

Now every interesting build starts with one or two things you want to learn or try out in the process. With regards to gearboxes, there's conflicting infos on whether the XV1100 sports the regular (0.90) or the longer (0.85) 5th gear. (If you're only here for the picture or suffer from attention span issues: yes it does have the longer 5th. And yes it will fit into the chaindrive cases.)

When I took my very first XV1100 engine apart I stashed away the gearbox of said bike, because it was nearly brandnew (less than 30k on the clock) and kept the original TR1 gearbox, because it worked pretty flawless.


But first a quick how-to on how to get the old gearbox out.

First pull out the shifter fork shaft, so you can remove gearbox shafts (incl. gears) as one.


If you're like me and often end up with sh*te in boxes and have to assemble an engine from said leftovers, you may find this picture useful.


This picture should be self explanatory. 😏


At this point is is (once more) a good time to clean out all the old dirt, debris and little furry animals that have decided to apply for permanent residency.


Now onto the meat of this post. Is the gearing of a XV1100 and TR1 the same?

As you can see in the picture, this is a gearbox with 5th gear(s) facing towards the front. 

TR1 gearbox: (29/34 - 0.85)


XV1100 gearbox: (30/33 - 0.90)


Both gearboxes side by side.


Gearbox installation is pretty straight forward. Make sure that you know where the dot (which is the neutral light plunger) on the selector shaft is and you're pretty much golden. 


Install the gearbox shafts as a pair and be aware that the #3 selector fork should be installed on 5th gear prior to install or you'll prove to your neighbours that you truly are capable of cursing like a sailor. 


Install the selector fork shaft (this will require a bit of wiggling for and aft to get all the forks to alighn with the selector drum).


Don't be surprised that in order to achieve this, the venerable gearbox-assembly-mallet makes an appearance. (In my case it was the selector drum, which needed a gentle tap to become fully seated.)


The primary drive ratio between shaft and chain drive models is different, so the primary drive sprocket has to be swapped out, in case you're using a XV1100 gearbox. 


Shaft-drive on the left, chain drive on the right.


And that's the gearbox installed in the cases. Try spinning the gears a bit and also trying changing gears by operating the selector drum manually and you should be good to go.