WARNING LONG POST AHEAD.
Or in other words, what have you been doing all the time.
Now this story deserves a preface. My dad has got two Moto 6.5s, a four-valve XT and a 1200 Suzuki Bandit. After hooking him up with the concept of taking the bike to get to work a certain inadequacy of the bikes available to him became apparent. The Moto 6.5s are collector pieces, so a broken indicator (and they break off very easily) is an absolute nightmare as you can't buy them new and hardly ever even as defect items, the XT is nice but not really suited to go to his office at highway speeds without thrashing the living hell out of it. (It's a stretch of unrestricted Autobahn and the XT will do 120kph on a good day.) And lastly the Bandit is pretty cool with all of the above, but on those few kilometers to work the oil hardly gets to temp and the rear tyre wears down quite a bit on the Autobahn. With that in mind, my dad wanted something was good as a daily, cheap to run, preferrably shaft-drive, approx. around the 50hp mark and blessed with not too many cylinders. Oh and to top that off, it had to be somewhat cool. The times when buying smaller Guzzis meant buy one get one free and the fact that spares should be easy to come by, rather quickly lead us to finding a Honda CX500. Remember a few years back when they were everywhere? Yup, not anymore.
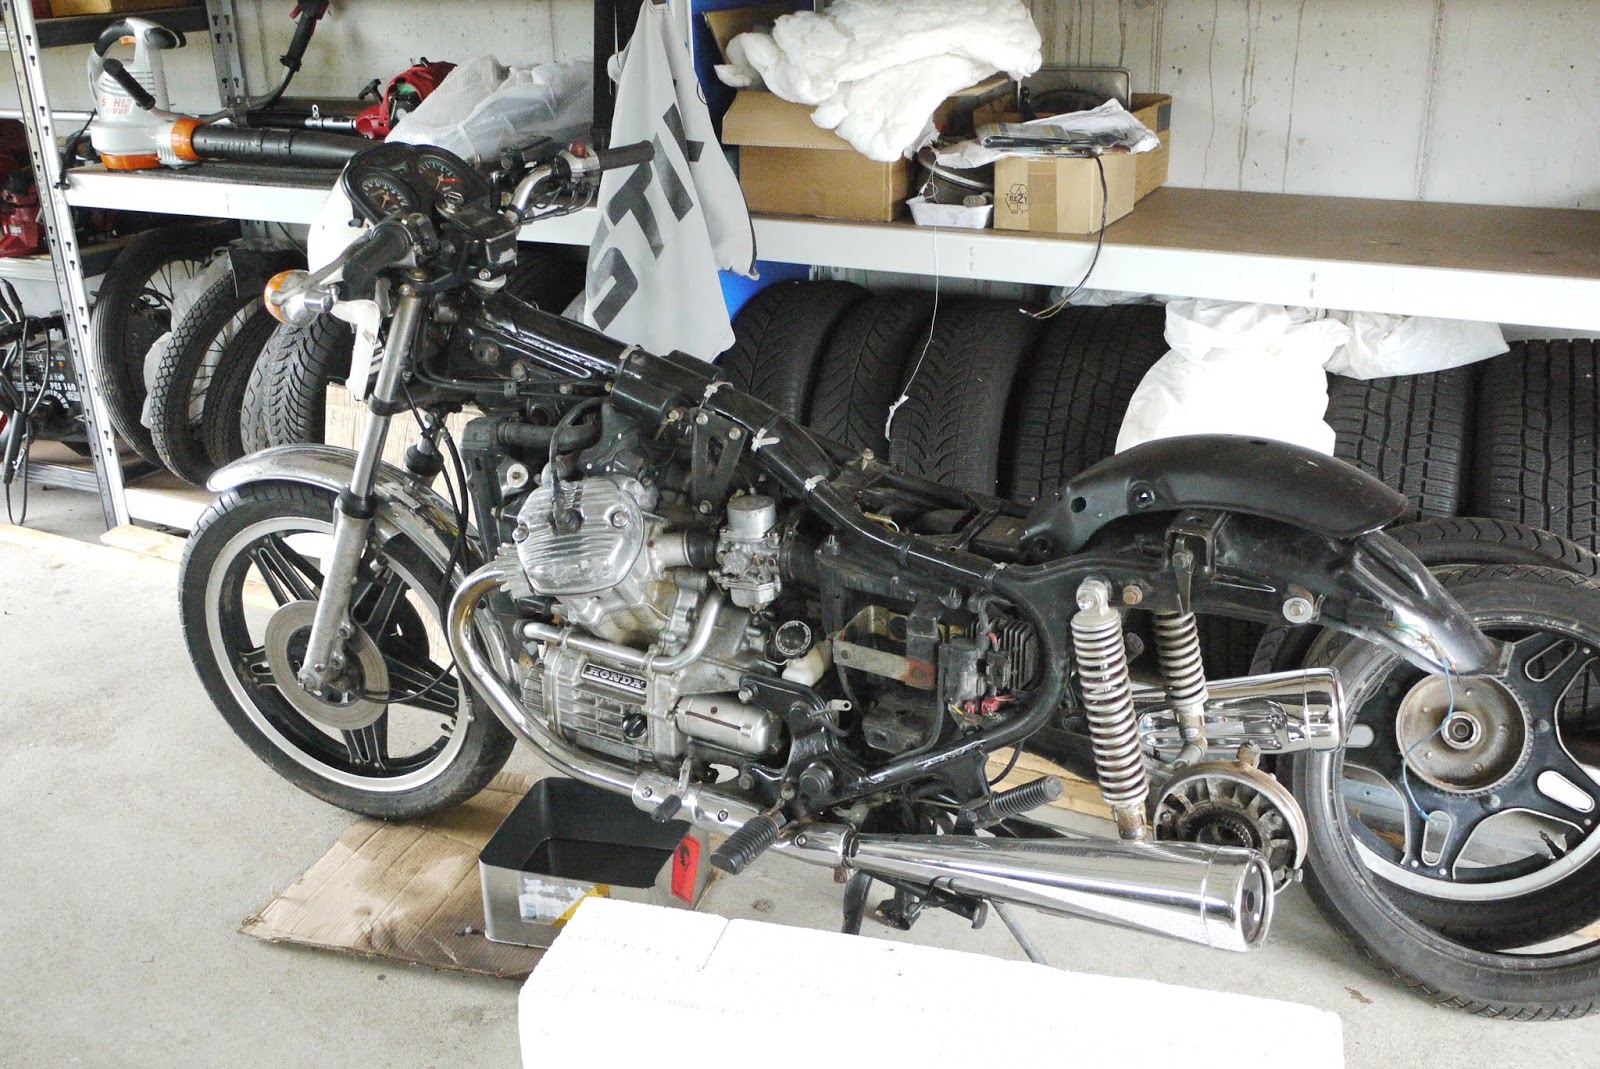
This is the story of a dead cheap, bought almost blindly ex-Austrian Gendarmerie (when the police in the countryside was still referred to that way), then parked up in a damp shack and then bodged back into life by one of the pre-owners and then hastily changing hands like a contageous disease in Autumn, 1982 Honda CX500 PC01, with about 73,000km on the clock.
Everyone in even remotely their right mind would have left their hands of it. We didn't. Quite on the contrary, after assessing the situation (and having the bike sit for about six months) a plan was formed to tackle this bike in three stages: The first of which you will see here.
The first stage was to get this heap back on the road with as much effort as necessary to get it to a point where it is technically sound and will pass inspection, but not much more beyond that point, especially not in terms of cosmetics and all in all for a 1000 Euro budget.
We initially kicked this off by touching up all the rusty spots on the frame with rust-converter, originally my dad had visions of taking the frame off and media blasting it and then properly painting it, but this would have dramatically clashed with both the intended use, timeframe to get her back on the road and also budget.
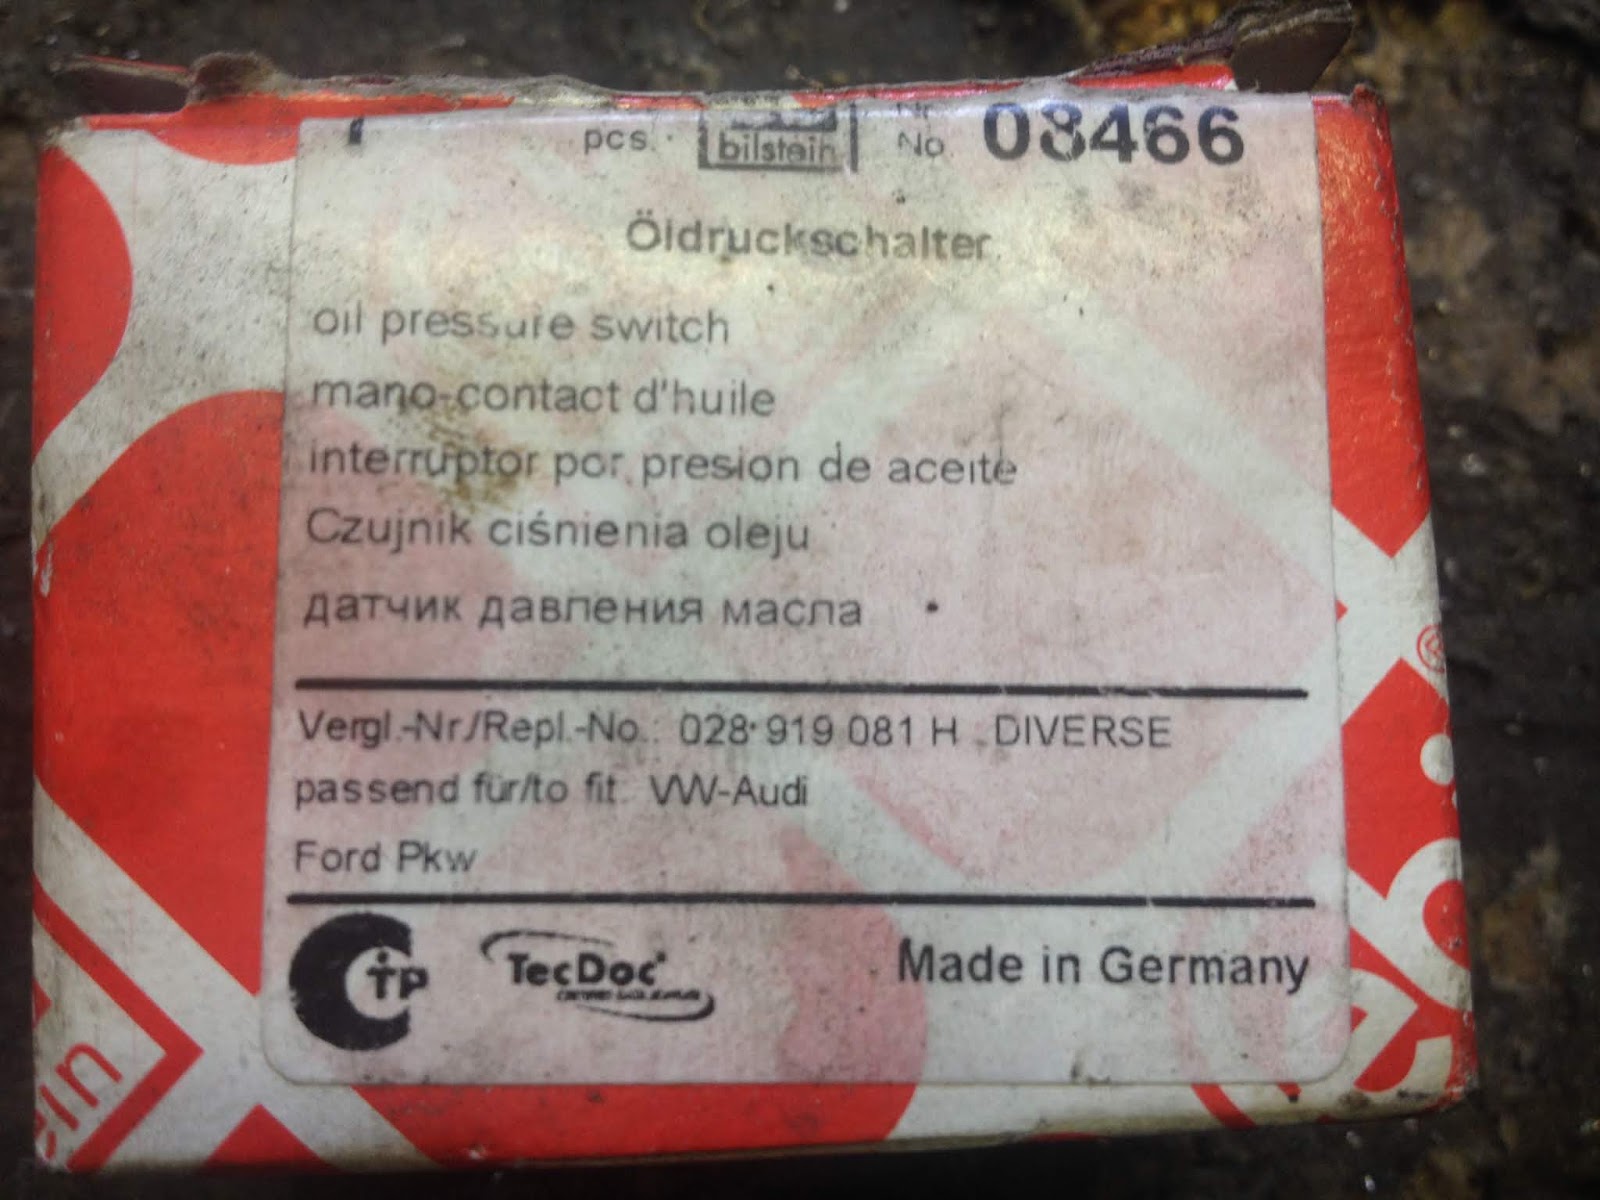
Quite a few spares were amassed and trust me, when you look at the photo below there wasn't much that in the end wasn't necessary.
It's always a brilliant sign, when the brakes work at the seller's and once parked up at home the brake fluid leaks past the pistons. I wasn't expecting much, but this was truly a bit shocking for me.
I ordered some stainless brake pistons in the UK as I am no big fan of the chromed aftermarket ones, especially as this bike is meant to be used and I don't fancy digging into those next year the same time again.
The finished calipers still blend in nicely with the somewhat tatty appearance. A pair of steel-braided brake lines and a 14mm brake master complete the brake chapter.
Next up were the forks. Badly pitted, leaking and most likely a bit bent. Par for the course really.
The water oil-mix that came out of the forks clearly indicated: someone tried to wash the poor thing. Please also note my dad's safety boots. Because work safety all the time.
As noted before: The forks are actually shot, but a bit of oil, new seals and a lot of elbow grease should get them to the point where they are usable for a year or two and by then probably will be replaced with something a bit beefier. (I am thinking about a set of 37mm out of a Bol d'Or and stiffer springs.)
The seal didn't *pop* out but more came out with the least amount of possible resistance. It was well oiled on both side, because it had shrunk so much because of age.
They say you can't polish a turd. I have never been one to believe in that sort of negativity. And to be fair except for two or three pitting marks, which to be fair are bad enough to kill the seals, this turd came out quite shiny.
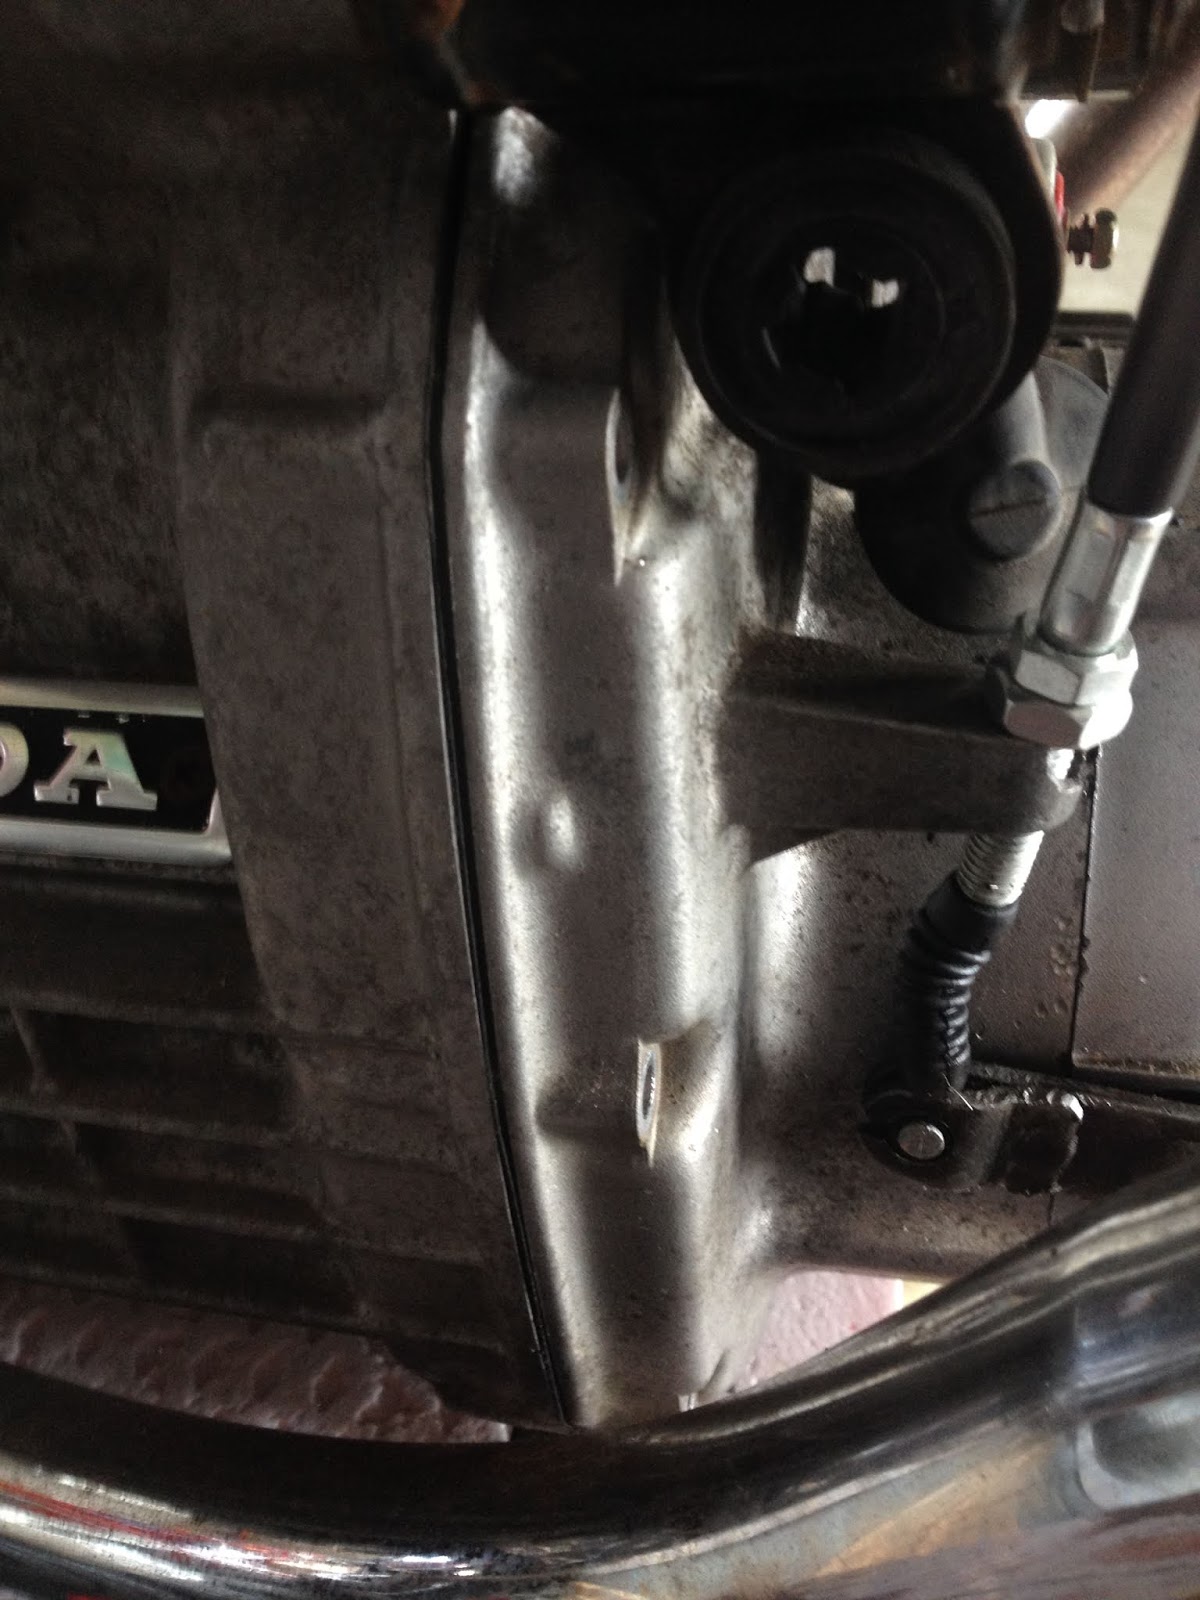
Onto the elephant in the room, or in other words, the one massive fault on the bike we didn't spot during the initial inspection. Or in other words: Ever wondered what happens, when you jam a M12x1.75 into a M12x1.5 thread?
Luckily the front engine cover was rather cheap. Unfortunately it meant removing the cooler and various bolts holding the engine to the frame to get it to move.
For those not as versed with the CX500, the fan sits on a taper on the cam and is an absolute b*tch to remove. So it stayed on.
If you leave the clutch cable on the cover you can quite simply pop it off by pulling the clutch.
Say what you will about Honda CX'es... but the layout with the gearbox under the engine, in this picture on the left behind the clutch, that's pretty amazing. Big sprocket on the right is the oil-pump and the one on the middle is the front end of the crank, which also gives you an idea on just how much of a short-stroke engine that little V-twin is.
New cover for something around 45 Euros, making a sensible insert for the oil-drain and fixing that clutch cable perch would have probably cost about the same. I might still do it just for kicks as the old one is a sacrificial part now.
After greasing up the gasket, it went back together with reasonable ease and only a minimal amount of swear words.
The rear drum brake liner only needed some filing on the edges and a bit of casual attention with a wire brush. It didn't seem to have beeen used much.
With the bike on some new, well new to this bike, BT45s she's a roller again.
The location for the oil-filler is a bit of a sick joke though. There's probably a special Honda funnel to get the oil into the engine. For now it will be fired up on some of the cheapest mineral 15W40 (without friction modifiers) and the oil will be changed after 50 to 100km to get ride of all the old residue inside the engine. Even though admittedly it look pretty clean.
The last part was to tackle the wiring harness situation. To be honest, it could have been a lot worse, based on what I've seen on some decomissioned BMW K75s, still it was a bit of soldering here and there, a couple of new plugs and everything is working again, except for the instrument lighting.
So what's still missing: Carbs still need sorting (the repair kit is already here), but it will be done in one go together with new inlet rubbers, which are still somewhere in transit. The old girl needs some NICER indicators (but we're edging on cosmetics here), the front mudguard needs painting or replacement, but more likely just a coat of primer and white to blend in with the rest of the bike. And then most importantly a road-worthyness inspection and a bit of test-riding.
Plus roughly ten-thousand things that crop up, when you bring such an old girl back to life.