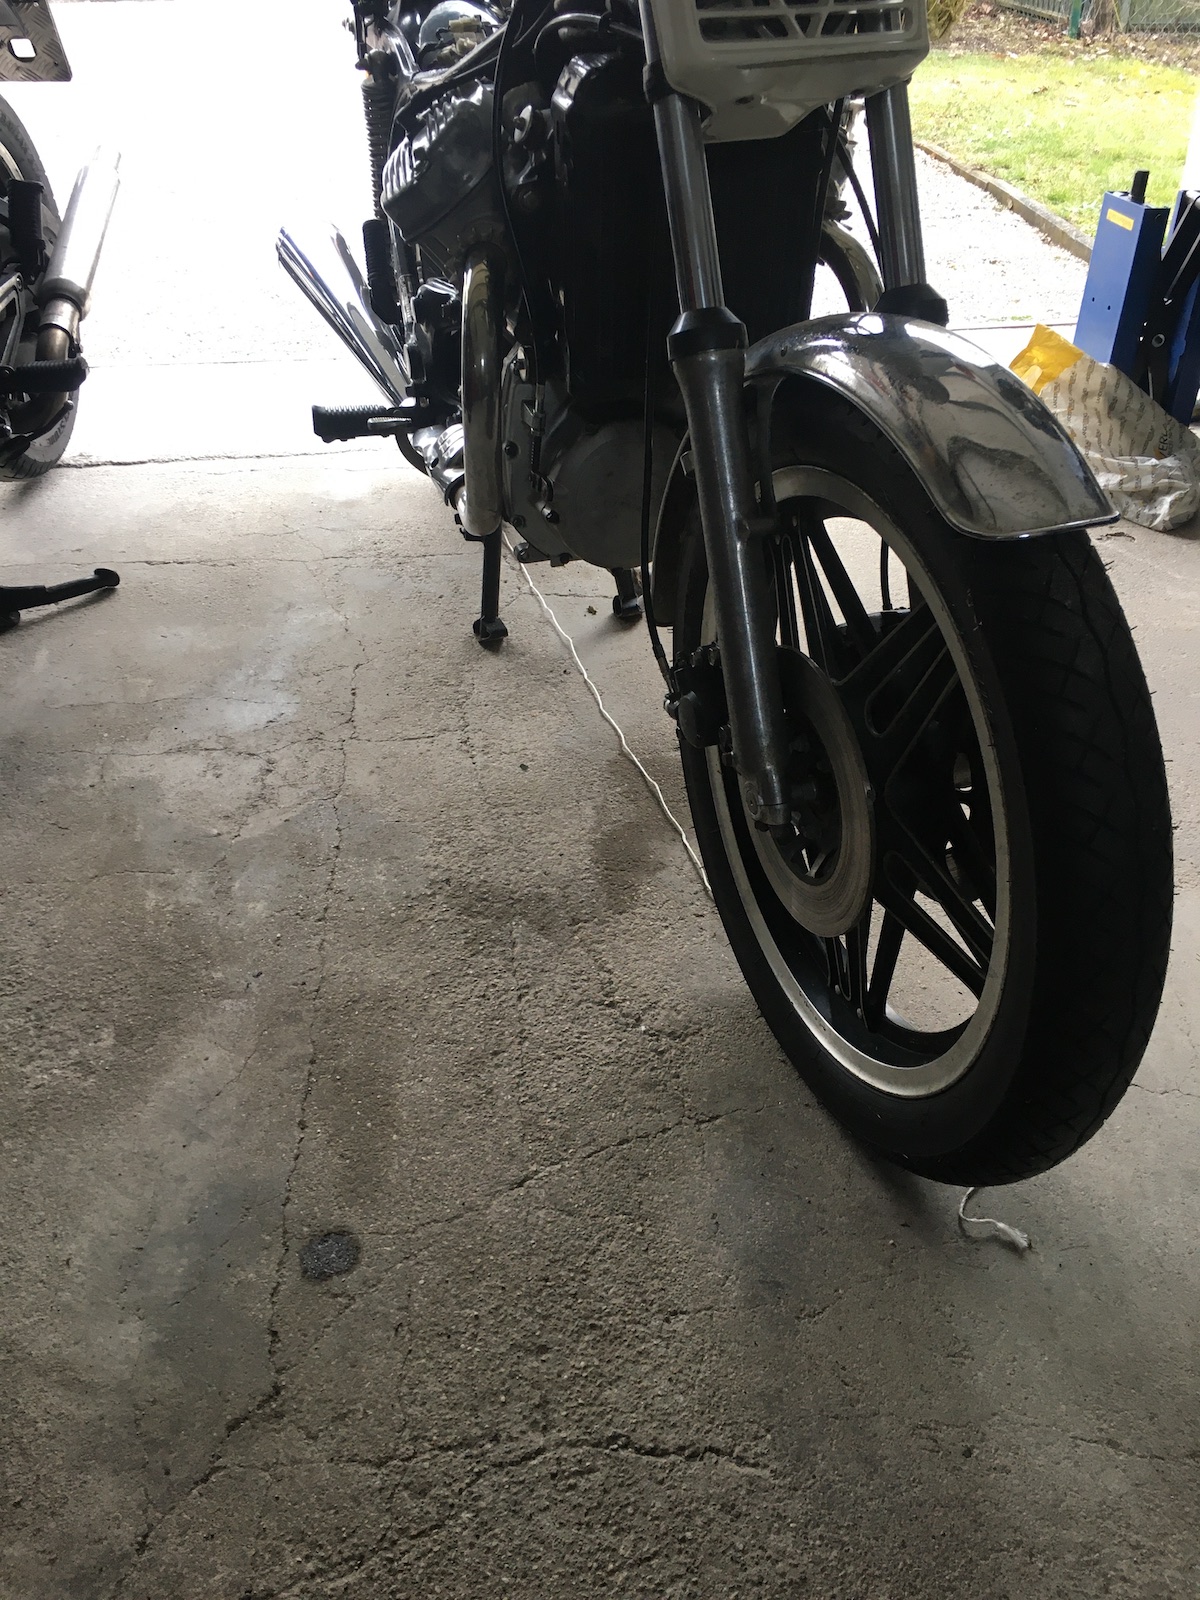
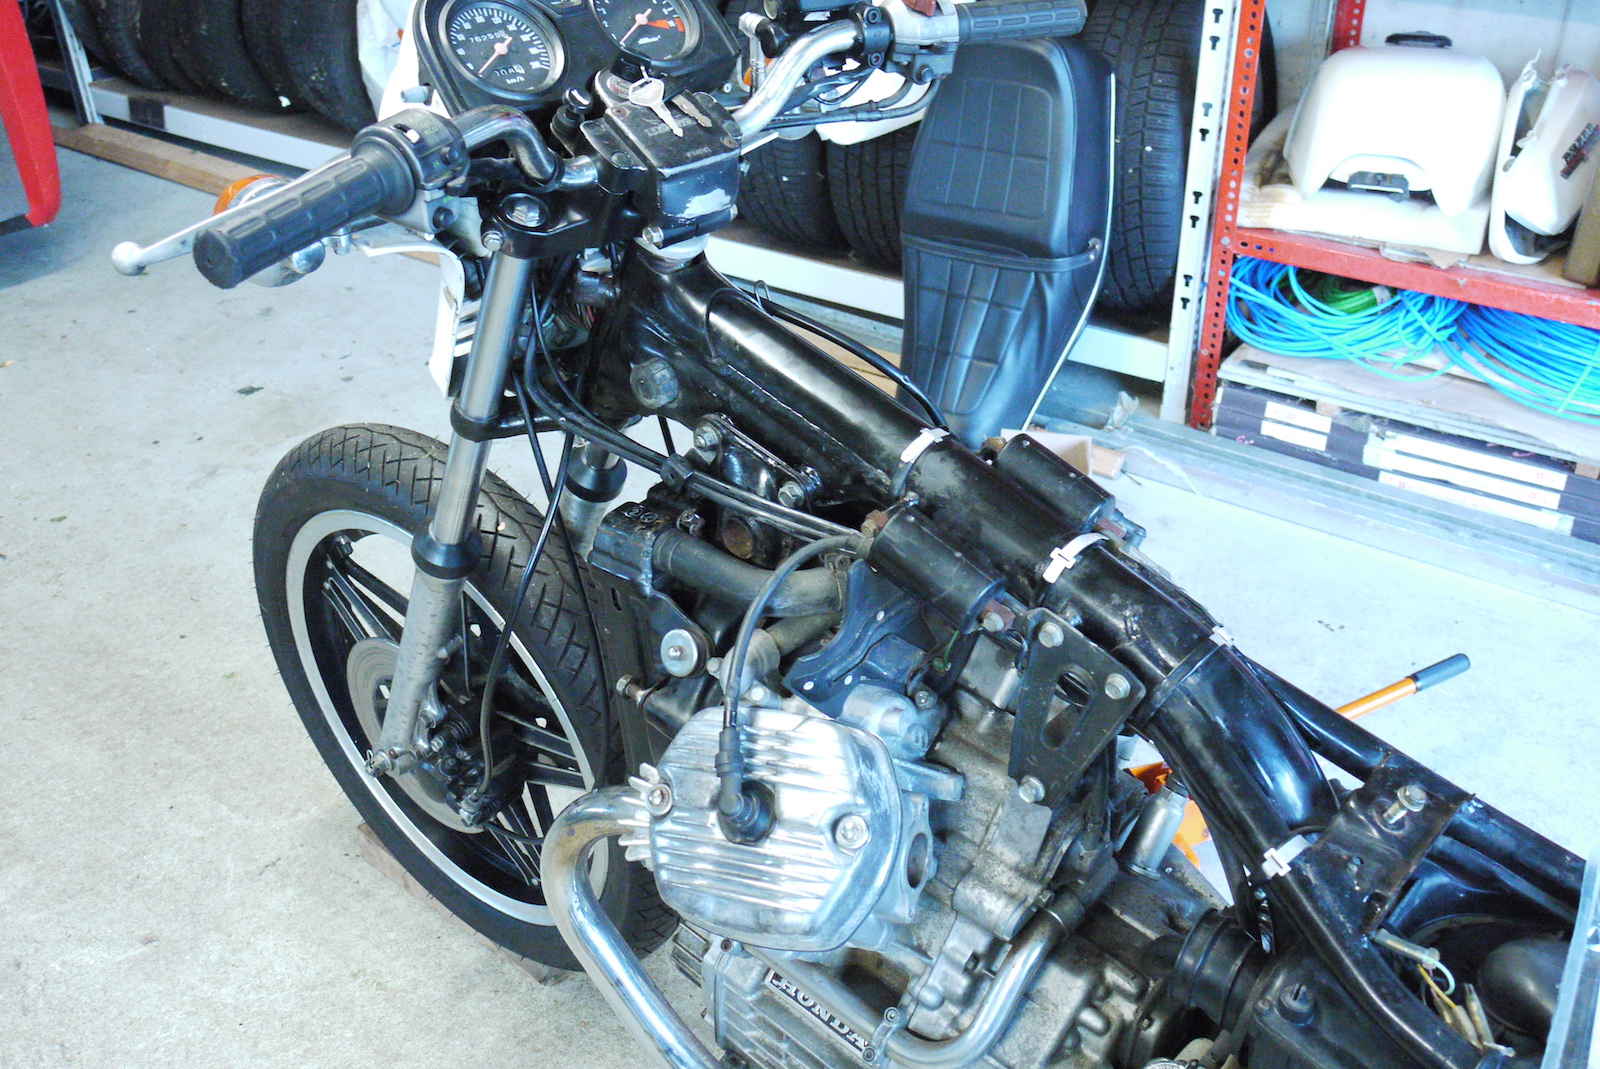
At last - the dirty snowflake is transitioning from making her (barely) run towards ironing all the bugs out that were considered too minor to bother with, when the initial goal was to make her run in four days.
As such a testride was had and a mighty fine one it was. Tyres were scraped in, tachometer needles learned that their rightful place is on the lower right corner of the scale and essentially zero f*cks were given that day. On a more serious note: it's hard to believe that this is a pushrod v-twin with 4-valve heads as the old girl quite happily revs past the red-line and actually really comes to life, once 6000rpm are exceeded and then, honestly, she's one quick lady.
The handling is a lot better than I anticipated and I think I nailed it with the tyre-pressure, as she's very willing to corner as hard as she'll suffer.
Once the brakepads had settled in, well it became rather obvious that the forks might be a bit too soft.
The biggest issue (still) is the carb. First off, there's still tons of rust coming down from the tank. The picture below shows a brand new filter after 75km.
The other thing is, that I had to swap one of the carb-housings along the way and apparently I only swapped needles and needle jets in only one of them.
As the allen-bolts were a bit too long (and tended to come loose) some spring washers were added.
And lastly a new filter was fitted.
Now the factory manual states the mix screw 2 full turns out, but honestly this doesn't work at all with this one, so for now (i.e. until more time for fine-tuning comes up) 0.75 turns will have to suffice. And all of a sudden the old girl starts fine, runs well even from low-rpm and then has got a nice second bite, once she goes past 6000rpm.
Showing posts with label CX500. Show all posts
Saturday, 11 July 2020
Saturday, 4 July 2020
Phour days to phantastic - fighting the small things (aka. day six)
Even though we managed to get the old girl rolling in (sort of) four days, as usual the tricky part starts once the old girl is on the road, as that's where all the "small" niggles rear their ugly heads.
So the first rideout didn't go very (it didn't have to), but it revealed a rather nasty tendency to not rev past 3000rpm and then once you pulled through, rev straight past red-line.
Also the new M14x1.5 petcock was leaking like a sieve, whilst simultaneously clogging up with rust debris from the tank - sort of Schrödinger's petcock. So I had to make an adapter to fit one of my preferred Guzzi M16x1 petcocks instead.
A bit of poking the wiring of the alternator with a stick (i.e. a multimeter) revealed that it wasn't a jetting issue or at least not alone, but that one of the coils had burnt out and as such an Ignitech was needed as this one only used the stock ignition trigger but not the coils to actually produce the spark.
This went rather well until it started to develop a weird running issue on one side, with it cutting out in the midrange. Initially I assumed this would be down to a clogged filter or the like and I started cleaning the carb like it was going out of style, including taking the tops off and finding out that the slides and cases are paired and they worked nice, when fitted in the correct bores.
And then this cheeky fellow smiled at me, chilling out in the float bowl instead of staying put, where he should have been. Also right next to it, the little rubber bung that is supposed to block the idle circuit was also found down there.
A bit of shrink-wrap to the rescue and it now sits firmly in its place resulting in a decent idle.
Also I found out, you can actually leave the cables installed and slide the whole carb assembly out to one side to work on it.
If you scroll back up, you'll notice that this filter looks distinctively different as it is a clear filter now. Yup, after 20km or so the first one had clogged up really, really badly, but at least now most of the rust is out of the tank. (Yes, I deliberately ran the petcock with no screen to do just that!)
... and this is the reward for all my efforts (ignore the temp gauge, that's still f*cked):
Yup, revs cleanly past the red-line. May need a bit more fine-tuning at around 3000rpm as it slightly hangs there, but boy... she is fast... for a CX500 that is.
So the first rideout didn't go very (it didn't have to), but it revealed a rather nasty tendency to not rev past 3000rpm and then once you pulled through, rev straight past red-line.
Also the new M14x1.5 petcock was leaking like a sieve, whilst simultaneously clogging up with rust debris from the tank - sort of Schrödinger's petcock. So I had to make an adapter to fit one of my preferred Guzzi M16x1 petcocks instead.
A bit of poking the wiring of the alternator with a stick (i.e. a multimeter) revealed that it wasn't a jetting issue or at least not alone, but that one of the coils had burnt out and as such an Ignitech was needed as this one only used the stock ignition trigger but not the coils to actually produce the spark.
This went rather well until it started to develop a weird running issue on one side, with it cutting out in the midrange. Initially I assumed this would be down to a clogged filter or the like and I started cleaning the carb like it was going out of style, including taking the tops off and finding out that the slides and cases are paired and they worked nice, when fitted in the correct bores.
And then this cheeky fellow smiled at me, chilling out in the float bowl instead of staying put, where he should have been. Also right next to it, the little rubber bung that is supposed to block the idle circuit was also found down there.
A bit of shrink-wrap to the rescue and it now sits firmly in its place resulting in a decent idle.
Also I found out, you can actually leave the cables installed and slide the whole carb assembly out to one side to work on it.
If you scroll back up, you'll notice that this filter looks distinctively different as it is a clear filter now. Yup, after 20km or so the first one had clogged up really, really badly, but at least now most of the rust is out of the tank. (Yes, I deliberately ran the petcock with no screen to do just that!)
... and this is the reward for all my efforts (ignore the temp gauge, that's still f*cked):
Yup, revs cleanly past the red-line. May need a bit more fine-tuning at around 3000rpm as it slightly hangs there, but boy... she is fast... for a CX500 that is.
Saturday, 16 May 2020
Phour days to phantastic - gets on the road
Well, when you read this, the dirty snowflake CX500 is officially on the road. Lately my dad was able to score a white (god bless the 80ies) Giuliari seat hence the little CX finally being named.
Now in preparation for its roadworthyness-test, the main fuse blew and as it turned out the whole bakelite-holder was well beyond its due-date, so a "holder" for modern blade fuses was improvised (it was Sunday of course and dad wanted to get it inspected on Monday). The other thing I found was that the rear brake-light switch had finally given up and was most likely the reason for slowly draining the battery as it had some sort of weird internal shortage.
Dad's verdict was rather positive: The carbs need some more attention as it's a bit sluggish in the middle and the handling is a bit top-heavy, which in my book is not surprising with those pogo-sticks mimicking real shocks in the back.
Now in preparation for its roadworthyness-test, the main fuse blew and as it turned out the whole bakelite-holder was well beyond its due-date, so a "holder" for modern blade fuses was improvised (it was Sunday of course and dad wanted to get it inspected on Monday). The other thing I found was that the rear brake-light switch had finally given up and was most likely the reason for slowly draining the battery as it had some sort of weird internal shortage.
Dad's verdict was rather positive: The carbs need some more attention as it's a bit sluggish in the middle and the handling is a bit top-heavy, which in my book is not surprising with those pogo-sticks mimicking real shocks in the back.
Saturday, 7 March 2020
Phour days to phantastic - it's all the little things (day 4)
There's this saying that the last 20 percent of a project take up at least 80 percenty of the time. Well, it wasn't the case here to be honest. The lil' CX still had a few fleas, of which the most worrying one was the state of the wiring as it used to be a police bike back in the 80ies, so it had a lot of extra equipment on it.
But first things first: the original petcock has officially had it and a new one had to be installed.
(And yes, this is the stock police tank. Looks like they simply repainted the bikes at the importer. The headlight-cowl has got some blue underneath the white paint.)
After the first testride I found out that the forks were a bit twisted, but that was sorted rather quickly and unlike my first assumption the frame appears to be pretty straight for a 70ies bike.
Time to dig into the electrics - someone cut the wires going to the front indicators, which is a pretty good reason for them not to work.
The most tricky part of all was to work out, why the tail-light worked just fine, but the headlight didn't. Turns out, the high-beam switch was corroded and cut all the electricity to the headlight bulb.
Now this is officially not pretty, but a fuel-filter does wonders in keeping the dirt out of the carbs and preventing carbs from overflowing. (We – as in my dad and I – rinsed the tank multiple times, but there's still some fine rust-debris in there, so over the course of the next three or four fills this will probably mostly come out.)
And there you have it: a nice little CX500, which still isn't pretty, but everything works and it will make a perfect little everyday runaround bike. Even the charging system works just fine, with the reg/rect shutting off. (That being said, the charging system is VERY stout as even with lights on at idle it can charge the battery. Something I am not sure any of my bikes can do...)
Really curious, what my dad will have to say about it. It's a lot more nimble than I would have thought. Carbs may still need some tweaking, but then again it also was very low on petrol and not fully warmed up. Valves might need some attention too as they made some tickering noises, but then again heaps better than nothing to hear at all. All in all, I am quite chuffed with the little bike and the work we put into it.
But first things first: the original petcock has officially had it and a new one had to be installed.
(And yes, this is the stock police tank. Looks like they simply repainted the bikes at the importer. The headlight-cowl has got some blue underneath the white paint.)
After the first testride I found out that the forks were a bit twisted, but that was sorted rather quickly and unlike my first assumption the frame appears to be pretty straight for a 70ies bike.
Time to dig into the electrics - someone cut the wires going to the front indicators, which is a pretty good reason for them not to work.
The most tricky part of all was to work out, why the tail-light worked just fine, but the headlight didn't. Turns out, the high-beam switch was corroded and cut all the electricity to the headlight bulb.
Now this is officially not pretty, but a fuel-filter does wonders in keeping the dirt out of the carbs and preventing carbs from overflowing. (We – as in my dad and I – rinsed the tank multiple times, but there's still some fine rust-debris in there, so over the course of the next three or four fills this will probably mostly come out.)
And there you have it: a nice little CX500, which still isn't pretty, but everything works and it will make a perfect little everyday runaround bike. Even the charging system works just fine, with the reg/rect shutting off. (That being said, the charging system is VERY stout as even with lights on at idle it can charge the battery. Something I am not sure any of my bikes can do...)
Really curious, what my dad will have to say about it. It's a lot more nimble than I would have thought. Carbs may still need some tweaking, but then again it also was very low on petrol and not fully warmed up. Valves might need some attention too as they made some tickering noises, but then again heaps better than nothing to hear at all. All in all, I am quite chuffed with the little bike and the work we put into it.
Friday, 29 November 2019
Phour days to phantastic - a Honda CX500 tale (day 3)
As the casual observer will not, it might have (already) been a tad longer than 4 days, but I never said, those four days would happen in direct succession. 😉
We left this story off with the need for a new second carb-body, as the first one was ruined (by me).
Turns out, that I also needed a new o-ring on the link-tube and some other bits, so another carb overhaul kit, a float chamber gasket and two needle valves were ordered.
Now there's a mighty good reason, why nobody wants to do needle valves on one of these. They are are an absolute bastard to get out and only some really nasty tricks persuaded them from leaving their place. Including literally raging hell on them with a hot-air gun and driving a woodscrew down the first seat.
The amount of crud behind the seat (even though it was freshly cleaned in an ultra-sonic cleaner), was incredible.
At this point I had thought, I had seen the worst. The second one mandated even more drastic measures in the form of drilling and properly tapping it to M6.
I figured, that the only way to get the new needle valve in without damage would be to freeze it as cold as I could and heat the carb body as much as I could.
Let me just put this here once and for all: I totally get, why people convert to two individual carbs. The installation of the stock carbs has definitely left a mark (on my fingers).
From there onwards, it was almost anti-climactic: hook up an auxiliary tank, fire her up and sync the carbs.
Last but not least with Winter lurking round the corner, the water was drained and the radiator filled up with a water-coolant mix.
So what's still up to do for the fourth day? Bit of wiring is probably the most important bit. It still needs the headlight to be wired up, so not only the pilot-light is working and working indicators front and back would be nice. (Currently none work.) Ah yes and the forks are bent to buggery, so we'll have to find a position where the frontwheel and bars roughly point in the same direction, but this almost counts as a vanity-mod. 😁 And then she'll be off for her roadworthyness-inspection in Spring.
We left this story off with the need for a new second carb-body, as the first one was ruined (by me).
Turns out, that I also needed a new o-ring on the link-tube and some other bits, so another carb overhaul kit, a float chamber gasket and two needle valves were ordered.
Now there's a mighty good reason, why nobody wants to do needle valves on one of these. They are are an absolute bastard to get out and only some really nasty tricks persuaded them from leaving their place. Including literally raging hell on them with a hot-air gun and driving a woodscrew down the first seat.
The amount of crud behind the seat (even though it was freshly cleaned in an ultra-sonic cleaner), was incredible.
At this point I had thought, I had seen the worst. The second one mandated even more drastic measures in the form of drilling and properly tapping it to M6.
I figured, that the only way to get the new needle valve in without damage would be to freeze it as cold as I could and heat the carb body as much as I could.
Let me just put this here once and for all: I totally get, why people convert to two individual carbs. The installation of the stock carbs has definitely left a mark (on my fingers).
From there onwards, it was almost anti-climactic: hook up an auxiliary tank, fire her up and sync the carbs.
Last but not least with Winter lurking round the corner, the water was drained and the radiator filled up with a water-coolant mix.
So what's still up to do for the fourth day? Bit of wiring is probably the most important bit. It still needs the headlight to be wired up, so not only the pilot-light is working and working indicators front and back would be nice. (Currently none work.) Ah yes and the forks are bent to buggery, so we'll have to find a position where the frontwheel and bars roughly point in the same direction, but this almost counts as a vanity-mod. 😁 And then she'll be off for her roadworthyness-inspection in Spring.
Sunday, 2 December 2018
Phour days to phantastic - a Honda CX500 tale (day 2)
Now let's start out with the fact that it's no longer about doing it in four days and also not (quite) in four consecutive ones. Let's more aptly call it "phour installments to phantastic".
Regardless of what you see below, I would like to point out, that the bike ran last time, before we, being my dad and me, pulled the carbs out. Tough little bugger.
Out comes the ultrasonic cleaner and trust me it took waaaay more than one attempt and fresh cleaning solution to get to clean up.
Now I have pointed out, that this CX was rather well-priced. Not much of a surprise as we had to go through all the de-mobbing paperwork of an ex-police bike, which strictly speaking shouldn't be registerable anymore and on top of that it must have had at least one incident of rather unconventional parking, i.e. a crash. As such we used the time rather well in trying to re-align the engine and frame after loosening the bolts last time to swap the front engine cover. Luckily there are no pictures of two adult men wrestling with 2m tubes trying to force the engine back into position...
In the end the carb came out a lot cleaner than before. Which didn't help much, because the following jet disintegrated and took the left carb body with it.
So second go with two new jets (one as a spare) and a N.O.S. left carb body.
The following picture is meant to help all of those, who are trying to piece together a set of these Keihins. There's umpteenth springs in this picture.
Because technically it was a new day, I had also bought all new stainless hardware, I mean no reason NOT to dress up a turd, right?
Some people say you have to put a bit of yourself into a project, when you want a good result. The red stuff is blood. Carbs are in, new engine manifolds and all looks pretty decent to be honest.
Well, pretty might be a bit much to ask for, but that's the bike completed and ready to fire up.
... despite it being less than zero degrees in the workshop, after a few moments the poor man's Guzzi came to life again. A few tweaks on the idle screw and she idled with a bit of help from the choke at around 1700-1800rpm. It's hard to tell as it was so cold that the tach was more or less stuck and wouldn't really respond to changing revs.
Aftermath: After a bit of checking, there were no leaks or unusual sounds and the bike seems to run ok(-ish), which is totally fine as the carbs aren't sync'ed or the mix screws set up to anything close to what the book says. All the electrics seem to work (except for the temp gauge) and it charges just fine. Next step will be to get her fully road worthy and registered. And at this point I hope my dad will put her to good use and then the last installment will be a slightly less hideous tail-piece and seat.
All of this will have to wait though, because right after we took the last picture snow began to fall and that basically renders any road testing impossible.
Regardless of what you see below, I would like to point out, that the bike ran last time, before we, being my dad and me, pulled the carbs out. Tough little bugger.
Out comes the ultrasonic cleaner and trust me it took waaaay more than one attempt and fresh cleaning solution to get to clean up.
Now I have pointed out, that this CX was rather well-priced. Not much of a surprise as we had to go through all the de-mobbing paperwork of an ex-police bike, which strictly speaking shouldn't be registerable anymore and on top of that it must have had at least one incident of rather unconventional parking, i.e. a crash. As such we used the time rather well in trying to re-align the engine and frame after loosening the bolts last time to swap the front engine cover. Luckily there are no pictures of two adult men wrestling with 2m tubes trying to force the engine back into position...
In the end the carb came out a lot cleaner than before. Which didn't help much, because the following jet disintegrated and took the left carb body with it.
So second go with two new jets (one as a spare) and a N.O.S. left carb body.
The following picture is meant to help all of those, who are trying to piece together a set of these Keihins. There's umpteenth springs in this picture.
Because technically it was a new day, I had also bought all new stainless hardware, I mean no reason NOT to dress up a turd, right?
Some people say you have to put a bit of yourself into a project, when you want a good result. The red stuff is blood. Carbs are in, new engine manifolds and all looks pretty decent to be honest.
Well, pretty might be a bit much to ask for, but that's the bike completed and ready to fire up.
... despite it being less than zero degrees in the workshop, after a few moments the poor man's Guzzi came to life again. A few tweaks on the idle screw and she idled with a bit of help from the choke at around 1700-1800rpm. It's hard to tell as it was so cold that the tach was more or less stuck and wouldn't really respond to changing revs.
Aftermath: After a bit of checking, there were no leaks or unusual sounds and the bike seems to run ok(-ish), which is totally fine as the carbs aren't sync'ed or the mix screws set up to anything close to what the book says. All the electrics seem to work (except for the temp gauge) and it charges just fine. Next step will be to get her fully road worthy and registered. And at this point I hope my dad will put her to good use and then the last installment will be a slightly less hideous tail-piece and seat.
All of this will have to wait though, because right after we took the last picture snow began to fall and that basically renders any road testing impossible.
Subscribe to:
Posts (Atom)