Sunday 31 May 2020

Coil adaptors for GPZ500 on early XVs

One of the biggest joys of riding (daily-ing) old junkers is the fact that sooner or later the parts supplies dry up. This hardly matters, when some plastic cover for some doodad is no longer available. (Except you're trying to restore your poop-brown interior on your 80ies commuter car) But it gets a bit more substantial, when consumables run out. Now ignition coils have a long lifespan, but after a while...

As a rider of a XV 750/920/1000/TR1 you know these, even though they normally come with a plug at the end of the cables:


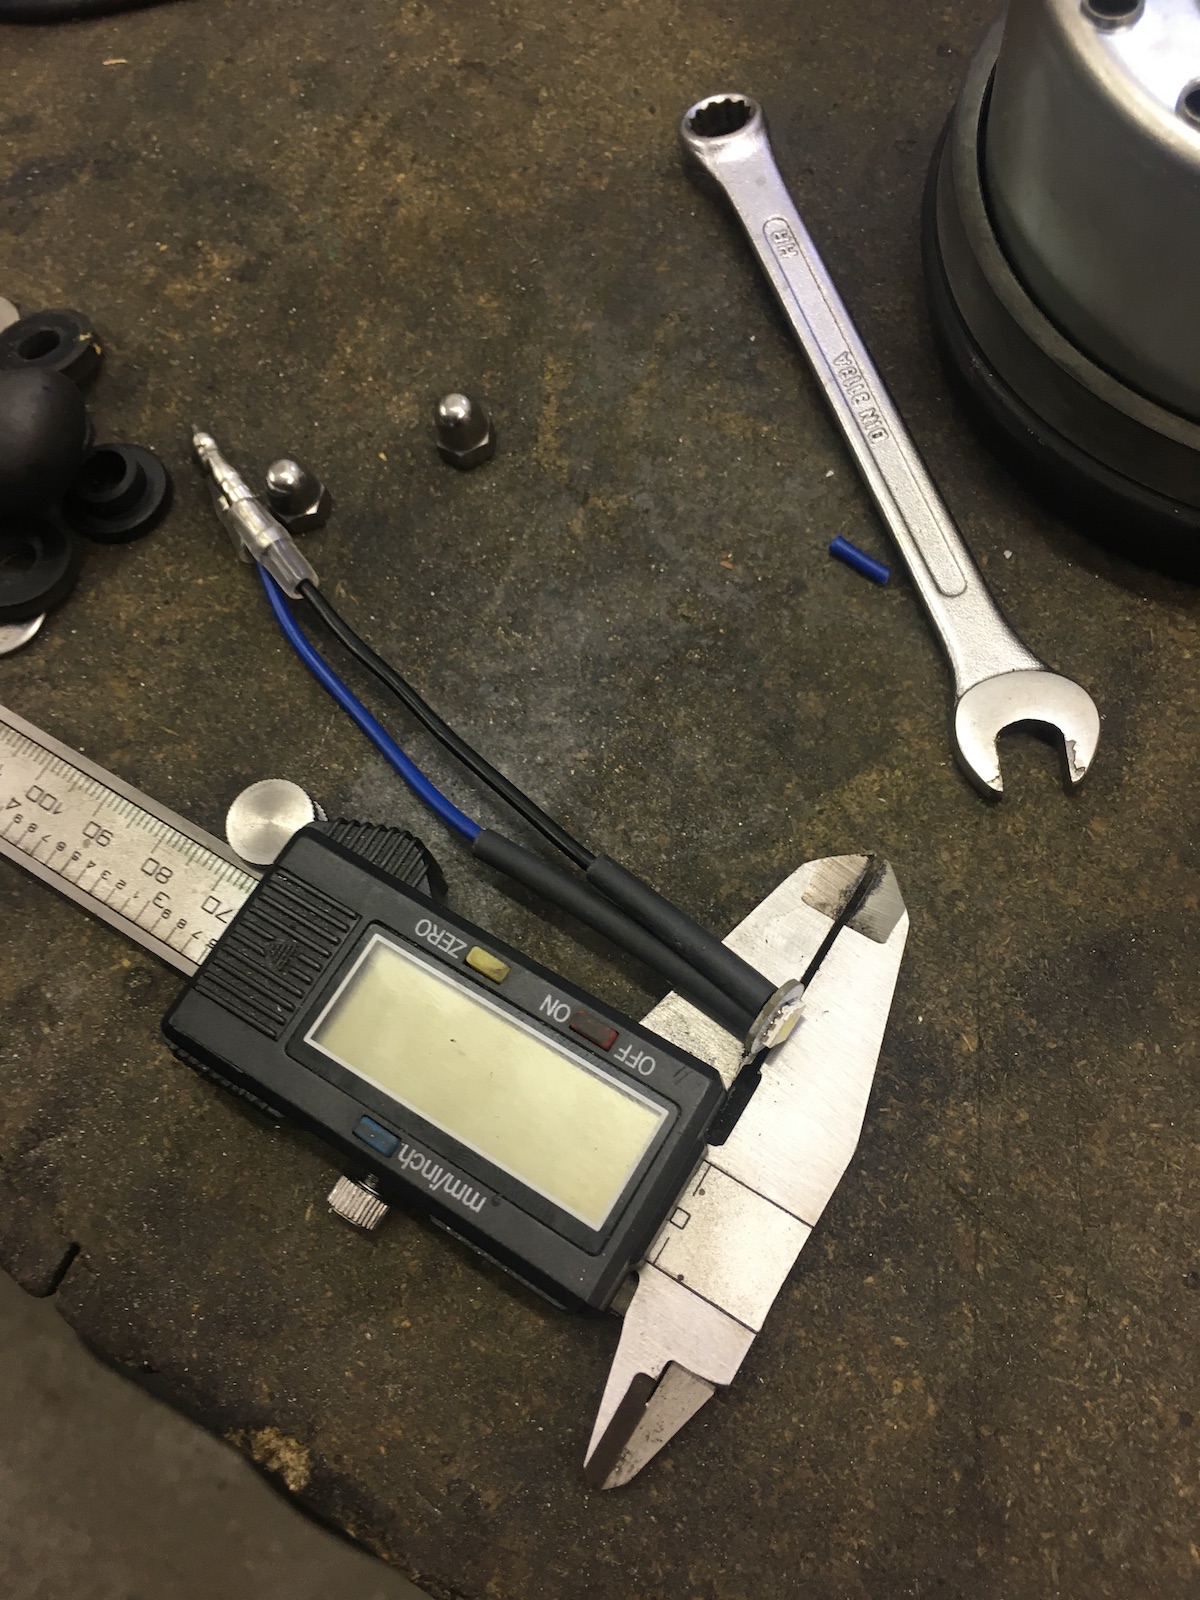
As you might have guessed, they are no longer available. Stock coils have a primary resistance of around 3 Ohm +/- 10% and a secondary resistance of around 8.5kOhm. Armed with these values I started shopping around and found the coils out of a GPZ500, which come it at the same specs, but are physically smaller and still have detachable leads.


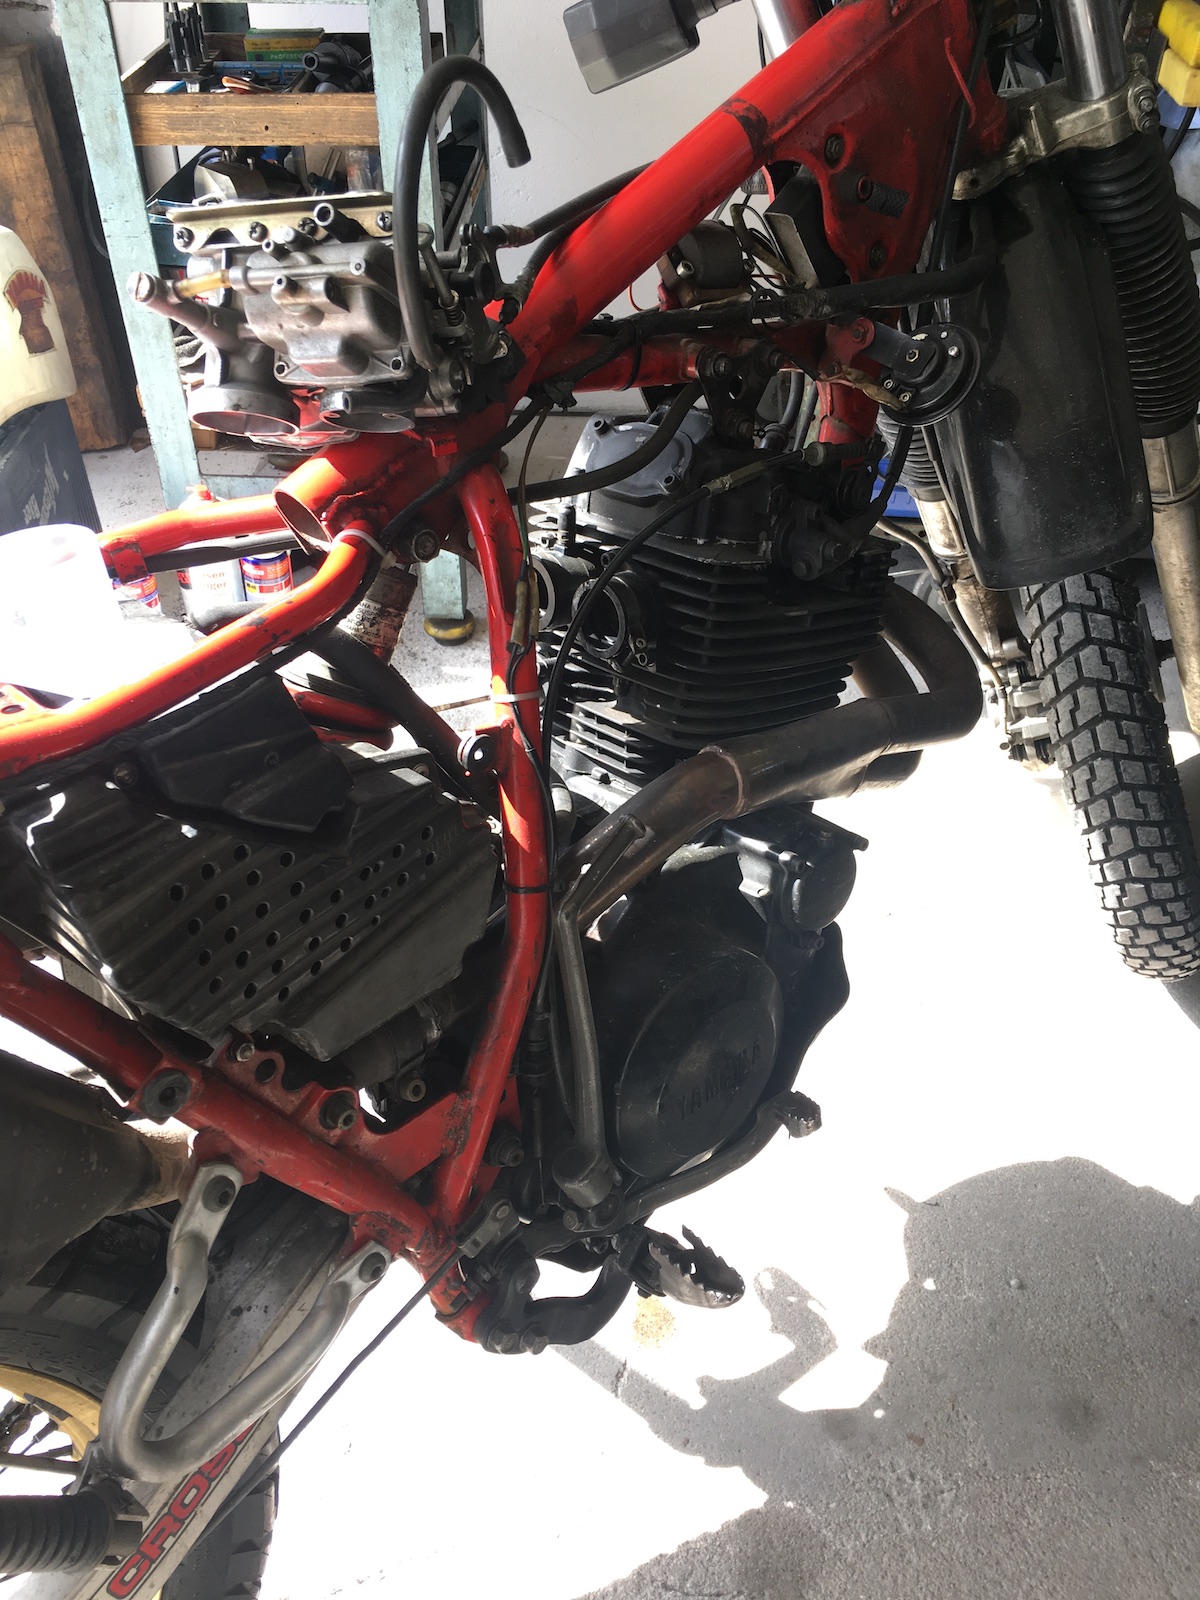
So why do all this? Firstly, nope the coils on the Tractor are still fine, but the coil-on-plug coils on the turbo are a bit dubious and I plan on reviving that thing in the coming months and once I get started on tuning the carb and ironing out all the other bugs the old girl has, I want to be sure that I am not also going to chase some spark issues.

Sunday 24 May 2020

Project DIY Flowbench (part 1)

Remember how a few years ago the biggest problem in building stuff was finding the right sensors and microcontrollers? Well, now that literally every soccer mum's station wagon is high boost turbodiesel packed full with electronics, finding the right sensor isn't much of a challenge anymore.

But let's start at the beginning: A flowbench is used to measure flow through (all sorts of) orifices. As such in order to build a flowbench, we need a means to measure this flow. In the past this was achieved with all sorts of barometers and pressure transducers, which only indirectly measured the changes in flow, because actual mass airflow meters (MAF), where highly specialized tools only used in labs.

Below you see the two standard MAFs used in a plethora of VAG corporation TDI-models. Why choose one of these over (more modern) alternatives? These are fully analogue and just put out a 0-5V voltage, which can be referenced to airflow, based on a set of charts widely available on the internet.

Bosch VW 028906461
 
Pierburg VW 074906461


The pinout:

Pin
Bosch
Pierburg
1
Temperature sensor output,
not used in ALH engine
5V reference input voltage
2
12V supply input
Signal ground
3
Ground
12V supply input
4
5V reference input voltage
-
5
Output voltage
Power ground
6
-
Output voltage

So basically what we'll need to build the flow bench is a stand for the head to clamp it down, a MAF a trusty shop vac and either an Arduino (or a clone) plus a little display or maybe an older Raspberry pi.

All we have to do on the electronics side is to have a means to read the voltage (hence the Arduino or Raspberry Pi) and reference that to the airflow following a rather simple kx^2+d formula (based on the graphs I've seen so far.


If you extend the curve all the way to 5V, you get somewhere close to 700kg/hr, which should be plenty enough for any given head one may encounter on a motorcycle. I hope to find some more graphs as I doubt that it really starts at 1V at zero-flow. More on this, when I make some progress.

(Special thanks to whoever archived the old Tech4tdi-page as the pictures and graph have been taken from there.)

Saturday 16 May 2020

Phour days to phantastic - gets on the road

Well, when you read this, the dirty snowflake CX500 is officially on the road. Lately my dad was able to score a white (god bless the 80ies) Giuliari seat hence the little CX finally being named.


Now in preparation for its roadworthyness-test, the main fuse blew and as it turned out the whole bakelite-holder was well beyond its due-date, so a "holder" for modern blade fuses was improvised (it was Sunday of course and dad wanted to get it inspected on Monday). The other thing I found was that the rear brake-light switch had finally given up and was most likely the reason for slowly draining the battery as it had some sort of weird internal shortage.


Dad's verdict was rather positive: The carbs need some more attention as it's a bit sluggish in the middle and the handling is a bit top-heavy, which in my book is not surprising with those pogo-sticks mimicking real shocks in the back.

Saturday 9 May 2020

Dre-XT-Stueck or bust - rejetting, maintaining and getting dirty

The Dre-XT-Stück is slowly starting to come together now. After checking the valves once more, another rejet was due and with my opened up airbox, I am now pretty much at the (standard) 1VJ jetting of 145/125/46 and this really woke the bike up.

Only after some cleaning I found out, that someone had painted the valve covers gold.


The other thing I had to do was to check and reset the float level. At some point in the past I must bent them a little as the float level was higher than I wanted it to be.


Then it was time to get the old girl dirty on some (wet) gravel roads and in the old girl's defense, she didn't do too bad. For some high-speed offroading the suspension is definitely too soft, but if you realize,you're not on some past 2000s sport-enduro, she can handle herself quite well.


Oh and she's quite snappy now too... The midrange grunt is really addictive and has made a direct impression on how I handle the old girl in the dirt.


The question on how to legalize the 600-engine currently installed in the Dre-XT-Stueck has been solved as well... I'll do a frame swap to a spare 600 frame as that's cheaper than re-registering it as a 600, so if someone is in the market for a 500 frame with (soon) fresh Austrian MOT (Pickerl), yup this one will be for sale. Well and just to cheer myself up, I'll finally have an XT with a black frame again.

Sunday 3 May 2020

Everyday TR1 - getting ready for road-worthyness inspection

The big problem with bikes, which mostly run flawlessly is that when they start not to do so anymore, you simply don't notice right away...

This time it was triggered by a failing tach, probably also at least damaged by my broken Ignitech a while ago. Originally I was worried that the something was broken inside the repaired TCI and that either one of the transistors had let go (again) or something else. But no, just the tach had given up.


Next thing was a flickering pilot and tail-light, which was down to the contact plate of the ignition barrel coming loose (easy fix tighten the bolt) and more unpleasantly after only 39 years the pilot bulb holder has become somewhat worn. I decided I had enough of it and made a proper LED pilot light from a cheap LED-cob.


Vernier calipers make perfect 3rd hands for soldering finnicky stuff. (Those days when you can't find your third-hand-tool.)


The picture hardly does the brightness justice... it is epically bright. (I wonder why no one sells these as pre-made pilot lights.)


After the front was sorted, the rear light still had some problems. Strangely enough the brake-light bulb was rusty...


... and the contacts had some serious dings from the contacts, which a bit of solder sorted that nicely.


Expect somewhat more exciting stuff next time. 😏