
So when setting everything up, the clearance between pipe and chain gaitor was deemed essential. (That's about 10-15mm, measured at max. swing of the swingarm.)

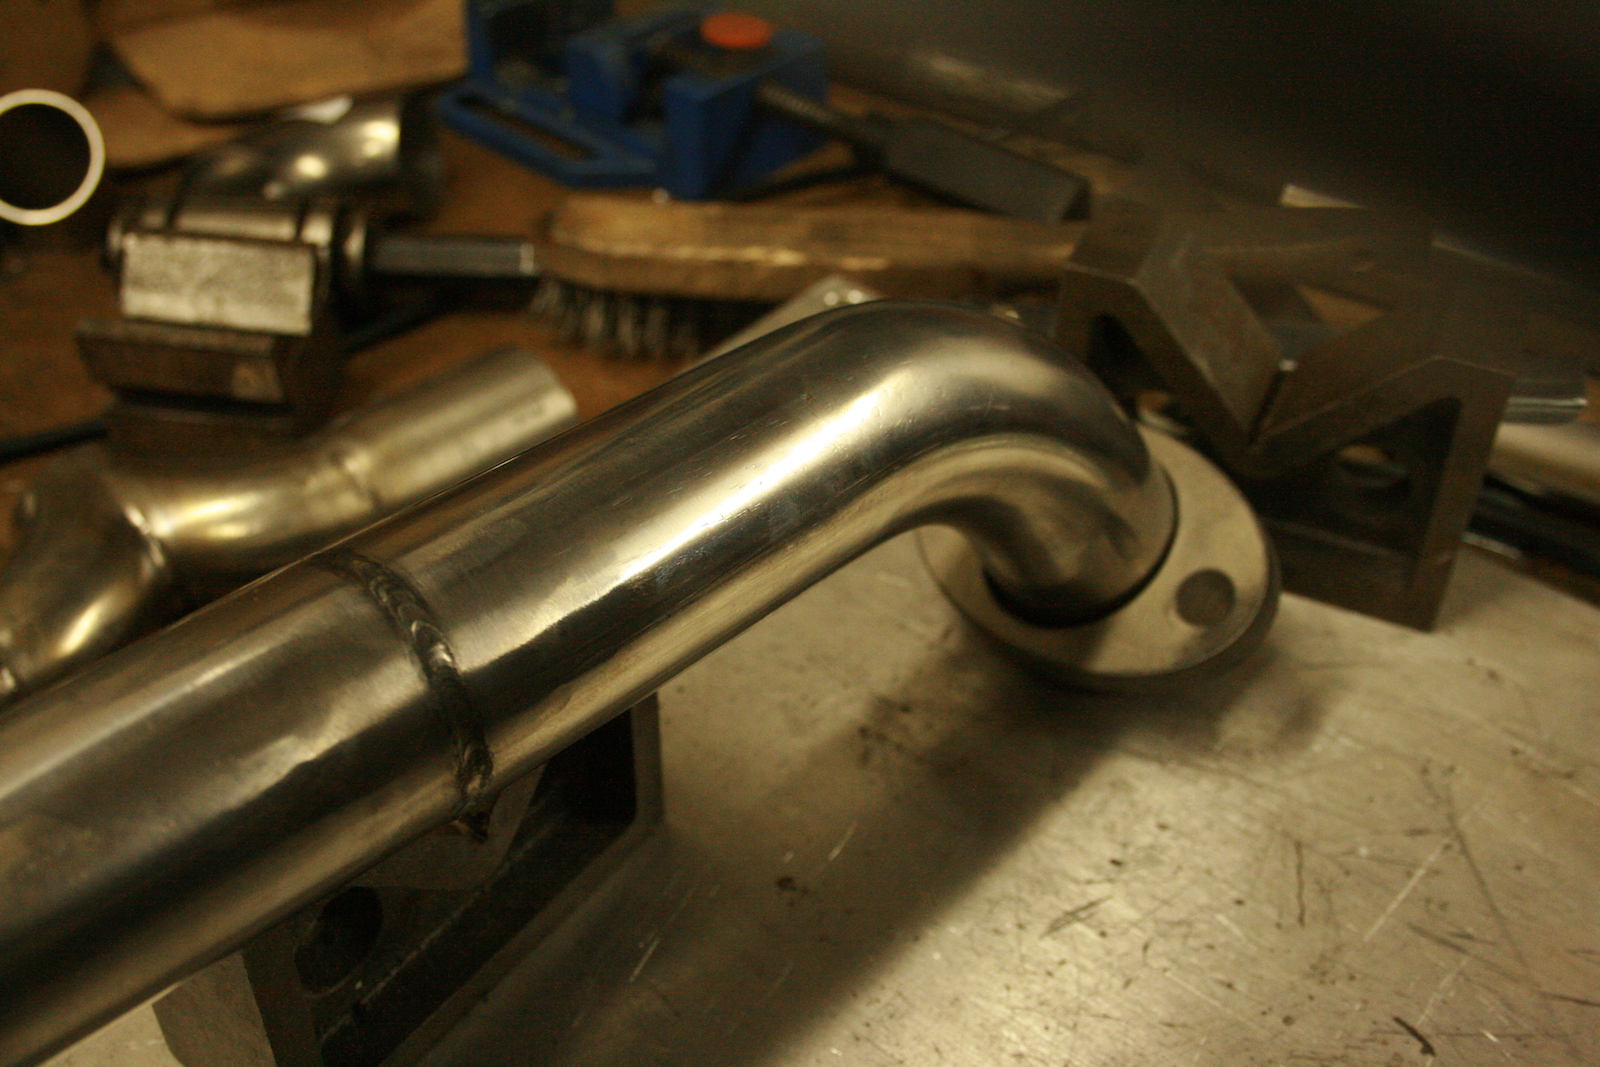
But starting from the front, in this case the cylinder head, I wanted to have nice, meaty flanges and location rings to center the downpipes in the port and ensure good seal, as they wouldn't warp easily. I also turned a step into the rings to make it easier to weld them onto the pipe.


A great deal of time was spent on making these two collectors and unlike in previous versions making sure that all the sleeves are pointing the right way in order to prevent leakages.

As I had started from the silencers towards the collectors, the next logical step was to work back from the front in direction of the collector.
Because the tubes had lots of bending marks, a bit of polishing was due. The thing with polishing is though, once you start with polishing at one end, you have to do the whole lot or it'll look a bit odd.

With the two Y-pieces of the collector already being built, the actual collector almost built itself as it was more a pretty simple case of connecting the dots.


The last part that I had to build was the rear downpipe, going to the collector. Building it imposed two main challenges: 1) clear everything, go through the frame and allow suspension movement and 2) be of as close as possible of the same length as the front downpipe. Which if you have a careful look at the bike is quite the challenge in its own right. Suffice to say, making the rear downpipe almost took as long as all the remaining parts.
This is the go-through-the-frame-without-touching-anything-part.


And once it has come out of the frame it "just" had to clear the collector and other pipework and meet up with the sleeve.


If you look very closely at the last picture, you will notice a section, which in reality is about 25 to 30mm long which looks a lot like an afterthought. This was the hardest part to fit on the whole exhaust as it had to compensate for the total sum of all misalignments of all previous cuts.
The last step was to weld in a bung for an O2-sensor (even though I currently do not have any intentions of using one) into the main bend of the collector. The angles and positioning of these are rather sensitive, e.g. the nozzle of the sensor has to point downwards to prevent it from collecting moisture and it also has to be as close as possible (but at least 50cm from the exhaust valve) and there's should be no exhaust leaks ahead of it. If you want to follow all of these requirements, you aren't really left with too many positions to put it and as I didn't want to install two sensors, there was really only one position left.


And then it was ultimately the last time to take the exhaust apart and polish up all the parts.


And this is the final result (admittedly the silencers aren't done yet).


To be fair, there's been a lot of mishaps, as originally this was meant as a completely new generation of my exhausts, I had to redo the sealant on the cylinder foot, when swapping valve springs. Oh and then there was this little episode, where I woke up, because I was absolutely certain that I had mixed up the valve timing on the rear cylinder ...
What's the oil filter cover off in these pics? Not seen that before..
ReplyDeleteBT1100/XVS1100. They consist of an innner- and an outer cover. This is only the inner cover and it's a straight fit on the older XV-engines.
Delete