
... which is usually how some very long stories start.
First of all, I was a bit unhappy late last season regarding the brake-performance with the old brake pump, so I swapped it out for one from a Honda ST1100 ABS (14mm pump).


Only after swapping the pump I found out that the actual culprit was one of the brake lines drawing in some air right after where it was crimped. So a set of new lines and bolts in the colour of the season: black.

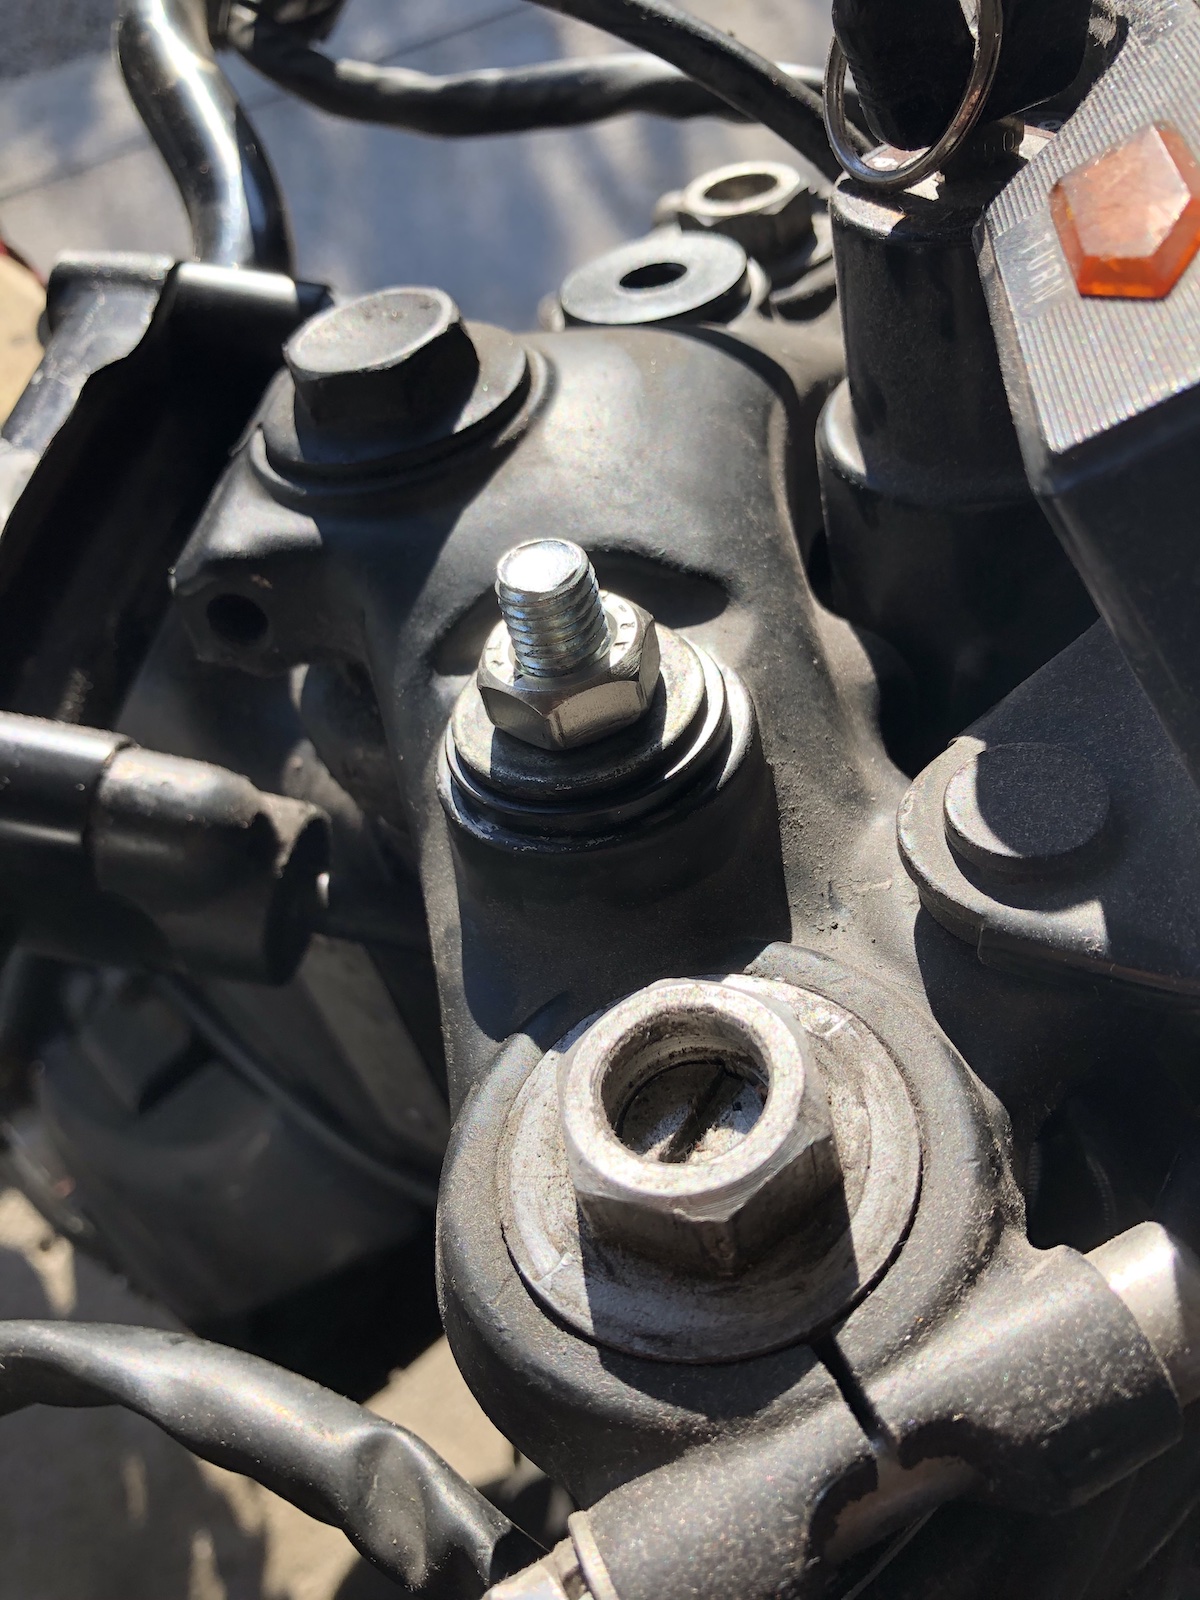
As there was some waiting time between those two steps, I decided that I had put up long enough with old dry-rotten handlebar rubberbushings.

One would assume that heating them up would be the way to go. It wasn't, as the rubber collapsed and I still had to deal with the steel sleeves. That was a good hour or so of chiseling and hammering.

M10 bolt, washers top and bottom and the new rigid bushes are fitted in no time.
After having fitted a 1-bar opener oil-pressure switch from a Fendt tractor, I had to find out that actually when the engine is hot the oilpressure drops to around 0.8 to 0.9 Bar, which makes the oil-pressure warning light flicker a bit. So after some searching I found the Bosch oilpressure switch 0986 344 033, originally intended for Volvo 140 engines. This one opens around 0.7 to 0.8 Bar and is a perfect fit.

As I had to take the back cover of the starter off to get to the pressure switch, it was a good moment to clean out the carbon dust that had accumulated in the last year.

As I didn't manage to drill a perfectly square hole, I smeared a bit of black liquid gasket around the pressure switch'es base and let it dry for a few days. Result this part of the engine is now bone dry.

And then there's sort of the elephant in the room - when I had the bike inspected, I noticed that the swingarm could do with a little less play in it.

The big(er) guns had to be brought out.

A bit of gentle tap-tap went (almost) nowhere.

So I called in the really big guns, i.e. my dad, because as it isn't his bike, he certainly has a lot less qualms giving that bolt a proper good smack. Which obviously did the trick

Obviously the bushing (24x16x144mm) was already on more than it's last legs and the bearings weren't that much better, but luckily I had bought a complete repair-kit a while ago.


Obviously the lack of grease hadn't done the bearings a favour and the axle-bolt wouldn't have lasted that much longer before rusting solidly into the bushing. So the answer obviously was grease nipples.
One into the frame, in a space that can later still be reached to grease the actual needle bearings:


And the other one into the axle bolt. (Btw.: It's 16x200mm should you be forced to replace it, because you didn't catch it in time.)

The bolt was center- and then cross-drilled, so I could easily grease the bushing on the inside, which should make getting the whole lot apart a lot easier the next time. (And given the fact that the stock bearings still lasted nearly 40 years, this should be plenty good enough.)


With the center bushing removed, getting the old bearings out and subsequently the new ones in, is a fairly easy job.

With the bolt-head facing right, the grease nipple can be reached right through the right footrest-backplate and there's now no excuse NOT to pay it a visit with a grease gun every now and then.

Verdict? I even painted the swingarm and the bike feels a lot more stable and well planted on the road and I've got that warm fuzzy feeling that by now every single chassis bearing of this frame has been done by me at least once now.
No comments:
Post a Comment