
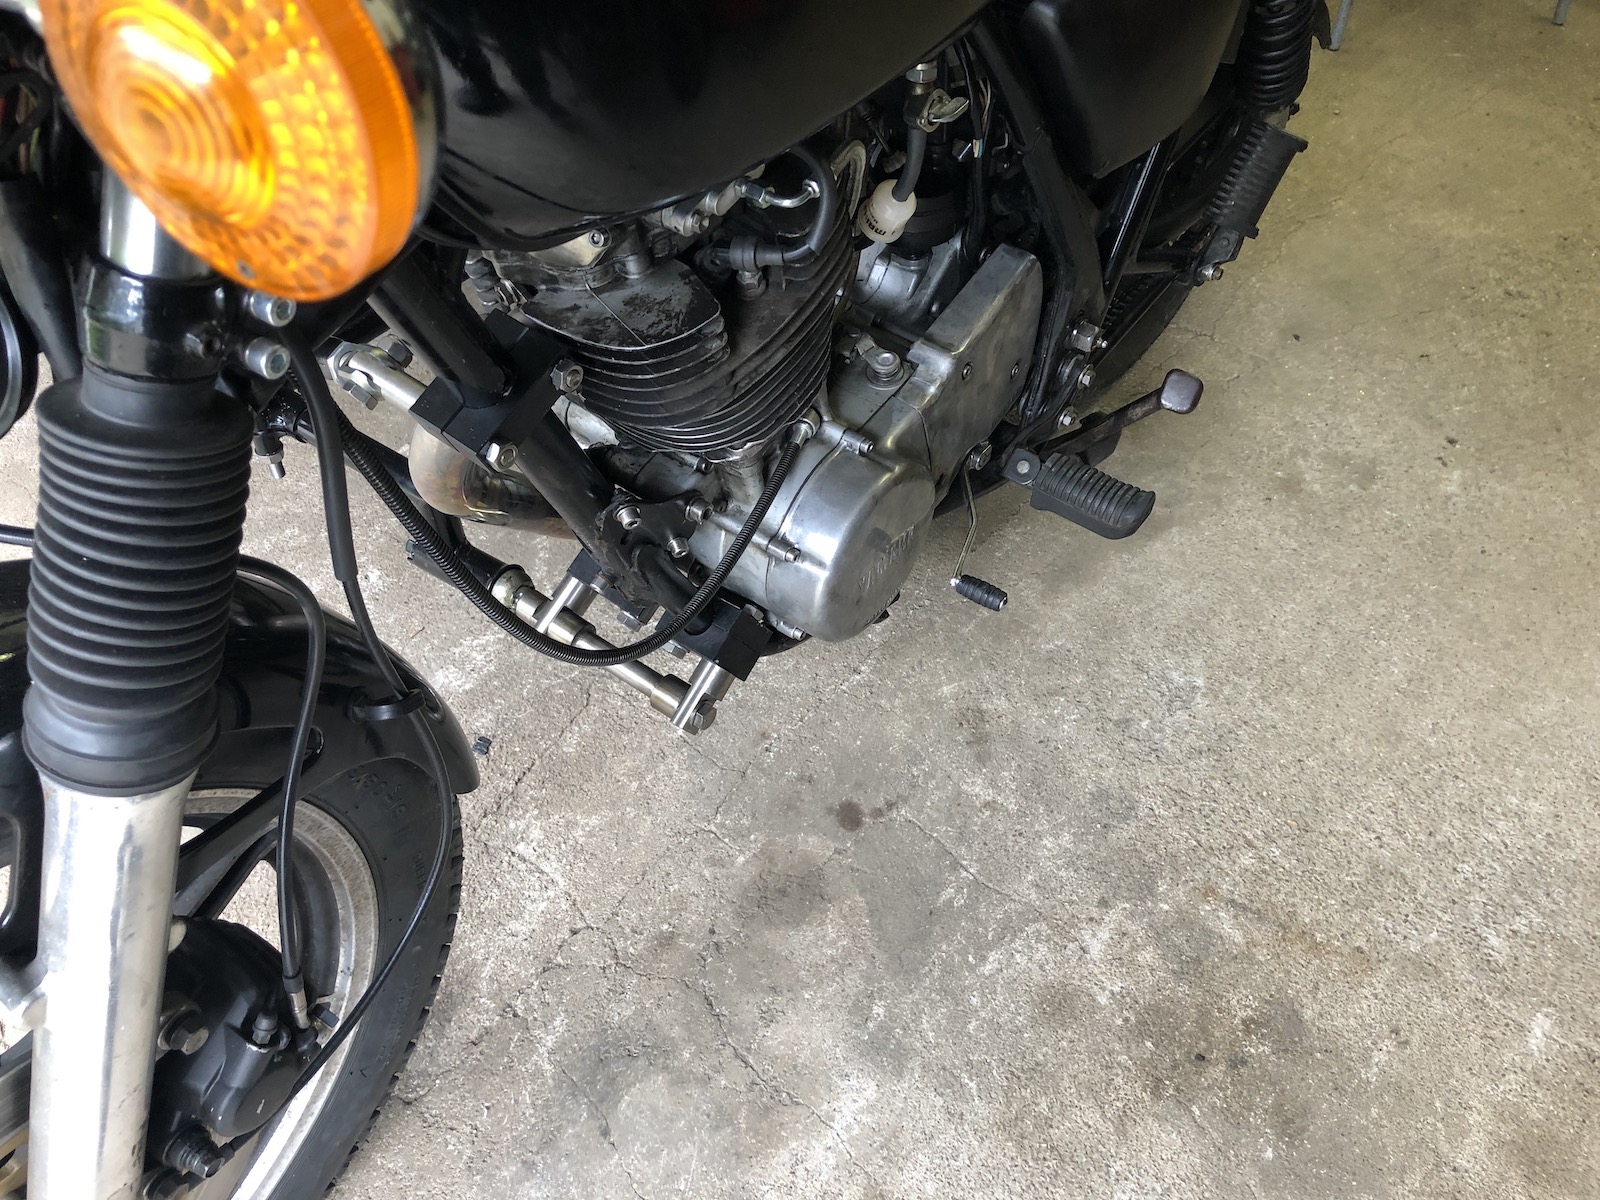
... and we haven't even gotten to the frame reinforcements. The TM36 carb below is by no means the only reason, but it played an instrumental part in me making sure that I do not get to said reinforcements just yet.

When money is no objective, you can just go ahead and order the right one from the Mikuni supplier of choice. This one is NOT the ubiquitous TM36-31, but a TM36-50A, meant as an aftermarket carb for a Husqvarna TE410. With the biggest difference being the adapter on the back, which came off relatively easy with a hotplate and a drift.
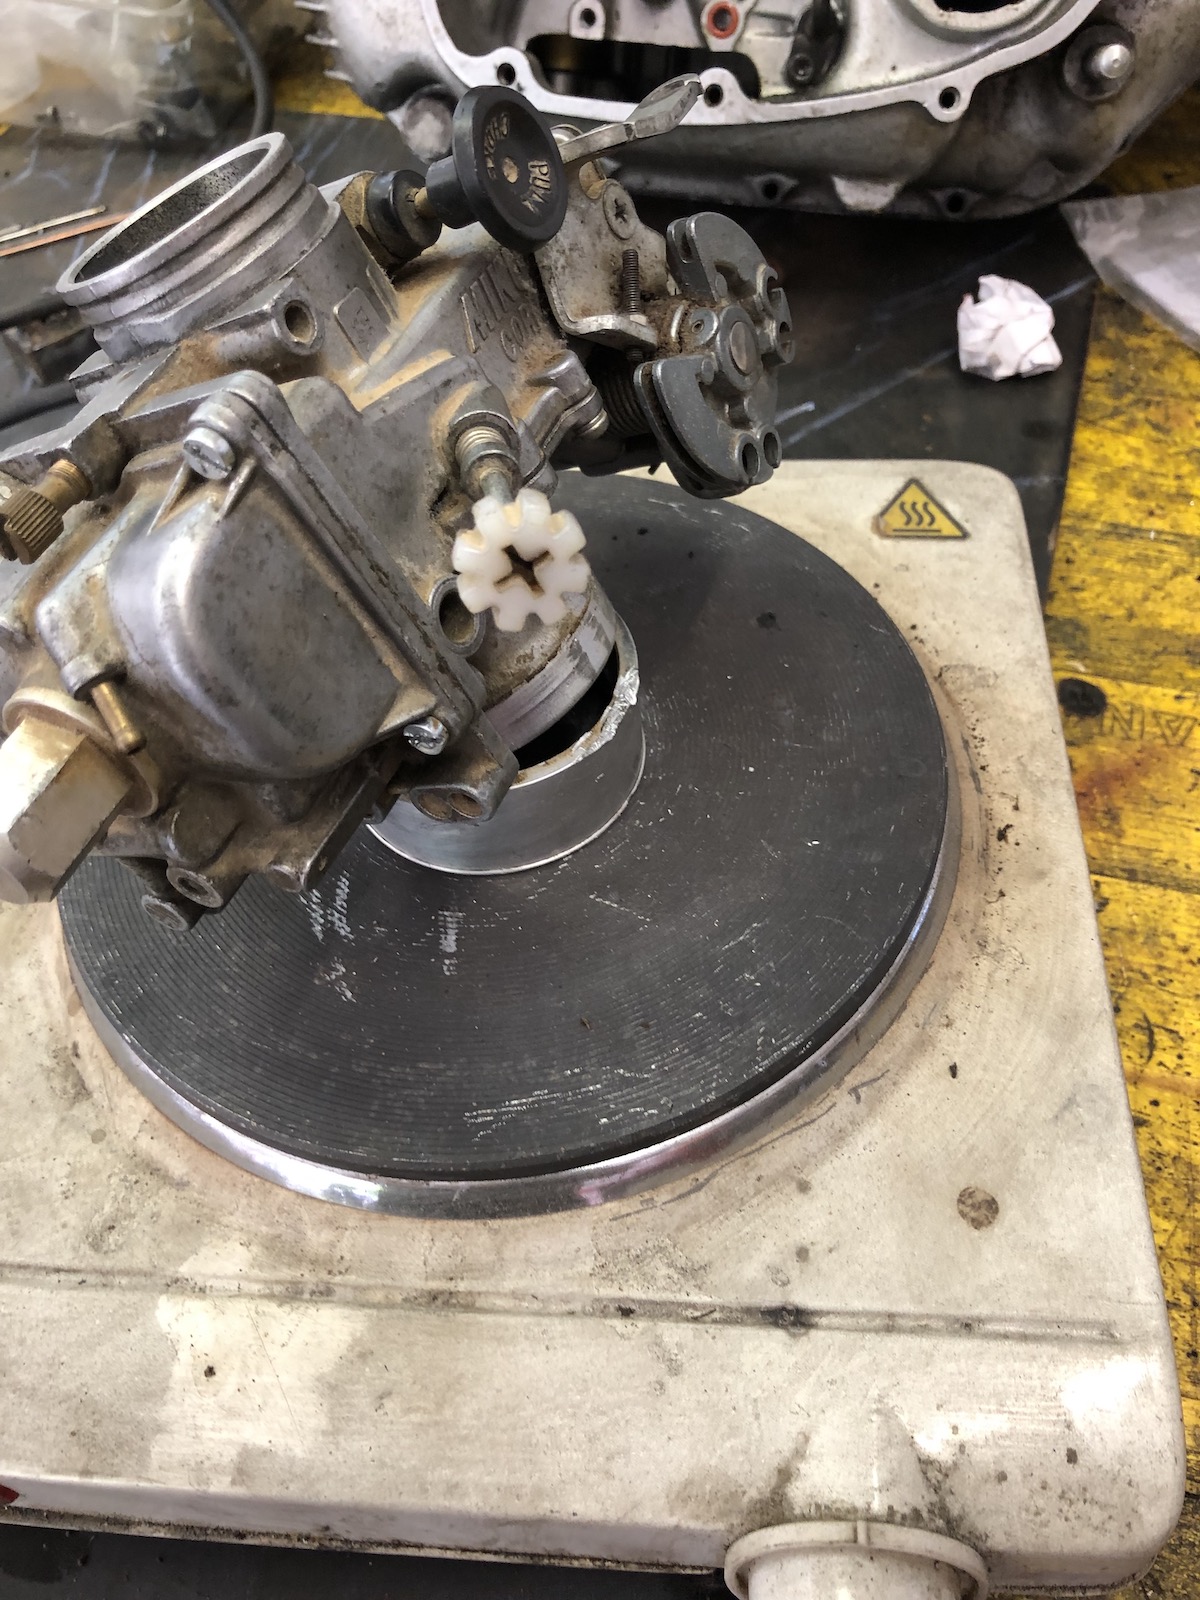
In order to make it work with the stock throttle cables, all you need is one extra M5 nut as the carb is operated the other way round. Jetting at the moment: 12.5/130/1.5 turns/accelerator pump still enabled but turned down a lot.

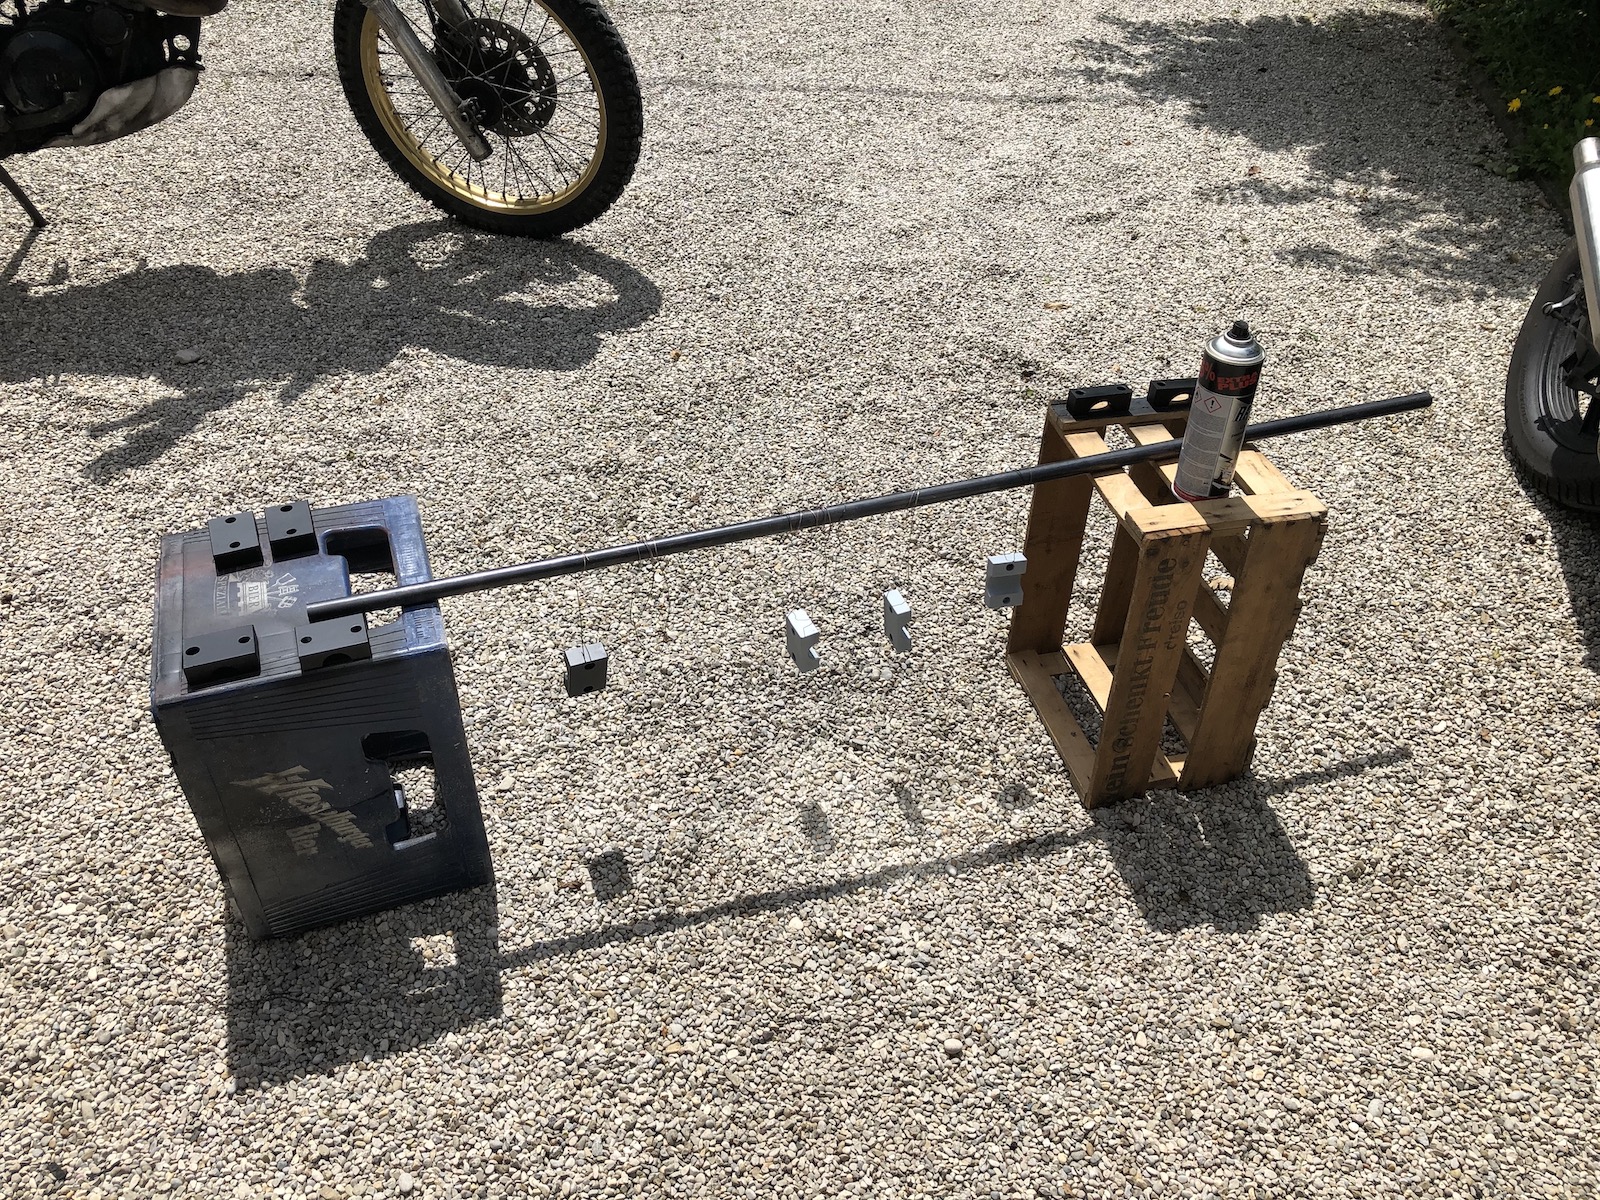
Next job was to turn down the sidecar mounting balls on the "equator" to make installing and removing the sidecar a bit easier. Thing is, somebody might have chosen the perfect size balls for the job, which meant that I almost had to remove the jaws of the sidecar clamps to get them off.


At the same time, all the sidecar mounting blocks was hung from wires and got a lick of paint. It's not like I don't trust my zinc plating, I just think it could do with a bit of help.
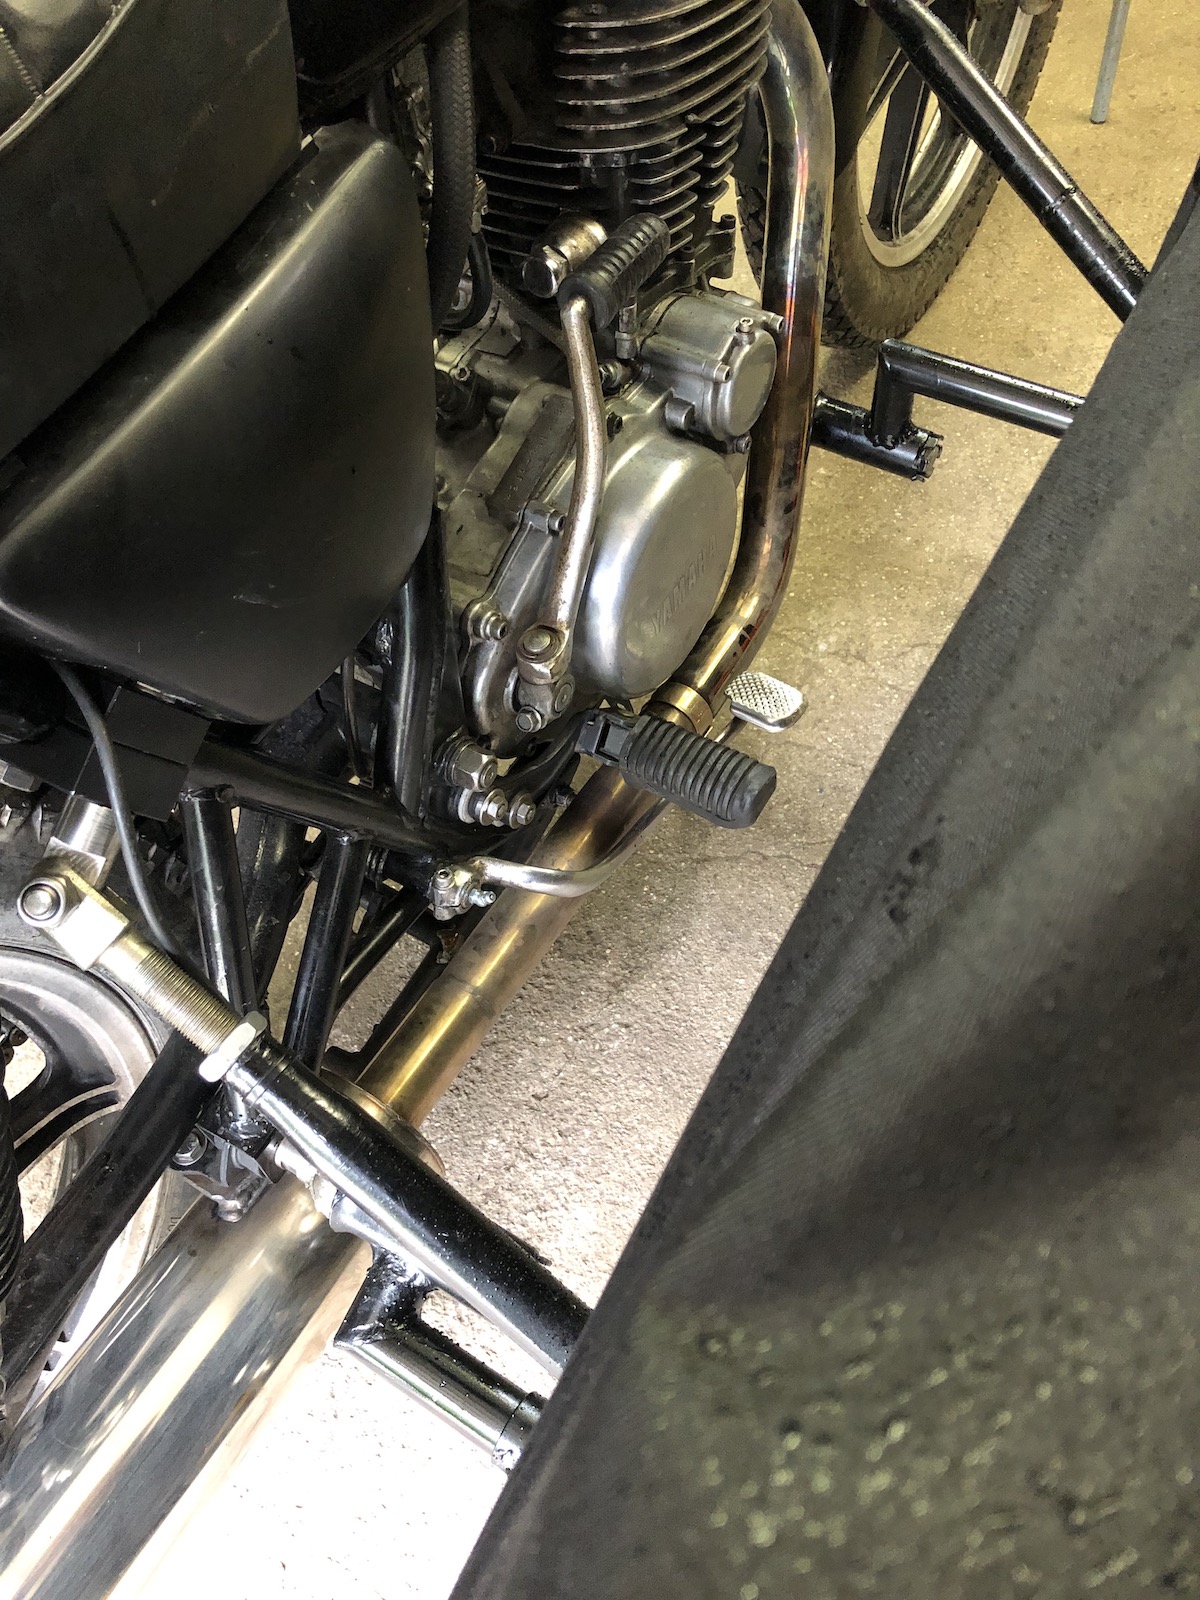
Another one of those minor jobs, which in the end makes one hell of a difference, is to mount rigidly mount the footpegs to the frame and remove the rubber isolators. A bit of POM roundstock did the trick nicely. A certain, well known supplier also offers an aluminium kit, but the thought of steel, aluminium and salt didn't quite inspire confidence.
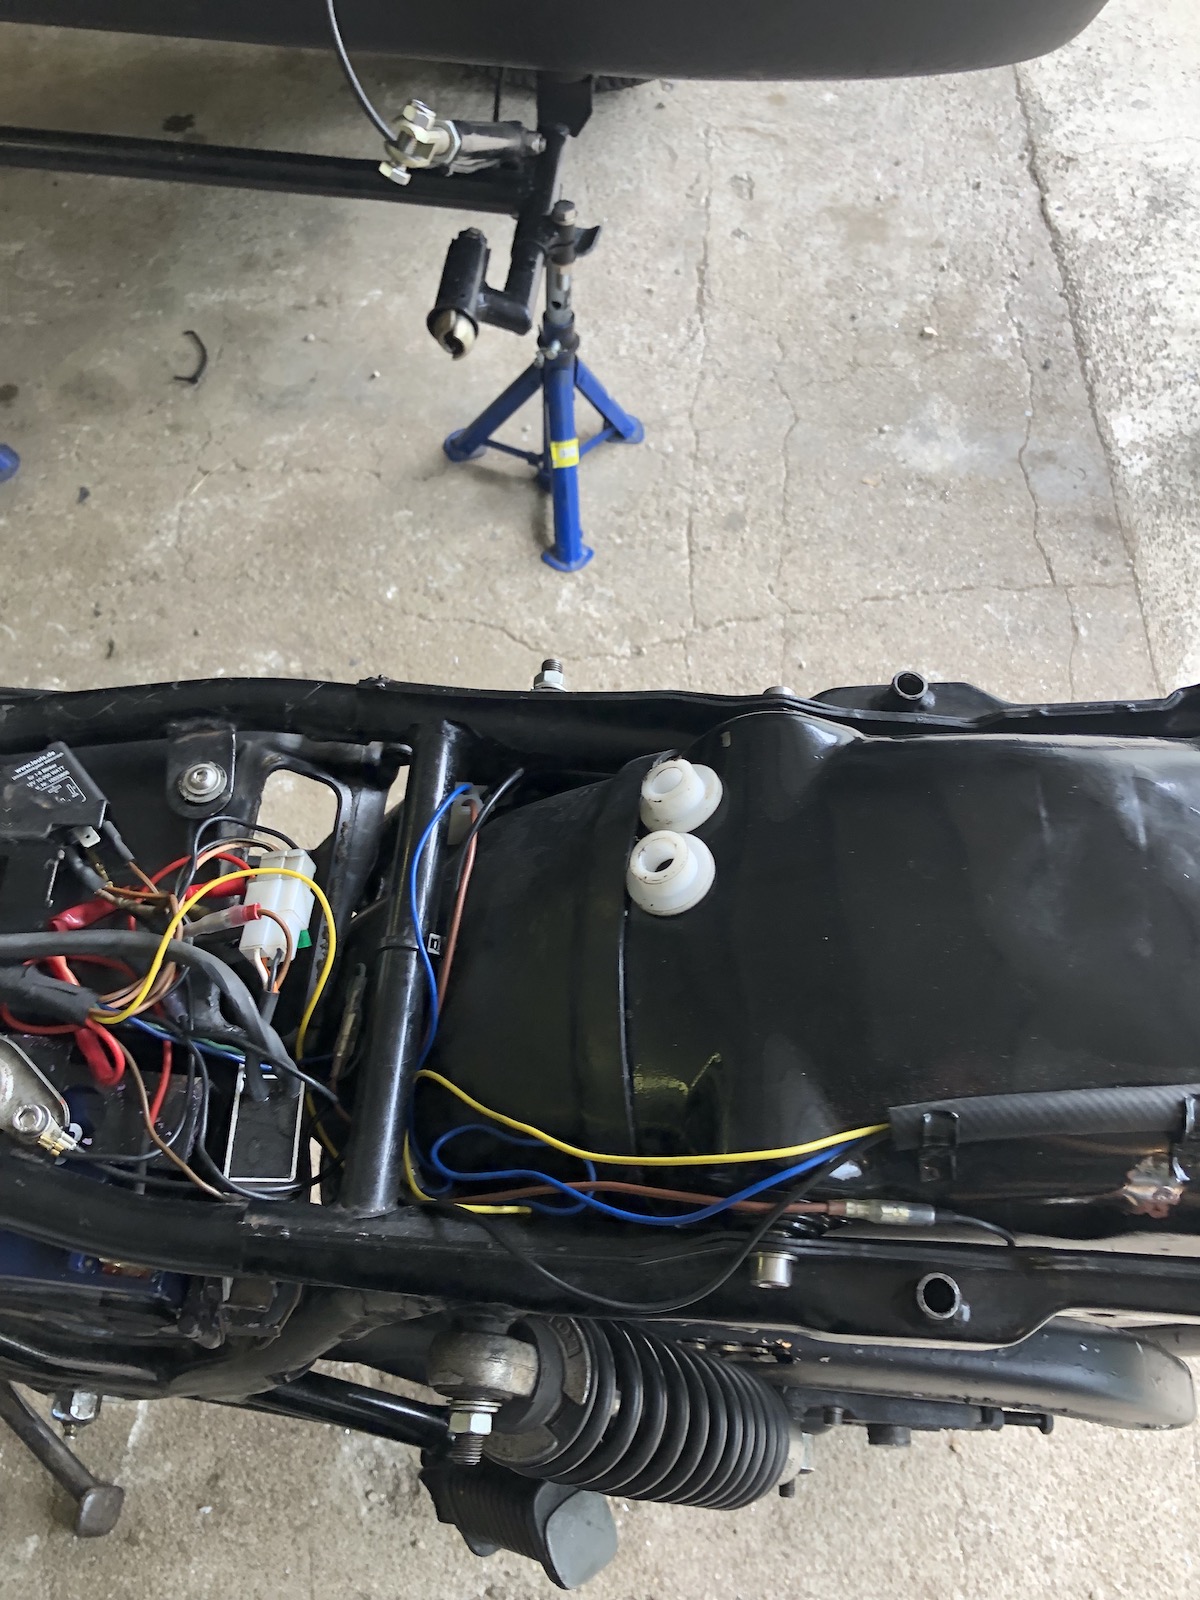
They are slightly oversized in the frame and as they compress a bit, when being installed, the footpeg-backplate-bolts that go through are now a press fit in the plastic. Trust me when I say, THIS is a gamechanger.
Dimensionally, I turned them from some 30mm roundbar, center hole 12mm, the recessed part that goes into the frame is 10mm tall and 20.10mm in diameter. The locating hat is 3mm thick.

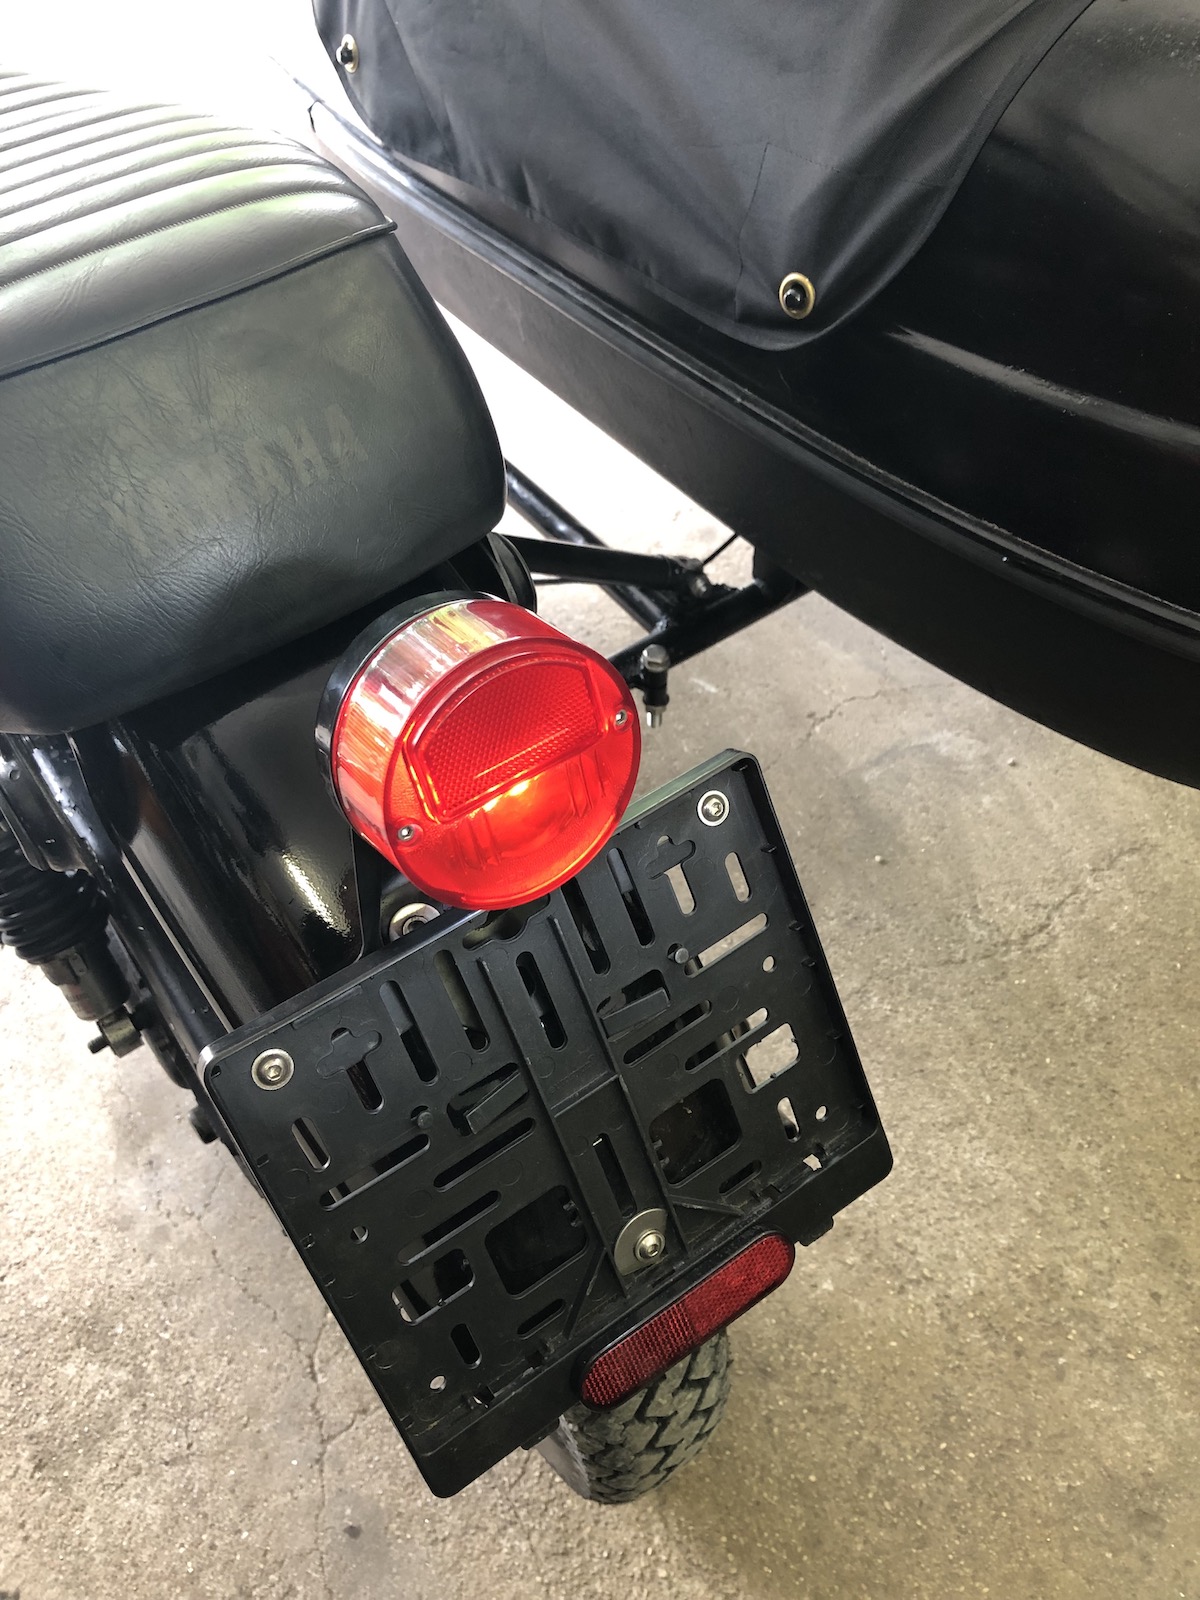
Next step was to make the tail-light work. The contacts of this (brandnew) el-cheapo Guzzi V7 taillight are so bad a solution had to be found. I decided to go with cables directly onto the LED-bulb.


As it is one of the more decent LED bulbs, it actually works decently enough to be used, as in it is nicely visible from all sorts of angles and uses a lot less power than a conventional filament bulb. (Which due to the vibrations lasted the better part of 100km.)
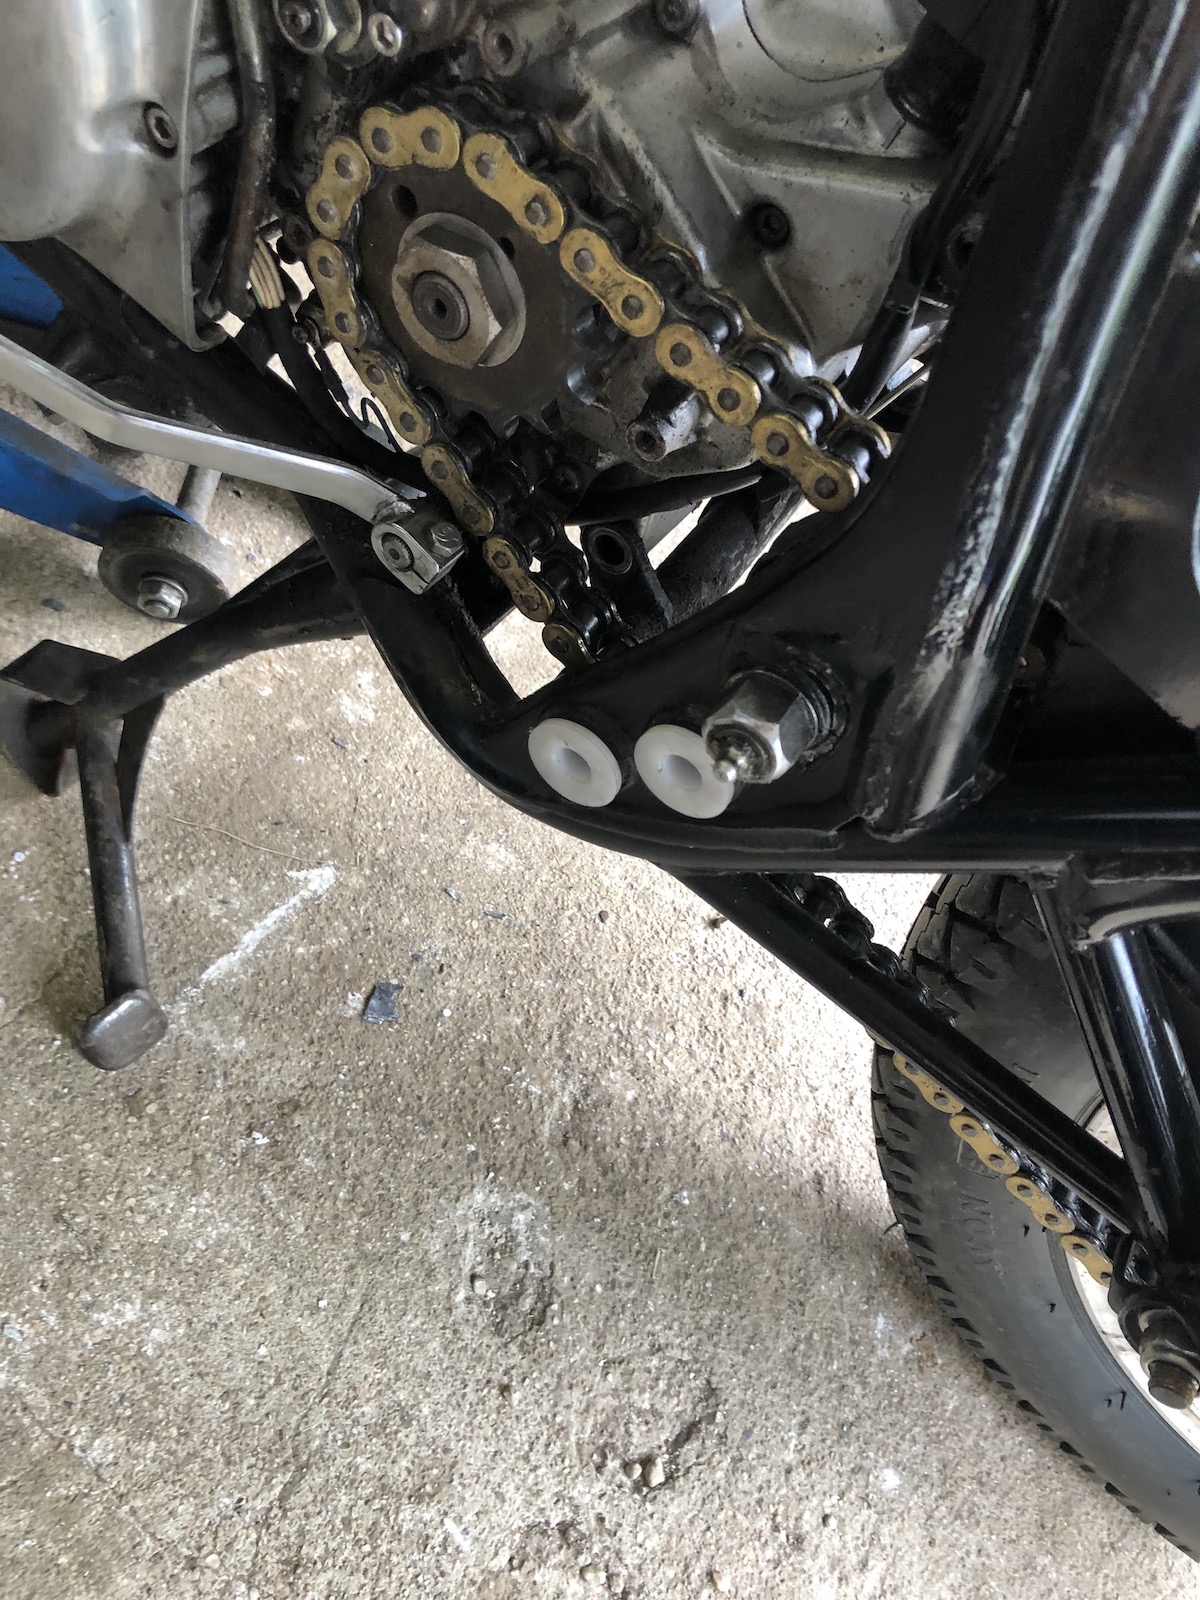
One of the things I forgot, when installing the rear brake shaft in the bike was to put a stop in, which resulted in the rear brake lever sitting up very high and thus causing a rather unpleasant seating position.
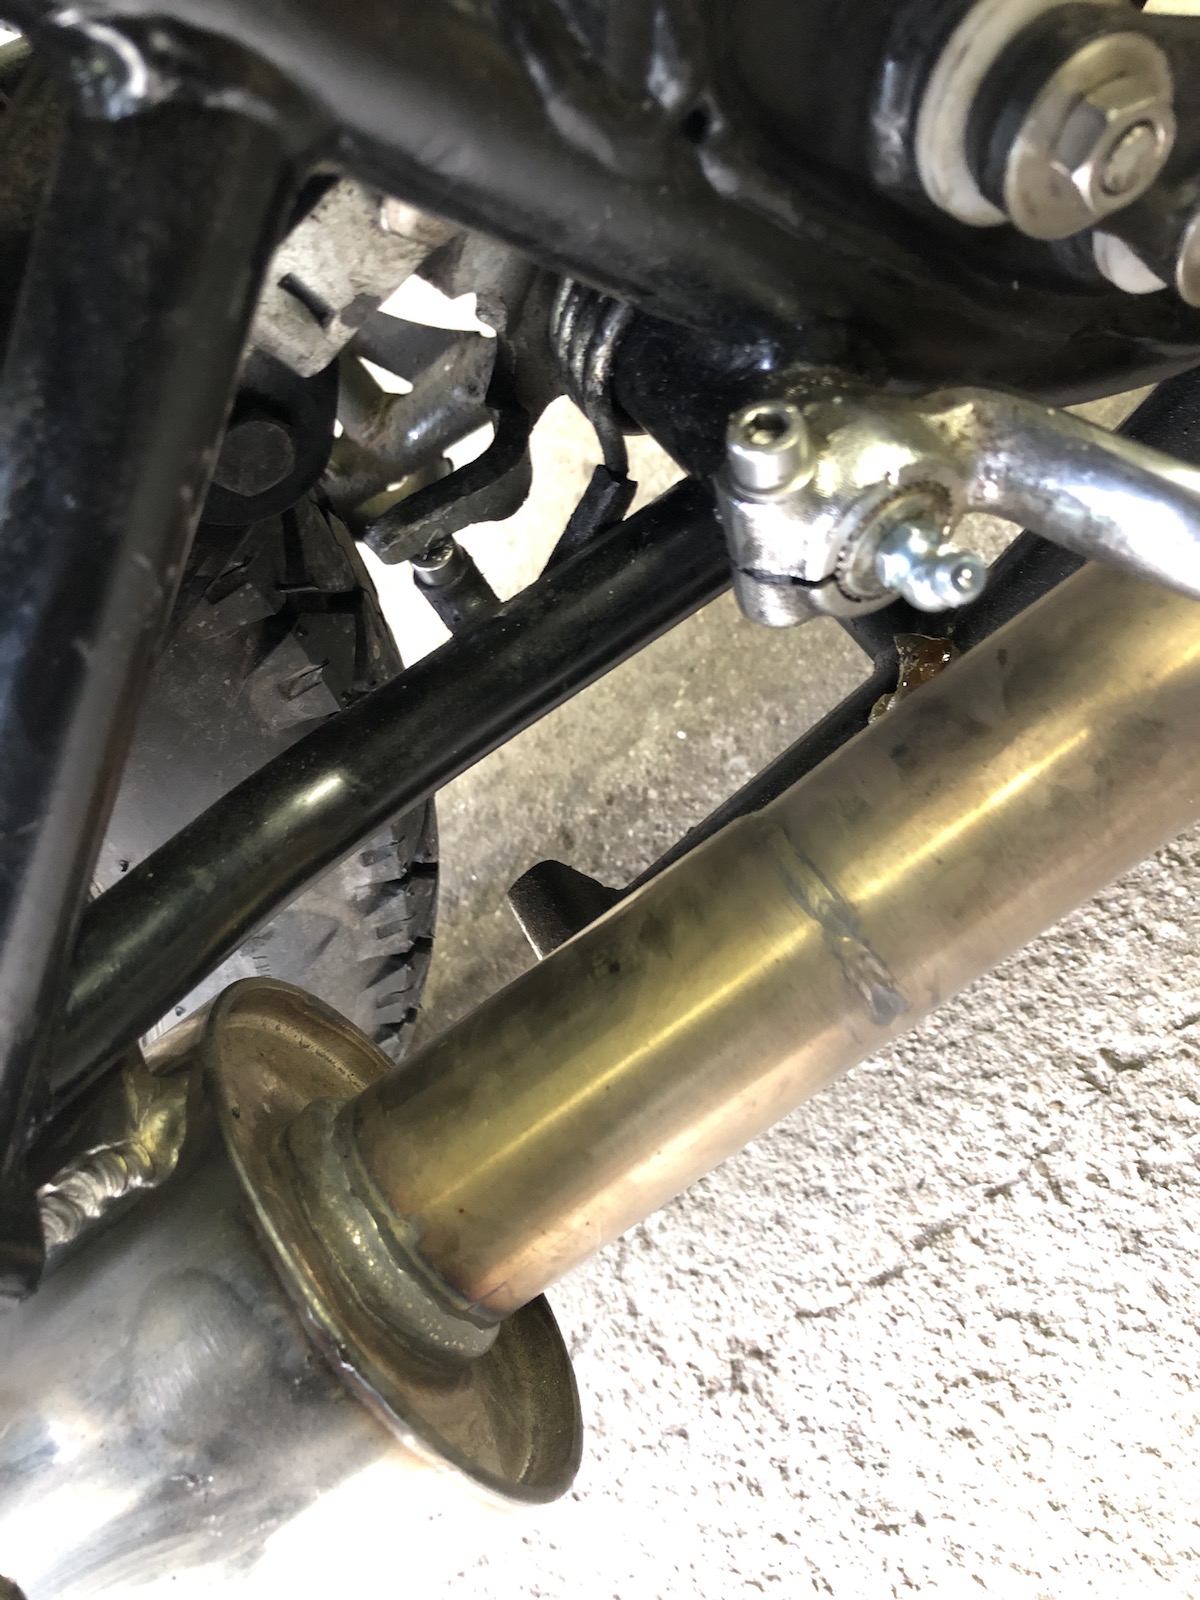
Much better - now I can put my right foot flat on the peg and not have to turn it out to the right in order to avoid the brake lever.
Ultimately the bike looks almost the same, but the freshly painted black mounting blocks are a nice touch, if I am honest.

So what's up next: More dialing in of the flatslide, quite some thread repairs on the forks (the front mudguard acts as a sort of fork brace), solid handle bar bushings and a one-piece handle bar clamp, repair the shock-mounts on the swingarm and then most likely I'll finally get to those reinforcement plates.
No comments:
Post a Comment