Call me old-fashioned, but for me one of the key elements to happy motorcycle hot-rodding and even more so when in daily use is a leak-free engine. In order to achieve this goal, lots of cleaning on the mating surfaces is mandatory .
Ever since I found these rotary nylon brushes this cleanup was an annoying job. It does help to soften the brushes with acetone or some other solvent as they cut very hard when new...
Getting the crank in and out appears to be a huge issue for some people, but the tool required is actually just this mounting bridge with some M8 threaded bar cut to length. The nuts on the end of the rods are just to make it easier to hit the bearing face and not the rollers.
Re-installation of the crank in (pre-heated) cases is a dead simple affair where you snug up the nuts left and right and then just pull the crank in.
Installing an old gudgeon pin, helps to keep the front rod aligned correctly, especially later on, when you install the second half of the engine cases.
Now that we've been faffing around with all sorts of bits associated with the engine, it is well about time to make a proper headjump into the matter at hand and take that huge lump of metal apart and see which gremlins lurk inside.
One of the most interesting bits for me was the question: Did everything seal sufficiently when sandblasting. (Spoiler alert: Yes!)
Here you can see where the oil-pressure sender poking in from the outside.
Left side primary gear ...
... removed.
I can't stress enough how important it is to work cleanly, when you're around engines and even more so to clean every single part. More than once you'll find the true answer why someone sold you that used engine for a good price in the oil-pan. (Not much of an issue in this case as a full strip-down is mandatory anyway for the crank swap.
Last missing pin from the rotor-gear.
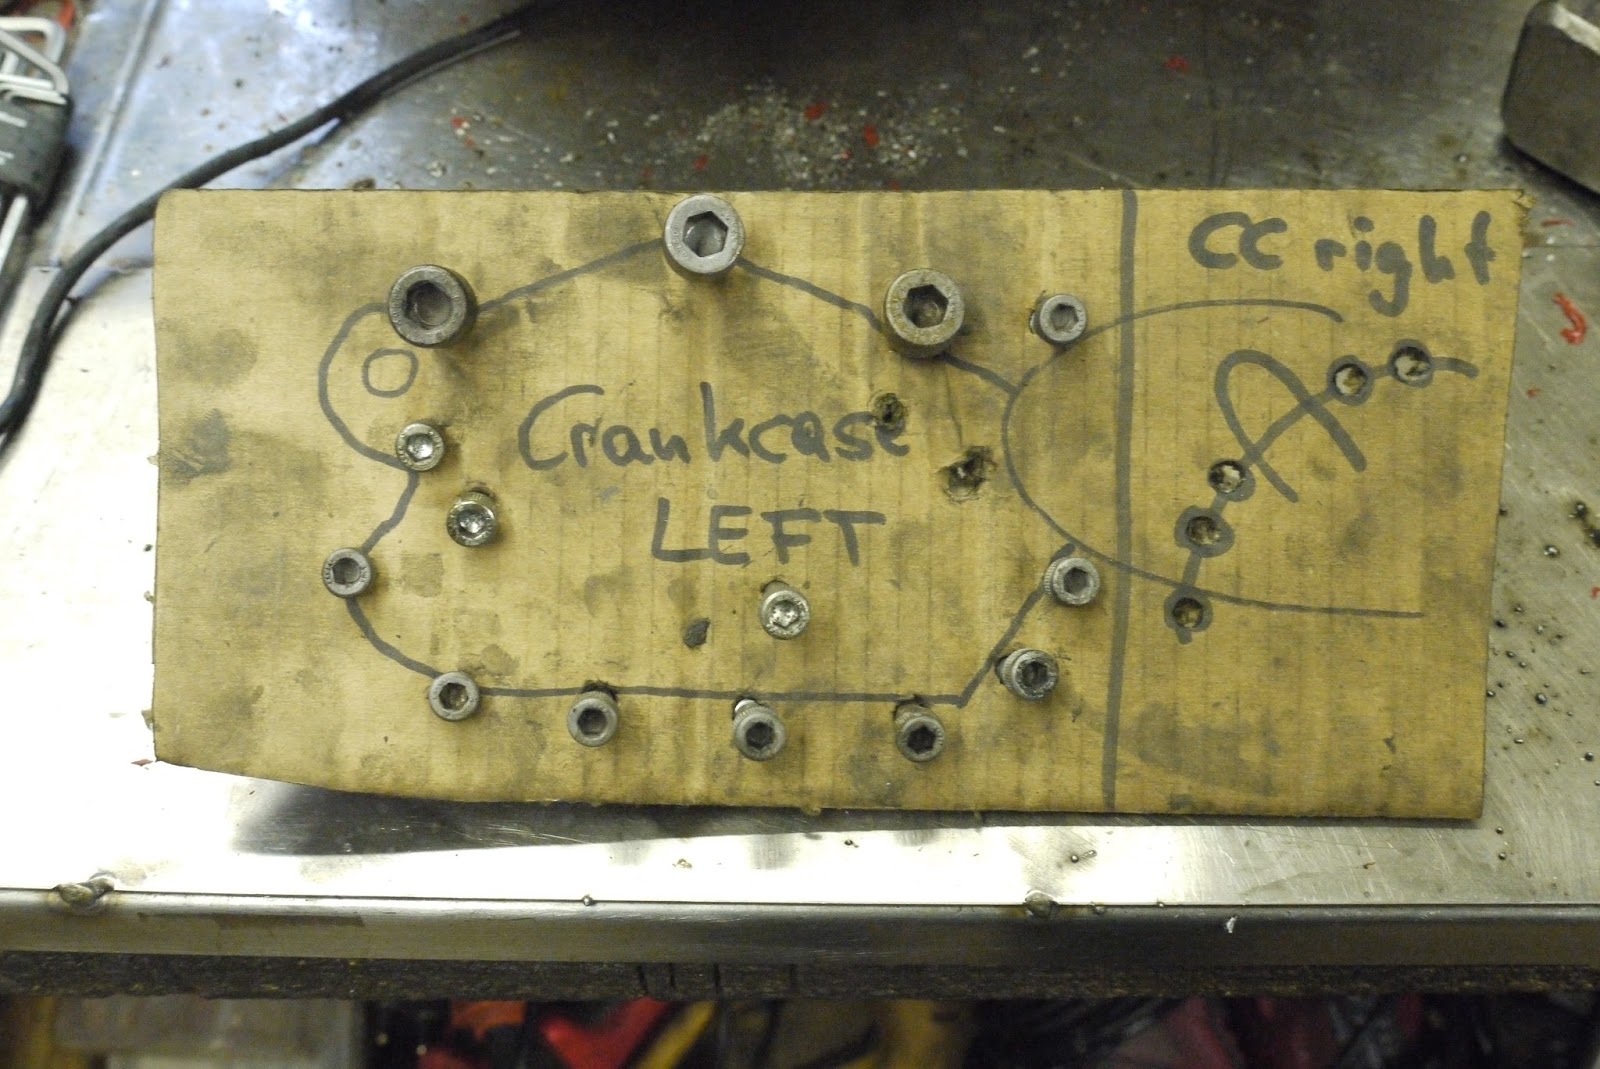
These are the three tricky bolts when taking an XV-engine apart.
An impact torque wrench is an invaluable tool, especially when the case bolts haven't been opened in ages.
I've never had one of those covers rust through, but after seeing this one, I am admittedly a bit surprised I haven't until now.
Flip the case over with the right side facing up and there's five more bolts at the very back of the engine waiting for you.
Then it should just be a matter of a gentle twist-of-the-wrist with a large flat-blade screwdriver to split the cases.
Even though that rear most alignment dowel is usually quite rust and can give you a bit of a hard time.
Oh look a circlip. Judging by its size from a gudgeon pin.
More cleaning ahead and one can very nicely see the oil-level-sender unit on the bottom left.
The two center bearings were well and truly shot (a 6305 and a 6204 so not much of a financial issue) and of course the main bearing was due for replacement as well.
It is a well established fact in science, that a grumpy and lumpy motor can turn grumpy riders into very happy riders. Unfortunately this also works the other way round. Once that grumpy motor starts to behave a lot less grumpy, well... it's time to have a look where the grumpyness is escaping from the engine. In this case it was a severly leaking headgasket.
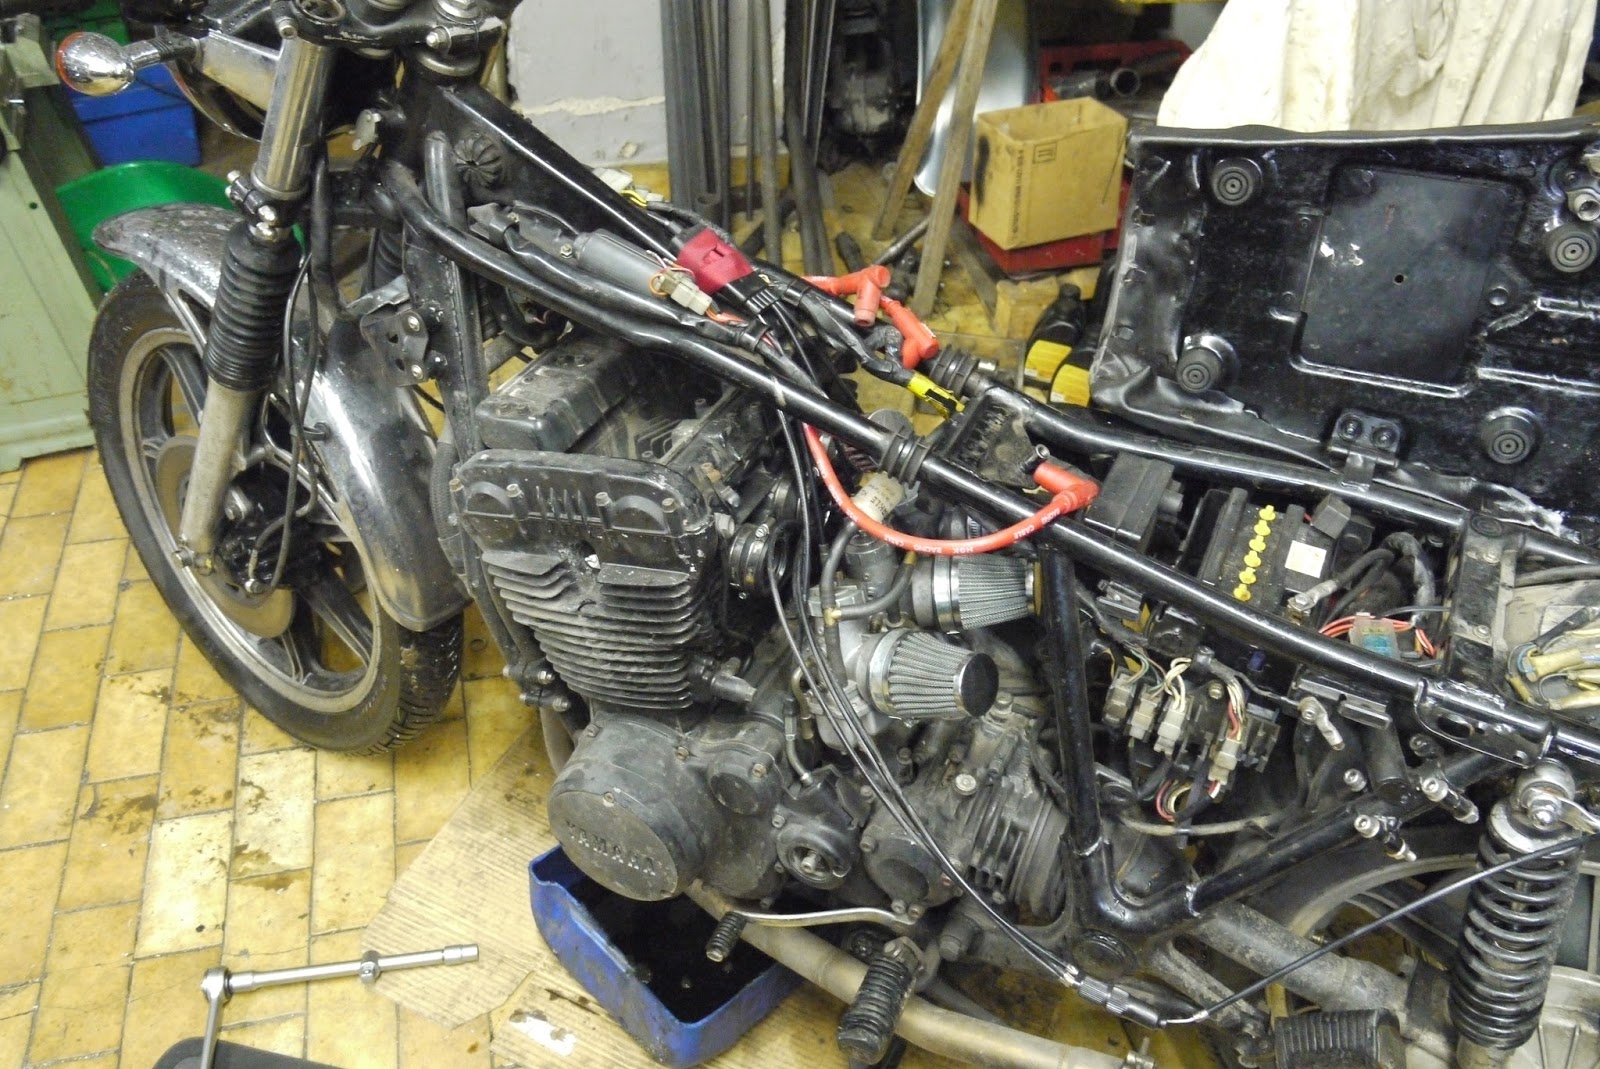
So let's start with the first task: How do you put an elephant in the fridge? Open the door, put the elephant in, close the door. Same here. Open the door, take the sidecar off, push the bike in. And because it was still warm and it was well about time to change the oil, said oil was drained.
Remove the carbs and make some room to work on the engine.
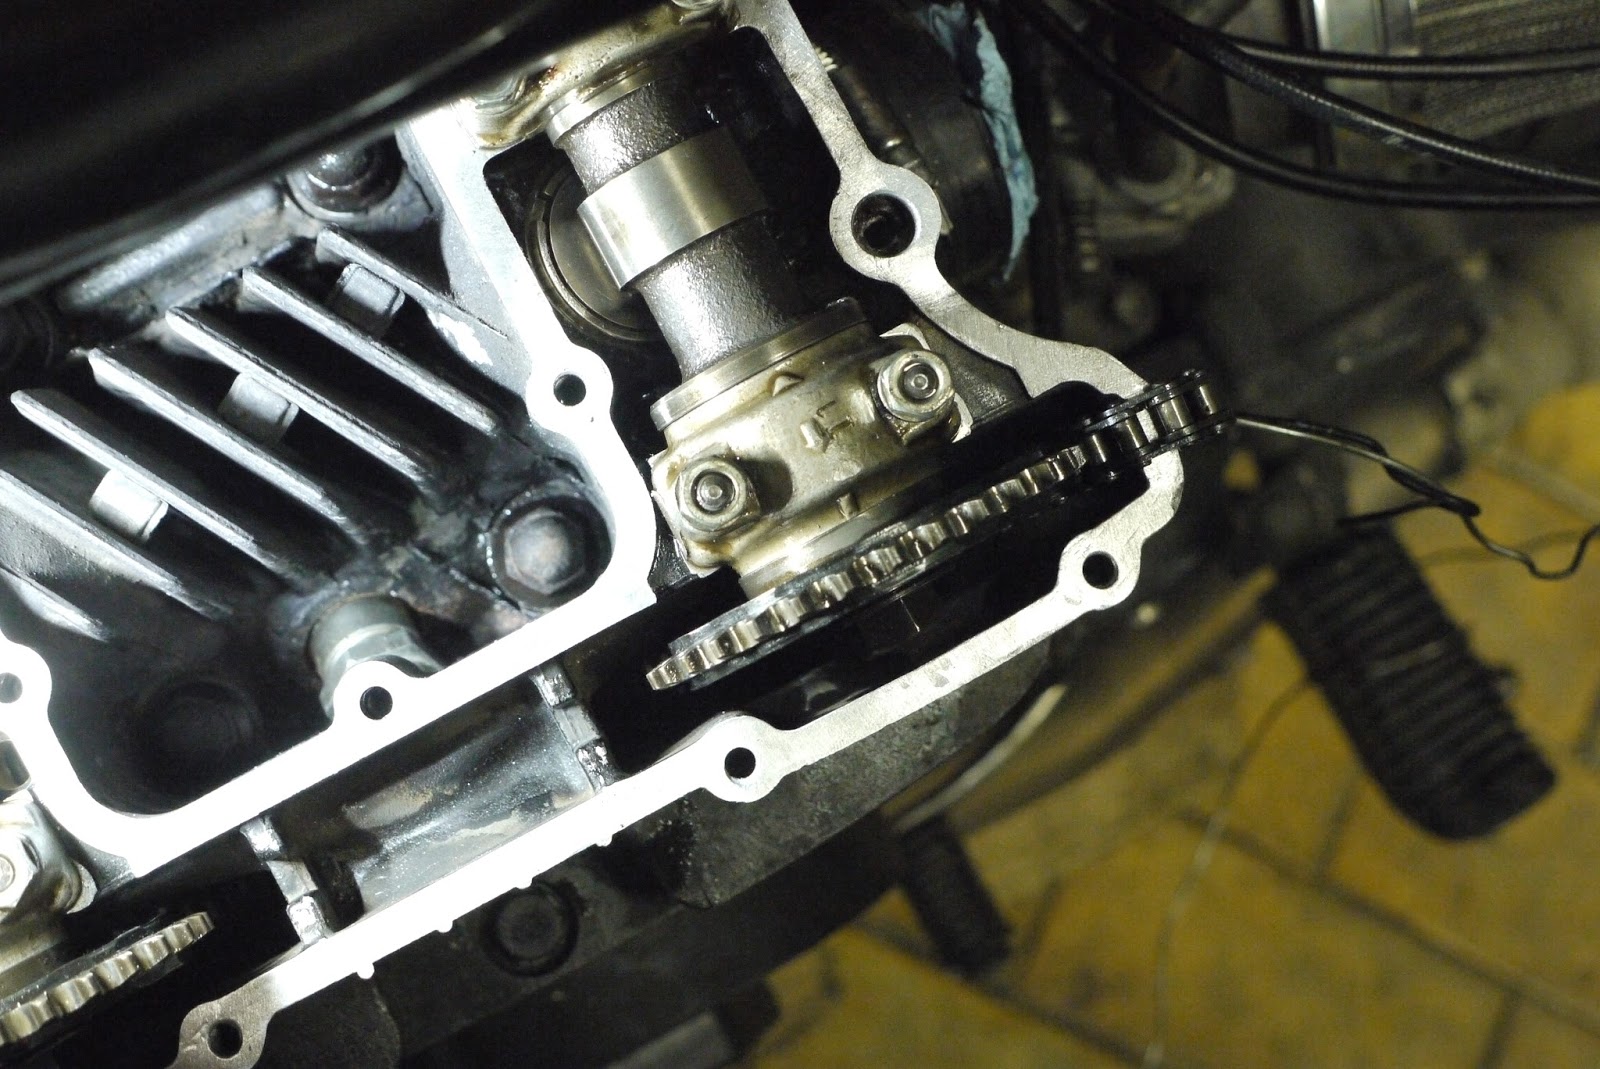
Remove the valve cover and here you can instantly see, why doing the headgasket is such an annoying job on a XS Triple, because you have to split the camchain to get the head off. This is actually quite the annoying show stopper and it took me about two weeks to buy just the link alone and not be forced to buy a completely new camchain. Even though in hindsight, that may or may not have been the worst idea, while I was at it.
Turn the engine over until TDC on cylinder #1.
Secure the camchain with some wire (old coathangers in this case) and choose the most unsuspecting link and split it!
Once that is done, the rest is pretty much as with any other DOHC inline engine, except for the fact that the cylinder of those XS Triples is really incredibly light!
Hard to see in the picture, but the headgasket blew out on cylinder #3 and especially around the oil-galleries on the far right. That being said, as the cylinder isn't anchored to the block at all, once you lift off the head, be prepared to do the base gasket as well.
As the studs are exposed to the elements, be prepared for the cylinder to become stuck quite easily and have a vacuum cleaner handy.
As my dad was helping me and the bores had already become slightly glazed, I present to you: My dad's first hone job. Not too bad, if I may say so and it definitely broke the edges on some of the rust spots inside the engine, so it was well worth trying it.
With the weird angle spark plugs are sitting at on an XS Triple, it won't come as a surprise that the threads are often a bit chewed up. A regular M14x1.25 tap and a bit of oil will take care of that permanently. Or until someone tries to get that spark plug in at an angle...
There's no such thing as too clean, when it comes to mating surfaces in my book. But especially with headgaskets, always make sure, the head and cylinder have a light cross-hatch to them.
Especially when reinstalling parts, make sure, you don't lose the cam chain in that tunnel...
No matter what, the shim buckets will come out. If you put them in a tray and mark their positions, it also rather easy (and a good opportunity) to note down all the shim-sizes installed and be totally prepared for when you have to adjust the valves.
Now setting up the valves is explained in an extremely complicated way in the manual, both the official Yamaha one and the book of lies. Basically what you want to do is put the cams in, with the markings facing up and then try to find the next position where the no lobe is pushing down on a valve. Once installed you use the hex which is ground onto the cams to adjust them back to the correct position with both dots pointing upwards and aligned with the lines on the camcaps.
Assuming that you have your cams adjusted correctly and ready to rivet, stuff the openings where the camchain comes up full with paper towels or clean rags, so the camchain can't disappear and then insert (but don't rivet) the link.
Once you apply pressure through the camchain-tensioner opening in the cylinder block you'll realize, that the cam shifted a bit. Now the trick in this particular case is to make sure that the front part of the camchain on the exhaust cam sprocket is well loaded and then re-aligned with the markings. Then you set the inlet cam correctly and if everything lines up, rivet the link and mentally tick that box off.
Now among my worst ideas was to change the middle-gearbox and
final-drive oil at the current temperatures. It actually came out pretty well, especially after flushing both out with copious amounts of diesel.
That 80W90 gearbox oil on the other hands is
roughly as thin as some well-aged honey.
No idea what some people thought, when they were working on this the last time, but paper-thin ally washers may seal sufficiently once, but beefy,freshly annealed copper washers, now that's an entirely different story.
Last up was a quick drop of the carb needle on my VM36s. In order to not be forced to re-sync the carbs, I marked the position on both the carb body and the cap with some felt pen. The following pictures of the carb-slide on the other hand show you, why it might be clever to buy some aftermarket VM36s, because apparently Mikuni was willing to install really weird looking slides on these snowmobile versions.
And all of the above finally led to this:
There she is back out in the sunshine and let's just put it this way: She's grumpier than an East German weight-lifter before she had her "vitamins" and morning shave...
What you've just read, was two and a half days of work with massive support from my dad and some so far very rewarding results, as I found out that the cam-timing before was slightly messed up (intake cam retarded), which together with the blown headgasket was at least partly to blame for the somewhat mediocre overall performance before.