
Part One is basically the disassembly story and part two will be the reassembly and (test-)installation in my Turbo-TR1-chassis to make sure everything works as it should.
Just to give you an idea: The engine is my trusty old Everyday-TR1 original engine with roughly 110,000km on its back, which was running fine except for a bit of an appetite for oil and a slight knock, which I originally tracked down to the bottom end and some "not-quite-so-slight" oil-leakage from the rear cam-chain-tensioner. (Which was just down to a torn gasket, that I might have missed for a while - it's also very hard to get to, because obviously it was on the rear cylinder.)
Step one was to drain out the oil as good as possible. As you will see by the oily-rags, we didn't exactly a good job on that. We being my dad and myself.

Using the term "cleaned" might be a bit much, but the worst oil and grime has been rubbed off from the top half of the case.

Put the rear cylinder on TDC to make disassembly a bit easier and also to check for camchain wear.

Near perfect - there was some stretch in the camchain, but as I replaced that two years ago (or so) that hasn't stretched any more than the initial stretch.

Even though it should be fairly obvious, I like marking the brackets on the rear cylinder left and right as it avoids a lot of confusion.

No point in denying that this engine enjoyed a sip of oil every now and then I guess. To be fair at this point I dreaded the worst like broken rings or the like, even though the cylinders looked absolutely fine, you could even see a bit of the original crosshatch pattern here and there on the cylinder walls.


The front cylinder looked slightly better, but with that amount of oil-buildup on the piston it came as no surprise that it was knocking a bit, when really, really hot.

With the cylinders pulled from the engine, it was about time to give the rods the casual "pull-test" and nothing really moved. I was planning to do the conrod bearings anyway, but most likely, if this still were my own engine, I'd left the bottom end as is as there was no immediate need to do anything. (One thing I really didn't notice, when pulling apart the engine is that the squish actually worked nicely in pushing the mix away from the cylinder wall as you can see in the clean spots on the side of the pistons.)

I decided to do minimally-invasive surgery this time, which means leaving the crank in the left crankcase. Still this meant fully stripping the right side and at least removing the oil-pump on the left side.
Also in the picture my very first modified 9-disk-clutch. (Still a thing o' beauty, if you ask me!)

Left side, with the shifter mechanism already removed. Contrary to popular believe it is quite doable to remove the oilpump, without removing the rotor, when you undo the single philipps-head bolt that's holding the pump together.

As can be seen in this very arty out of focus picture. 😇
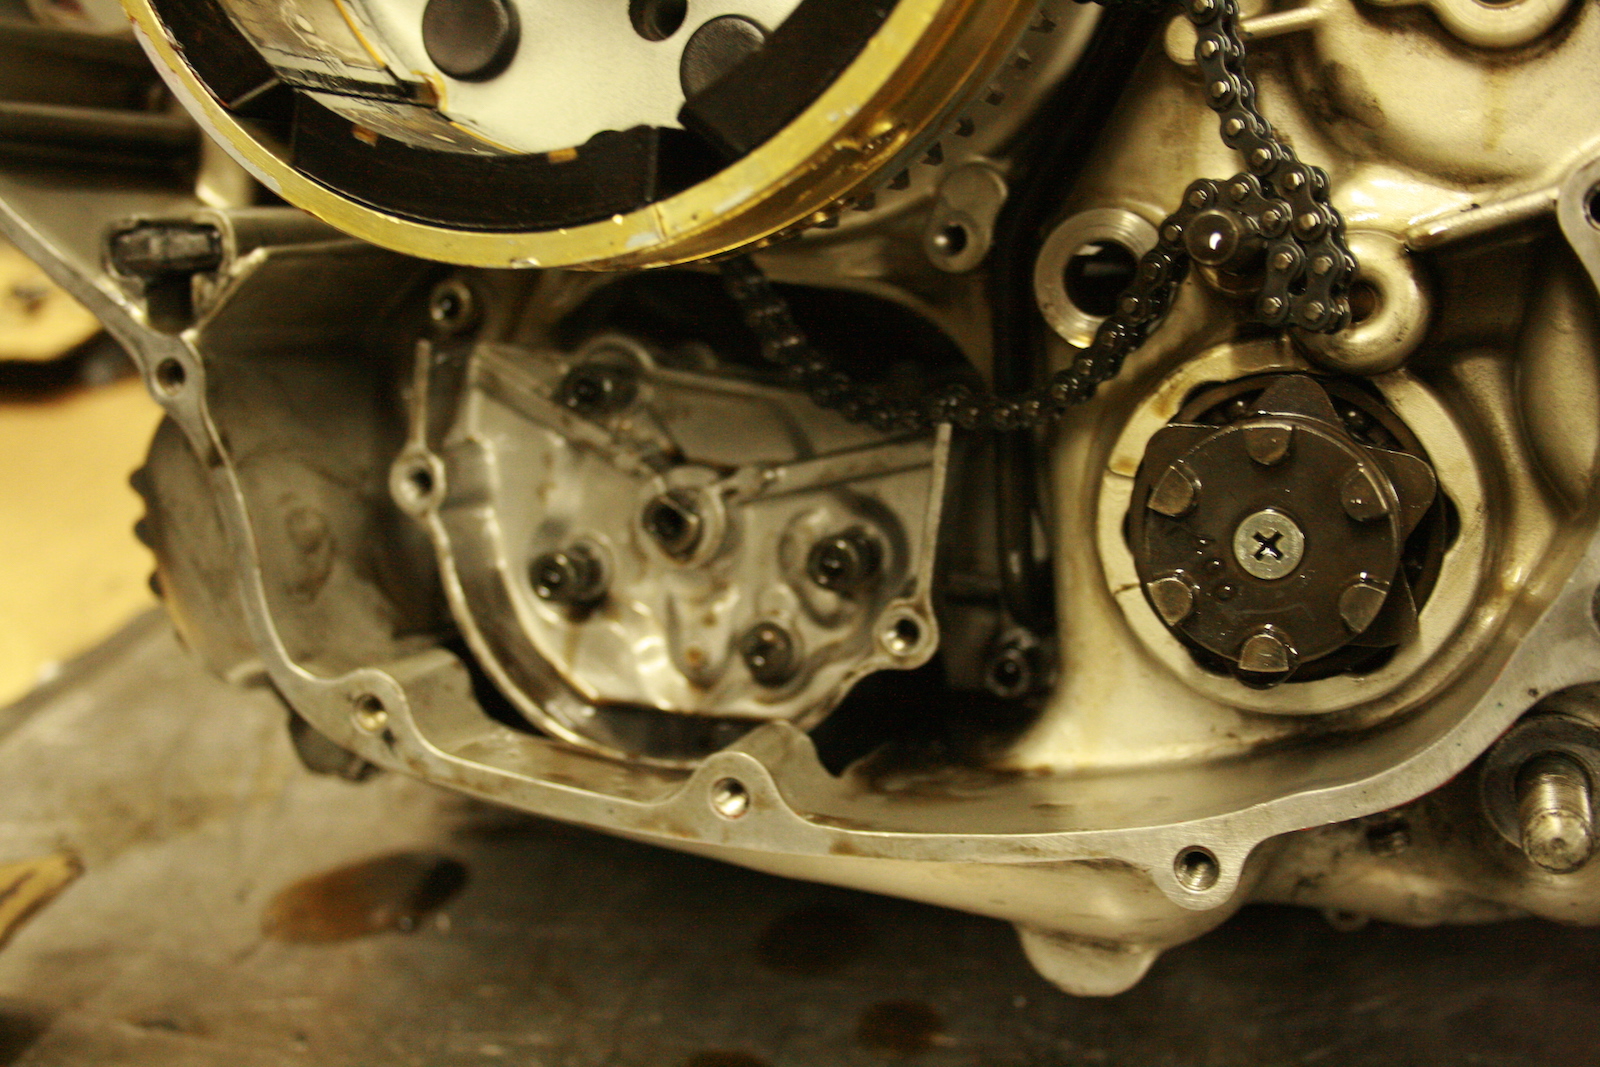
With clutch and right-hand primary drive removed it's a simple case of removing all the bolts holding the engine together. (Note the three bolts INSIDE the engine, one of which is hidden behind the oil-pump!)

Fast forward quite a few minutes and we have the engine case cracked and the conrods removed from their place. It can actually be done without removing the crank from the cases, even though it is much easier with the crank out. That being said in order to reach the nuts for the rear conrod, you have slide it up and put a bearing cap back in as a spacer, so you don't twist and turn anything.

Now the hard lighting makes the bearing shells look a lot worse than they really are, but there's no doubt they've covered their fair share of miles. Still the crank looked like new and after a short casual glance at the spec-sheet a two-size smaller set of shells (black instead of green for those, who want to know) was selected.

And that pretty much ends the whole operation for 2018. Conrods have been re-installed and tightened to spec, gearbox is back in after finding NOTHING out of the ordinary, not a single gear suffers from pitting or worn gear dogs and can simply be reinstalled.

So all that's left is to clean up the mating surfaces a bit more, oil the gears and bearings and put the bottom end back together and wait for the sealant to cure. Once that's done the outside of the engine will get a good wash to look representable again. In other words, what does it take to run a (tuned) high-comp, long-stroke TR1 engine for another 110,000km? A set of bearing shells and some fresh rings, because quite honestly, that's the only thing really amiss on this engine. The oil-scrapers have the equivalent amount of tension of a worn out elastic band.
No comments:
Post a Comment